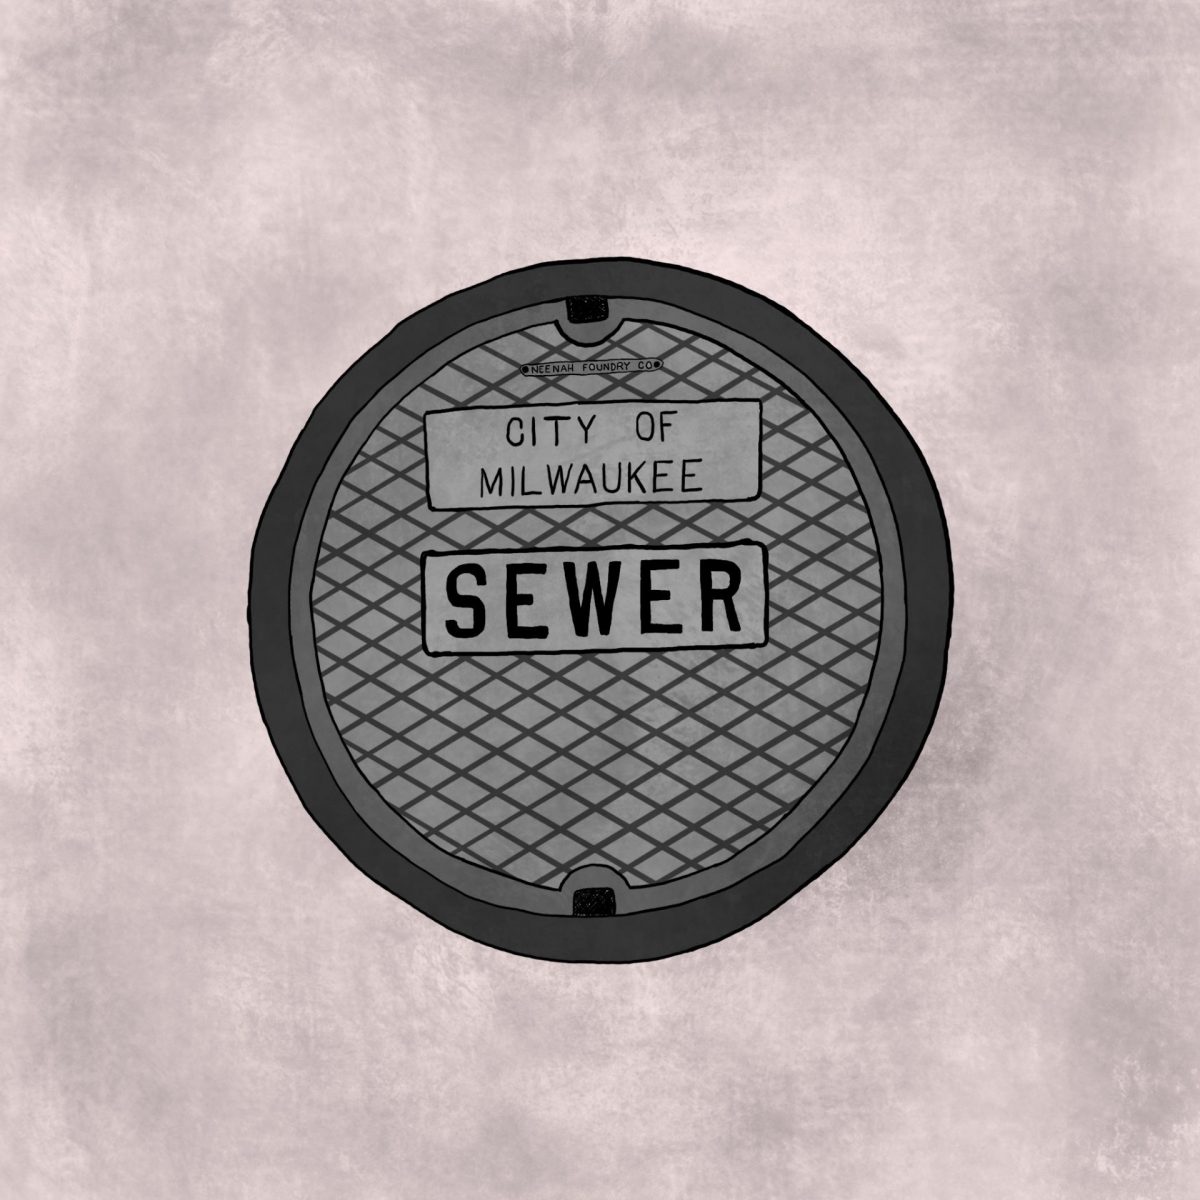
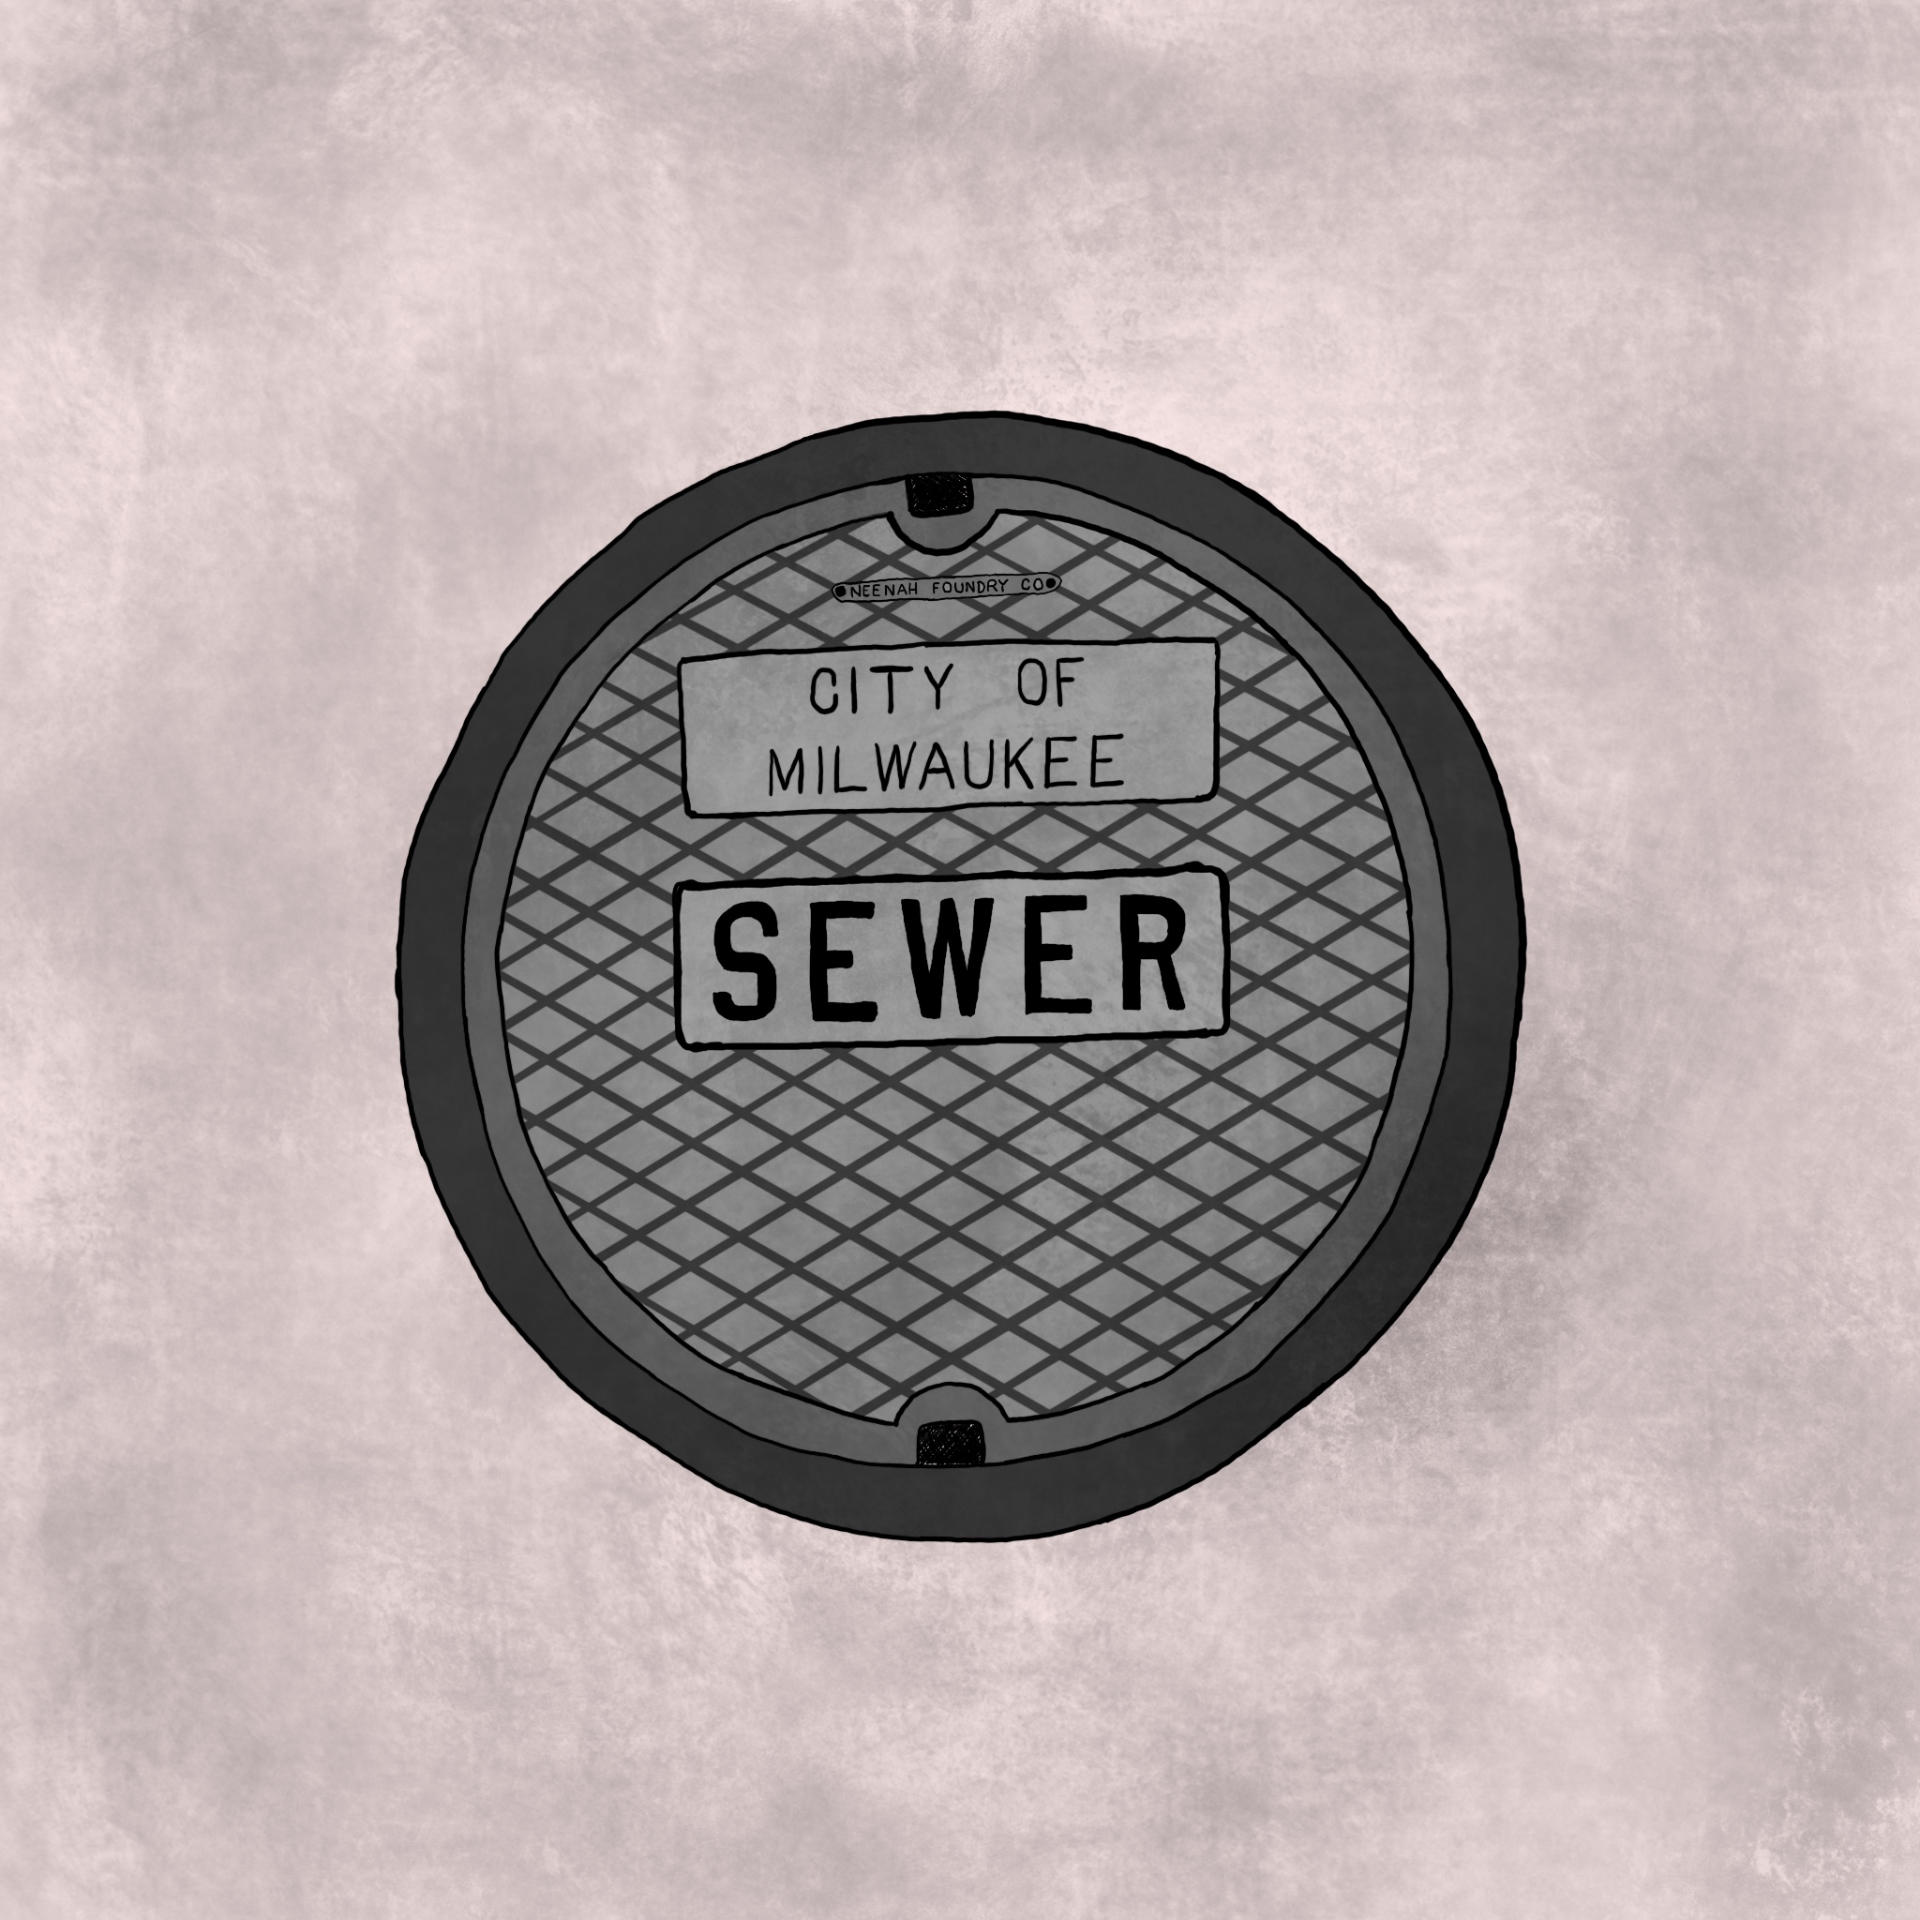
While I’ve taken plenty of photos of sidewalk squares, and there is a local who takes photos of fire hydrants, I’ve yet to see anyone take on the sewer covers, sometimes called “manhole covers” though I do prefer the term “personhole covers” because it sounds even more strange.
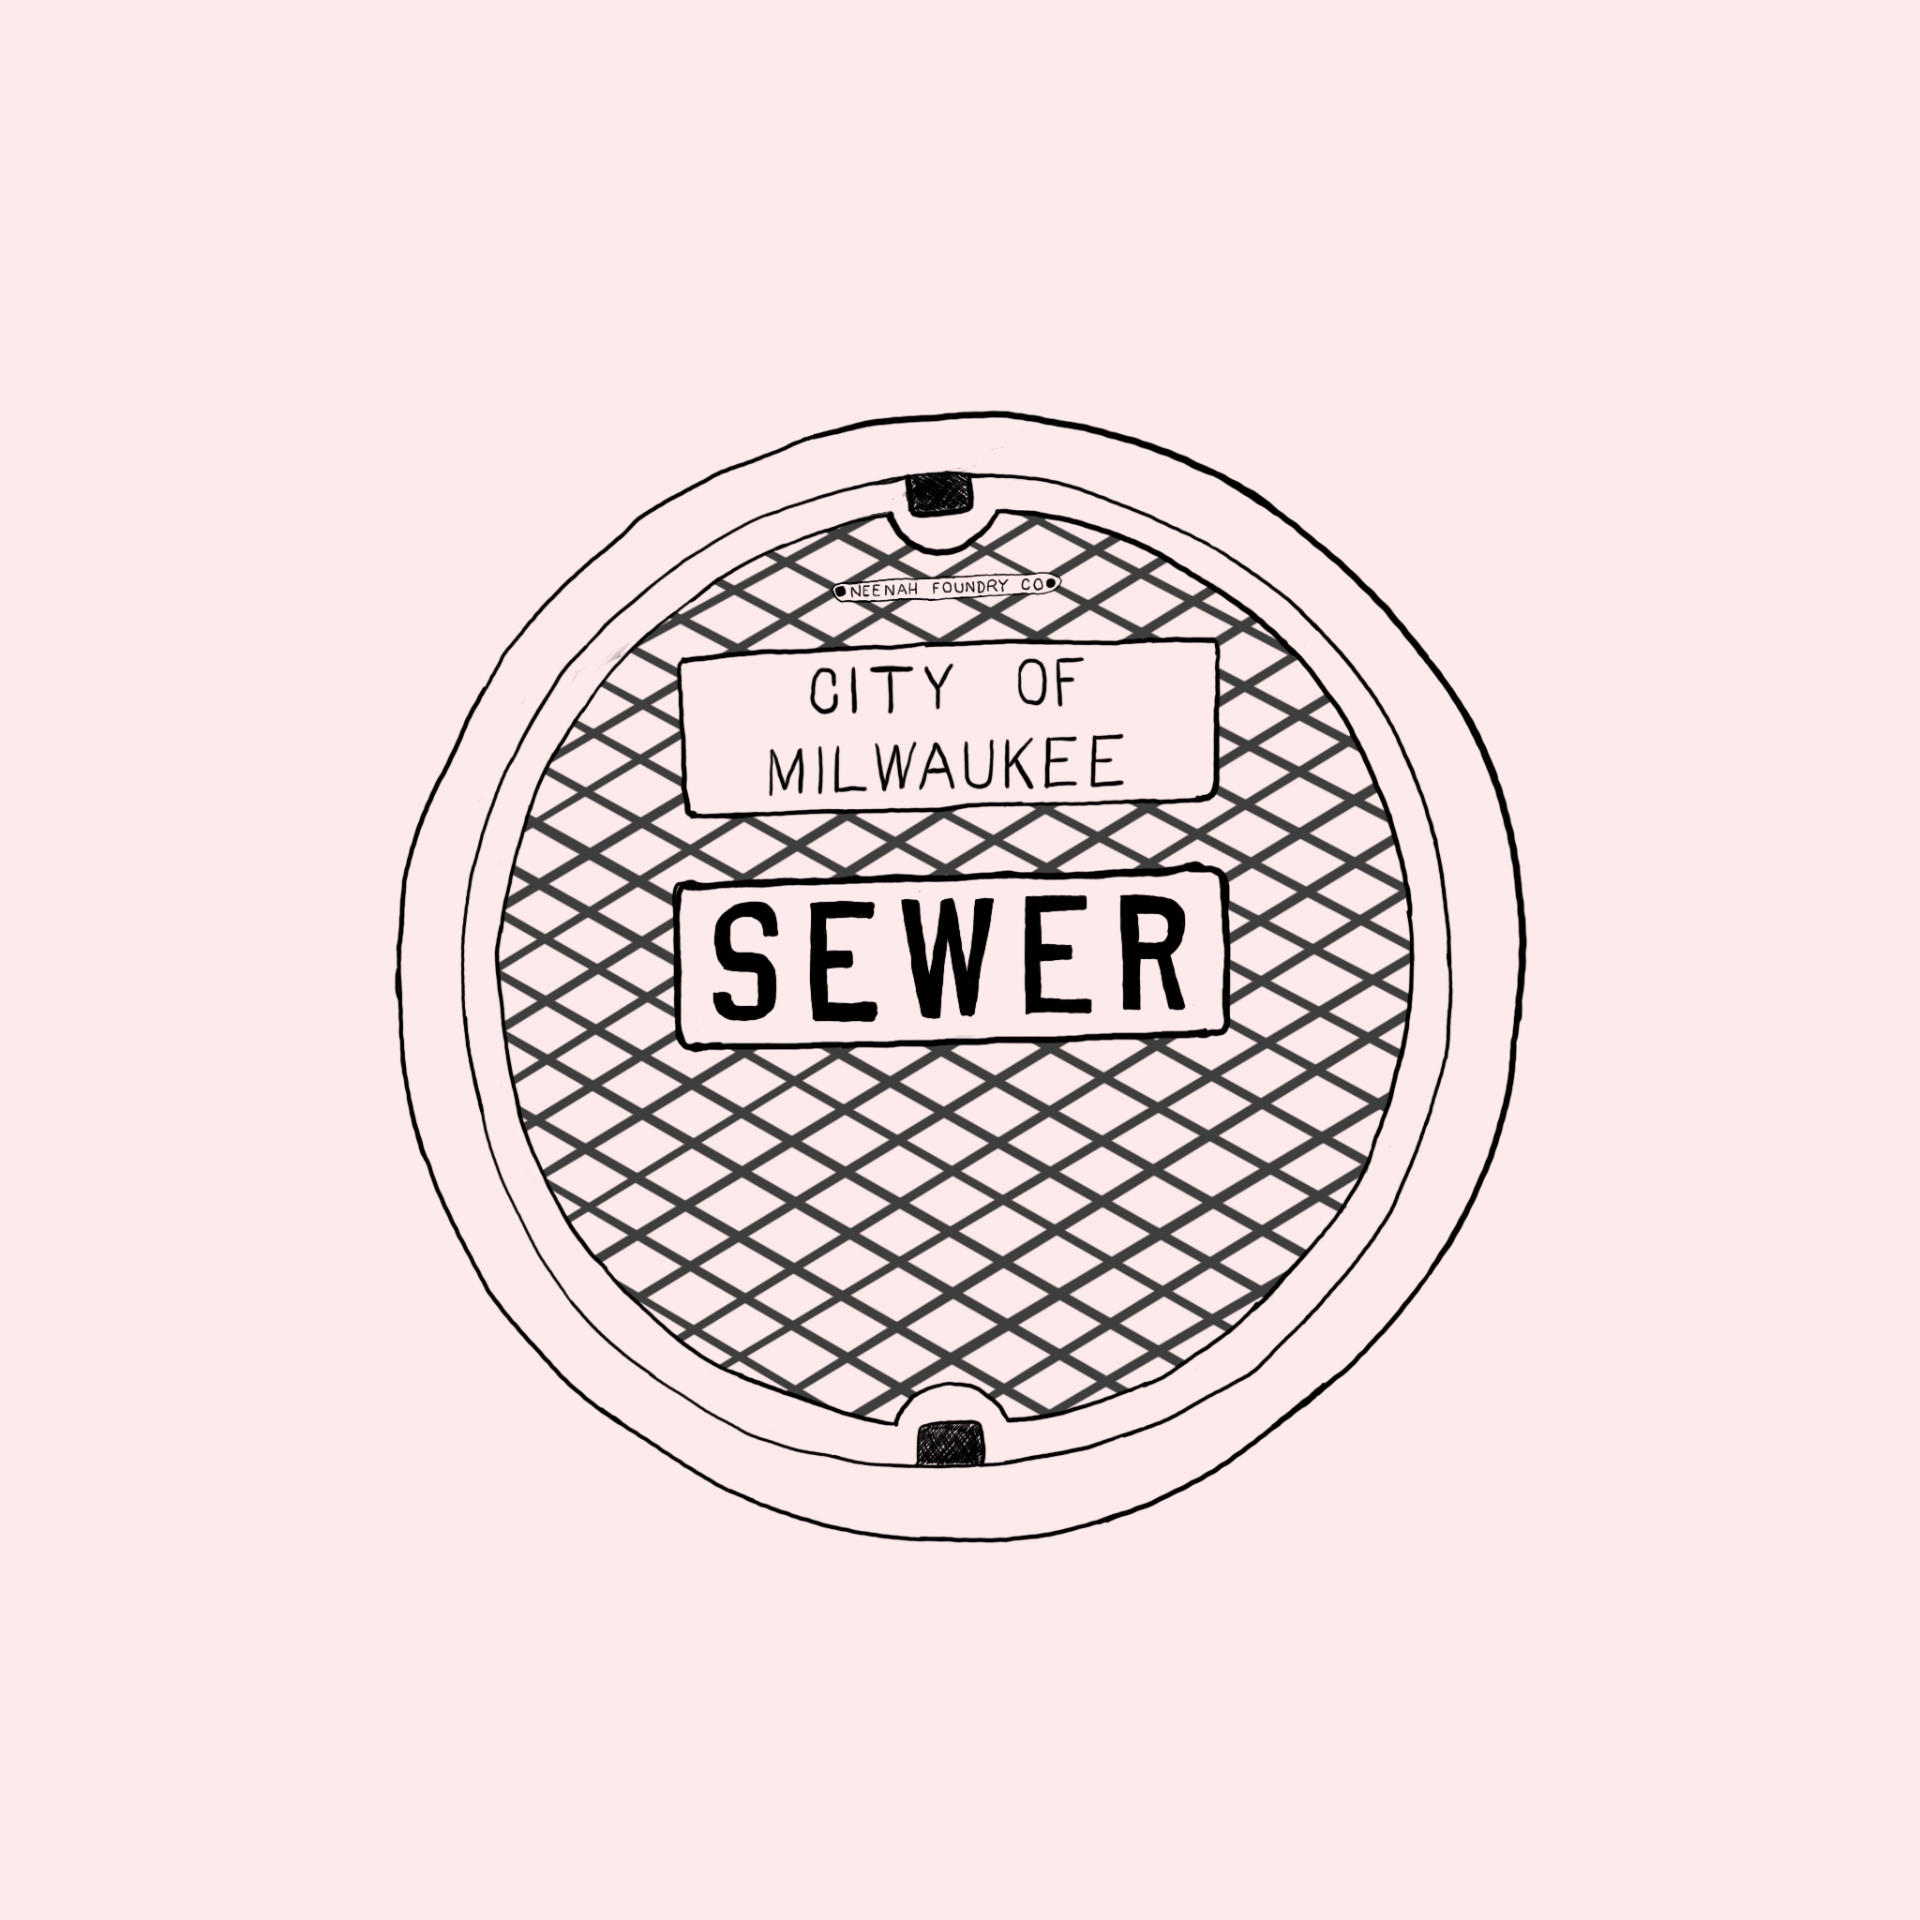
This is a classic from Neenah Foundry Co though I guess now they are part of Neenah Enterprises, Inc. (NEI). Times change and so do names but the evidence remains, forged in metal…
And yeah, I’ve been in sewers before, and I’ve also spent a lot of time in the underground. (Props to you if you get that reference.) Anyway, it’s flat, it’s gray, it’s boring, and it goes unnoticed by so many every day. I try to notice those sorts of things.
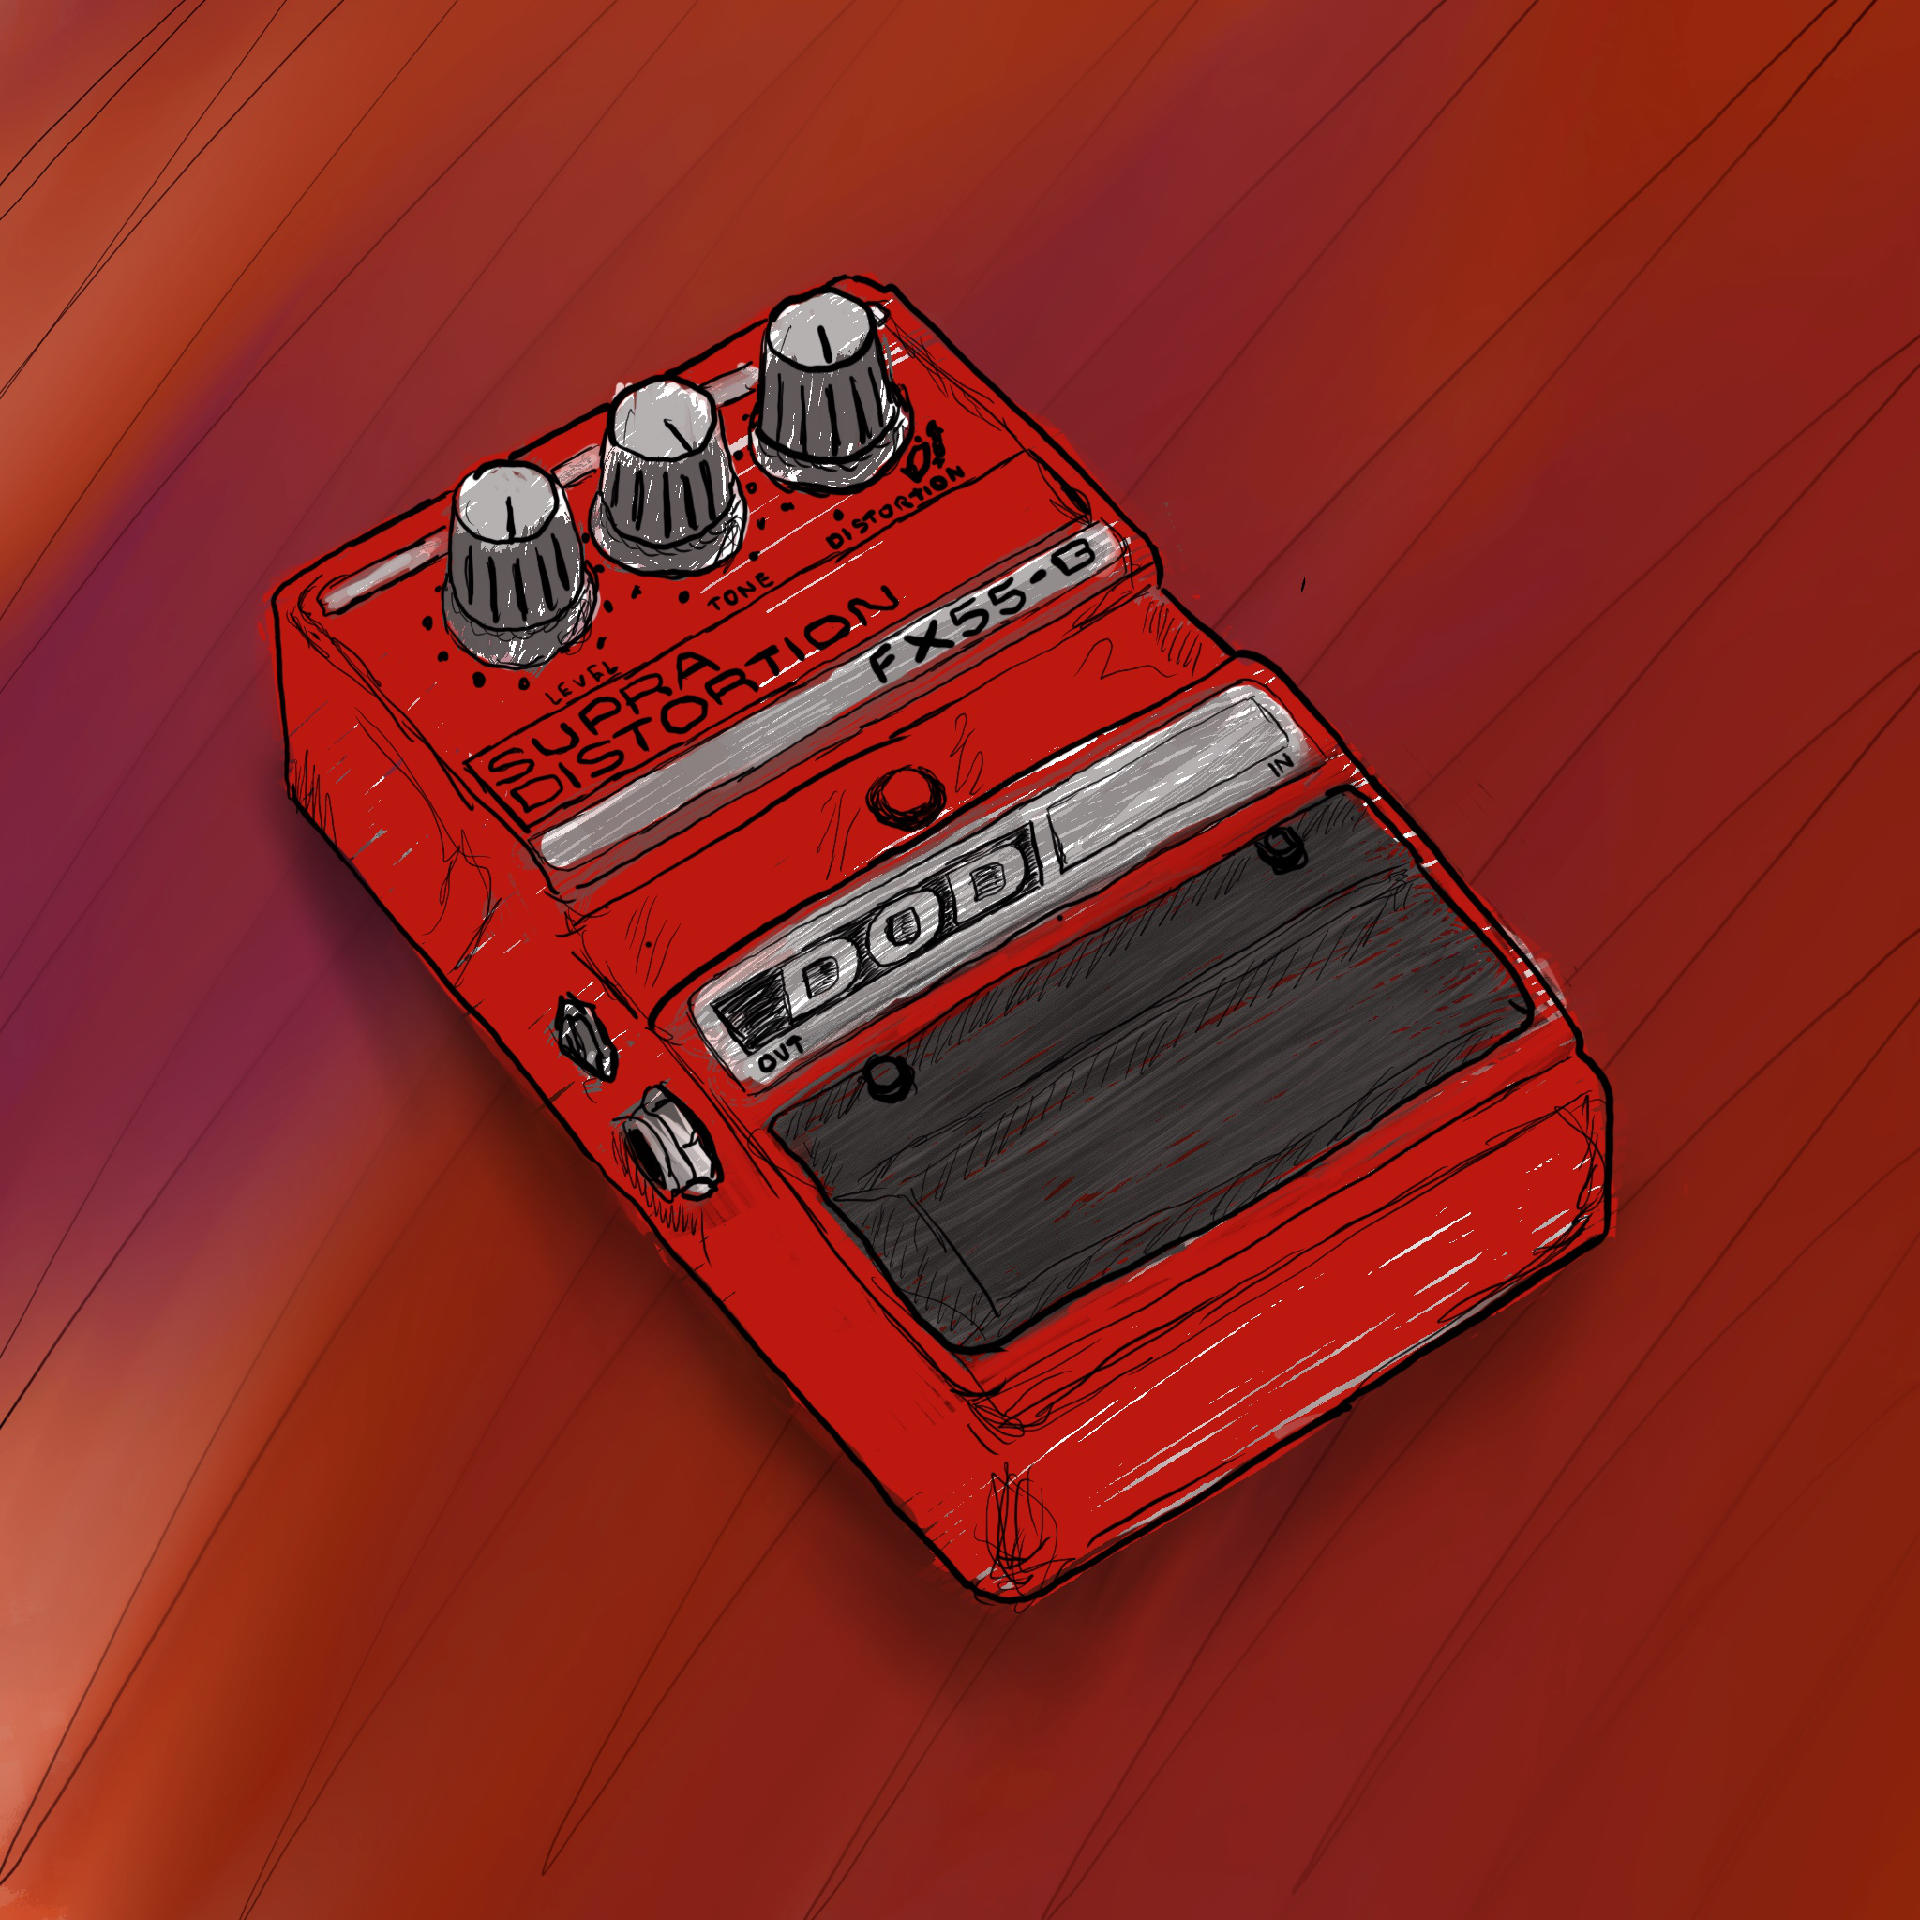
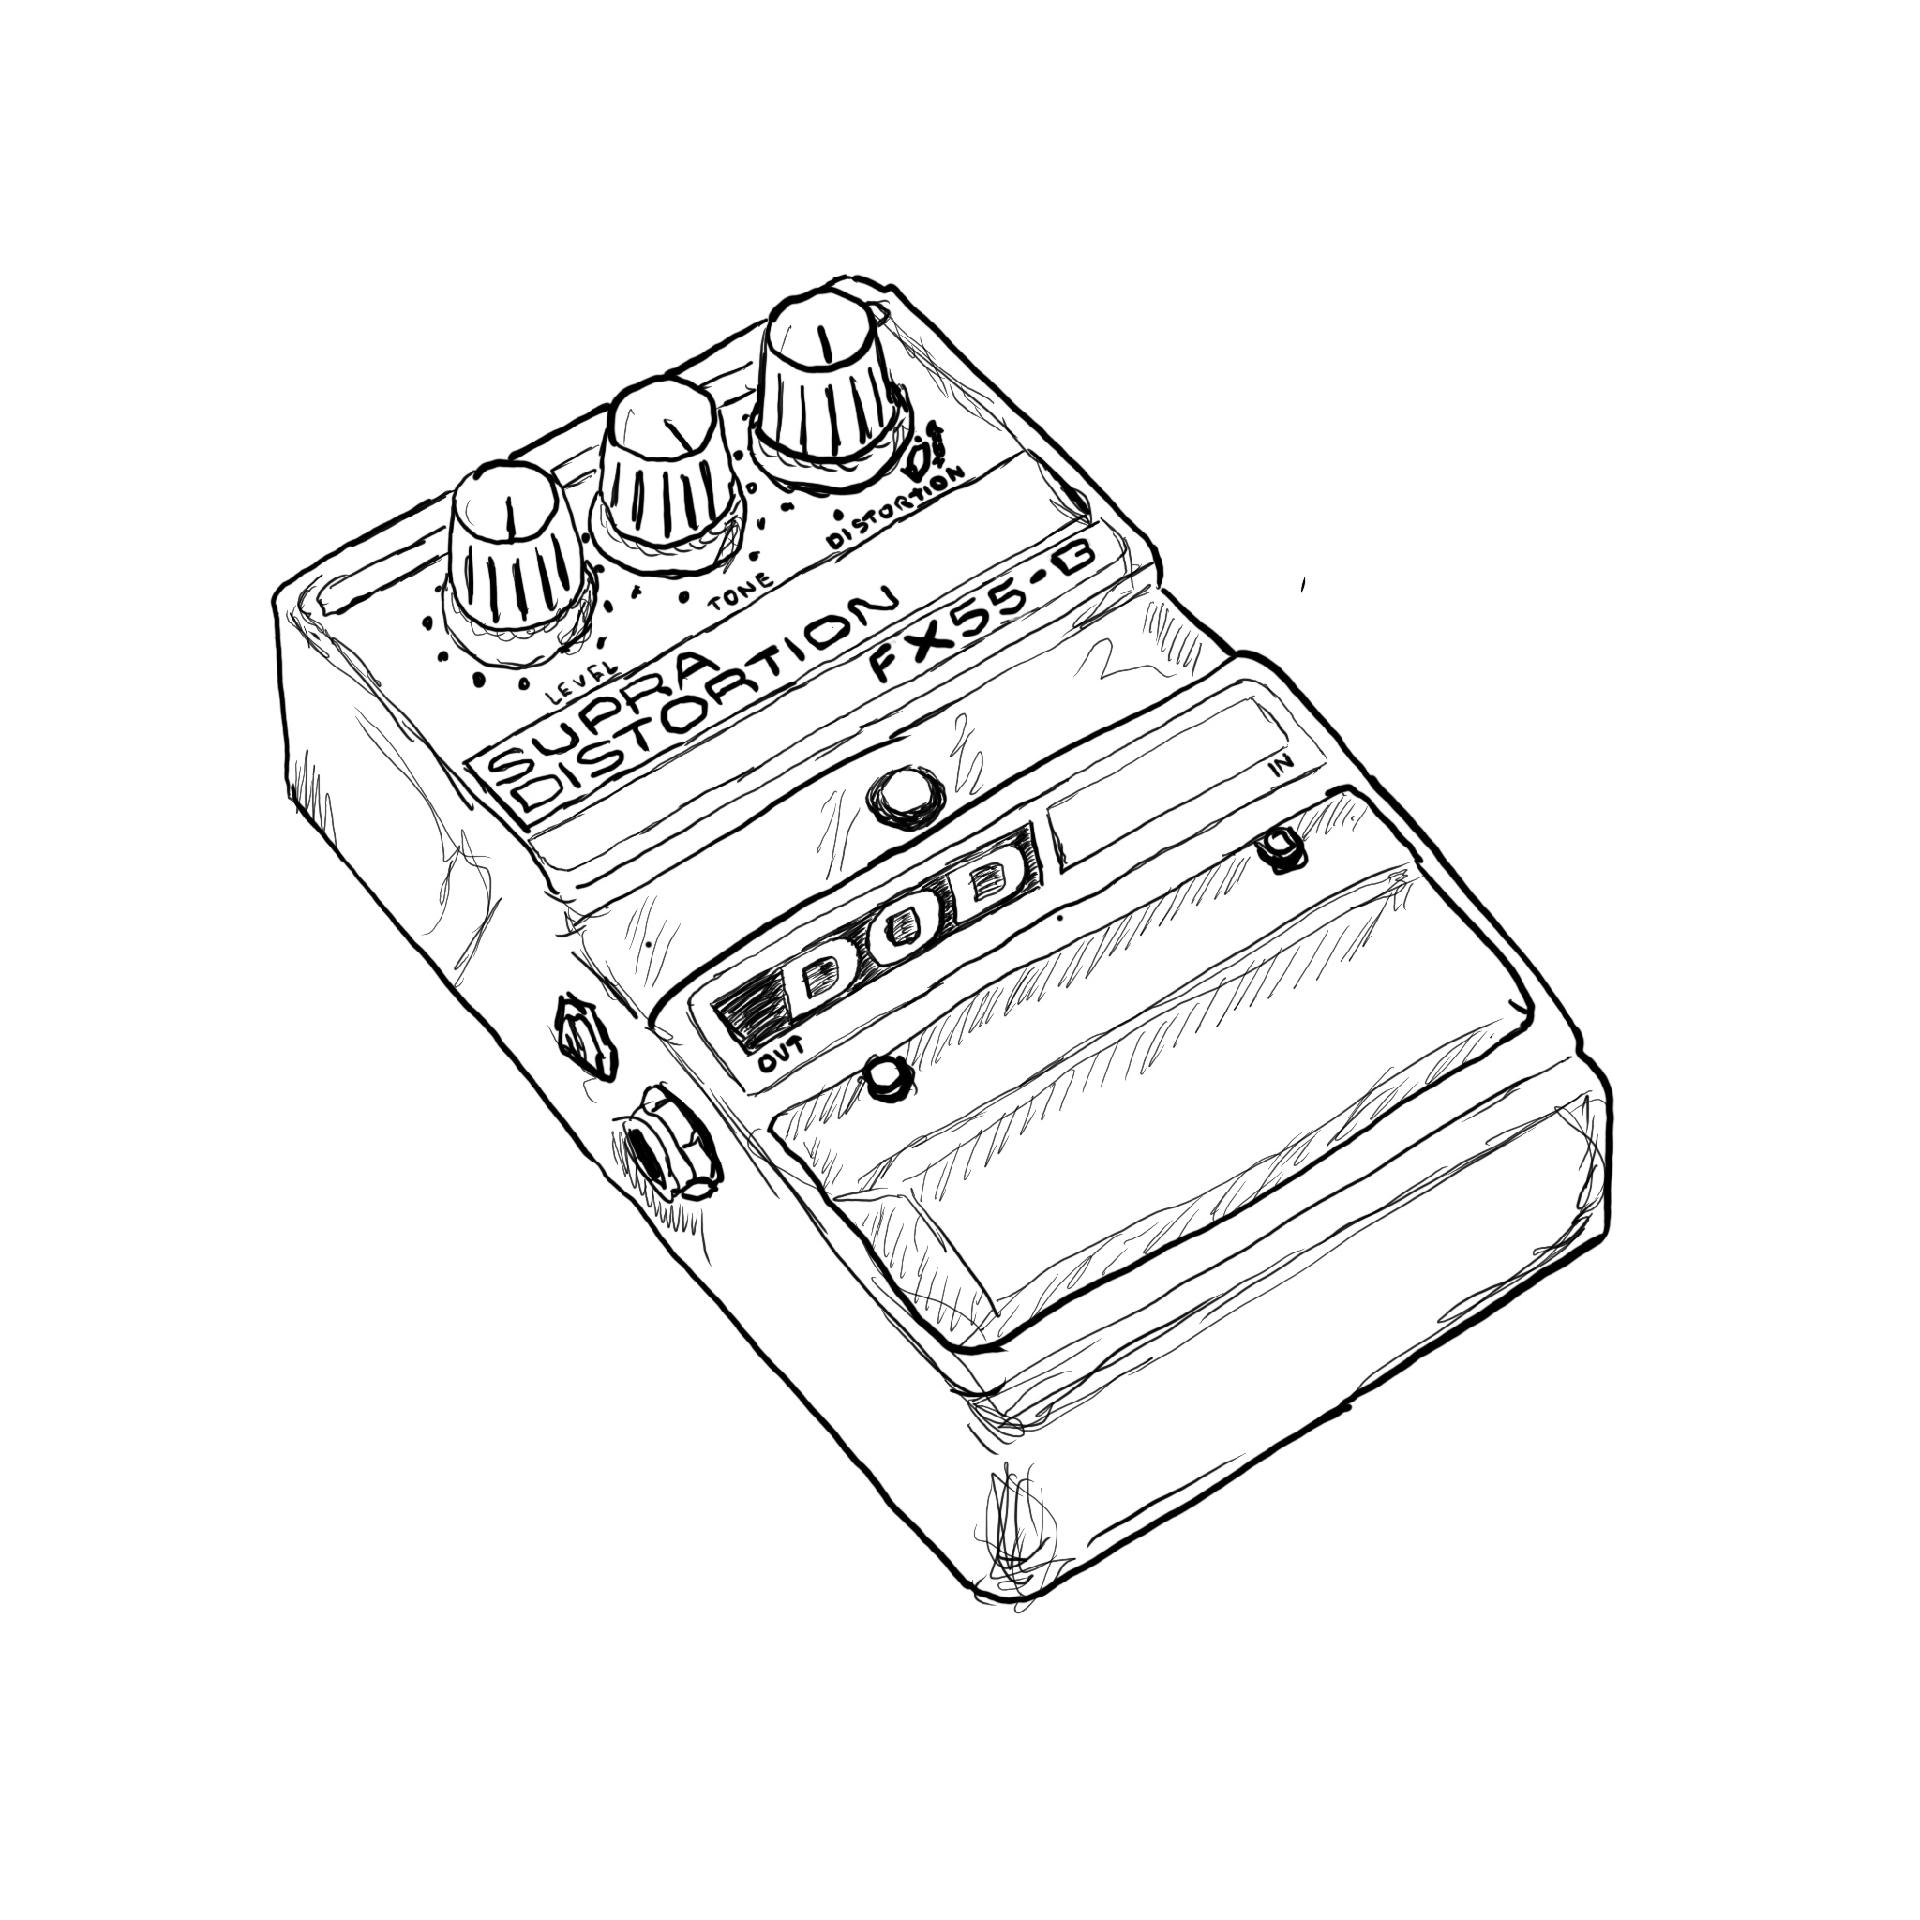
So three cheers to the Sewer Cover! Keep us from falling into the sewers on a regular basis. (And yes, yet again I used an Apple Pencil on an iPad along with Procreate.)
Note: This post contains an Affiliate Link. Read More.