Back in 2021 I became a walking guy, and I walked a lot in 2022 and 2023, and then in December 2023 I had an extremely bad case of plantar fasciitis so I had to take a break from walking. I managed to get a bike trainer stand thing and put my bike in the basement and tried riding it for exercise while I was suffering from extreme foot pain. I missed walking outside but it was also winter so basement biking was… okay. I’d usually listen to music or NPR or watch some streaming show.
As December 2023 rolled around I had a new issue, a neck injury and some weird foot/toe pain so I took a break from walking and any other exercise for a bit to do physical therapy (thanks Erin!) and now that’s all done. I still have the weird foot/toe pain so I was concerned about walking so hey, it’s back to the bike!
First things first, I had a flat tire which wasn’t an issue on the trainer but would be on the road. The last real ride I did was the Black is Beautiful ride in… 2020!? I took the bike into Emerys for a tune-up and tire repair. They did a good job, though they did call me to ask why there was a 7 gear sprocket instead of an 8 gear, and asked if I ever had issues shifting. I answered “I don’t know!” and “Yes…” so we got that fixed. I got the bike used, so someone must have done something weird along the way. Well, it shifts better now!
It’s been a long-ass time since I biked to work and I lived in the “country” then, and since my commute to work now would probably include Lisbon, Burleigh, or Capitol, I’m pretty sure I’d be risking my life so for now I’ll stick to the car for getting to work.
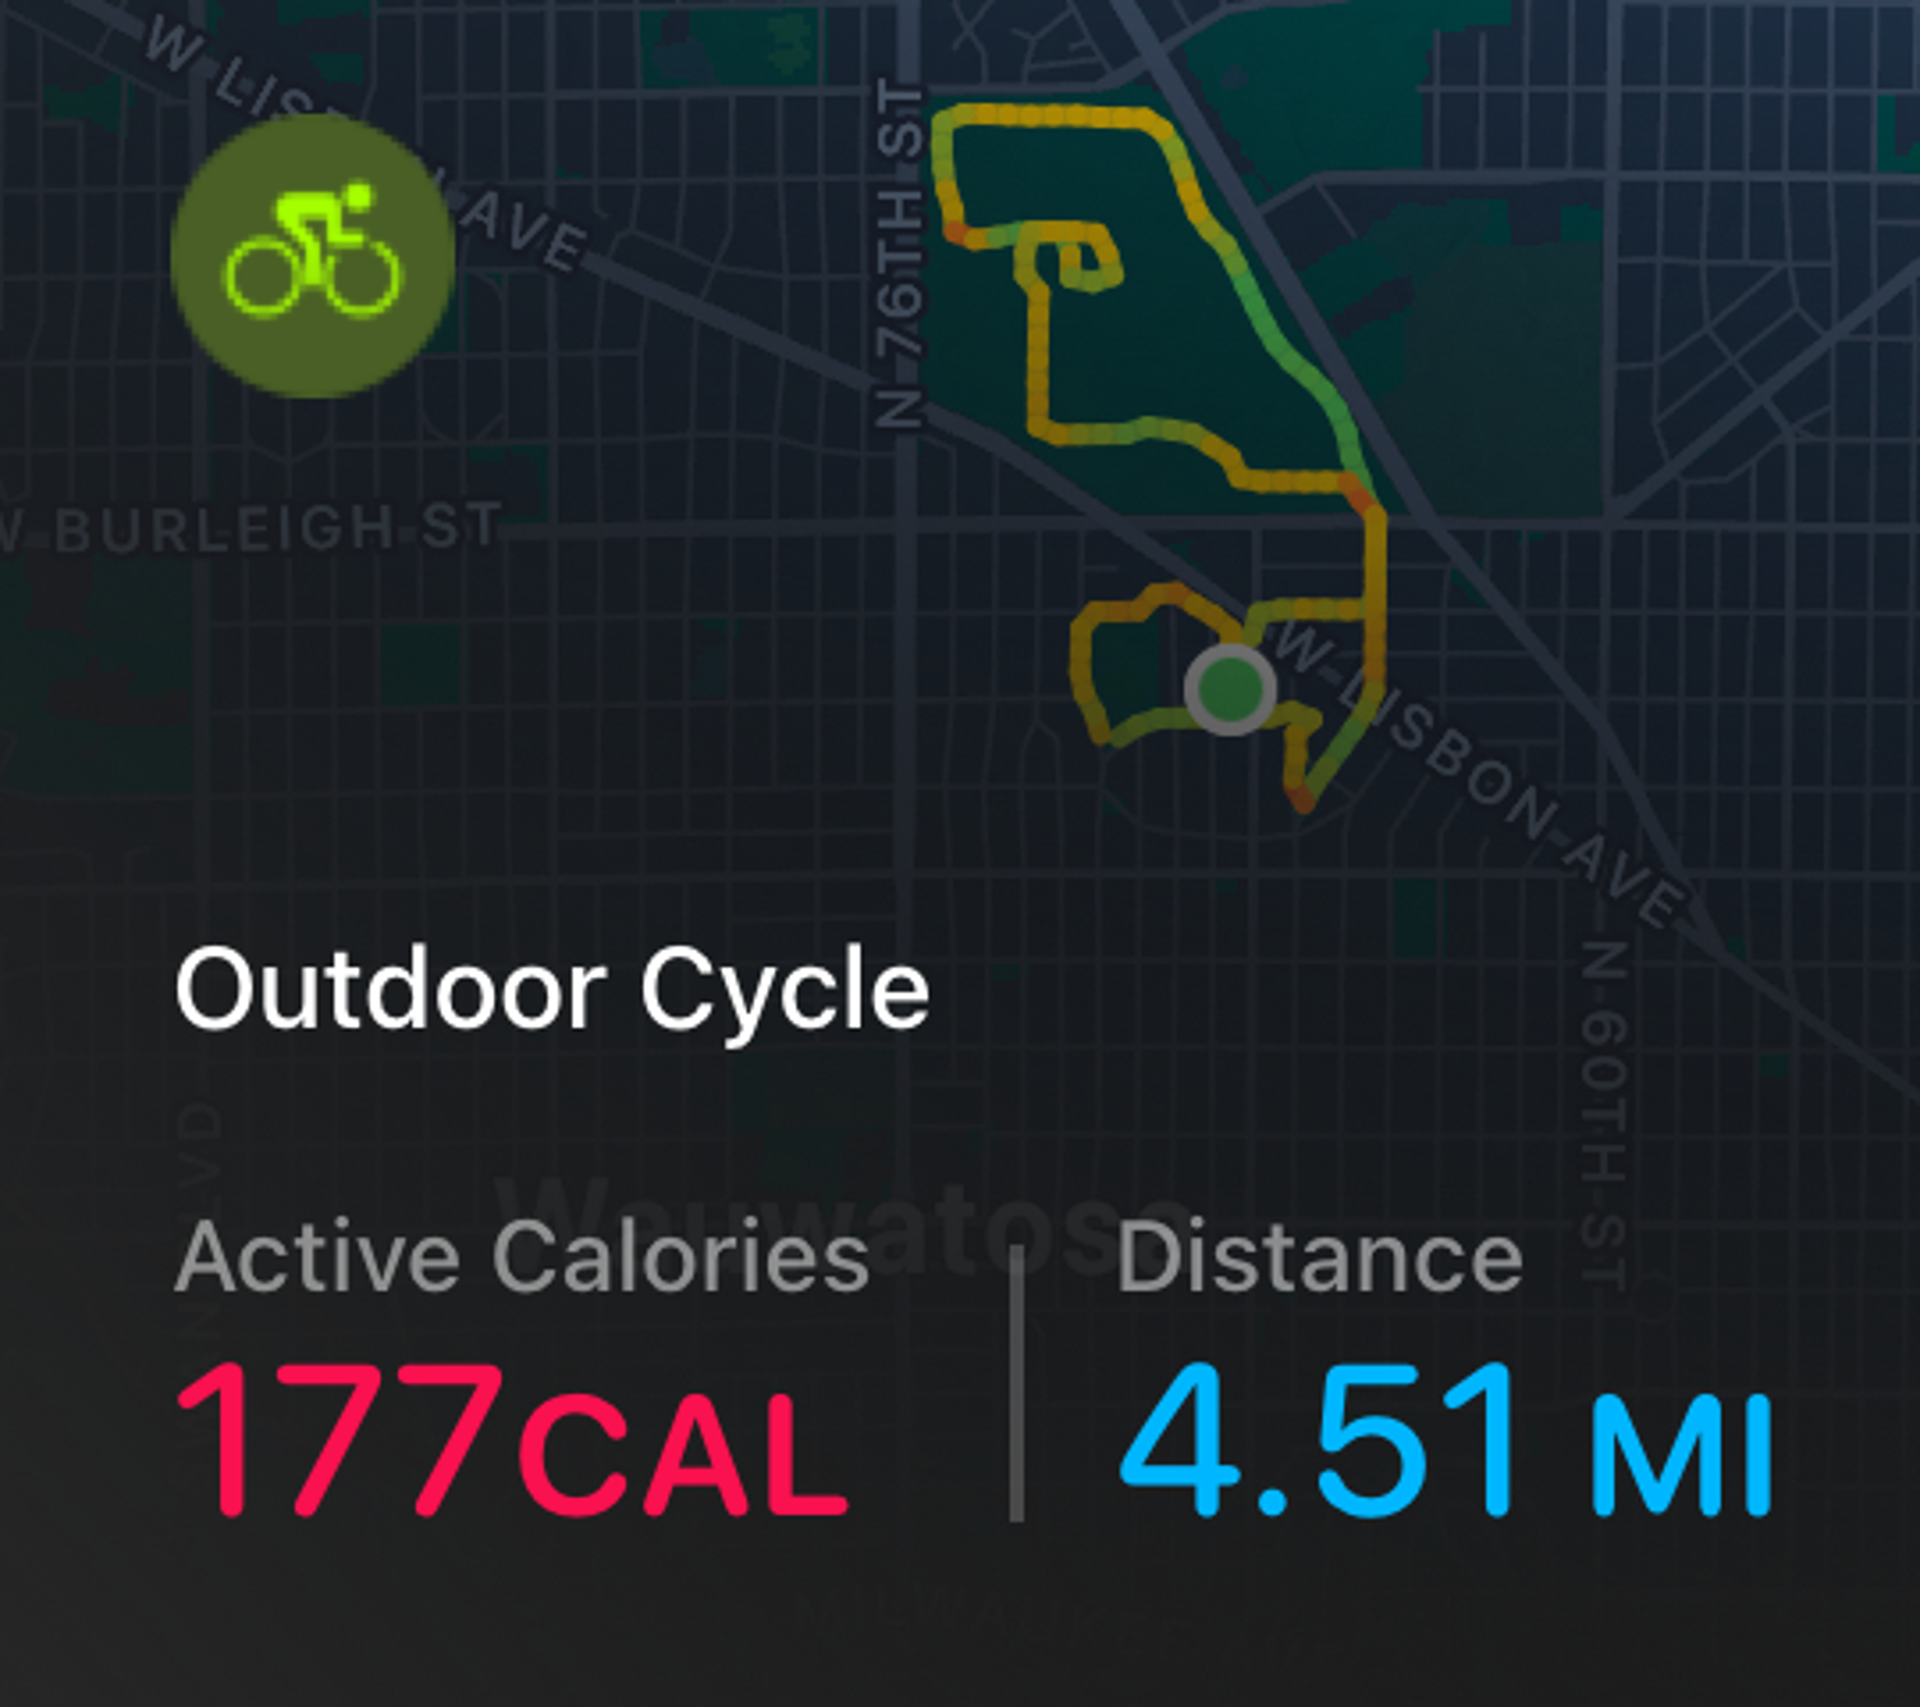
Anyway, to make a long story short (which is probably too late) I’ve started riding again. I’m typically out around 7am most mornings and doing a few miles, and it feels good. I’m doing this for health and fitness since I hate going to the gym and without the daily walking I just don’t move enough.
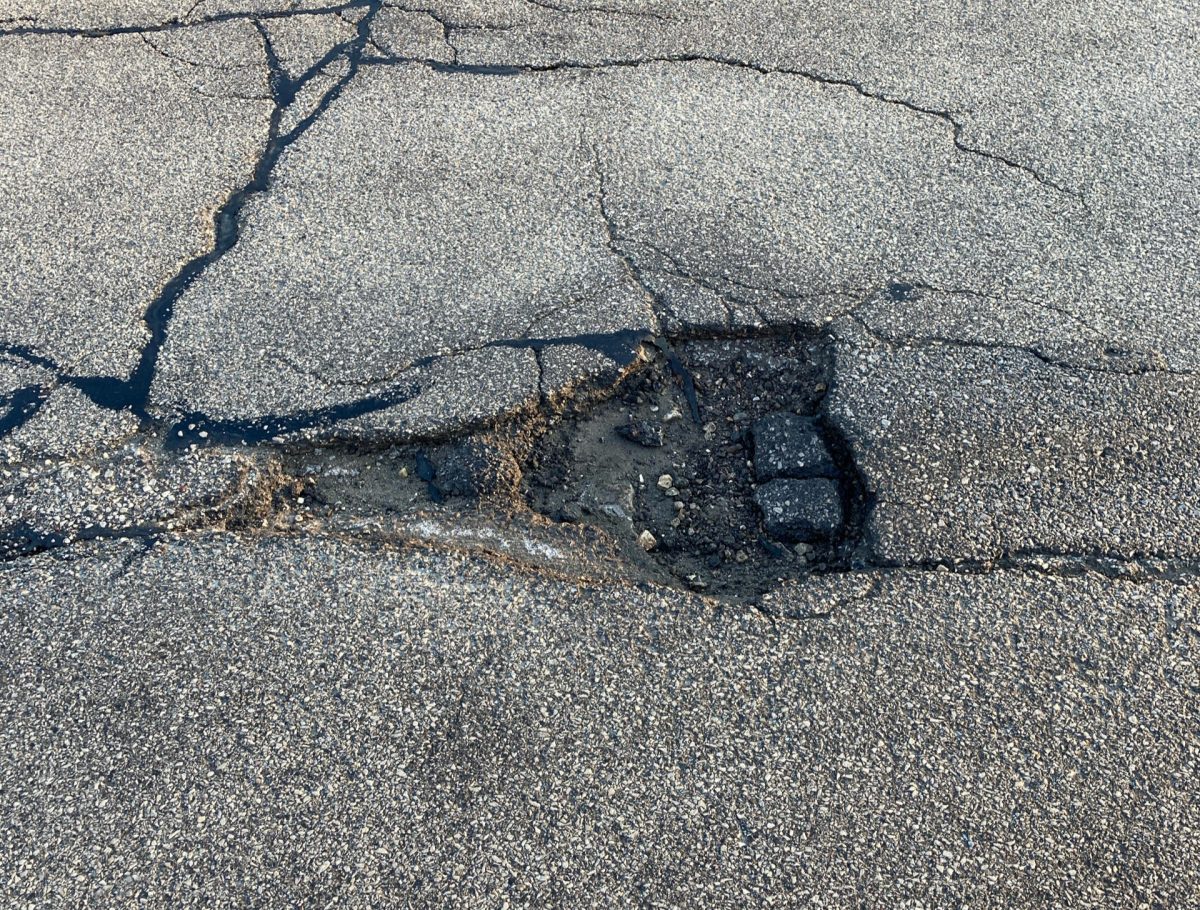
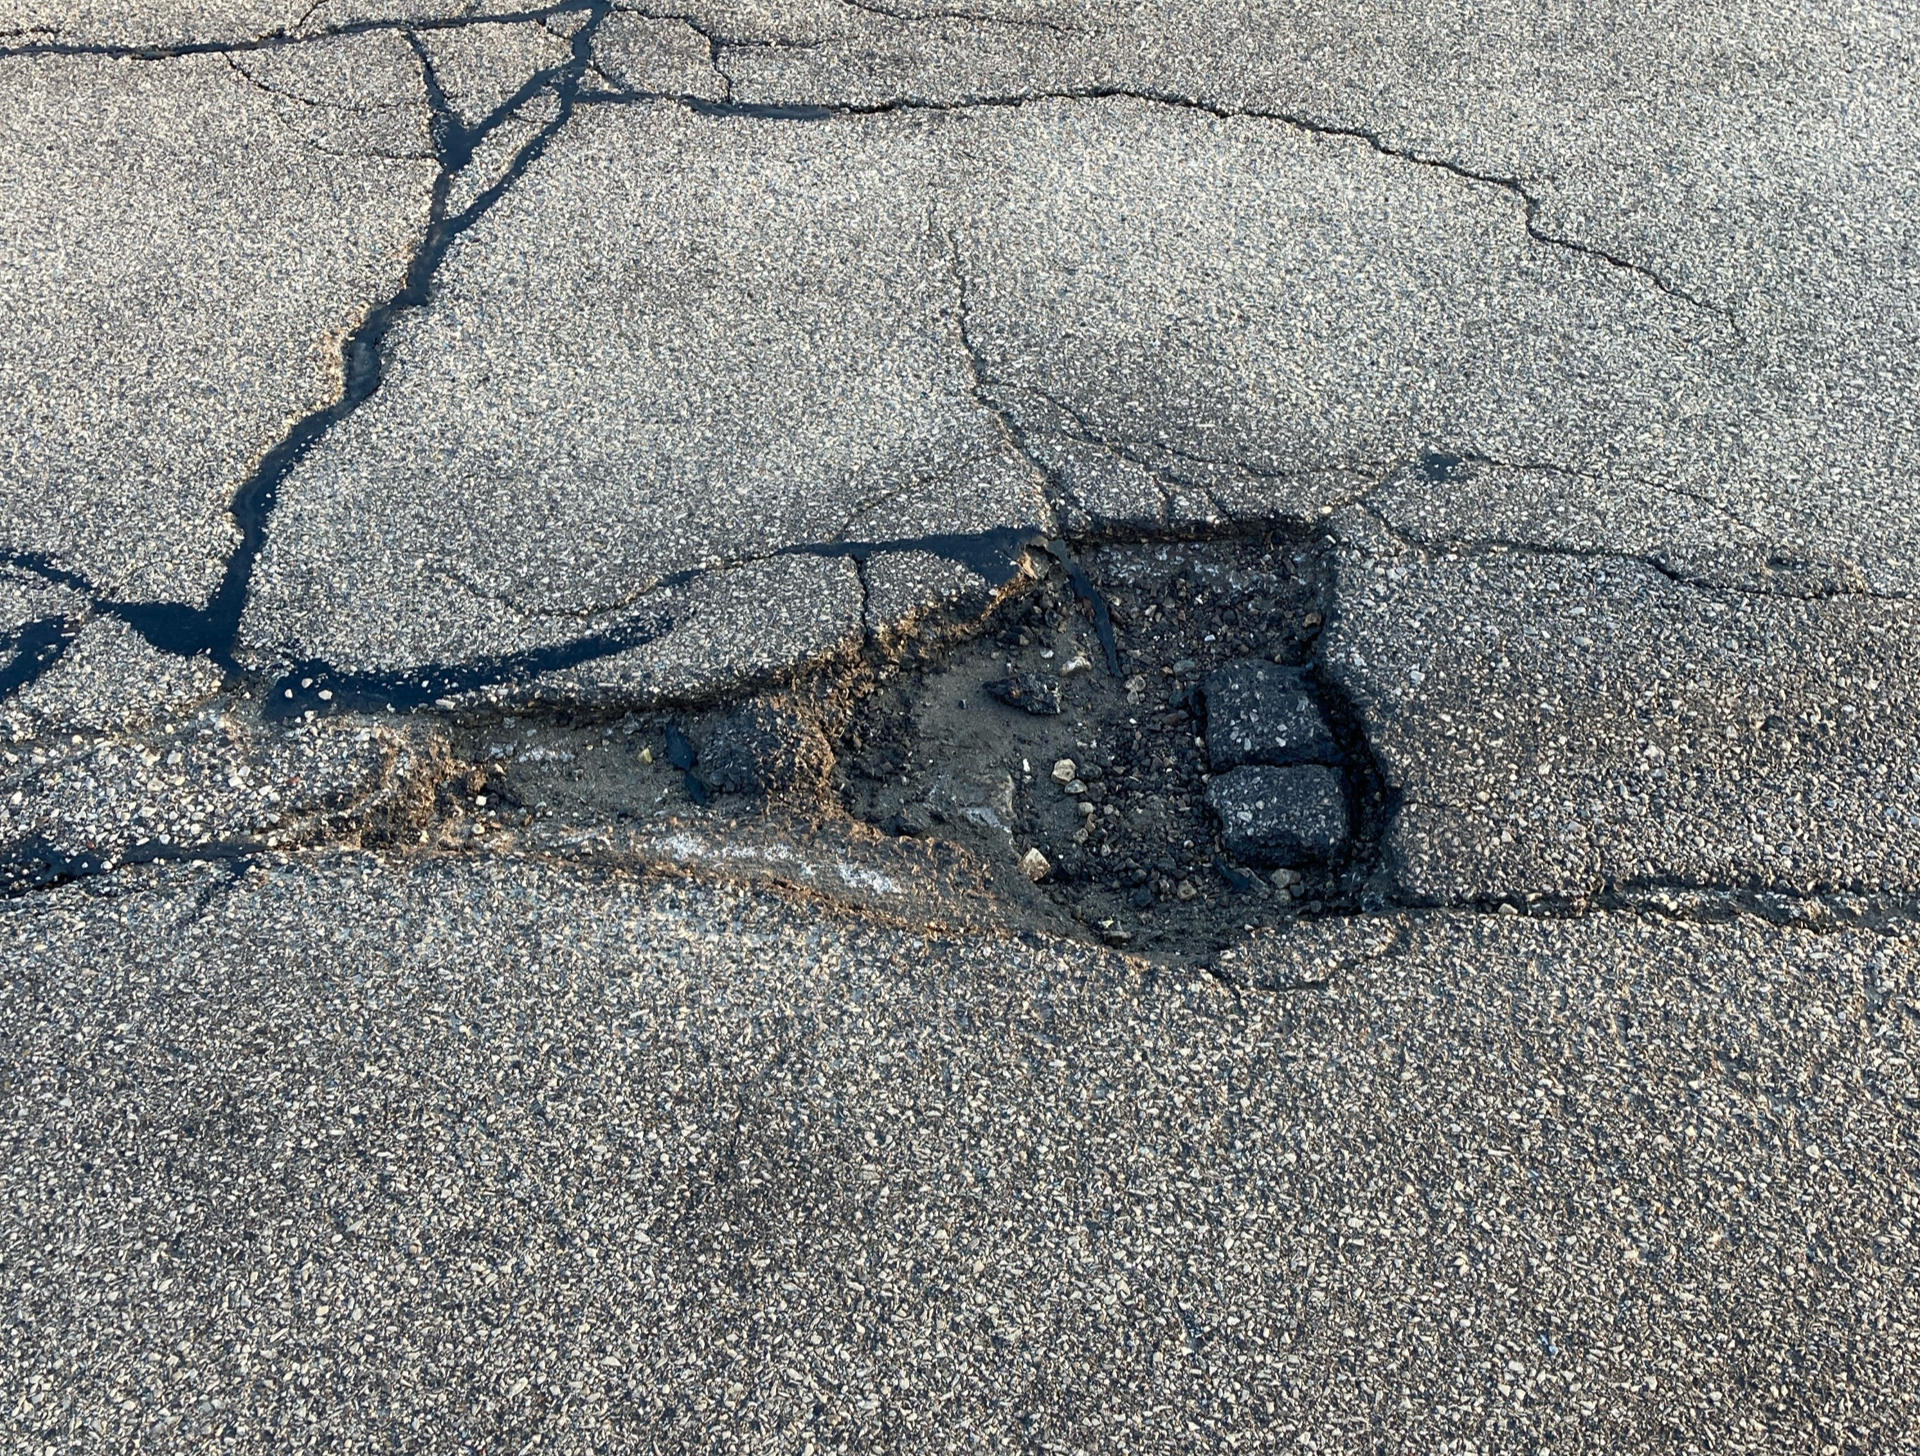
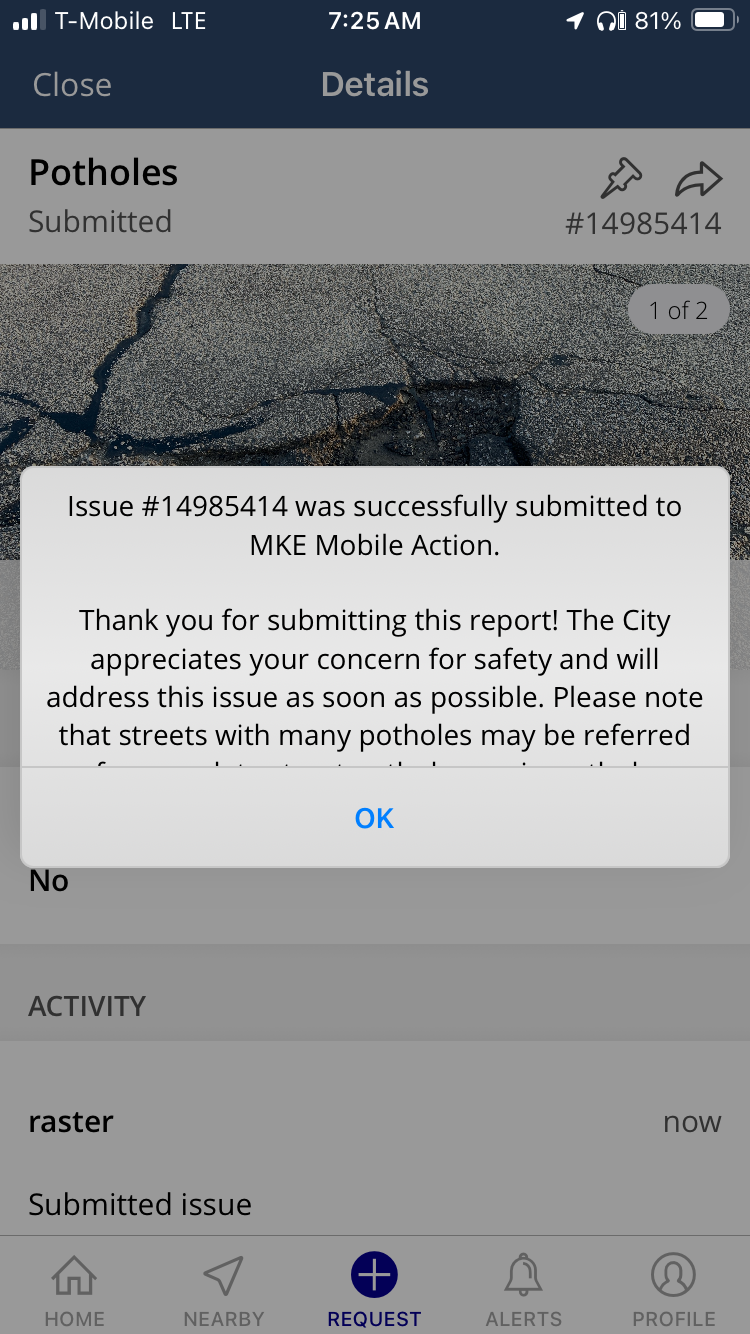
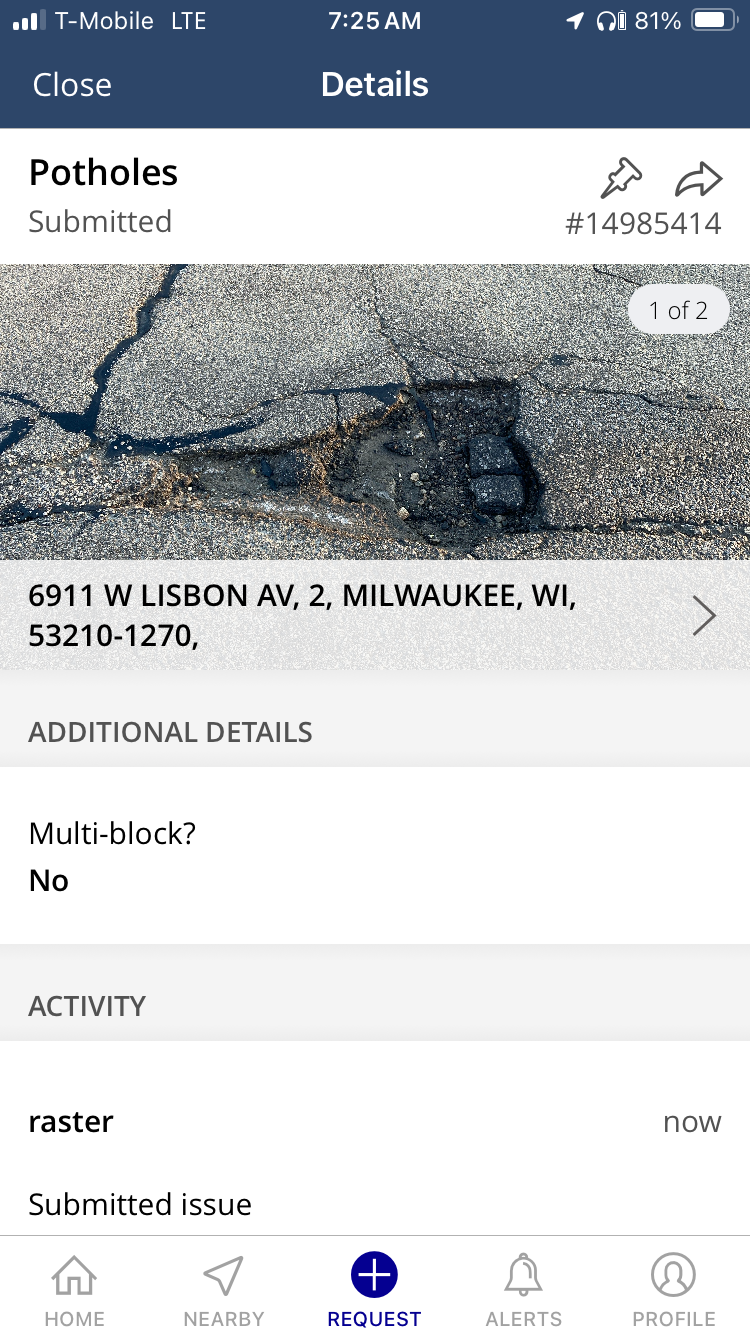
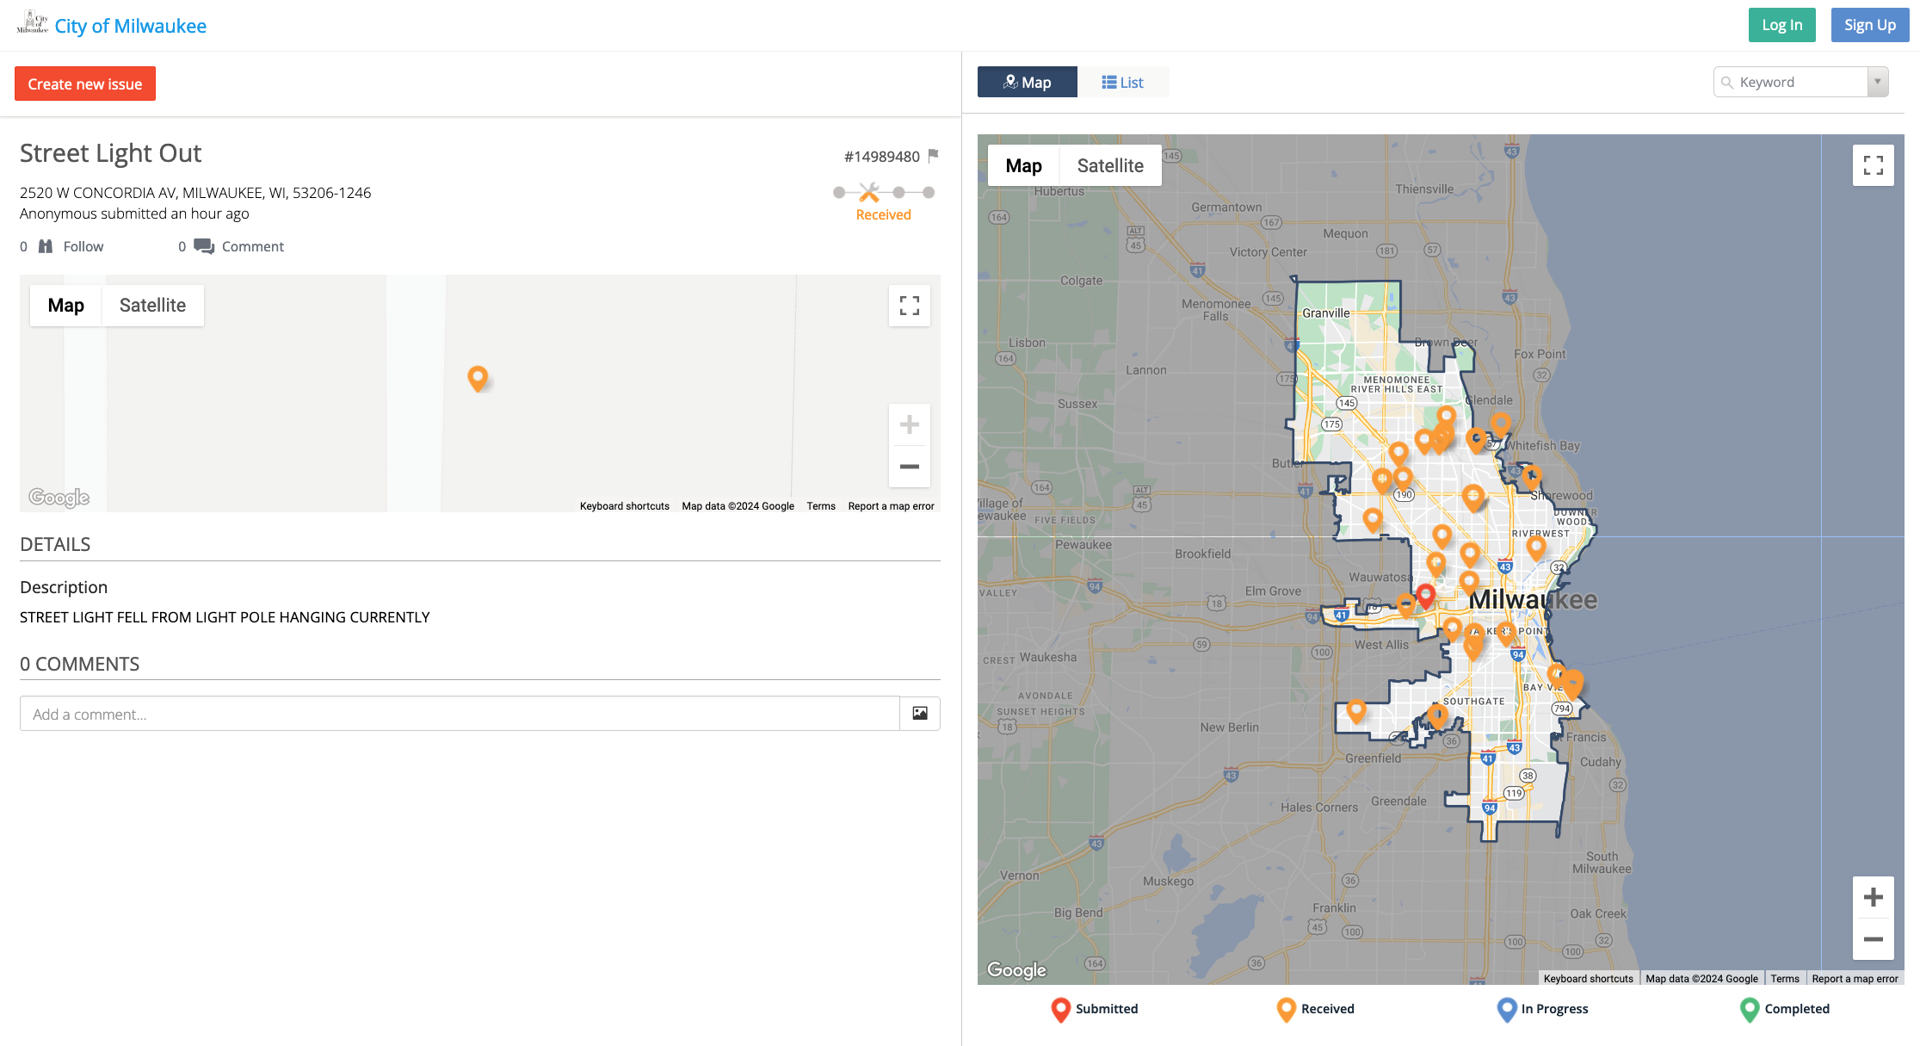
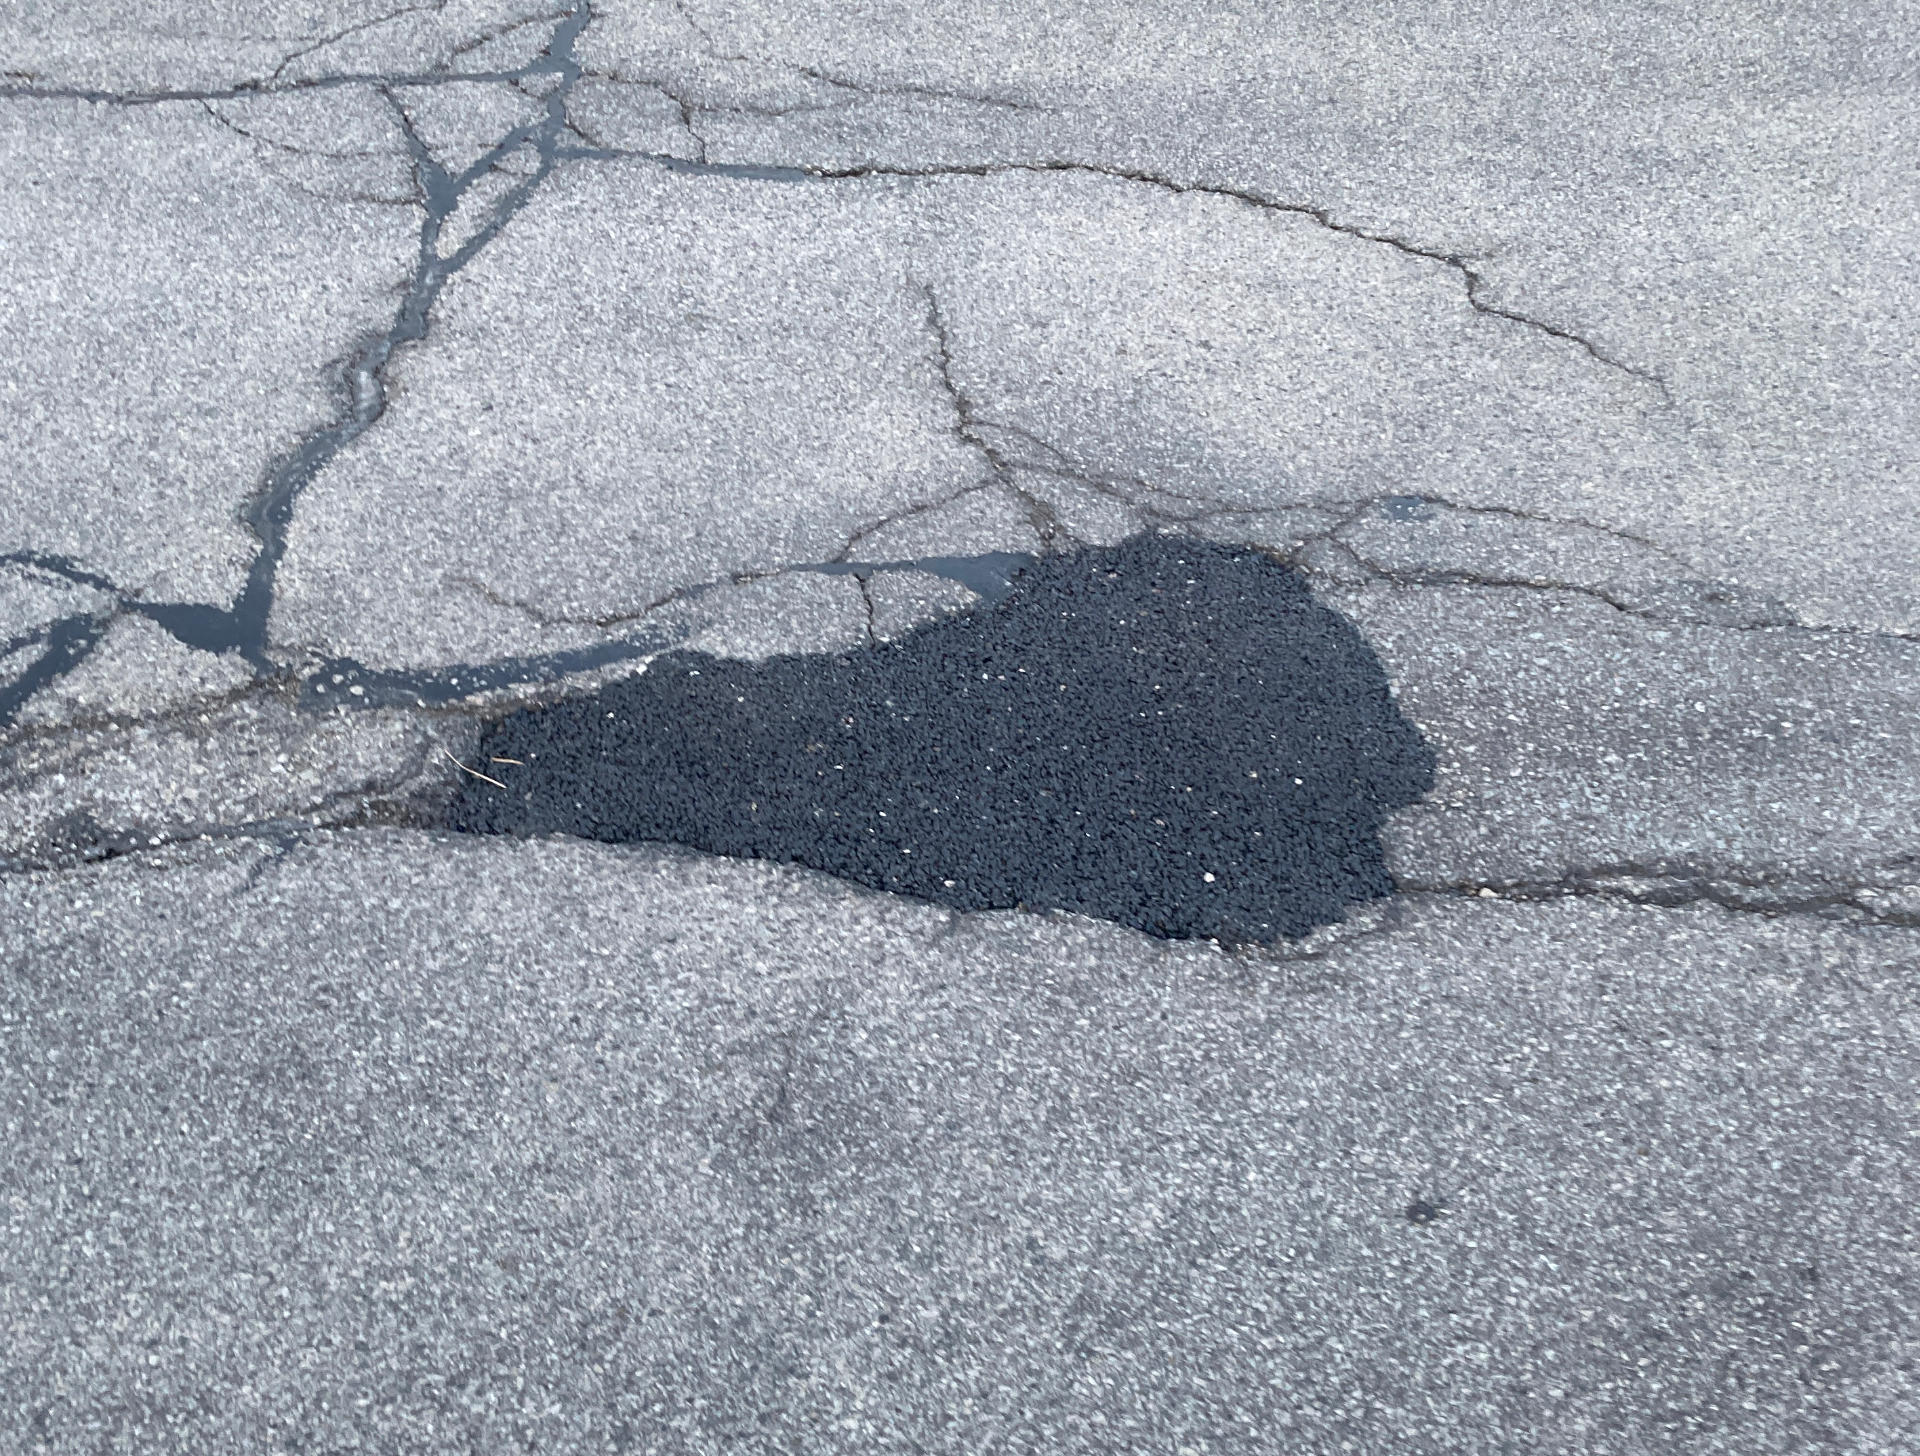
Oh, and remember my post about reporting potholes to the city? Well, guess what? Biking into a pothole is even worse that driving over one! So if I’m out on the road and see a pothole I hit the brakes, snap a photo, and submit it.
(Oh shit, did I become and urbanist!?)