Hey, that’s it. It’s all over. (See Part I, Part II, and Part III and Part IV.) There were 31 days in January and I made 46 pieces of art in that time. I am pleased. I don’t love everything I’ve made, but as a creative I never have. I don’t think there’s anything I’ve taken on where I absolutely love every piece and think it’s my greatest work. Be it songs, photos, videos, writing, whatever… Which brings up a good point. Does making a lot of work prevent you from making fewer pieces of really amazing work? Well, that’s a question best left to art pundits, of which I am not.
But maybe it’s that desire to continually make things you love that drives us. I feel like there is nothing I have mastered, and so we go on. We try again, we try new things, we do not give up and call it a day. We keep going.
A decade ago I had this idea (dream?) of teaching art at the university level. I even did it for about a year and a half. It was a lot of fun, but it also wasn’t my full time job, which might be why it was a lot of fun. Anyway, I did not pursue it, and in time I became totally okay with that. In fact, it’s probably for the best.
For me, making art is a hobby, and fun thing to do, something where I am in control of what I do and not beholden to clients or bosses or institutions that sign my paycheck. It’s for me. That said, I do love when I can make art for people, or art that people feel a connection to.
I’ve seen a number of academics I know who teach art get all into AI and NFTs and other stuff I hate that I consider shit. For some of them, I think they have no choice. The institutions that employ them may expect or require them to learn and teach such things. Or they may feel pressure to stay relevant in a changing world. Students may also be expecting to learn about AI art. As an independent artist I can just say that I don’t give a fuck and no one can tell me what to do. It’s sort of freeing…
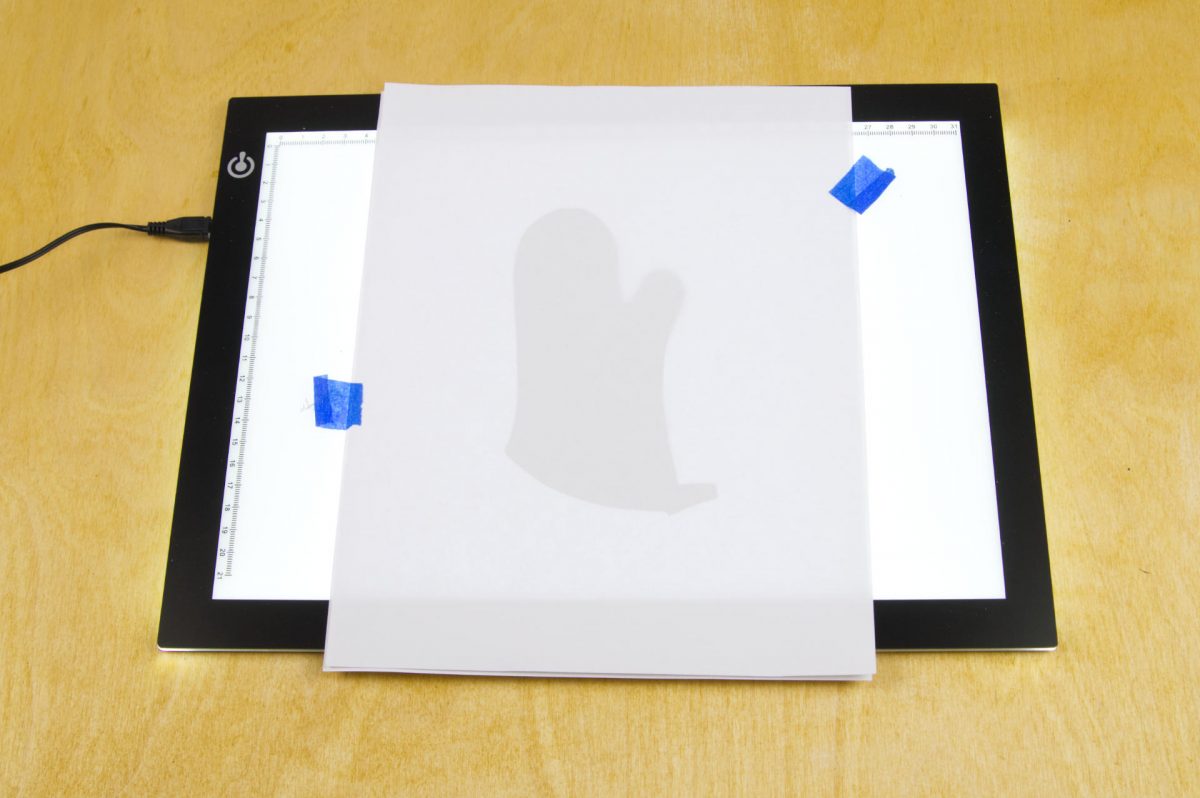
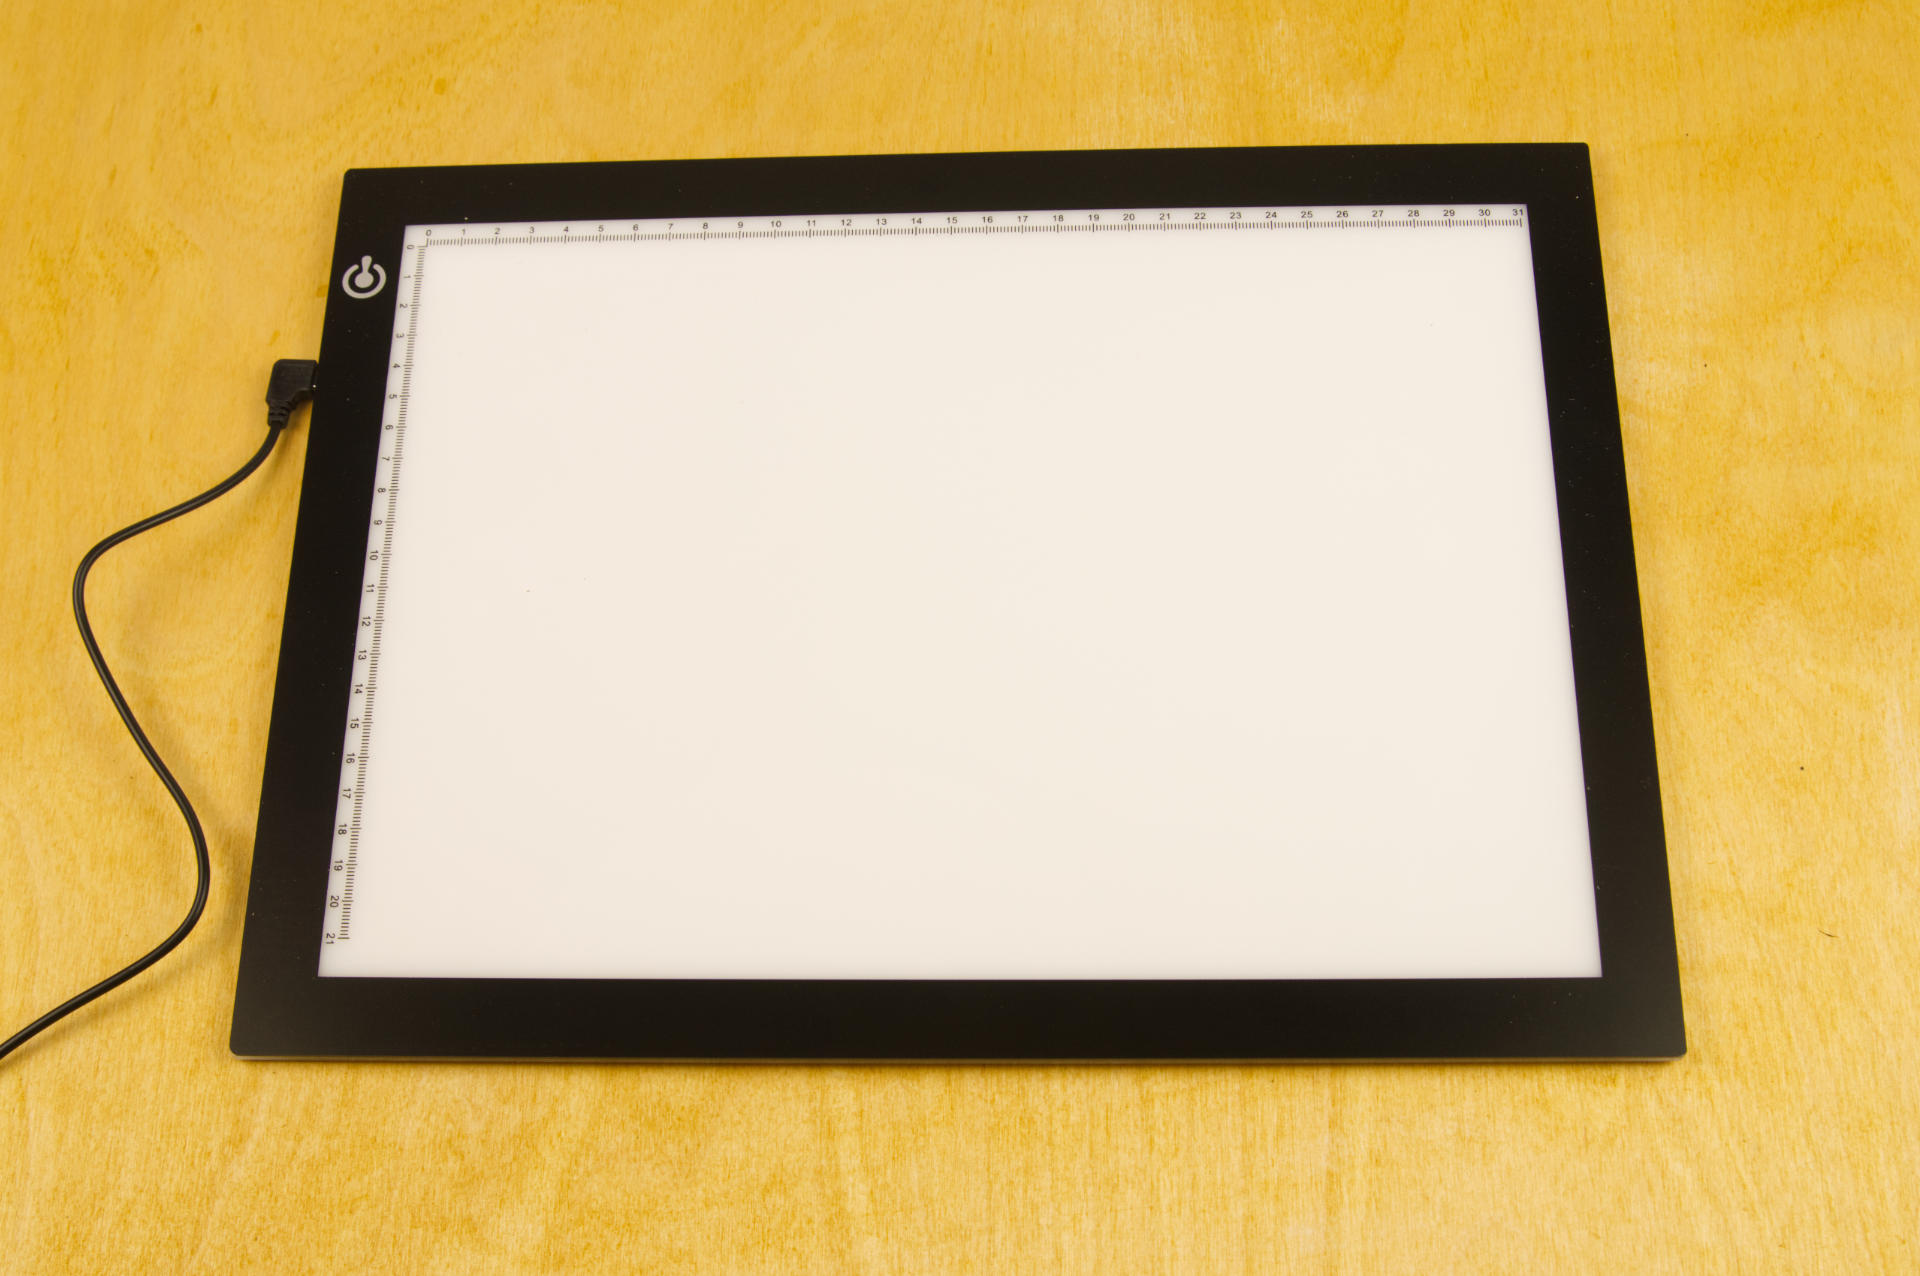
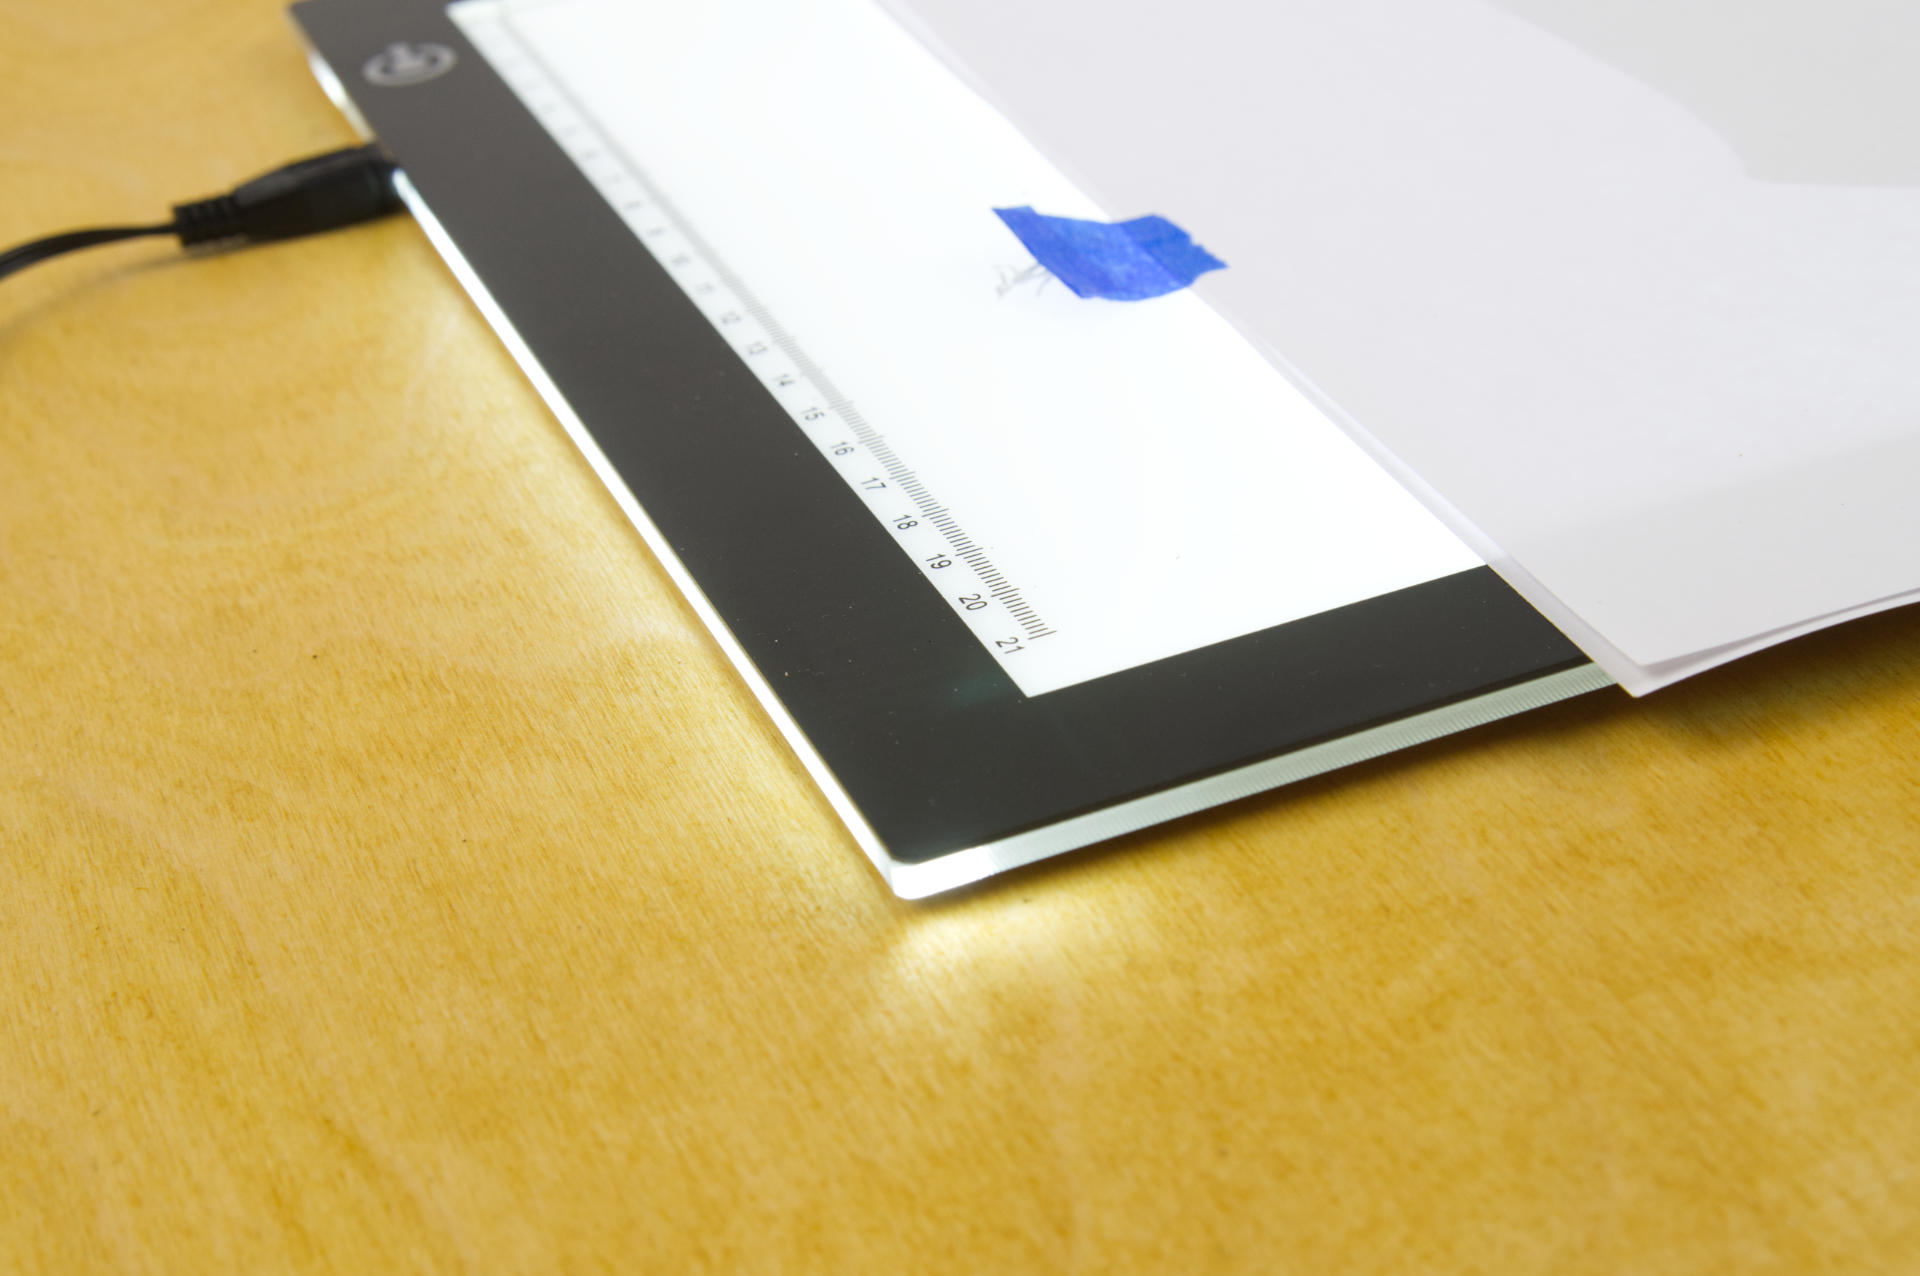
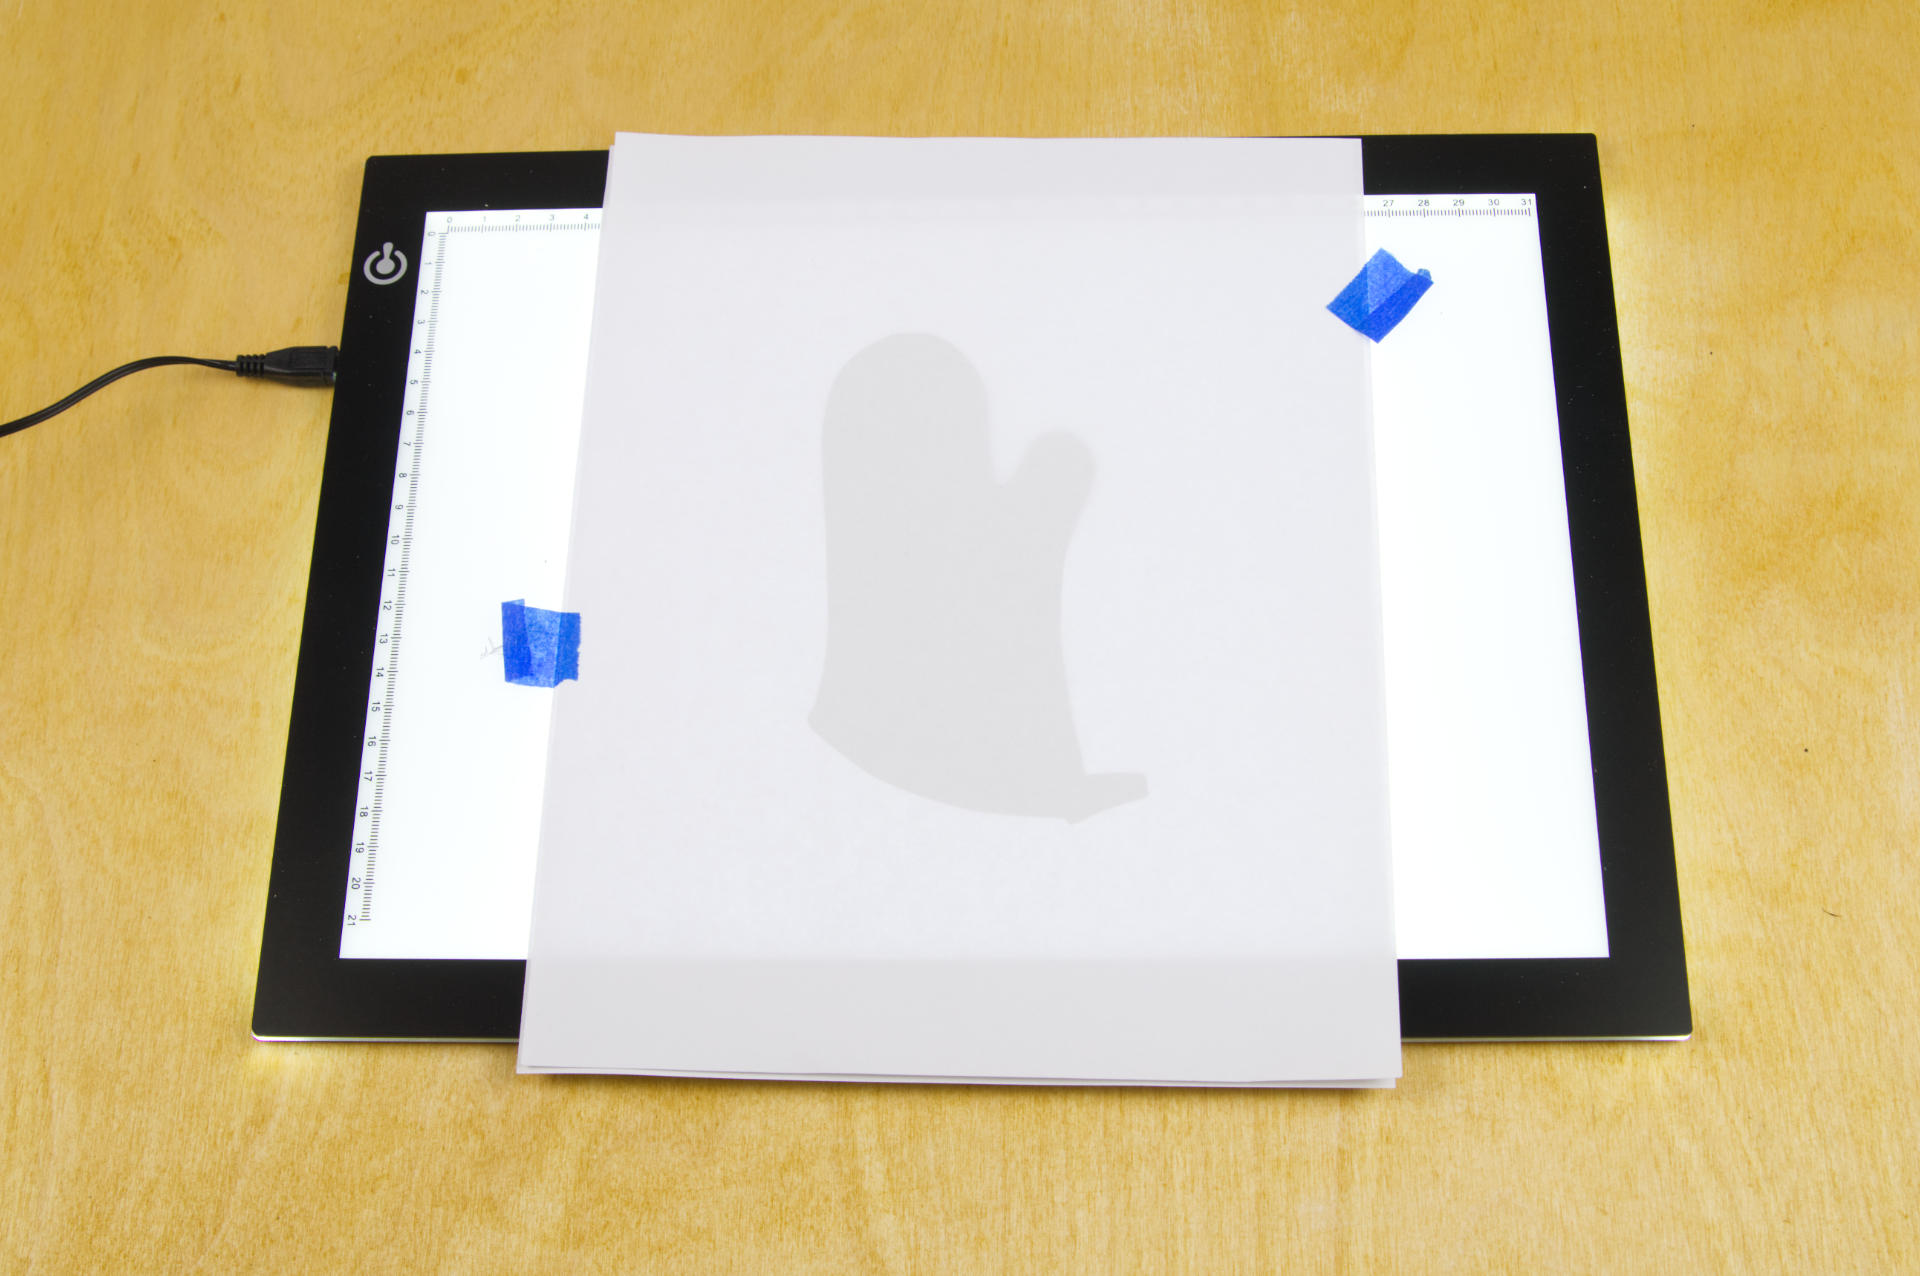
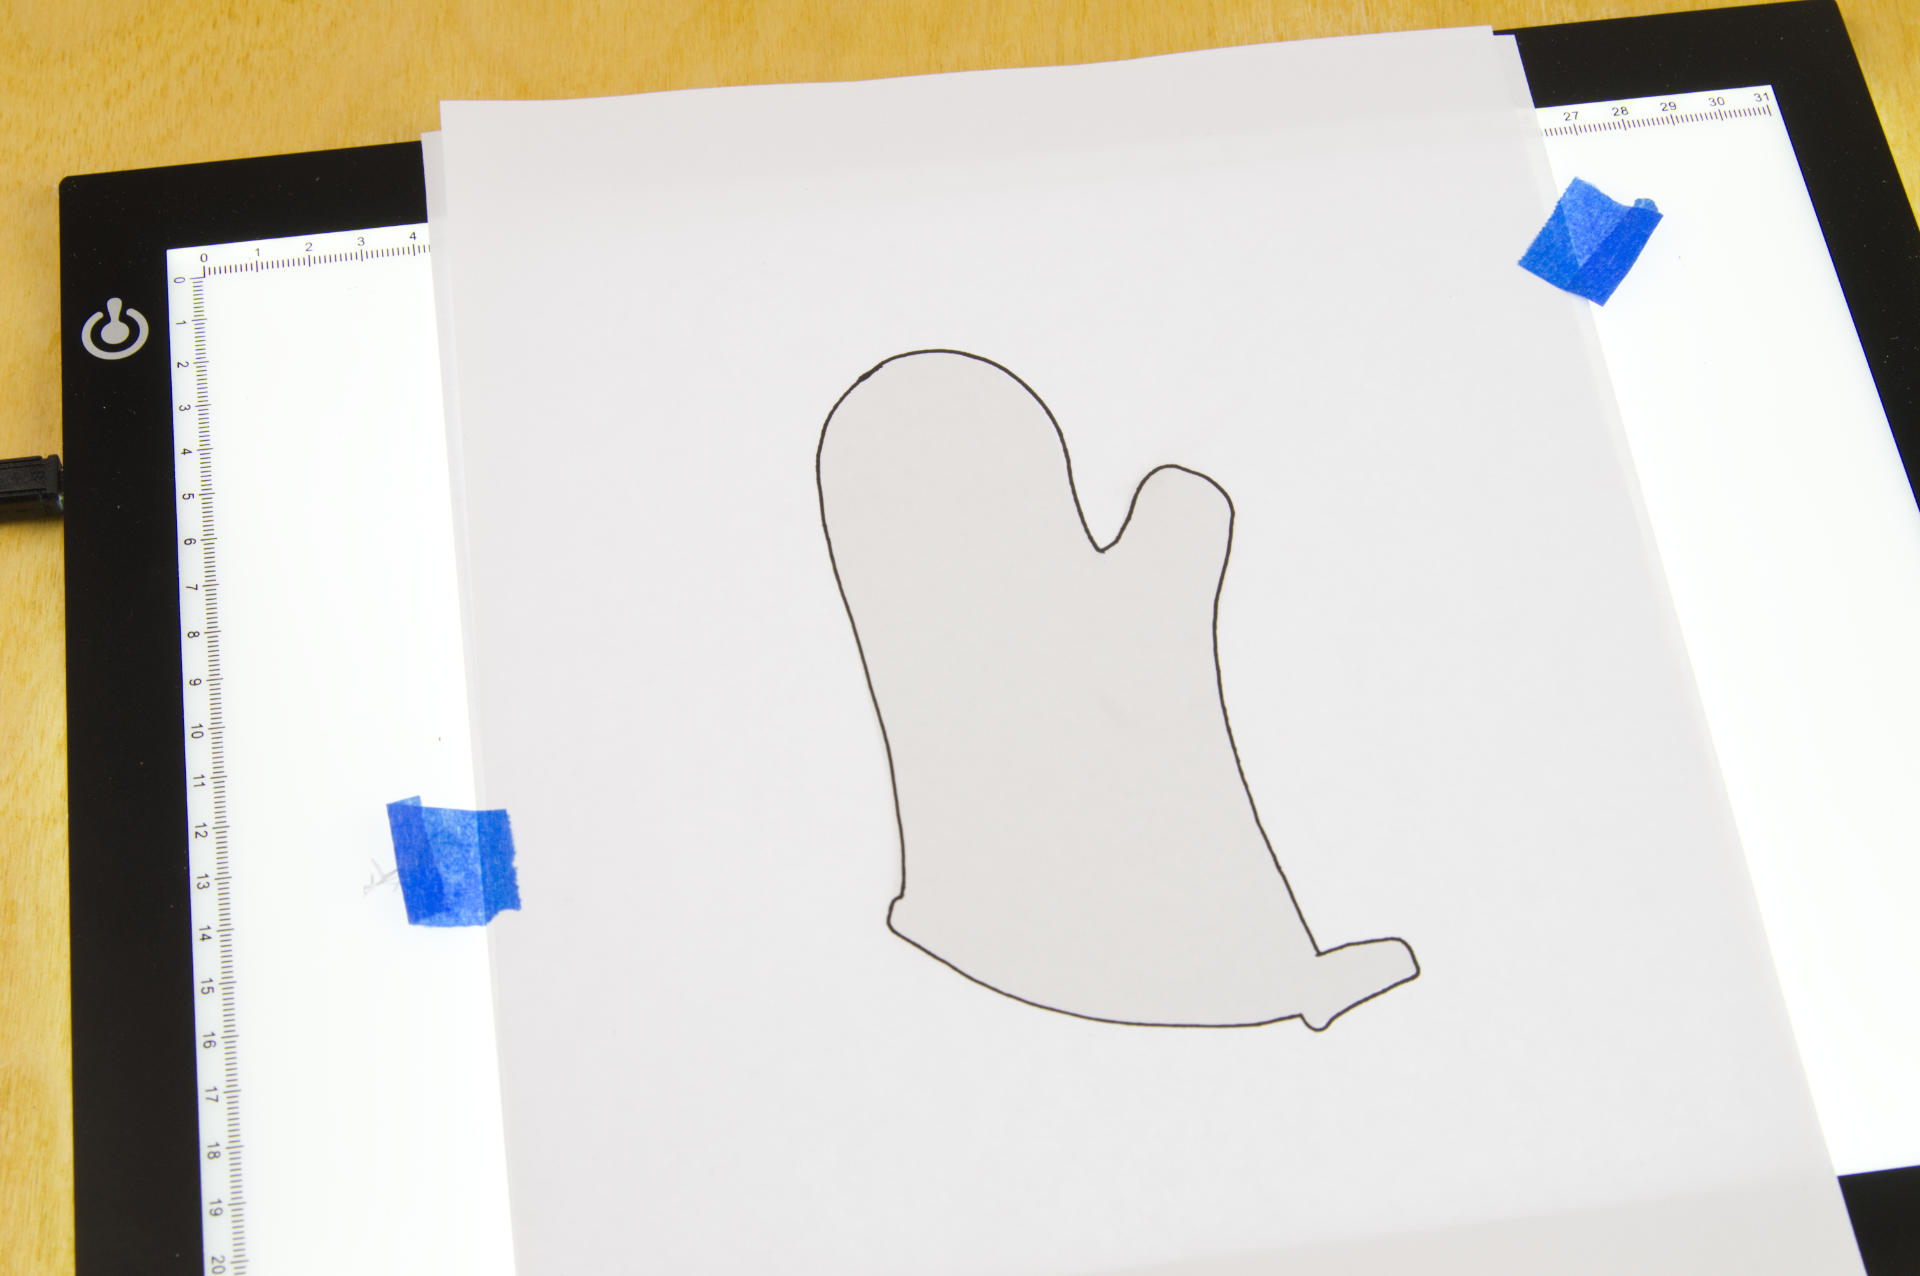
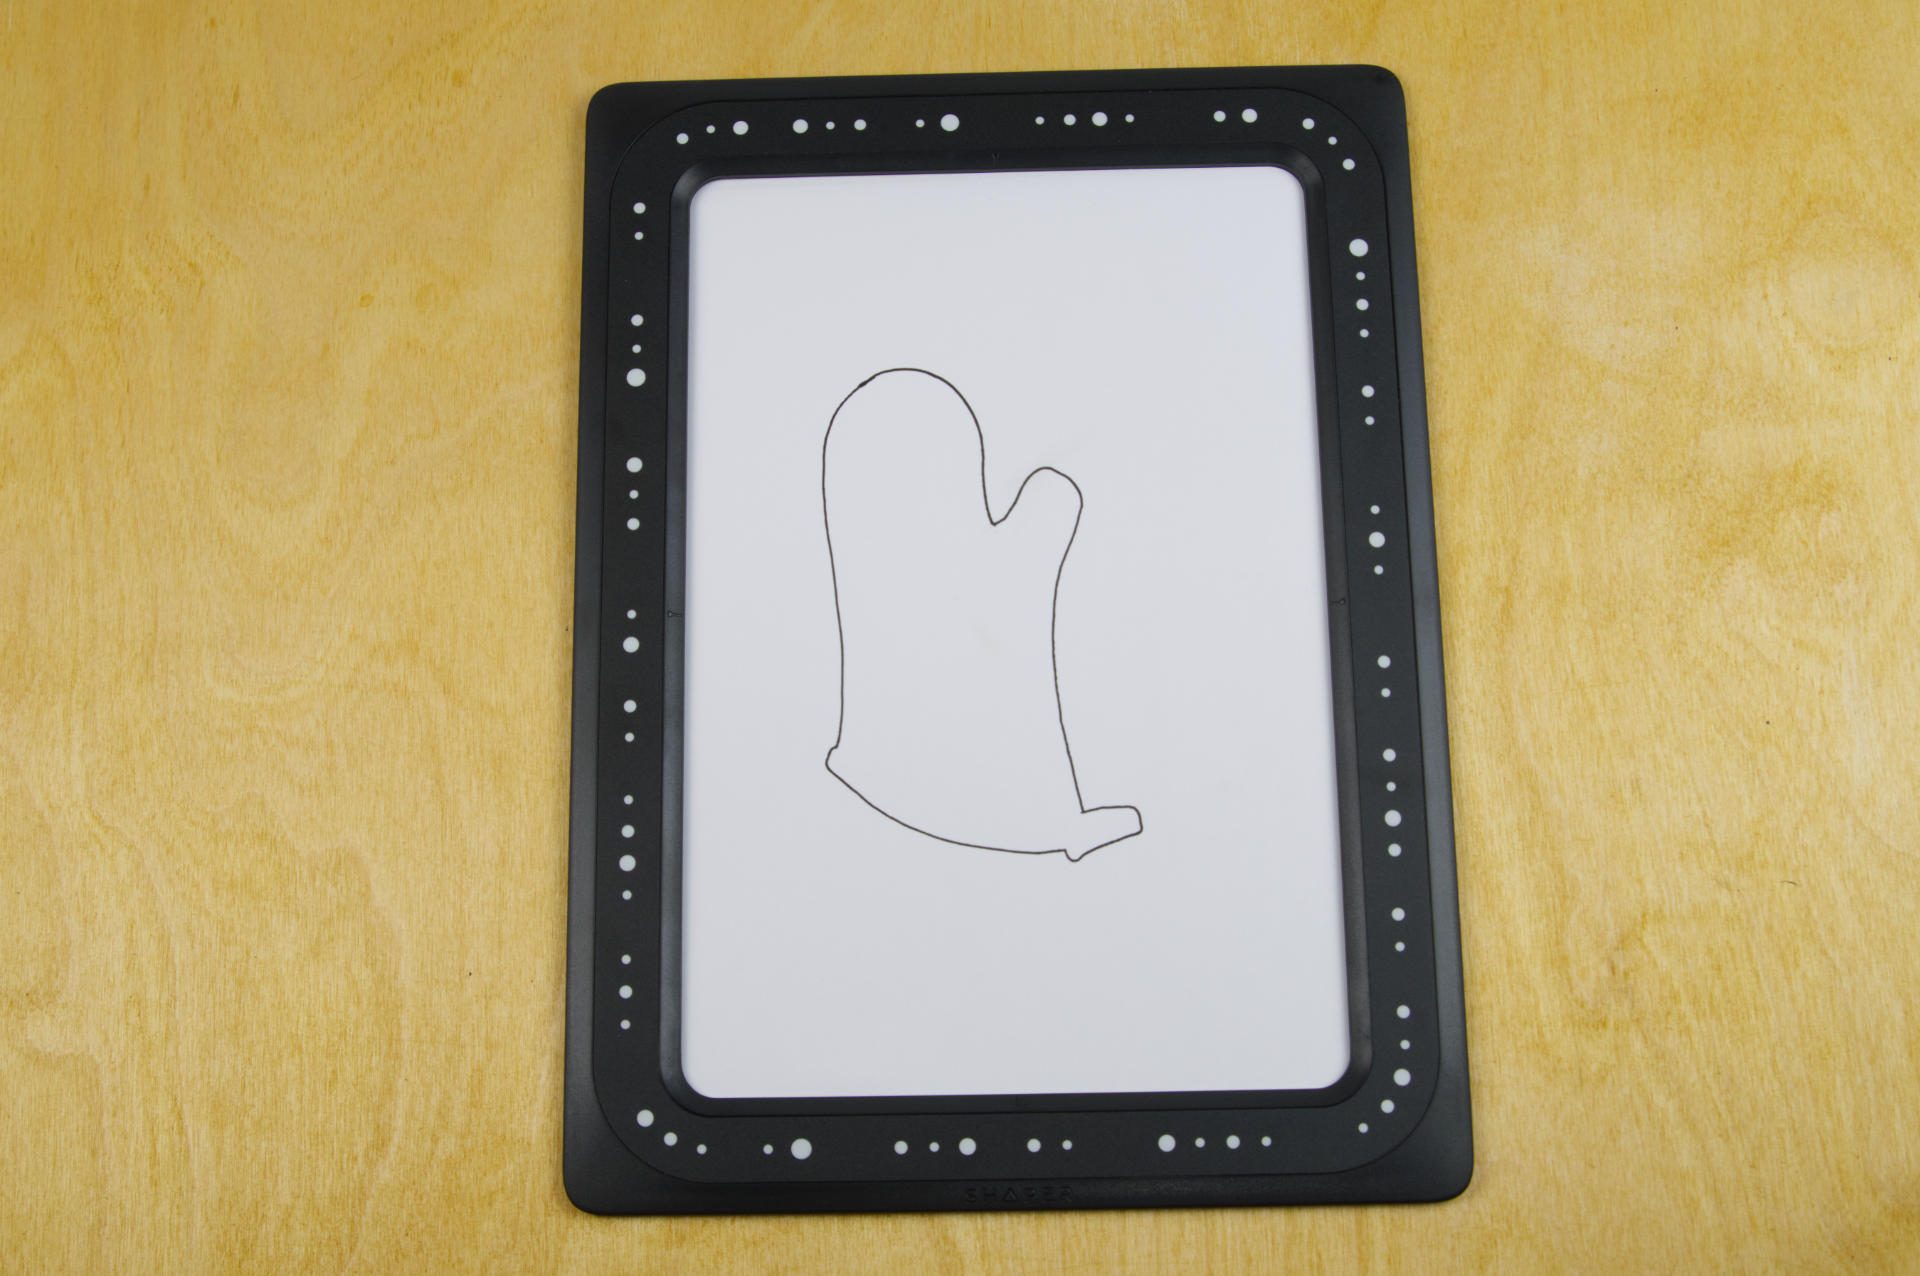
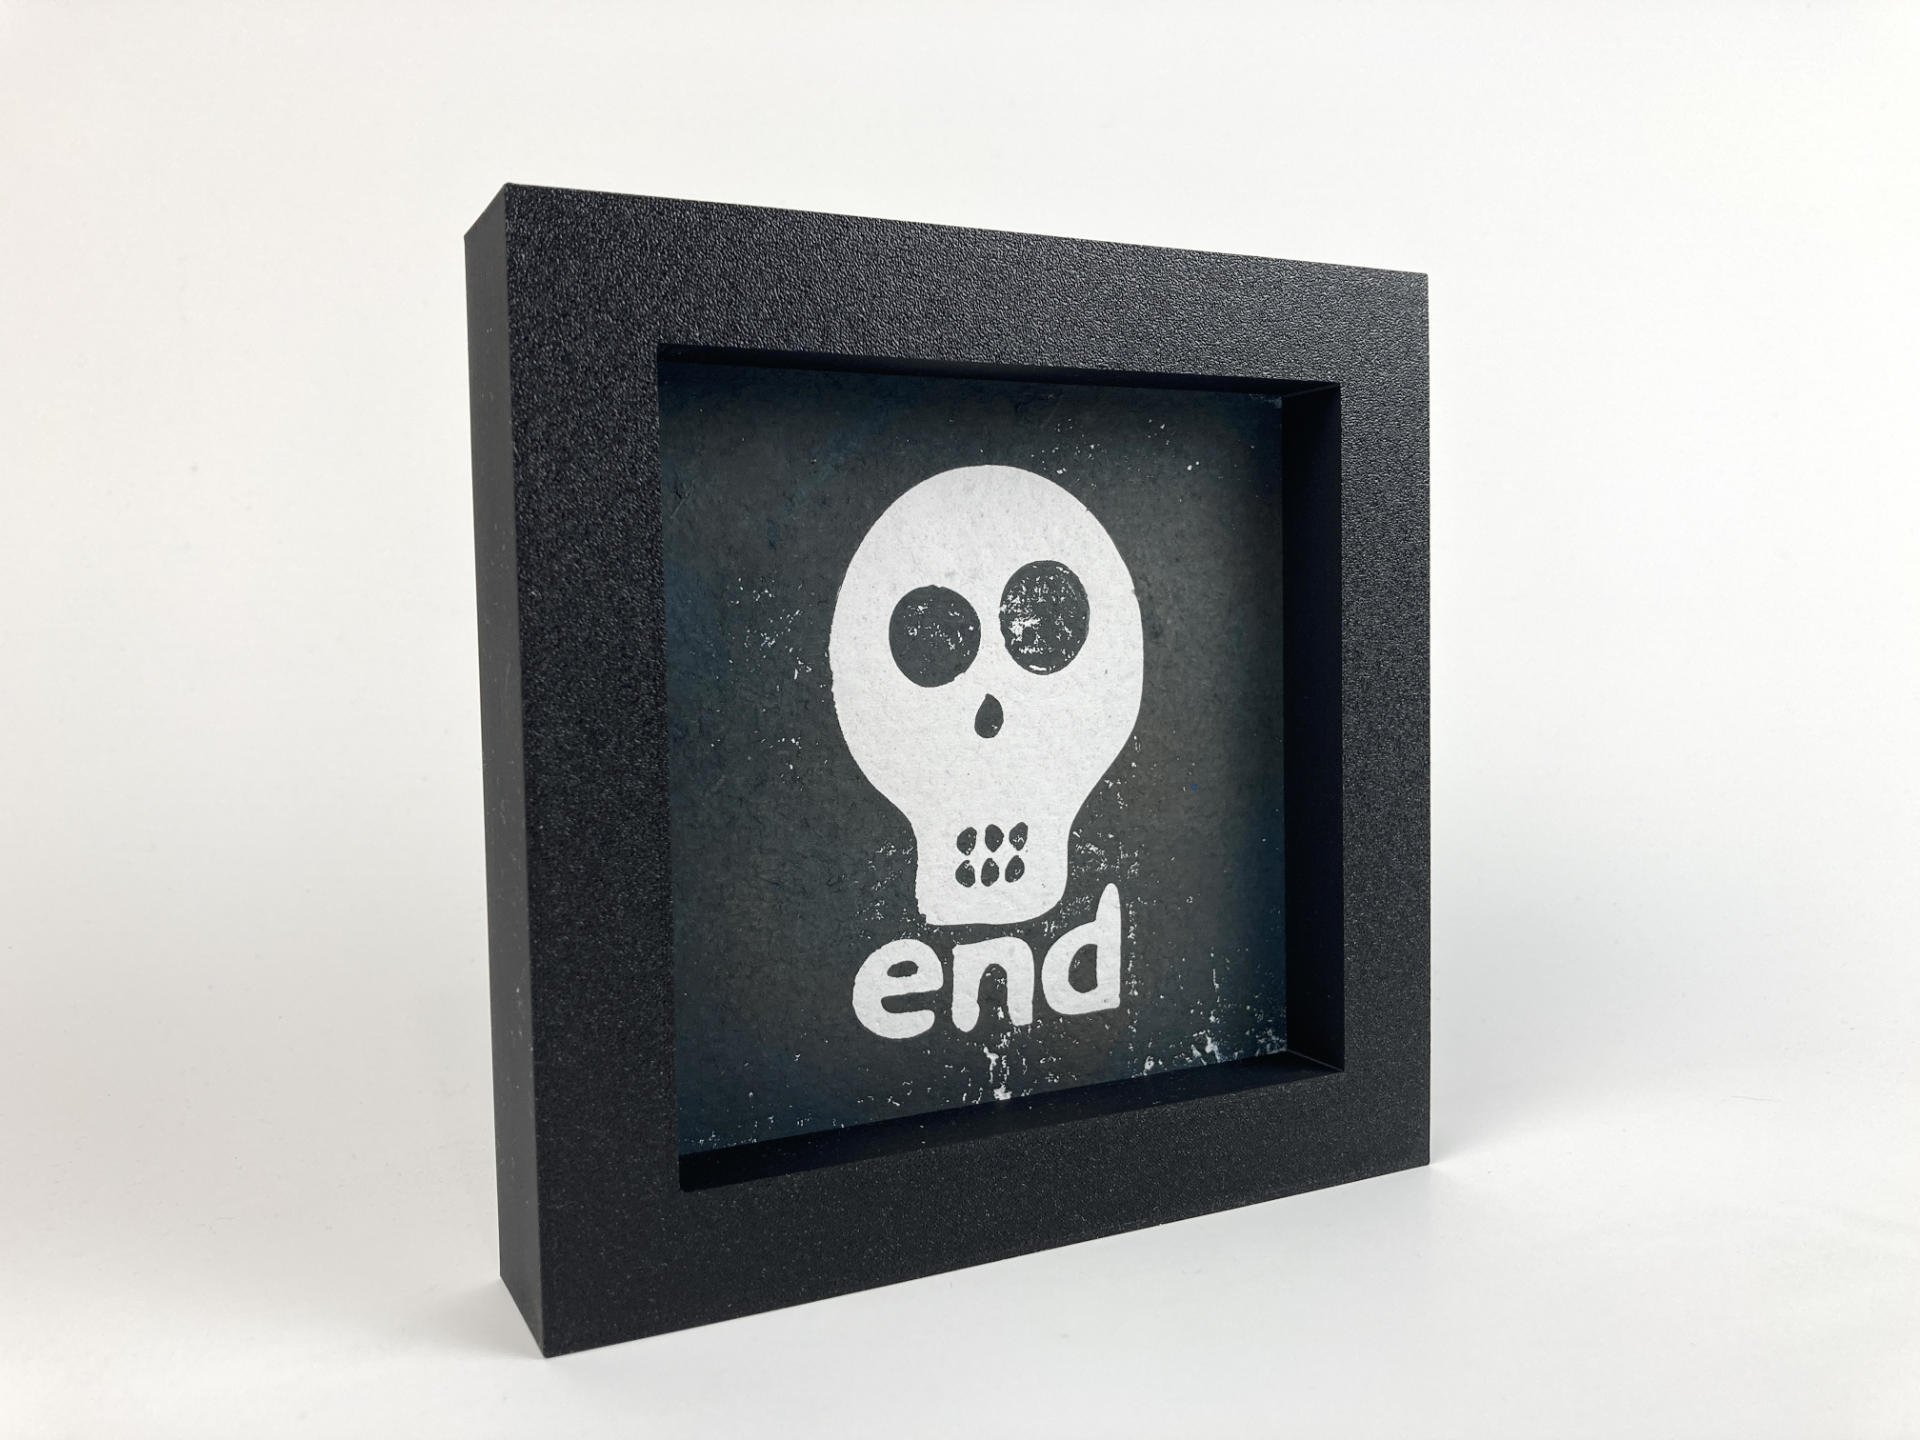
Whew, okay… got off the rails a little on that last bit. Anyway, remember when I was doing all that electronic music stuff about two years ago? I enjoyed it quite a bit, but two things that sort of bothered me was that it was time-based media (which of course takes a fixed amount of time to consume) and that in the end it was all still zeros and ones in the form of digital audio (and video) files. Making real-world tangible objects with handmade paper, ink that I applied (sometimes mixed) and just this… physical thing. Well, as a maker, that hits differently that some digital ding dong doodle.
A friend of mine said they really enjoyed seeing the posts of my work each day. There’s something there… I told them that we live in an amazing time where we can share art so freely with the world. Sure, much of the Internet today is a cesspool of complete garbage, but being able to see art by people around the world every day is amazing. You don’t have to go to a gallery (though you still should!) and you don’t have to only look at the work of the masters. You might find some random person in the UK who makes art and you just love seeing their stuff each week. (And if you do, consider supporting them!)
The next question. Are these for sale? Yes. But it’s complicated.
I didn’t post these prints along with “For Sale!” or “Visit my shop!” or put prices on things. My goal in creating these was not to sell them, but to challenge myself to be creative and make art for an entire month. I did that, and I enjoyed it. It did not become a slog, I did not burn out or get sick of it, though when the end came I had some mixed emotions. First, I was like “Whew! Almost done!” and I was relieved. Then I was like “Well, what am I going to do tomorrow? Wake up and not make prints?” And the answer is yes, for now. I need to take a break to get caught up on other projects. (Then I will probably go back to printing!)
Where was I? Oh, selling them! Typically someone I know online (either on Facebook, Instagram, or Mastodon) would see a print and as if it was available. I would let them know that they could have it and either come pick it up or cover the cost of shipping, and then pay whatever they could for the art. The most someone paid was $50 USD and the least was zero. Most were in the middle, around $25 or $30. (I am not upset at all about the zero dollar ones. Two pieces went to friends of mine, and they both had really weird shit happen to them the week the prints arrived, so whatever. I’m all good, and I am glad they are all good now.)
Almost every print (though not all) were sold to people I knew. It makes me feel really good to know a friend liked the art I created and was willing to accept it into their lives and maybe even pay me for my time. As for the materials costs, the money covered the cost of ink and filament. Since I make my own recycled paper that cost was close to zero. I bought a few more brayers and X-ACTO blades, but those are fairly cheap. Again, I am extremely privileged to be able to do something like this and not have to rely on the income from selling art to survive. I appreciate the work that independent artists put into their work, and I definitely get why art can cost what it does.
So what’s next? Well, I am contemplating whether I should keep this going. Not at this pace, mind you, but the whole “prints for sale, pay what you want” thing. I have way more ideas and things I want to try out, and it’s fairly easy for me to post art and see if anyone is interested in it.
But wait, what about Gallery 69! Indeed! I do have a gallery I need to keep full of art. I am 100% sure some of the seconds and test prints will go into the gallery. I’ve been waiting until January is done, but I’ll probably drop some of these prints into the gallery in the next few weeks. So hooray to more free art for the people!
Maybe combining the two things makes sense. A print goes in the gallery, and anyone local can come and grab it! If you miss out, or are not local, you can contact me about sending you a copy of it. I don’t know, I’m still figuring this out, but if you have ideas, let me know!
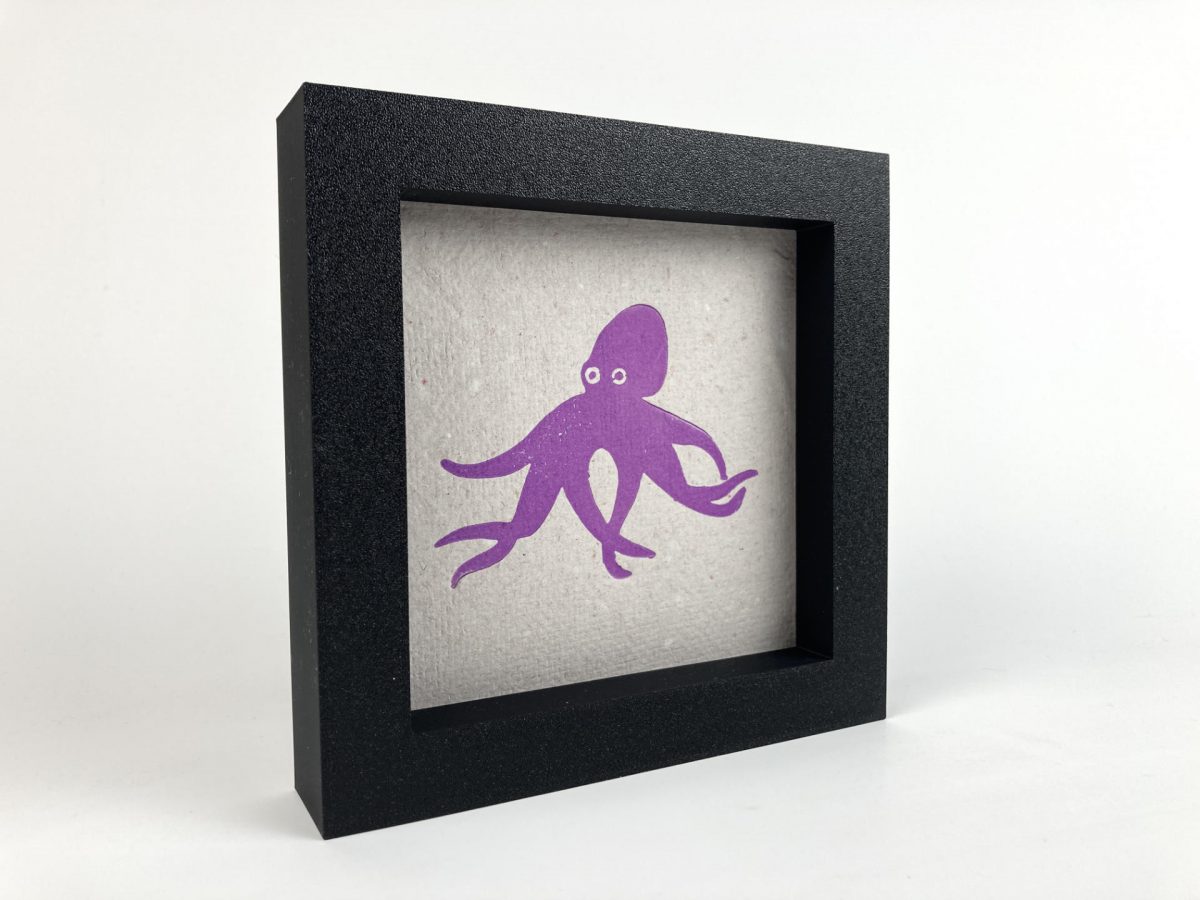
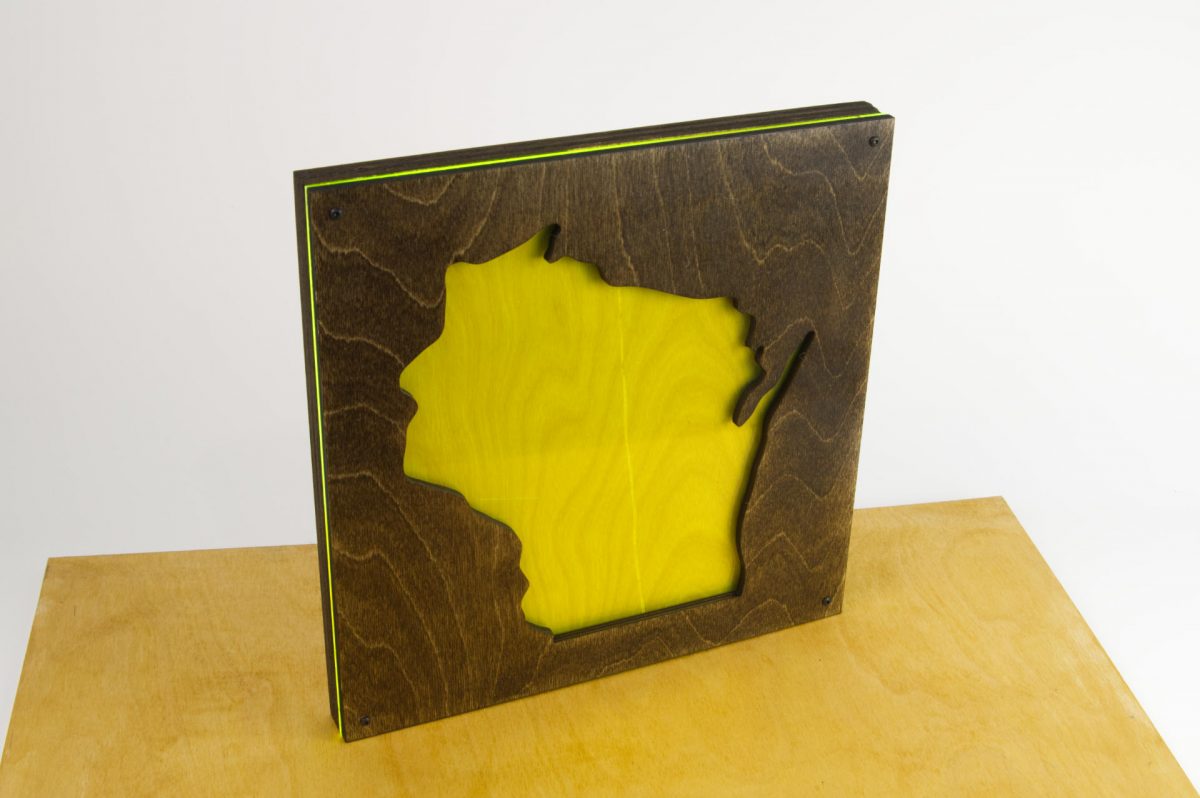
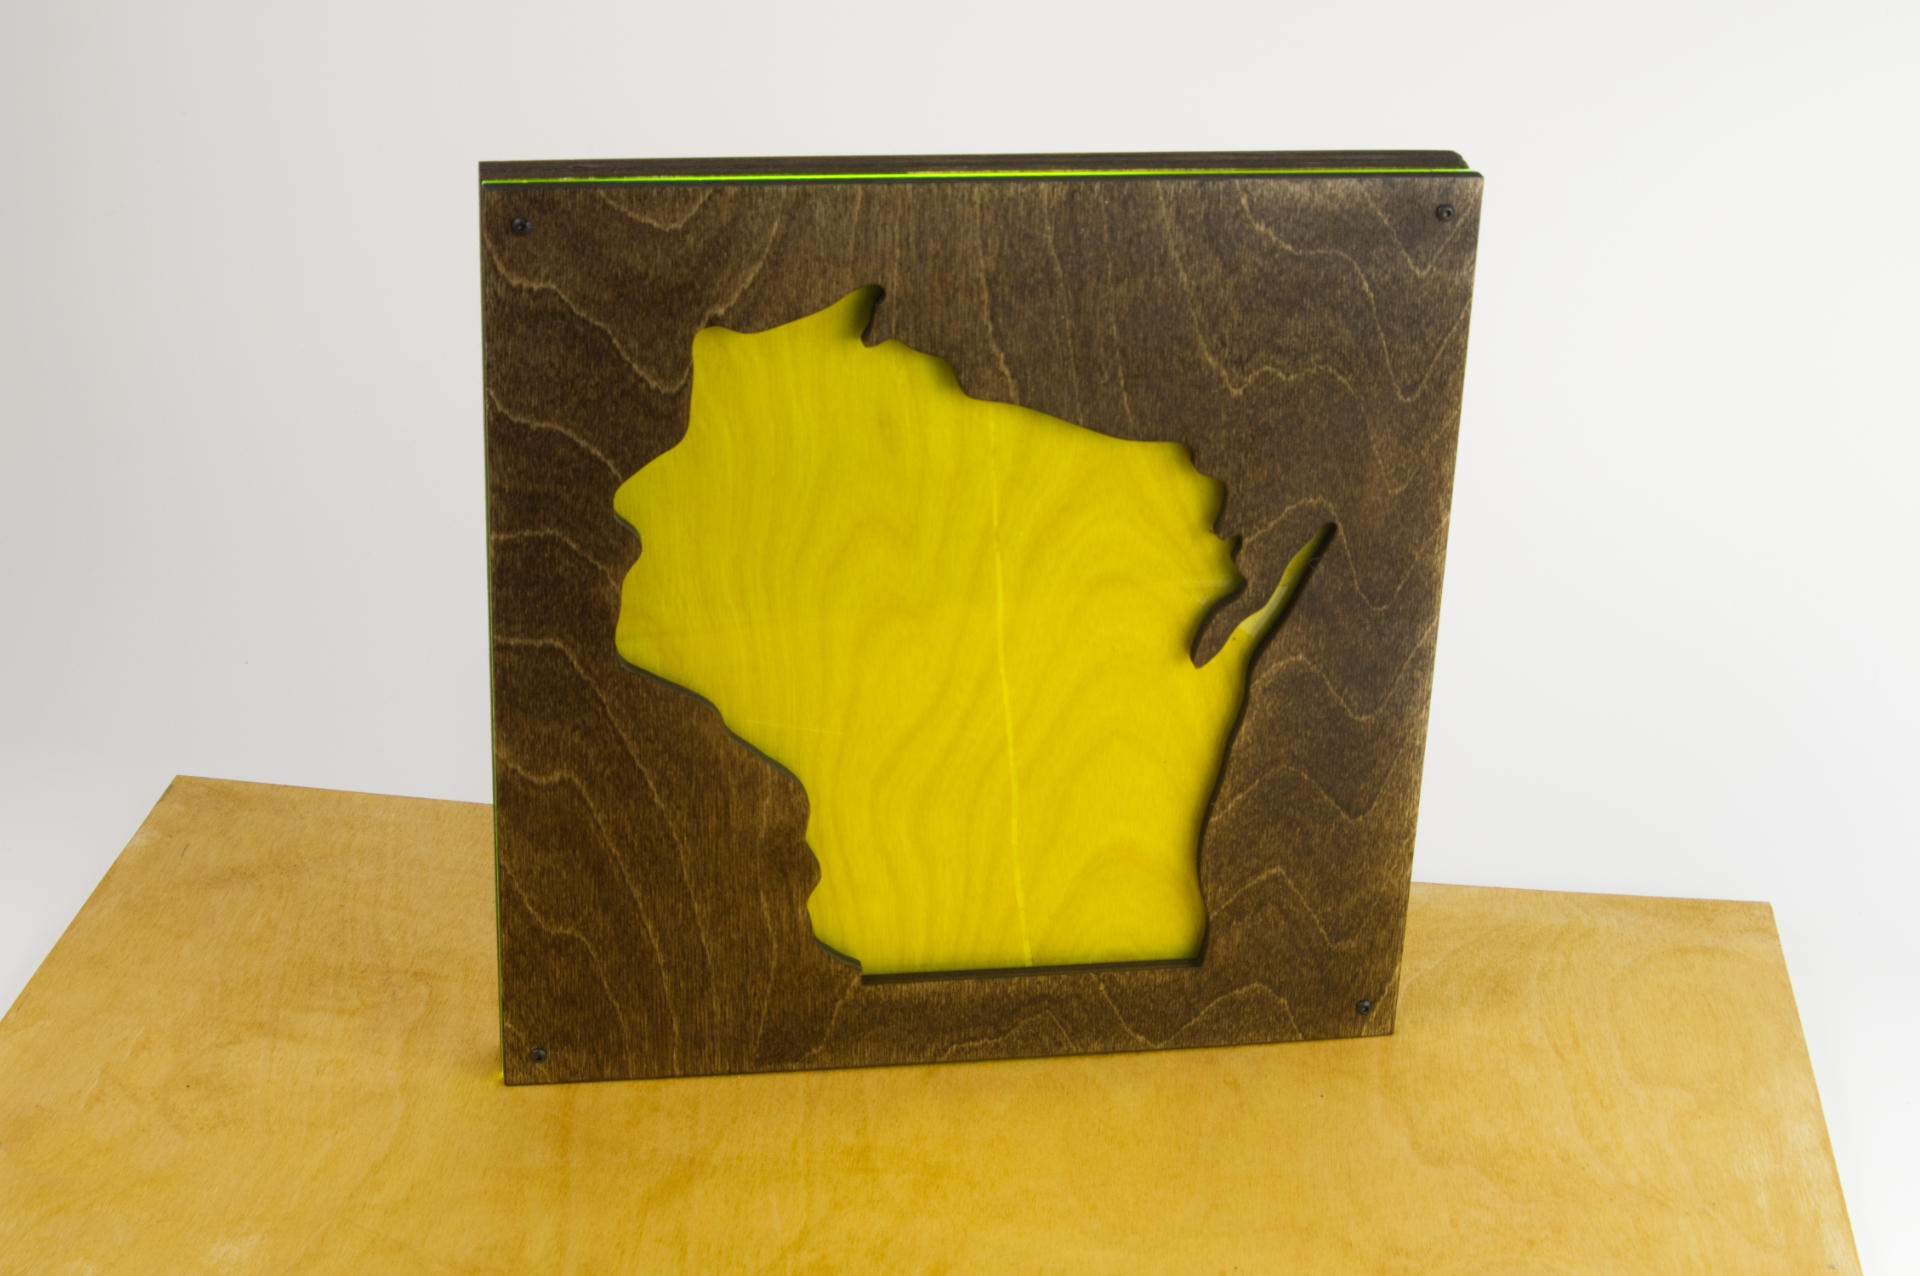
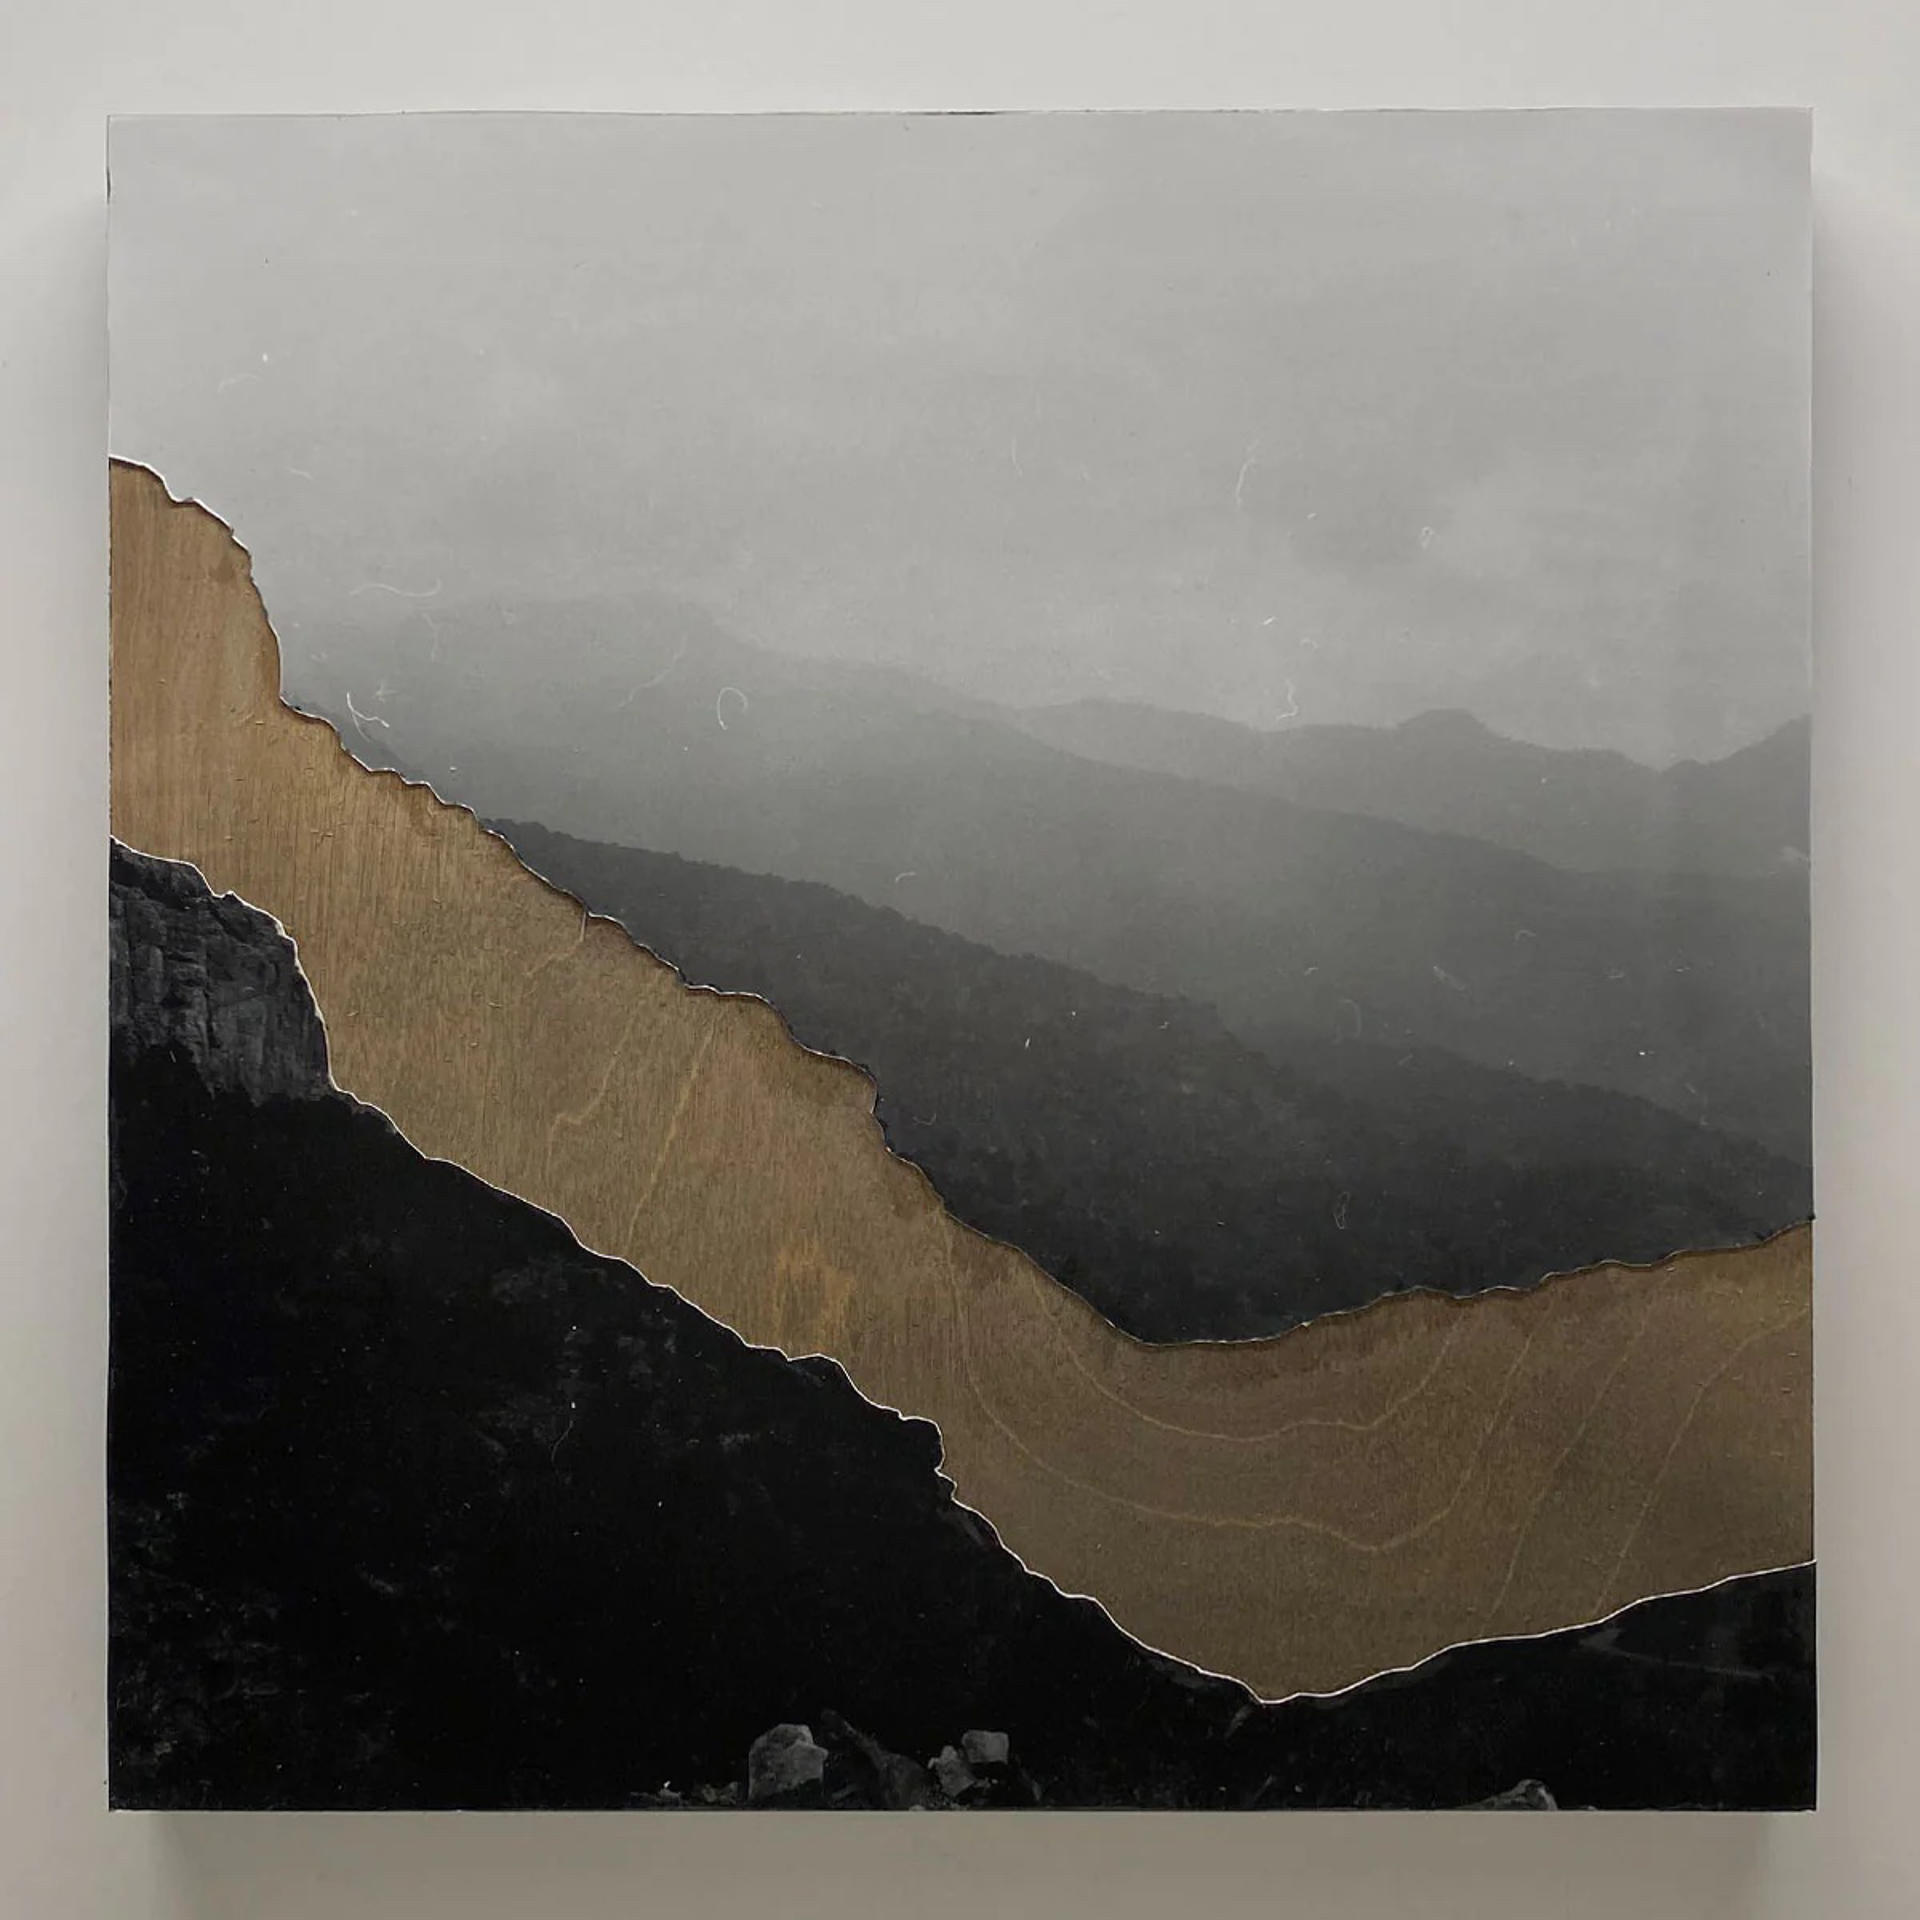
And finally… one more thing. You can see all the January 2024 Prints in the RasterWeb! (online) Gallery.
See Also: Part I, Part II, Part III, and Part IV.