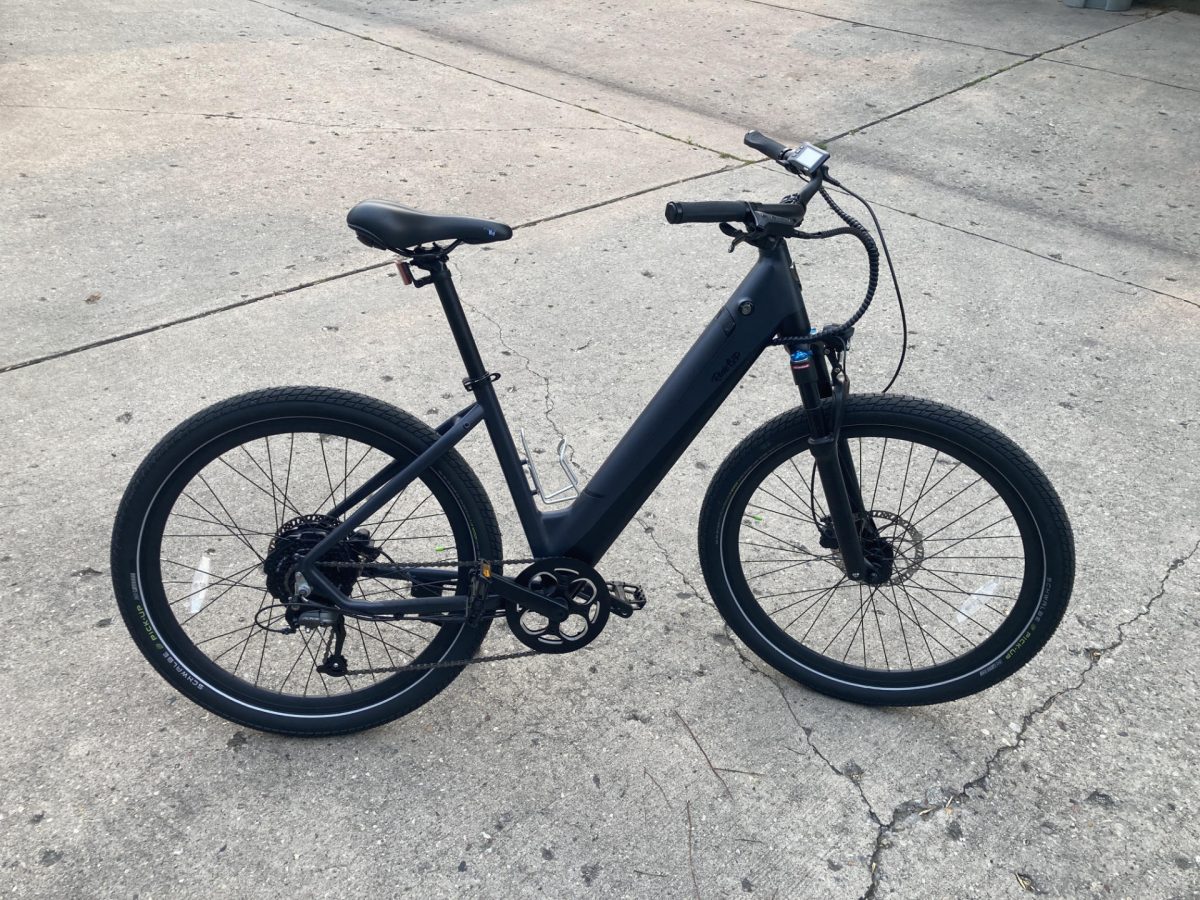
In the post I Rode an eBike! I wrote about my first “tests” riding an ebike. This post goes a bit more in-depth as it’s been a few weeks. As usual, this is for my own benefit, as I’m sure I’ll look back at this post, but maybe you’ll also find it useful?
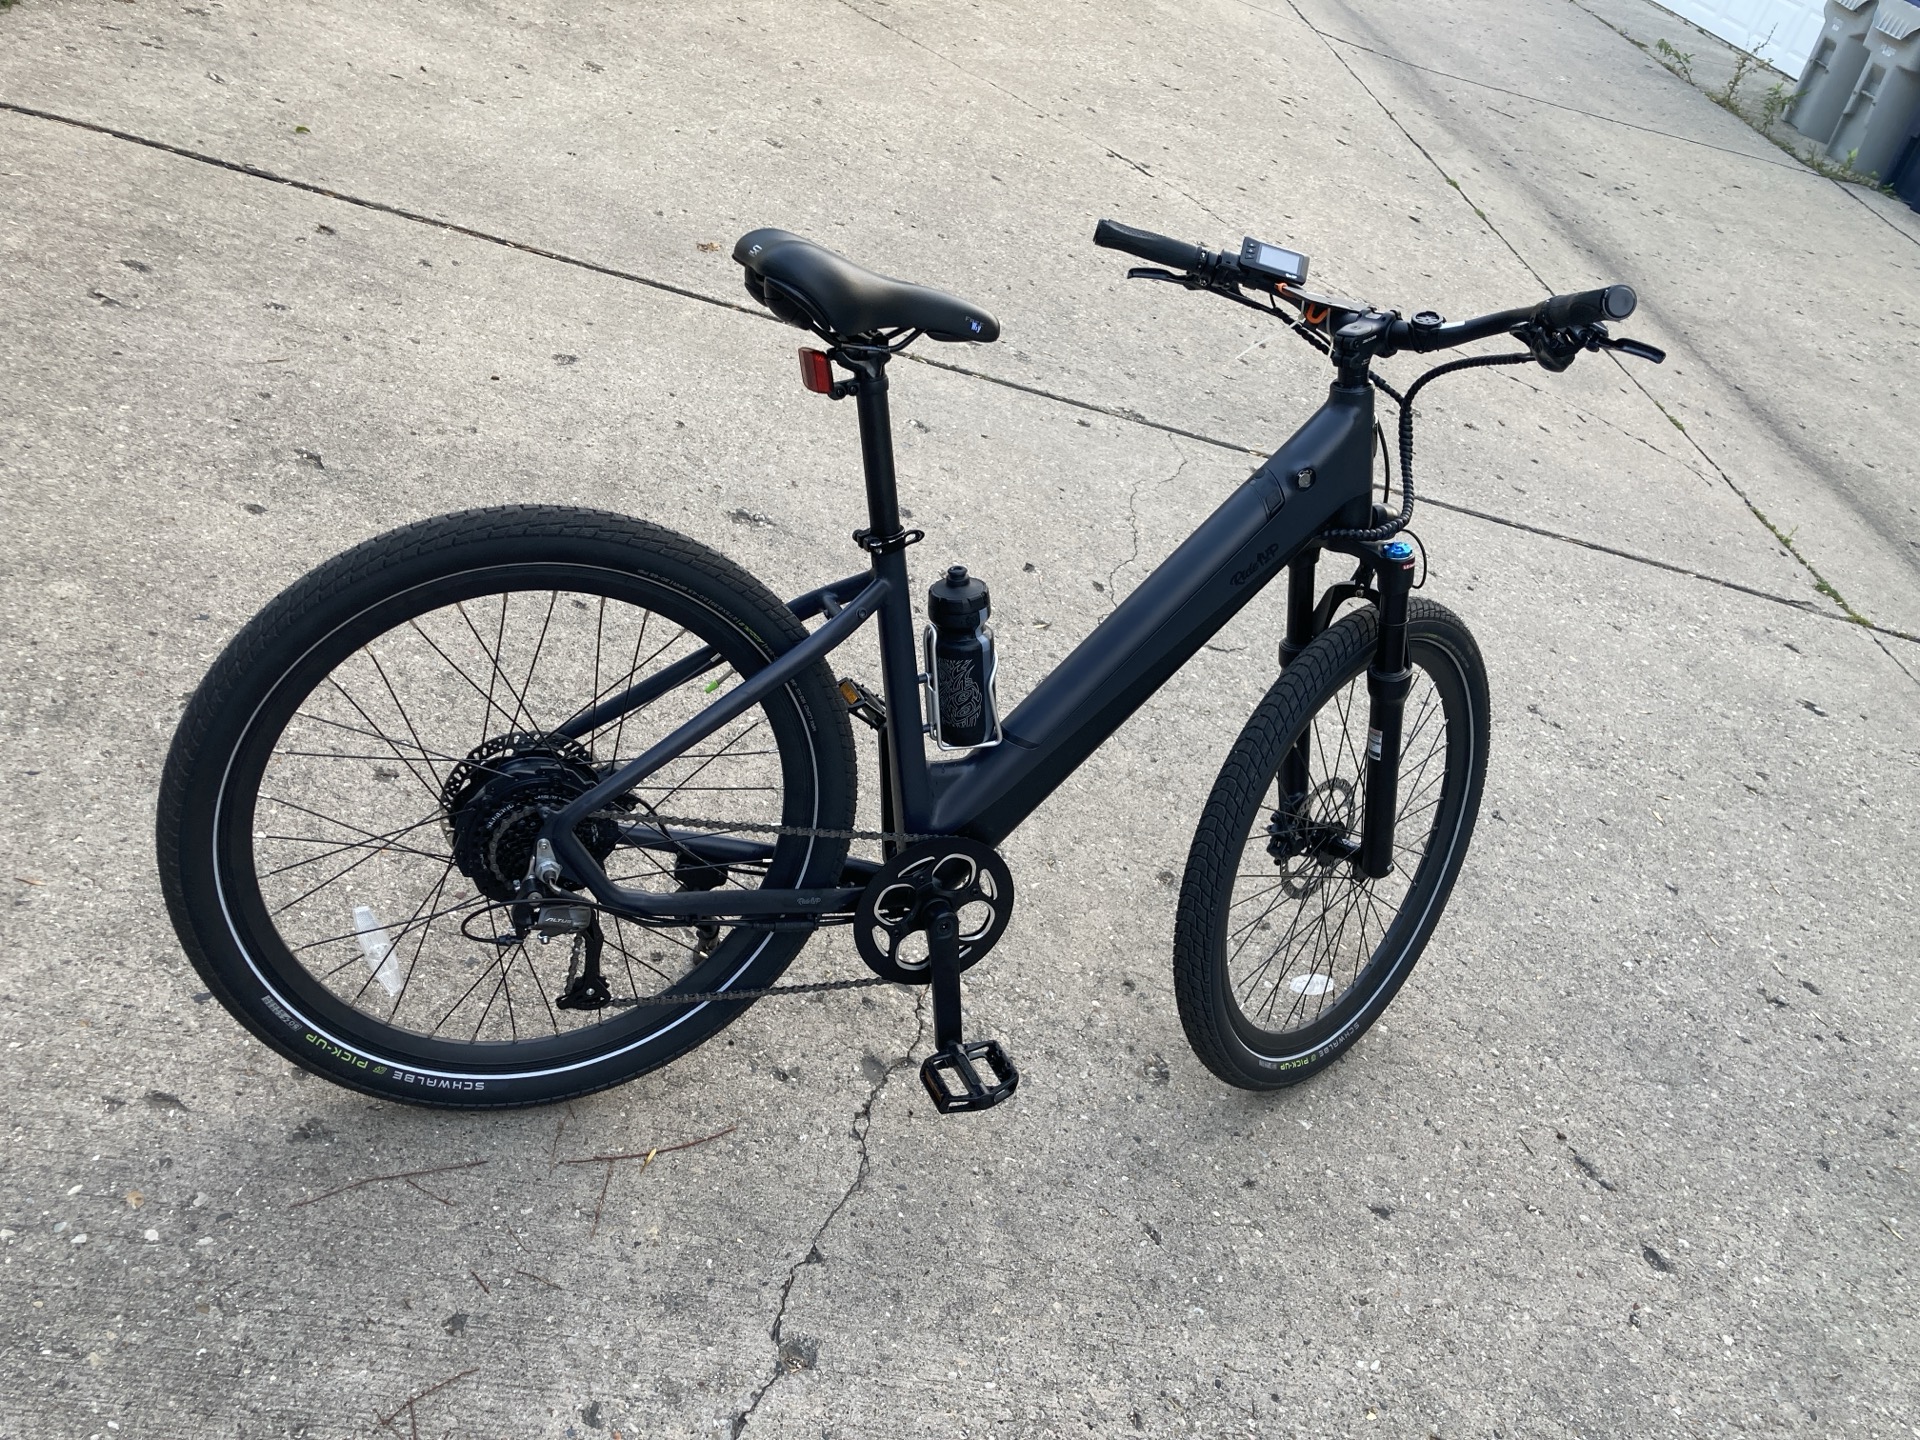
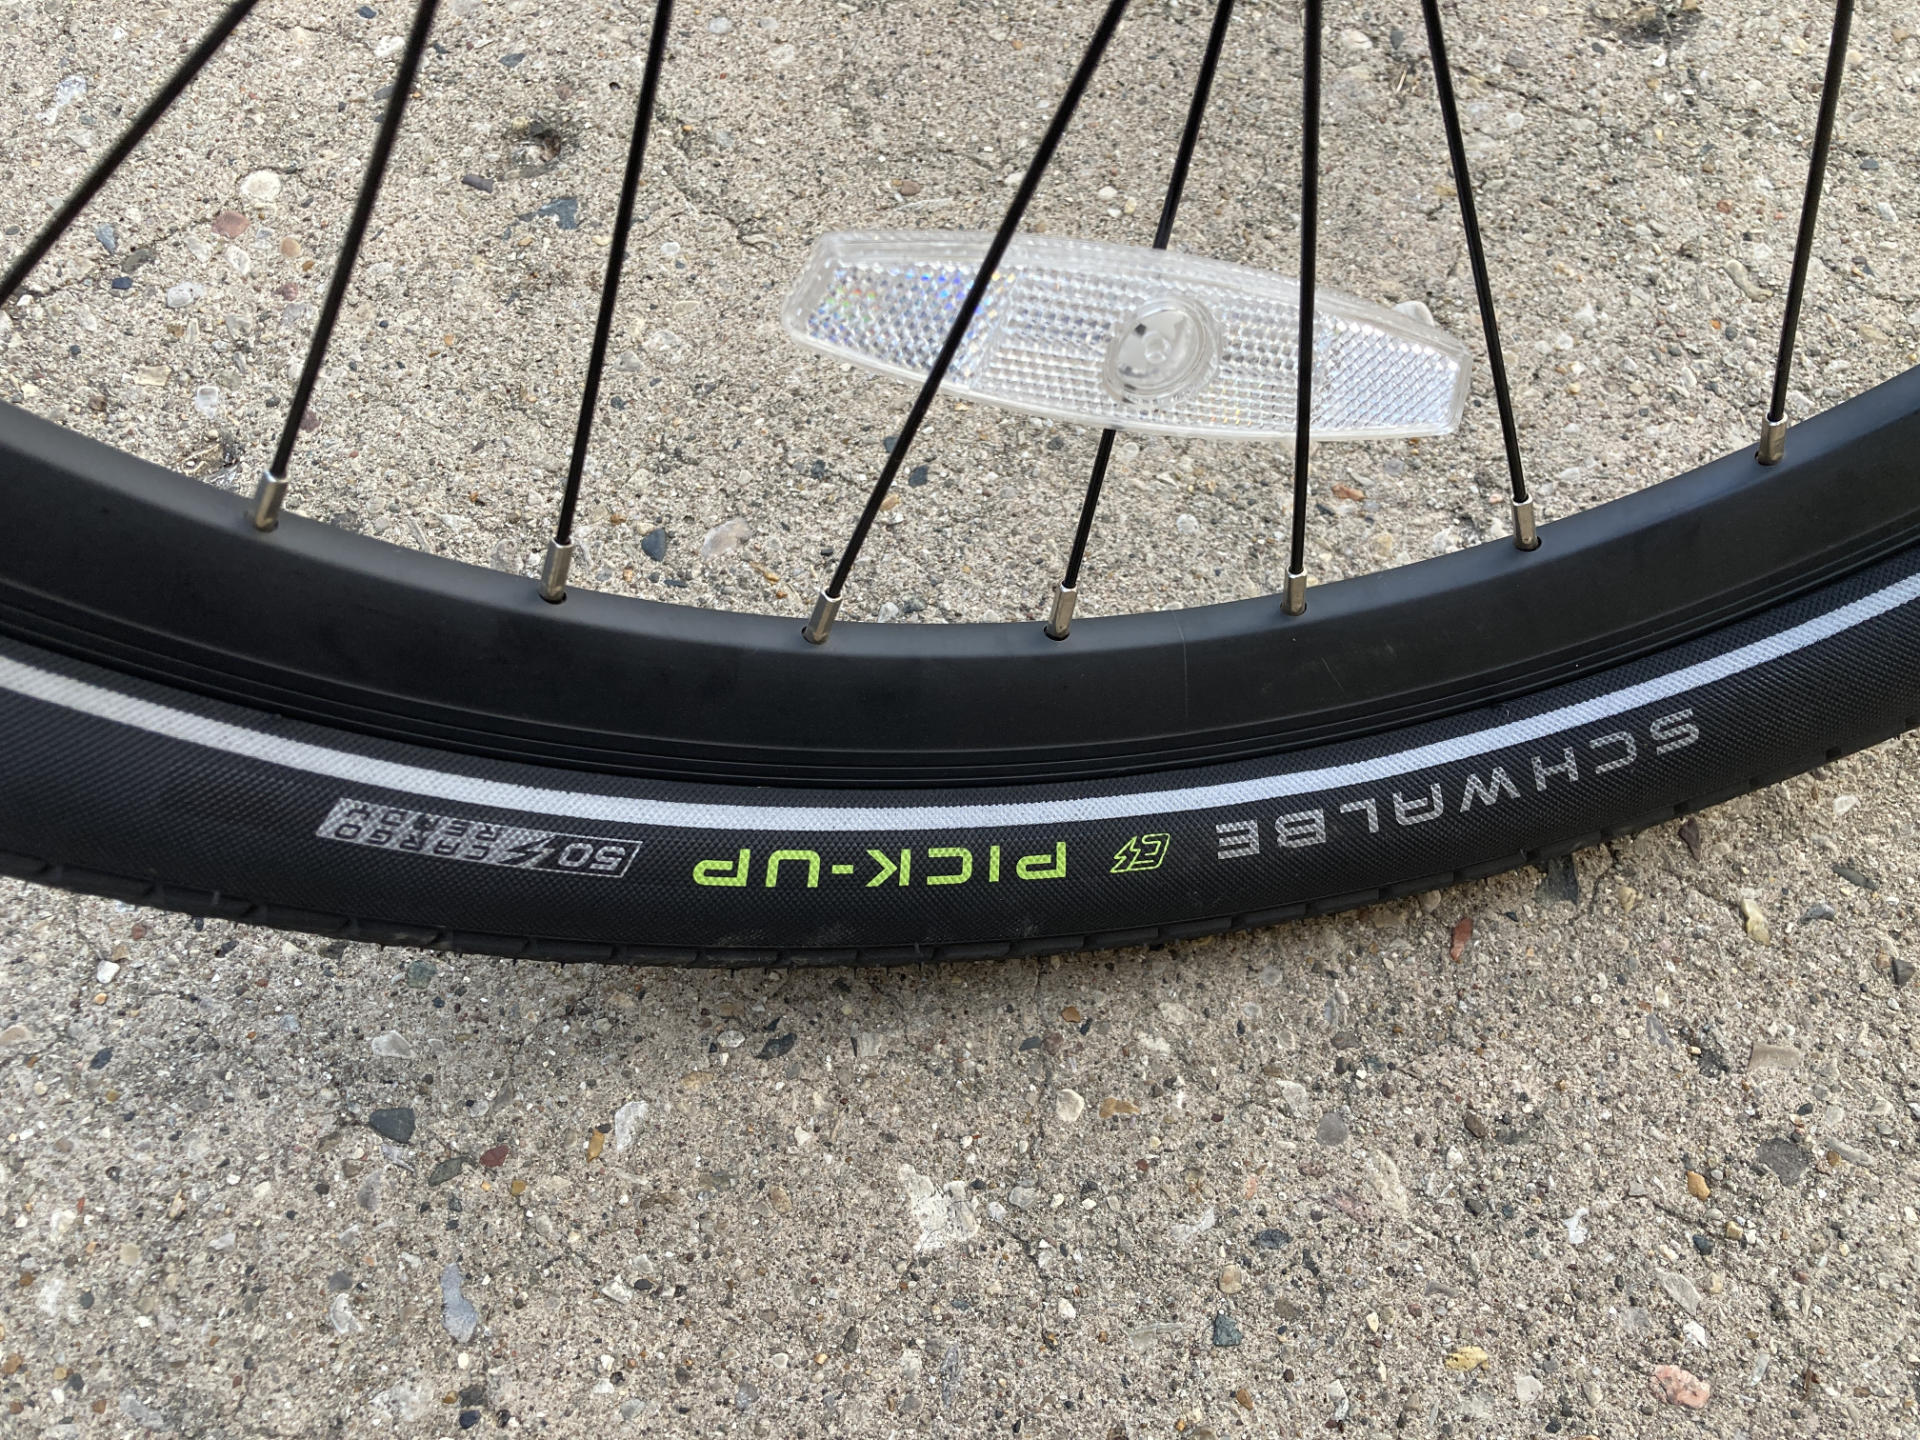
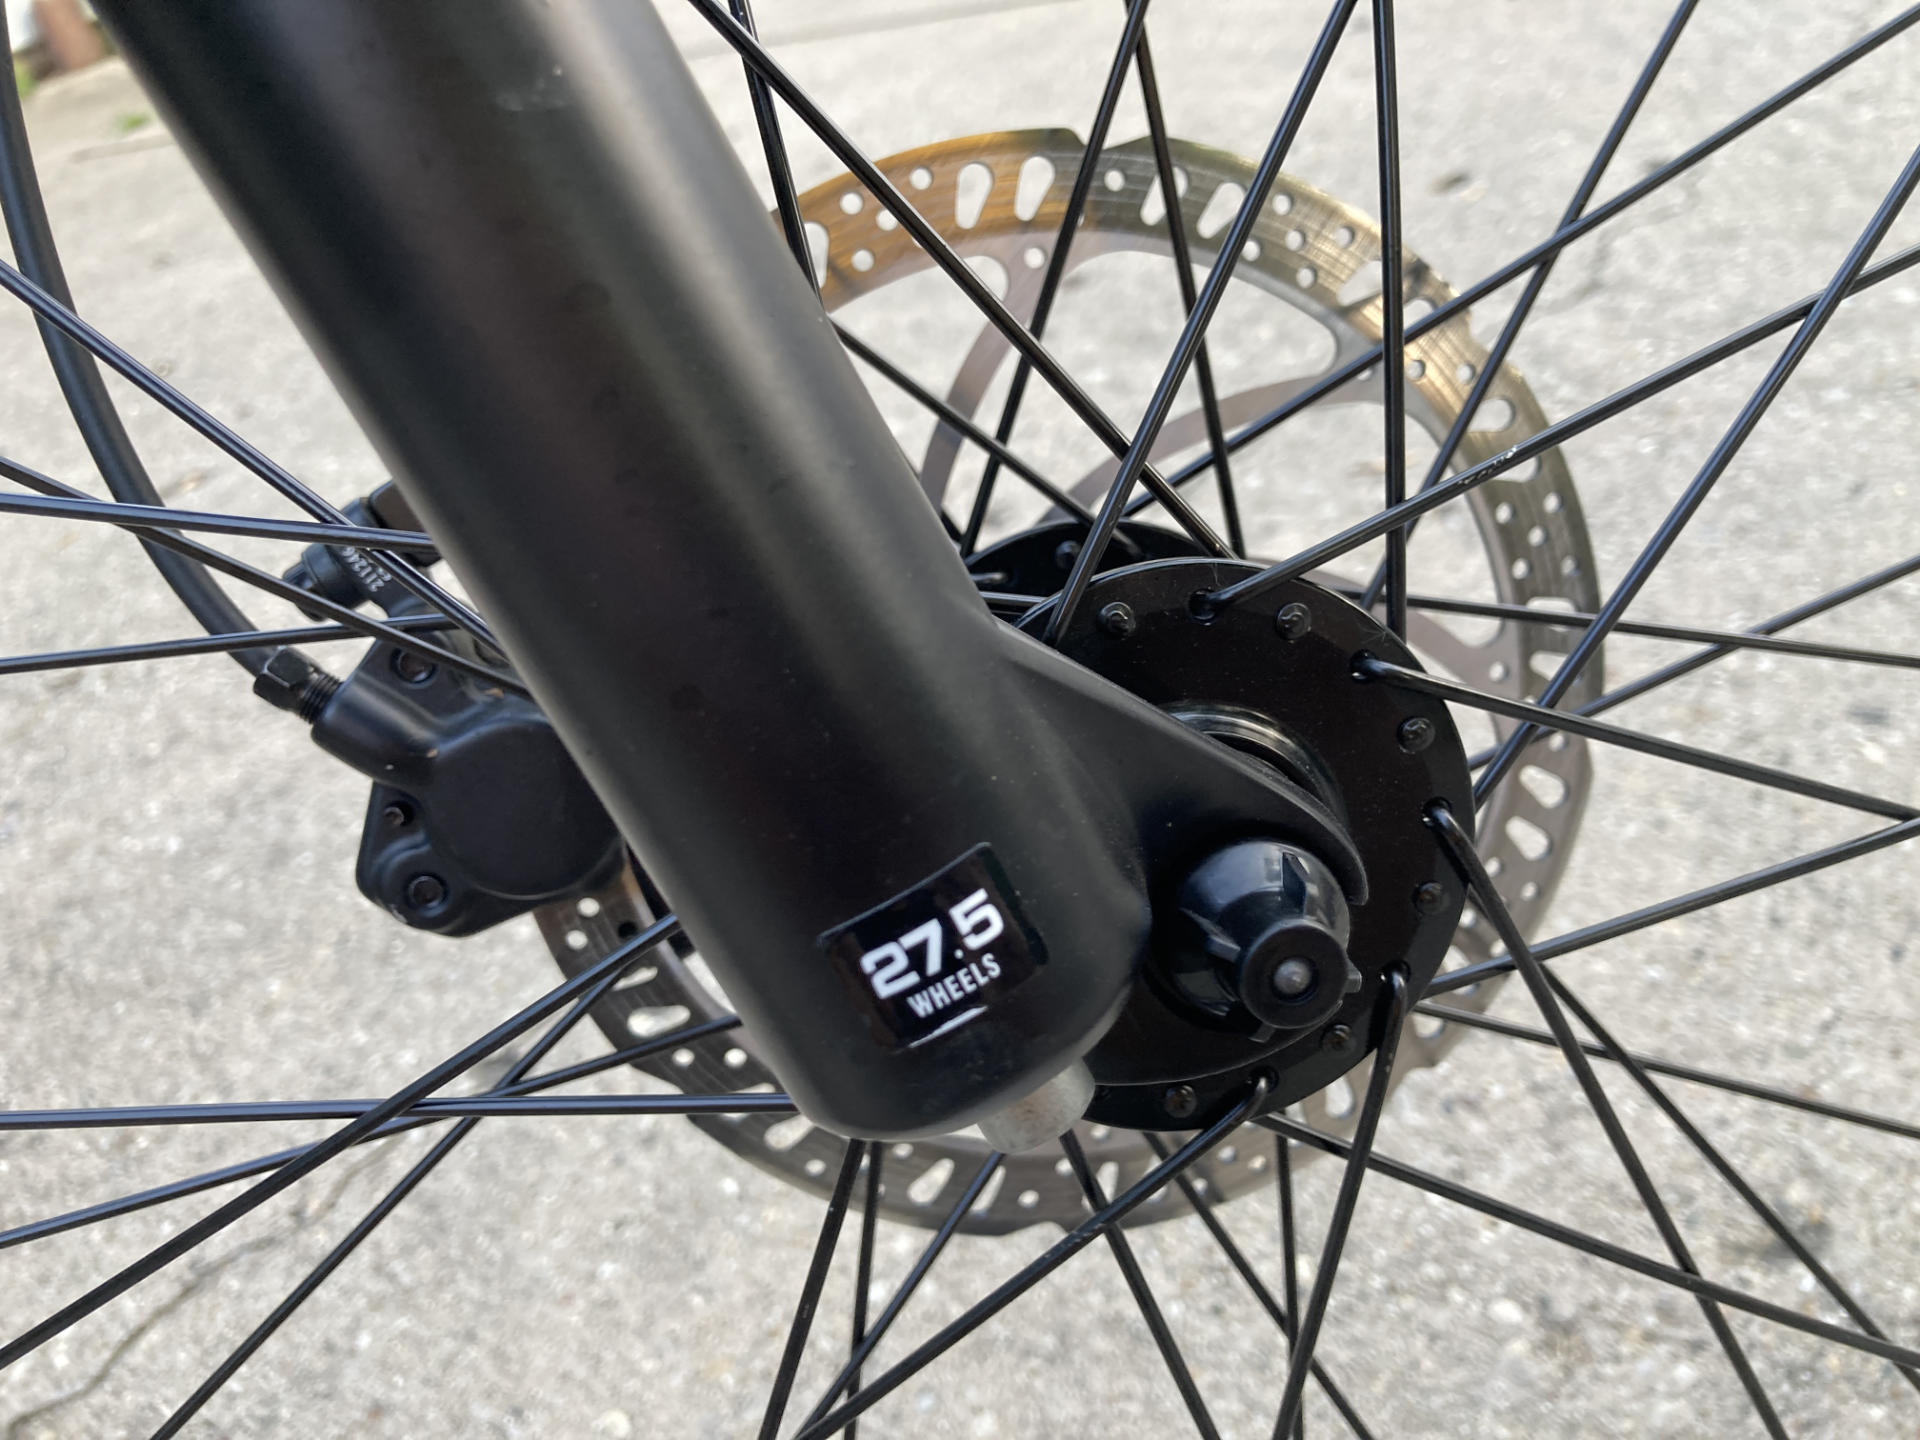
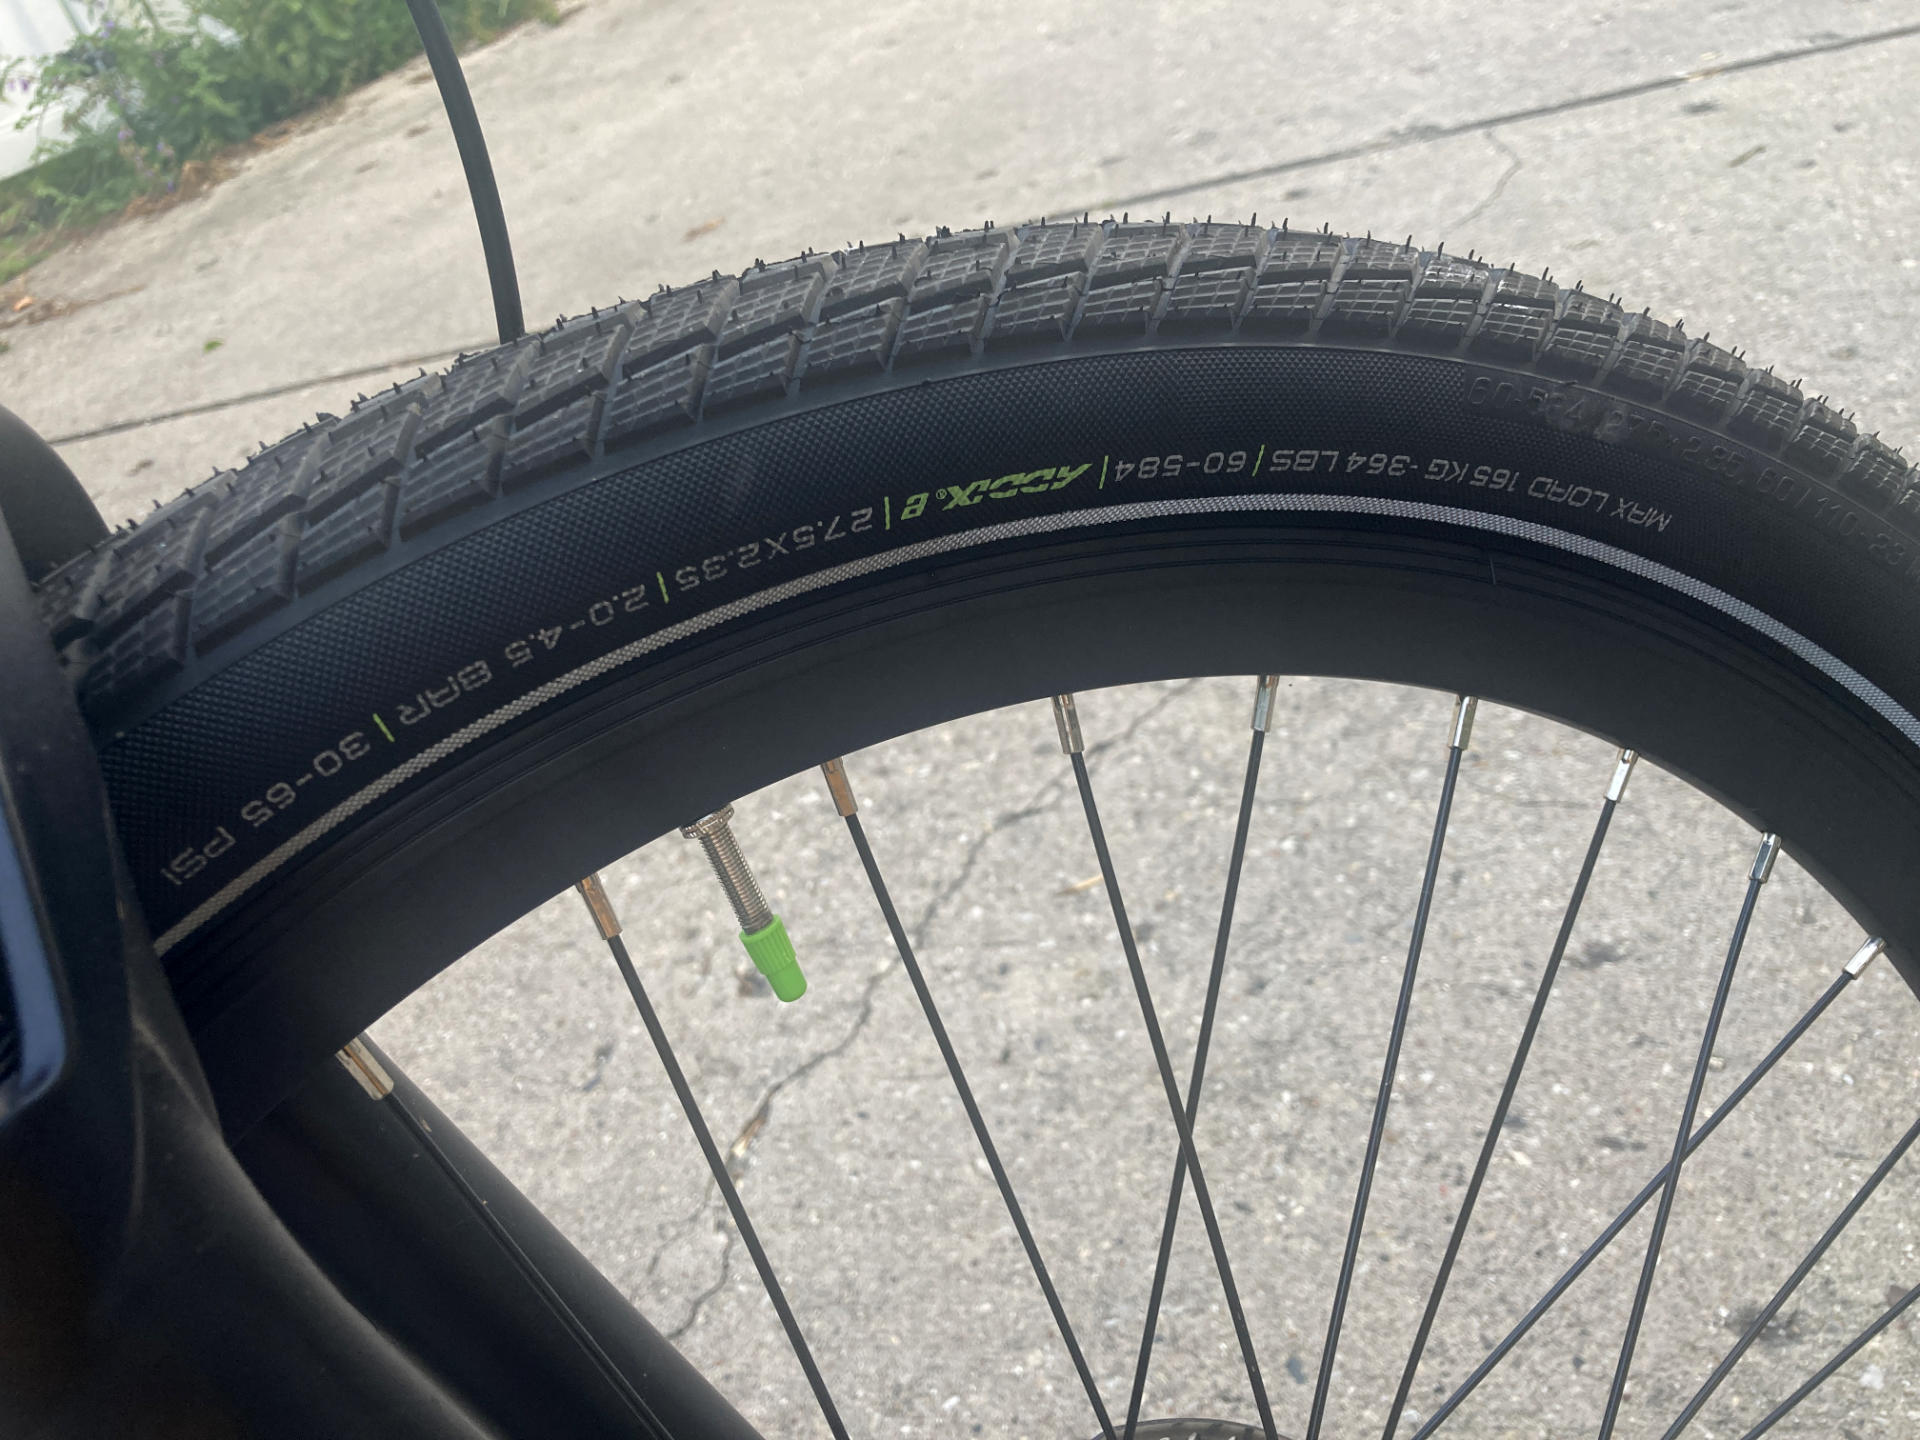
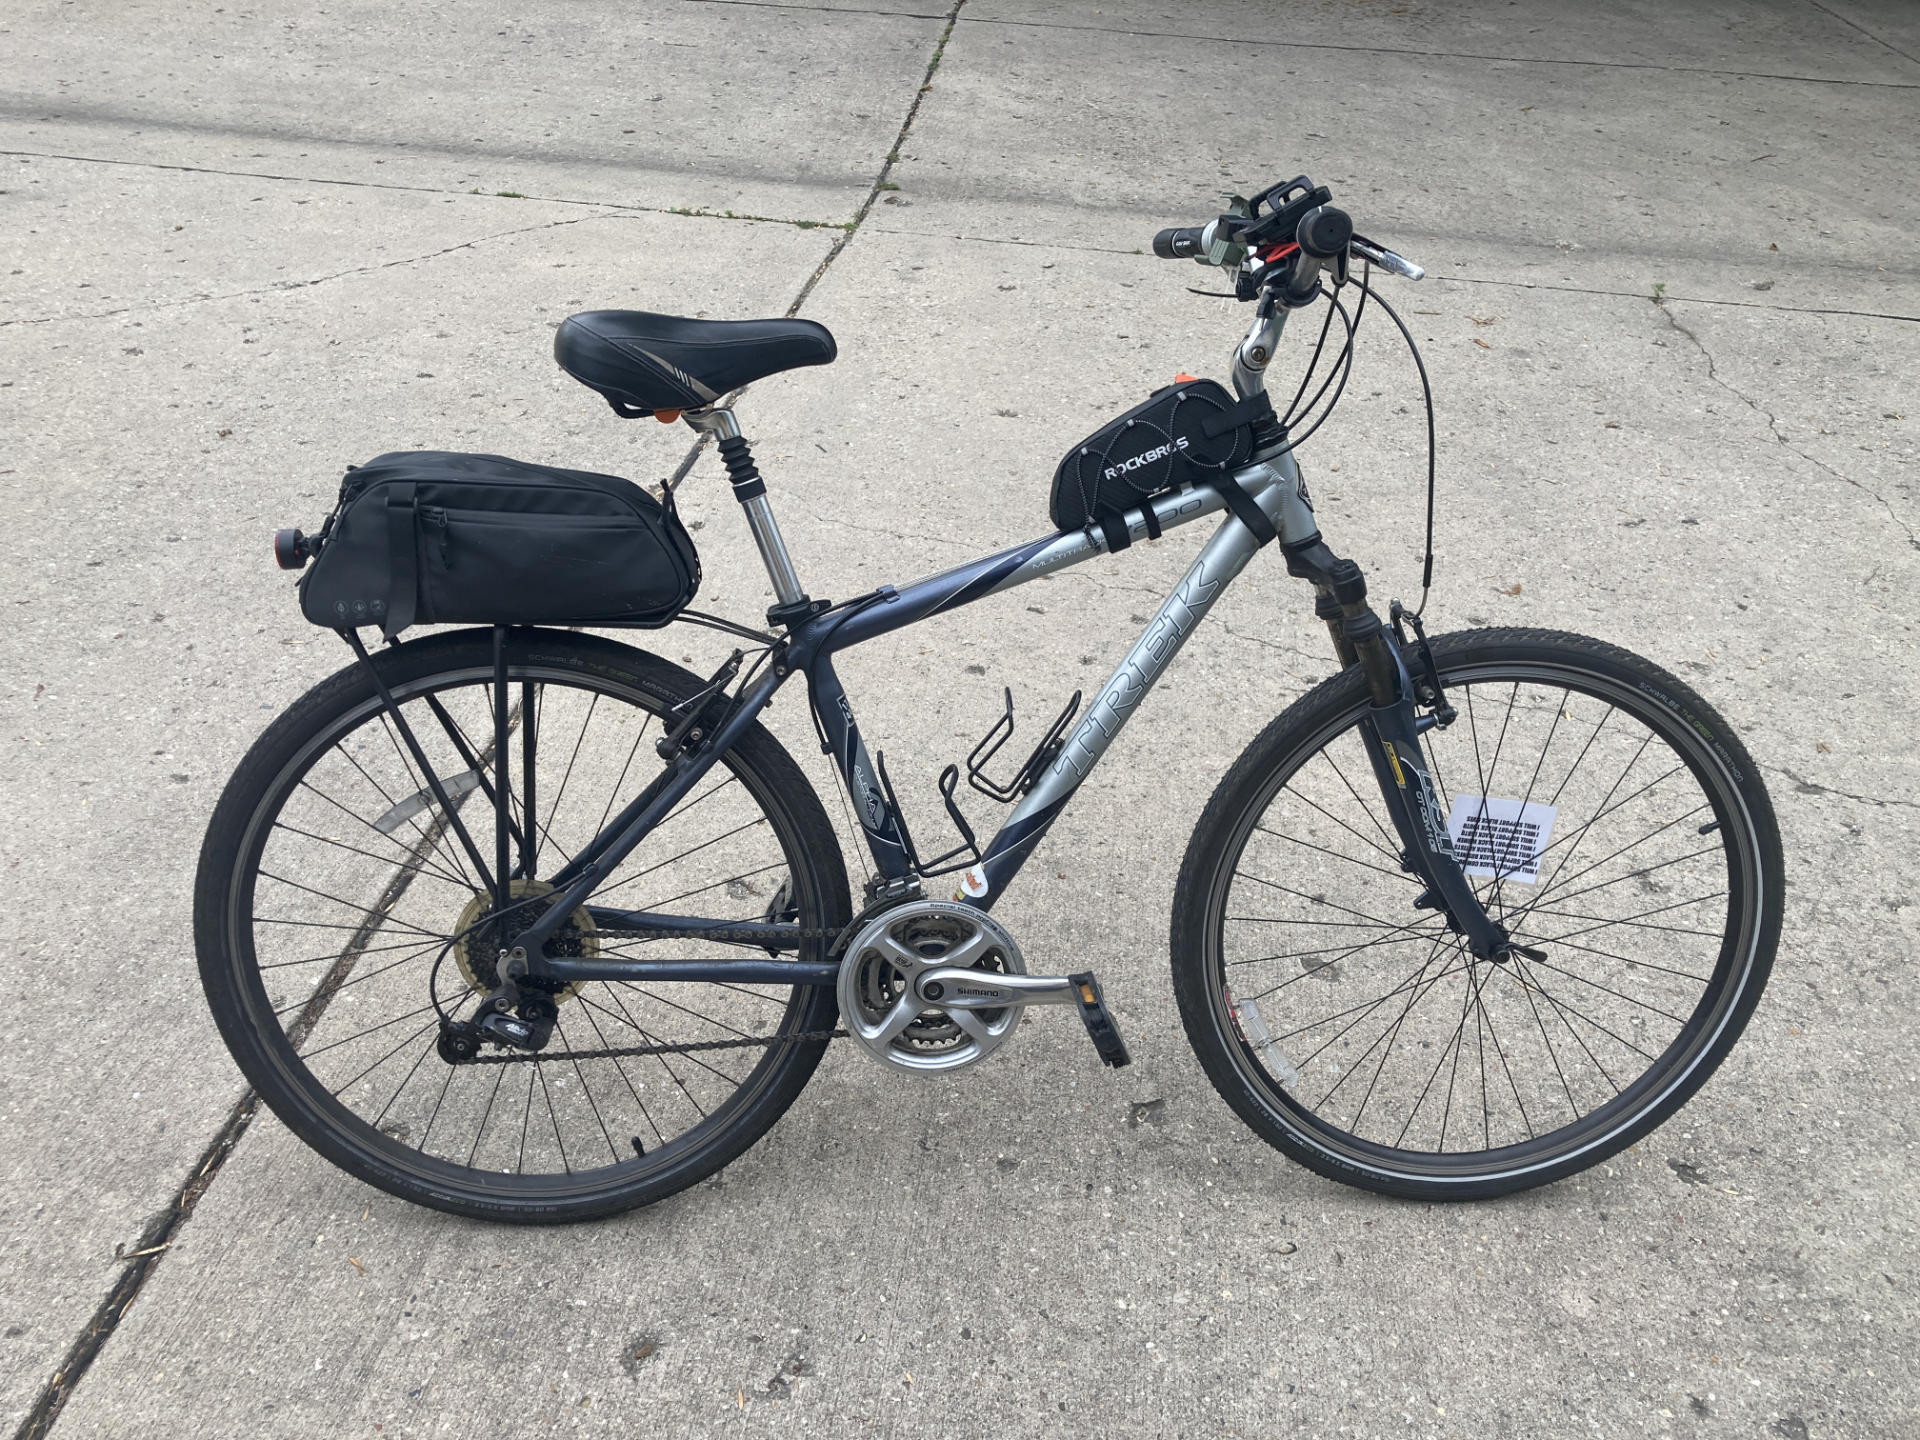
When I first rode the ebike I wanted to do some tests to see what it was like riding it unpowered. I had read posts from people saying “Battery died, had to ride home 5 miles and it was hell!” or something along those lines. These ebikes tend to be heavy, especially with no power and a battery attached. I found that riding the ebike was a bit slower than my old Trek, but it’s a heavier bike, with wider tires, so that’s to be expected.
Typically when I ride (fun ride or ride to work) I try to go for a bit with no pedal assist. That means it’s just me pedaling, no motor. I usually get close to a mile on no-motor/pedal-power when headed to work. It is uphill for the first two miles (though not terrible) so I kick on the pedal assist… also, I do need to get to work.
For today’s ride I did 5 miles with no pedal assist (or “PAS 0” as I call it below.) It’s not terrible, but the hills can be rough. I mean, rougher than my Trek, because of the extra weight. But here’s the thing, and it’s a weird thing…
When I ride in PAS 0 for a while, and switch to PAS 1, it feels natural. That is, PAS 1 feels like what it should be riding a bike. It’s still work, you’re still pedaling quite a bit, but you get a little extra help, especially going up hills. While some people love going uphill, I do not. It’s one of my least favorite parts of riding a bike. Okay, but here’s the weird thing…
When you go from using pedal assist to NOT using pedal assist, you feel like you are working twice as hard! This is the weirdest thing. I tested it again today. Ride for a while with any pedal assist level and then turn it off and you feel like the bike is purposefully slowing you down. Like it’s pulling you backwards while you try to pedal forward. And it’s not even like when you start without pedal assist, it’s like negative pedal assist. I’m telling you, it’s the weirdest damn thing. It’s probably all in the mind.
So let’s talk about the need for speed. People who like to race, go fast, seek thrills, whatever. When I started riding last year I had no goal to go fast. I mean like faster than 15mph. When I started I was averaging less than 10 miles per hour. I eventually worked that up to 10, then 11, and it’s not quite at 12 now, though some rides are 12mph but I’m not at 13 yet. Often I’d have about 30 minutes to ride in the morning so I’d try to get in 5 miles, so I’d try to ride a bit faster. I’d usually get a good workout and get 5 miles in. All good.
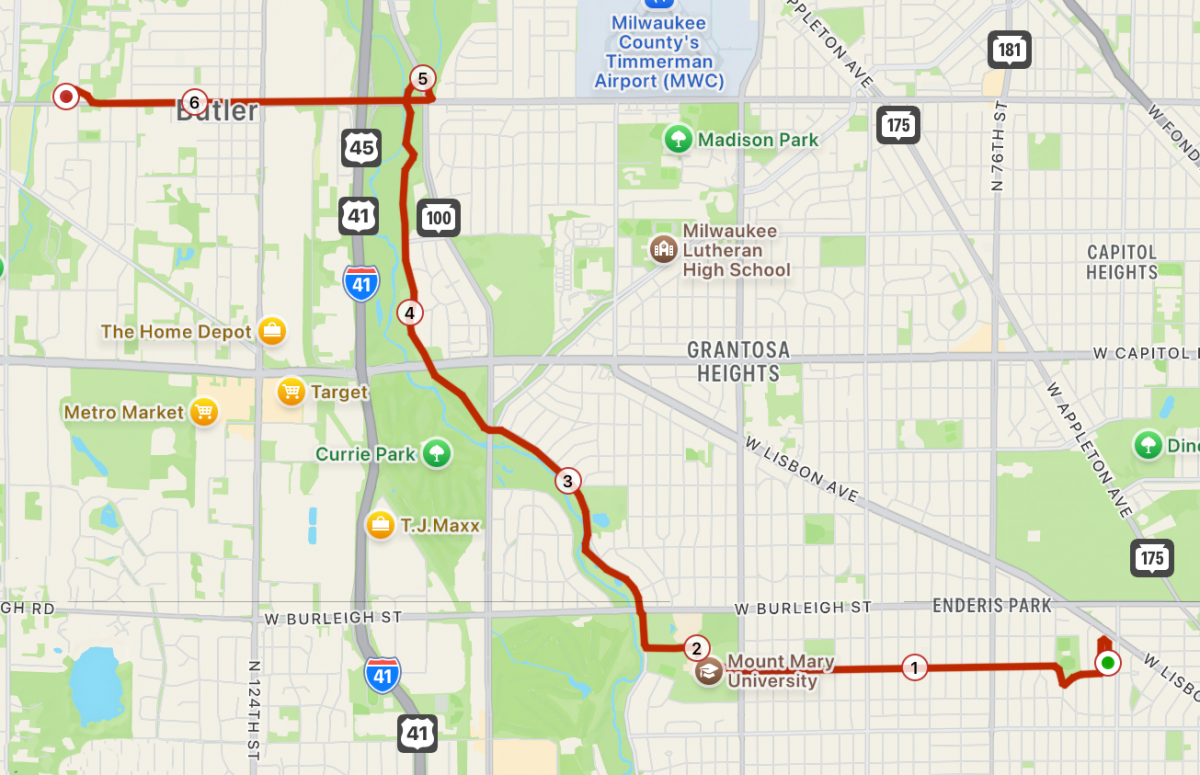
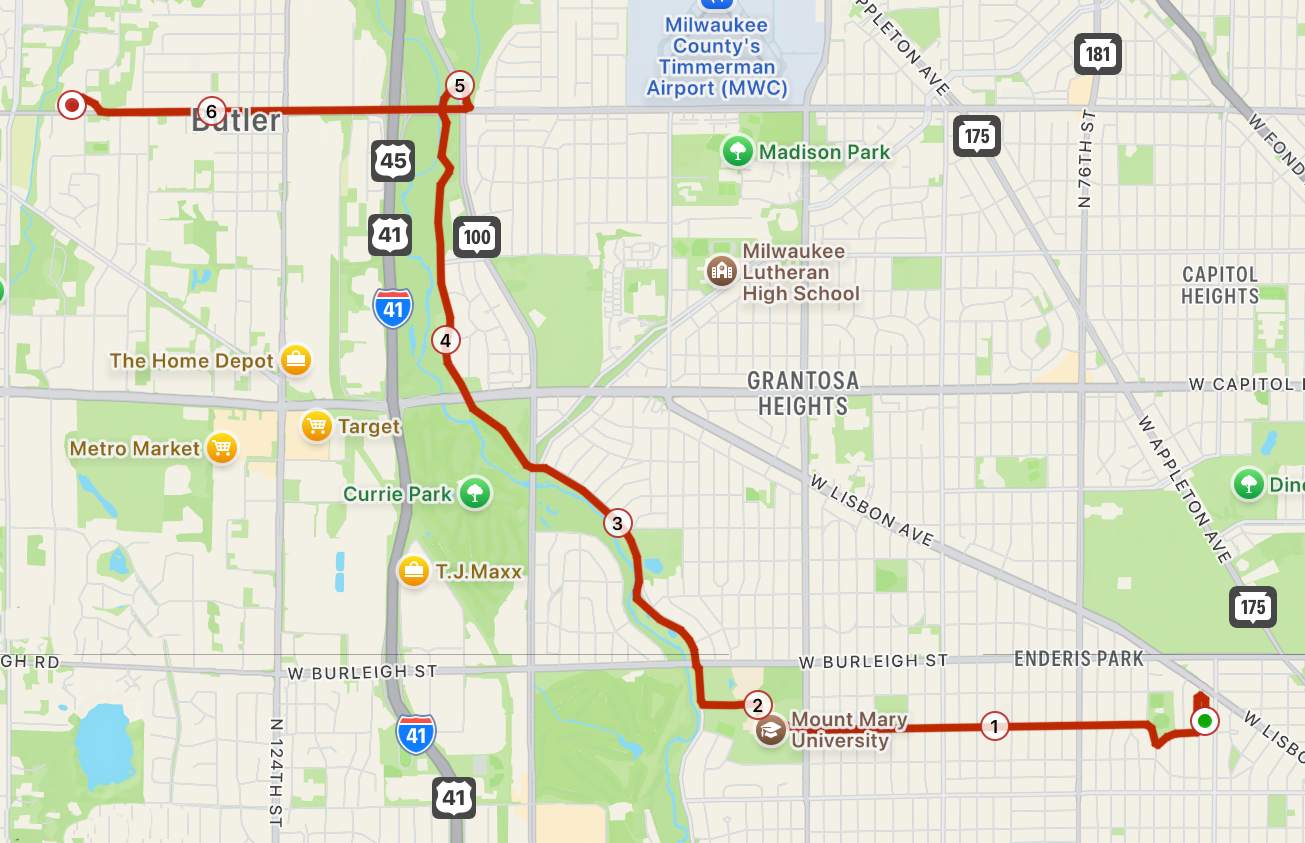
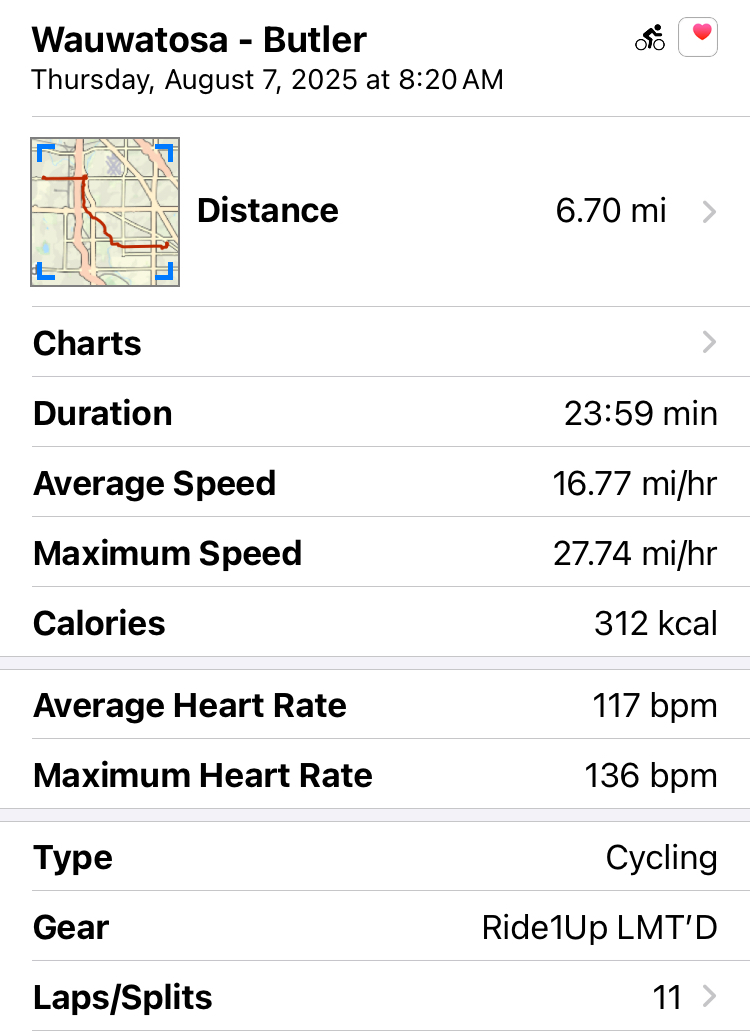
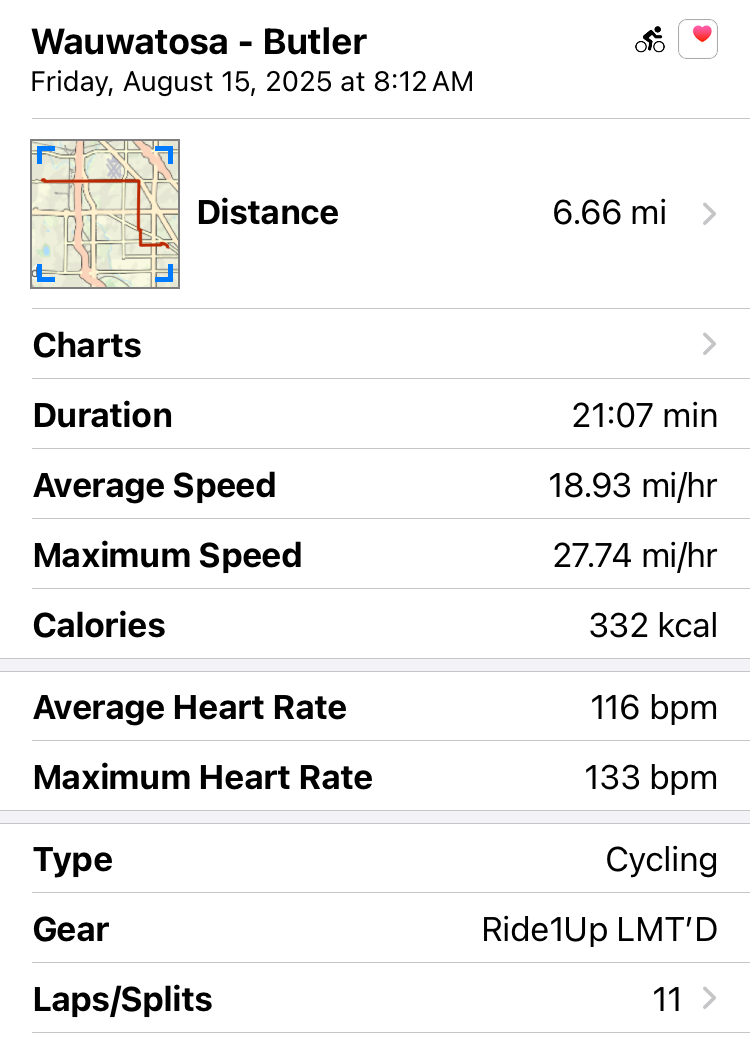
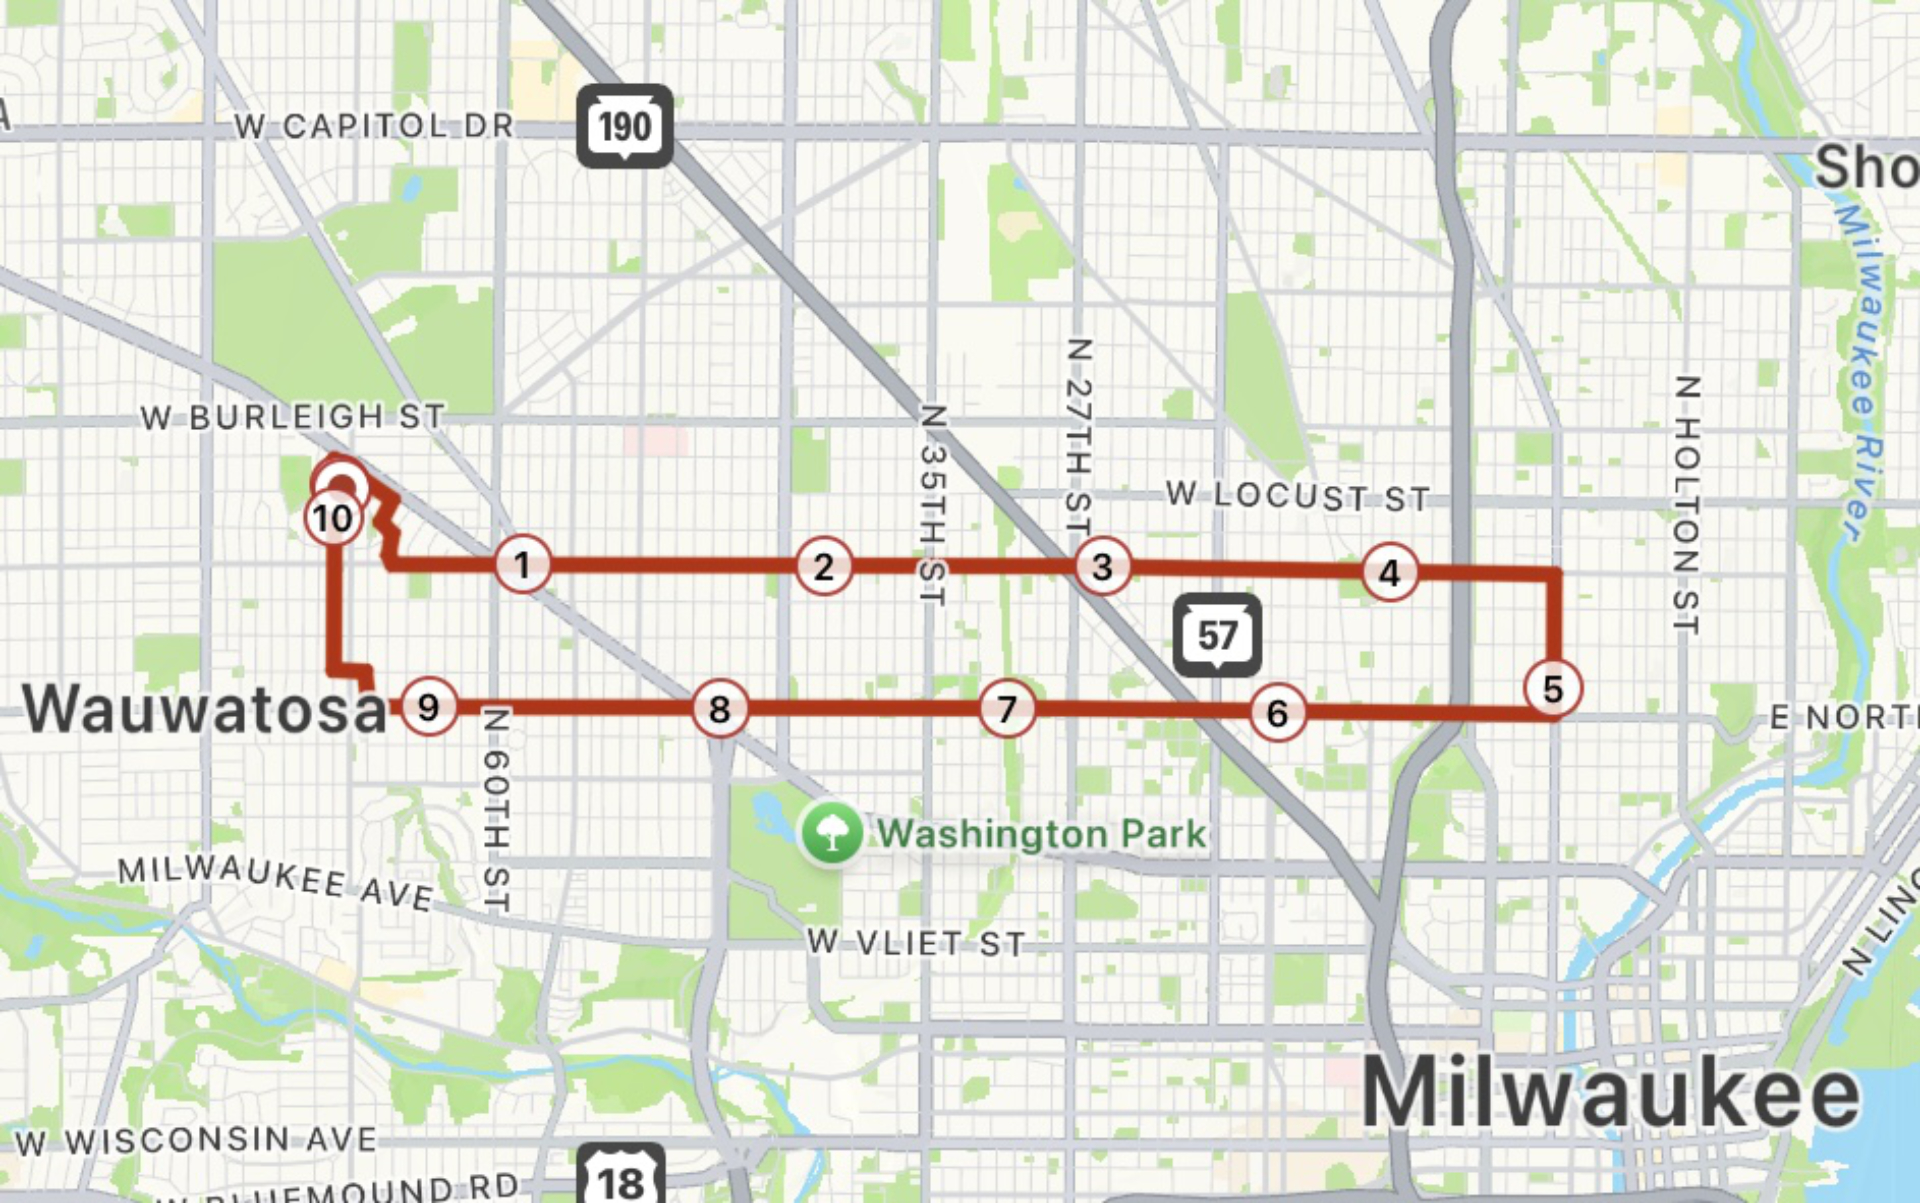
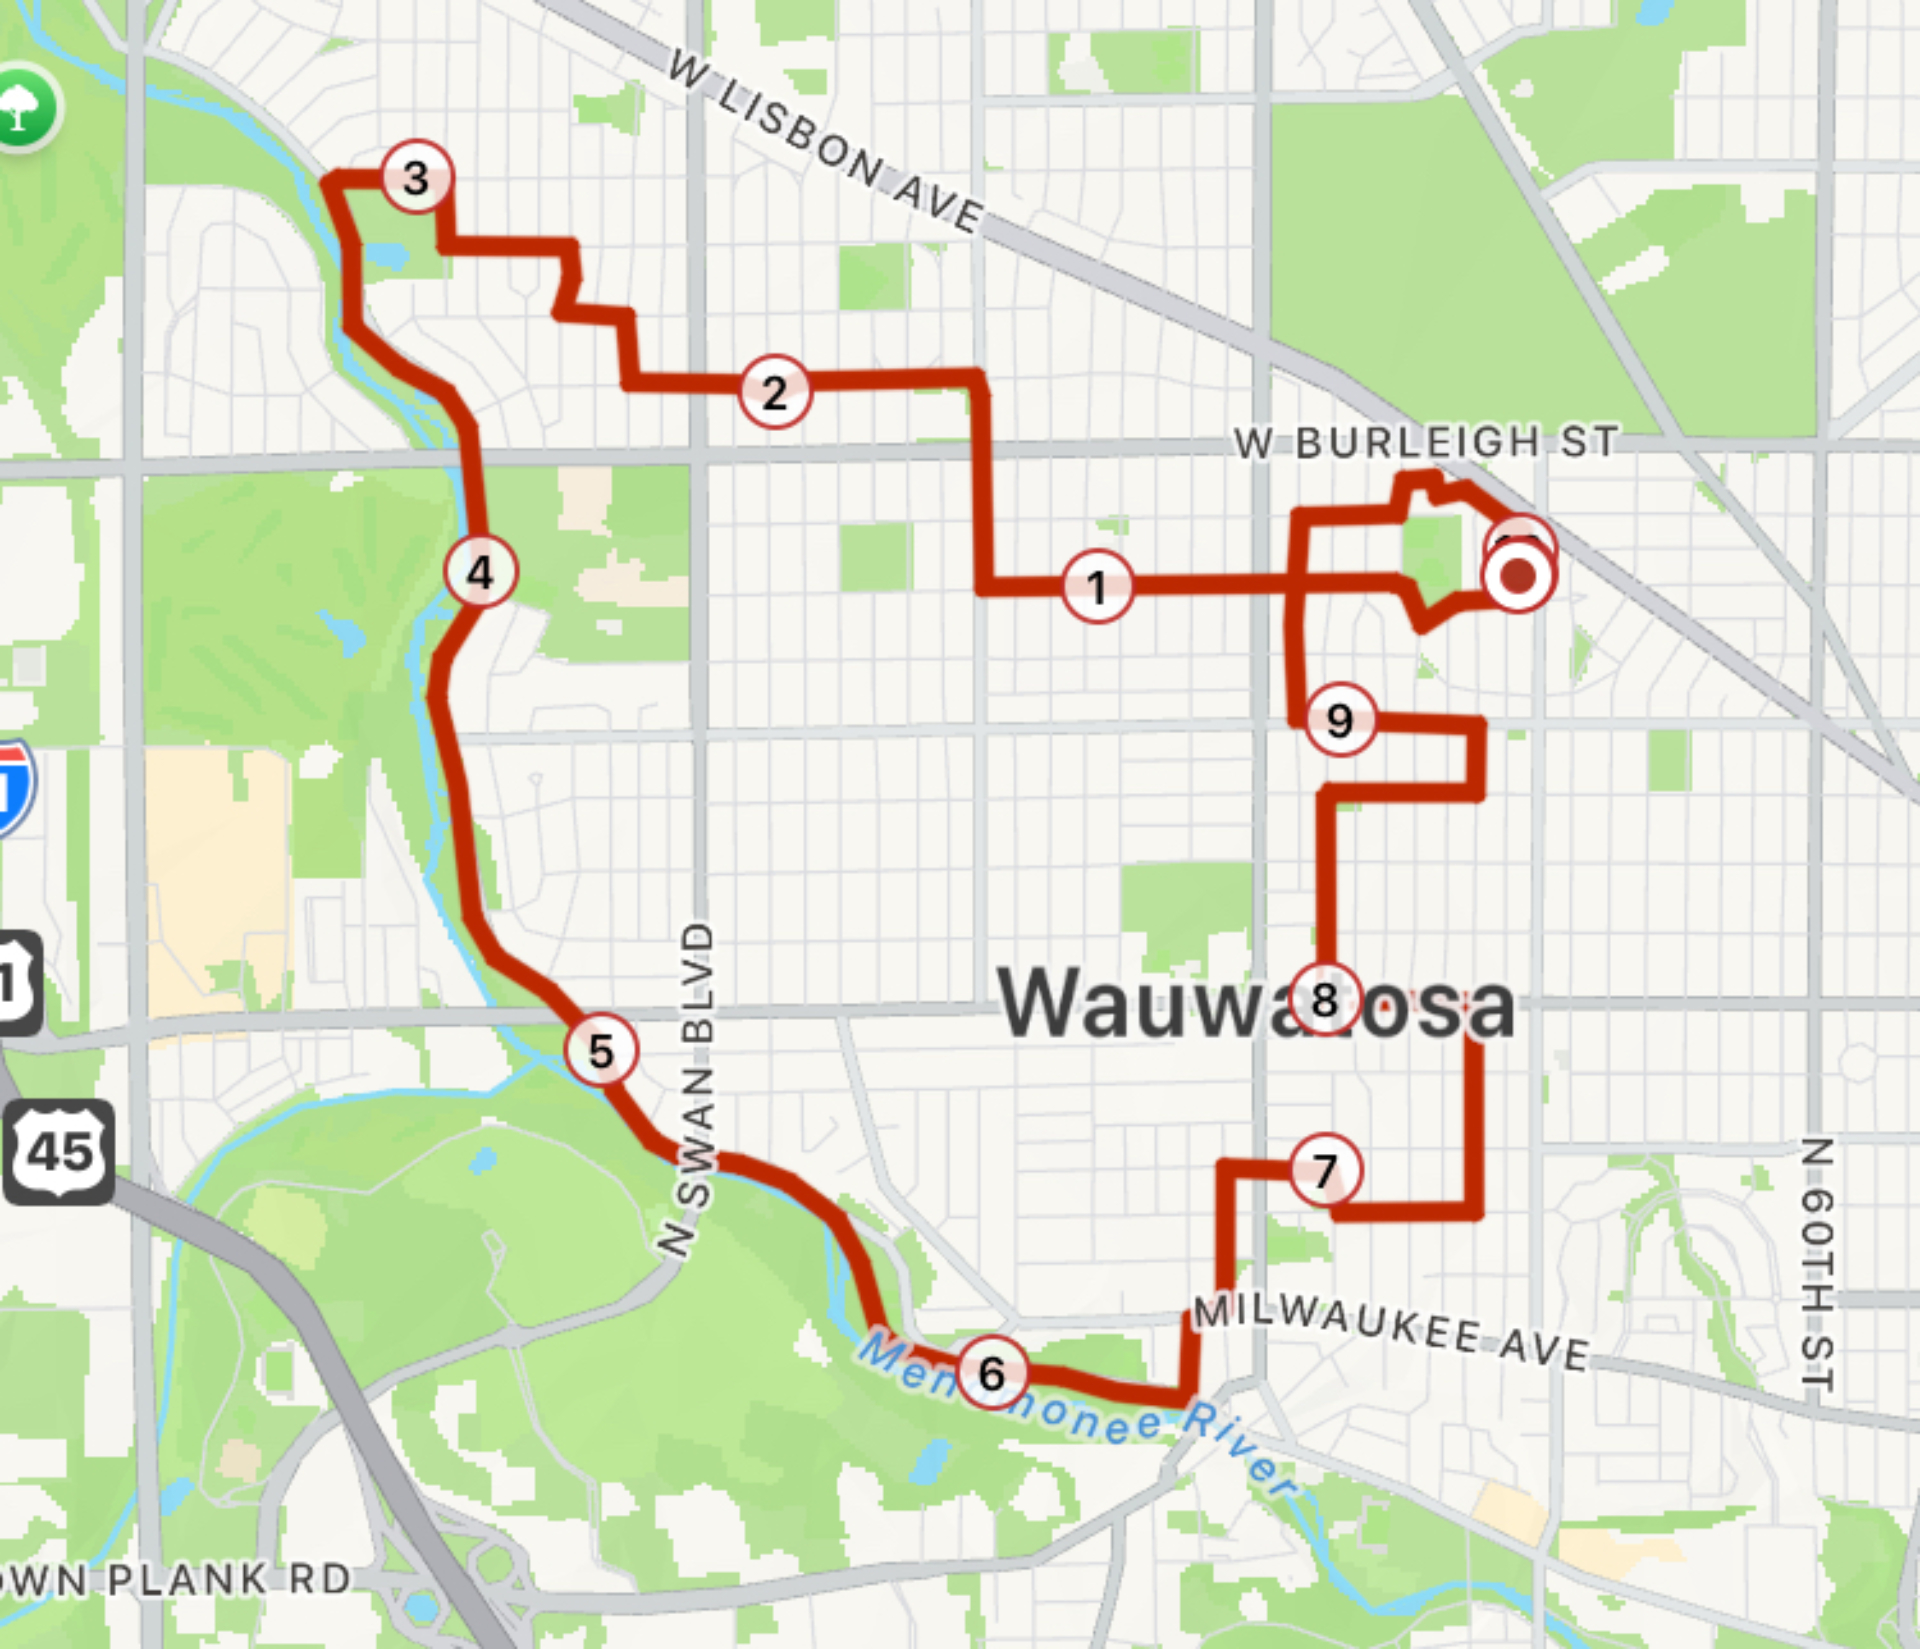
Okay, so today I did three rides. This is not totally scientific, as I did three five mile rides one after another, and the route was not the same, so… whatever, they are numbers.
| PAS 0 | PAS 1 | PAS 2 | |
|---|---|---|---|
| Time | 26:03 | 22:57 | 19:40 |
| Avg Speed (mph) | 11.56 | 13.17 | 15.39 |
| Avg Heart Rate (bpm) | 111 | 110 | 103 |
| Max Heart Rate (bpm) | 132 | 130 | 121 |
| Kilocalories (kcal) | 179 | 232 | 147 |
As mentioned, I started with no pedal assist (PAS 0) and only kicked it to PAS 1 for about 30 seconds to get up a hill. PAS is great for hills! After five miles I turned on PAS 1, and it’s like a normal ride. It feels natural, it feels right, it feels good. I’m still working the pedals, still pushing hard, but not so hard I’m totally wearing myself out. One thing they say about ebikes is that you’ll ride more and ride farther, and this is correct.
After five more miles I jumped to PAS 2 and it’s even easier. I won’t say “it’s too easy” because it’s all relative. PAS 2 is great for “I’m cruising around, I don’t care if I’m pushing myself to reach goals, I just want to ride!” Honestly. sometimes in PAS 2 I feel like the bike is going a little faster than I need it to. At least on one of my “fun rides” that is. So I find the numbers interesting, but not totally surprising. If I was riding my Trek I probably would not have done 15 miles, and if I did I’d be pretty exhausted afterwards. (My long “Trek rides” tend to be 10 to 12 miles.)
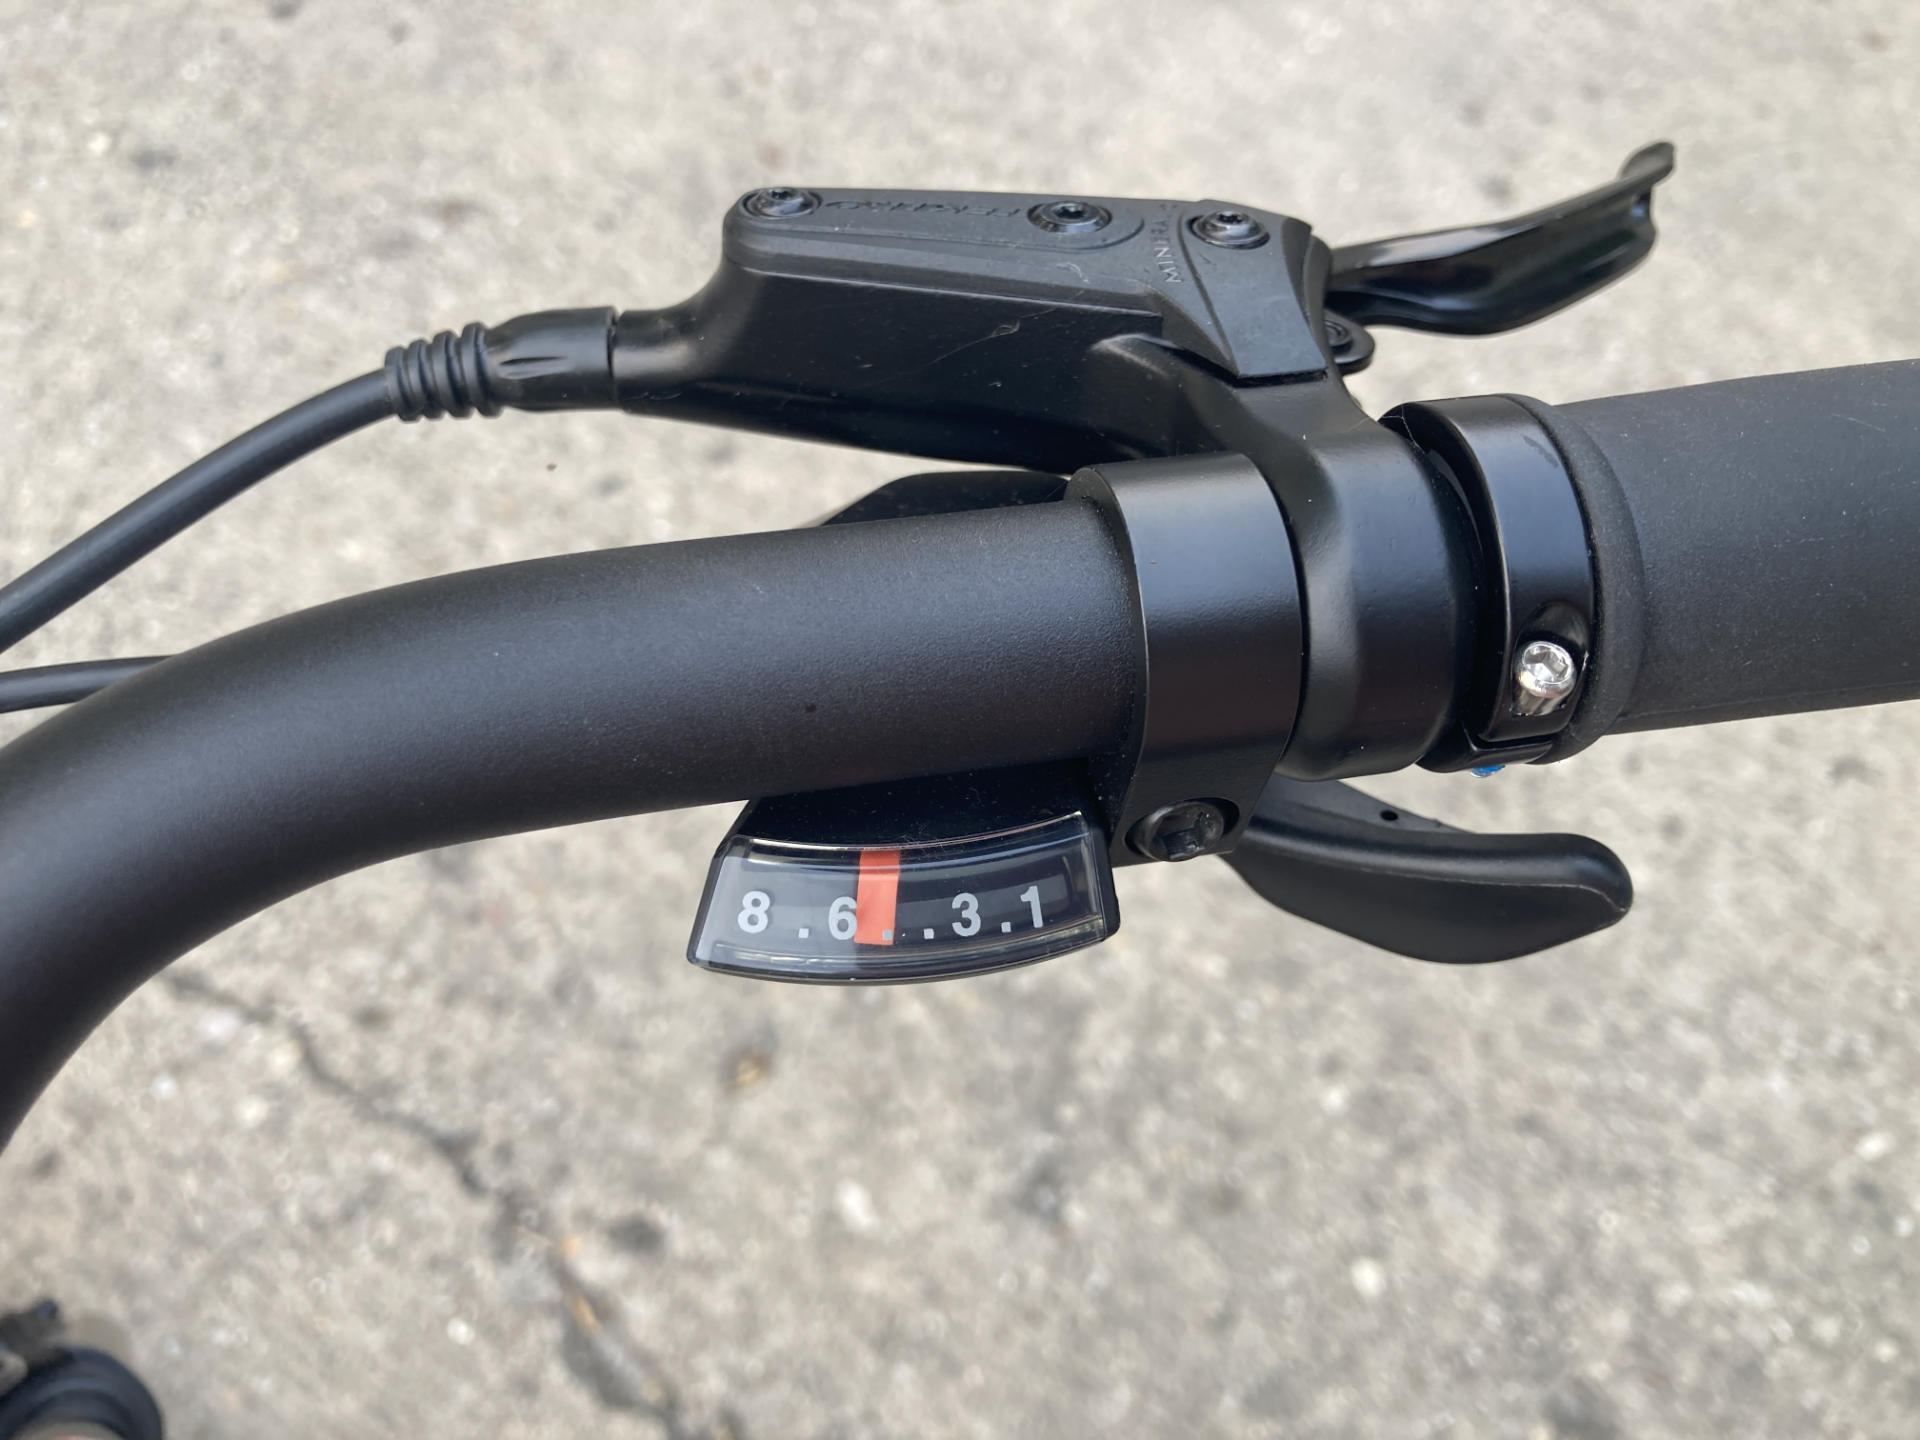
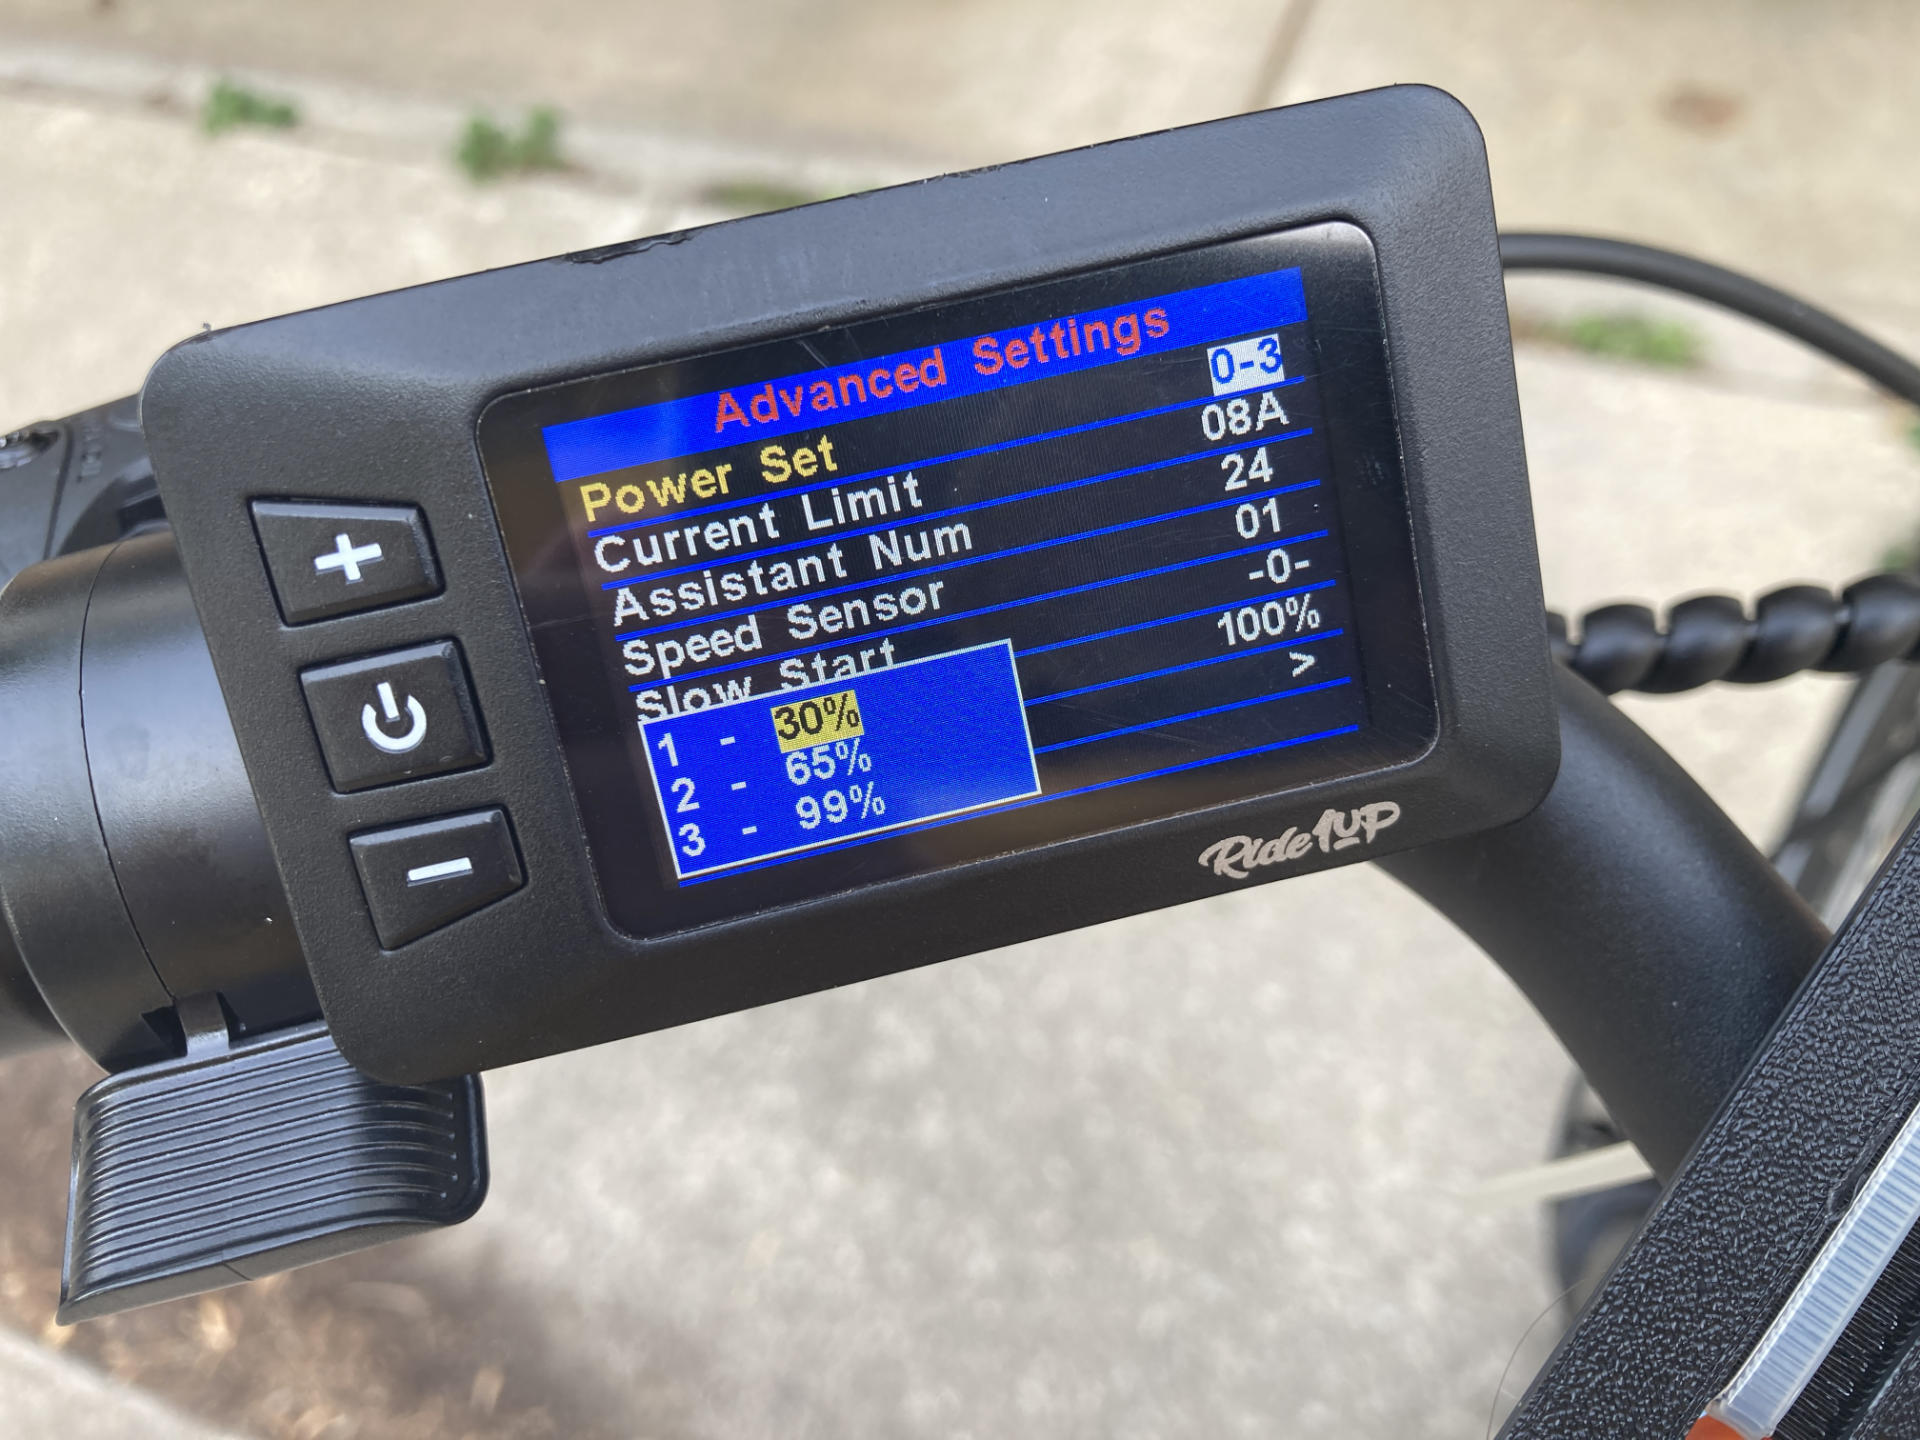
I haven’t mentioned PAS 3. Level 3 is great for rides to work, when I want to get there fast, when I need to ride on Hampton (especially up the huge hill) when I’m on the part of the parkway where there is no traffic and no one else around. Now it is possible to tune the PAS levels, and I’ve done that a little, but haven’t extensively adjusted them.
Anyway, I find this all very interesting.
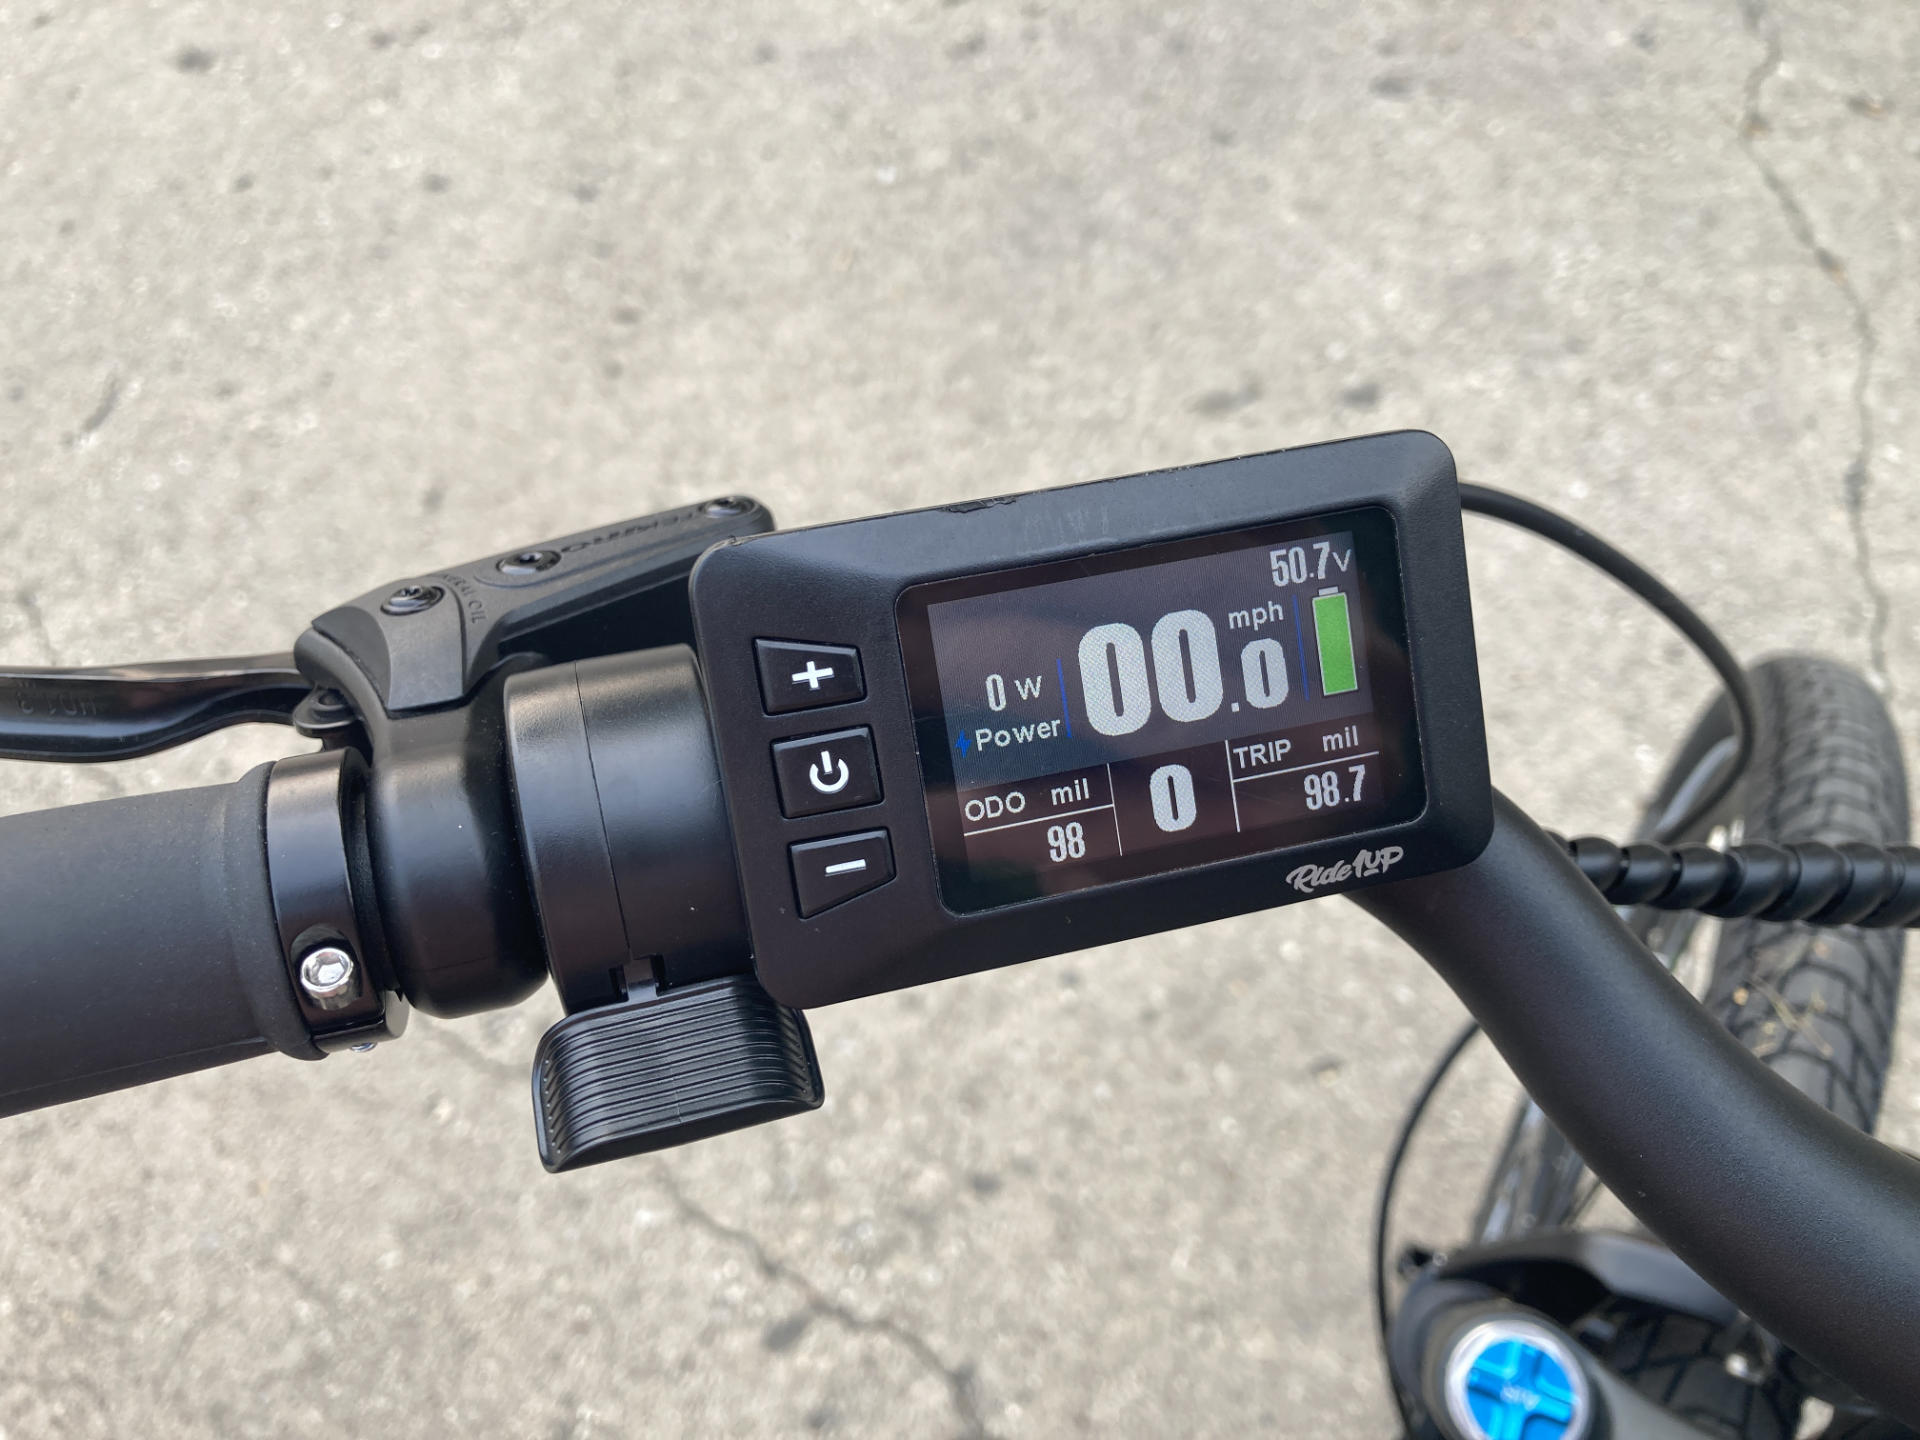
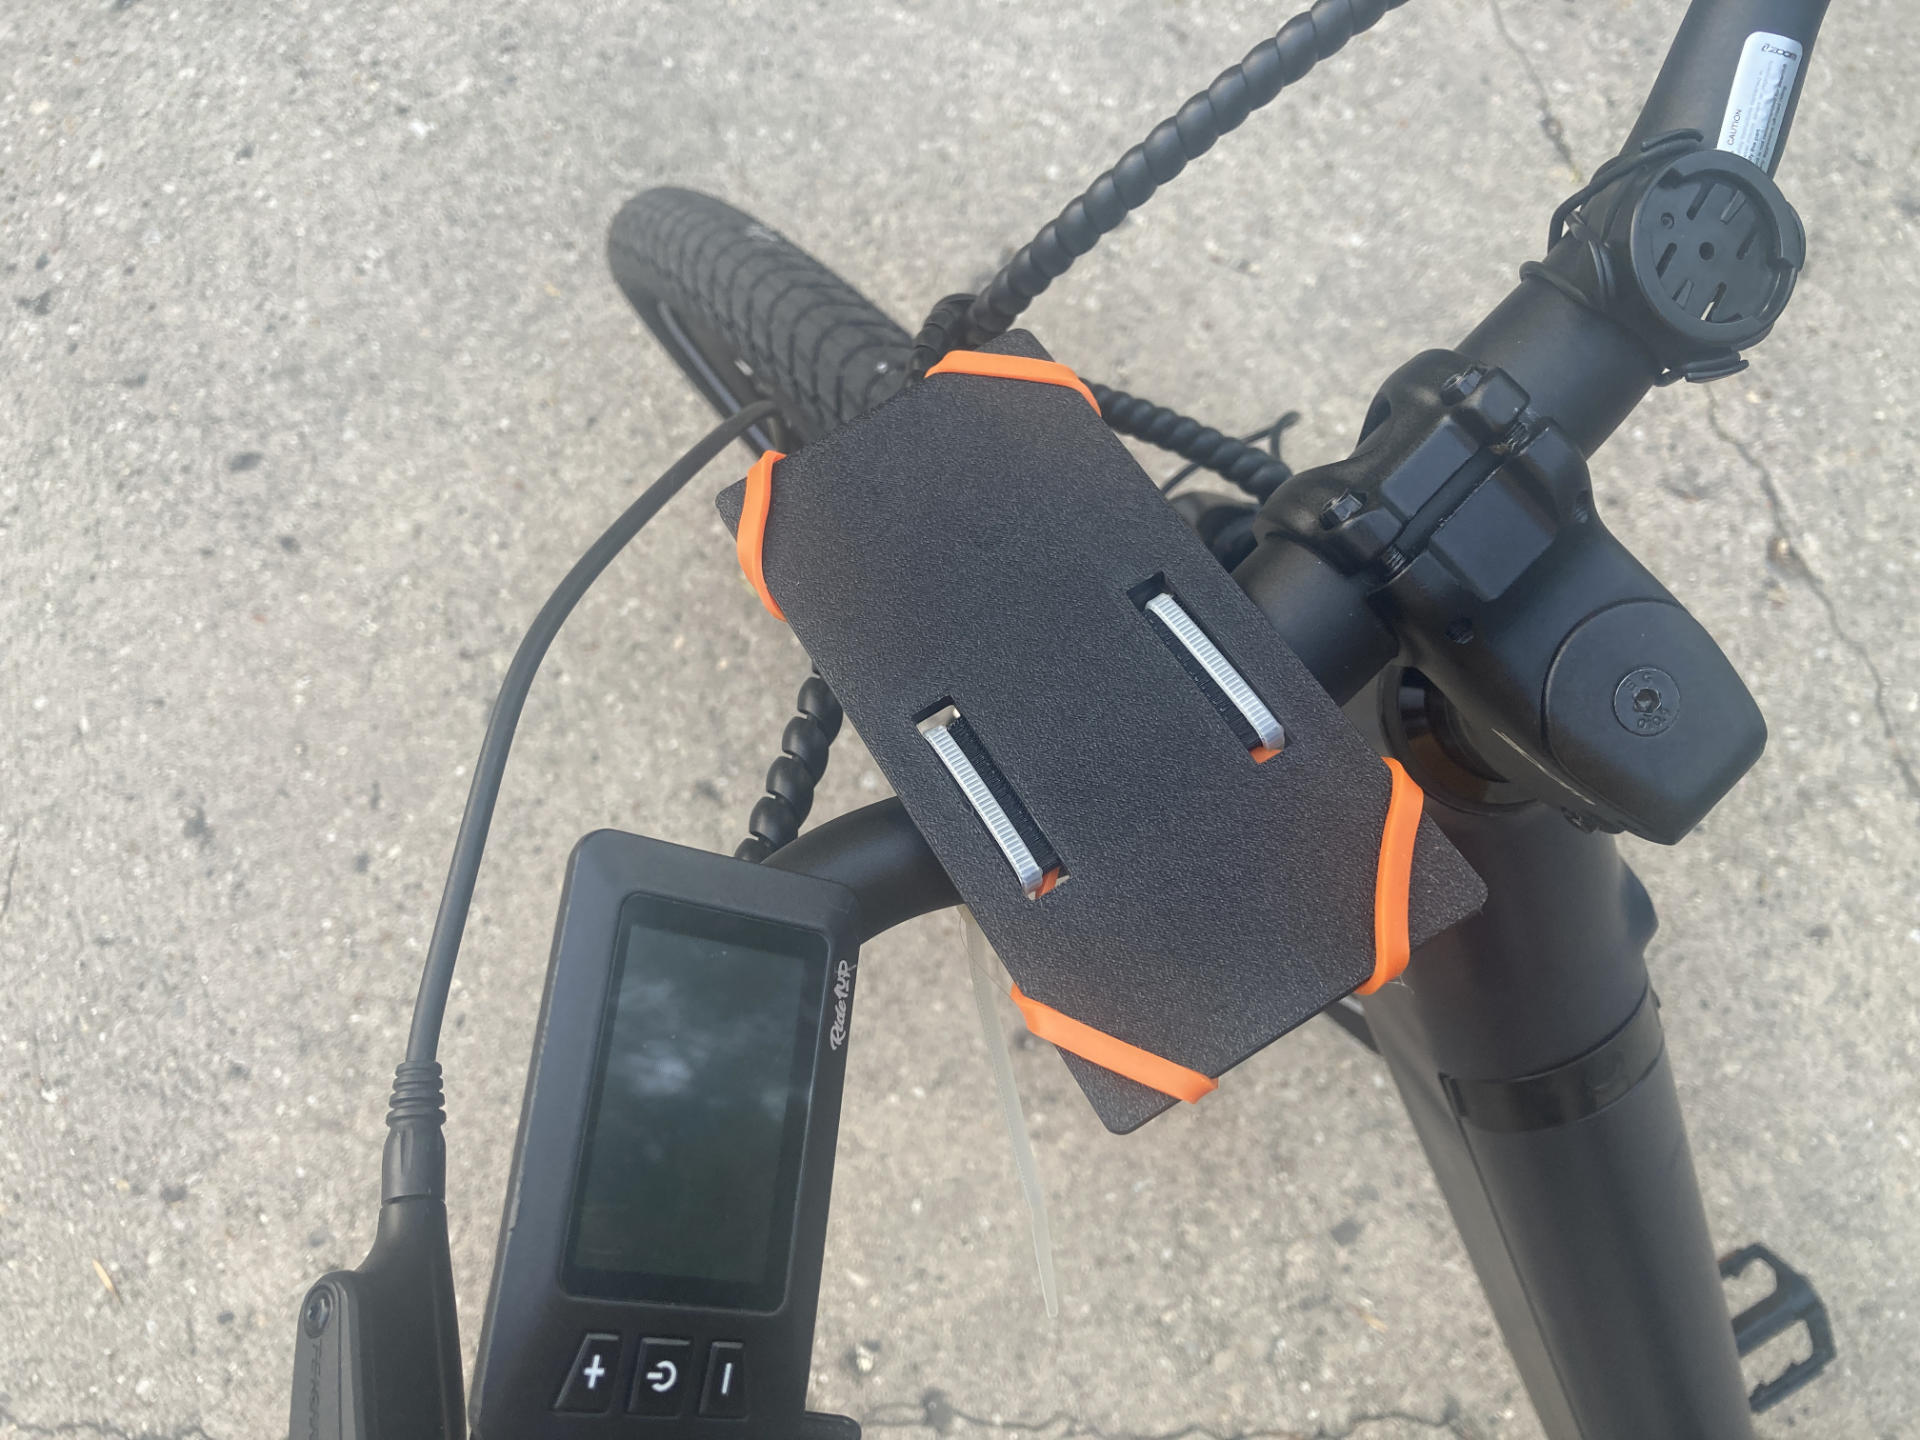
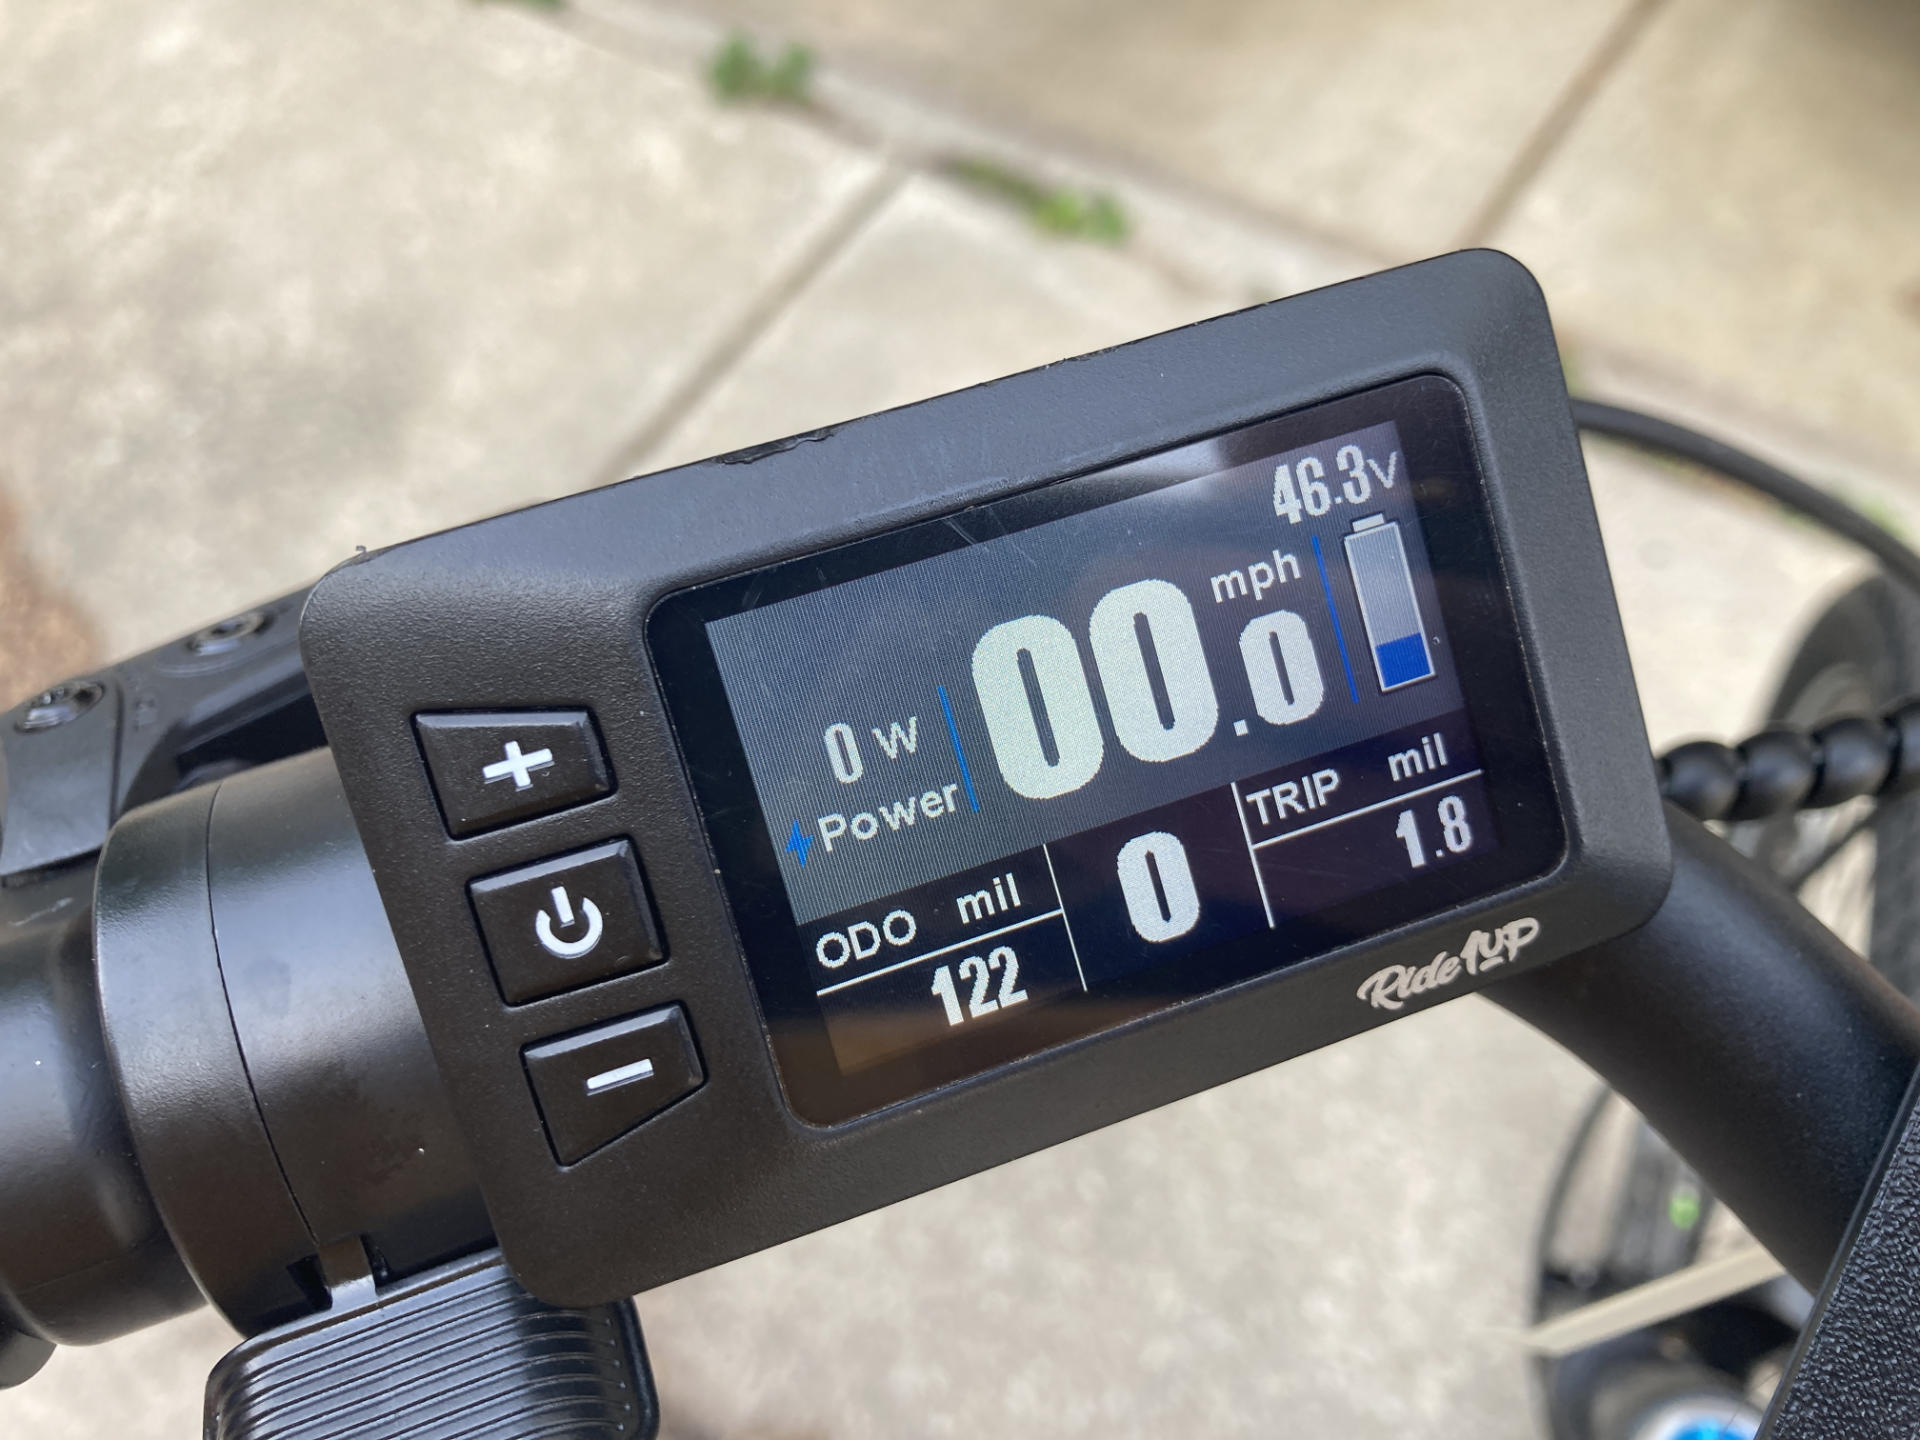
One more important note! When I talk about my speed (in mph) the data all comes from my iPhone which I use to track my rides. The speed may not be accurate! Now that I’ve been on a bike with a real speedometer I can see my phone is often a bit off from the bike. I’ve stuck with phone data here for consistency.