The ACLU has a great guide about what to do if your are stopped by police. (And more general guides about your rights as well.)
Here’s a printable PDF guide for what to do if you are stopped. Print one and carry it with you. Print them out and give them to people you care about (which should be everyone) so they too can know what to do.
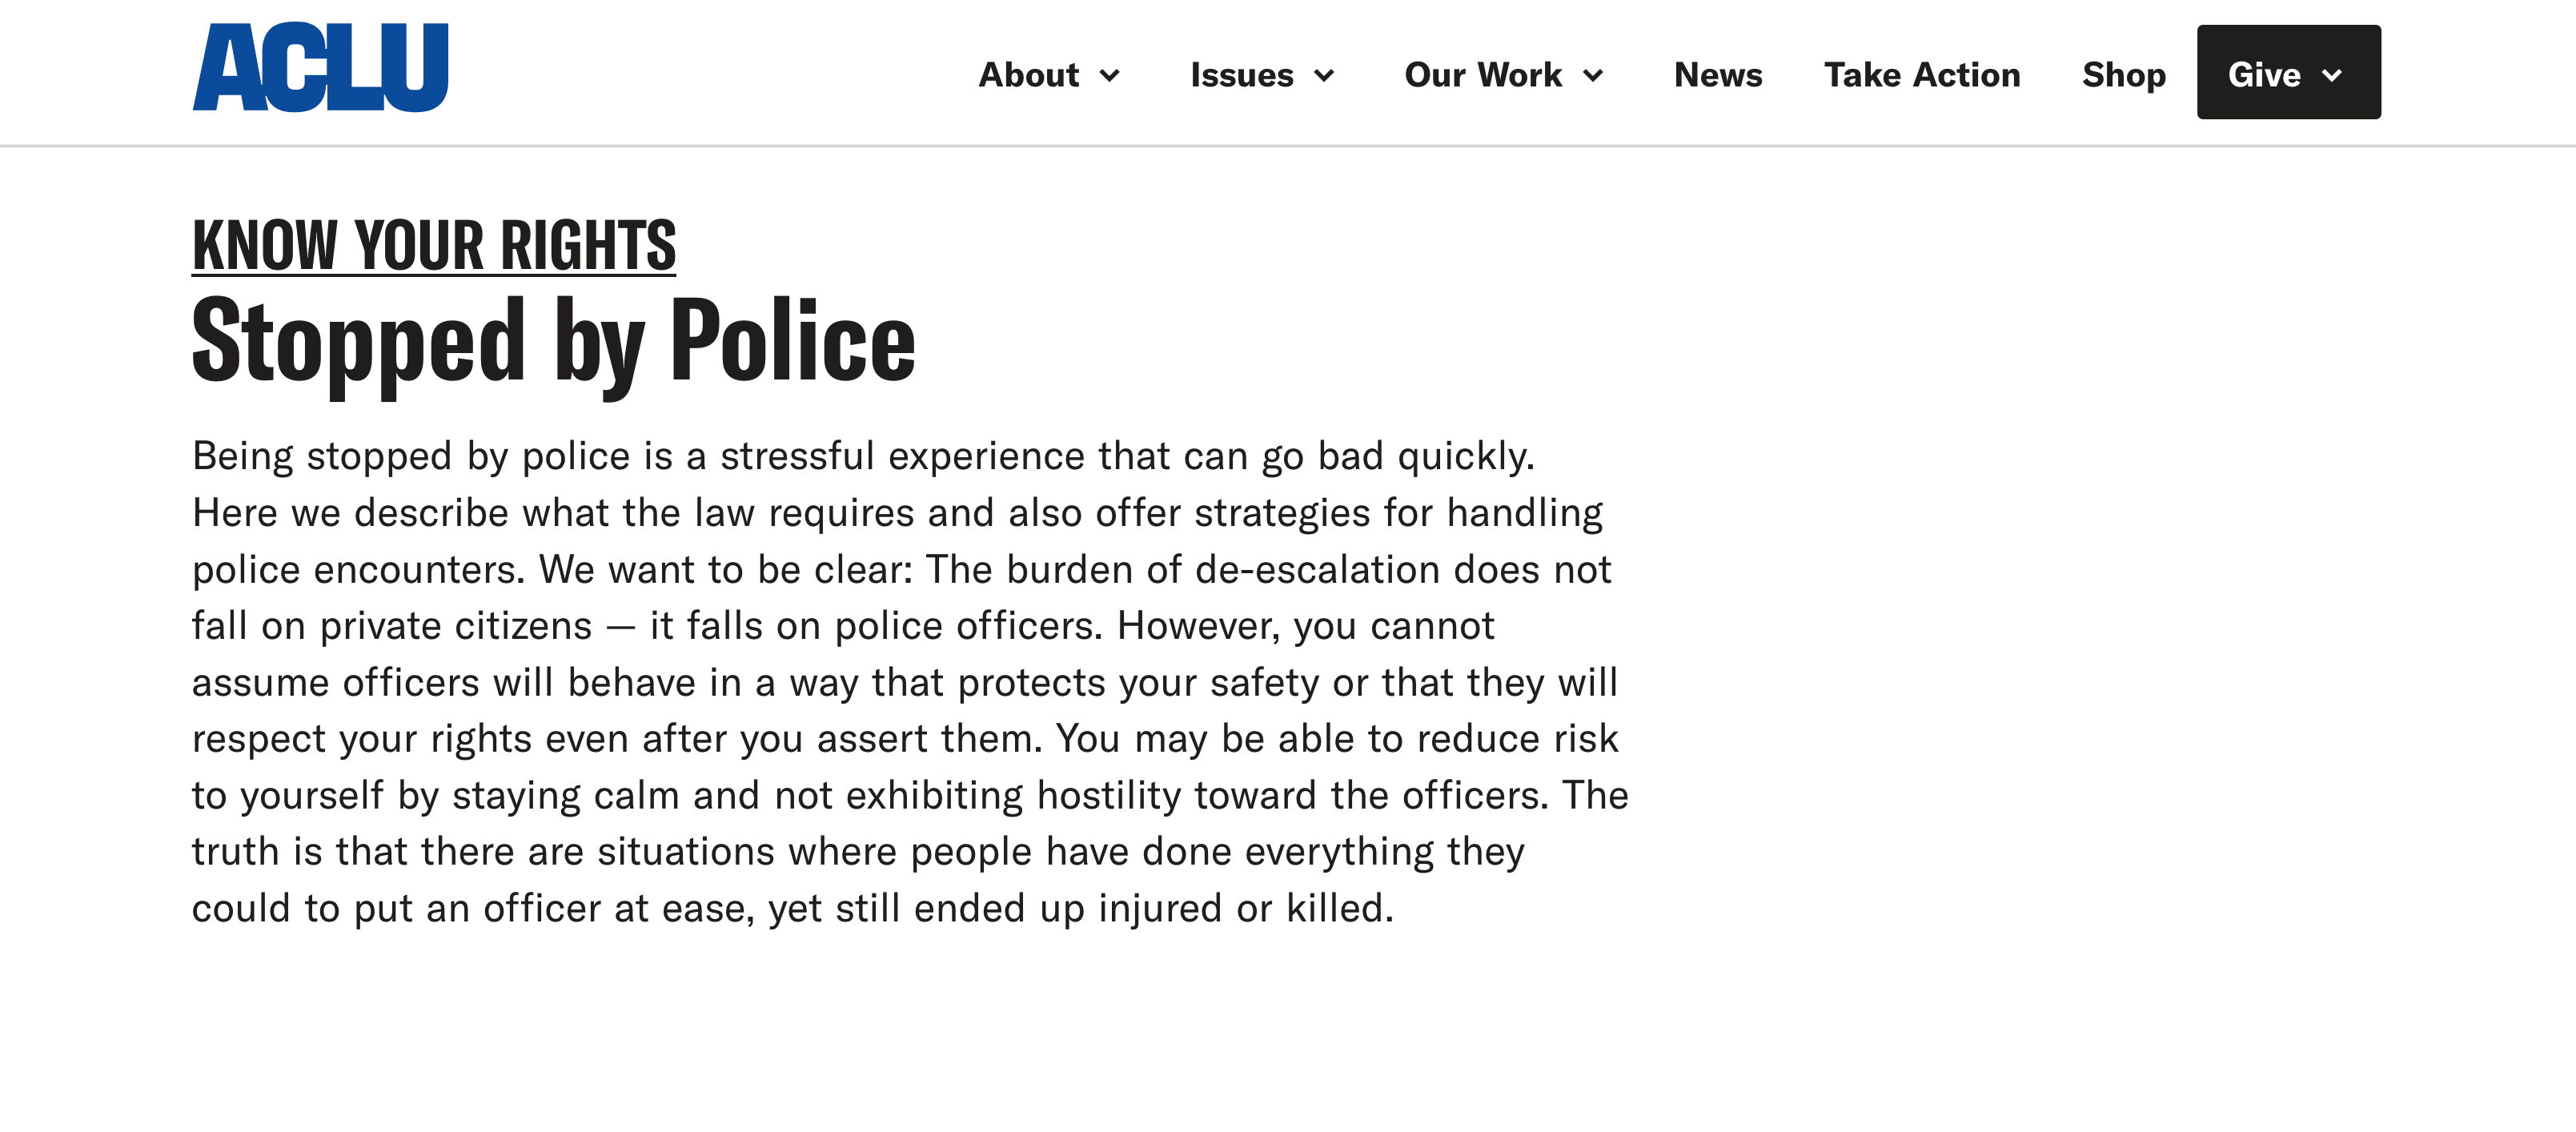
Being stopped by police is a stressful experience that can go bad quickly. Here we describe what the law requires and also offer strategies for handling police encounters. We want to be clear: The burden of de-escalation does not fall on private citizens — it falls on police officers. However, you cannot assume officers will behave in a way that protects your safety or that they will respect your rights even after you assert them. You may be able to reduce risk to yourself by staying calm and not exhibiting hostility toward the officers. The truth is that there are situations where people have done everything they could to put an officer at ease, yet still ended up injured or killed.
Ask if you are free to leave. If the officer says yes, calmly and silently walk away. If you are under arrest, you have a right to know why.
And here’s a PDF of the whole page… as a backup. Just in case.