NOTE! Make sure you read the Update! at the bottom of this post.
This blog post exists for one reason, to let you know that I clicked “Confirm” to this warning screen and everything was totally fine.
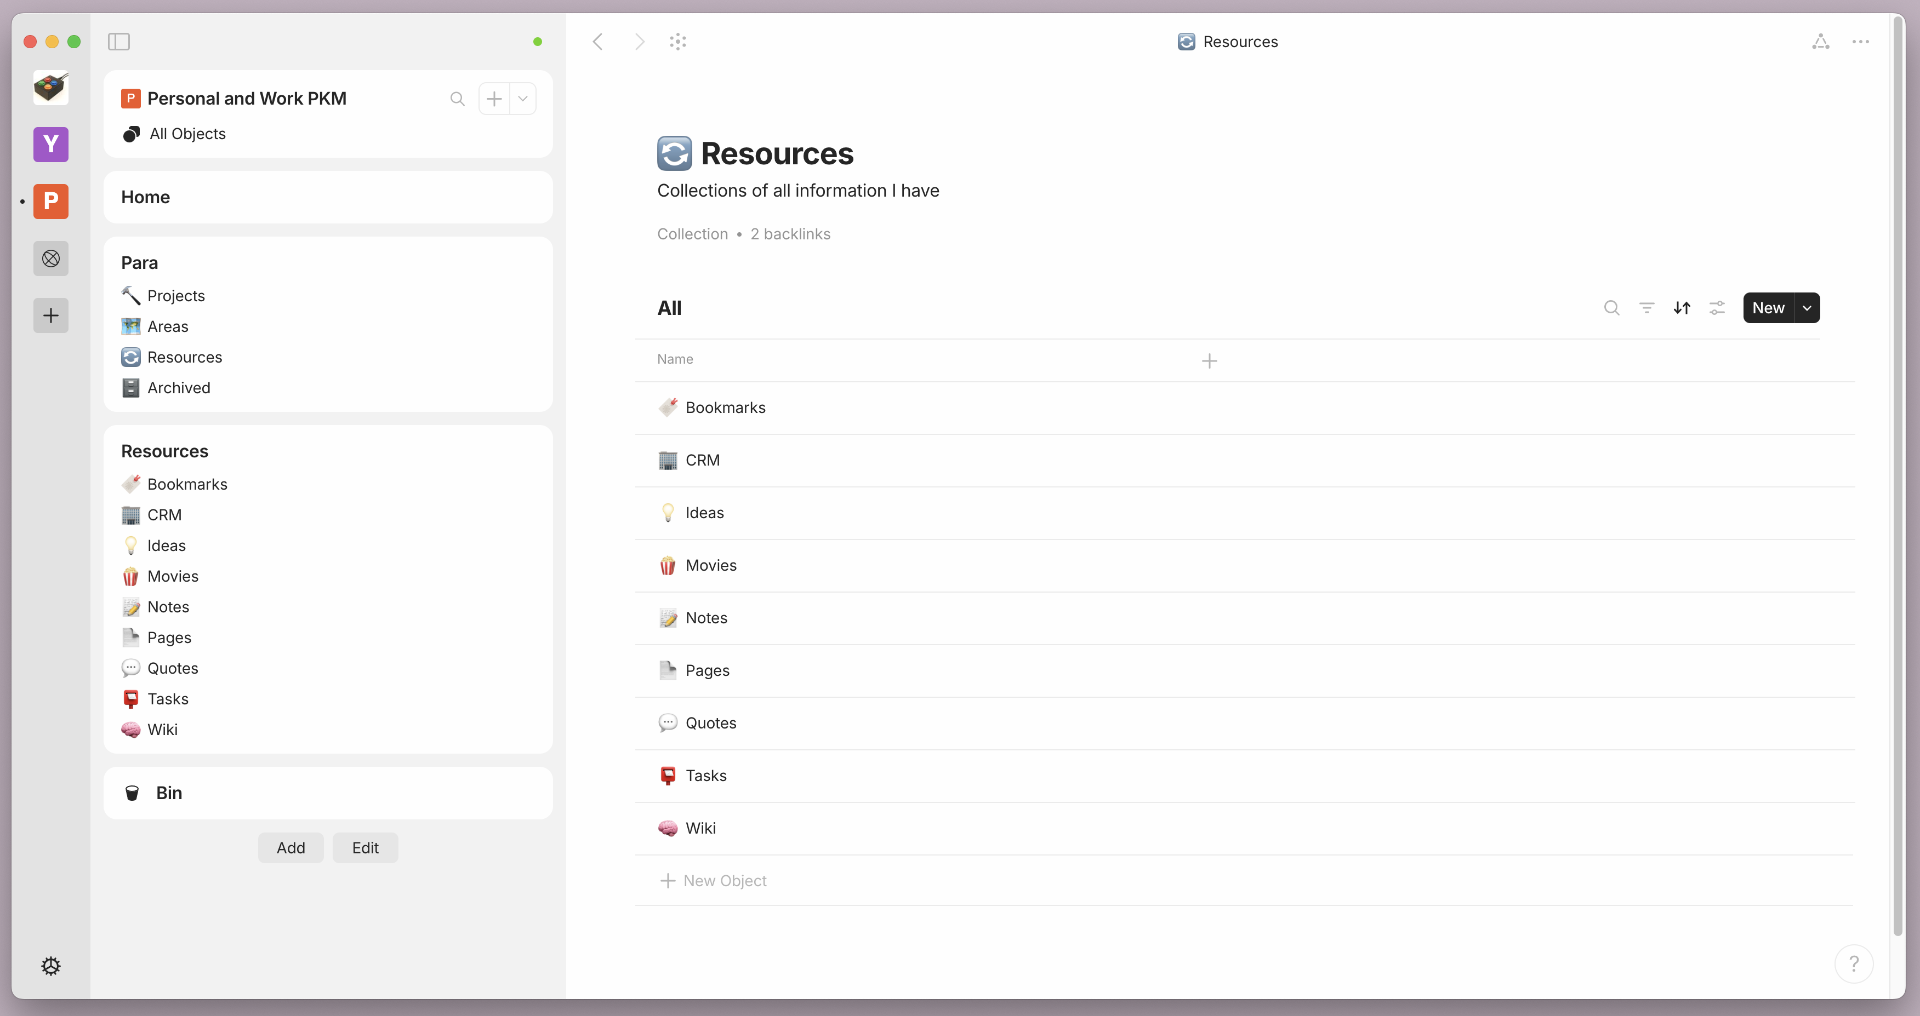
Warning: The change you are attempting to make may cause AT&T U-verse to stop working properly.
It’s 2025 and I have an AT&T router with a fiber connection with the DirecTV package. I do not have AT&T U-verse, though I did about a decade ago in 2014. I don’t even know if they still offer U-verse, but when I searched online to see if it was okay to click Confirm and it would not break my Internet connection all I could find was people asking the question on various forums with no clear answers given. So I’m here to tell you that for me it worked fine.
You can stop reading if you’ve learned all you need to know!
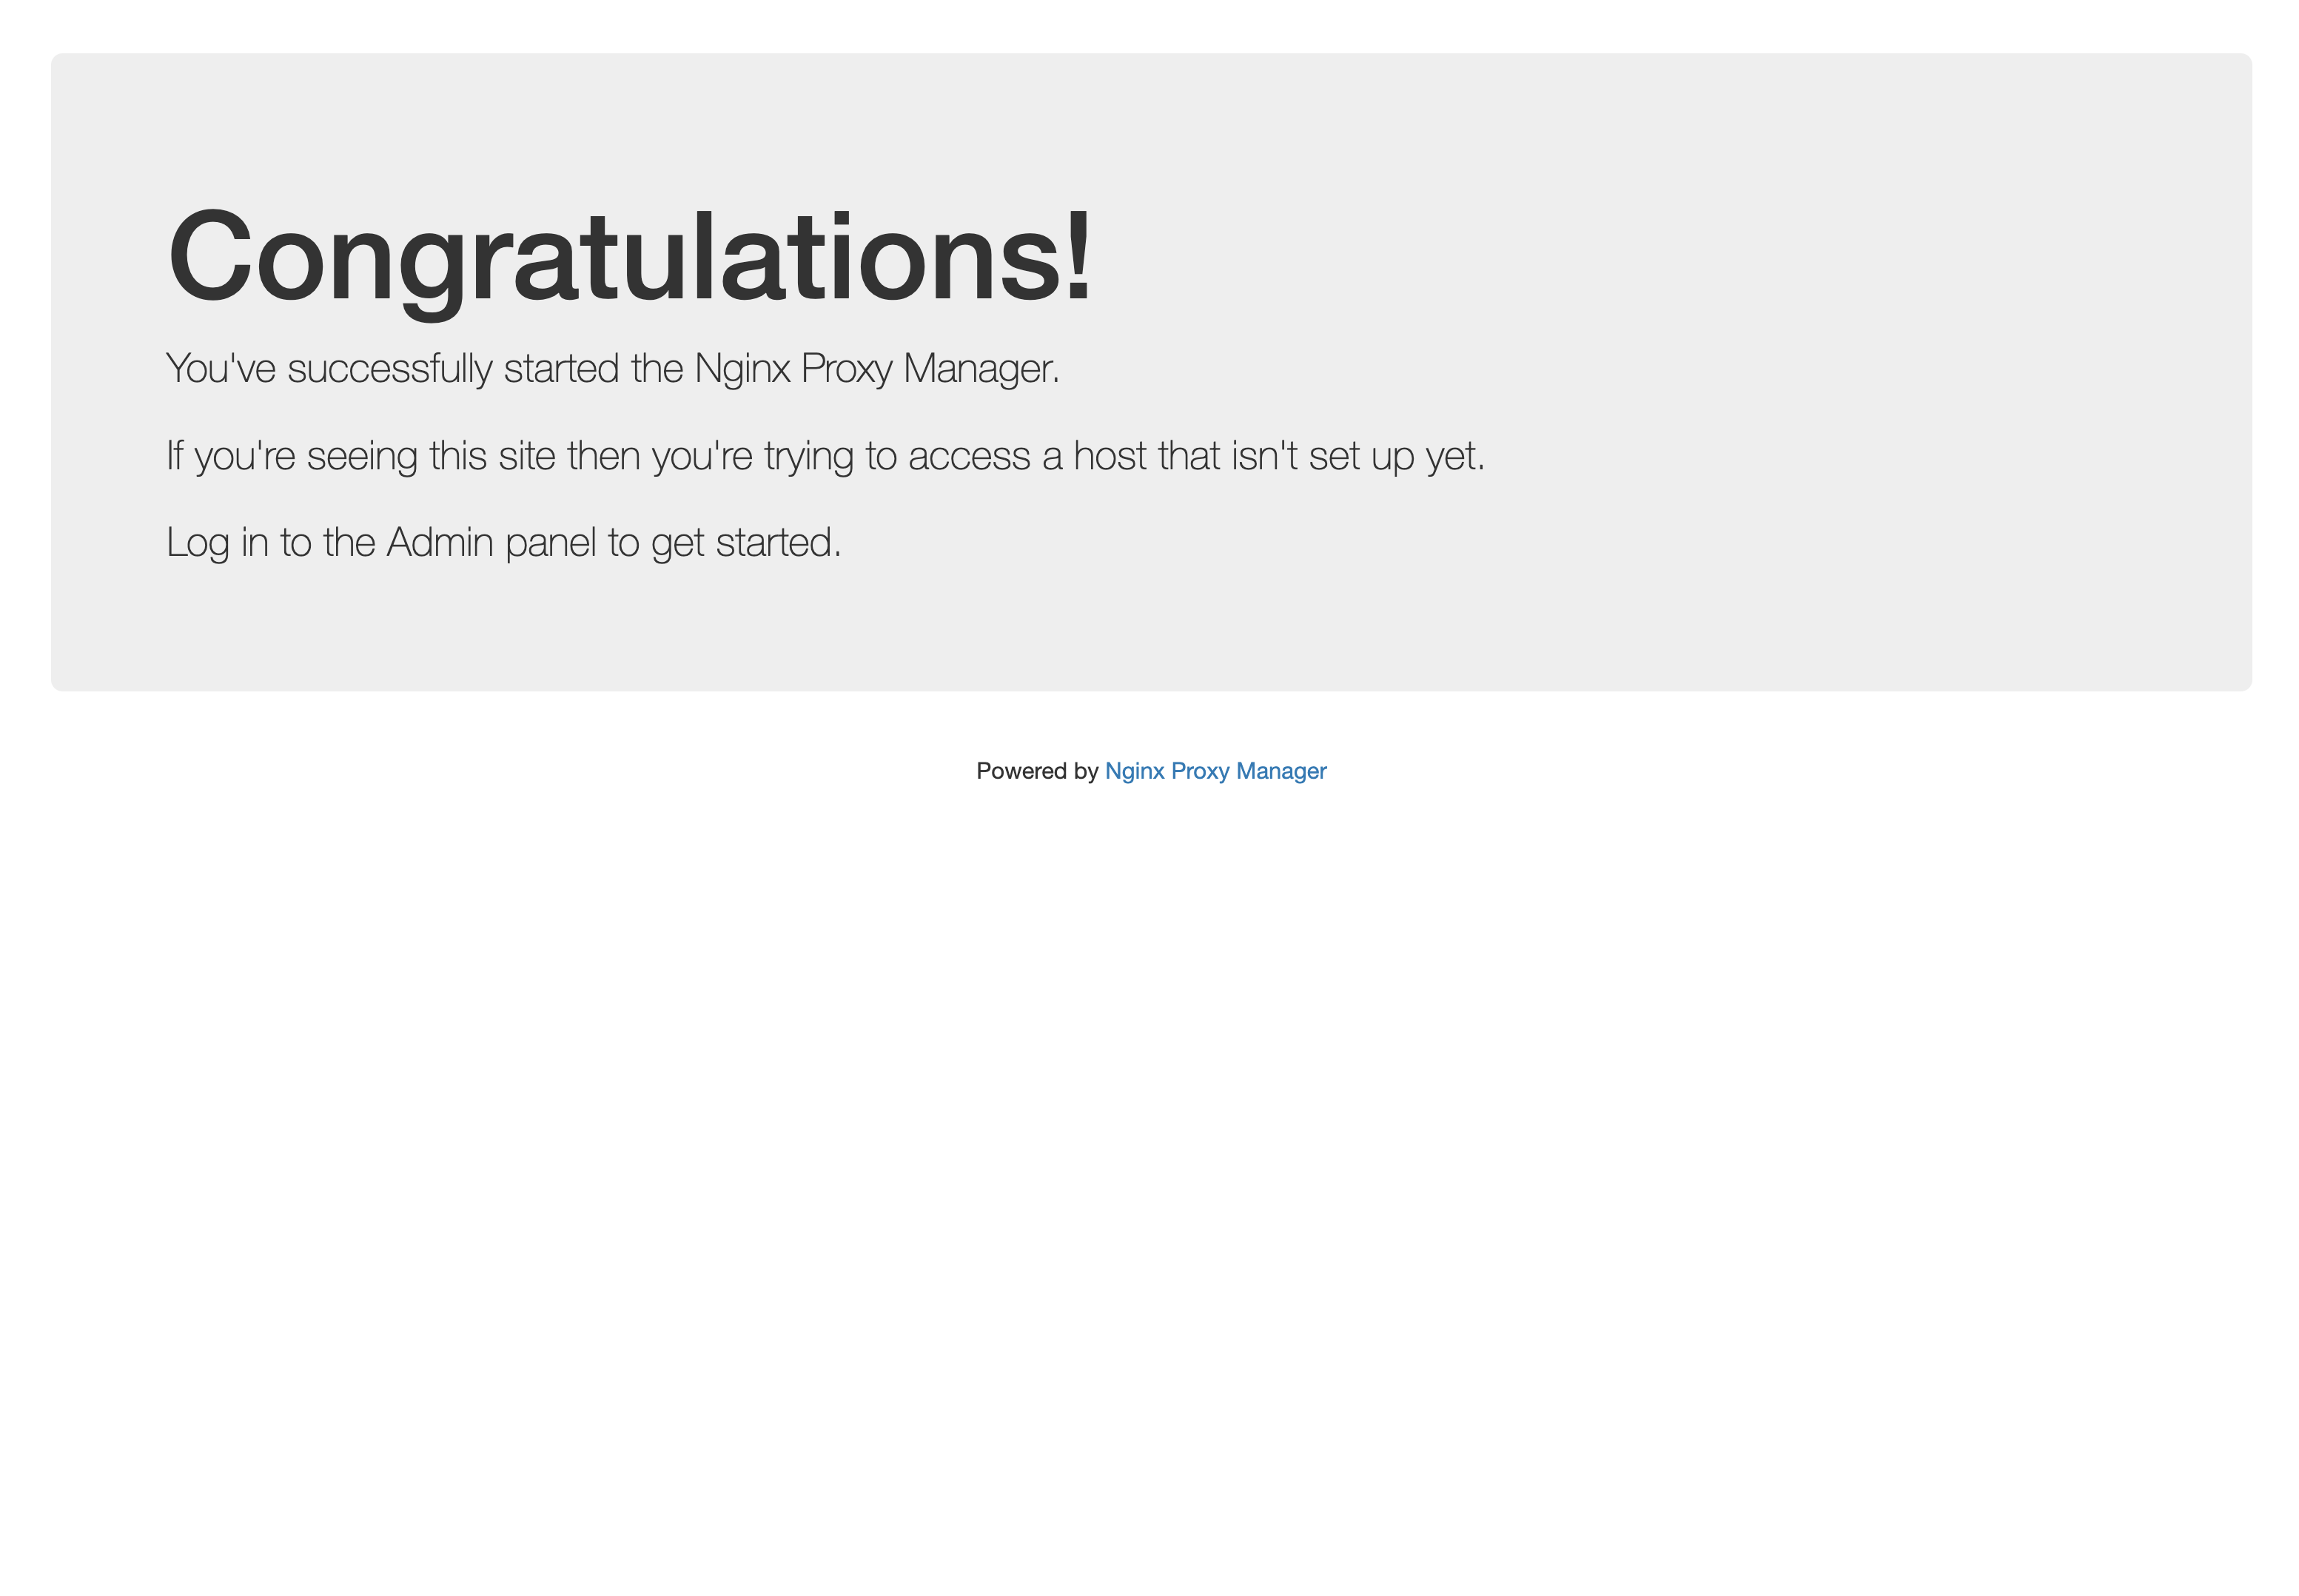
Still here? Okay, so I was using the NAT feature of the router to do some port forwarding but I then wanted to install Nginx Proxy Manager to make things easier… Once installed Nginx Proxy Manager wants to be set to port 80, which causes the router to show you that warning. That’s when I did some searches and found no good answer.
I decided to be the person who tried it out, and… it worked for me. I did not see any disruption in my Internet connection, my TVs are all fine, and my non-existent U-verse service did not get interrupted because it does not exist.
So yeah, Uverse, U-verse, ATT, AT&T, Router, Internet, Warning, did not Stop Working, and all was well and just fine in the end. (Yes, that contains some of the potential search terms people might use.)
I should do wrote another post that covers the Nginx Proxy Manager.
Update!
About four weeks after doing this the router lost power one day and when it came back online it lost many of the settings… The WiFi newtwork name and settings I’ve had set for 6+ months was gone along with any port forwarding information. I don’t know if the actions I took were at all related, but it may be worth mentioning. It may be a good idea to reboot and see if your settings stick. (I guess I should schedule a reboot and test as well…)