Last year someone gave me a mint (LOL) condition MacBook Pro. It was a 2010 model just like my old 2012 that I got in 2014 and again in 2019 and used until 2022 when I sold it to someone who needed an older MacBook and I got a 2018 MacBook Pro that I didn’t really like and didn’t use much and then gave to Dana when her employer destroyed all the Macs…
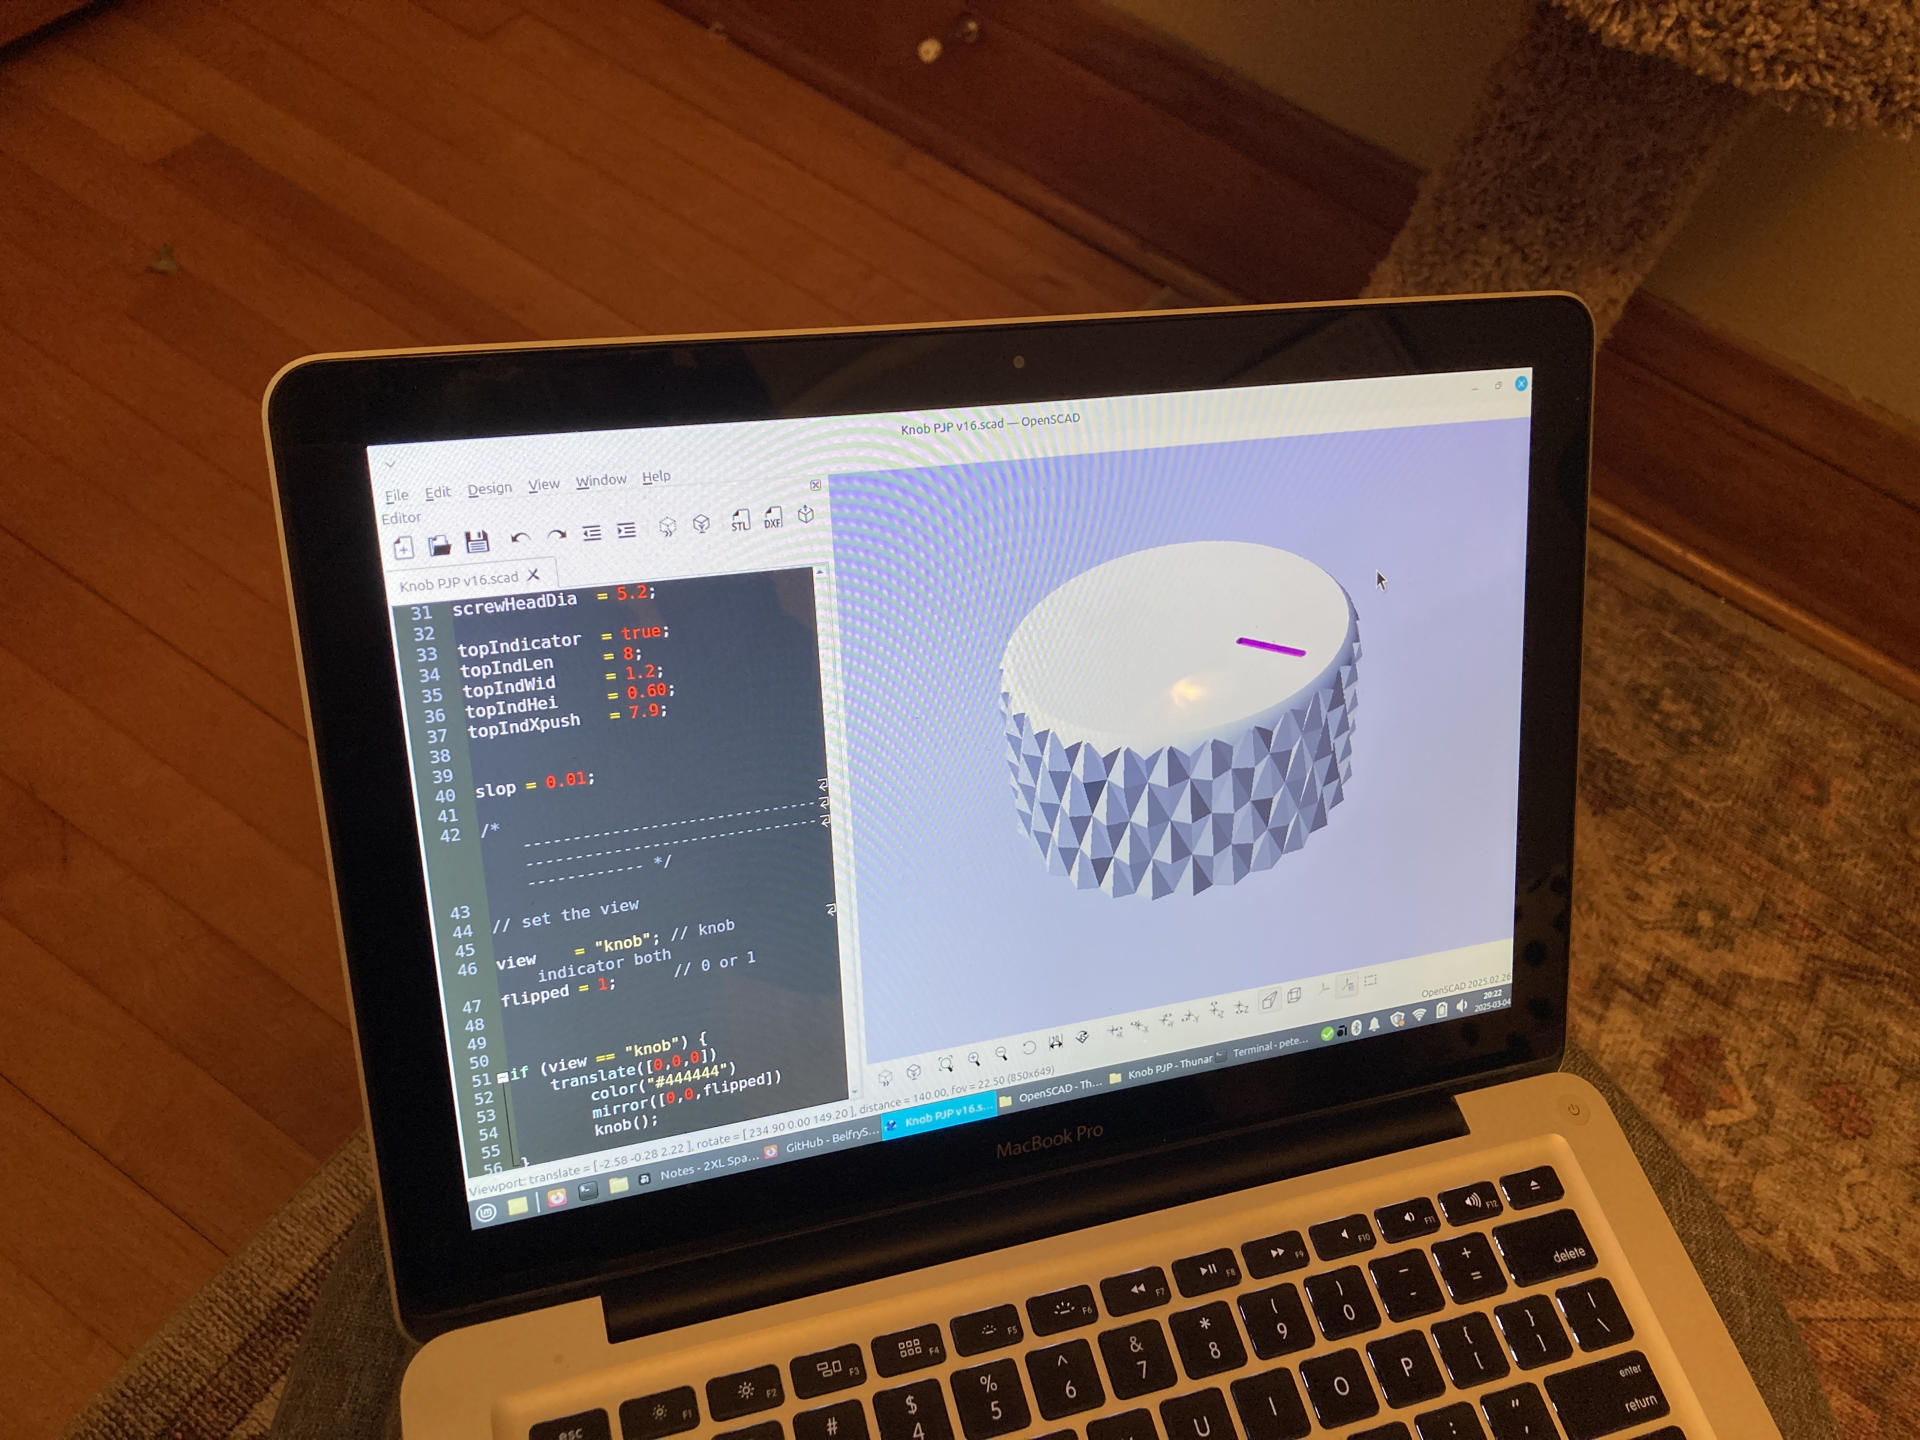
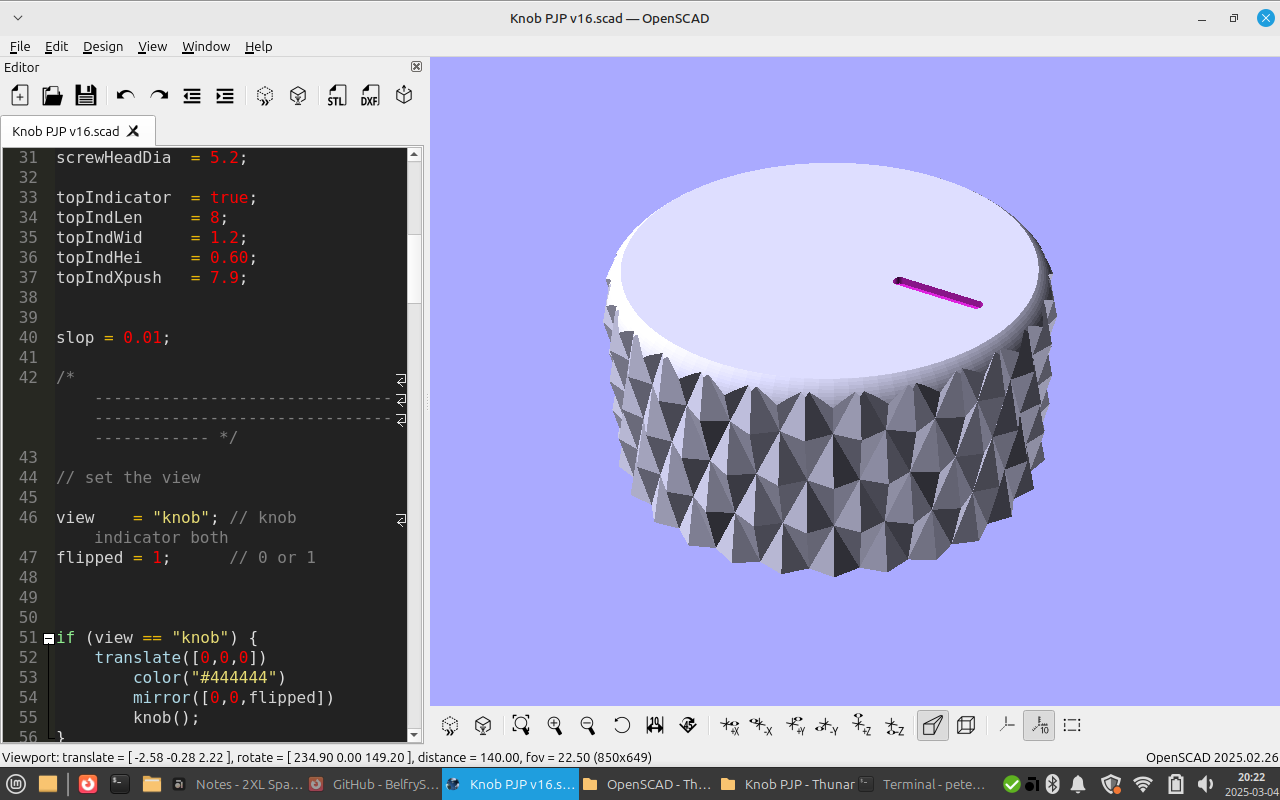
So I’ve been without a “good” laptop for a little under a year. I would borrow my old one that Dana has every now and then but I wanted to stop doing that but also didn’t want to buy a new laptop… So I’ve got this 2010 MacBook Pro, which is a model I used for years and really liked! The issue is that it only runs older versions of macOS. When I was sick for two weeks in December I really wished I had a laptop, so I used it, but I could not installed some of the software I used, or at least not recent versions… like OpenSCAD.
So I said to myself “Self, this is an old laptop that can only run an old version of Mac OS X and old applications… time to install Linux!”
Now, I’ve installed Linux a zillion times, including on a number of old Windows laptops. But this was different. First, it was on hardware that I was used to and I actually really liked! This made a huge difference. I like the keyboard, I like the form factor… I like the hardware.
Seriously, I can’t believe how much more I like Linux when it is not running on a crappy old Windows laptop someone gave me. I have run Linux on old Mac laptops before, but they were old, old, heavy, clunky, and old. This MacBook (or “MintBook” as I call it) isn’t exactly lightweight or modern, but hey, it works well and I am used to it. That goes a long way.
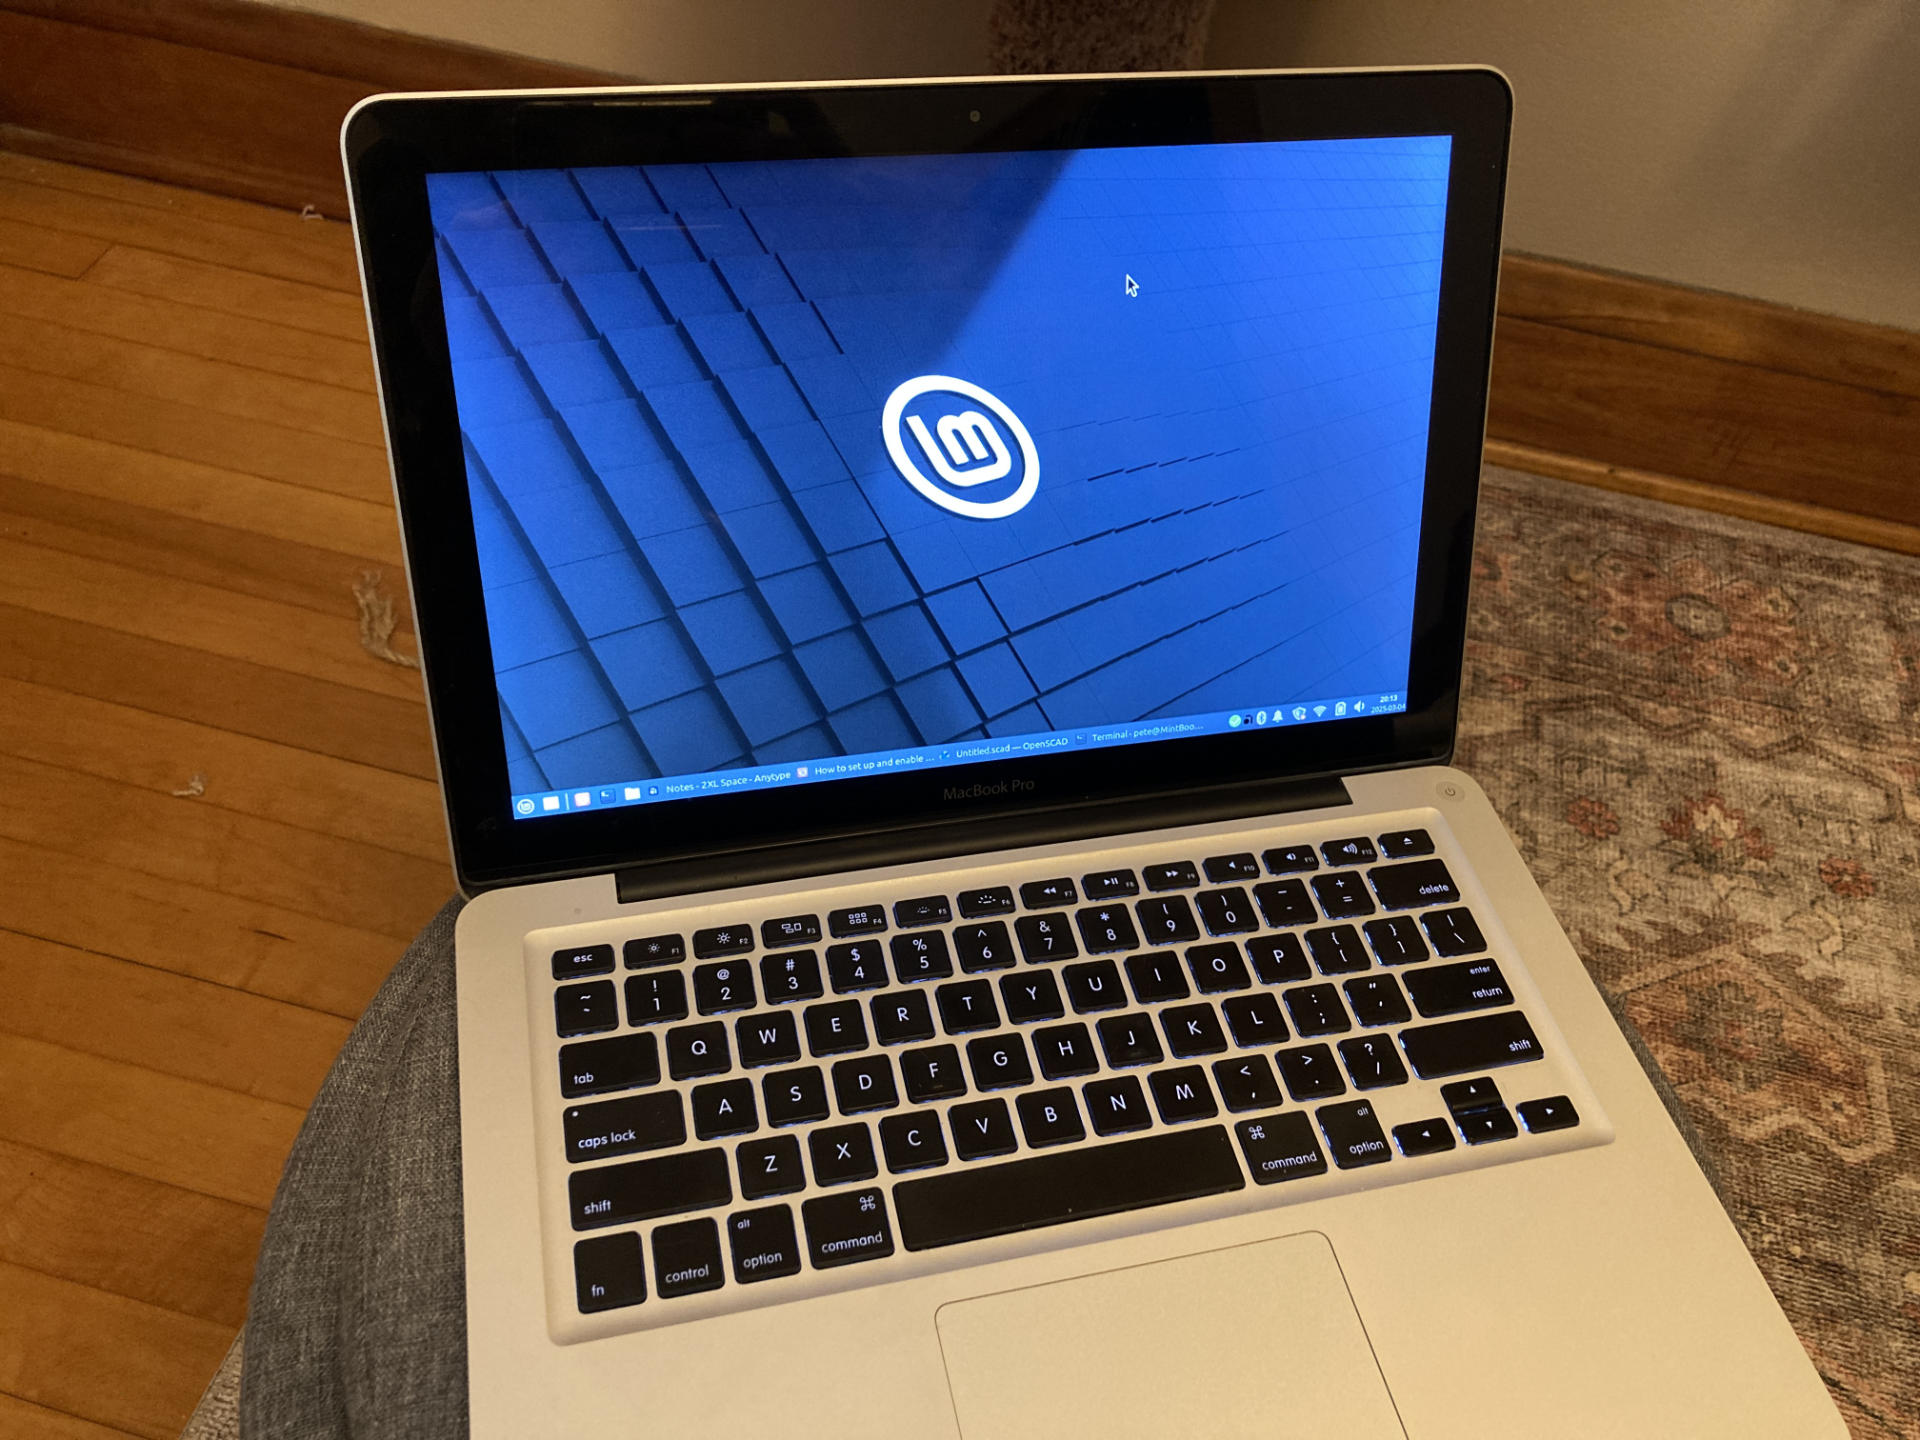
Oh yeah… Mint Linux!
I started writing a post about Mint Linux so I should probably get on with it…
As someone who has used macOS (or Mac OS X) and before that System 9, 8, 7, 6… I guess I’m a “Mac Guy”, but I’ve also been using Linux (mostly on servers, oh and *BSD before that) but I’ve never been a Windows person. I did get my first Linux laptop (and my first “new” Linux computer) back in 2007.
So right now this is my primary laptop and I only have laptops running Linux. I’ve been pretty happy with Mint so far and learning all the new stuff in desktop Linux since I last used it on a regular basis. I quickly learned that SNAP is garbage and Flatpack is better.
My biggest complaint so far is the lack of resolution, which is 1280×800. This is terrible. When I ran macOS at least there was QuickRes which made the computer much more usable. Is there something like that for Mint Linux? I would love a bit more screen space!
My other complaint is about the keys and how sometimes you use control, other times it’s option/alt and then sometimes it’s command but control and option/alt are sometimes interchanged and maybe you need to press control-shift-v to paste something!? It’s a little bit madness and my muscles are not used to it yet.
When I first set it up I had to use a USB WiFi dongle to get online but I eventually got the built-in WiFi working just fine. (Whew!)
I haven’t really been using this laptop every day… It’s been a little busy the last few weeks and most of my work has been at a desktop with multiple monitors running macOS. I do try to use the MintBook when it’s the closest computer to me, so if I’m in the living room or dining room, away from the office, it’s the computer I’ll reach for.
I’m still working towards replicating as much of my normal (macOS) computing experience on the MintBook. That together with a renewed interest in getting away from the Apple ecosystem (and the US Big Tech ecosystem in general) is an experiment I’ll be working on as time allows.
Let me know what you like (or don’t like) about Mint, or what distro you are using nowadays!