NASA Intern Found Hope in the Moon
When Rose Ferreira first saw an image of a field of galaxies and galaxy clusters from NASA’s James Webb Space Telescope in July, she “went into the restroom and broke down a little,” she said. This “Deep Field” image showed galaxies not only sharper, but deeper into the universe than a similar image she loved from the Hubble Space Telescope.
“Being able to contribute in any way to the efforts of the team within NASA that released this new Deep Field just felt like such a profound thing for me,” said Ferreira, a student at Arizona State University who interned with NASA this summer. “I was just a little bit in shock for, like, a week.”

Rose Ferreira estudia ciencias planetarias y astronomía en la Universidad Estatal de Arizona.
Credits: James Mayer
Webb, the largest space science telescope ever, which launched in December 2021, played a big role in Ferreira’s internship at NASA’s Goddard Space Flight Center in Greenbelt, Maryland. She also supported a series of live news interviews for Webb’s first images and multimedia tasks for NASA’s Spanish-language communications program.
Growing up in the Dominican Republic, Ferreira said she didn’t have access to science education. She was taught skills like cooking and cleaning; she didn’t know NASA existed at that time.
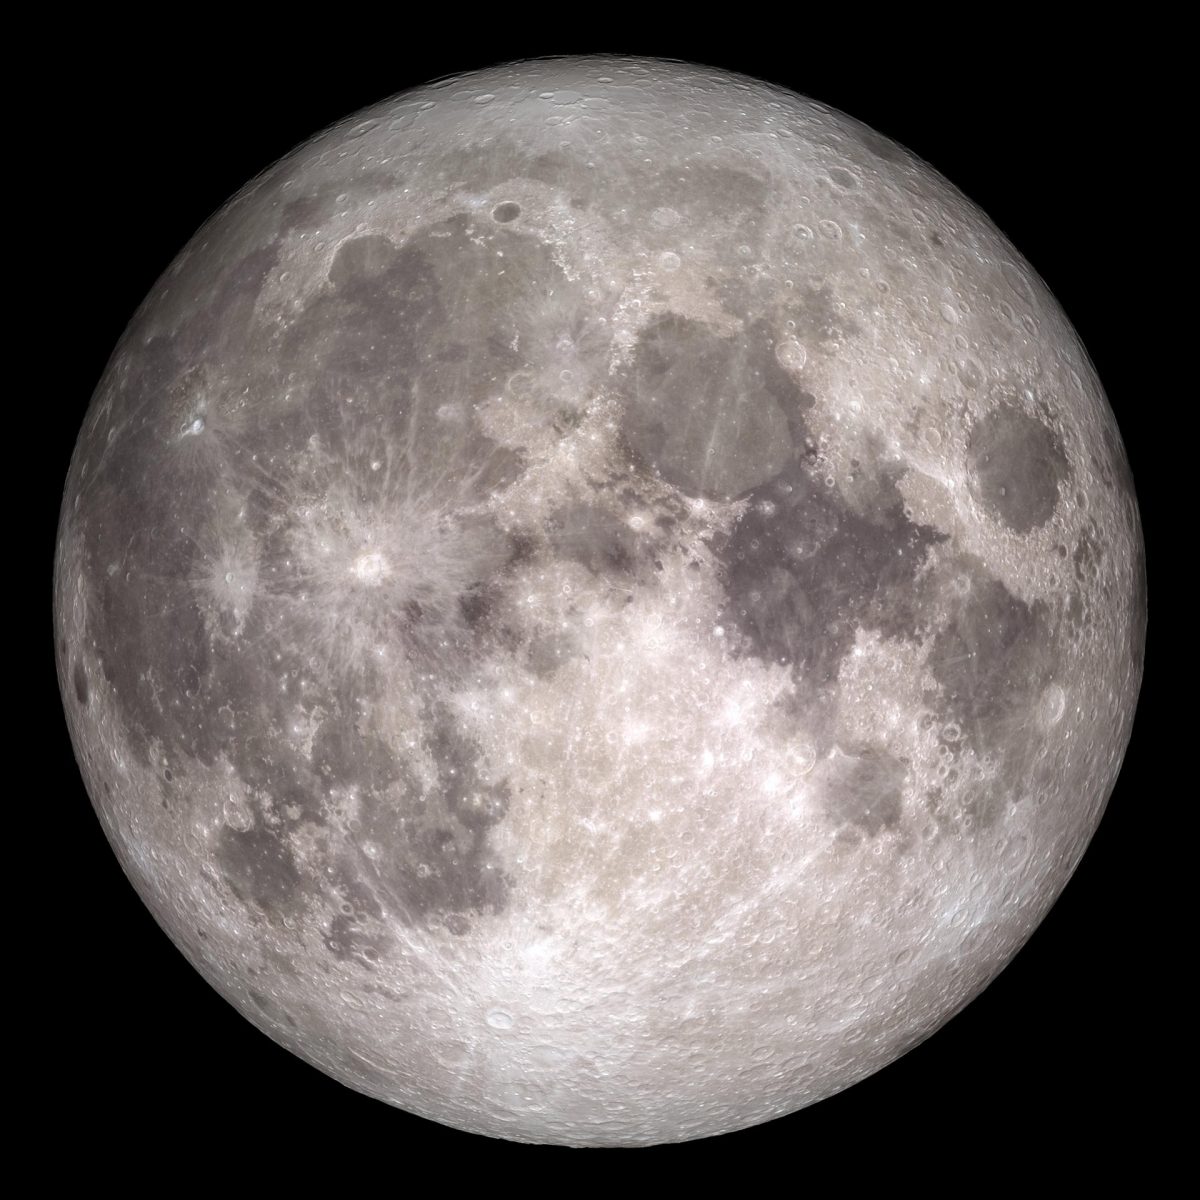
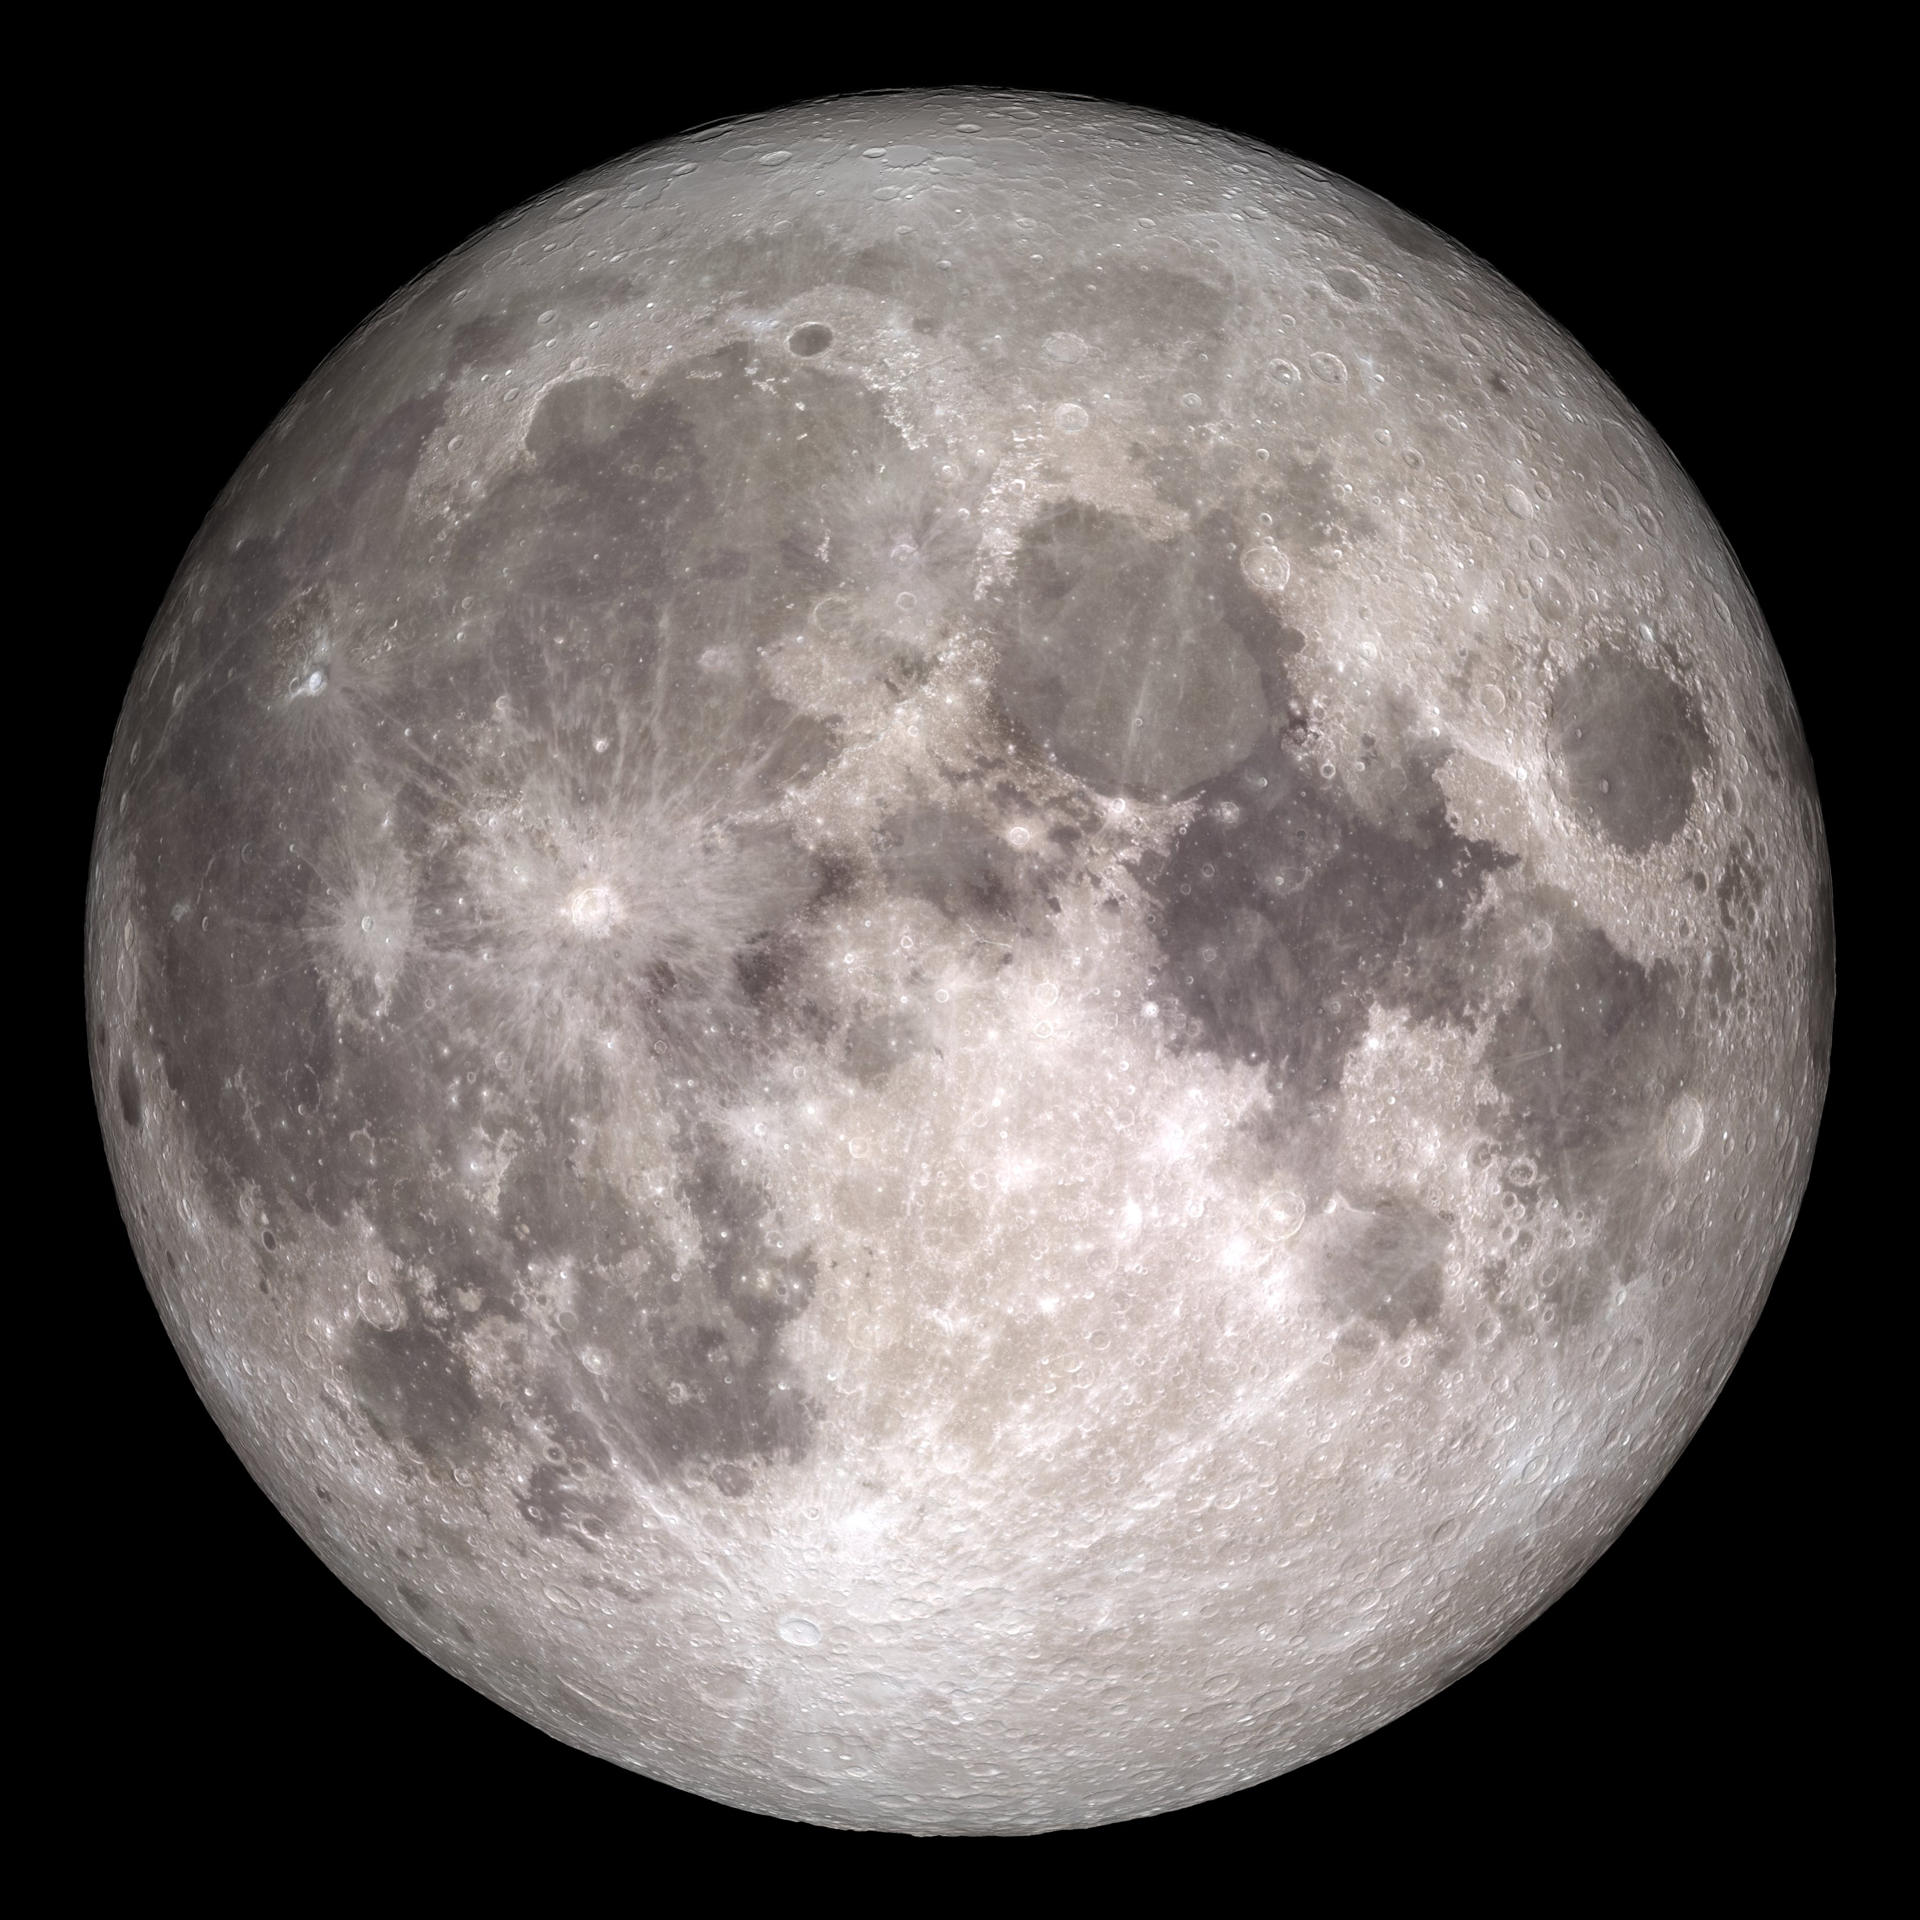
But during the frequent blackouts in her village, when the Moon provided the only light, Rose Ferreira often wondered – what is the Moon all about? “The moonlight is a lot of what I used to see, and I was always so curious about that,” she said. “That obsession is what made me start asking questions.”
When she came to New York, she was placed in an underserved high school that sent her back multiple grades because they weren’t satisfied with her English language skills. She left and earned a GED diploma instead, hoping to go to college faster.
At age 18, Ferreira became homeless in New York and lived in train stations. By working as a home health aide, she was able to earn enough to rent an apartment in Queens and, eventually, get an associate degree.
Life threw other major challenges at her, including getting hit by a car and a cancer diagnosis.
Ferreira ultimately enrolled in a planetary science and astronomy degree program at Arizona State University. She received a “great birthday present” in the spring of 2022: her official acceptance to NASA’s internship program.
Among the highlights of her NASA experience was recording a voice-over in Spanish for a This Week at NASA video. She also served as a panelist at an event for the Minority University Research and Education Project, organized by NASA’s Office of STEM Engagement.
Ferreira dreams of becoming an astronaut and has a shorter-term goal of earning a doctorate. But the internship also fueled her passion for sharing space science with the public. Chatting with Goddard astrophysicist Dr. Michelle Thaller, host of the Webb broadcasts, was especially meaningful to her.
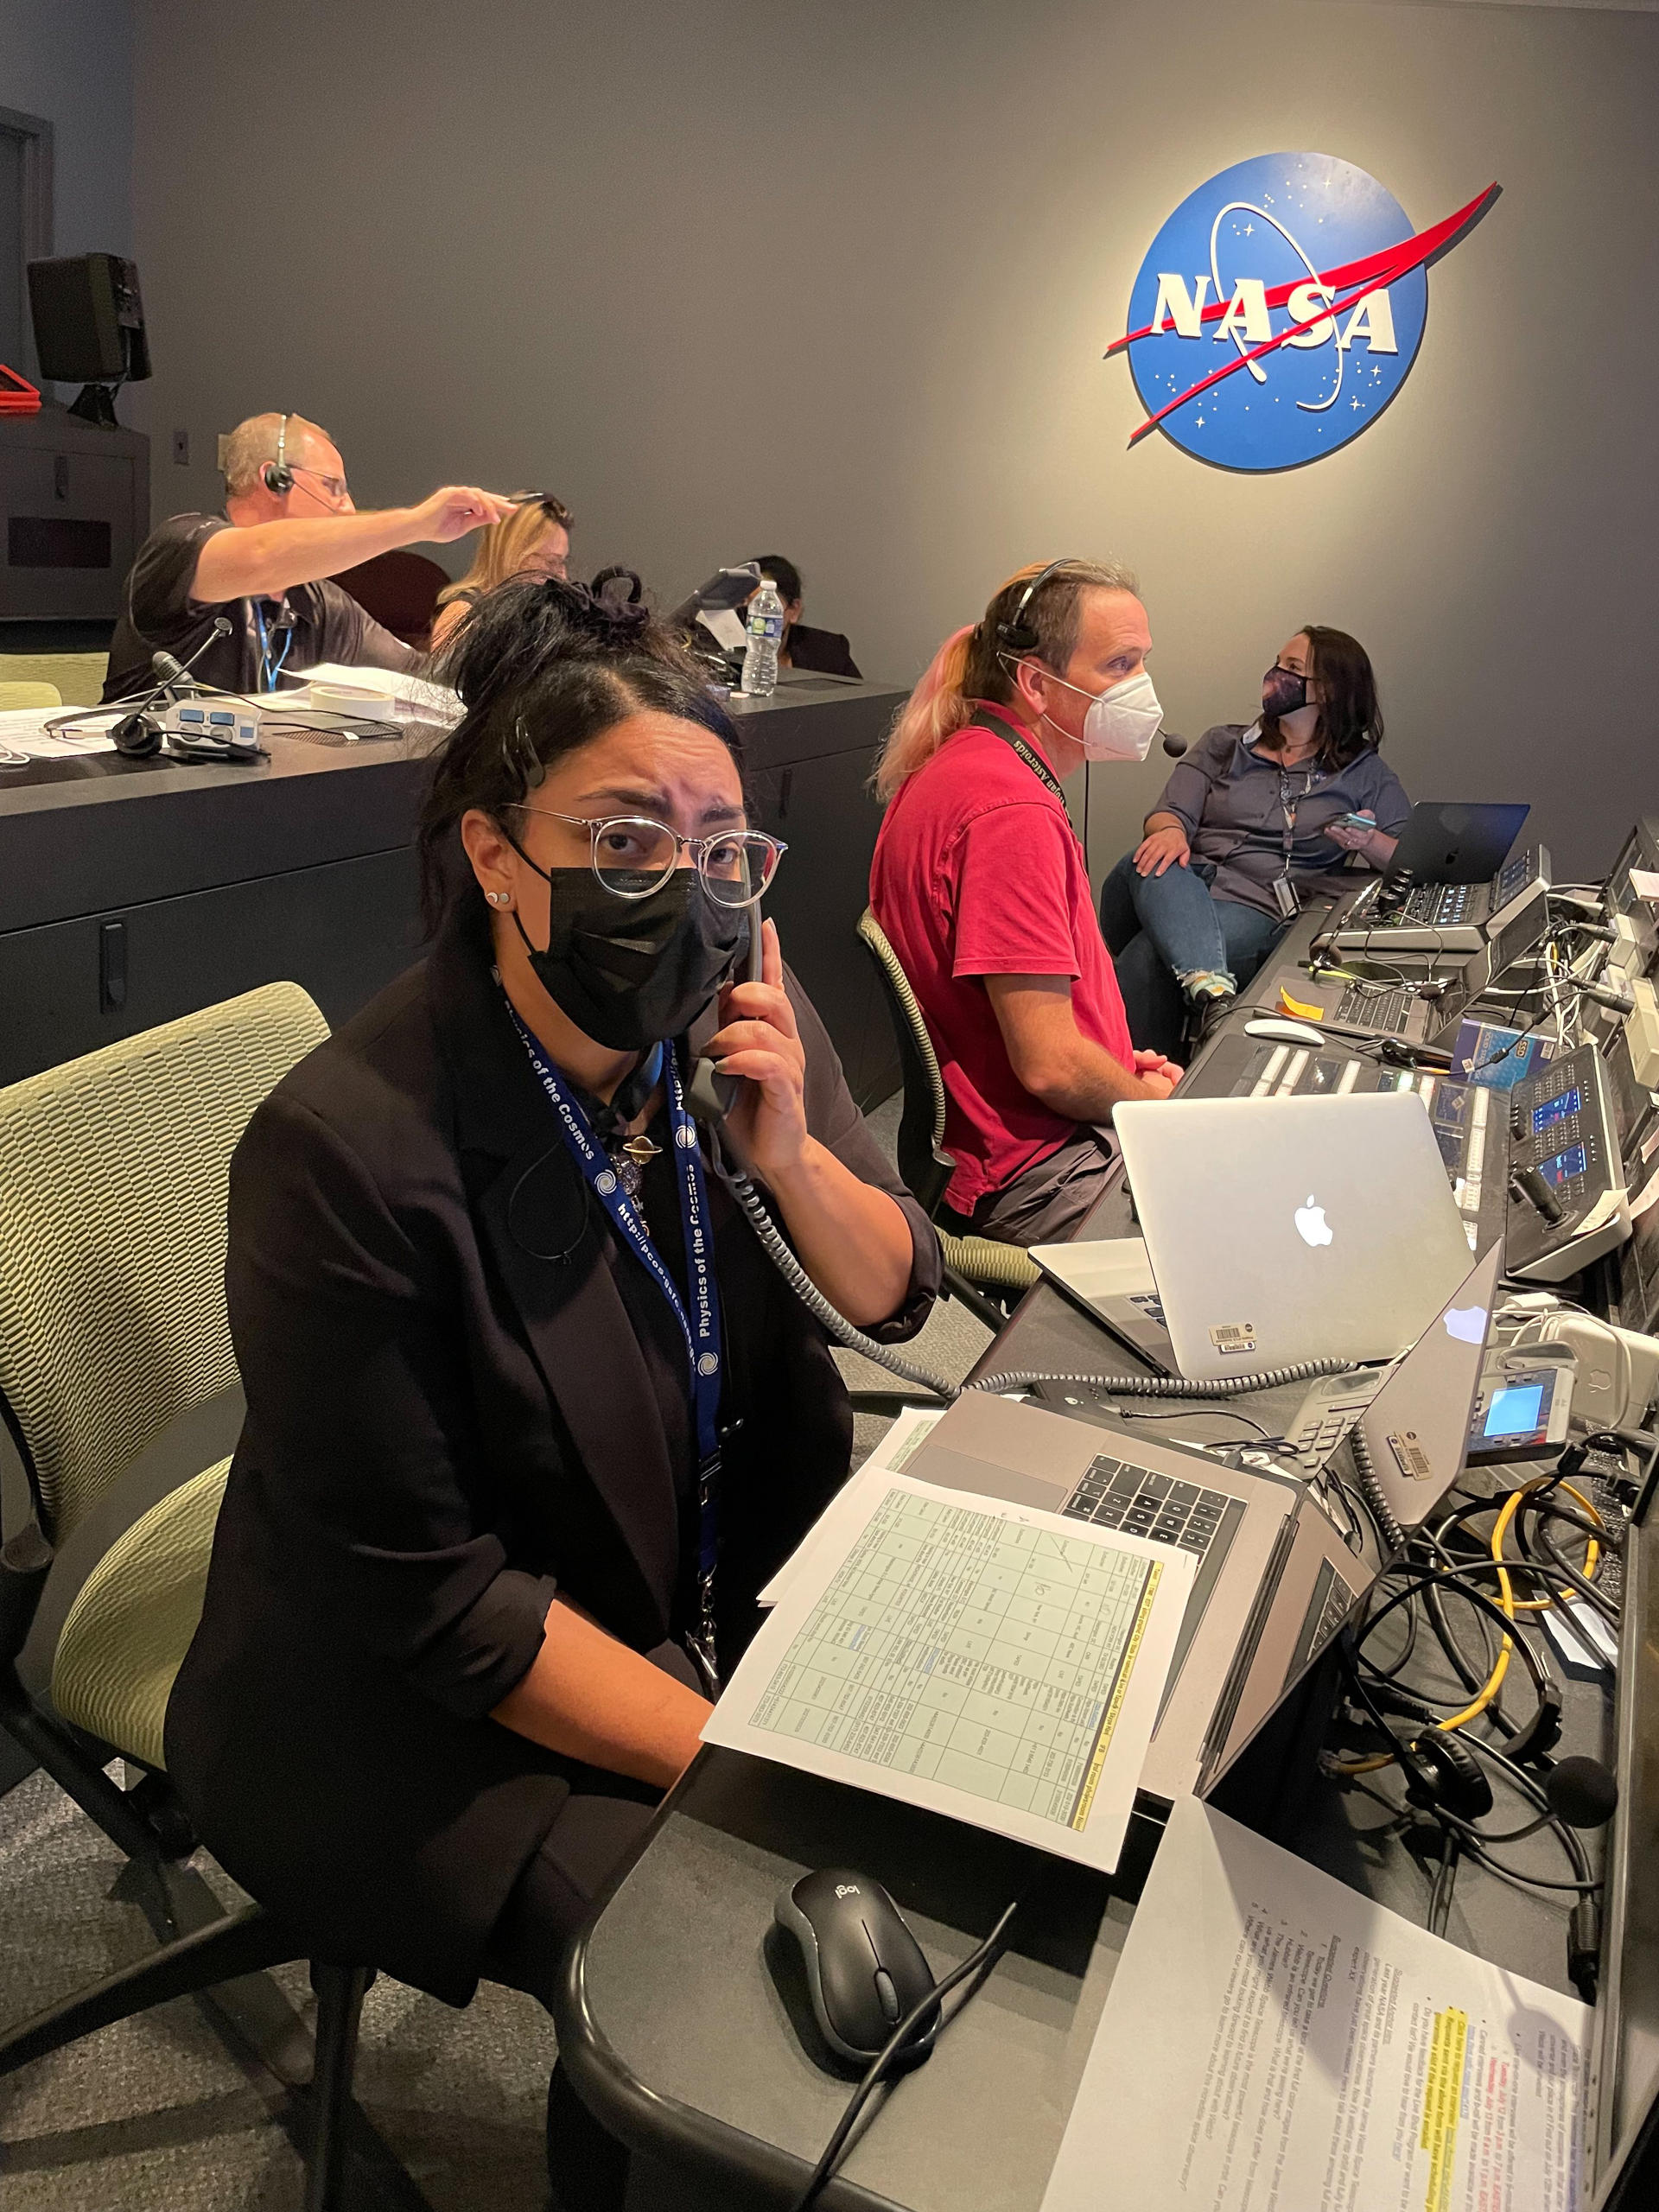
Rose Ferreira, foreground, in the broadcast control room at NASA’s Goddard Space Flight Center in July 2022.
Credits: NASA
She has this advice for young people who are also interested in pursuing space science: “Coming from a person who had it a bit harder to get there, I think: first, figure out if it is really what you love. And if it is really what you love, then literally find a way to do it no matter who says what.”
Besides Webb, Ferreira is excited about NASA’s Artemis program, which connects with her passion for the Moon. Through Artemis, NASA will send astronauts to establish a long-term presence on and around the Moon. She’s looking forward to what Artemis will uncover about the Moon’s geology and history while the agency uses the Moon to get ready for human exploration of Mars.
“Even when I was living on the streets, the Moon used to be the thing I looked at to calm myself. It’s my sense of comfort, even today when I’m overwhelmed by things,” she said. “It’s like a driving force.”
Written by Elizabeth Landau
NASA Headquarters