You might want to see the previous update… Okay? Good.
Here’s the good news. I had surgery last week Tuesday. It is now the following Tuesday. I am doing better. I am, of course, cautiously optimistic, but I believe the surgery has solved my problem.
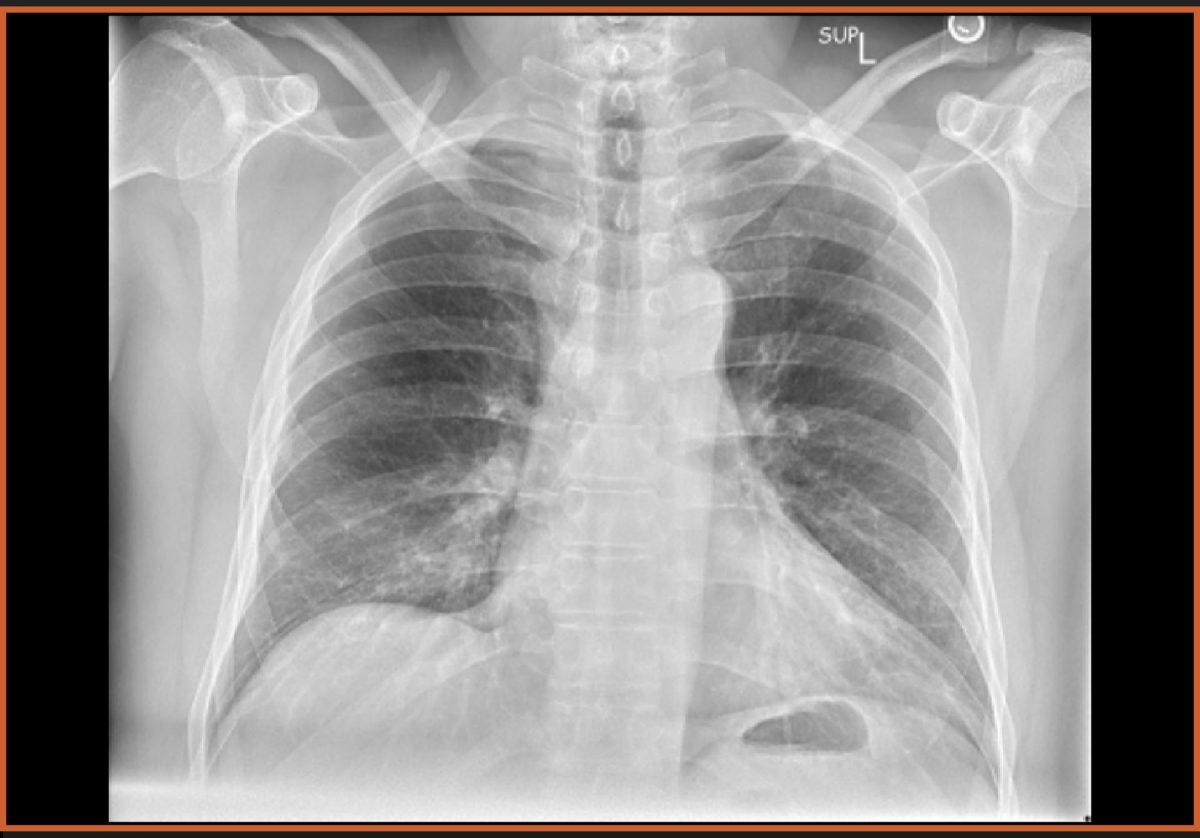
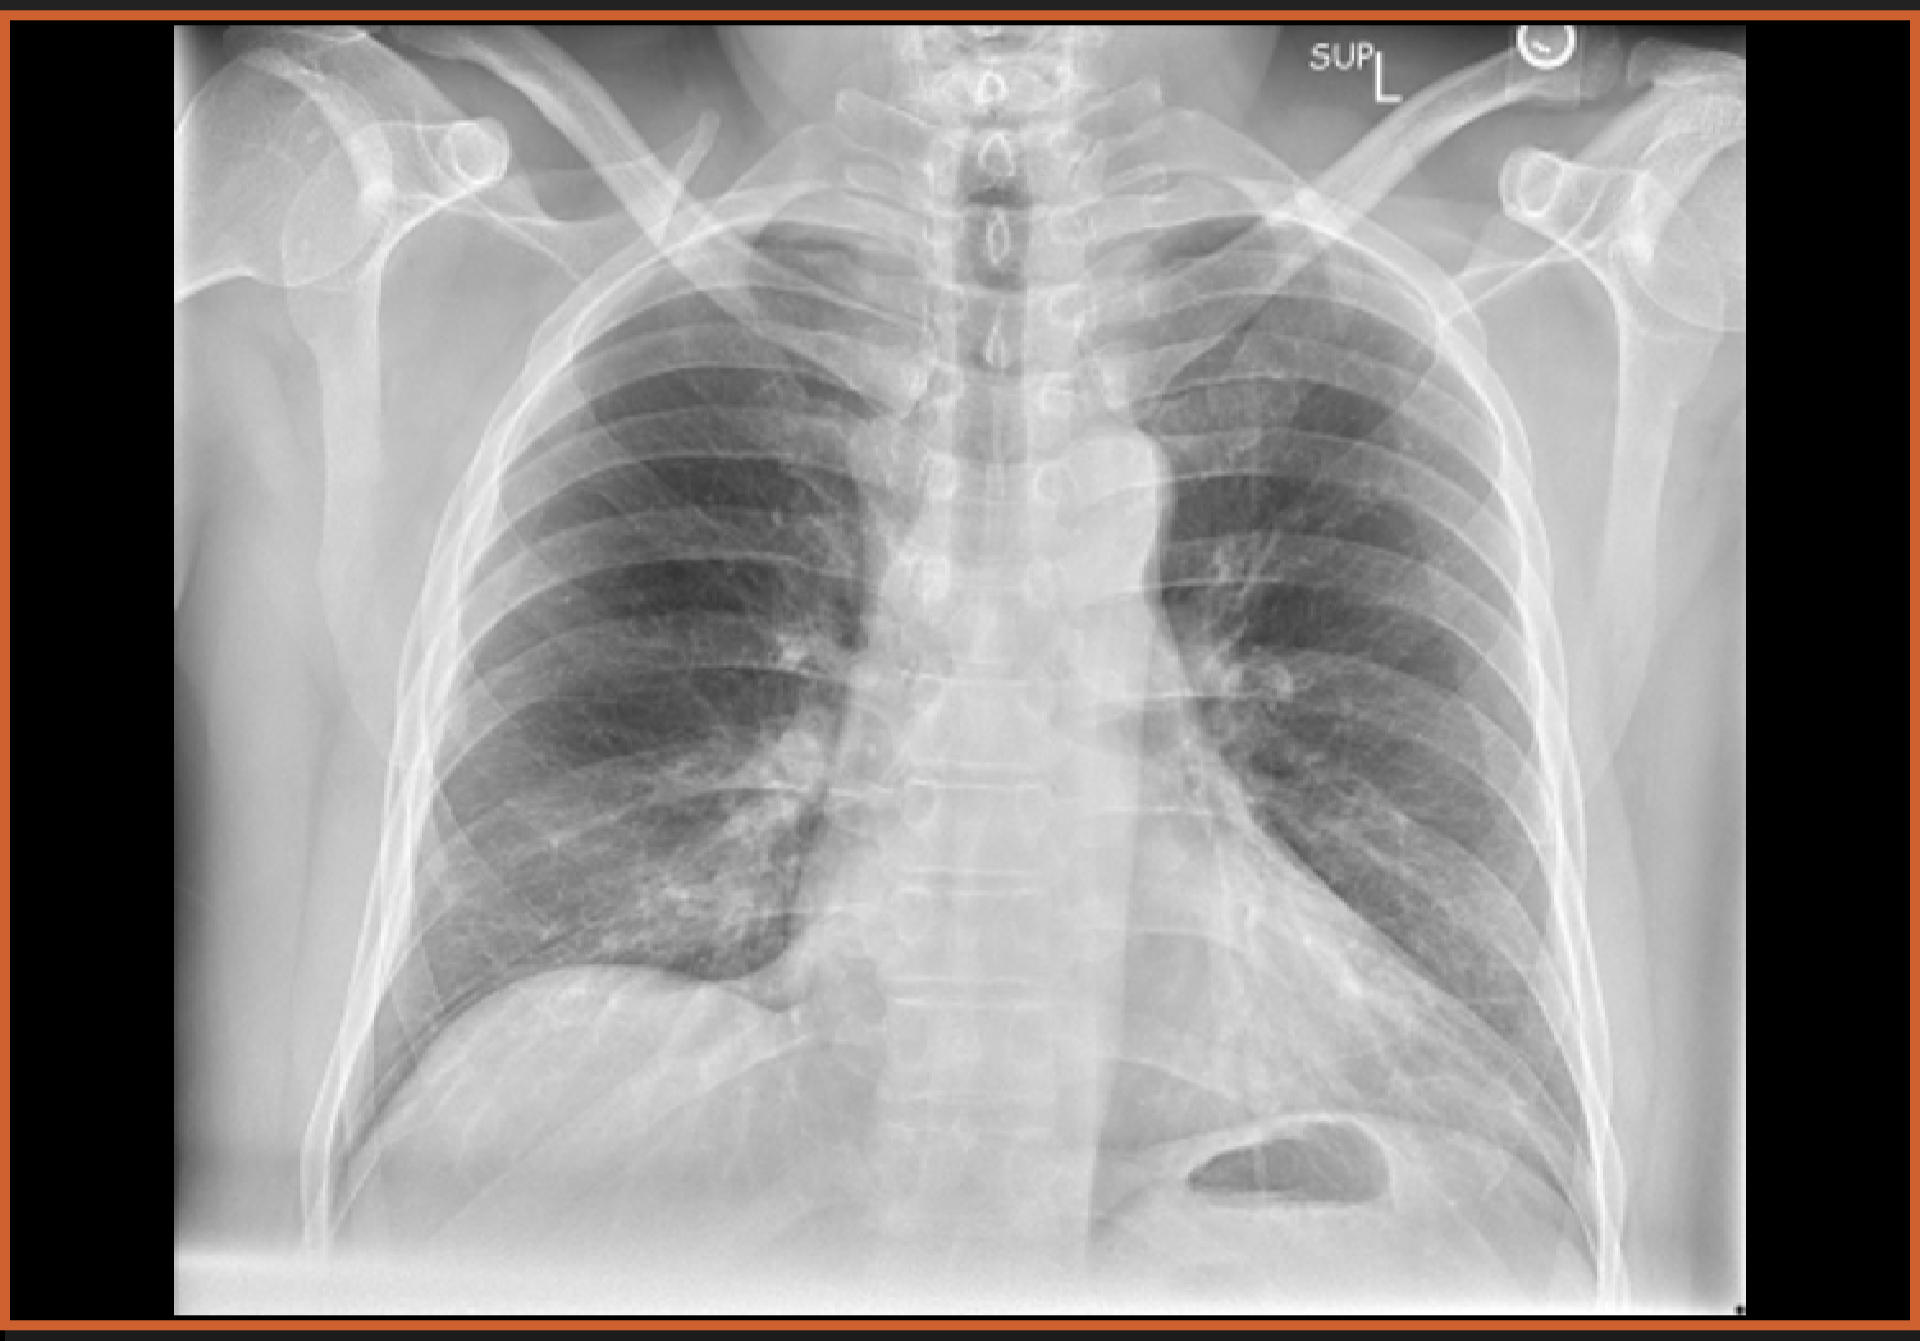
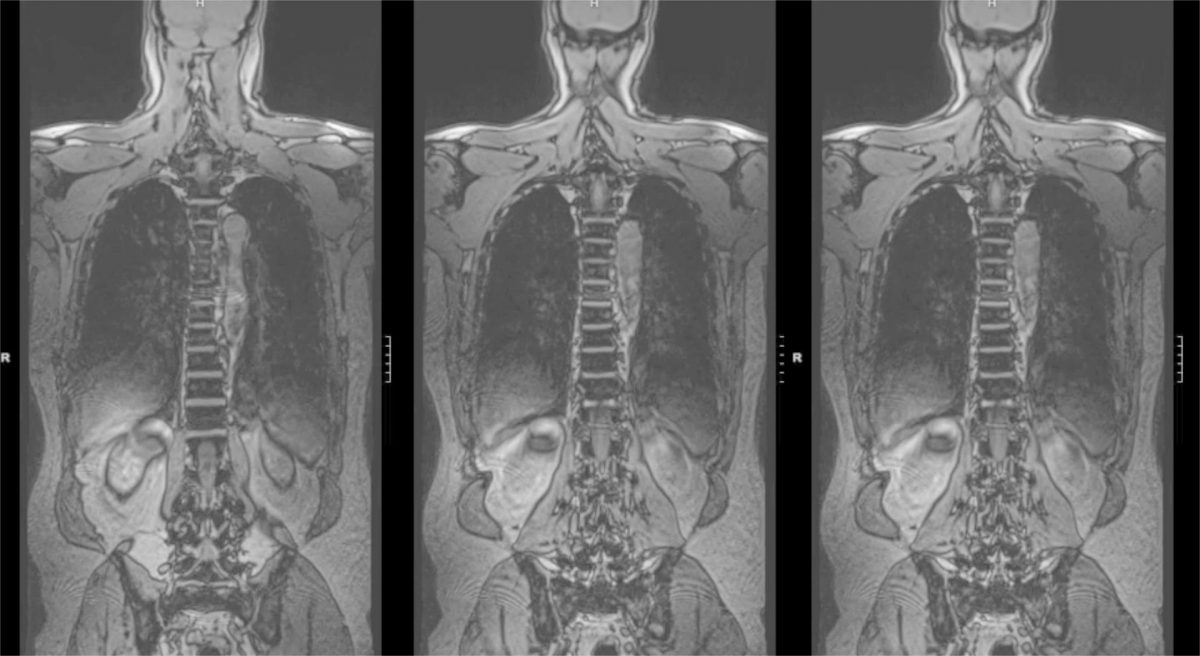
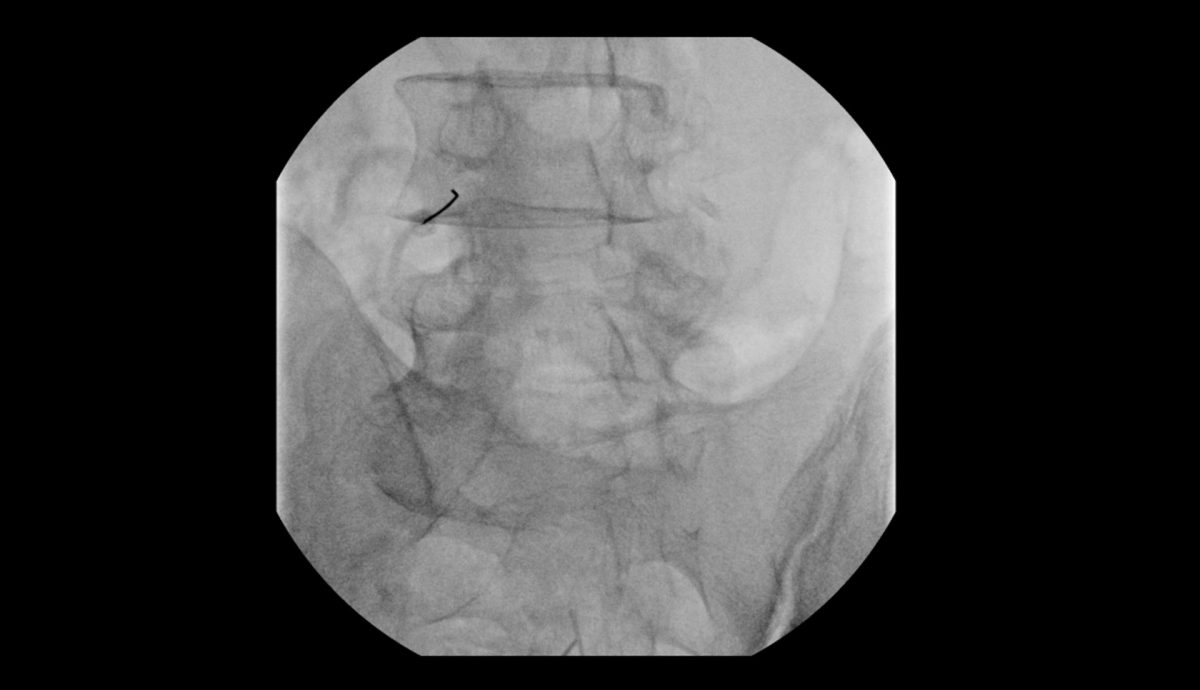
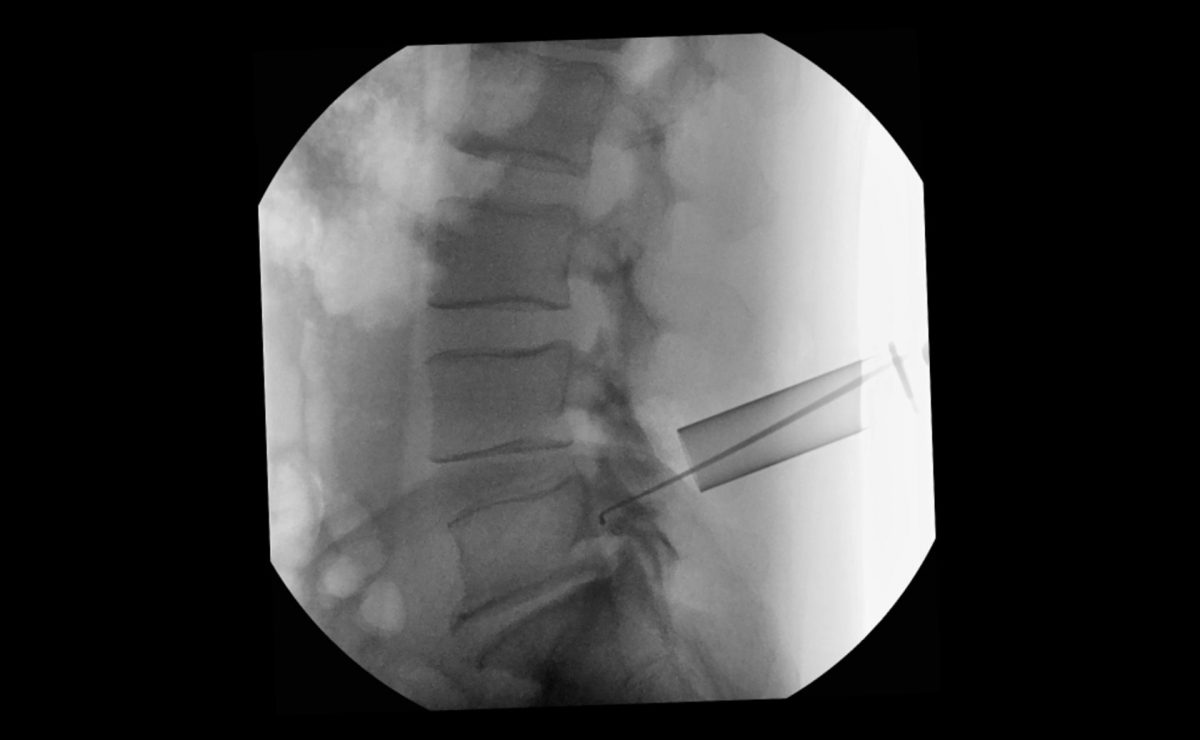
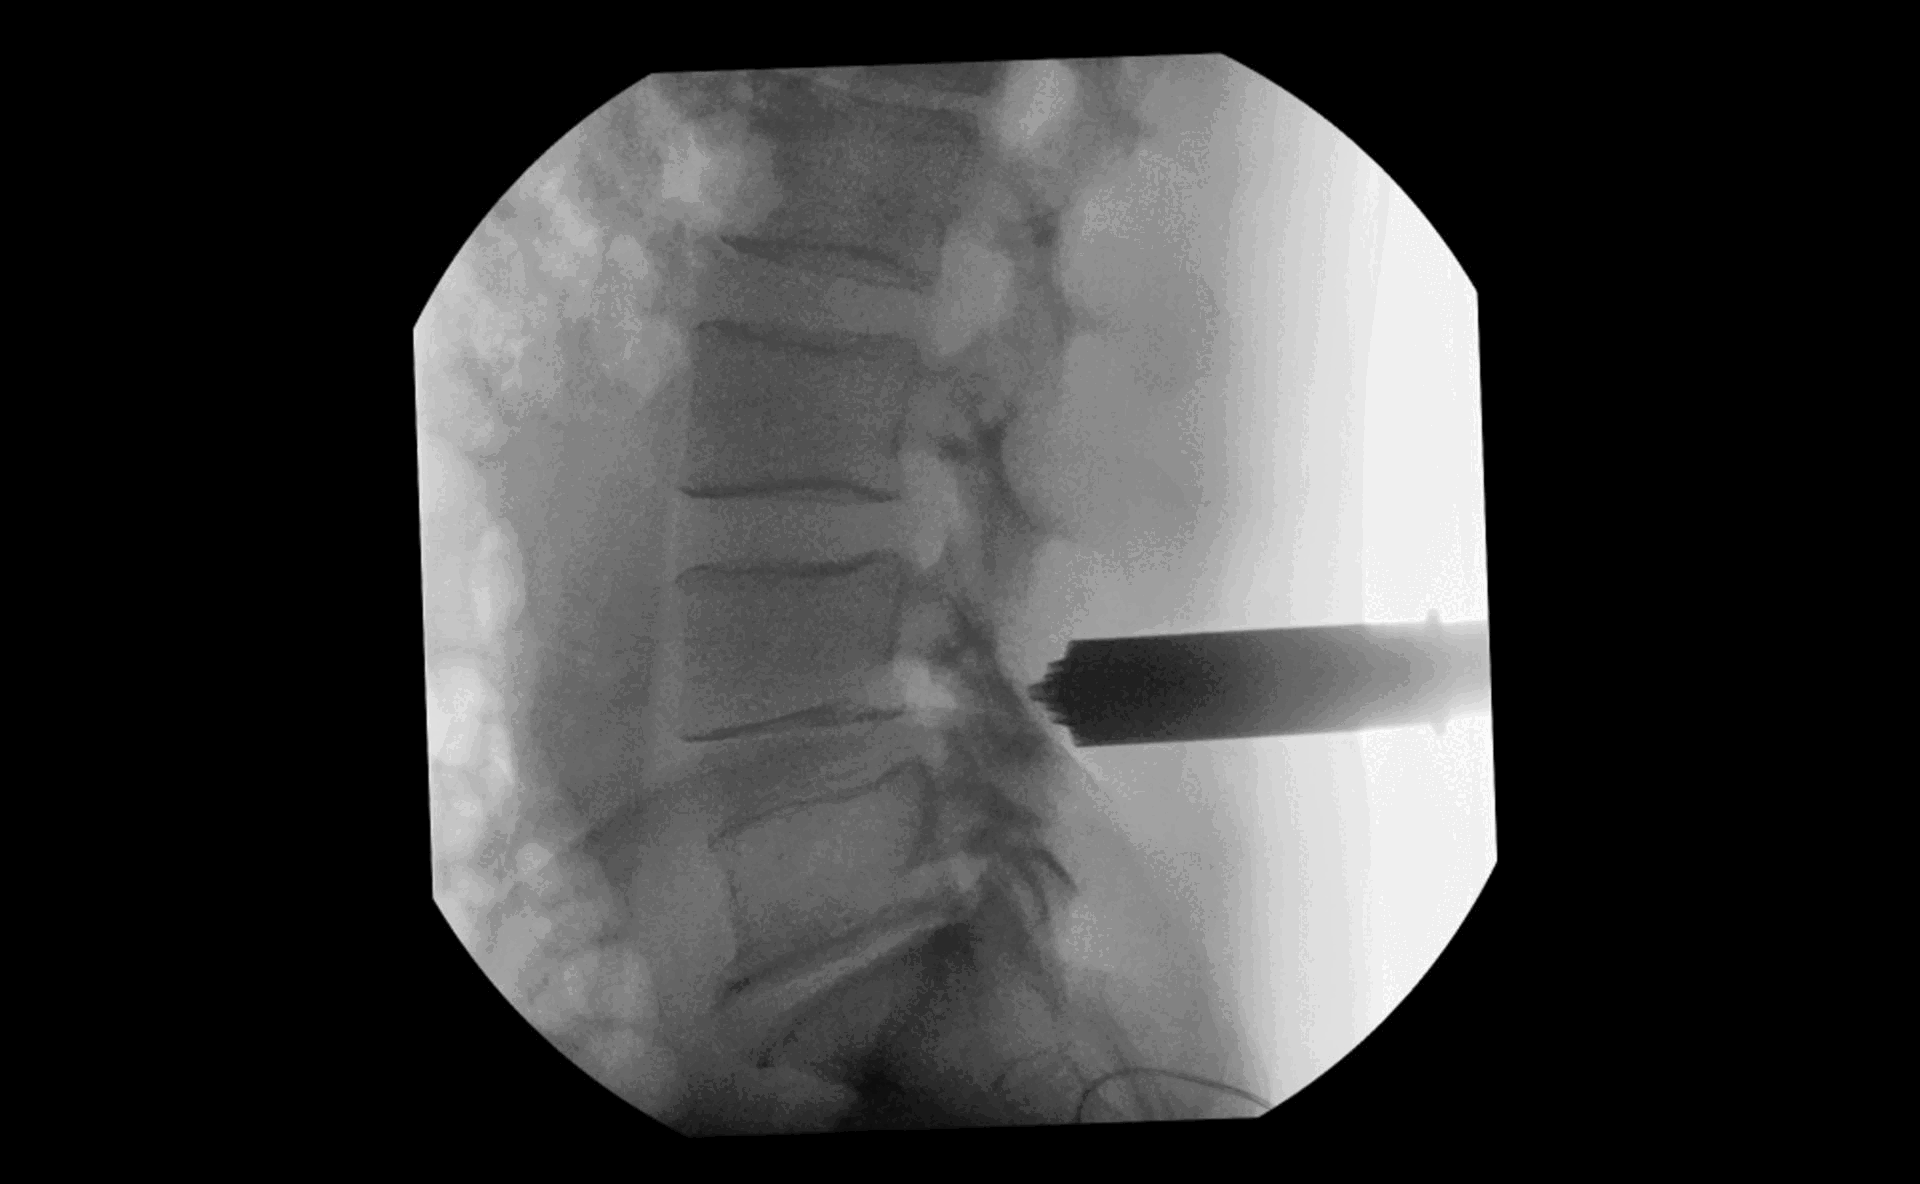
This is big. This is huge! Remember when I got the injections in April and… they did not work. The reason is due to the synovial cyst on my spine that was discovered later.
It’s been a week and the pain I felt is gone. Gone. I do not have the pain I had. That cyst pressing on my nerve was hell. It was hell for five months (and an annoyance for two months before that).
So now comes recovery. I am on limited activity. I cannot bike, or drive, or BLT. BLT? Yeah, I cannot Bend, Lift, or Twist. I’m off work right now and not doing much around the house. I’m a person who likes to keep busy so it’s been boring. I made a joke that I’ve read every post, watched every video, and commented on every comment on the Internet now.
The first few days was basically lying flat in bed (not sitting up) and then standing, walking around the house to get at least some activity. I can only sit for 30 minutes at a time. Car rides? Limited to 20 minutes. No lifting anything over 10 pounds.
Lots of drugs the first few days. I also could not turn over in bed. I mean I could not physically turn over without screaming in pain. I had to “log roll” into and out of bed. I’m still doing the log roll move but I can turn over without too much pain now.
I’m still not 100% there… and probably not even close. I get exhausted easily. I did a 30 minute walk this morning (the longest yet!) and by 1pm I had to take a nap, slept a few hours, woke up exhausted still. I did get 6 hours of sleep last night, which is a good amount for me, but I was up before 4am and could not sleep again, and my body just needs more rest that usual.
I see my doctor next week Monday and we’ll see how I am doing then. I may need to do some PT in the future, which is good, because I love my Physical Therapist. I am really hoping to be able to ride my bike by the end of July if possible, and of course get back to biking to work. I’ve read that 6 weeks is reasonable to start doing “normal” activities after this kind of surgery.
Okay! Thanks for reading, see you next time!