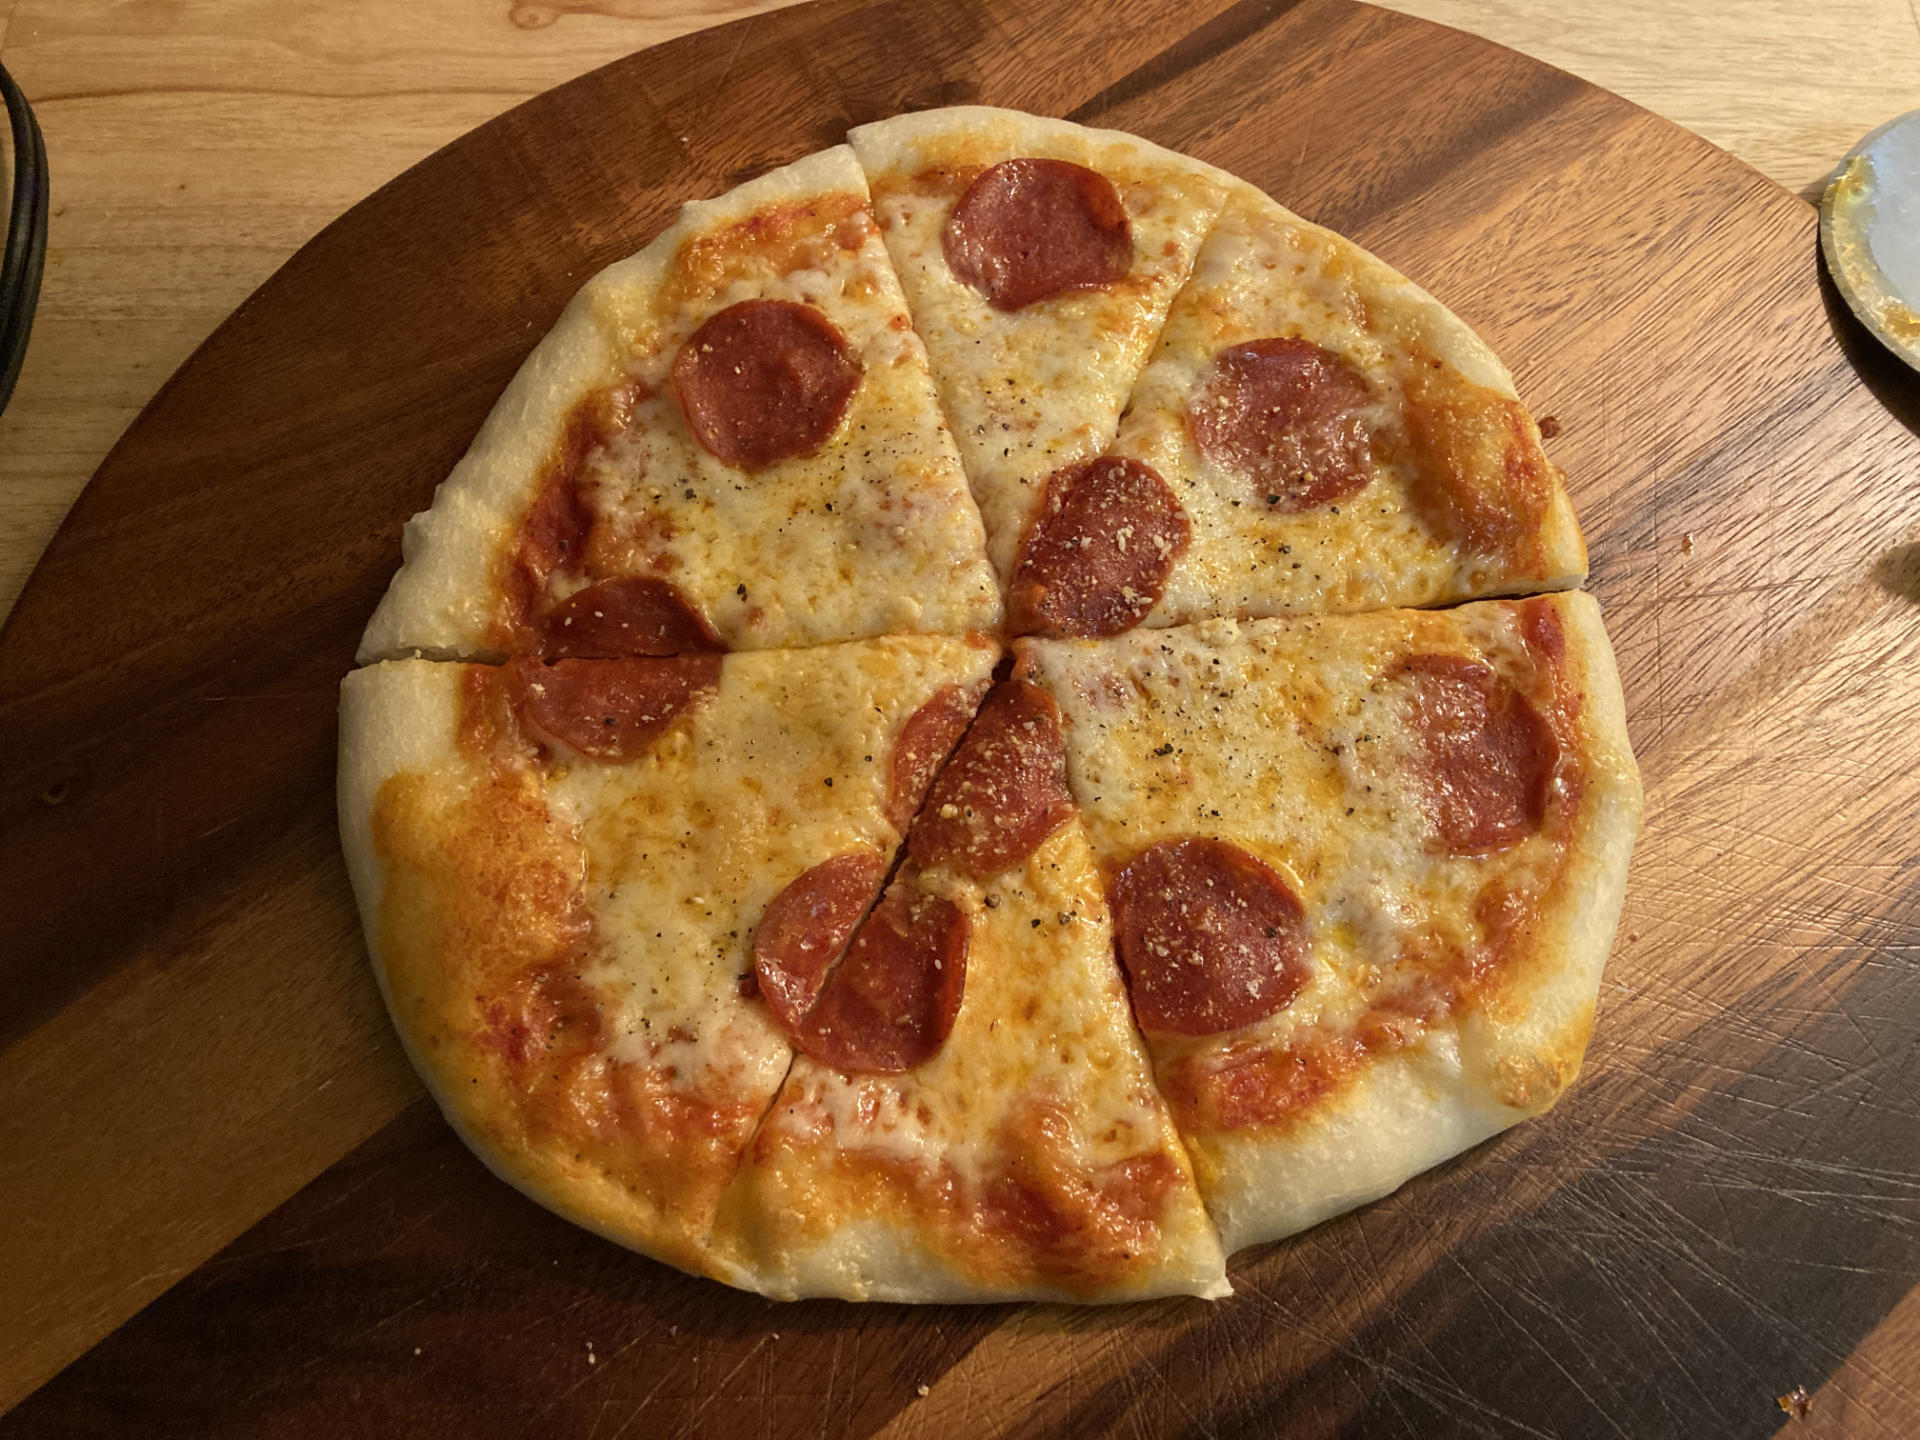
A friend asked me for some pizza advice, so I figured I would write up a whole post that everyone could read. Here it is! Warning: At the time of writing this I am ill, and my brain is a bit fuzzy, so if something doesn’t make sense please ask me about it. Second Warning: This is my own personal experience, others may have other experiences and disagree with what I say, but hey, that’s the Internet for you. Leave a comment if you’d like.
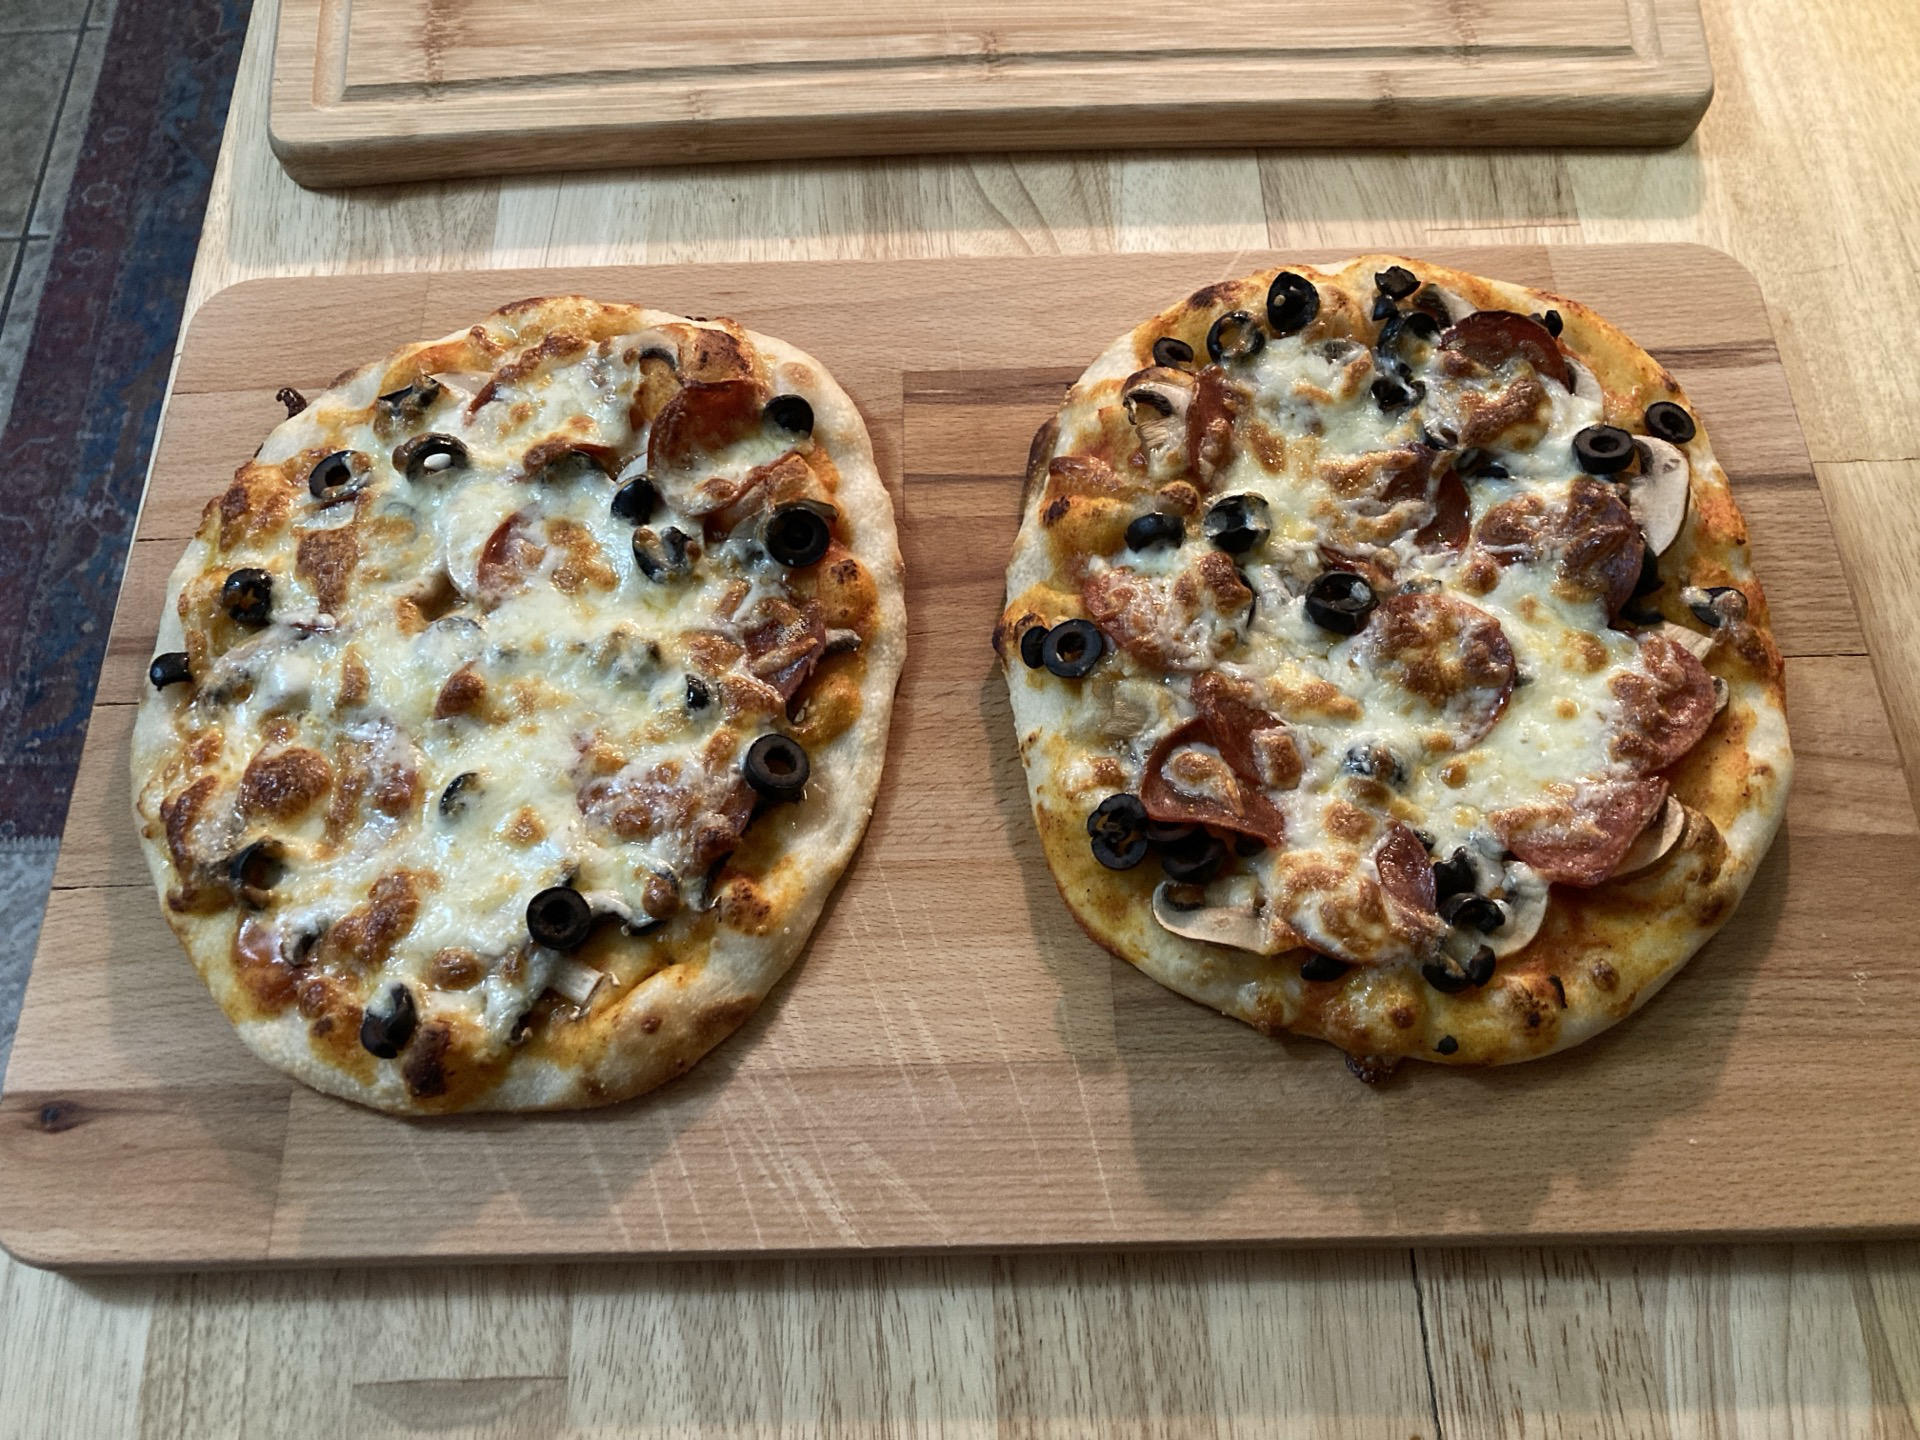
I started making my own pizza dough almost 20 years ago. The first 18 years of doing so were sort of crap. I mean, my pizzas were usually much better than a store-bought frozen pizzas but not as good as a nice pie from a decent restaurant. This year I have definitely made pizzas at home that are better than some pizza places I’ve gone to or got delivery from.
Here’s an old post about the dough recipe I used to use… I no longer do it that way, and this post will outline what I do now, along with some other handy tips. Two main things changed this year, a pizza steel and the way I make dough.
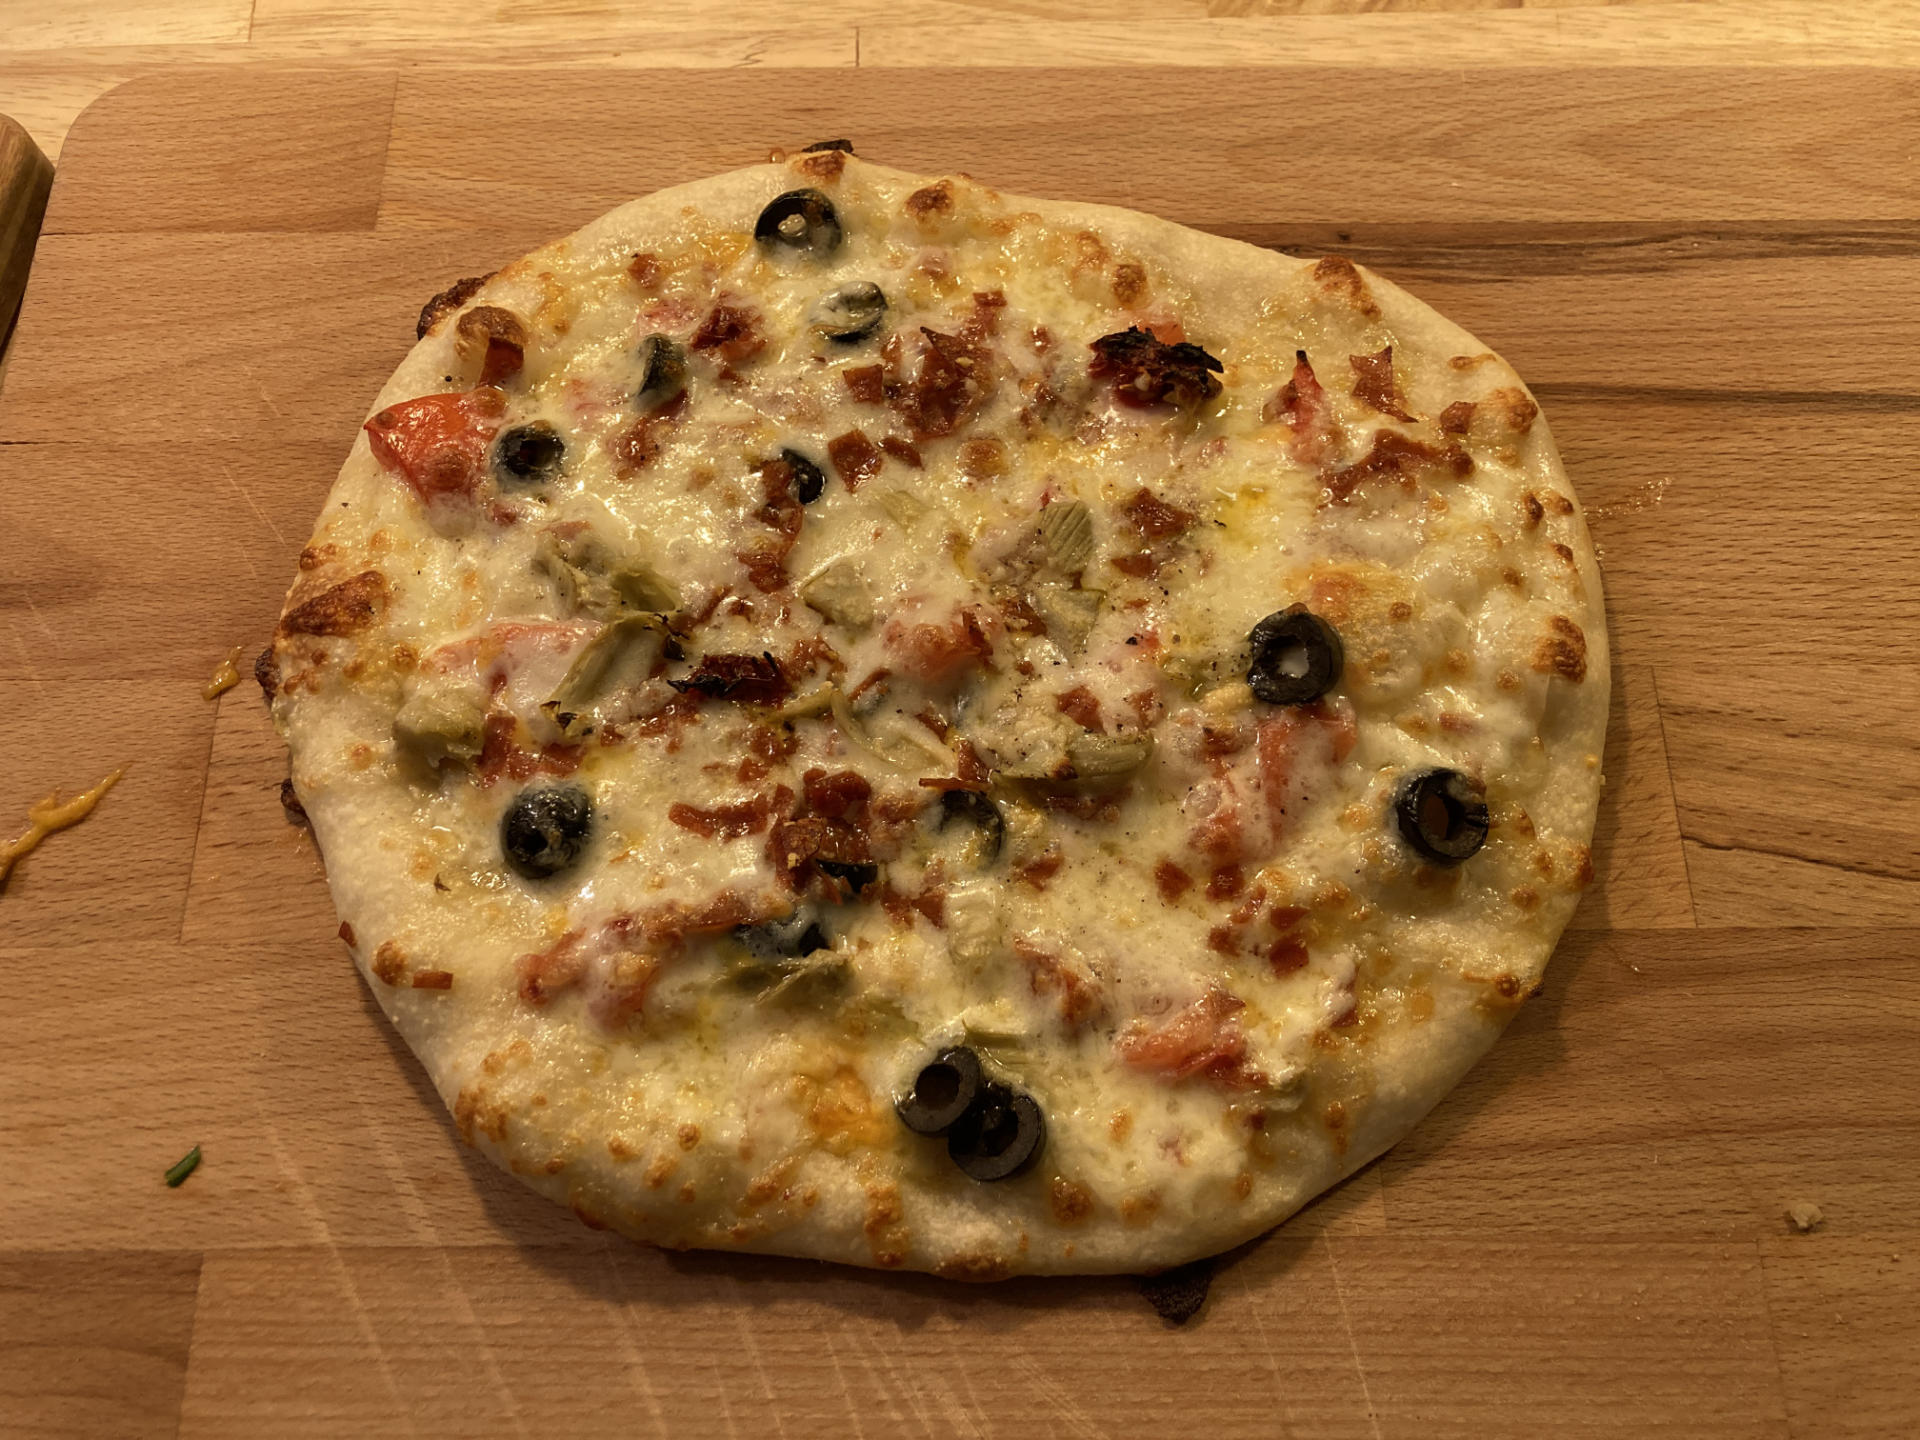
Back in Summer 2023 I noticed that one of the pizza places I loved was using “00 Caputo Pizza Flour” so I ordered some to use that for dough. It seemed better than All Purpose flour, but it was also expensive. The (slightly) higher quality did not justify the (much) higher price. So in December 2023 I got a book titled The Elements of Pizza which really did a great job of explaining everything about how to make pizza dough. I was also convinced by a friend to get a pizza steel. I thought about getting one before but kept thinking it wasn’t the right solution… I was very wrong.
Pizza Steel
The pizza steel was a game changer. My first issue with it was that you’re supposed to preheat it in the oven for 45 to 60 minutes. I figured that if I wanted pizza I wanted it done in an hour or so, and waiting nearly an hour to just preheat the oven seemed silly and wasteful.
I’m telling you now… if you want a good pizza crust in a standard home oven, get a pizza steel. I got a THERMICHEF Baking Steel (Factory 2nd). I got the 1/4″ 16″x16″ but if I did it again I would get a 20″x14″ because the 16″ just barely fits in the oven and slightly raises up on the back end of the oven rack. A 20″ wide would also allow for easier baking of two pizzas at a time. For my household specifically everyone gets their own dough and dresses their own pizza. They tend to be about 9″ to 10″ in diameter. If they are 9″ I can (just barely) fit two diagonally on the 14″x14″ which is handy… Otherwise if they are larger we just do one at a time since they bake in about 5 minutes. (A 20″ would allow for two 10″ pies side by side!) Whatever size you get, go for the 1/4″ thick piece.
I should mention at this point that I have a few friends that use outdoor pizza ovens, many of which burn wood, or use propane or whatever. For me, I do not want this. I don’t want to be running outdoors and back indoors to make pizzas… I don’t want to do it in the winter, and I don’t want to do it in the summer. Too cold or too hot. Not for me or the way our house and yard are setup.
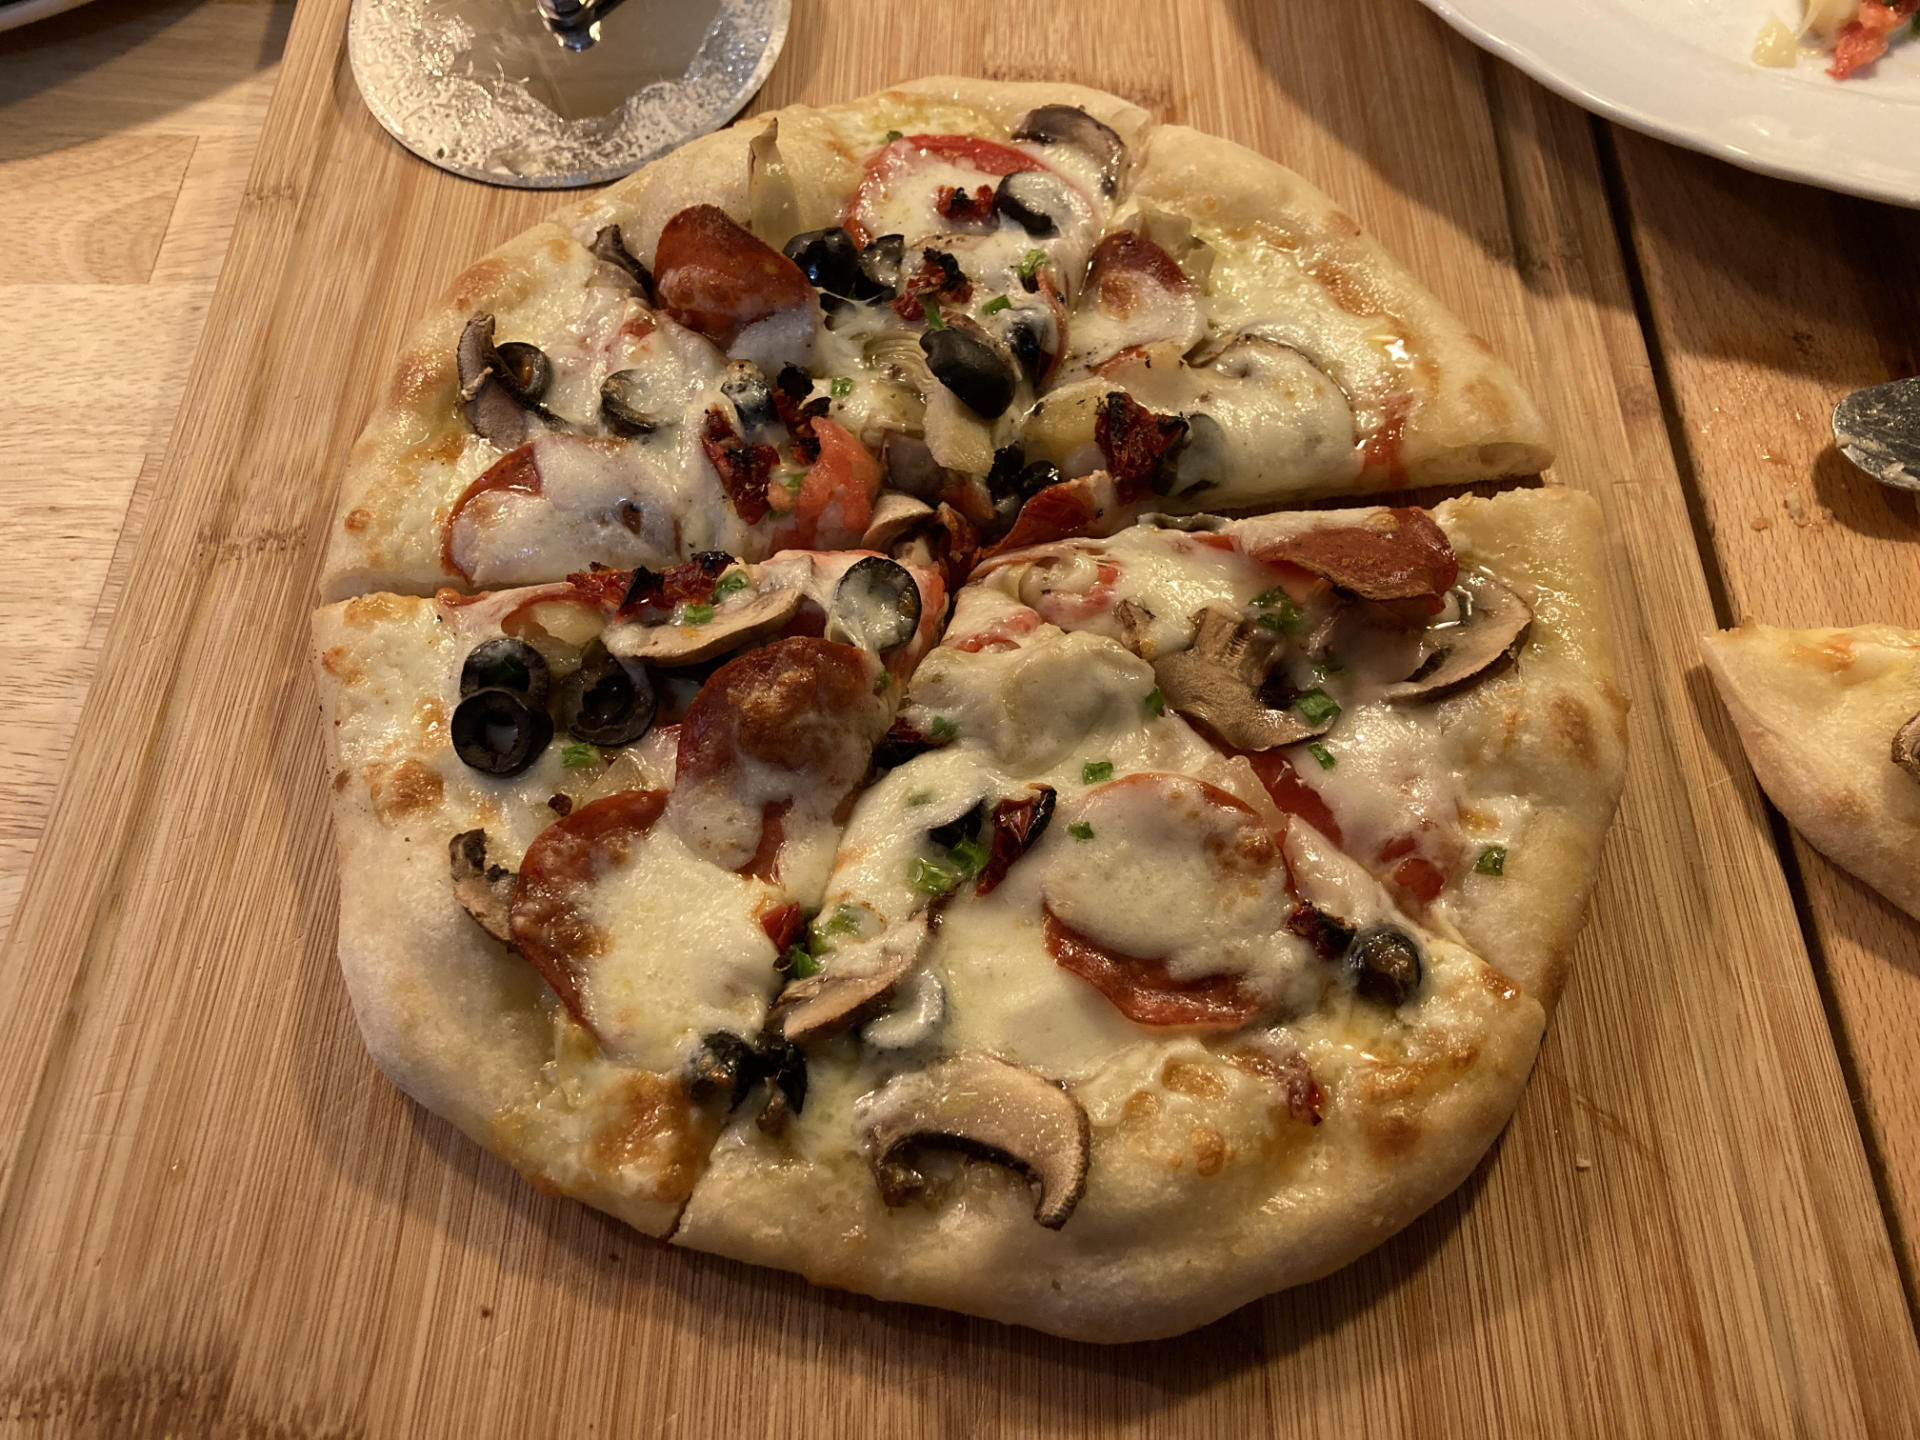
The Books
The first book I got was The Elements of Pizza and reading it changed my approach to making pizza. It covers the tools you’ll need, and recipes, and history, and all sorts of other things. If I could recommend only one book, this would be it. There is one other book, The Pizza Bible. I don’t care for this one as much as the other book, but I think that’s mainly a stylistic thing. (I should do a full review at some point, but not in this post.)
Besides the books I joined a few pizza forums online, mostly Facebook groups, which can be filled with lots of useless posts but there are definitely gems and some useful comments. You can probably completely skip online forums and just use the book(s) but the online stuff does show the experience of normal people trying the same stuff you are trying, along with weird, stupid, and crazy stuff… some of which works!
There is also one app I will recommend, PizzApp+ from NFP Software (iOS, Android), which is a dough calculator. It’s handy if you want to adjust a recipe from the book to different sizes. I typically make 4 doughballs at a time, but you can scale a recipe up or down and it will calculate the ingredient amounts for you. I find it helpful.
If you hate apps there is an online Dough Calculator (which I have not used.) There’s also recipes at pizzamaking.com though again, I have not used them. They might be a good starting point if you’ve never made your own dough. Making pizza is very much about experimentation and trying things out to see what works… it’s like science!
Kitchen Scale
Speaking of ingredients, get a good kitchen scale. If you have one, it might suck. I got this Dual Platform Kitchen Scale because you need to weigh all the ingredients. No more teaspoons, tablespoons, and cups. Weigh stuff. It makes a huge difference. (You’ll also need to weigh your doughballs!) The scale I got can do 0.01 grams so it’s pretty precise for things like yeast, which sometimes call for very small amounts. Also, if you don’t have a kitchen thermometer, get one… you’ll need to measure the temperature of the water and sometimes the dough.
Container / Containers
Some of the recipes I read say “put each doughball on a dinner plate, wrap in plastic, and place in the refrigerator.” I don’t know about you, but I do not have room in the fridge for dinner plates. There are also large doughball containers but again, no room in my fridge. I ended up getting these Stackable Silicone Dough Proofing Containers. I like that they are silicone, they stack for storage, and they are just large enough for a single doughball. I hate the lids, they are almost useless. They just sort of rest on top of the containers. I typically hold the lid in place by wrapping plastic wrap around the whole thing. (And I reuse the plastic wrap each time.) You’ll need the containers because you should cold ferment the dough in the fridge for two to three days. I thought this was nutty when I read it, but it’s worth it.
See, in the old days I would bulk ferment the dough in a single ball in the oven with the proofing setting on for 60 to 90 minutes. I’d do 60 minutes because I hated waiting. My dough now takes days. So yeah, you need to plan ahead. But not days ahead, hopefully, because you can always toss a doughball in the freezer, take it out in the morning and have pizza for dinner. If you want pizza right now just go to Sendik’s or Metcalfe’s and grab a doughball in the refrigerated section. Give it an hour at room temperature then use it. You can also buy dough from Ian’s Pizza and other places. It’s probably really good dough, and if you bake it on a steel it will be better than a frozen pizza any day!
The Peel
A pizza peel is a giant spatula you’ll use to put the pizza on the steel and take it off. At first I used a flat cookie sheet but eventually I just lasercut a piece of 1/4″ Baltic Birch Plywood, sanded it down, and oiled it. There are also metal peels, some have holes, etc. I just made one, but again, you can use a cookie sheet if you have to.
Launching is the process of getting the unbaked pizza from the peel to the steel. If you don’t get it right you are fucked. So I just use parchment paper. Yeah, I cheat. I don’t care. Push out your dough and dress your pizza on parchment paper, slide the paper and pie onto the steel with your peel, and five minutes later pull it out. For a while I was pulling out the parchment paper after a few minutes, but I found it better to just leave it in there. If the pizza is in for five minutes don’t even bother pulling out the paper, as you need to open the oven to do so, and the heat will escape. Do I get a nice bottom? Yes. I also found it’s better to preheat the steel for closer to 60 minutes instead of 45. It does seem to make a noticable difference.
(I’m adding this note on parchment paper. Get a name brand, not the cheapest/generic brand. The better quality handles the high heat while the cheap stuff burns quite a bit.)
I should mention again, these are all just my experiences and others will have different experiences, and I welcome your input!
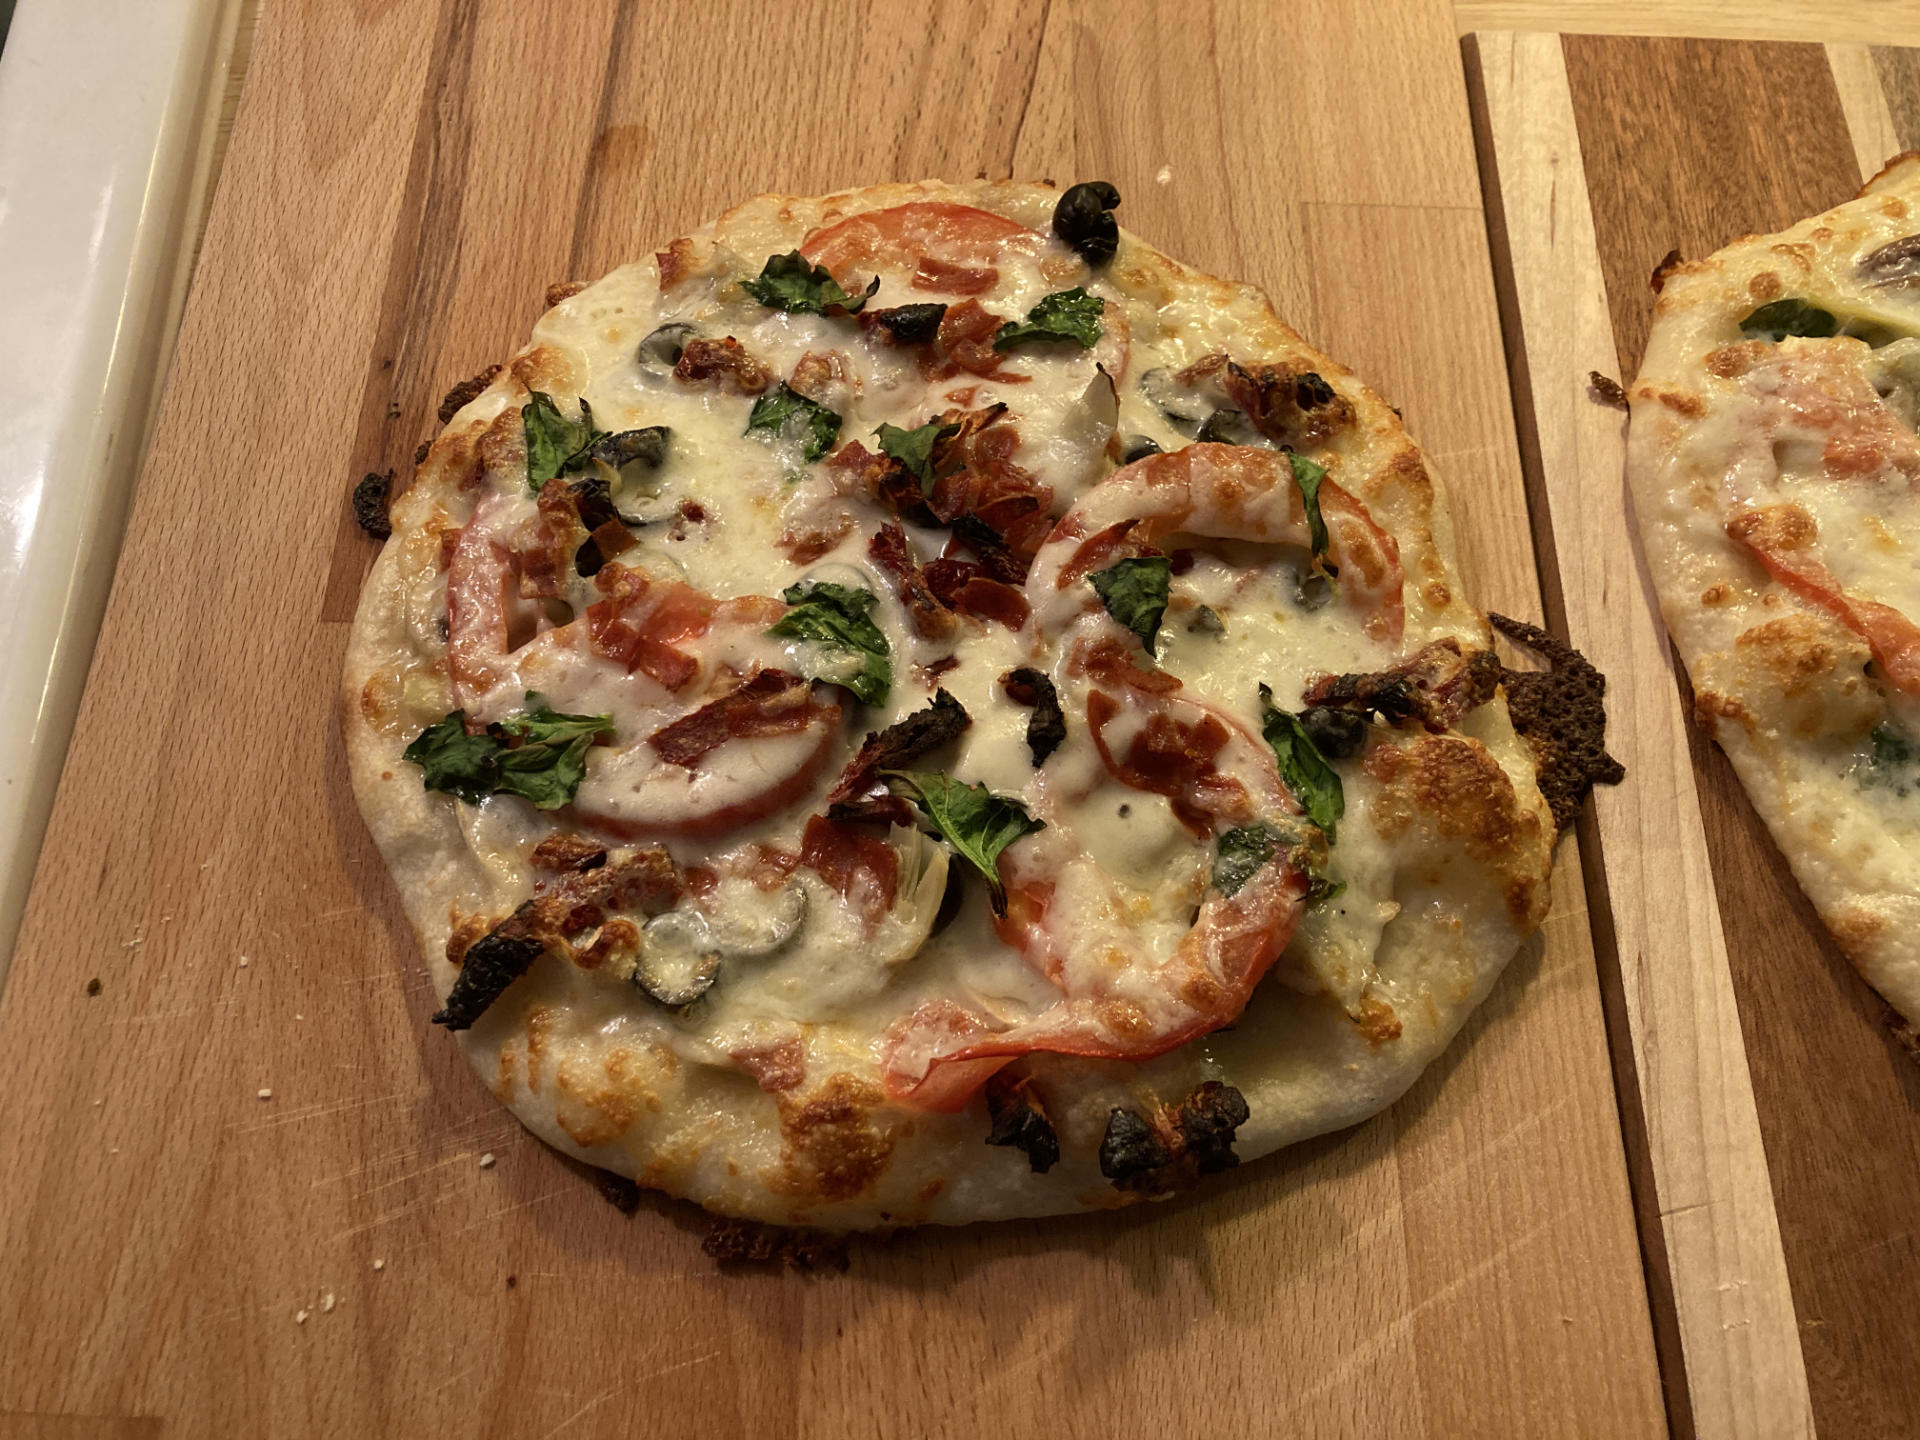
I won’t get too into ingredients, but remember when I mentioned “00” flour? If you like Napoletana style pizza it’s the right flour to use. But as I mentioned, it’s expensive, and from what I’ve read if you are not using a 900 degree oven it’s not worth it. I am using a 550 degree oven and I used to use All Purpose Flour but I mostly use Bread Flour now and I’ve been very pleased with the results. I get King Arthur Unbleached Bread Flour because it’s cheap, easy to find, and turns out pretty darn good!
Sauce… yeah. sometimes. I don’t really have a solid recommendation for sauce. The best advice I read was “do not overdo the sauce” so if you’re gonna do sauce keep it thin. Add seasoning on top of the sauce if you want. Oregano, black pepper, whatever. It’s up to you. The last jar I bought was from Trader Joe’s and it was fine. Sometimes you want a saucy pie. If we’ve got tomatoes in the house we’ll just do a bunch of thin slices in place of sauce. With an amazing crust you’d be surprised how much you don’t miss sauce when you throw some great toppings on a pie.
Cheese, yes! I am Wisconsinite, after all. That said, I tend to just buy a block of whatever mozzarella. No bags, always get a block and shred it or slice it. That’s just me though. Some people buy the expensive stuff, or other kinds of cheese, but I’m good with classic mozzarella. I’m not too fancy. As for all the other stuff we tend to do (turkey) pepperoni, black olives, mushrooms, etc. Dana can’t have onions and Madeline is vegan (the dough is vegan, btw) so again, everyone dresses their own pizza. Madeline uses a vegan cheese and tons of veggies on hers. Vegans, right!?
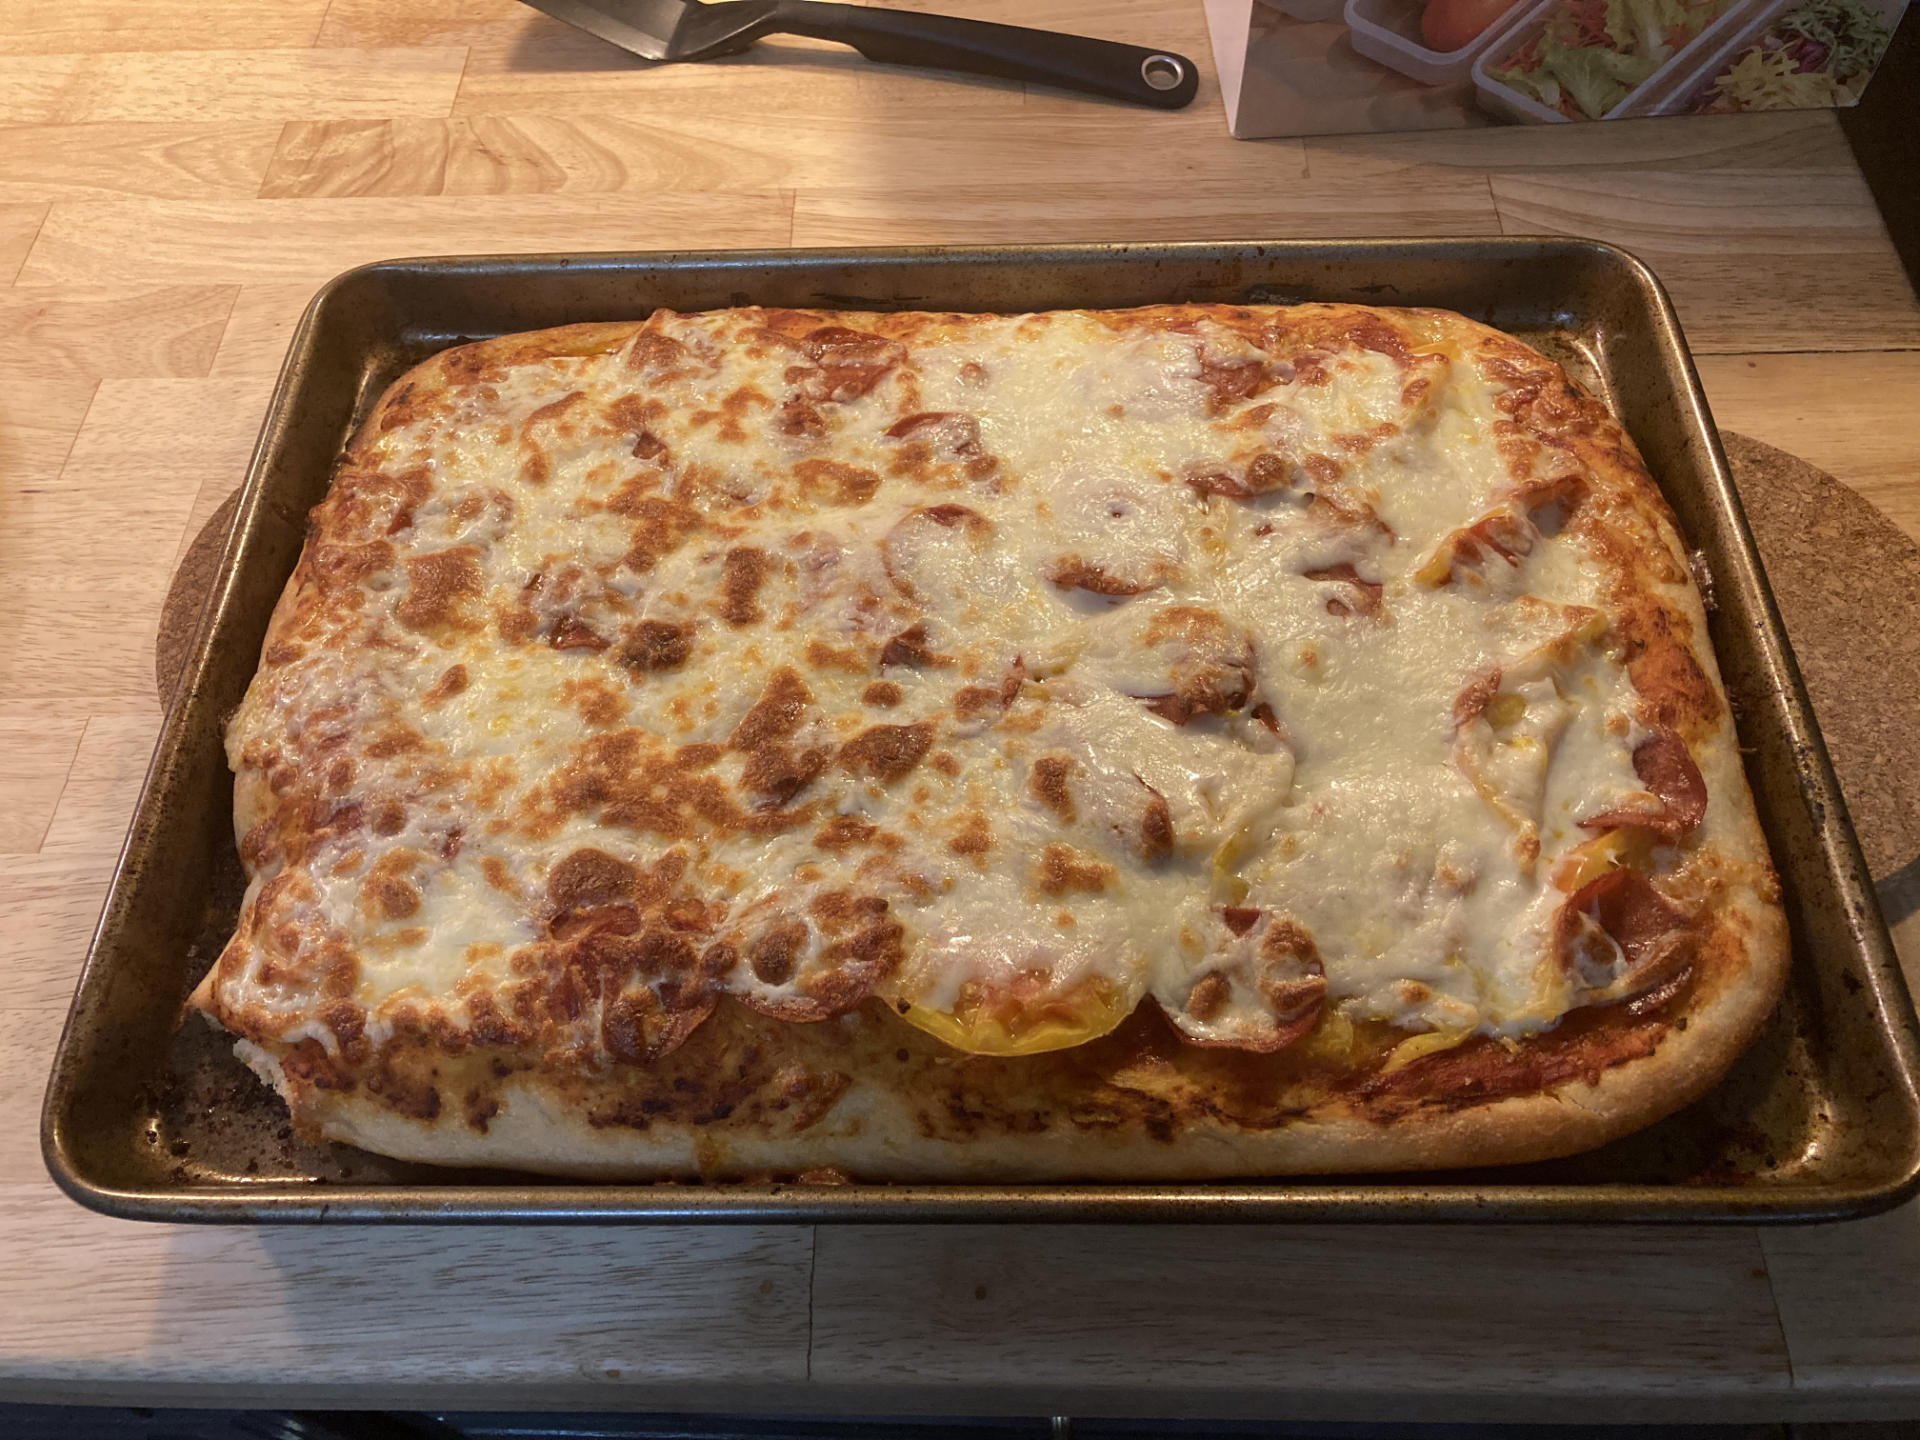
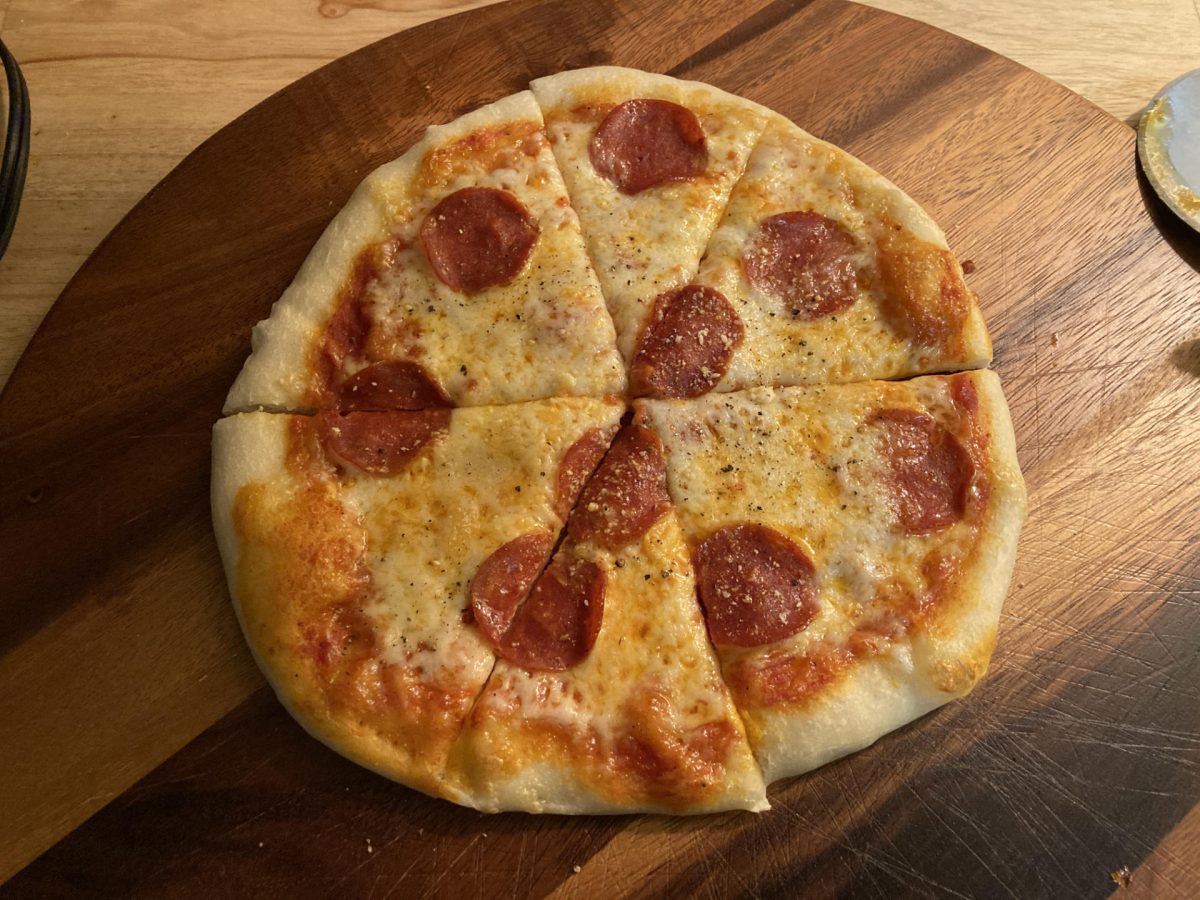
Okay, so that’s all I can think of right now. These are the things I learned this year… and I am still learning! I’ve done one pan pizza, or Detroit style, or Sicilian, or Grandma Pie, or whatever you call the one in the photo above. I’ll be making more of those in the future. They are a bit more work but damn, they are good!
So I didn’t really share a recipe, because it’s sort of difficult to do so. My most recent one makes 4 doughballs, each 250 grams. It has a 60% hydration and 3% salt, so that works out to 613g flour, 368g water at 90 degrees F, 18g of fine sea salt, and 1.3g of active dry yeast. I bulk ferment for about 3 or 4 hours (depending on how late I start and when I go to bed) and then form the individual balls and cold ferment in the fridge for 2 to 3 days. (You can do more, but after 4 it may affect the flavor a bit.)
So yeah, it’s hard to just write out the recipe without going into great details about how to do it all, and I’m getting tired because I am still sick and this post is way too long already! Again, I highly recommend The Elements of Pizza but you can probably find a ton of videos online by pizza people showing how to make things and sharing recipes. I’d say start there.
I really hope this post is useful to someone besides me… I like making pizza, but I’m also cheap, and there are some things to cut corners and costs on, but some things you really do need to knead. Ha, a joke! Good Luck, everyone!
Note: This post contains an Affiliate Link. Read More.