Categories
Uncategorized

A 3D Printed Filament Spool Winder

Since I now need to wind filament onto a spool I wanted to try a device to assist with the task, so I printed a Filament Spool Winder. I had a few issues assembling it, mainly when it came to some of the threaded parts. 3D printing threads is a neat trick, but I don’t always think it’s practical. In this case, it just did not work for me. Some of the parts that were threaded did go together, but not easily, and pliers were involved, and they are never coming apart without breaking.

For the rear assembly of the device the two parts that attach to the axle specifically need to be disassembled during normal use, to put on or remove a spool, so the threaded parts need to work, and work well. They did not for me, so I made a few edits so the pieces use square pegs to assemble.

I released my modified parts on Printables, Filament Spool Winder (Non-Threaded Rear Axle Parts), in the hopes it may help someone who struggles with the threads like I did.

This was actually a really difficult project for me, some of it was definitely my own fault. I tried to just print the parts I needed, but somehow printed the wrong part at least once. The threads that did work only worked after sanding, shaving, and forcing. I think if you print all of the parts and watch the assembly video, it would probably make more sense. That said, I really do like assembly guides with photos/illustrations and step-by-step instructions rather than a long video. I should have learned after I built the Provisional Press that it’s best to watch all assembly videos all the way through without skipping ahead, before you start assembly. (This is really difficult for me, and apparently others, to do.)

I have not yet actually tested this Filament Spool Winder but hopefully it works well… Keep an eye out for another post on the subject.

Categories
Uncategorized

NIIMBOT D11 Stand

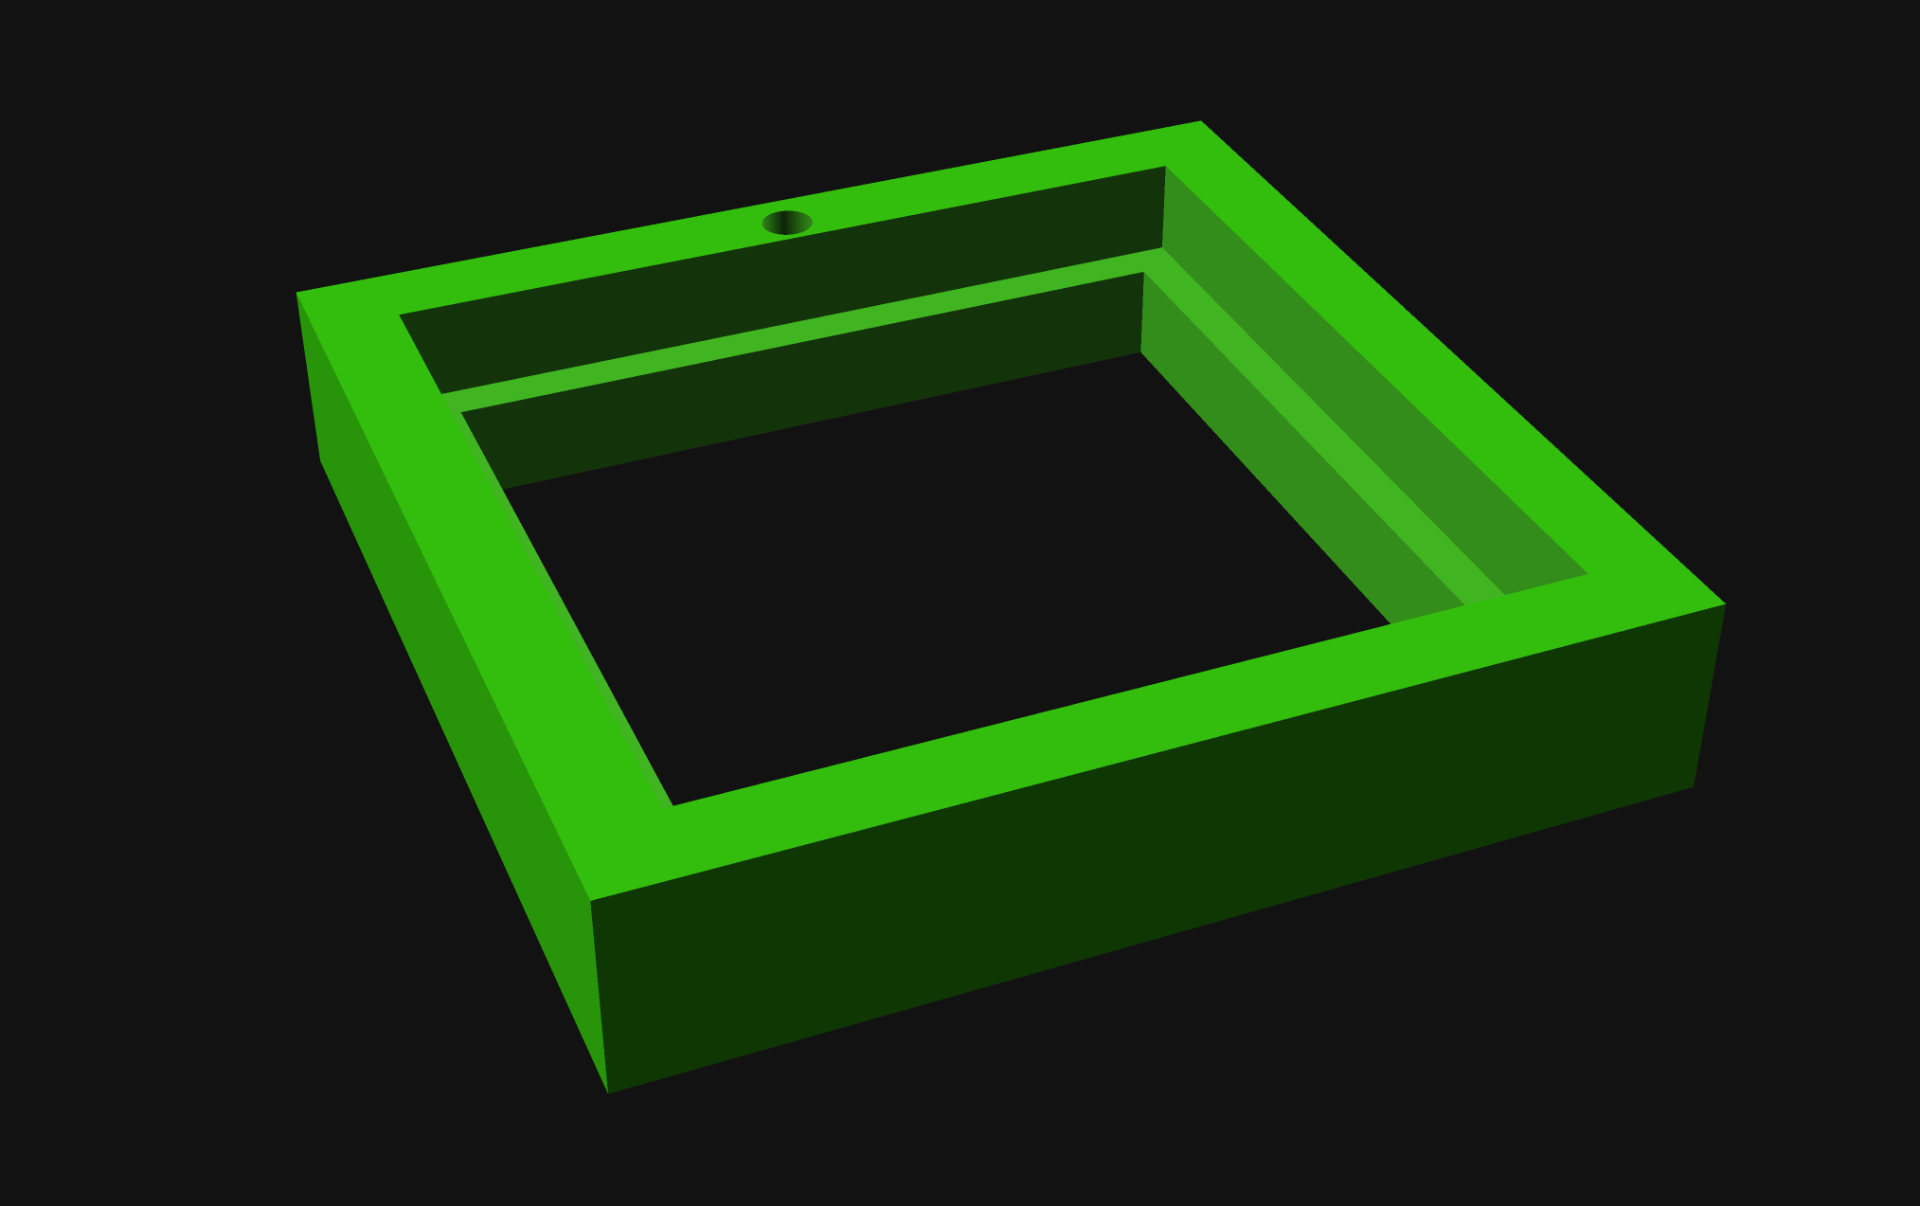
I recently grabbed a NIIMBOT D11 thermal label printer, which is a small/portable device for printing labels. It works well enough (I’m working on a full review for another post) but one of the things that annoyed me is that it cannot stand upright on a desk

For some reason the designers decided that a rounded bottom would be fine, and so it you can lay it down, you can stand it upside down, but you cannot stand it upright, so I fixed that.

This design took a few iterations, and I ended up adding the cutout to use less material, and (hopefully) allow for printing in less time.

This is one of those things I really thought would exist already, but a cursory search yielded no results. So here it is.

As usual, the OpenSCAD file is included if you want to make changes. The BOSL2 library is needed, and this is the first real project I’ve used it on, but it will not be the last.

You can get the STL and .scad file from Printables.com – NIIMBOT D11 Stand. Print it if you need it!

Categories
Uncategorized

Hackaday Responses to Fusing 3D Printer Filament

Hello Friends, I’ve been publishing on the Internet for close to three decades now. In the early days there was this idea of having a “home” on the World Wide Web in the form of your own web site where you could say what you wanted to, and you could be in control of what you said. That idea went away when the WWW got popular and everyone joined and just signed up for LiveJournal, Myspace, Tumblr, Facebook, Twitter, or whatever the new thing is… Well, some of us did not give up on the idea. Welcome!

Recently Hackaday featured one of my posts in A Simple And Effective 3D Filament Splicer and while I’ve had my projects featured a number of times over the years, the results are not always positive. One of my projects ended up on Hackaday over a decade ago and some of the comments about me personally were quite cruel, which I did not care for… (Yes, Hackaday has got better over the years, but it’s still incredibly easy for people to make ridiculous comments.)

Anyway, with this recent post, and the idea that this is a site on the Internet I can control, I will now respond to the comments right here! Why? Because I can… This is the sort of thing you can do when you have a web site on the Internet.

And of course, there’s a reason people say “Don’t read the comments!” and in my experience it’s mainly because people who haven’t done a thing have all sorts of opinions on the thing you’ve done, even though they haven’t done it. Somehow they know why you’ve done it wrong, and they also know the right way to do it! It’s pretty amazing. (My original post Fusing 3D Printer Filament)

Cyna says:
No to the very first sentence.

First Comment! Thanks! Very helpful! If it’s not for you, feel free to move on.


DaveAZ says:
I’ve never had the need to do this. The printer itself works just fine, and offline splicing means that you have to wind the new section on to the old.

Hey DaveAZ, we all have different experiences and use cases. My experience is that I end up with things like samples from vendors, rolls with very little filament left, or other short pieces I want to combine into part of a spool. This method allows that, and works well for me.


GoguyT3d says:
Bear in mind that the filament on both ends must be essentially “melted” before fusing and even then a high chance of the joint snapping in the extruder or along bowden bends. I’ve done it many times from “end of spool” to beginning of next and using a candle 45° cut bowden to smooth the melted bulge and it’d still very hard to get the material to stay joined and your also risking blackened/burnt filament in the process from the flame. I just save the last 100g of a spool until I need to print something under that size. Too much work for very little success.

Dear GoguyT3d, you may have missed the part where I mention this method produces almost no bulge, no burnt filament, and (so far) good success. In the post I said “Give it a (light to medium) tug to make sure it doesn’t come apart. If it separates, cut the ends and try again.” I made a spool with about a dozen joints, printed a number of objects, and had zero issues. I will keep testing, but so far I’ve had good success.


Gregory Scott Pearce says:
I simply start a print when I have time to see the roll ending. Then let the printer use up the last foot or so while putting the next roll on. When the last little bit is going in, follow it with the new filament pushing it until the hob gear is completely in control (you will have retractions most likely just keep compression…) For all new ends I figured out this trick for better insertion: with very little contact heat end of filament about 1/2? from end… the quickly pull it out. Cut the filament at the start of the thinner section. Makes the end nicely tapered so as not total jam up.

That sounds more complex than my method, and requires you to watch the printer the entire time waiting for the filament to run out? I don’t have time for that because I have to go to work, and sleep, and do other things… If you have time to watch your prints though, that’s awesome! I remember watching a MakerBot Cupcake the whole time it printed an object back in 2012 and it was fascinating…


Greg A says:
heh, i actually want to do this, because i cut off about 30m of filament at a time to leave on the printer (so the whole spool is not soaking up basement humidity for months). i’ve gotten pretty good at pausing the print, switching to the next filament segment, and then continuing again…but i waste about a meter of filament within the bowden tube, and obviously i’d like to do it without pausing.

so this got my attention and i was trying to decide if i would actually try it. unfortunately, Pete came to my rescue to help with the decision…he helpfully pointed out that he usually has a spool at one end. and that’s my undoing…i have a big coil of 60 loops of filament at one end, and my 3d printer on the other end. there’s no ready way for me to slide the doohicky out of the way, unless i want to manually feed it around 60 loops of filament.

i guess i could leave it on the filament and it’ll just slide on its own once it runs into the inlet on my extruder assembly.
but i think i’ll give it a pass. oh well. it would be neat!

I’m not sure I get the issue Greg A is having. You make a splice, feed it through the tube, then add another piece (and another splice) and feed that through the tube, and you keep going. Is Greg A trying to do this inline while a spool is feeding to the printer during a print? This one just baffles me…

Does this diagram help?


Chris says:
It is a nice device, but there are certainly better executed examples of this. With a piece of tubing and a pen spring, you can 3d print the connector ring and just push the two pieces together.

Yes, I’ve seen this thing and I tried using a spring and it did not work for me, but the method I used did work for me. As I mentioned “find what works for you and go with that”. If the spring works for you, awesome! I have presented an alternative method that may work for others.


Isaac Horowitz says:
Why not just the buy a tool used to do this job? It’s called a belt splicer. You lock the pieces in the clamp, turn it on, it heats up, you squeeze the handle, it shoves the pieces together. Granted its for rubber belts, but it will melt our filaments. A little tweaking and we could make them work perfect for spool splicing.

I like how the “tool used to do this job” isn’t actually the “tool used to do this job”, which MinorHavoc pointed out. I do look forward to seeing the device Isaac Horowitz comes up with using a hacked belt splicer though!


Hans says:
I simply print until my Prusa tells me that it’s out of filament, insert the next filament and press continue…

I hope someday I have no need to work, sleep, or do other things and can just sit around watching printers print and waiting for them to tell me they need more filament… sigh.


Well that was fun! I don’t know that it was the best use of my time, but I needed to get some writing done today, so that should suffice.

I hope Hackaday takes no offense at this post. In case you are interested, RasterWeb! started 7 years before Hackaday launched, and has only had one owner during that time. ;)

Categories
Uncategorized

Fusing 3D Printer Filament

I’ve know about fusing the ends of filament together for at least a decade, but never really tried doing it. Until recently… I tried a few different methods, I did a bunch of reading, watched some videos, and I failed at nearly all of the attempts, or just wasn’t satisfied with the results. But somehow along the way I absorbed enough information to try something, and hey… it worked!

Note: Just want the files? Get them from Printables.

I read a lot of posts, and watched a lot of videos, and I feel that it’s sort of like 3D printing itself – what works for one person may not work for another – so find what works for you and go with that.

The method that is closest to what I did can be found on the Filament Splicer & Joiner with Roll Holder page. Rather than go through all the trouble of printing those parts and assembling it all, I took a simpler approach and went minimal to test things out.

The Tube
I ended up using this PTFE Tube (which is 1.775mm~ ID / 2.5mm OD). Wait, why is this important!? Most PTFE tube used in 3D printers (to feed filament to the machine) is 2.0mm ID / 4.0mm OD. Many methods use this size tube, and the issue is that the filament expands to 2mm inside the tube. The recommendation is to then shave and/or sand down the filament to get it back down to 1.75mm. This method constrains the filament to a dimension much closer to 1.75mm.

Besides the tube (which is the most crucial part of this whole thing) I designed and printed two parts and added a few 3mm bolts and nuts to hold it all together.

You’ll notice a long end and short end of the tube sticking out of the device. You’ll want the short end to be the business end. I probably could have trimmed the tube down on the back side but it’s okay to be a bit longer. Just keep the other end barely sticking out as shown.

I also used a vise to hold the device securely in place (I can see why Turnt use a clamp design) and also grabbed a candle… and of course, some filament!


I’ll try to produce a quality video but in the meantime here’s an illustrated guide demostrating the technique. (And yes, I did mix up the colors as compared to the photos! You also won’t see the vise in the illustrations, so just pretend it’s there.)

Insert a piece of filament from one side and slide it all the way through. It should have a flat cut end on it. This is the piece we will heat up. The other piece (on the right side) should be cut at a 45 degree angle. The angle is primarily to allow you to quickly and easily feed it into the tube without fiddling about.

Put the filament over the candle flame and it should start to soften. Don’t get it too close, or it will catch on fire and burn! Start with the filament further away from the flame and slowly move it closer. I think around 100mm is a good starting point.

Once you see the filament end soften into a blob pull it back into the tube… You’ll need to pull it in about halfway into the device. Practicing a few times will help you get it right.

At this point you may want to move the candle out of the way, or just blow it out for safety.

Once you’ve pulled the heated filament into the tube quickly push the other piece of filament (with the angled end) into the tube.

Now you should be using both hands, holding both pieces of filament, pressing them against each other. Push and hold. You don’t need to push with all your might, but give some good pressure. Wait a bit for it to fuse and then cool… 30 seconds should do it.

Now push/pull the filament out again, and inspect it. Give it a (light to medium) tug to make sure it doesn’t come apart. If it separates, cut the ends and try again.

If you find that you cannot push/pull the filament out of the tube you can loosen the screws to release the clamping on the tube, or separate the top and bottom pieces completely so the tube can be removed from the assembly. This can make it easier to slide the filament out. You will obviously have to slide the tube completely off of the filament piece. When doing this I’ve probably got a spool on one end so I’ll slide the tube away from the spool to free it from the filament and then spool it all up.

Using this method I joined about a dozen pieces of filament into a portion of a spool and then did some test prints. Are they the greatest prints ever? Probably not… Since I mixed multiple colors and brands together I’m sure the filament profile, which should be tuned for a specific filament, sort of goes out the window. Still, the results were completely acceptable and I’d rather find a way to use up all those short bits and unspooled samples I’ve collected over the years.

The Device
You can get the STL and .scad files from Printables.com – Simple Filament Fuser. Print it if you want to give this a try…

You’ll need four 3mm x 14mm (or longer) bolts and four 3mm nuts to assemble the device. You can probably use #4-40 bolts & nuts as well, or adjust the size of things in the .scad file to suit your needs.

If you end up making this and using it, please let me know. Did it work? Did it not work? What was your experience? Any tips or tricks to share?


Update: Don’t like the DIY route? This Filament Welder device is somewhat similar, but reading the reviews suggest you will need to shave/sand down your joints, and you may also benefit from a few of the tips I’ve shared in this post.

Categories
Uncategorized

Simple USB Switching Device

I recently sold a USB controller to a large company and then the Experiential Marketing Team there had a few calls with me about what they wanted to do next, which was build a “very large” controller. I gave them a huge quote (because it would have been a huge project involving custom fabrication) and they eventually got back to me saying they found someone local who would do the fabrication, but wondered if I could still do the programming part of it. I said “Of course!” and we got going…

As we talked through the project I realized that if I just sent them a microcontroller with a bunch of bare wires it may not be the best experience for them, so I offered to build a prototype/testing unit that would be fully functional, and then also provide the “bare wire” version they could install into the custom fabricated unit they were having built.

One of the people asked if they should have a backup in case of failure, and of course that’s always a good idea so I said I would throw in a spare as well.

Projects like this tend to be pretty easy for me. I’ve got my own OpenSCAD library to easily create the enclosure with the holes I need, and I can easily add new holes as needed. I can choose to print the top lid integrated or separately (and attach with hardware) and I tend to do the lid separately now because it means faster printing, less support material, and I can easily iterate when needed.

The electronics for most controllers I build is the same, so if I don’t have code that does what someone wants, it’s fairly simple for me to rewrite existing code to do what is needed. I test things on macOS and Windows for every project, and Linux if that is needed. (It is sometimes, but it’s rare most of the time.)

Anyway, a project like this is actually pretty fun for me, which is why I keep doing them. I can get away with not charging a ton because I have my system down really well to produce what people want.