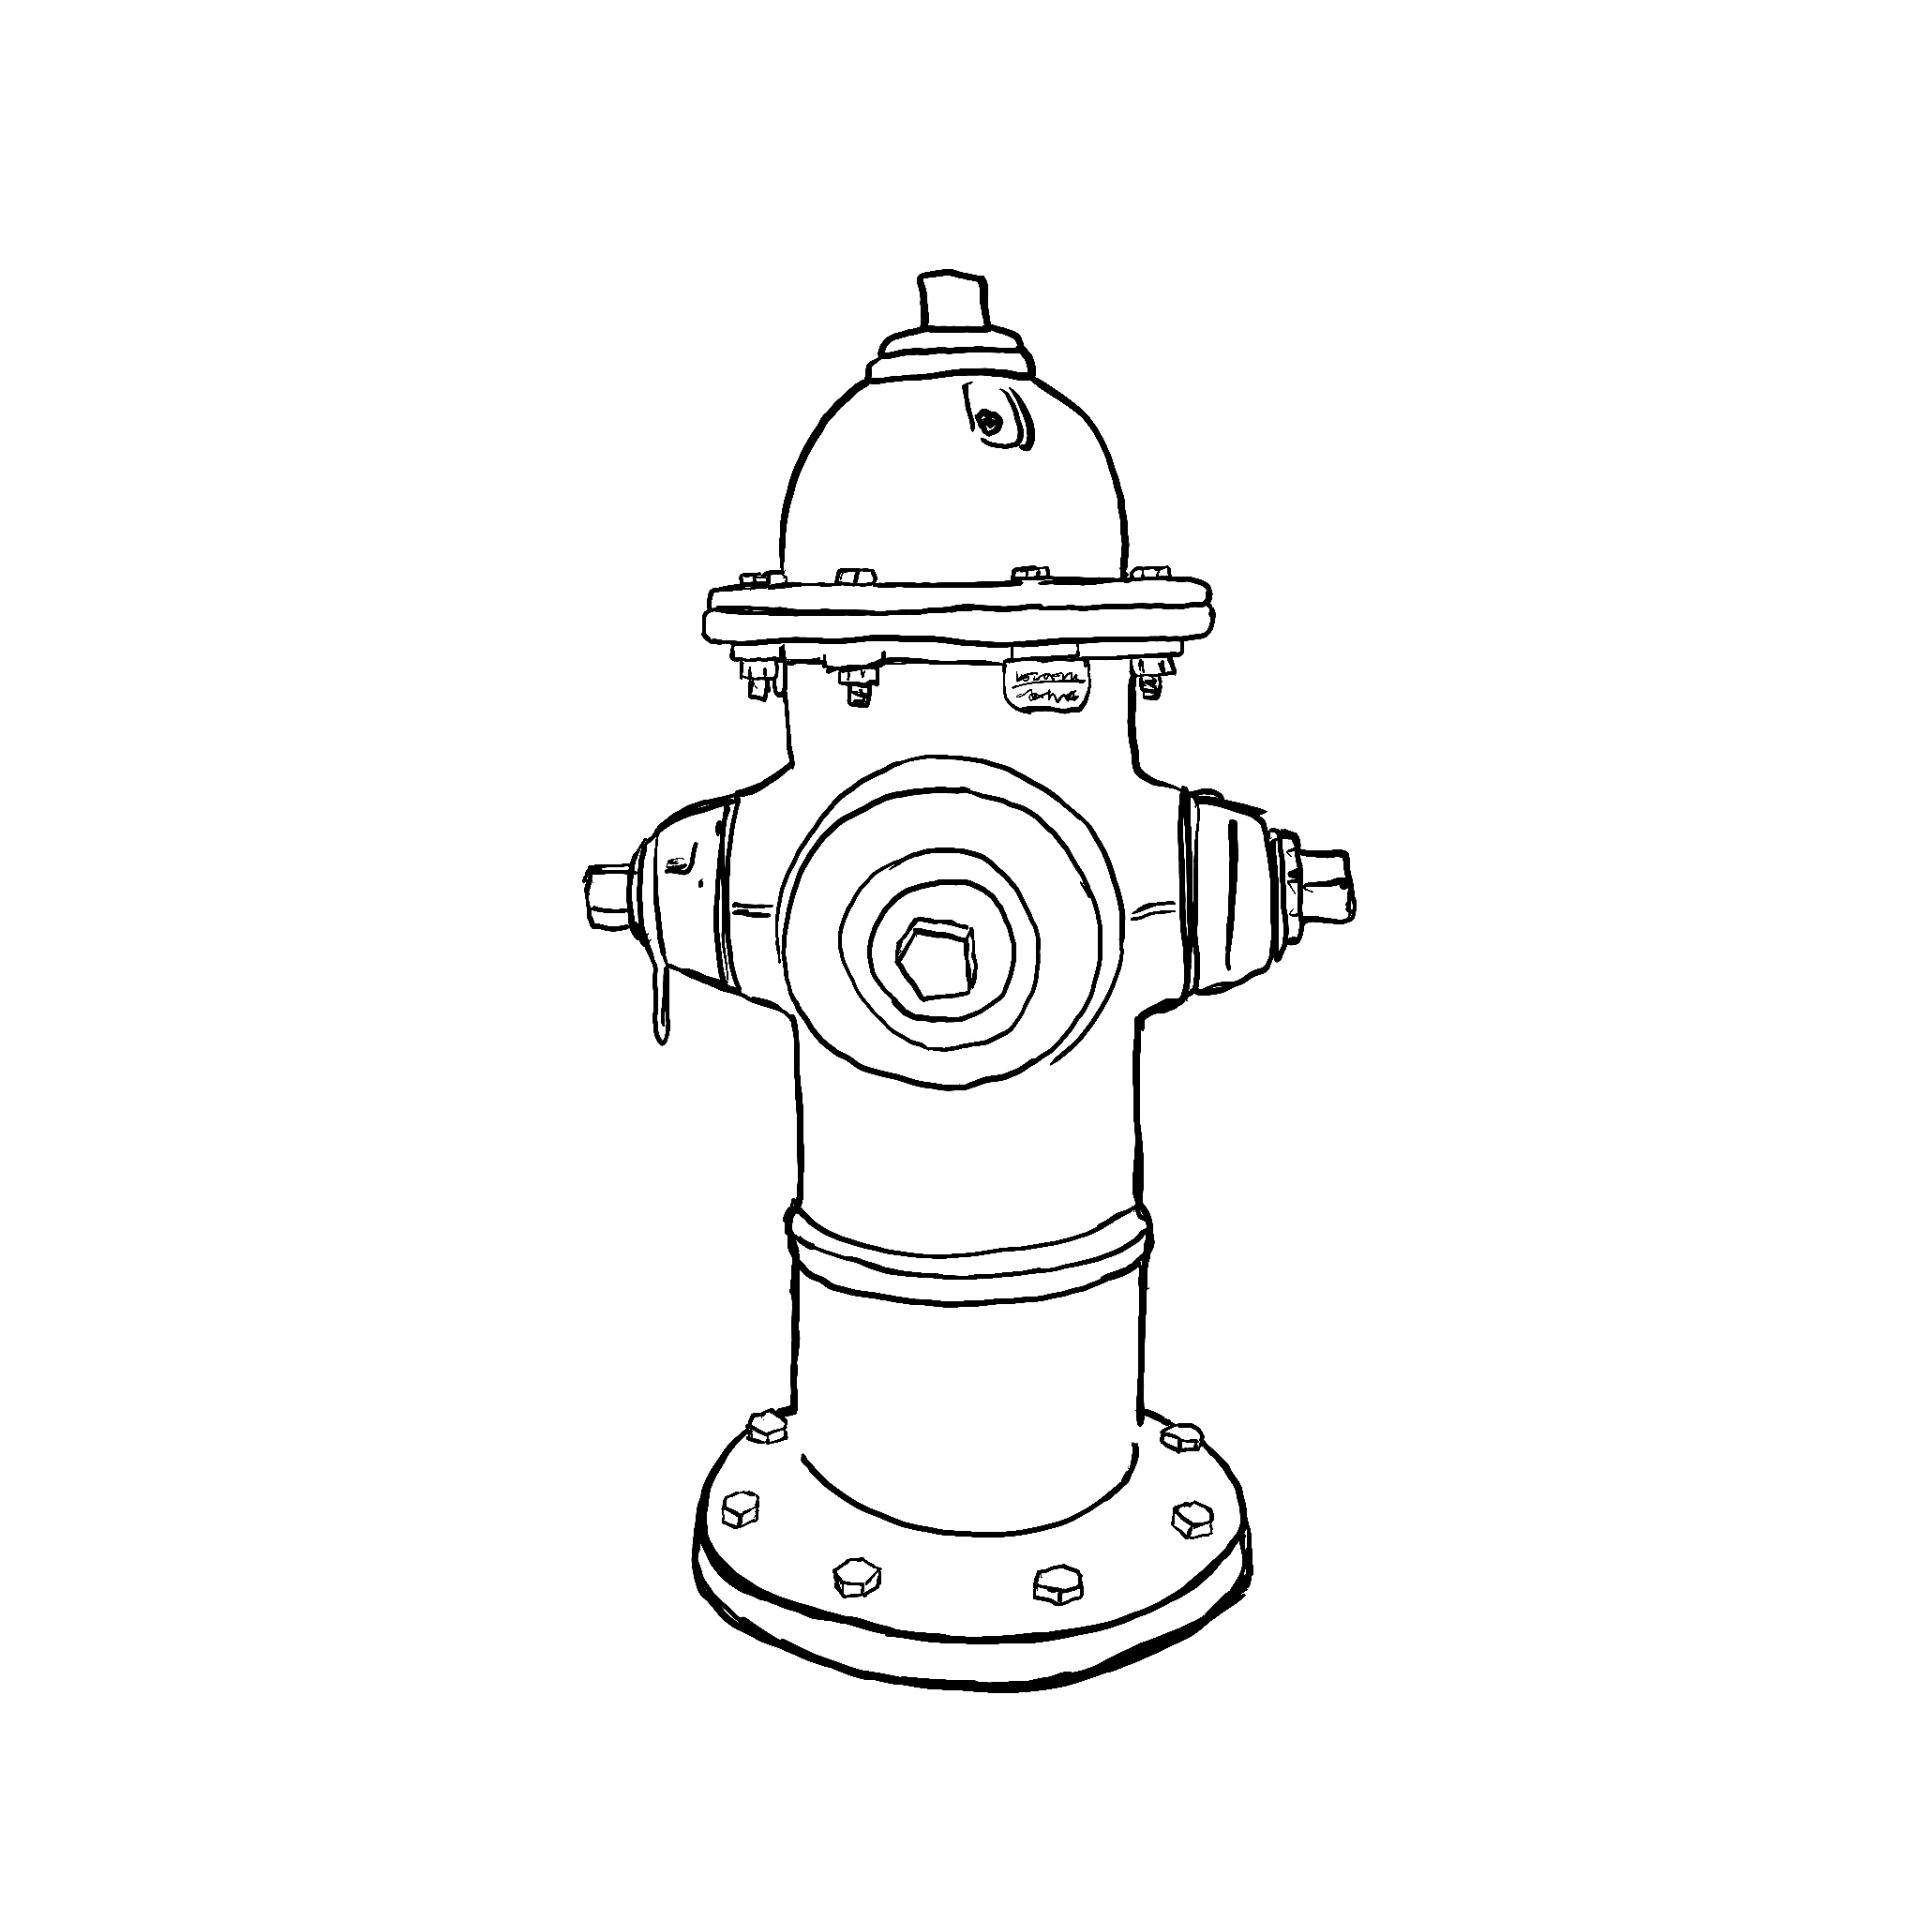
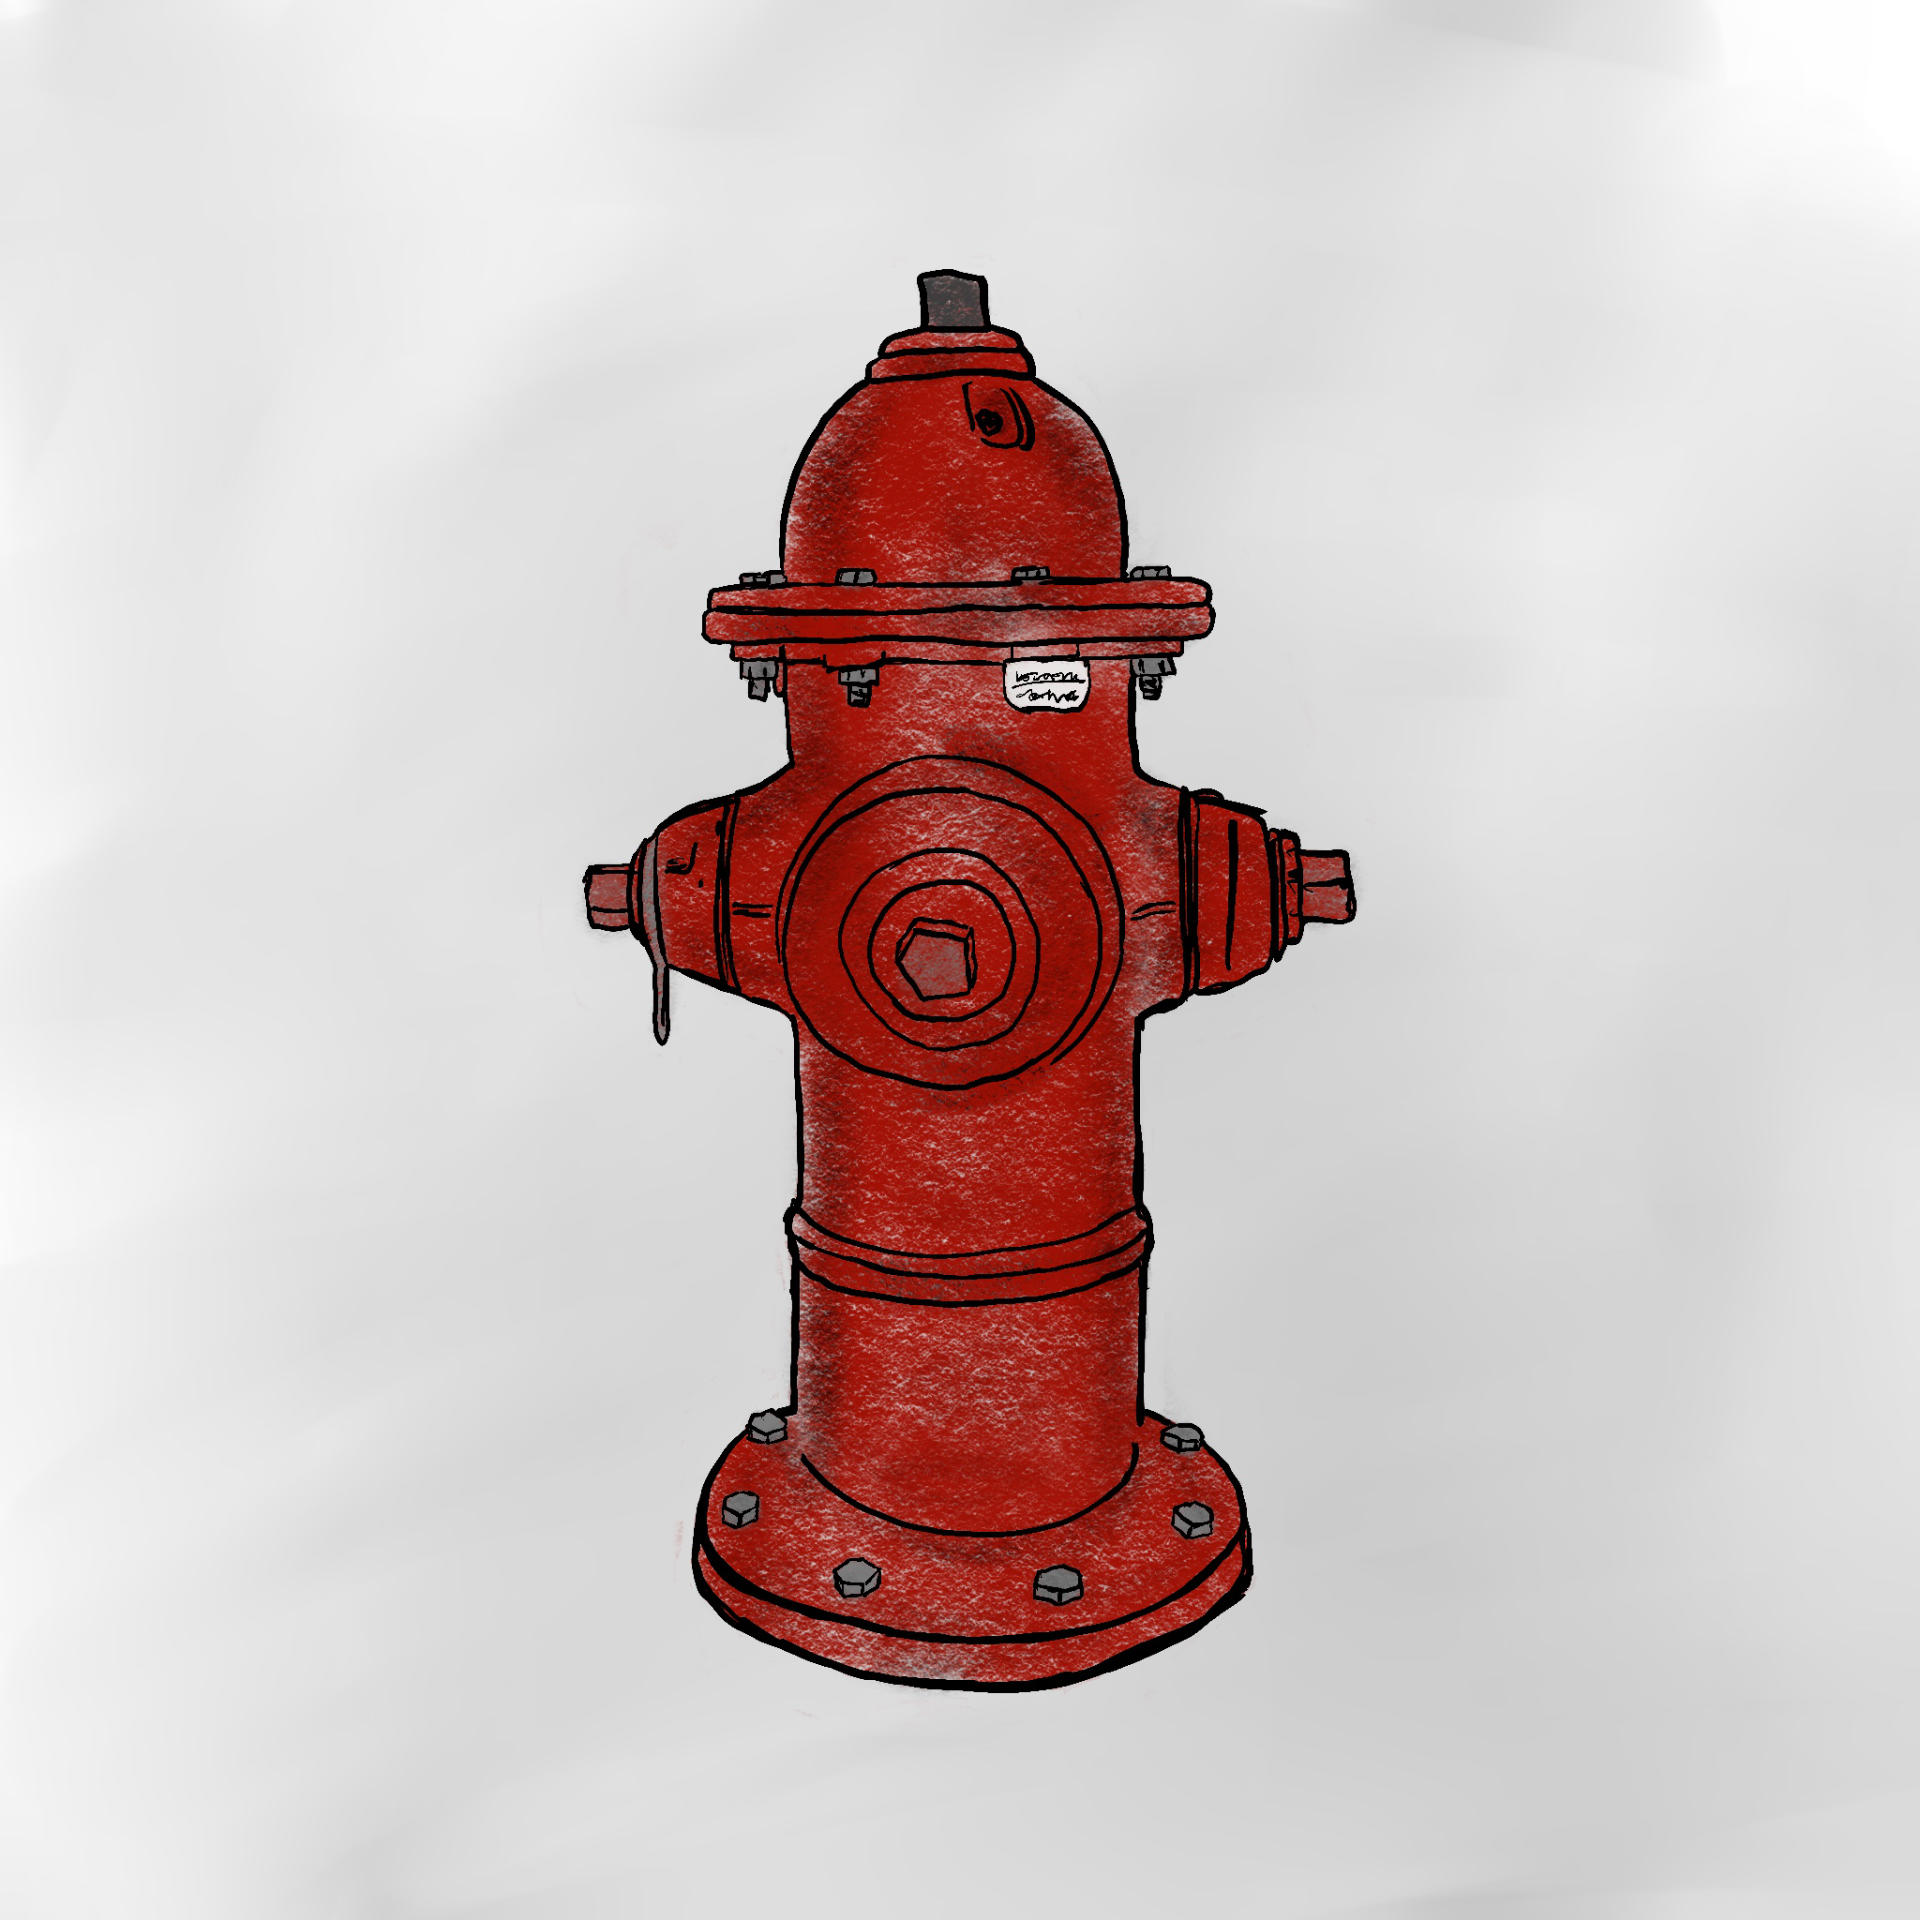
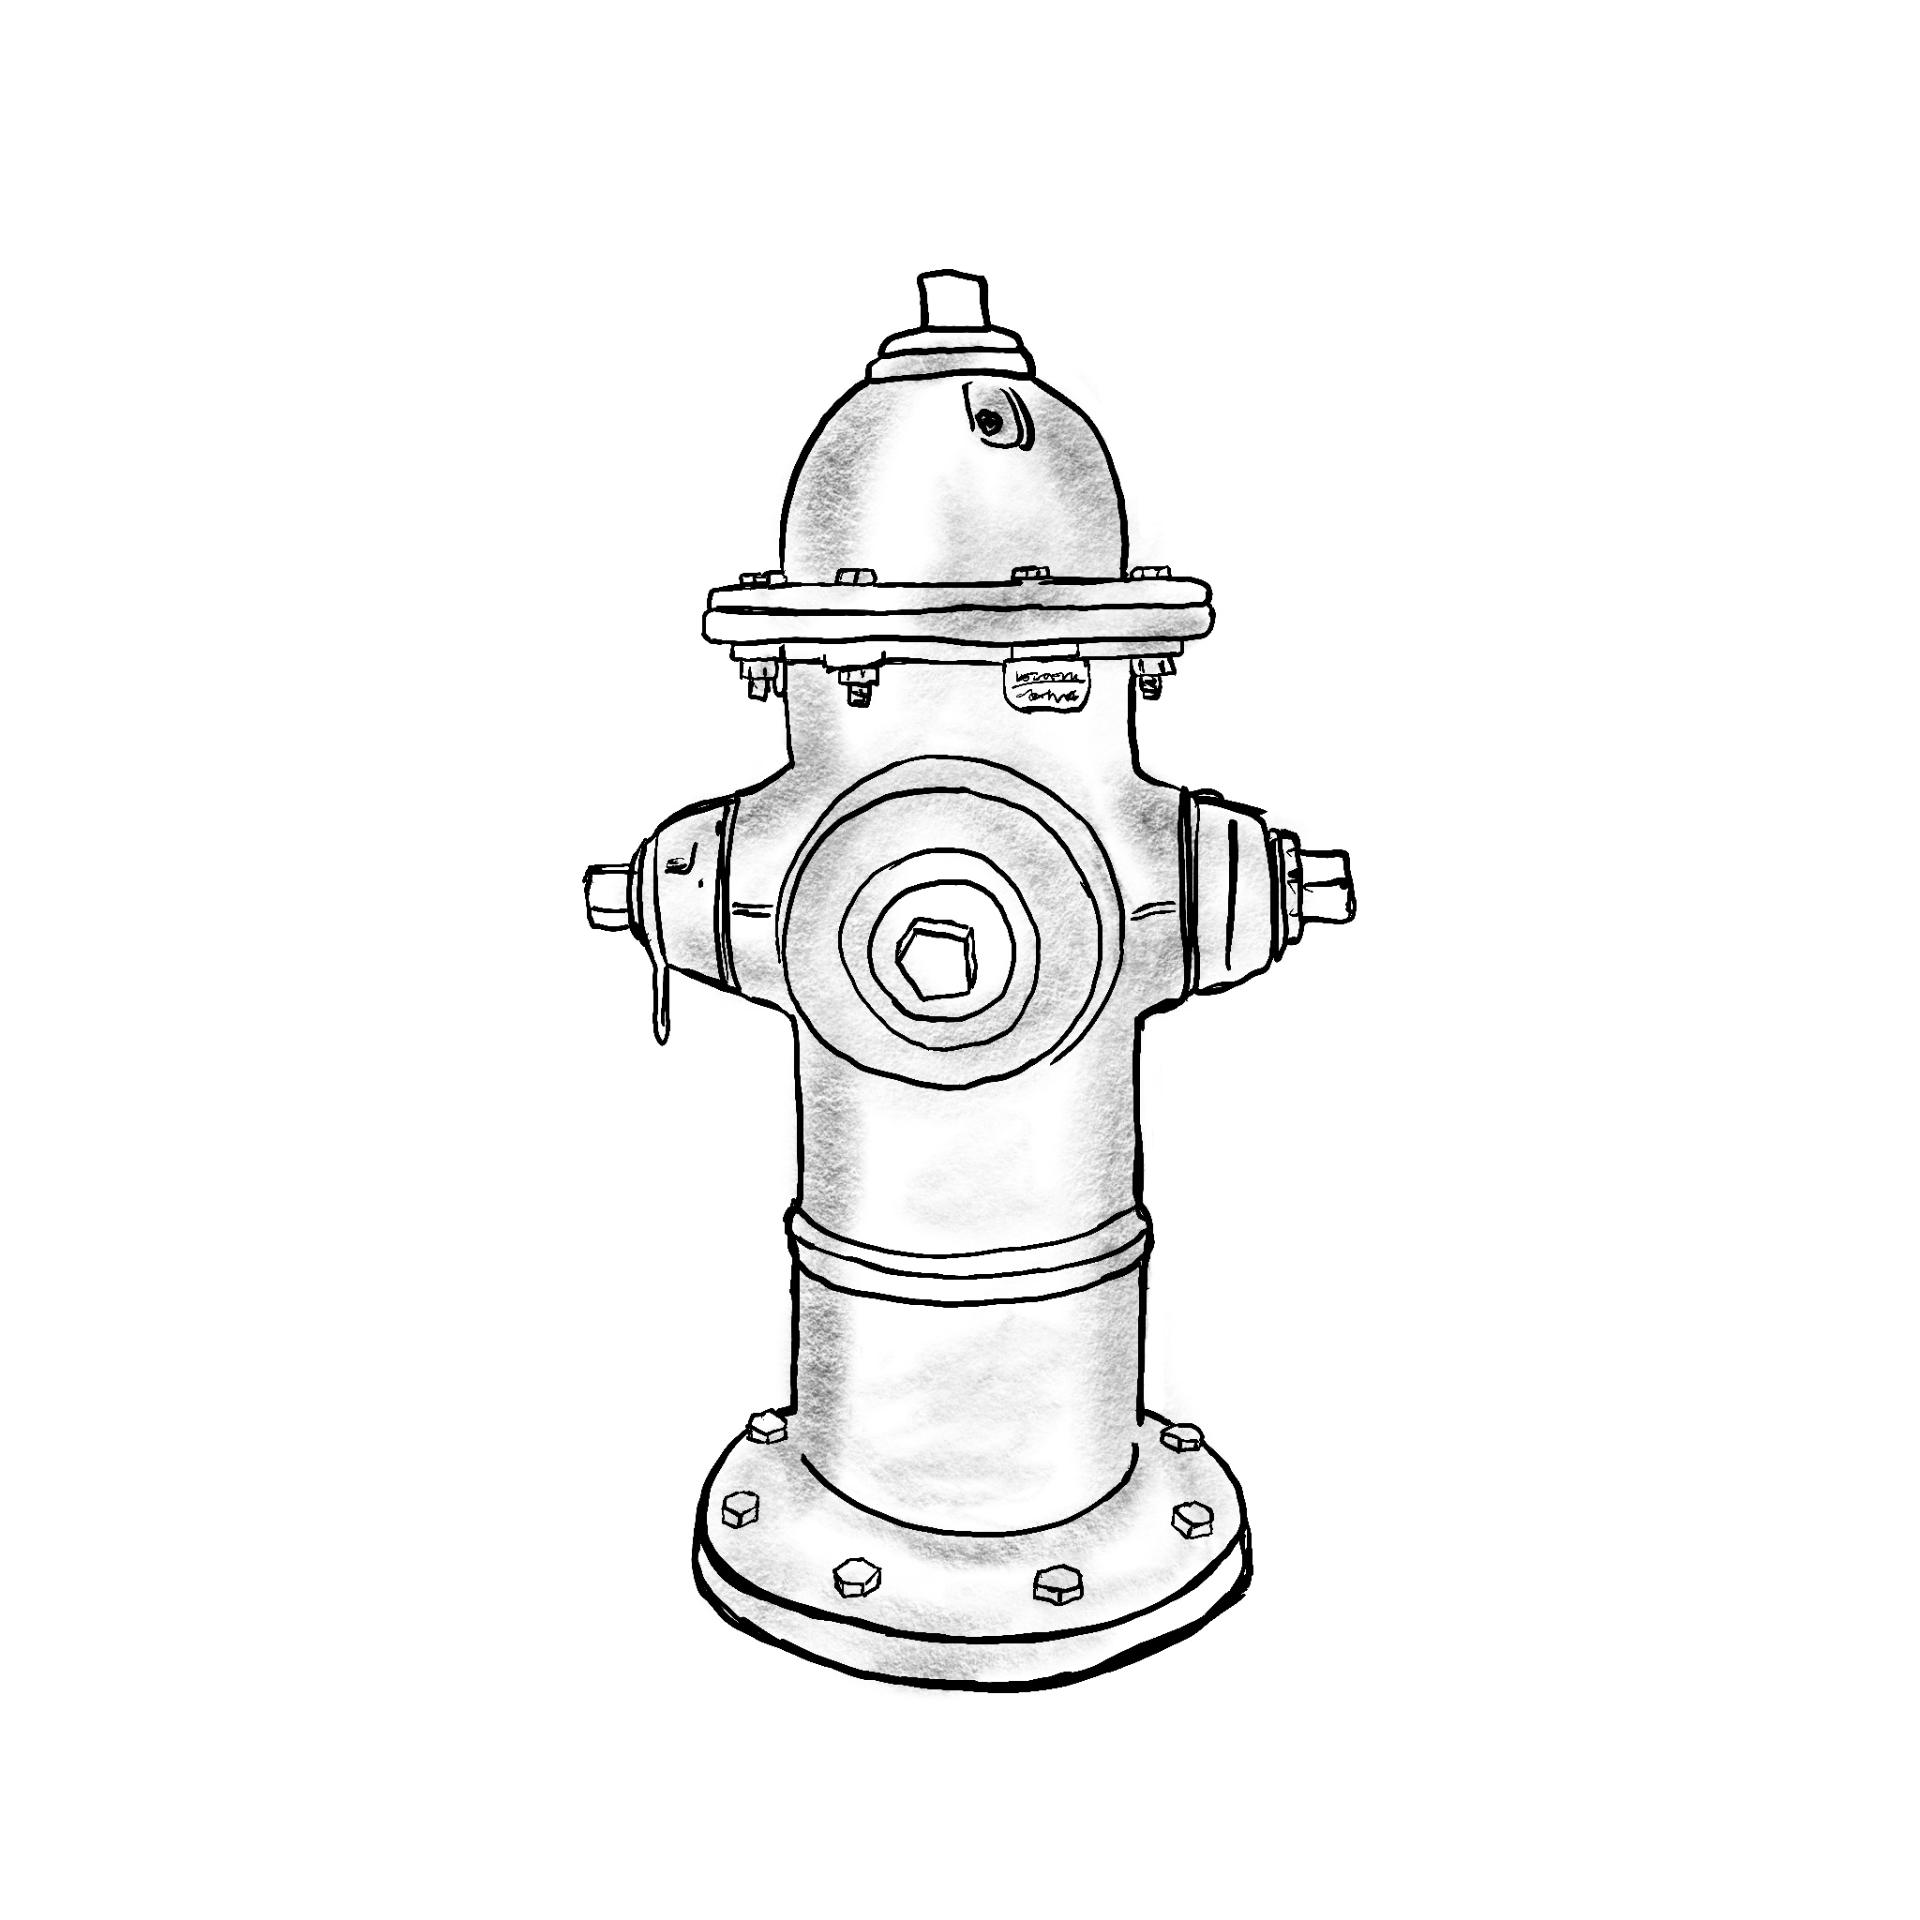
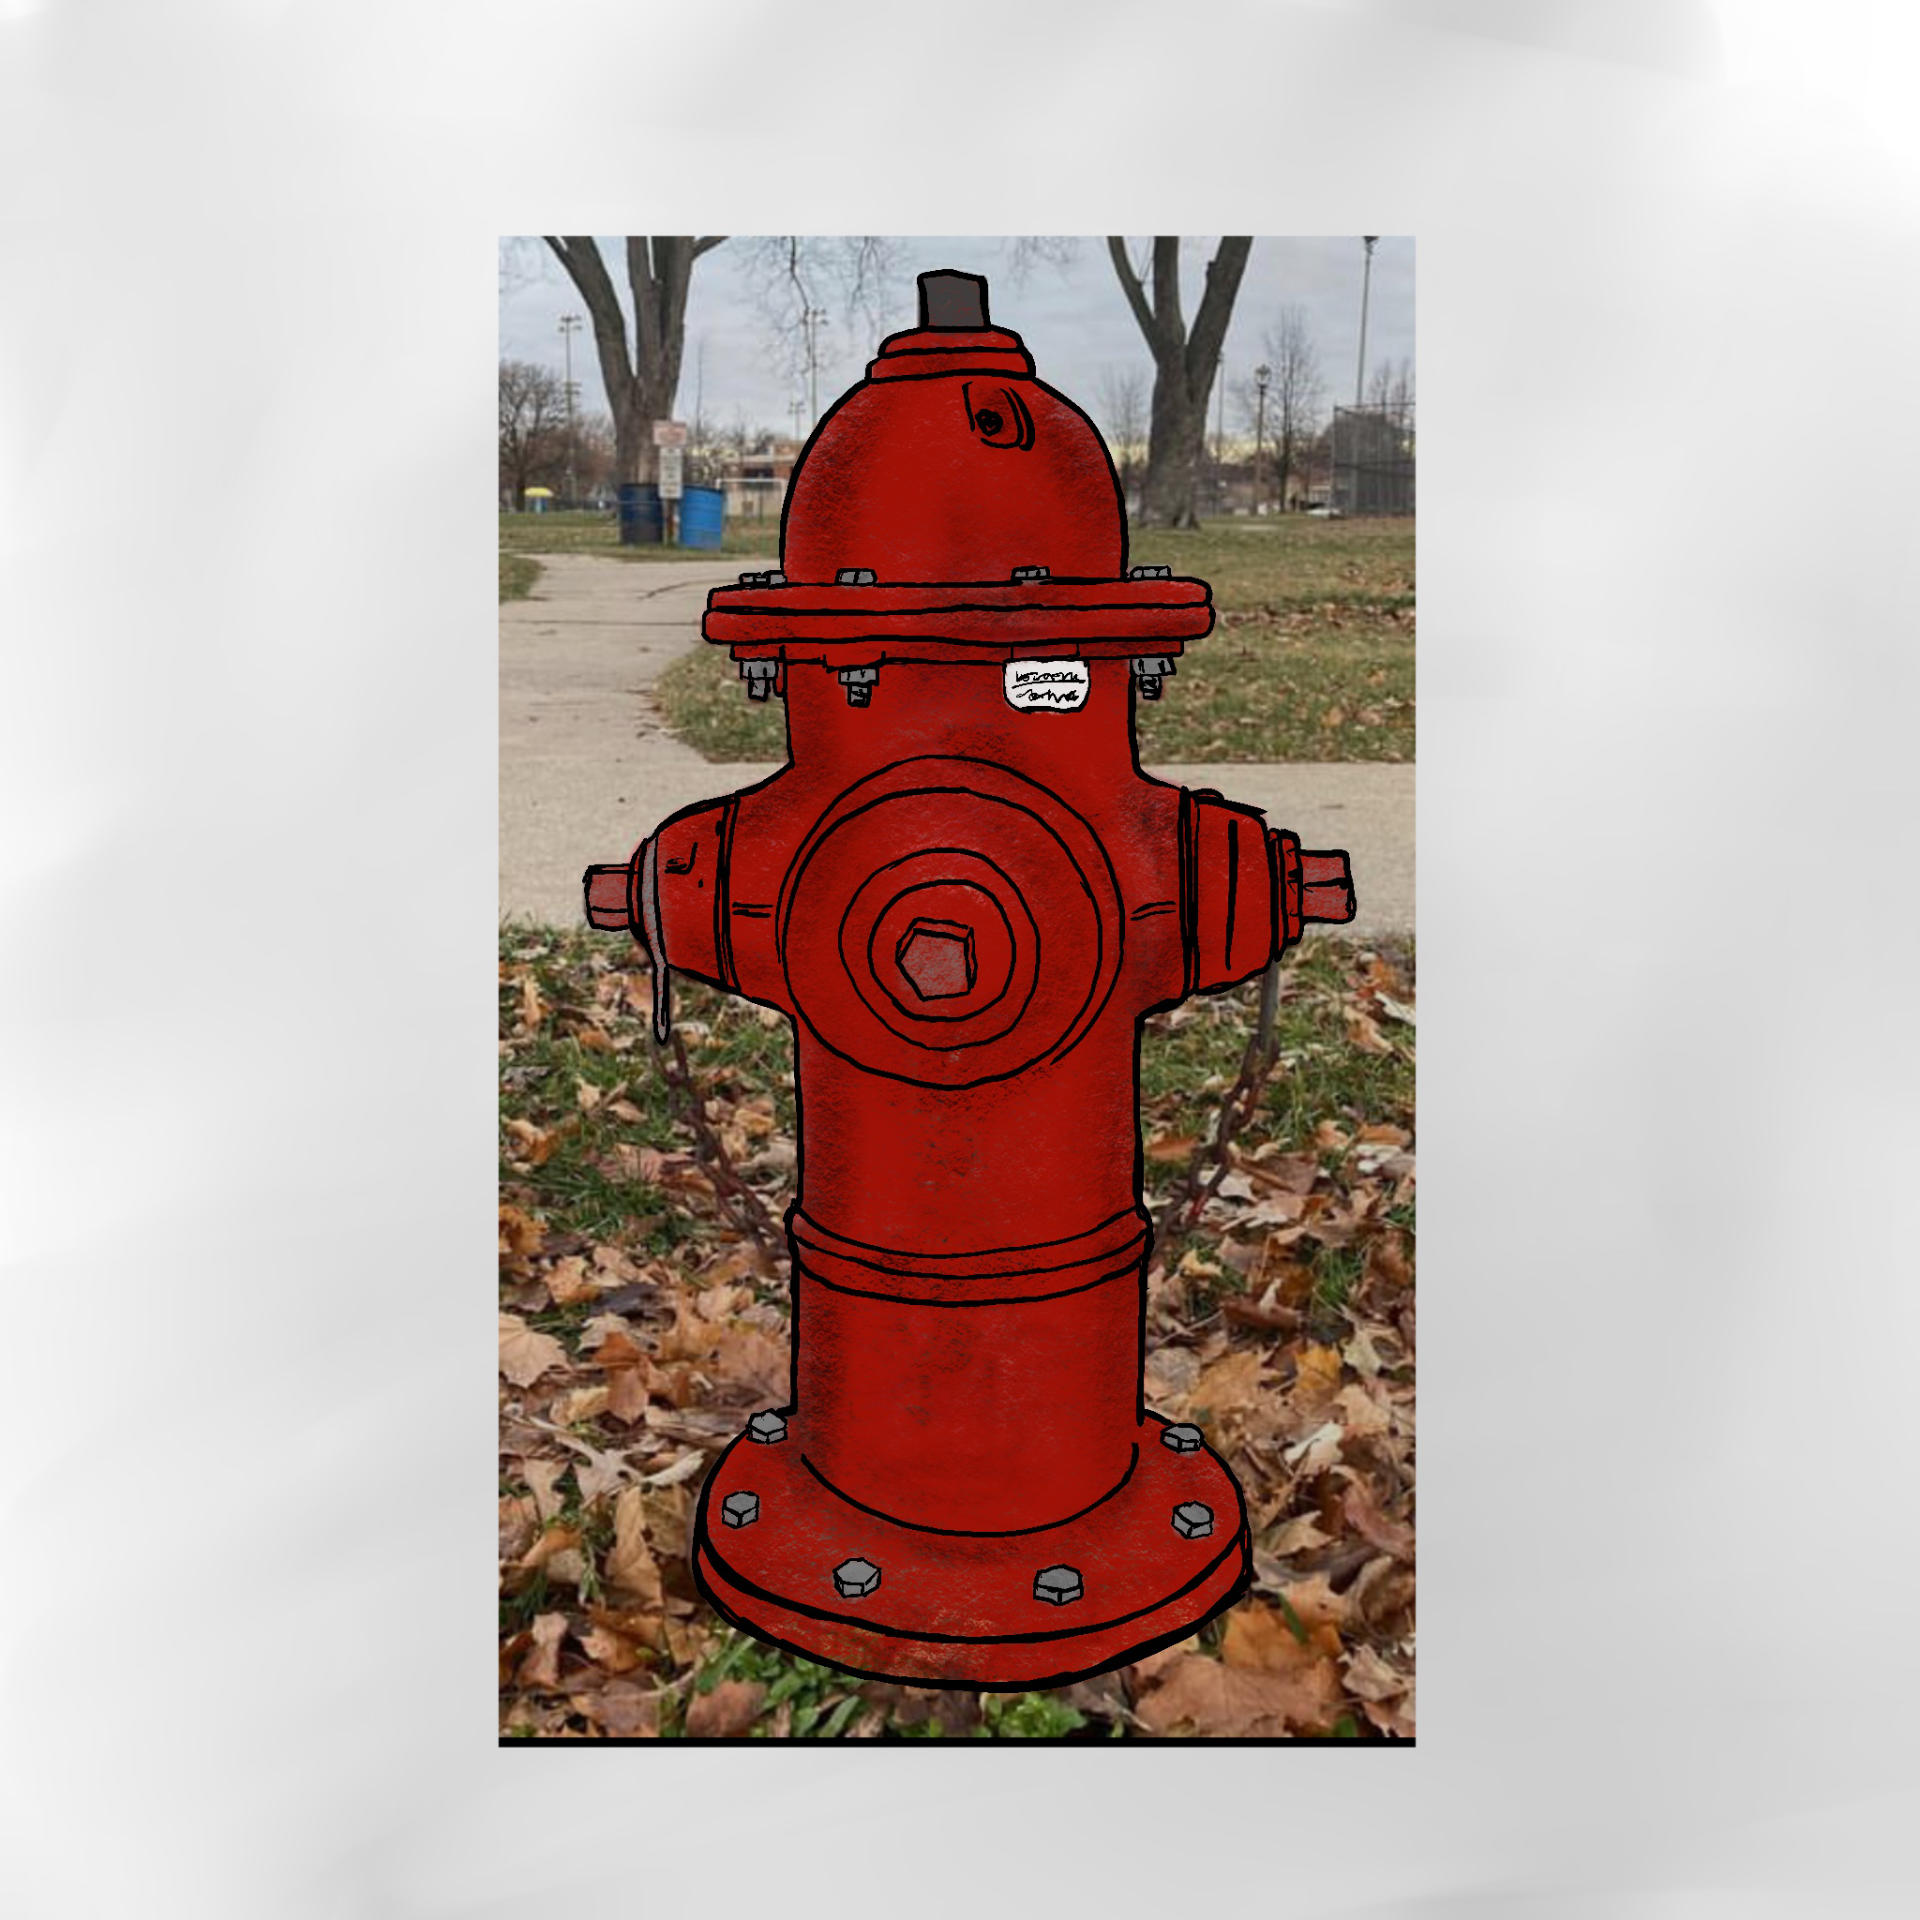
In January 2024 I made over 45 relief prints. I set out to do this because I was not accepted to the Var Gallery 30x30x30 show and I wanted to challenge myself to create 30 pieces of art during the month even if I would not be showing my work in a gallery at the end of it. I shared all of my work online to my friends, family, and followers across Facebook, Instagram, and Mastodon. In theory more people saw my work than would have in a local gallery show.
I also wrote about the process and about art and life along the way. See the posts; Part I, Part II, and Part III, Part IV and Part V.
I had no intention of selling any art. Historically I have not sold much of the art I’ve created in my lifetime. I’ve sold a few things along the way, but I certainly didn’t have sales in mind when I started. Just like with the photography I’ve done in the past, if I can keep art-making very low cost for myself then I can either give it away freely (like I do with Gallery 69) or at least just share it online. Photos are great to share online. Physical goods, like prints, can be made pretty cheaply, of course there’s still the cost of ink and paper. (And I try to make a lot of paper.)
For me, making art is something I love to do, and I also love sharing it with others… which is why I’ve posted hundreds of photos with open licenses and why I have a Free Little Art Gallery in my front yard.
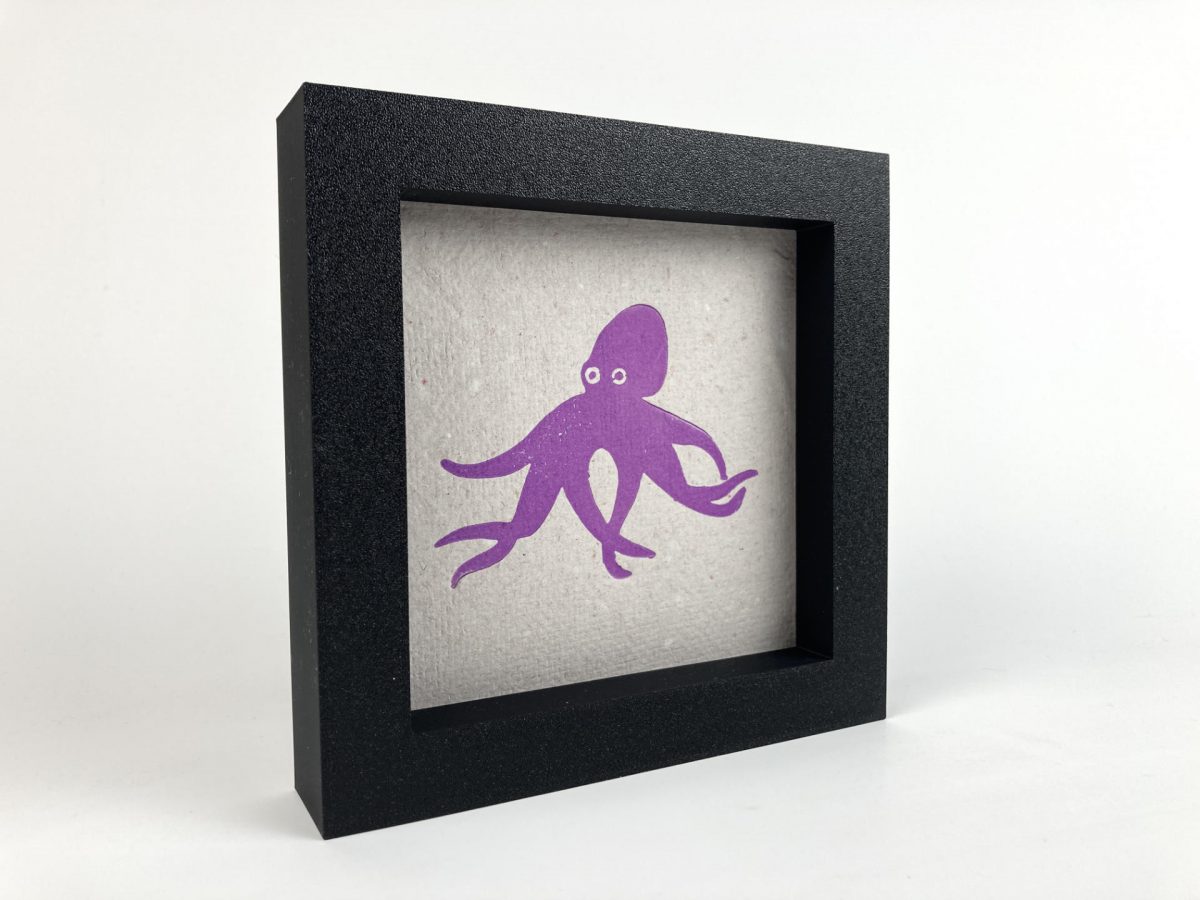
And yet… When I started posting prints people wanted them. I mean, often one person would want one. Sometimes two people would want a specific print. I should mention I was often just making a few prints and picking the best one as the “final” or sometimes even just one single print. Of course I could always print more (and yes, I’ll get into that later) but I would make a print, frame it, photograph it, post it, and every now and them, someone would want it.
So I told people “Pay what you want! Any amount will do.” Wait, could they pay nothing? Pay a penny? Well… sure. No one did that though. Perhaps because these are people that (in theory) already know me.
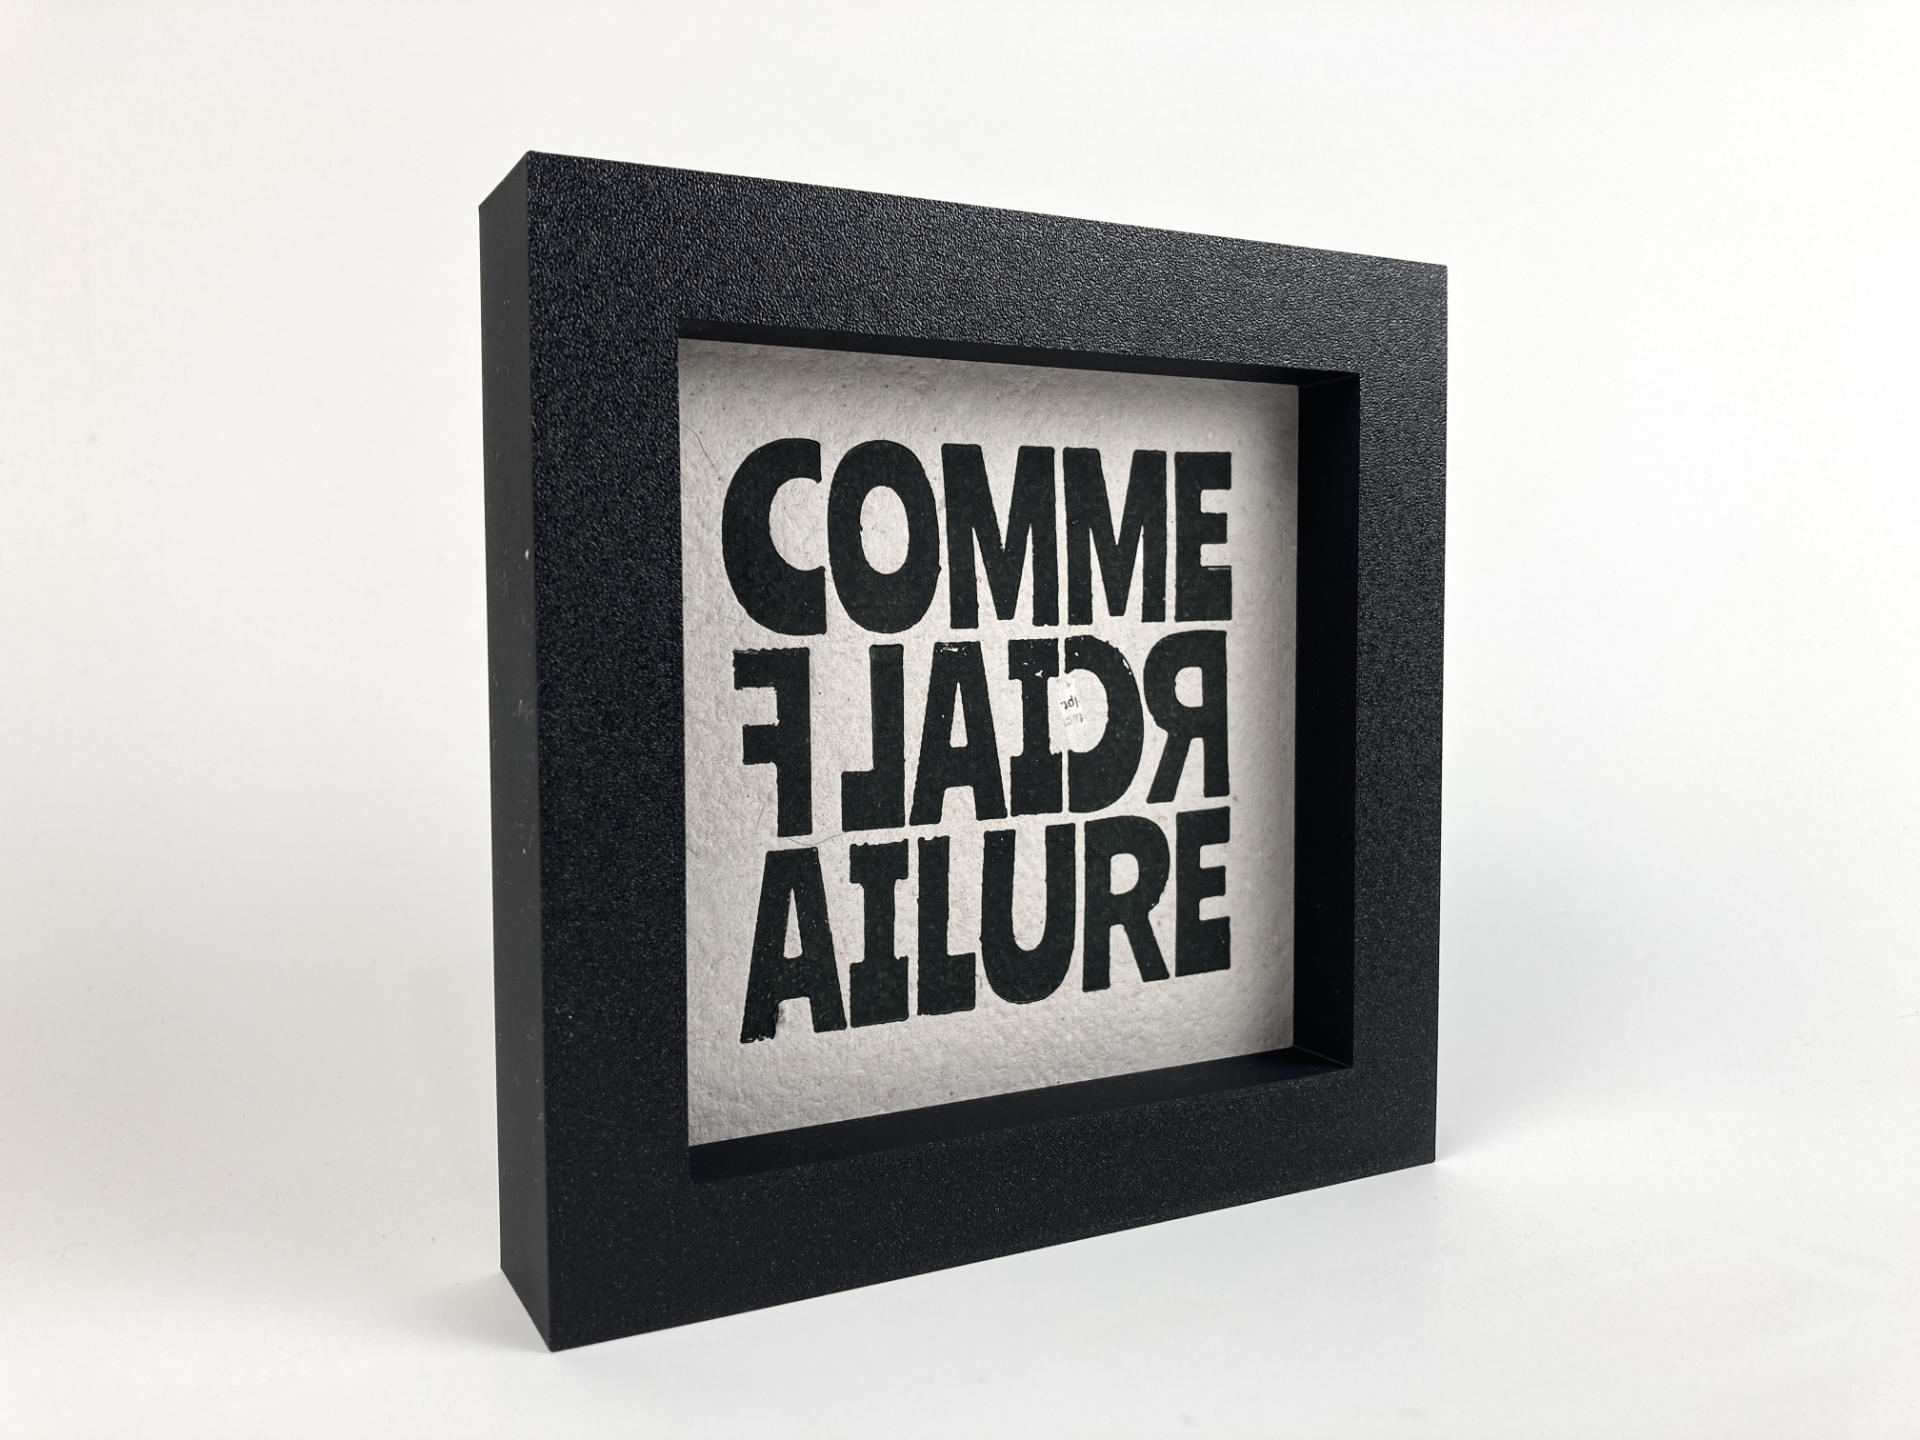
One follower said I needed to set up a shop and list them all because they didn’t want to have to ask me which prints were still available. I didn’t want to muck around with doing listings for all the prints, and honestly the conversation that happens when someone wants a print is valuable to me. It’s interaction with a person who actually wants a piece of art I created. It’s not a store where you anonymously just spend money and get something. I’m thinking about Commerce versus Capitalism. (Which is a topic that’s a bit deeper than this post is going to get into.)
What does this all mean moving forward? I may try to continue the Pay What You Want model for some of the upcoming prints I have planned, but I may look into things like goimagine which seems like an ethical choice for selling art as they take part in a caring economy. If I can get art out into the world at a low price and also help those in need? Well that’s what they call a win-win situation.