Categories
Uncategorized

Bambu Lab P1S 3D Printer

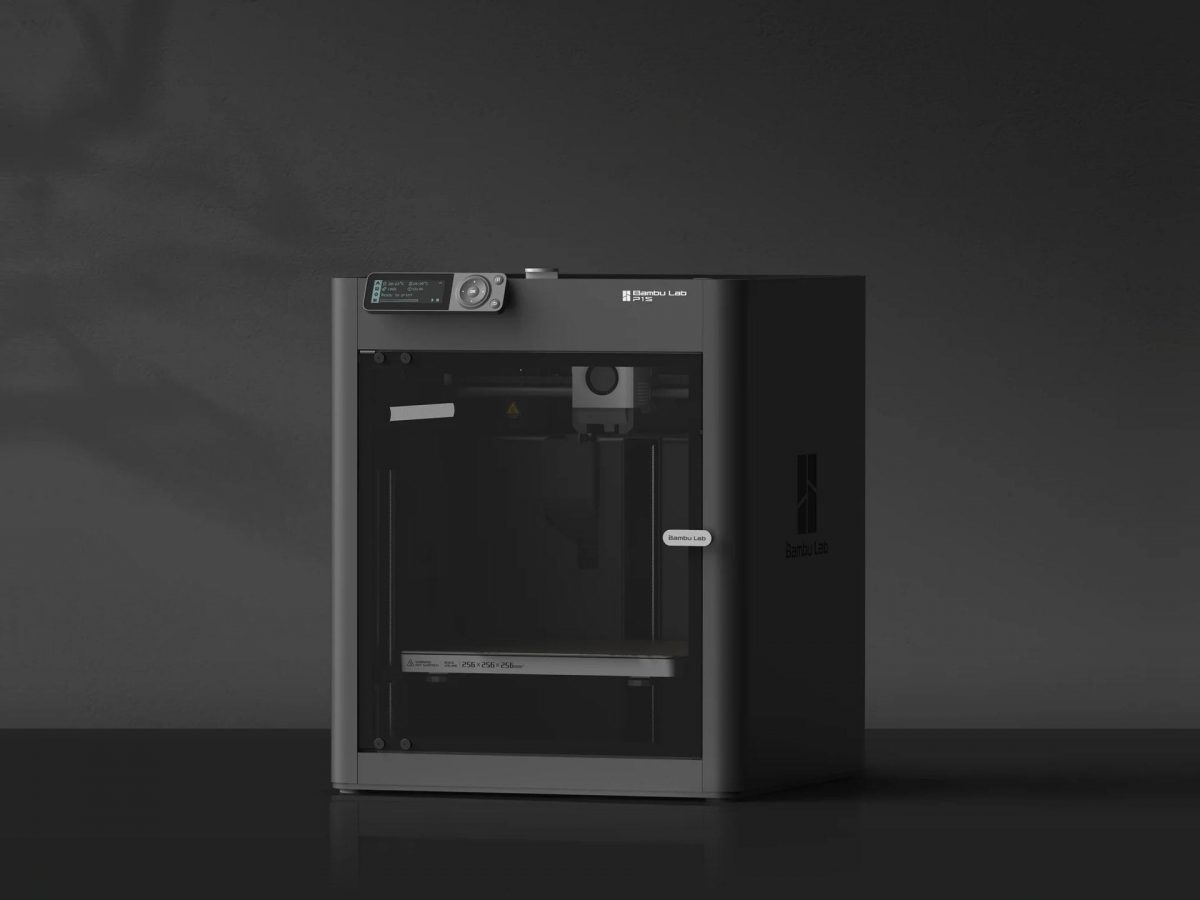
I got a Bambu Lab P1S 3D Printer and wow does it print nice… and fast! We’ll get into that in a bit, but first…

When I got the Prusa MINI back in January 2022 I didn’t really expect to get another printer so soon. I was sort of on a “five year plan”, where approximately every 5 years I would get a new printer (2012, 2017, 2022 if I round the numbers a bit) and I would reap the rewards of the new technology that became the norm over time.

I should note those are just my “own” printers. At my day job (and other places) I’ve used MakerBots, Enders, Monoprice, Flashforge, RepRaps, and Prusa printers. I even gave away two printers without ever really using them because I only have so much space in my shop.

So after getting the Prusa MINI the quality was so good I pretty much stopped using my Monoprice Maker Select Plus unless I had a print that was too large for the MINI. Even then, I would sometimes just split a file and print two parts on the Prusa since it was much more reliable. I even considered (briefly) getting another Prusa MINI but somehow just never did it. I’m glad I didn’t.

I was feeling the itch for larger prints, as the one thing about the MINI that is lacking is… size. It’s print area is 180x180x180 and sometimes you just want a little bit more space. I contemplated a cheap (and large) Ender, but wasn’t impressed by them too much, besides the size and price. Quality is okay, but nothing amazing.

So a few months ago a friend of mine who is even more into 3D printing than I am mentioned the Bambu Lab X1-Carbon he had and told me I should look into Bambu Lab machines… We discussed them a bit, and with the combination of speed, size, and pricing, it was really tempting to get one. My friend then offered me the following: “Get a P1P or P1S and if you don’t like it in a few months I will buy it from you for exactly what you paid for it.” Well, I couldn’t lose. I ordered the P1S a week later.

I had some concerns about The Cloud™ and Bambu Lab being a Chinese company, and not perhaps being a good citizen of open source, and you know what? If I’ve learned anything about my time in this life, it’s that you always have to make compromises. I should also note that the Bambu Lab P1S (and the Prusa MINI) are primarily used for my business, so things like cost and quality come into play there. If I can produce high quality parts in less time, that’s good, and sometimes I have to choose what is good for my own business and my clients. (Or at least be willing to compromise a bit on things.)

Now, I am a huge fan of open source, and I contribute to projects like OpenSCAD and Inkscape which I use in my work, because I want to see them continue. I like the fact that I could probably rip apart my Prusa and rebuild it and feel like I’m in control of the hardware. With the Bambu Lab machine, it feels a bit more proprietary and difficult to repair or replace parts. An acquaintance suggested to me that “Bambu Lab represents everything you’re against!” and sadly, I take part in things every day that I’m against, but that’s living in the modern world. I try to make choices that cause less harm, but it’s not always easy.

Okay, have I justified the printer yet? Let’s hope so… Moving on to the actual device, the Bambu Lab P1S is pretty damn amazing. It prints about three times the speed of previous printers I’ve owned, and the quality is off the freaking charts. I’ve seriously never seen prints look this good from a “consumer” grade printer. They say “Works right out of the box, set up in 15 minutes” and that is pretty accurate.

You can avoid the cloud stuff if you want. You can use LAN mode, you can FTP files to the machine’s SD card, or you can sneakernet the SD card if you want. You can also use OrcaSlicer if you don’t like the Bambu Studio software. You also definitely do not have to use Bambu Lab filament. Buying replacement parts is probably best done through Bambu Lab (for now) but there are some third party items already… I got a third party build plate that works just fine.

I know with more proprietary devices you’re somewhat at the whim of the manufacturer, and can see it two ways. If things go south you (and every other owner) can attempt to hack the crap out of it, load new firmware, replace components/brains, etc… or replace it. Machines are getting cheaper all the time, and let’s be honest, most people don’t keep things around as long as we used to. (I mean, it’s sad but true.)

I should note I do not have the Bambu Lab AMS unit, which allows for multi-color and multi-material printing. I really don’t see the need for the things I produce, and the multi-color printing is extremely wasteful (in materials and time). For now I’ll stick to single color/material printing.


Let’s look at a few more prints…

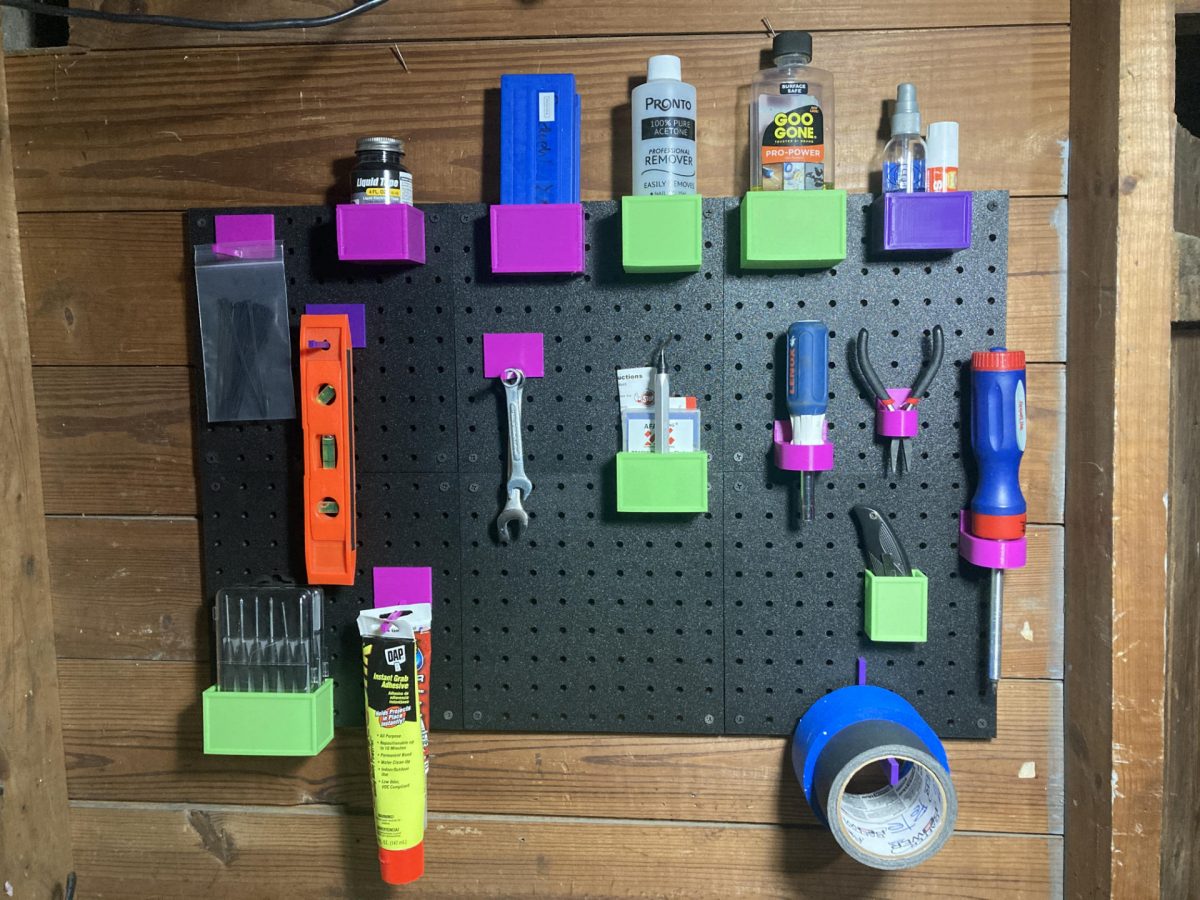
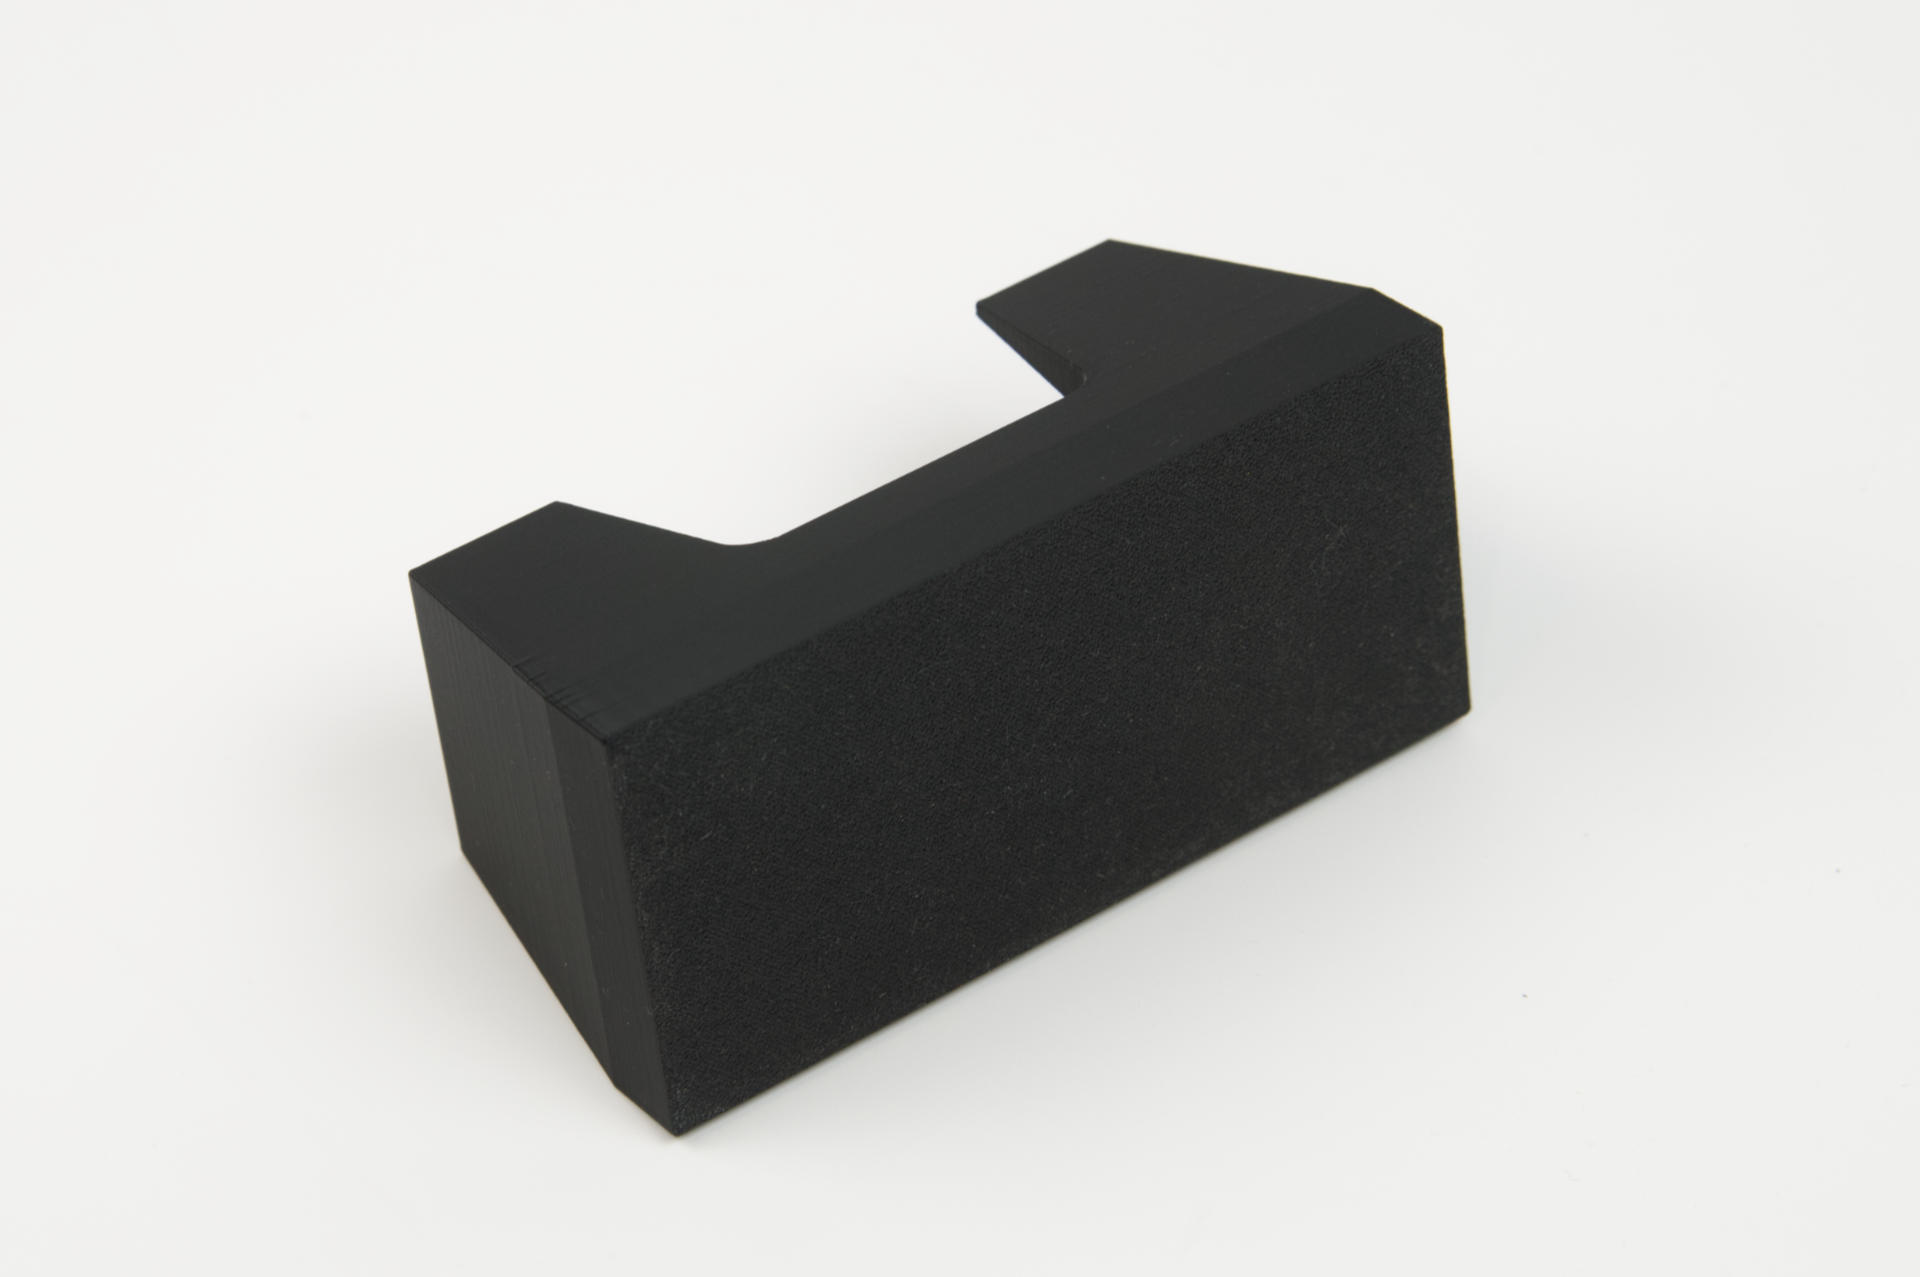
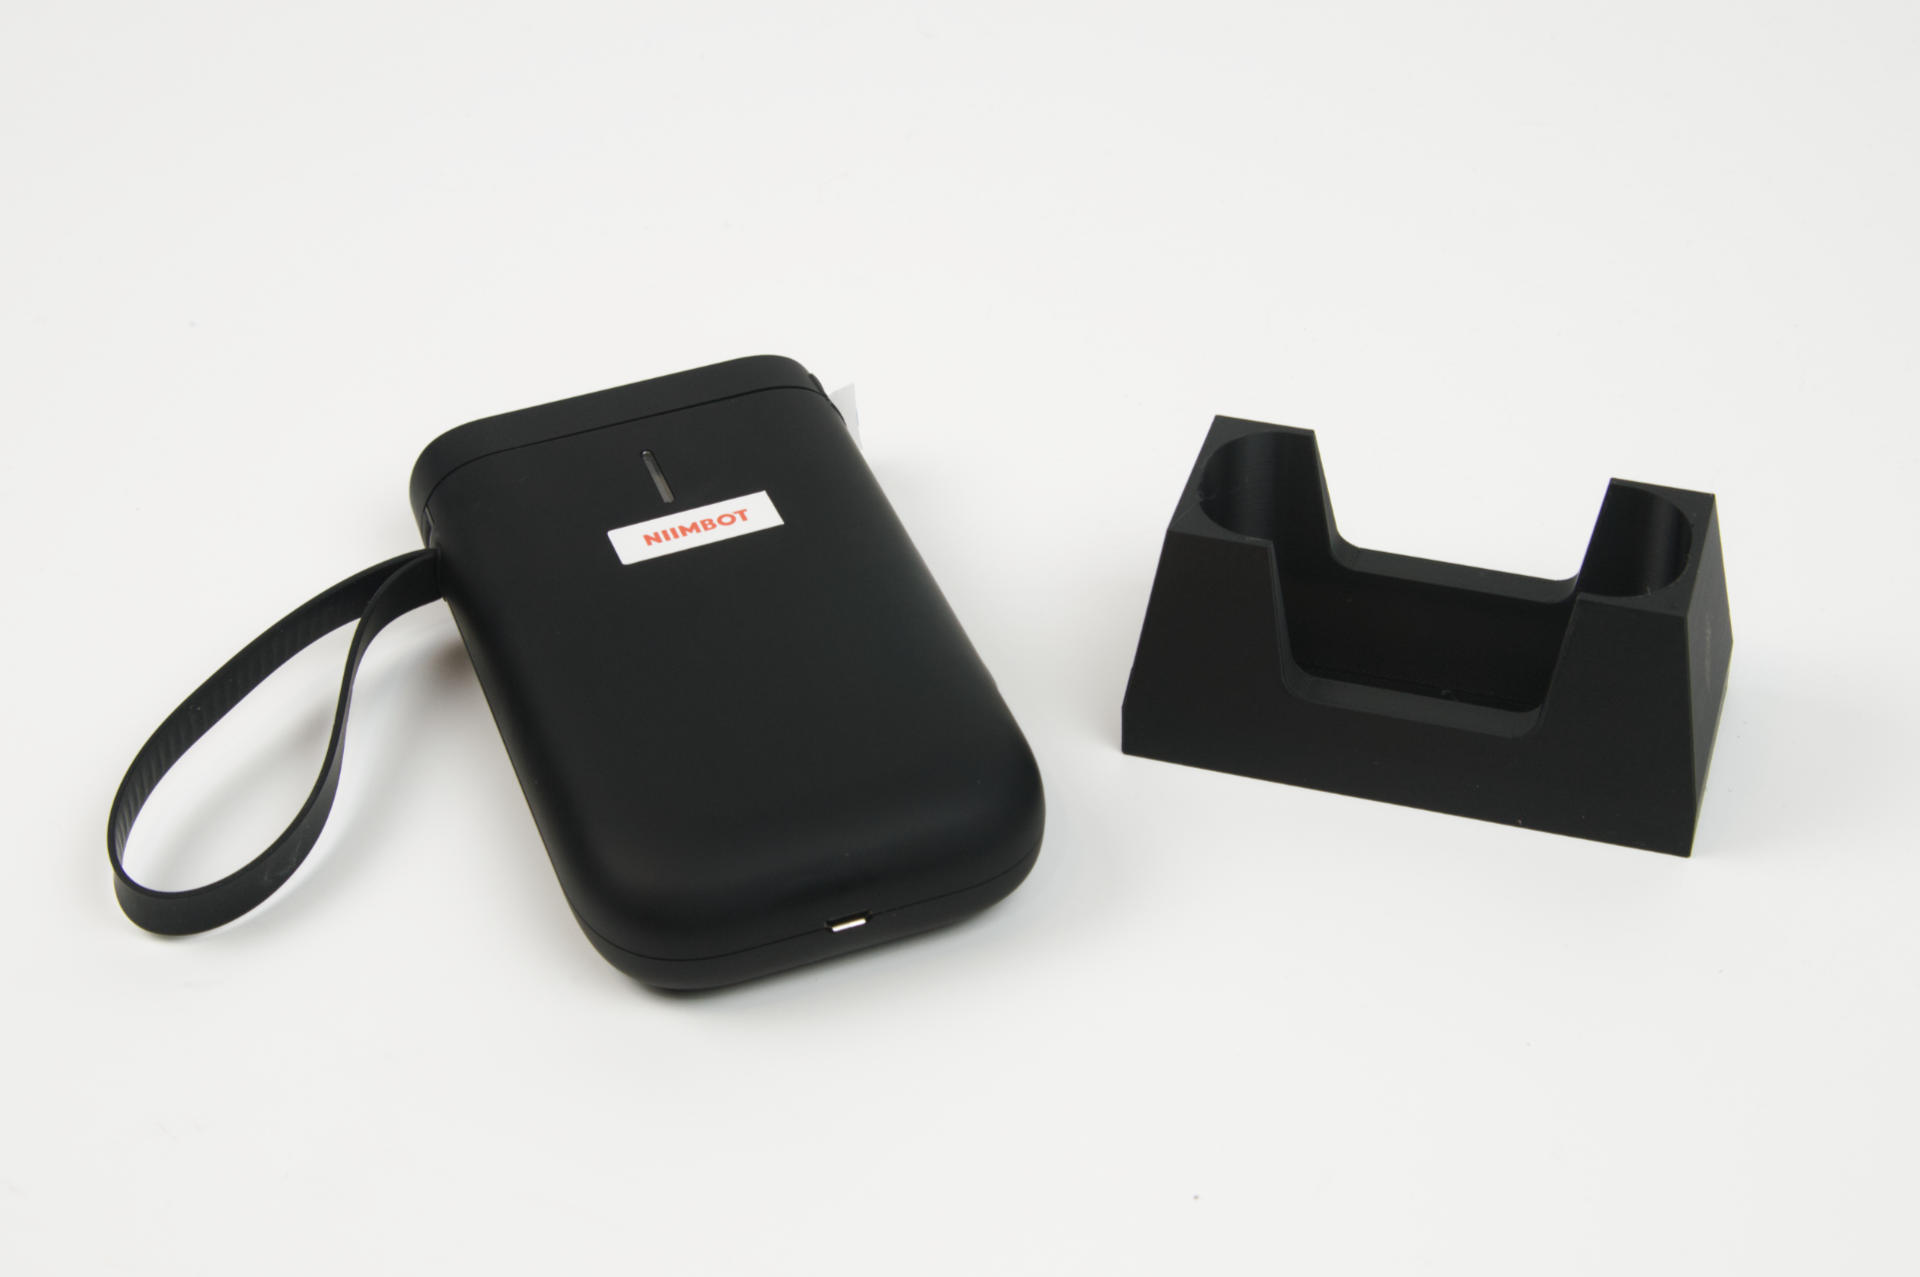
Here’s a tray I printed to fit perfectly under my monitor stand. It’s 180x180x45, which is larger than I can print on the Prusa MINI. I ran out of filament when printing it so had to load a second spool, which worked just fine (as expected) and looks pretty good since it’s a two-tone green now.

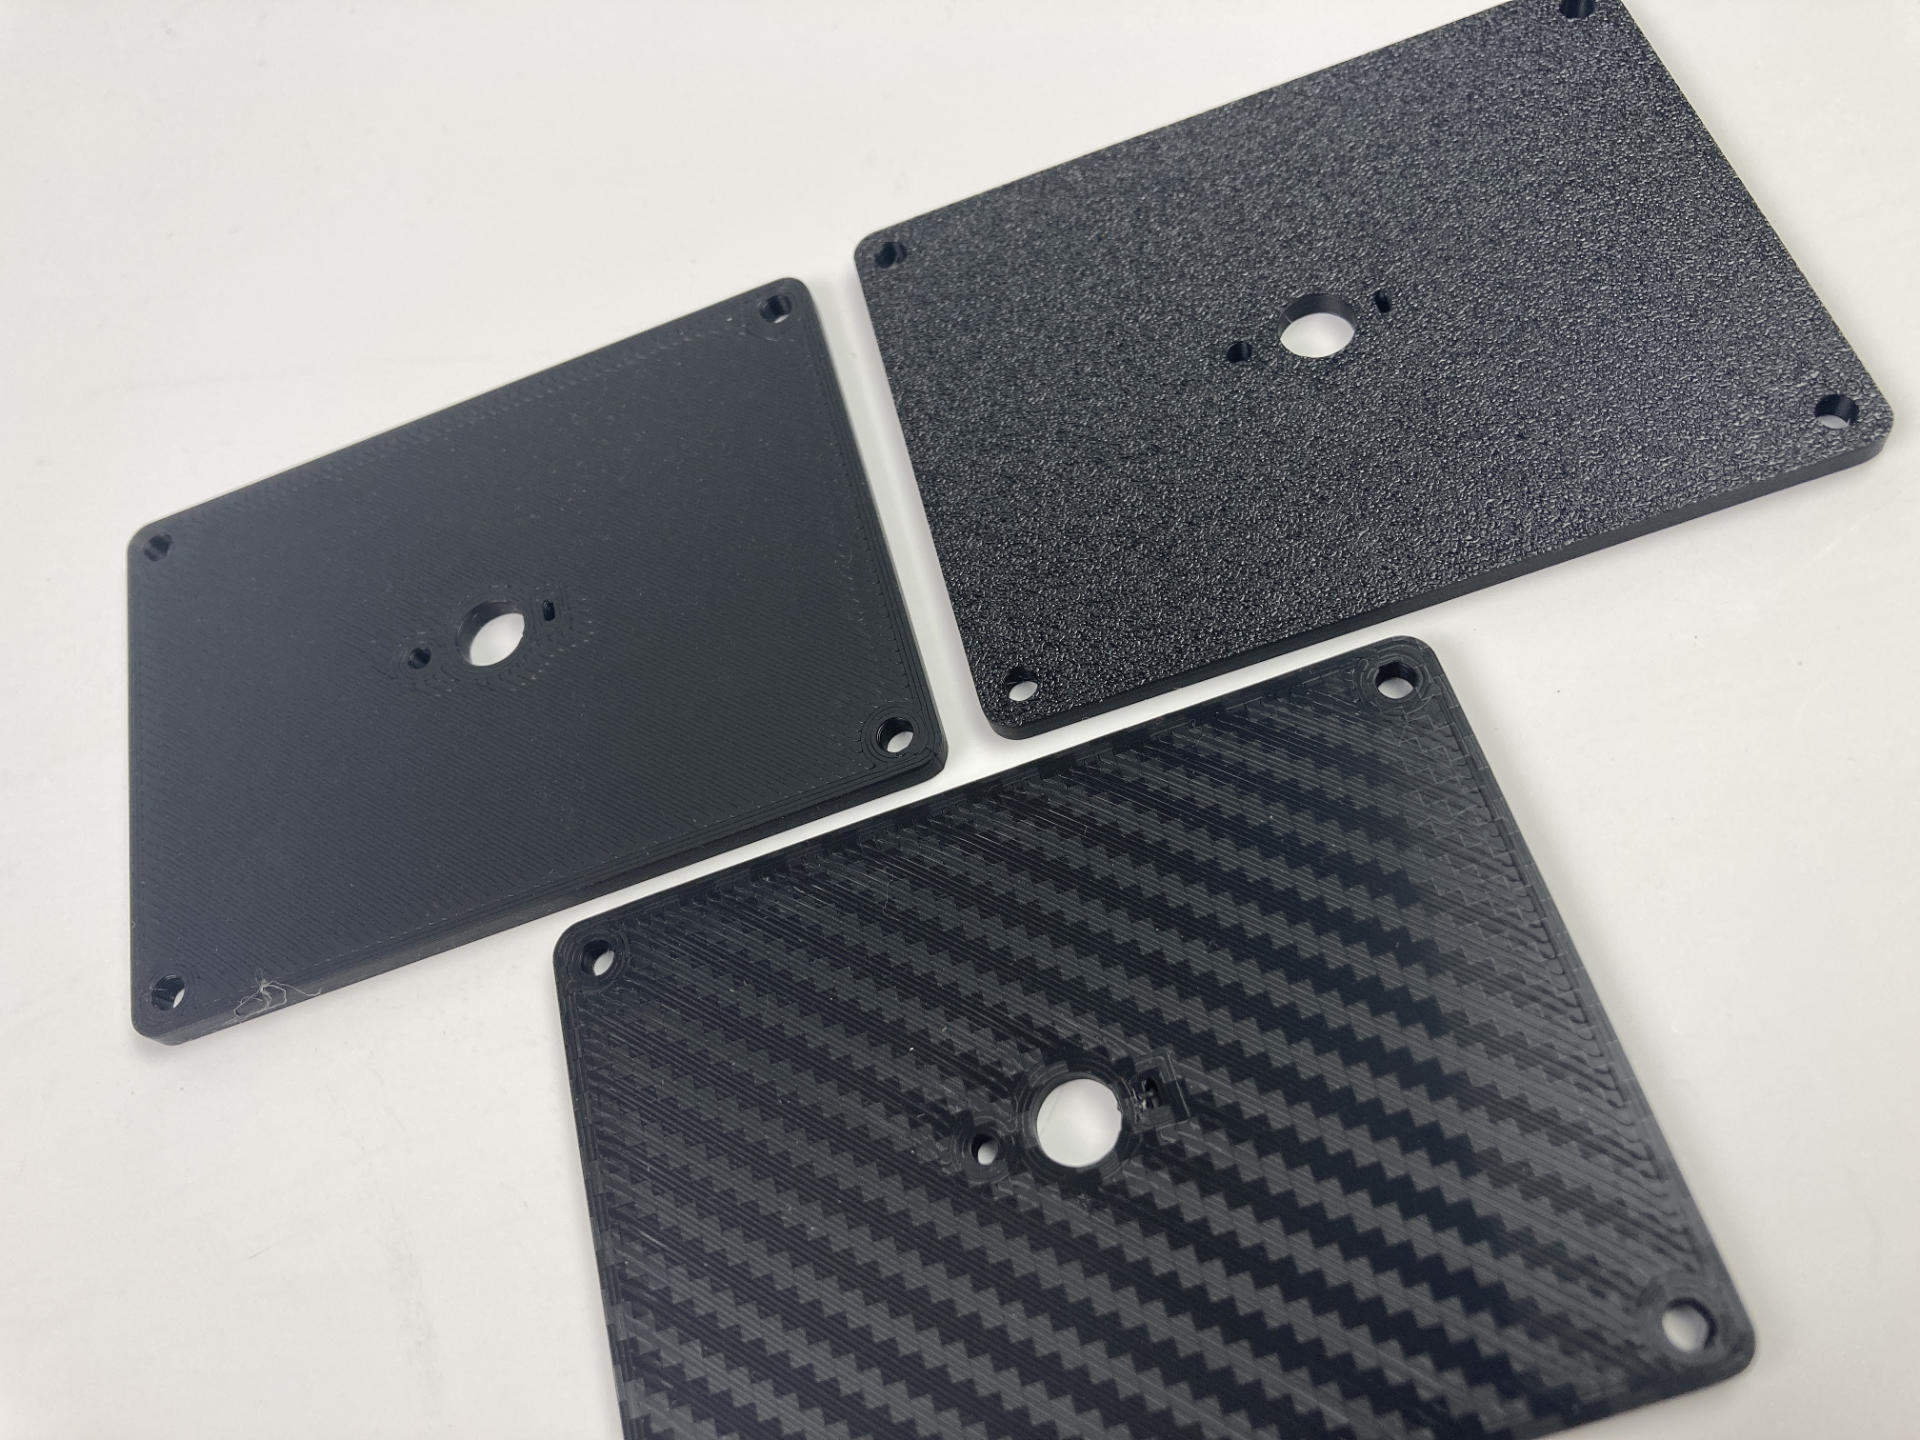
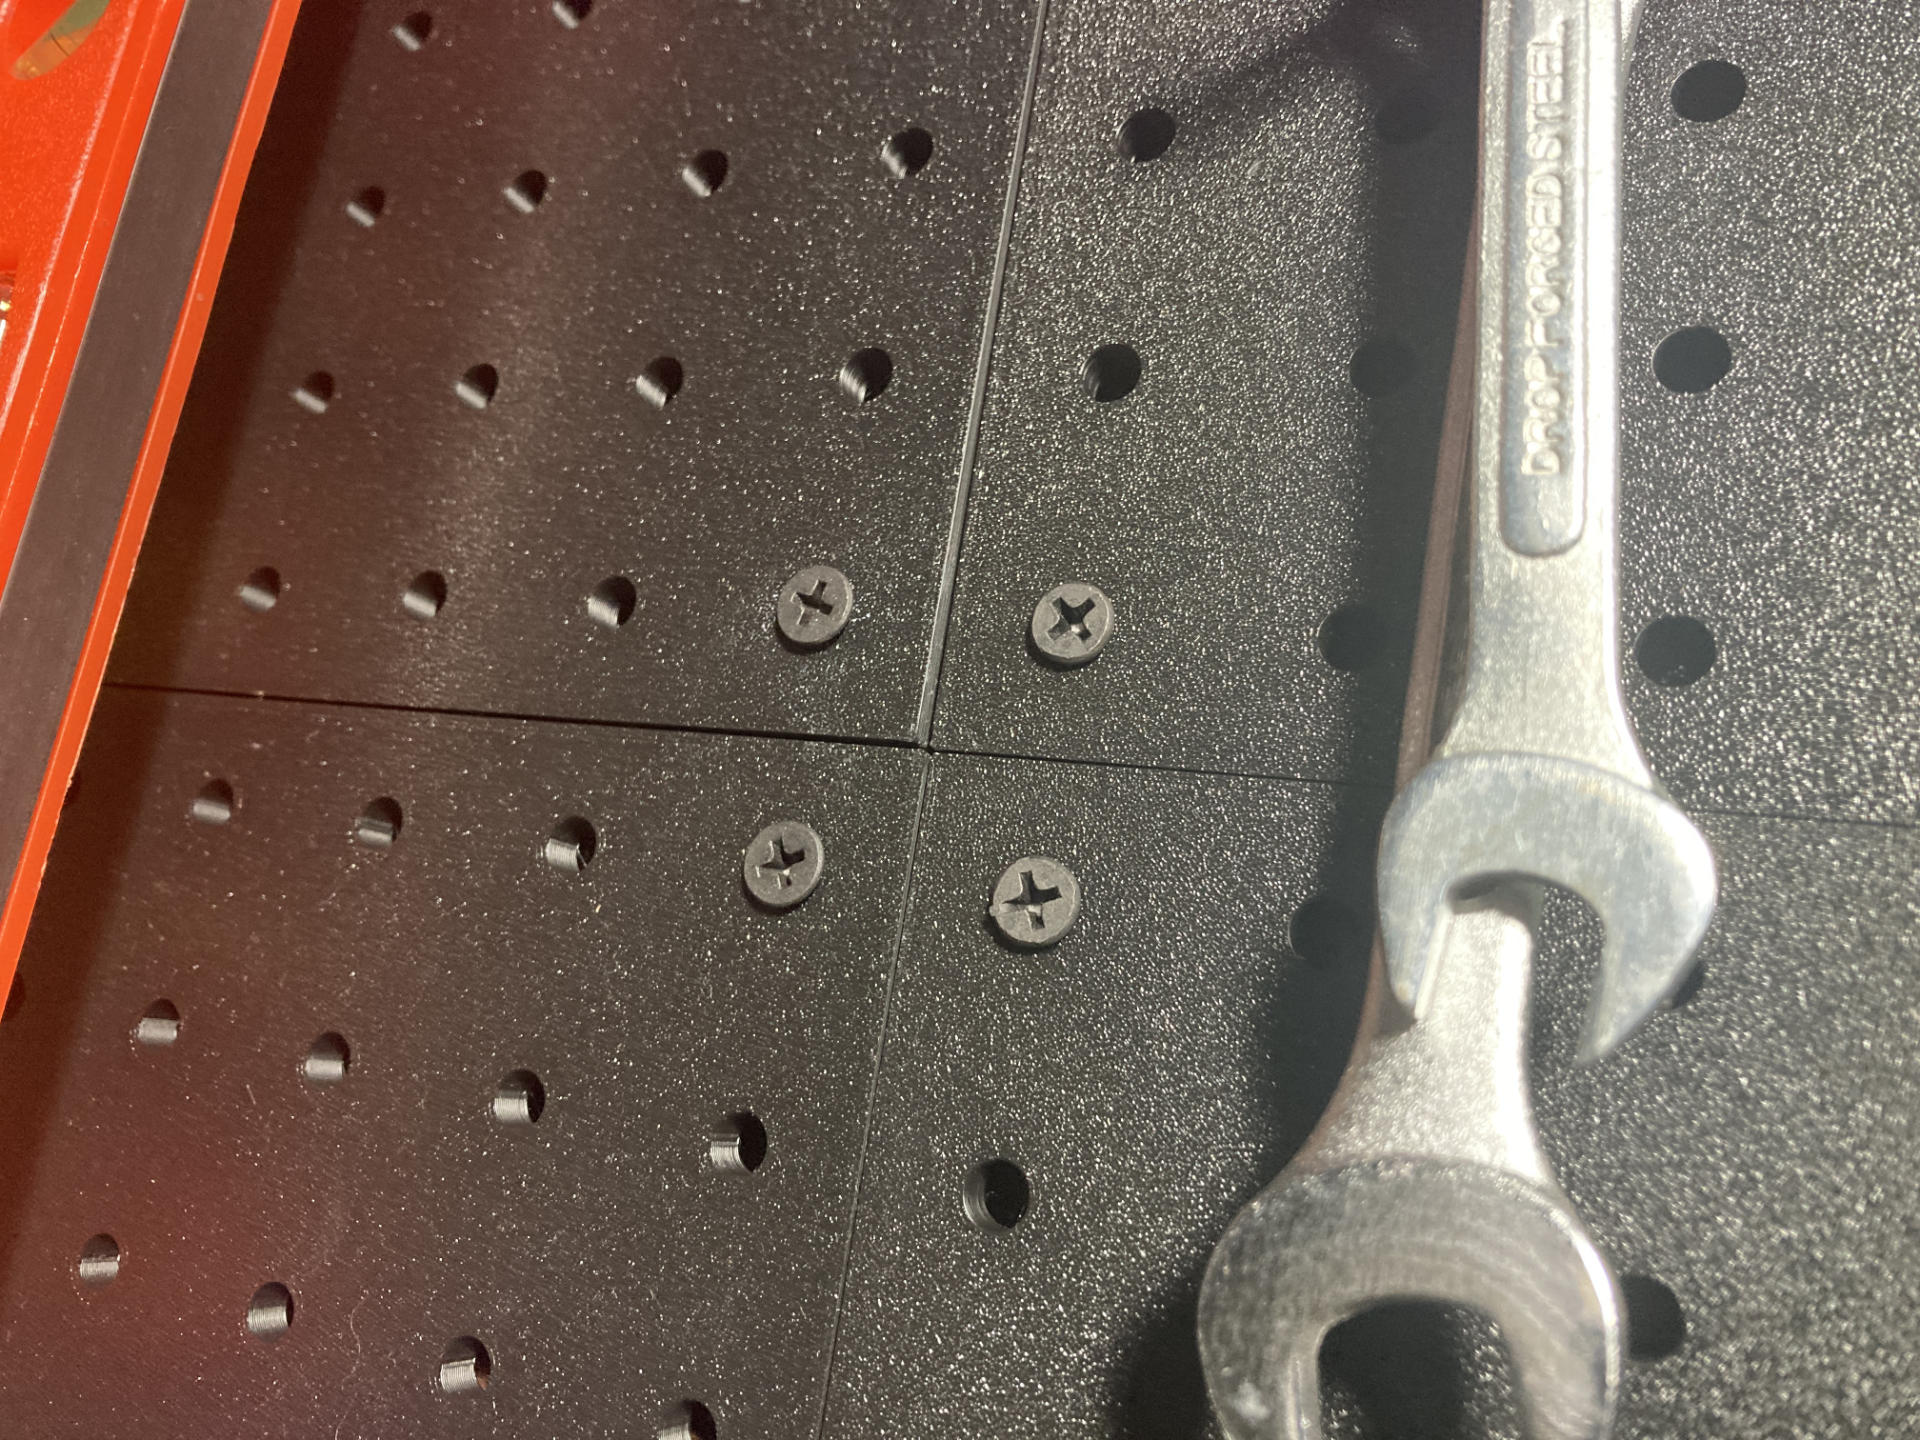
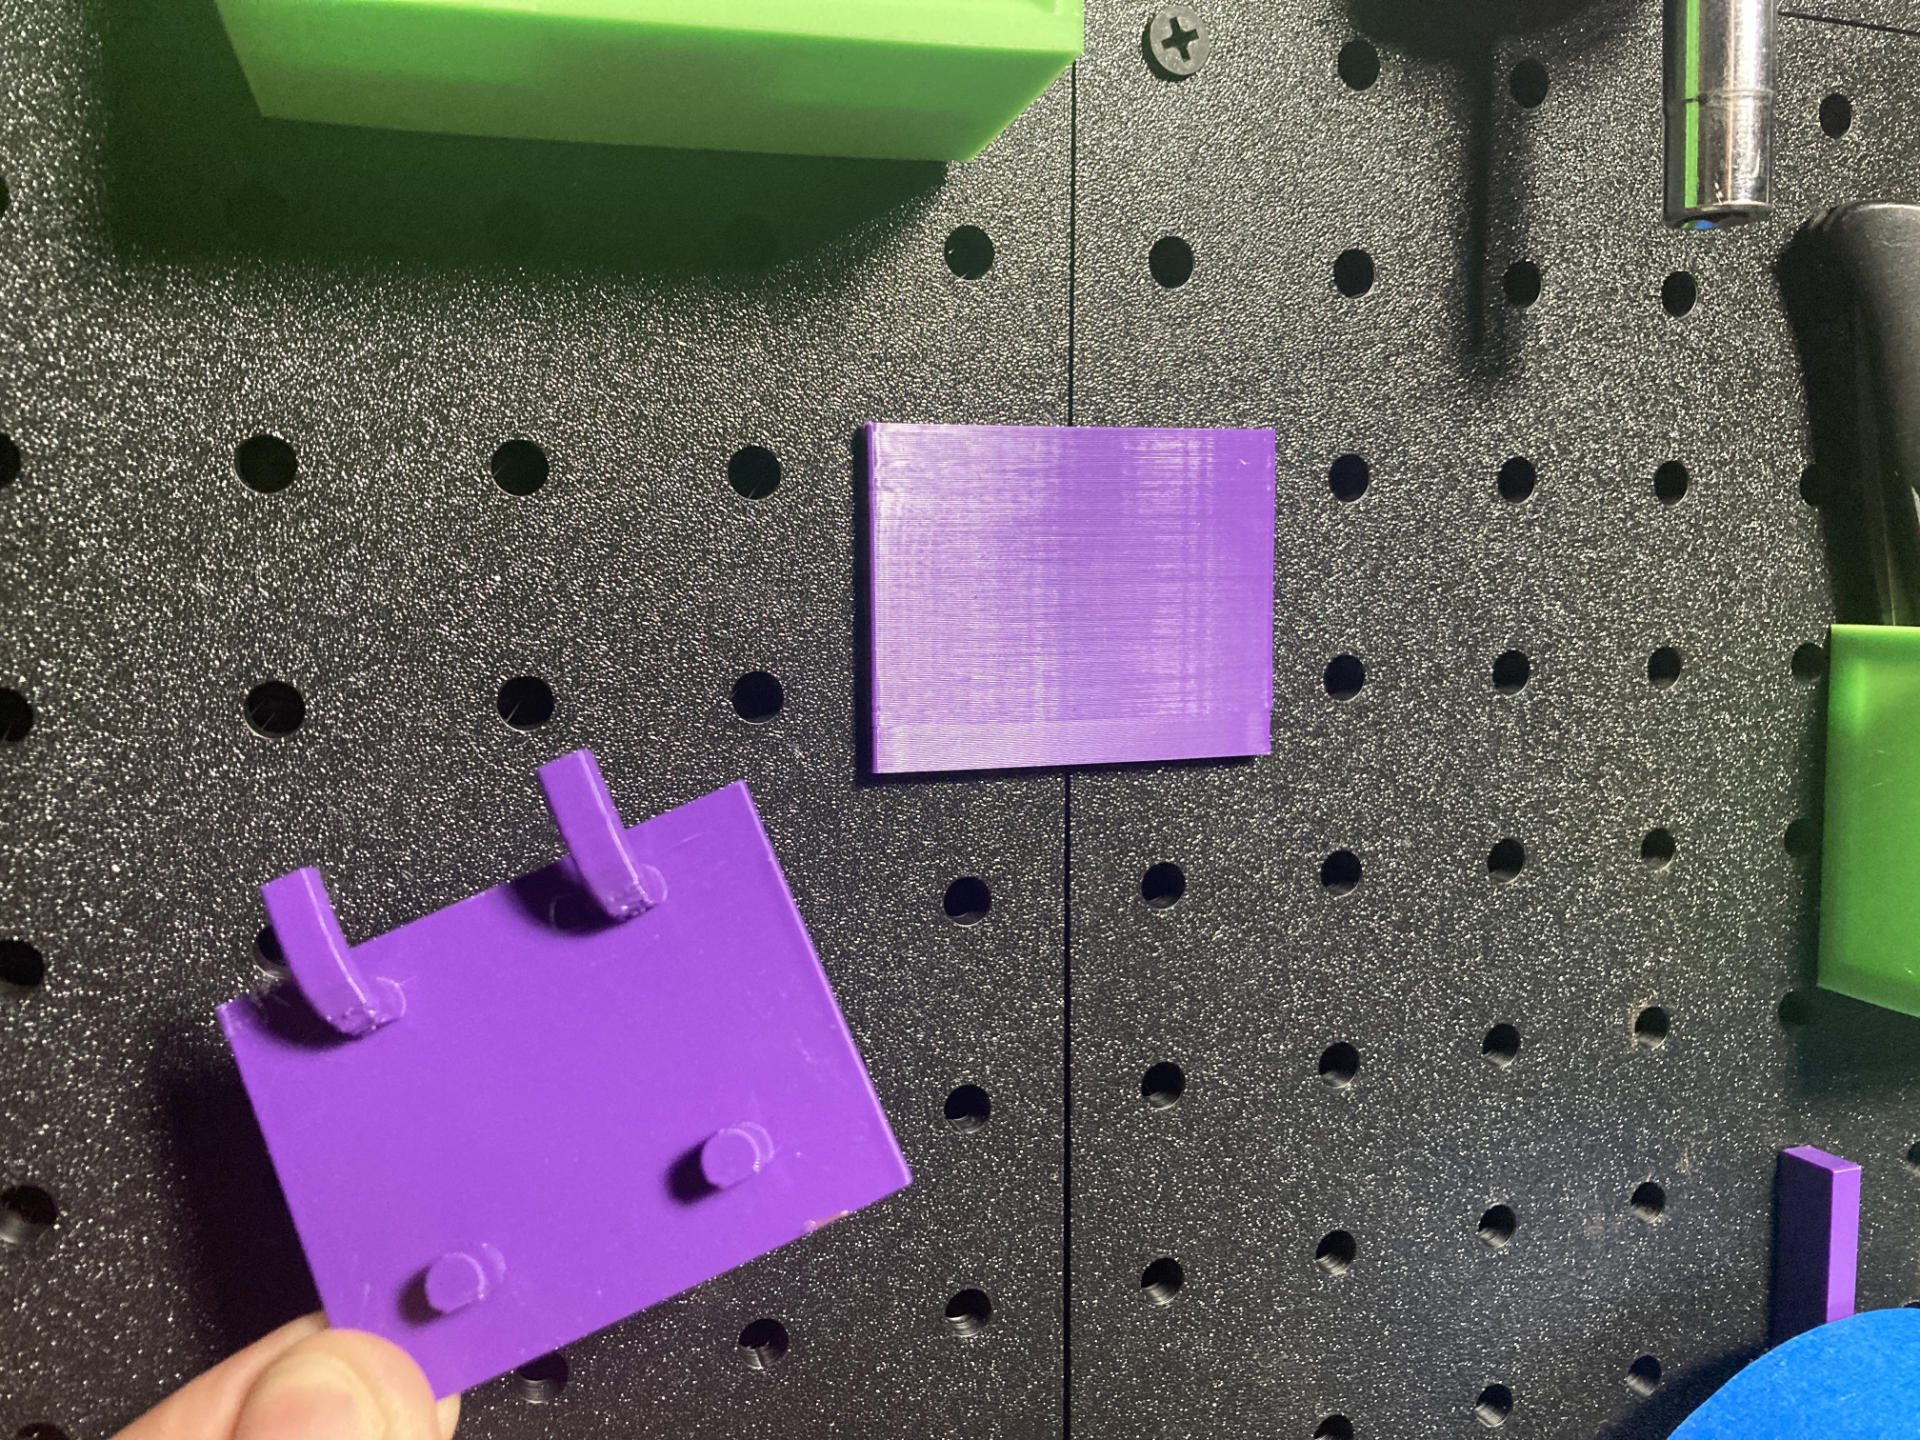
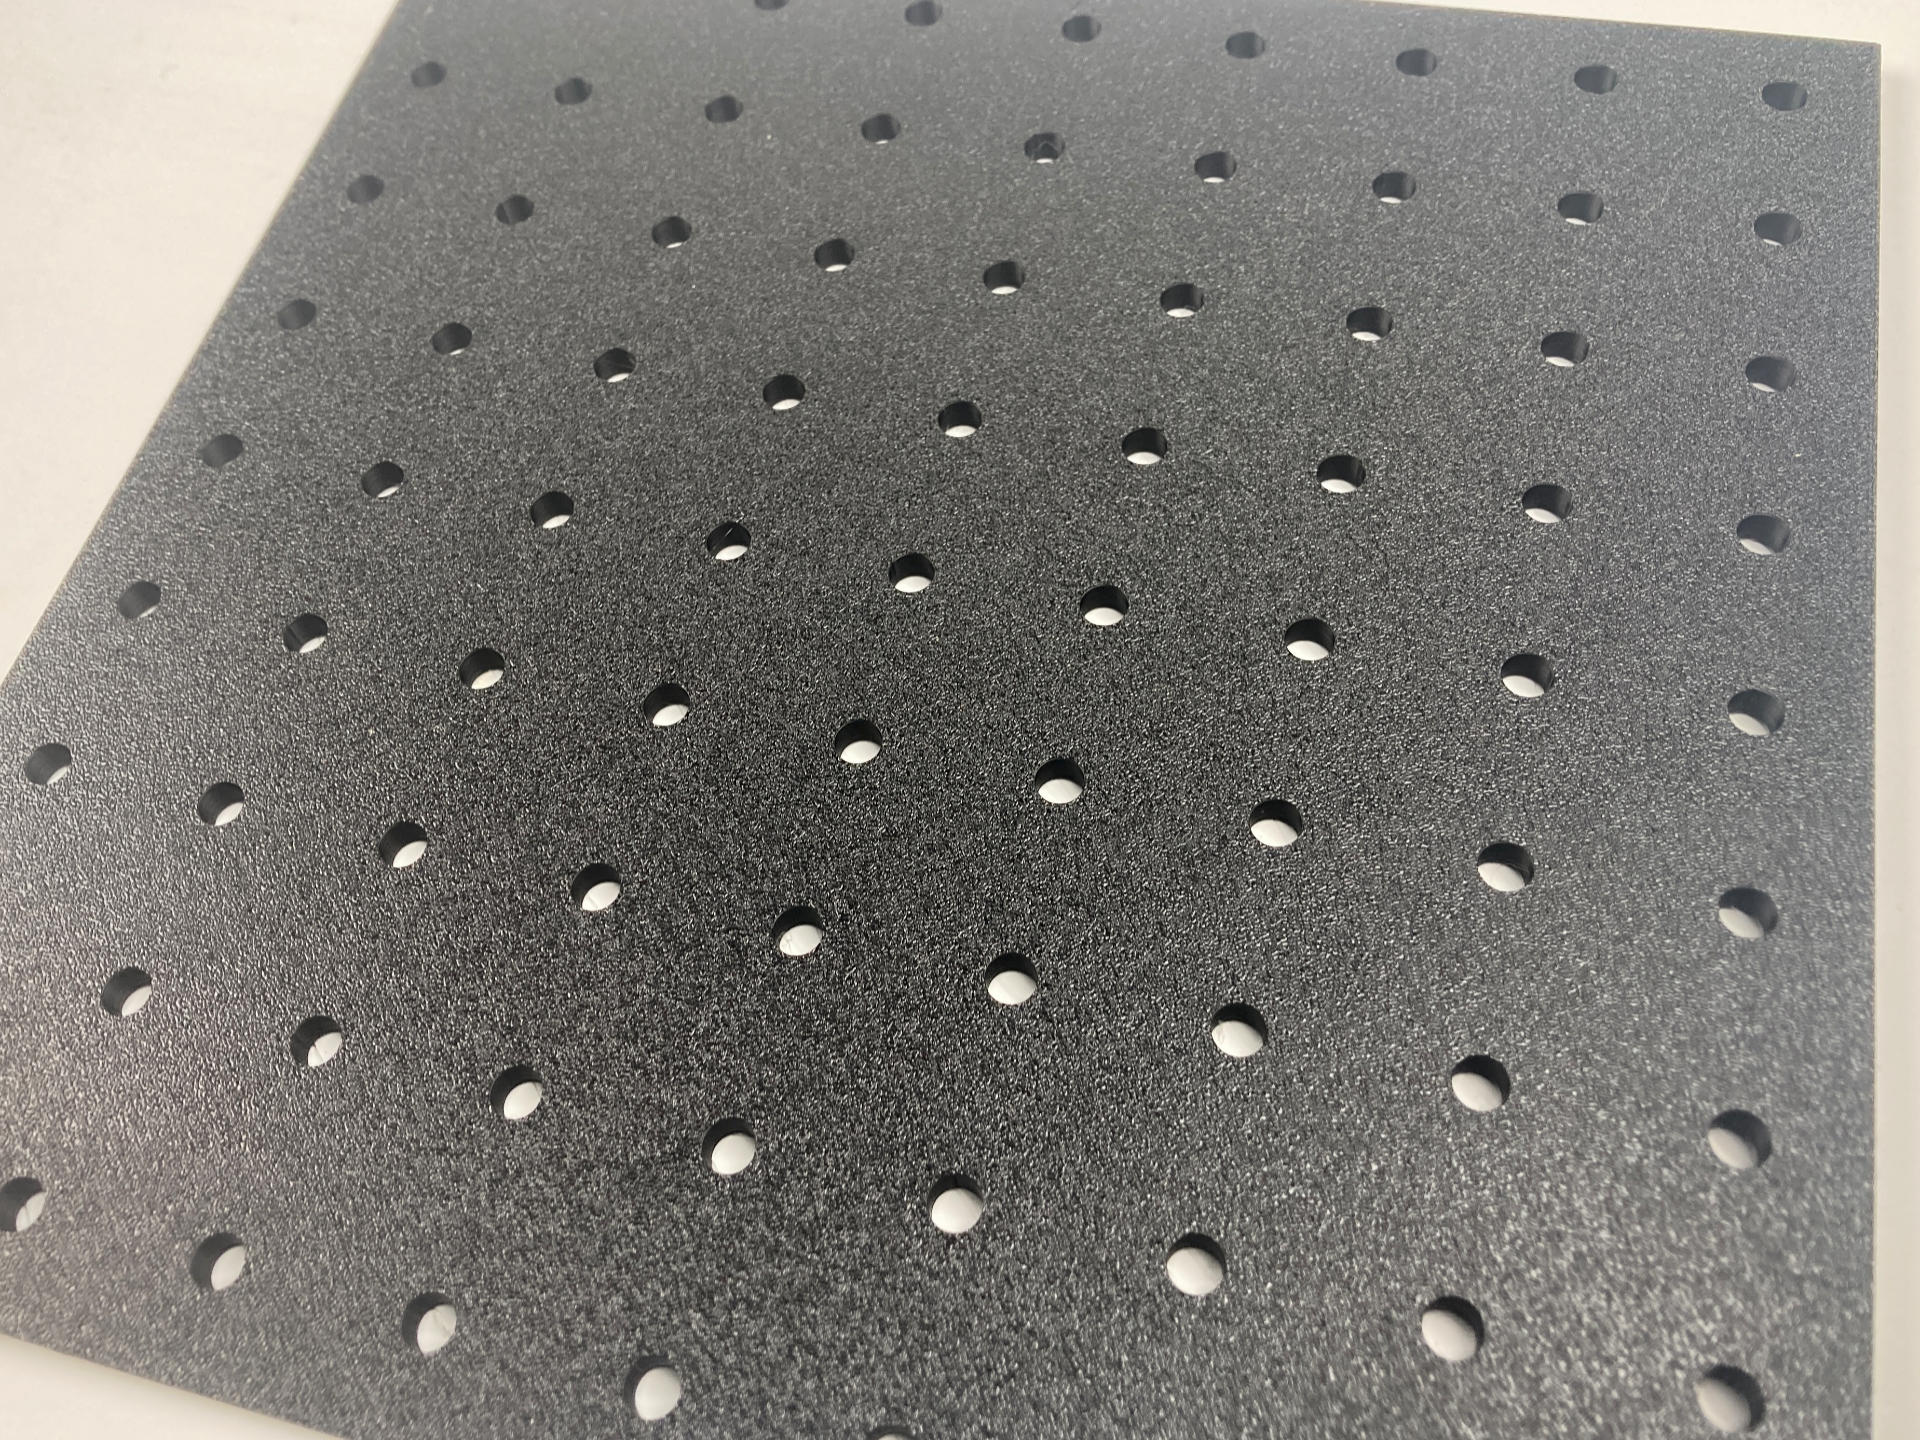
I was always amazed at how smooth (and perfectly printed) the bottoms were on prints from the Prusa MINI, and the P1S does a good job as well, but damn… that textured bottom is beautiful. It just hides any imperfections and gives a “hey, this is not 3D printed” look to things. The “fake carbon fiber” look is from a cheap PET build plate I got from Amazon and it’s a nice option as well. (These were all early prints and I’ve improved the quality a bit since then.)


But wait, there’s got to be something(s) wrong with this printer, right? Of course!

Control Panel (and Screen)
The control panel & screen leave a bit to be desired. It’s been describe at a “90’s car stereo” and it’s barely a step up from the two line LCD displays that were popular on printers a decade ago. It’s usable, and I don’t totally hate it, but it does sort of suck. The X1-Carbon has a huge-ass screen! But hey, that’s how you differentiate products and justify pricing, right? Still, even the Ender-3 S1 has a better screen. I absolutely love the interface on my Prusa MINI, which is a nice screen with a click wheel. My old Monoprice MSP had touchscreen. So yeah, screens are a weird thing. (I’m considering adding a DIY xtouch controller.)

File Storage & Workflow
The P1S uses a Micro SD card. Yeah, those tiny ass little cards you could easily swallow. I much prefer a USB port I can stick a USB thumb drive into. Also, there is no support for folders, so managing files on the SD card is nightmare of one long list of all the files. There is a single folder called “cache” that holds any file that has been previously sent from the Bambu Studio software. I would love to see folders. I use the folder feature all the time on my Prusa MINI. (One more great feature of the Prusa MINI is that when you plug in a thumb drive it queues up the most recent file added to the drive and pops it up on the screen and you can print it with one click. This is the right way to do it.)

That said, most of the time I end up using Bambu Studio (the slicing software) to send files to the P1S. This is the first printer I’ve had with built-in WiFi. I do like the convenience, especially since the lack of folders makes it nearly impossible to manage files on the device. (I should probably just make a separate Micro SD card for production, with all of my regular files on it, and swap it in as needed.) I am, of course, not a huge fan of The Cloud™ and you can opt not to use the cloud, but you lose the ability to monitor prints remotely.

Slicing & Sending Files
Bambu Studio has a few weird quirks, but there’s always OrcaSlicer. Bambu Studio was forked from Prusa Slicer, so under the hood much is the same. (You can also do a few things in config files where there is no interface to do them in Bambu Studio.) So typically I slice a file in Bambu Studio and click “Print” then send the file. The file actually goes to the cloud and then to the printer. Now, there is a “LAN only” mode to avoid the cloud, and you can actually FTP files to the SD card as well, but you can’t start them from Bambu Studio. You can also just “Send” the file from your computer to the SD card, so you can hit “Print” on the machine, but every now and then this does just not work for me.

Beep Beep!
Believe it or not, the P1S lacks a piezo speaker. It cannot beep at you. M300 commands in G-code are ignored. I find this omission sort of ridiculous.

Conclusion
Overall it’s a weird mish-mash. If you just do the cloud thing that is the easiest, but for no-cloud you can put files on the SD card (but not in folders) and print from the machine but not from Bambu Studio. I didn’t even mention Bambu Handy, the mobile app for monitoring and controlling the P1S. (I may need a second post!)

Okay, that’s it. I’m gonna end this post by saying the Bambu Lab P1S is a printer that costs $700 USD, prints high quality prints, really fast, and has a lot of nice features. Does it lack a few nice features, yes it does, but again, at that price (for a 256x256x256 build volume) I can live without a few niceties. If you want those niceties and have the budget, go for the Bambu Lab X1-Carbon instead.

Categories
Uncategorized

A 3D Printed Pegboard

Pegboard! It’s the classic way to hang tools in a workshop. Is it the best way? Probably not. It is easy? Sort of. Are there better ways of doing things? Definitely. Anyway, I decided to move forward on this project for a few reasons.

My basement workshop has two large sections of pegboard and a mess of tools. I am in the process of organizing all of those tools, and along the way Kyle Davis was kind enough to mention something called Pegmixer, an OpenSCAD library he had created. I prefer OpenSCAD for my 3D modeling, and once I dug into the library it was much better than the other (quite old) customizable pegboard hanger things I was looking at.

But wait, why the “3D Printed Pegboard” part of this? While you can grab a (nearly) 4 foot by 2 foot pegboard from Lowes for $12 USD, or a nice looking fancy SKÅDIS 30×22″ pegboard from IKEA for more than twice that price, I wanted to try some large prints on the Bambu Lab P1S printer, with a build volume of (almost) 256x256x256mm.

So I grabbed a cheap roll of black Sunlu filament for $14.69 USD and with the help of the openscad-pegboard-peggrid library designed some pegboard.

Now my initial idea was to laser cut some pegboard using this library and all of the scrap 3mm plywood I can get from work, but that also seemed like a silly idea, and with 3mm thickness it would not be compatible with my existing pegboard which is much closer to 5.5mm. By 3D printing the pegboard it would allow me to match it up in thickness to what I already have, so I can move things between them.

I used Pegmixer to create a simple plate that could be used to align the pieces so the spacing of the holes was lined up across sections. Once I put one panel up I then used two plates to align the next one and then screw it into the wall using some drywall screws in the corner holes.

I also printed four spacers for each panel to offset them from the wall. Nothing fancy, just some cylinders with holes large enough for the screw to go through. I ended up gluing them to the back of the panels for ease of installation. I originally had them integrated into the panel but opted to just print them separately.

I know some people will question the logic of 3D printing a pegboard instead of buying one (and cutting it to size) or even laser cutting one. I covered some of the answer in my Printing versus… Not Printing? post. Sometimes cutting things with a saw isn’t easy, or isn’t possible, so printing can be a quieter and much less messy alternative. It can take longer, but it can also happen offline, meaning when you are at work or otherwise busy. For laser cutting a pegboard you need a bunch of flat stock, which (depending on size) may be more costly than a $15 roll of PLA filament. (I did manage to print six panels from one roll, though according to the math I could have got 8 total since each uses 118 grams of filament.)

And yes, I do know about the Honeycomb storage wall that seems to be all the rage, but I opted to stick with the system I already have going. Compatibility and all that.

The 3D printed version (printed face down on a textured plate also looks really nice. Standard pegboard does tend to look a bit ugly. Obviously you can paint it, or with laser cut wood you can stain it, or just buy the IKEA version, but again… it’s all about options. And sure, while it looks good, it is in the most terrible looking room in the house, located in the basement… but I’ve considered adding one to my office as well, where a nice looking pegboard would be more appreciated.

So in the end, I’m really pleased with the look (and functionality) of the new pegboard, and now I need to get back to designing all the things that will attach to it to hold tools and other things!

If (for some reason) you want to use the exact same files I did, you can get the STL and .scad files from Printables.com – Pegboard Panel . Otherwise just grab the library, apply a fix if needed, and do your own thing.

Categories
Uncategorized

A 3D Printed Filament Spool Winder

Since I now need to wind filament onto a spool I wanted to try a device to assist with the task, so I printed a Filament Spool Winder. I had a few issues assembling it, mainly when it came to some of the threaded parts. 3D printing threads is a neat trick, but I don’t always think it’s practical. In this case, it just did not work for me. Some of the parts that were threaded did go together, but not easily, and pliers were involved, and they are never coming apart without breaking.

For the rear assembly of the device the two parts that attach to the axle specifically need to be disassembled during normal use, to put on or remove a spool, so the threaded parts need to work, and work well. They did not for me, so I made a few edits so the pieces use square pegs to assemble.

I released my modified parts on Printables, Filament Spool Winder (Non-Threaded Rear Axle Parts), in the hopes it may help someone who struggles with the threads like I did.

This was actually a really difficult project for me, some of it was definitely my own fault. I tried to just print the parts I needed, but somehow printed the wrong part at least once. The threads that did work only worked after sanding, shaving, and forcing. I think if you print all of the parts and watch the assembly video, it would probably make more sense. That said, I really do like assembly guides with photos/illustrations and step-by-step instructions rather than a long video. I should have learned after I built the Provisional Press that it’s best to watch all assembly videos all the way through without skipping ahead, before you start assembly. (This is really difficult for me, and apparently others, to do.)

I have not yet actually tested this Filament Spool Winder but hopefully it works well… Keep an eye out for another post on the subject.

Categories
Uncategorized

NIIMBOT D11 Stand

I recently grabbed a NIIMBOT D11 thermal label printer, which is a small/portable device for printing labels. It works well enough (I’m working on a full review for another post) but one of the things that annoyed me is that it cannot stand upright on a desk

For some reason the designers decided that a rounded bottom would be fine, and so it you can lay it down, you can stand it upside down, but you cannot stand it upright, so I fixed that.

This design took a few iterations, and I ended up adding the cutout to use less material, and (hopefully) allow for printing in less time.

This is one of those things I really thought would exist already, but a cursory search yielded no results. So here it is.

As usual, the OpenSCAD file is included if you want to make changes. The BOSL2 library is needed, and this is the first real project I’ve used it on, but it will not be the last.

You can get the STL and .scad file from Printables.com – NIIMBOT D11 Stand. Print it if you need it!

Categories
Uncategorized

Hackaday Responses to Fusing 3D Printer Filament

Hello Friends, I’ve been publishing on the Internet for close to three decades now. In the early days there was this idea of having a “home” on the World Wide Web in the form of your own web site where you could say what you wanted to, and you could be in control of what you said. That idea went away when the WWW got popular and everyone joined and just signed up for LiveJournal, Myspace, Tumblr, Facebook, Twitter, or whatever the new thing is… Well, some of us did not give up on the idea. Welcome!

Recently Hackaday featured one of my posts in A Simple And Effective 3D Filament Splicer and while I’ve had my projects featured a number of times over the years, the results are not always positive. One of my projects ended up on Hackaday over a decade ago and some of the comments about me personally were quite cruel, which I did not care for… (Yes, Hackaday has got better over the years, but it’s still incredibly easy for people to make ridiculous comments.)

Anyway, with this recent post, and the idea that this is a site on the Internet I can control, I will now respond to the comments right here! Why? Because I can… This is the sort of thing you can do when you have a web site on the Internet.

And of course, there’s a reason people say “Don’t read the comments!” and in my experience it’s mainly because people who haven’t done a thing have all sorts of opinions on the thing you’ve done, even though they haven’t done it. Somehow they know why you’ve done it wrong, and they also know the right way to do it! It’s pretty amazing. (My original post Fusing 3D Printer Filament)

Cyna says:
No to the very first sentence.

First Comment! Thanks! Very helpful! If it’s not for you, feel free to move on.


DaveAZ says:
I’ve never had the need to do this. The printer itself works just fine, and offline splicing means that you have to wind the new section on to the old.

Hey DaveAZ, we all have different experiences and use cases. My experience is that I end up with things like samples from vendors, rolls with very little filament left, or other short pieces I want to combine into part of a spool. This method allows that, and works well for me.


GoguyT3d says:
Bear in mind that the filament on both ends must be essentially “melted” before fusing and even then a high chance of the joint snapping in the extruder or along bowden bends. I’ve done it many times from “end of spool” to beginning of next and using a candle 45° cut bowden to smooth the melted bulge and it’d still very hard to get the material to stay joined and your also risking blackened/burnt filament in the process from the flame. I just save the last 100g of a spool until I need to print something under that size. Too much work for very little success.

Dear GoguyT3d, you may have missed the part where I mention this method produces almost no bulge, no burnt filament, and (so far) good success. In the post I said “Give it a (light to medium) tug to make sure it doesn’t come apart. If it separates, cut the ends and try again.” I made a spool with about a dozen joints, printed a number of objects, and had zero issues. I will keep testing, but so far I’ve had good success.


Gregory Scott Pearce says:
I simply start a print when I have time to see the roll ending. Then let the printer use up the last foot or so while putting the next roll on. When the last little bit is going in, follow it with the new filament pushing it until the hob gear is completely in control (you will have retractions most likely just keep compression…) For all new ends I figured out this trick for better insertion: with very little contact heat end of filament about 1/2? from end… the quickly pull it out. Cut the filament at the start of the thinner section. Makes the end nicely tapered so as not total jam up.

That sounds more complex than my method, and requires you to watch the printer the entire time waiting for the filament to run out? I don’t have time for that because I have to go to work, and sleep, and do other things… If you have time to watch your prints though, that’s awesome! I remember watching a MakerBot Cupcake the whole time it printed an object back in 2012 and it was fascinating…


Greg A says:
heh, i actually want to do this, because i cut off about 30m of filament at a time to leave on the printer (so the whole spool is not soaking up basement humidity for months). i’ve gotten pretty good at pausing the print, switching to the next filament segment, and then continuing again…but i waste about a meter of filament within the bowden tube, and obviously i’d like to do it without pausing.

so this got my attention and i was trying to decide if i would actually try it. unfortunately, Pete came to my rescue to help with the decision…he helpfully pointed out that he usually has a spool at one end. and that’s my undoing…i have a big coil of 60 loops of filament at one end, and my 3d printer on the other end. there’s no ready way for me to slide the doohicky out of the way, unless i want to manually feed it around 60 loops of filament.

i guess i could leave it on the filament and it’ll just slide on its own once it runs into the inlet on my extruder assembly.
but i think i’ll give it a pass. oh well. it would be neat!

I’m not sure I get the issue Greg A is having. You make a splice, feed it through the tube, then add another piece (and another splice) and feed that through the tube, and you keep going. Is Greg A trying to do this inline while a spool is feeding to the printer during a print? This one just baffles me…

Does this diagram help?


Chris says:
It is a nice device, but there are certainly better executed examples of this. With a piece of tubing and a pen spring, you can 3d print the connector ring and just push the two pieces together.

Yes, I’ve seen this thing and I tried using a spring and it did not work for me, but the method I used did work for me. As I mentioned “find what works for you and go with that”. If the spring works for you, awesome! I have presented an alternative method that may work for others.


Isaac Horowitz says:
Why not just the buy a tool used to do this job? It’s called a belt splicer. You lock the pieces in the clamp, turn it on, it heats up, you squeeze the handle, it shoves the pieces together. Granted its for rubber belts, but it will melt our filaments. A little tweaking and we could make them work perfect for spool splicing.

I like how the “tool used to do this job” isn’t actually the “tool used to do this job”, which MinorHavoc pointed out. I do look forward to seeing the device Isaac Horowitz comes up with using a hacked belt splicer though!


Hans says:
I simply print until my Prusa tells me that it’s out of filament, insert the next filament and press continue…

I hope someday I have no need to work, sleep, or do other things and can just sit around watching printers print and waiting for them to tell me they need more filament… sigh.


Well that was fun! I don’t know that it was the best use of my time, but I needed to get some writing done today, so that should suffice.

I hope Hackaday takes no offense at this post. In case you are interested, RasterWeb! started 7 years before Hackaday launched, and has only had one owner during that time. ;)