Categories
Uncategorized

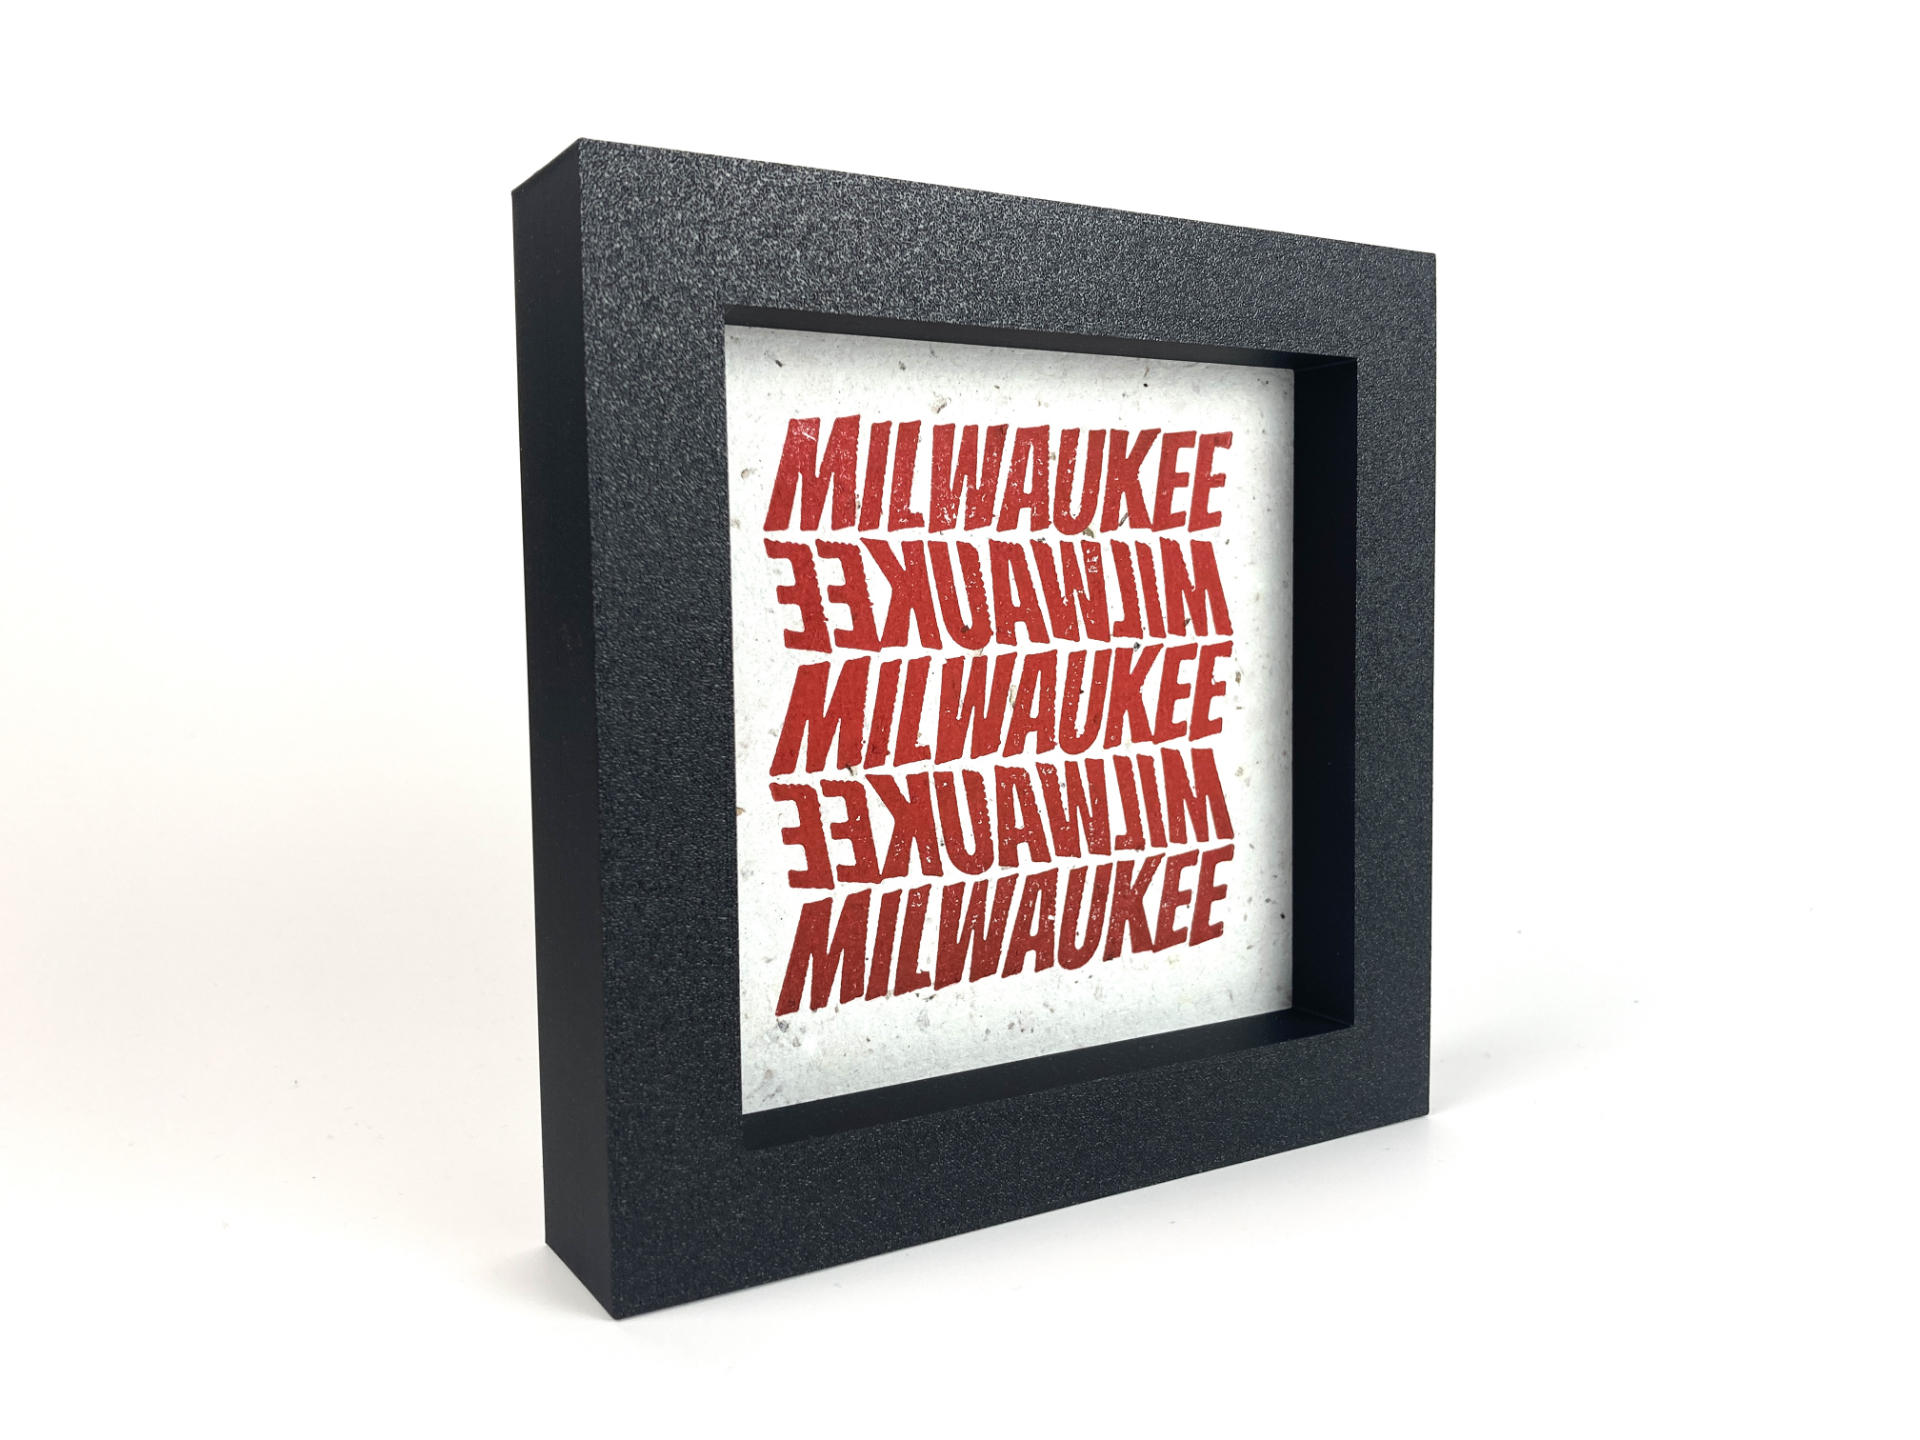
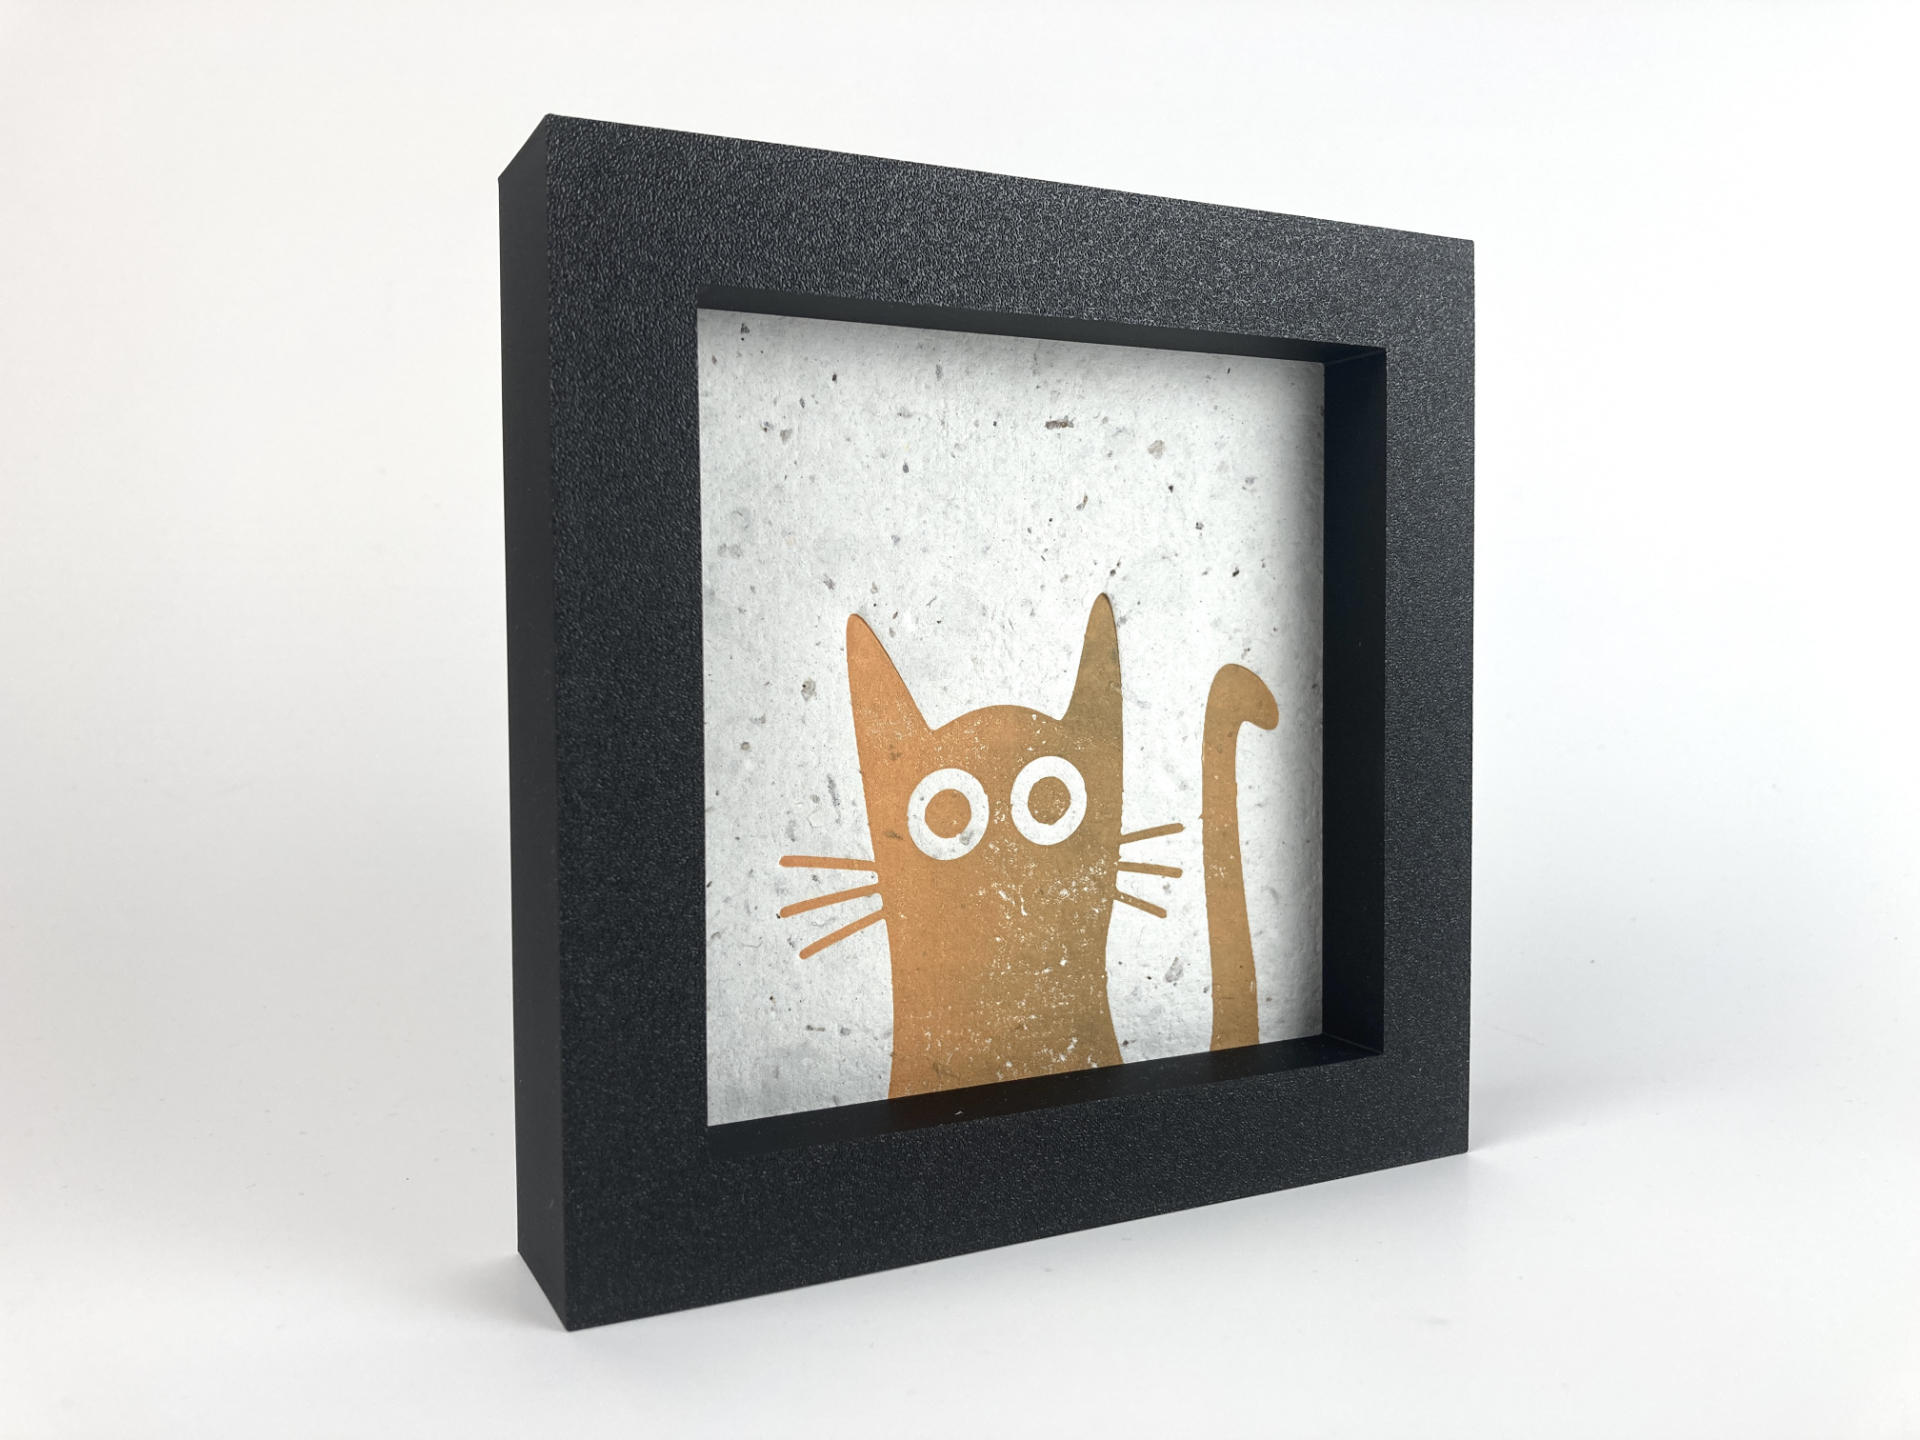
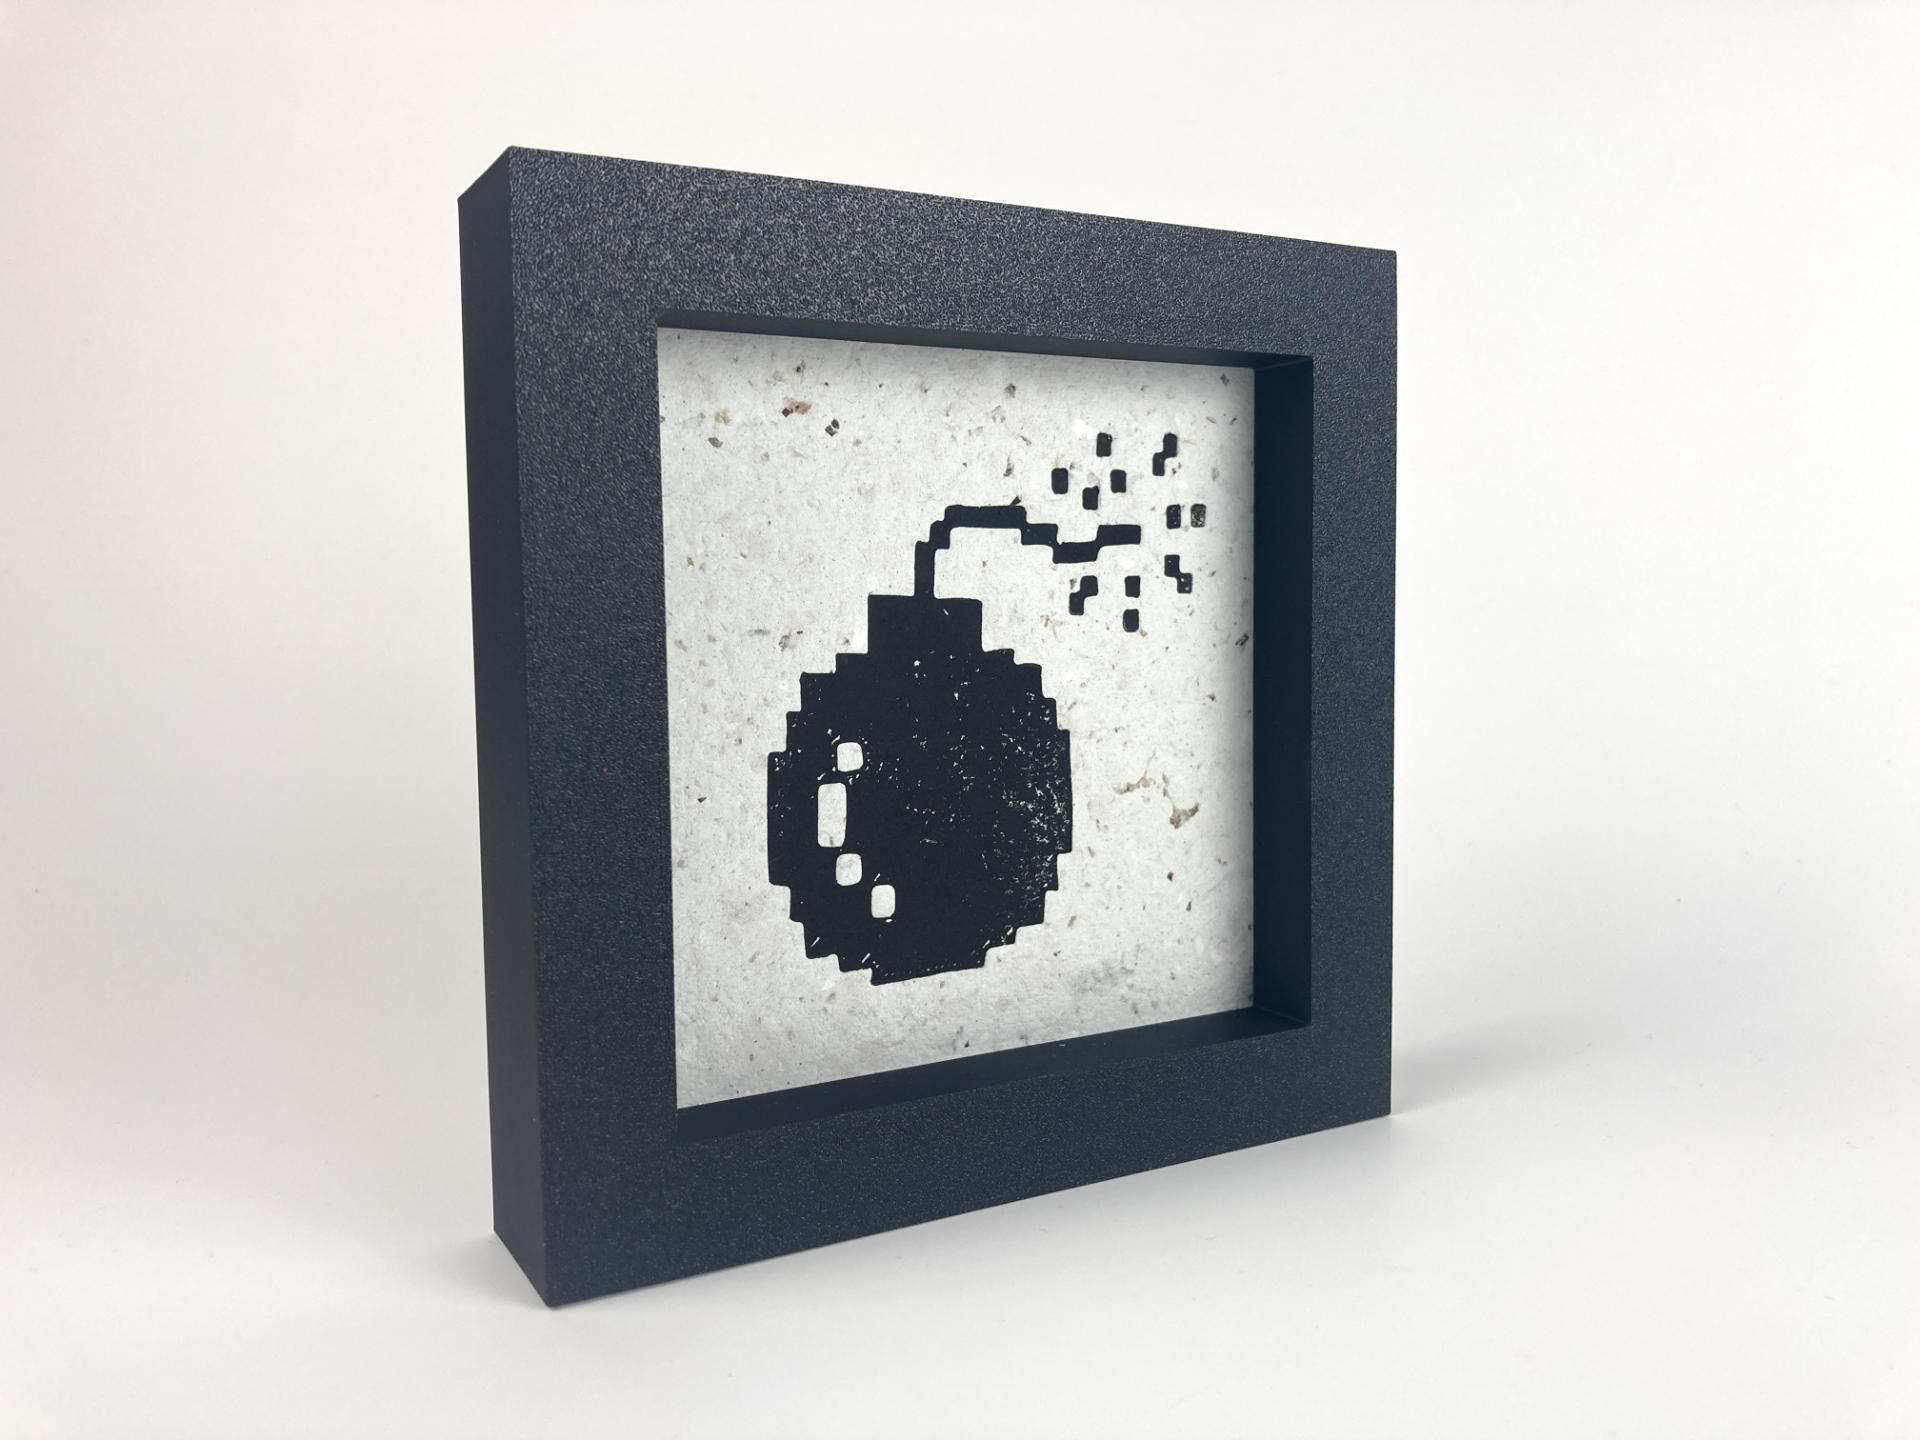
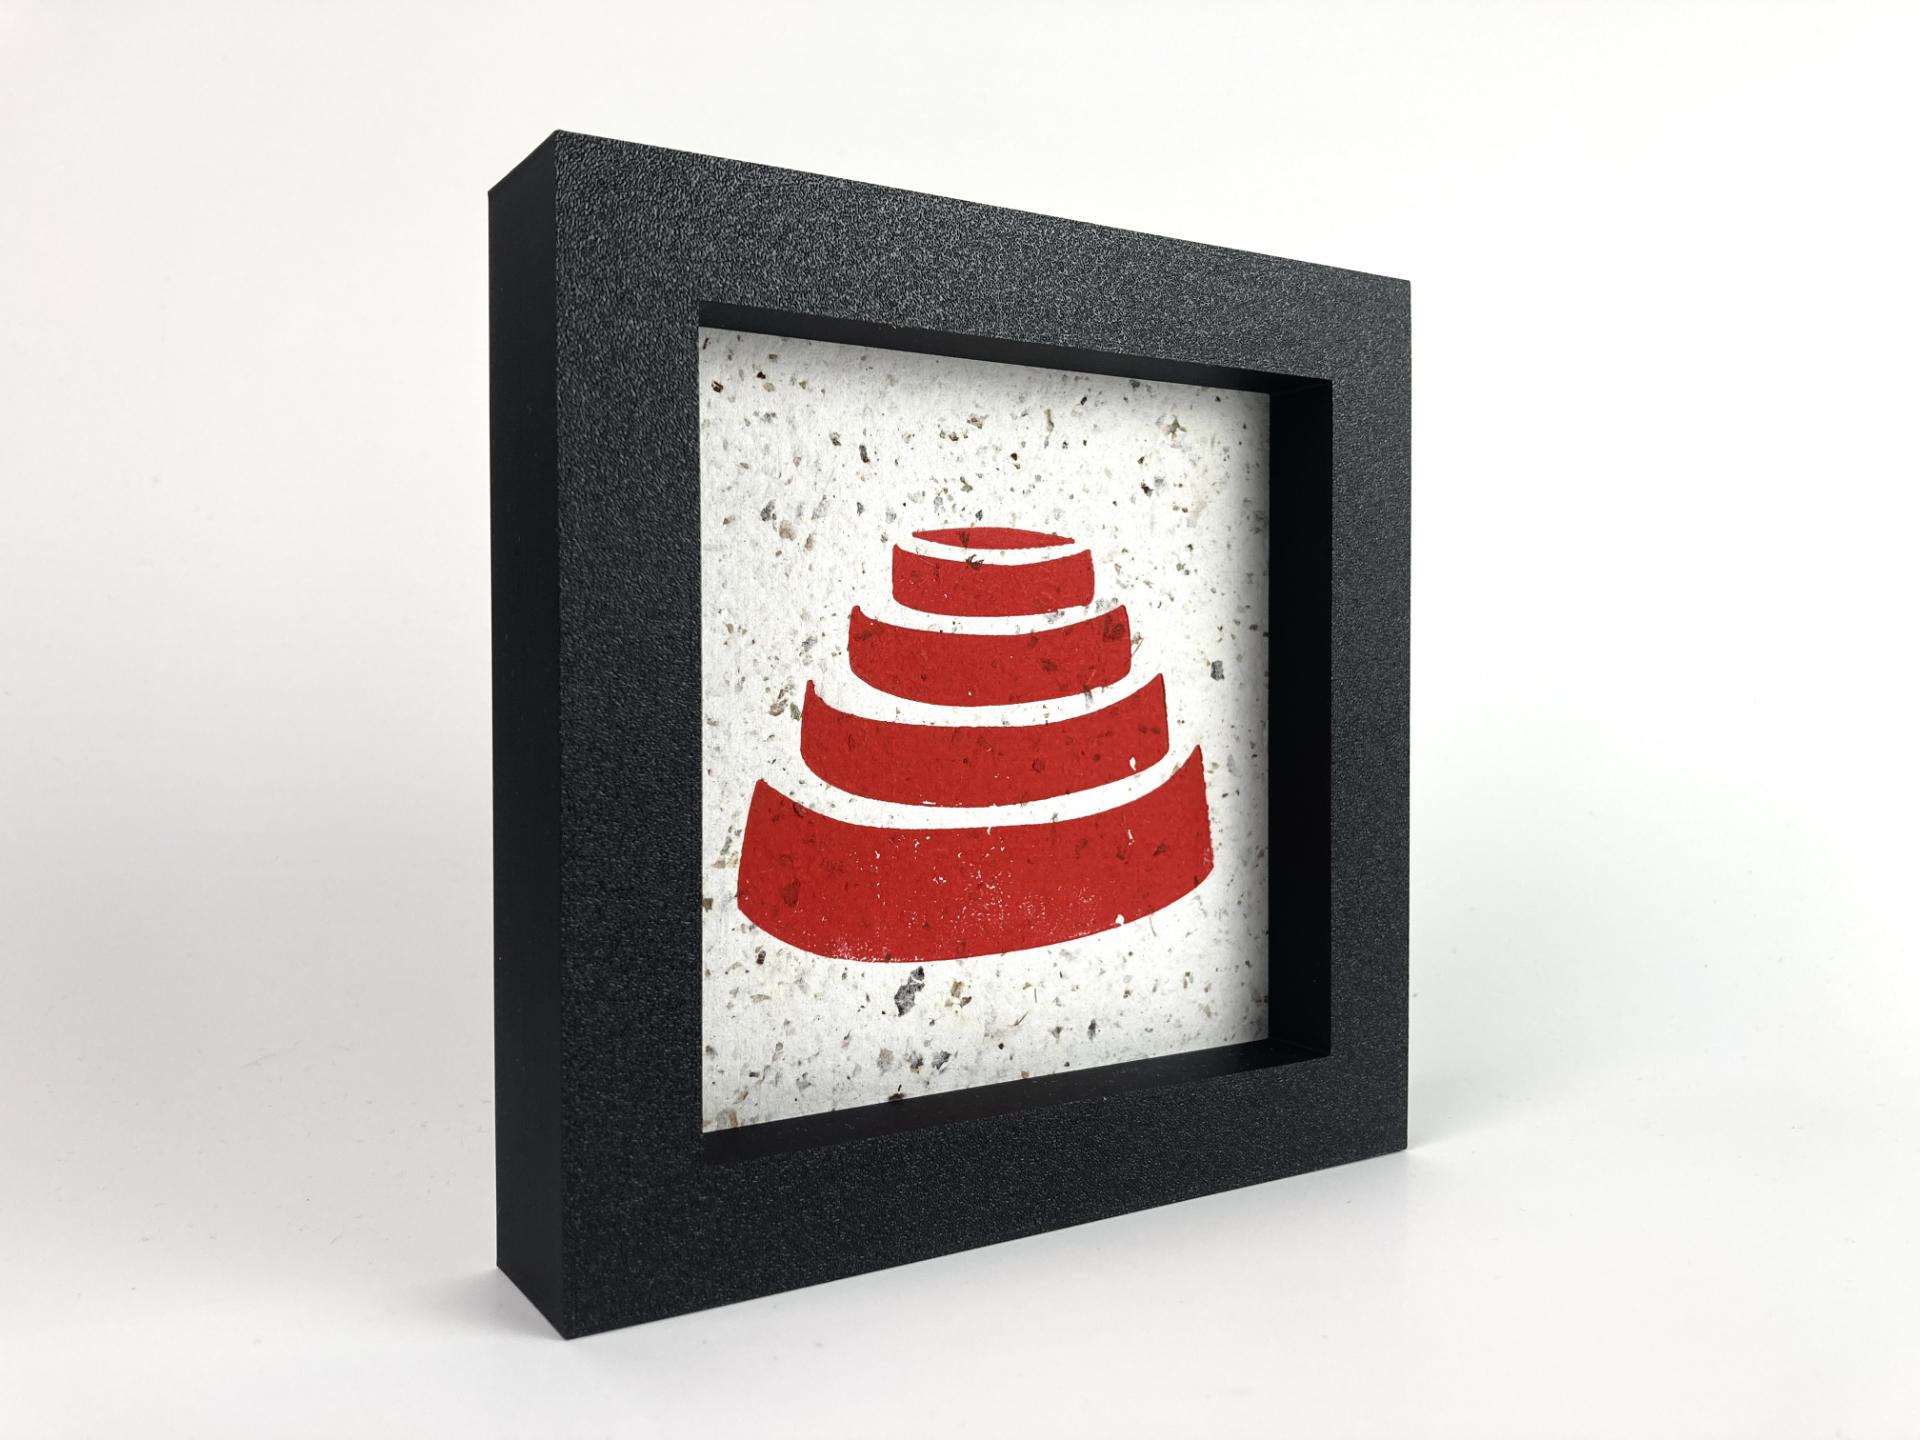
January Prints in Progress

Back in November 2023 a friend of mine said “Hey! I’m going to apply to the Var Gallery 30x30x30 Exhibition, do you want to apply?” and I said “Sure!” and I did, and then I started to prepare for it over the next few weeks, and then I did not get in! No matter. I’m not new to creative challenges so I decided I would still make 30 pieces of art in 30 days so that’s what I am doing. I should mention that there were over 220 applications for the show and (obviously) only 30 are selected. While my friend did get in (Yay Maks!) one other artists I know did not get in, and another said they didn’t apply because of the application fee. (Which sucks, and I will totally cover their application fee next year if they want to apply.)

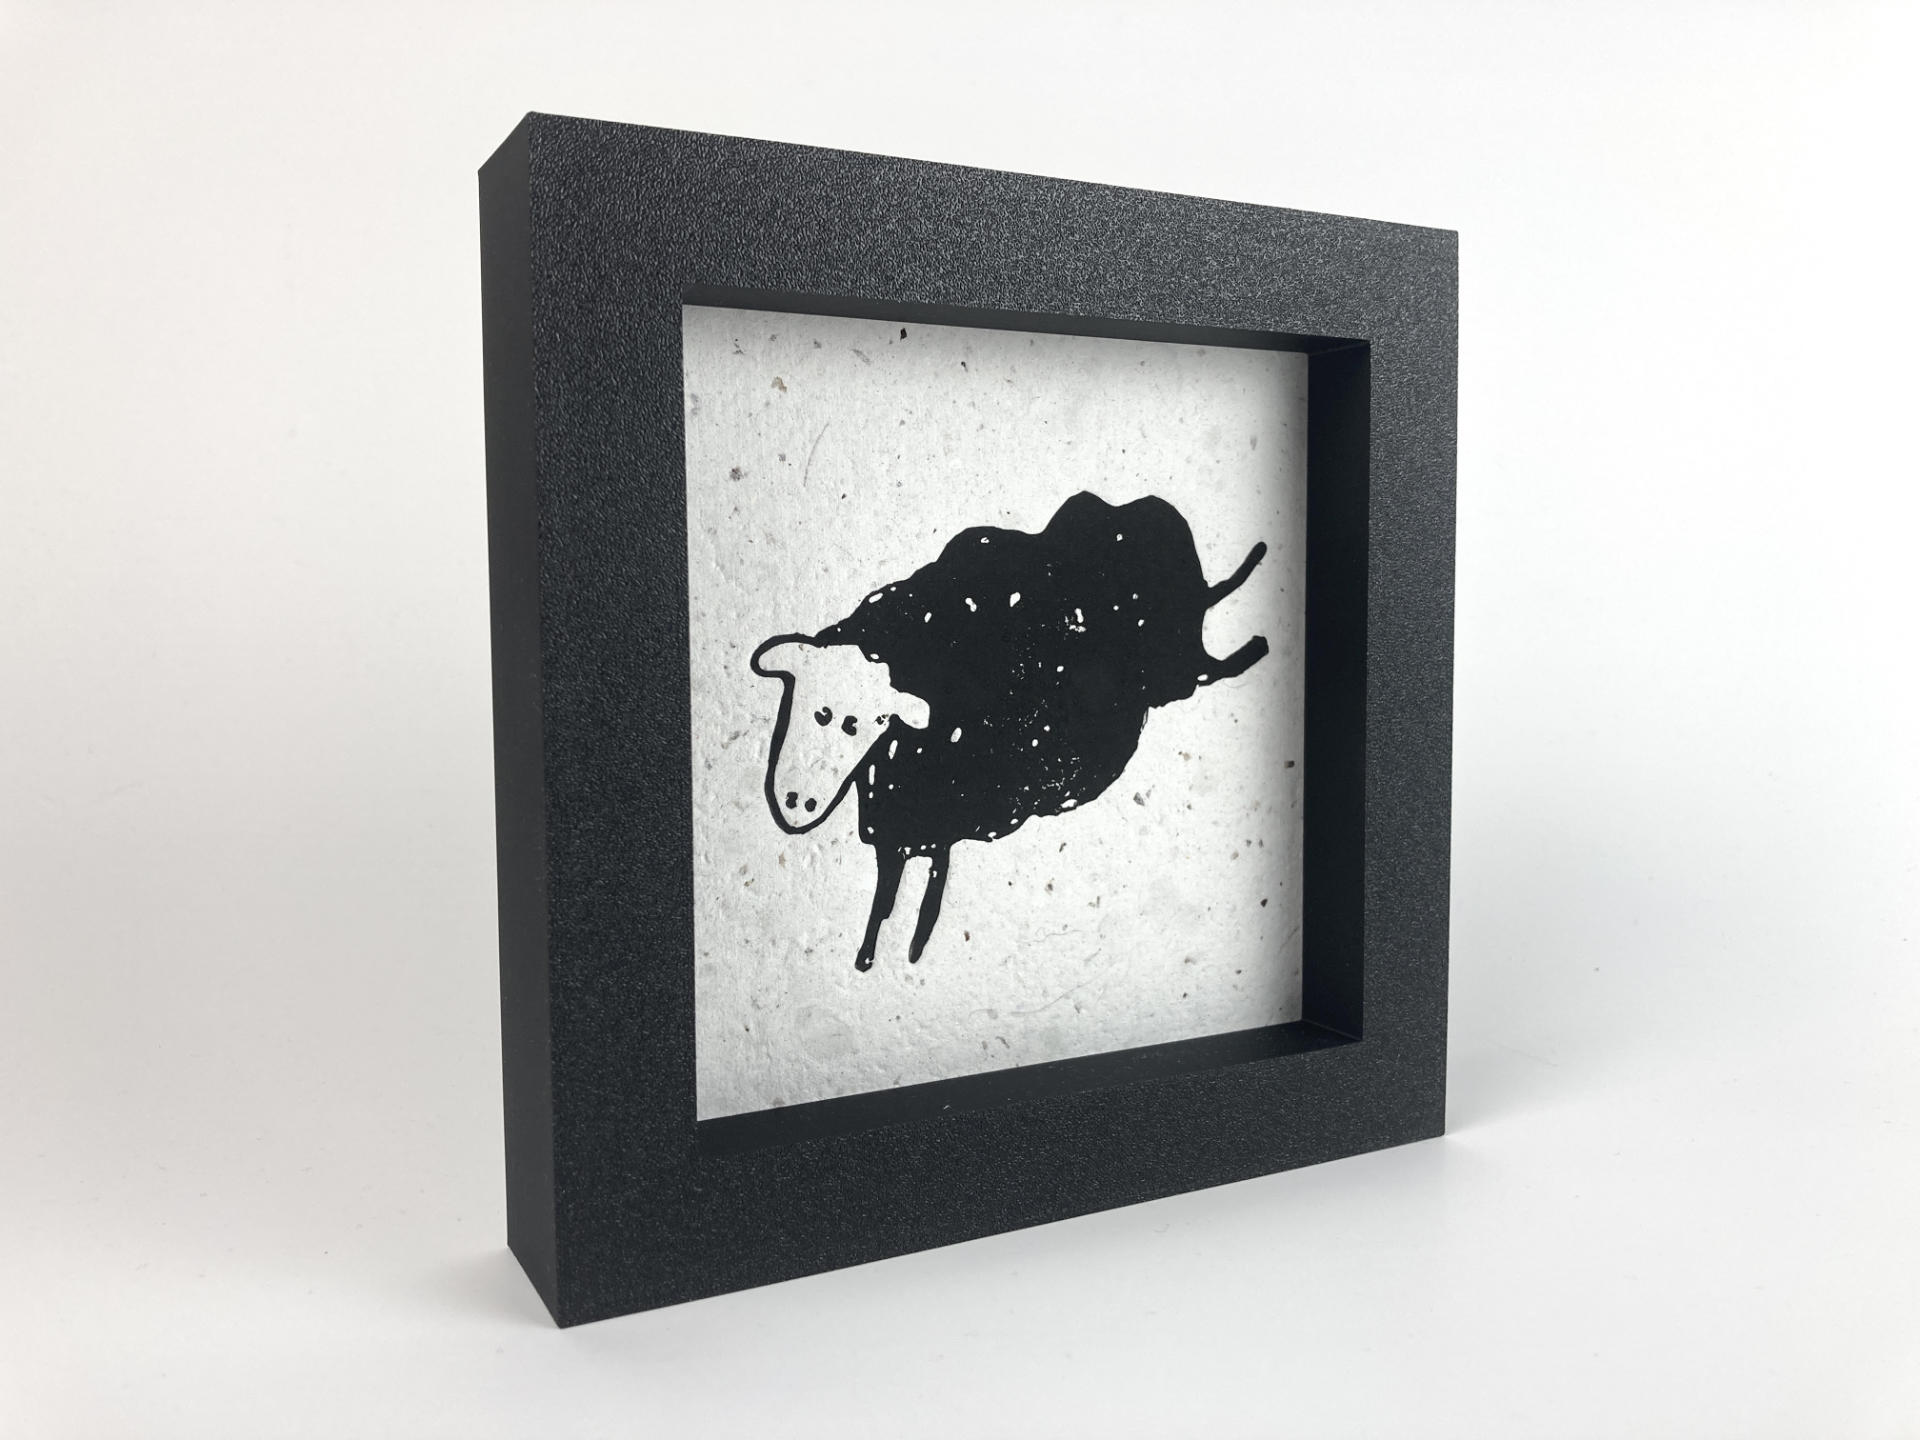
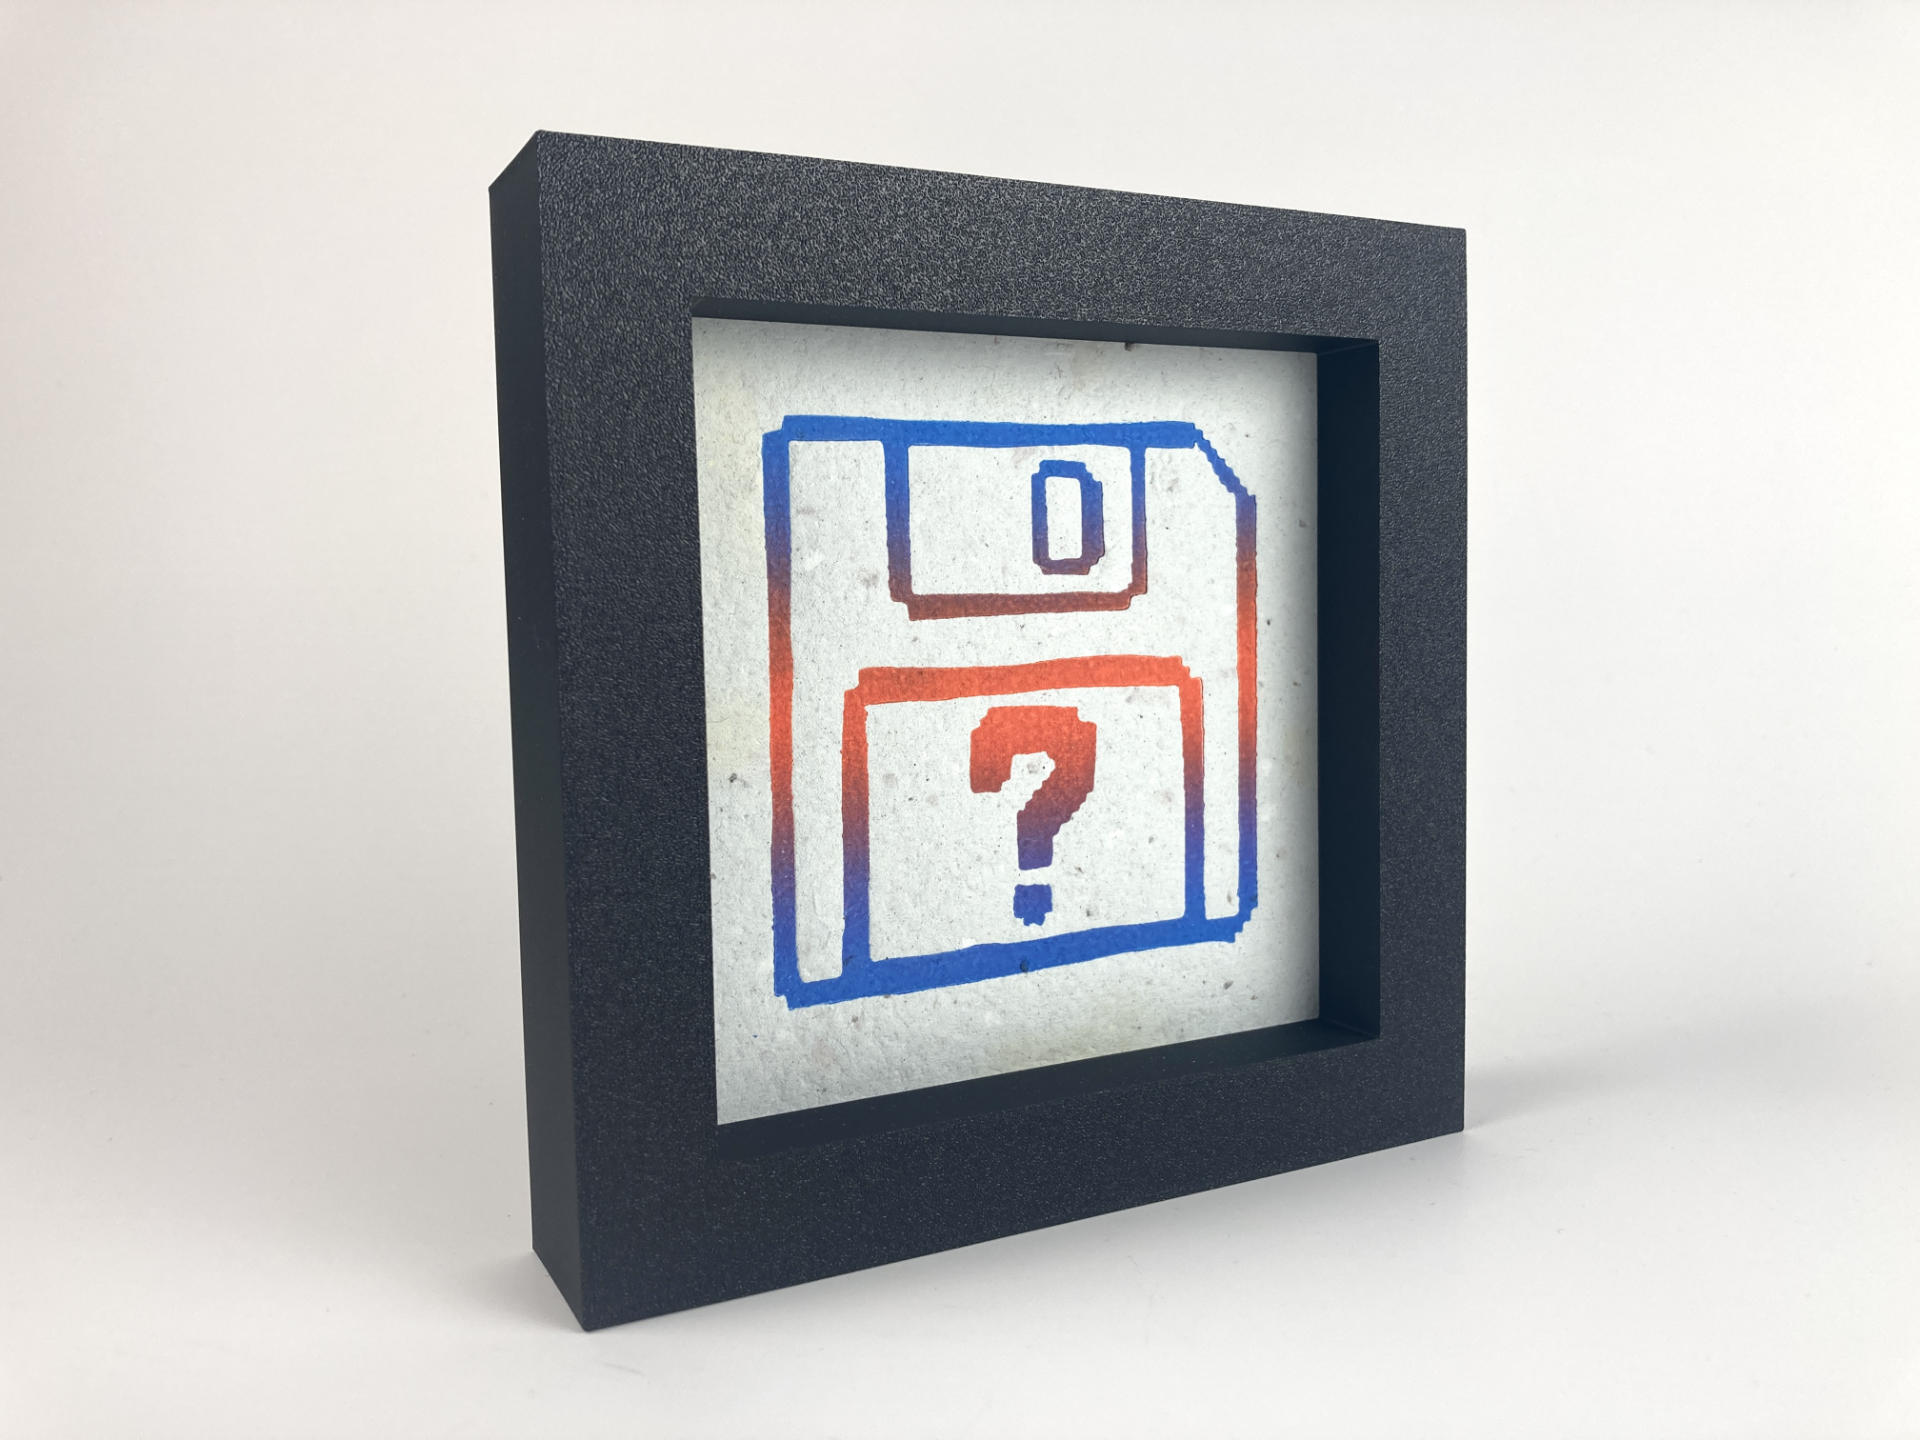
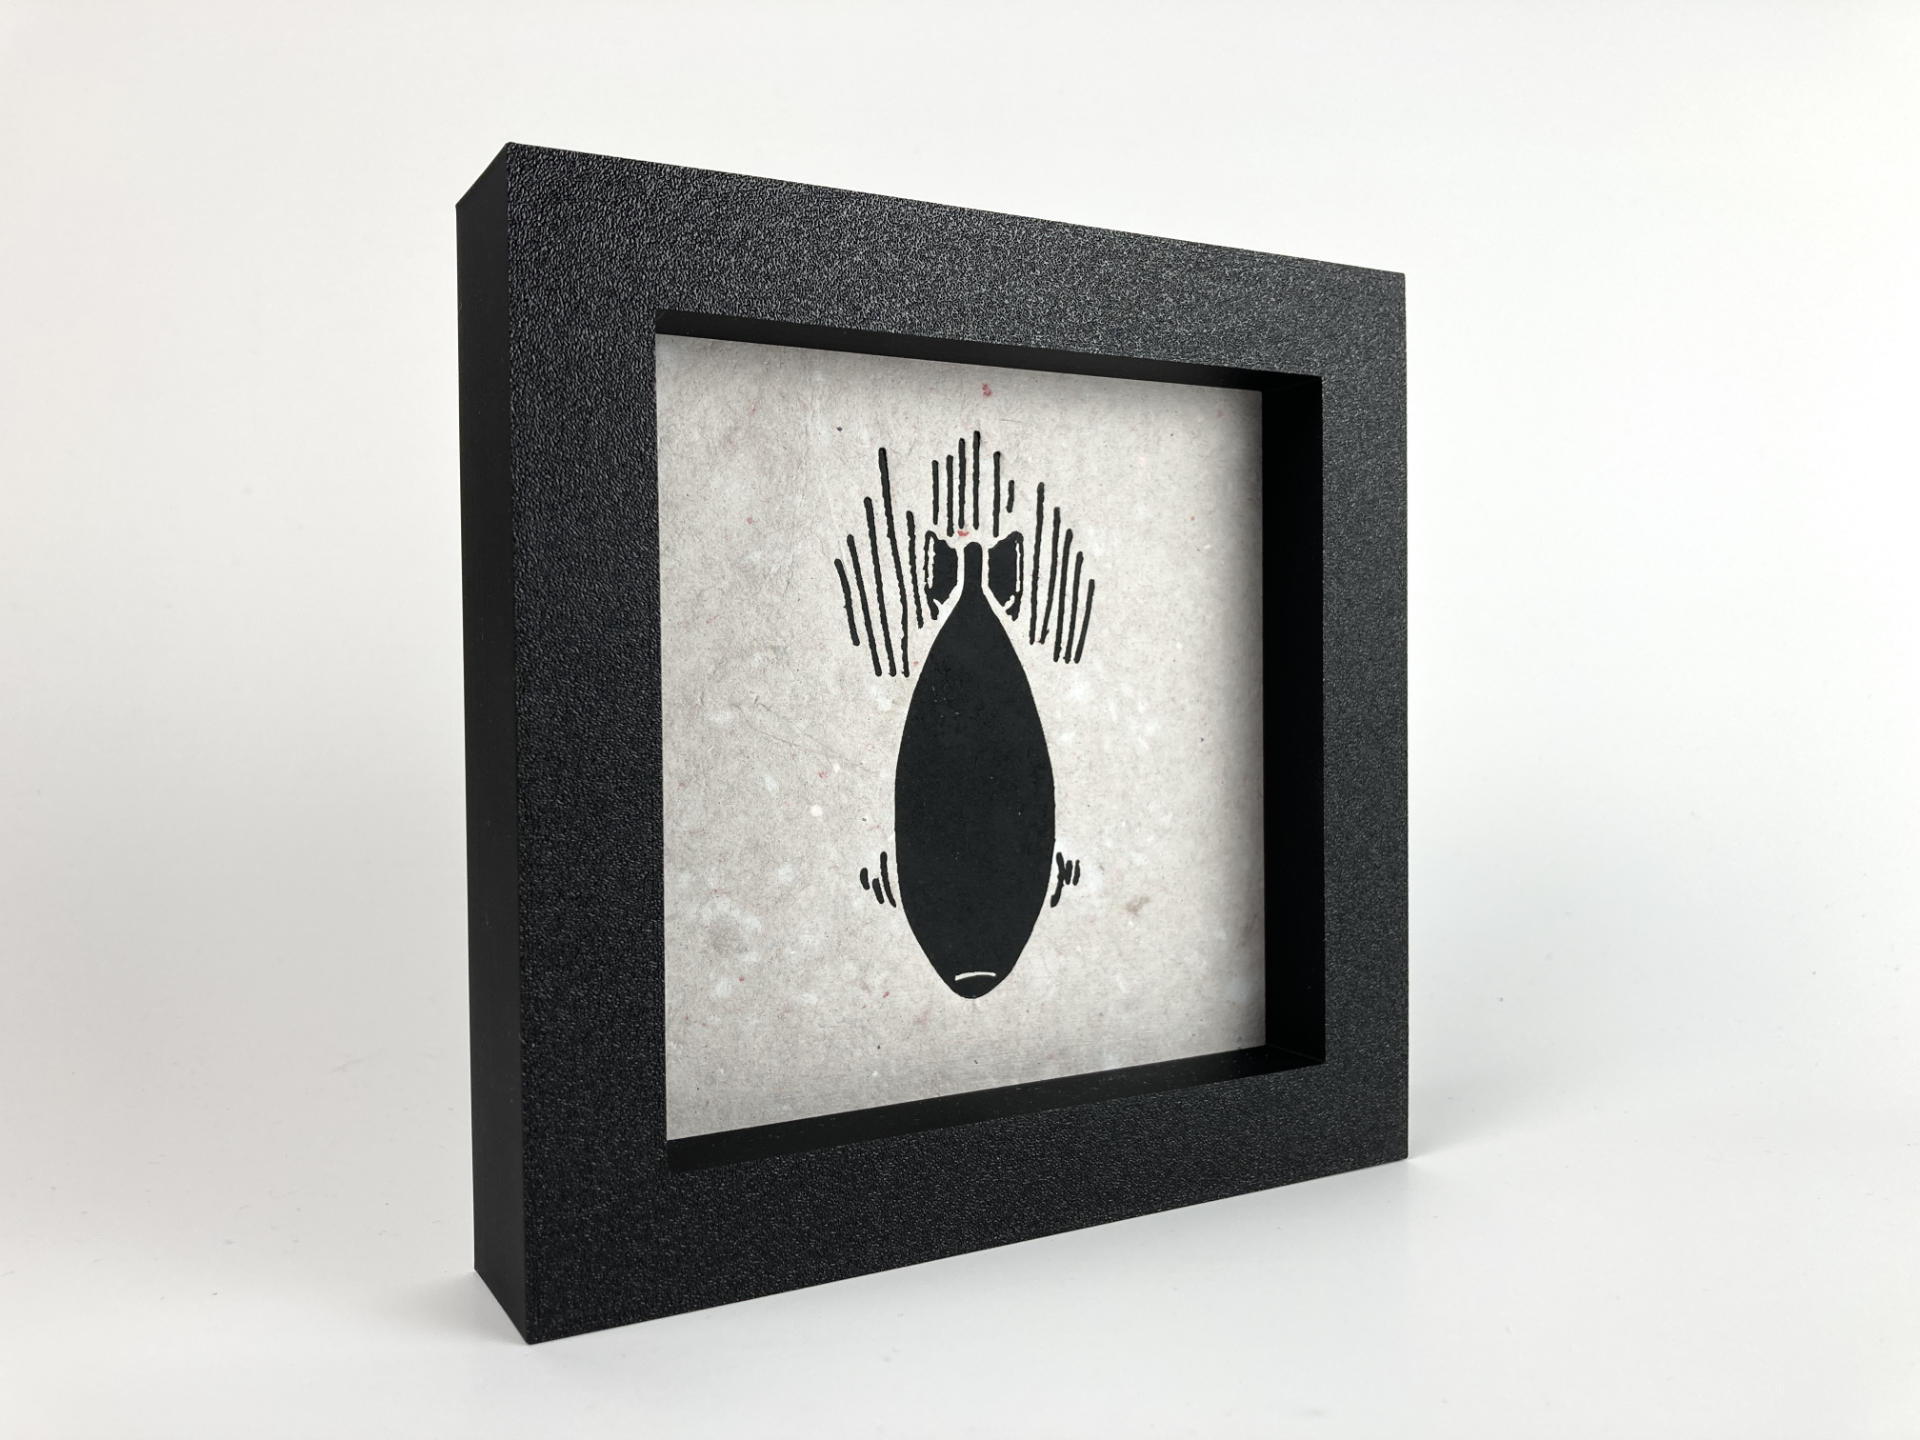
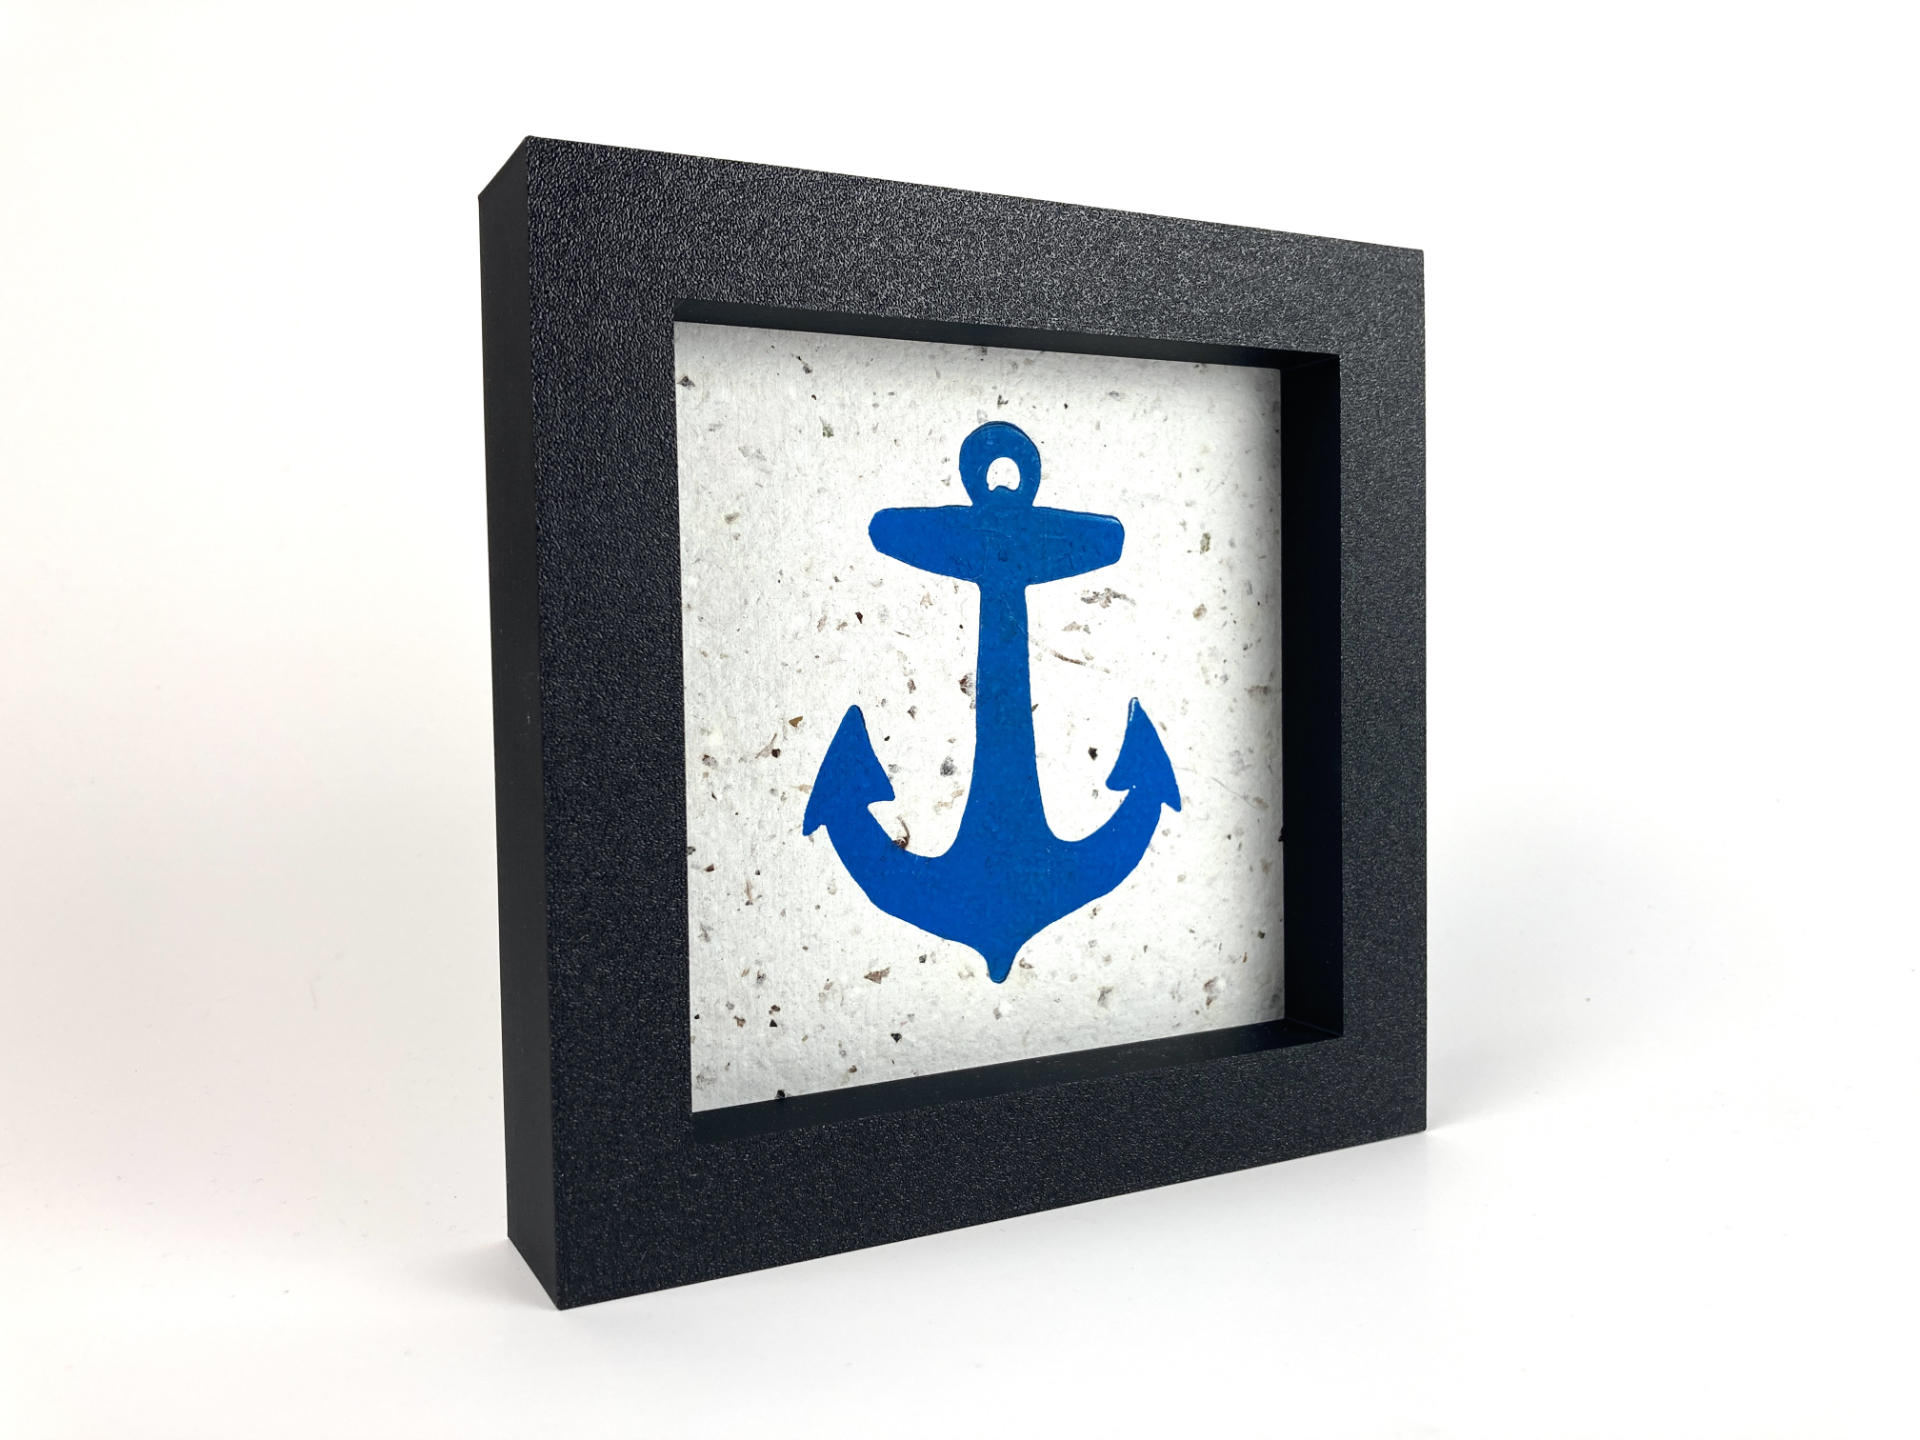
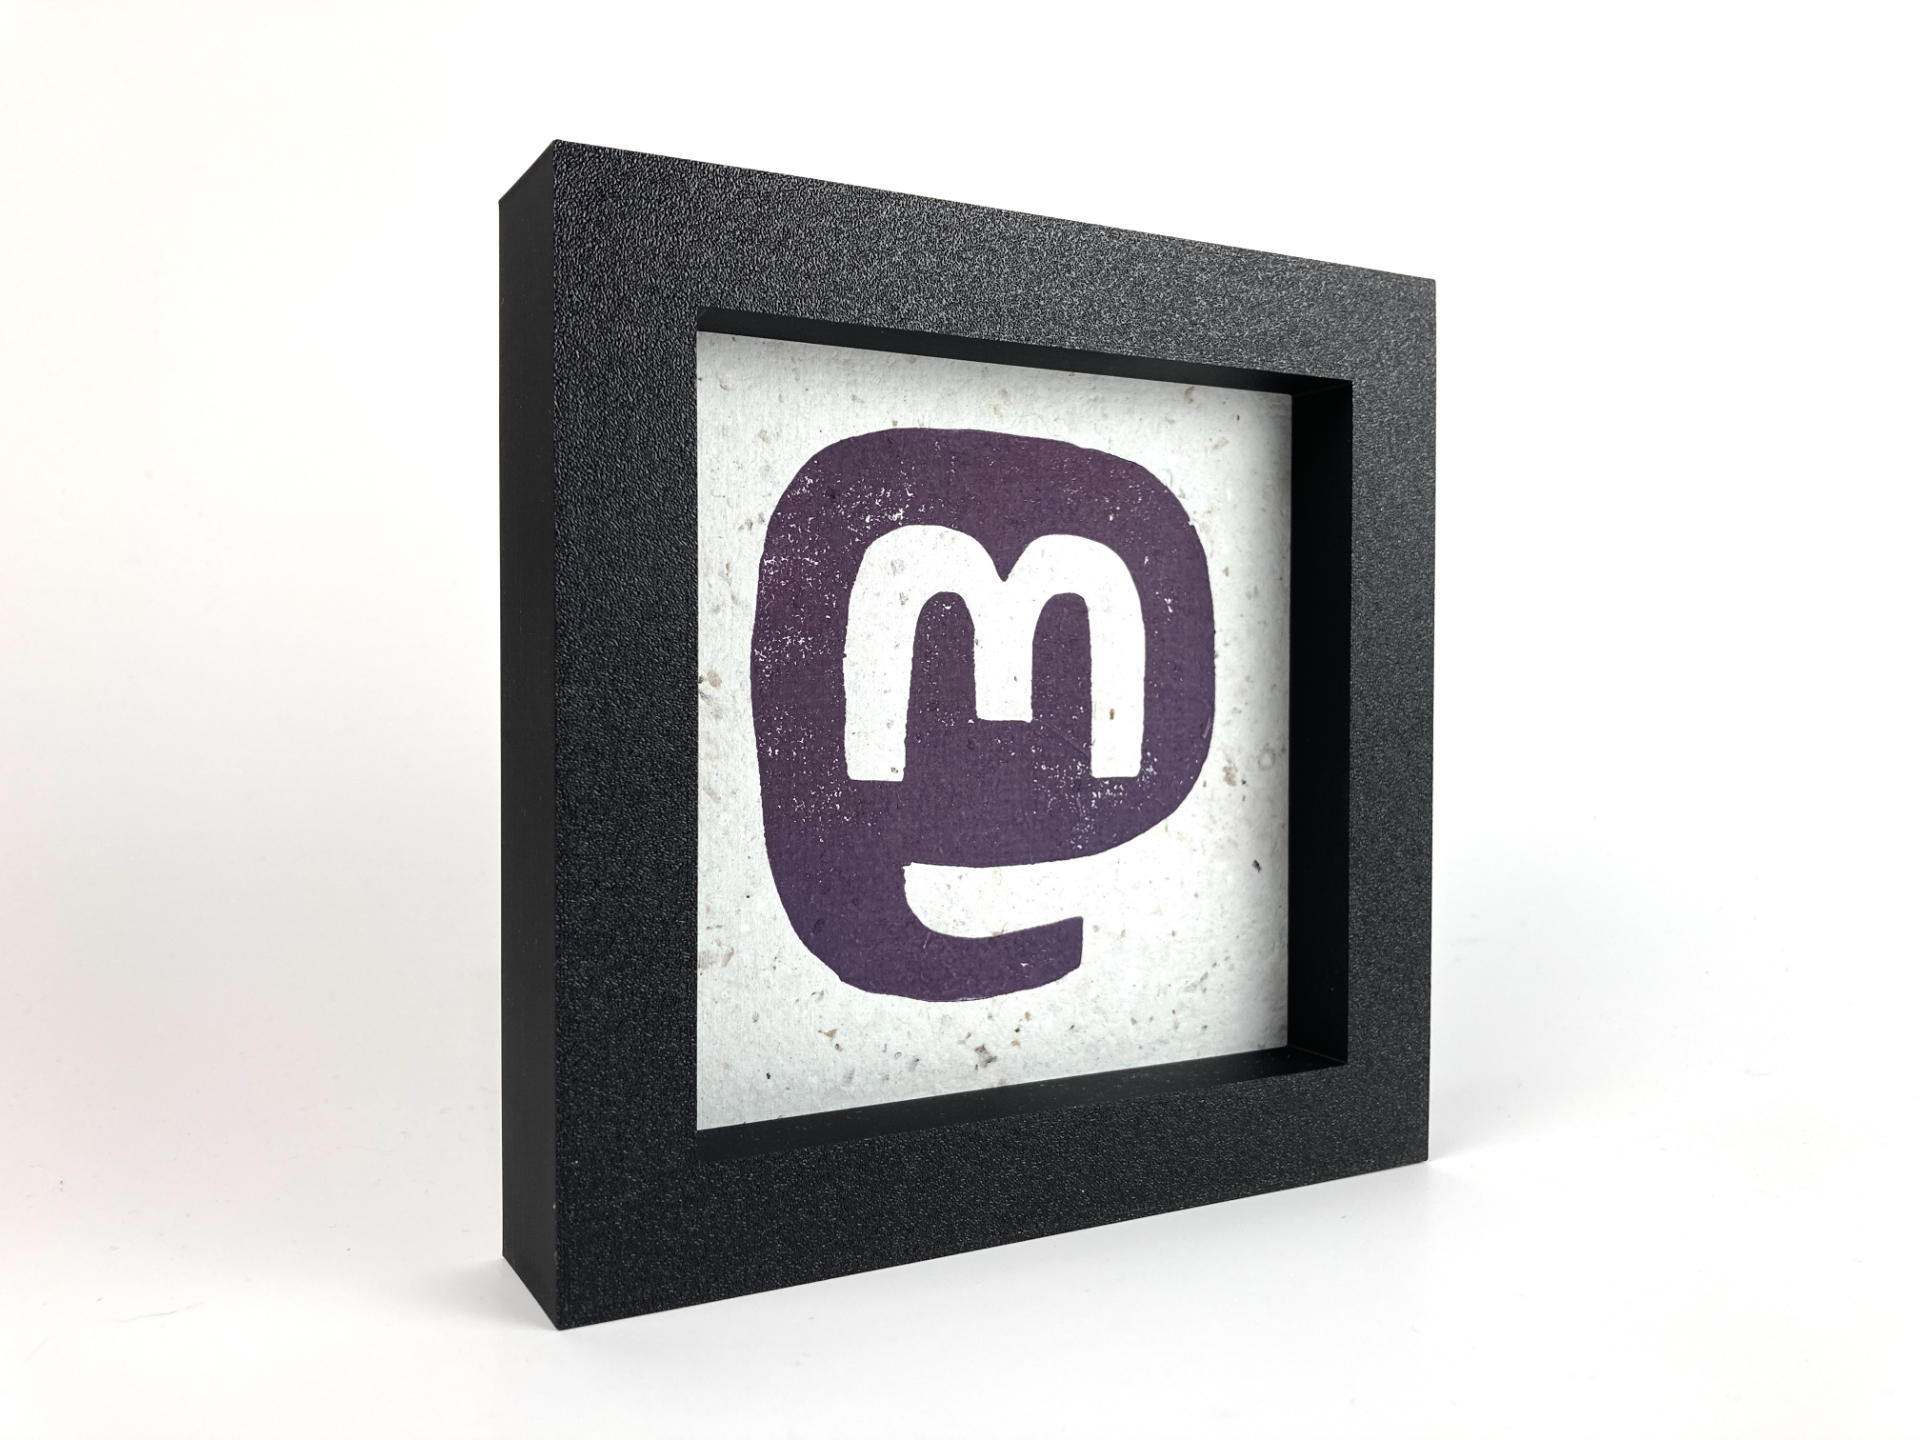
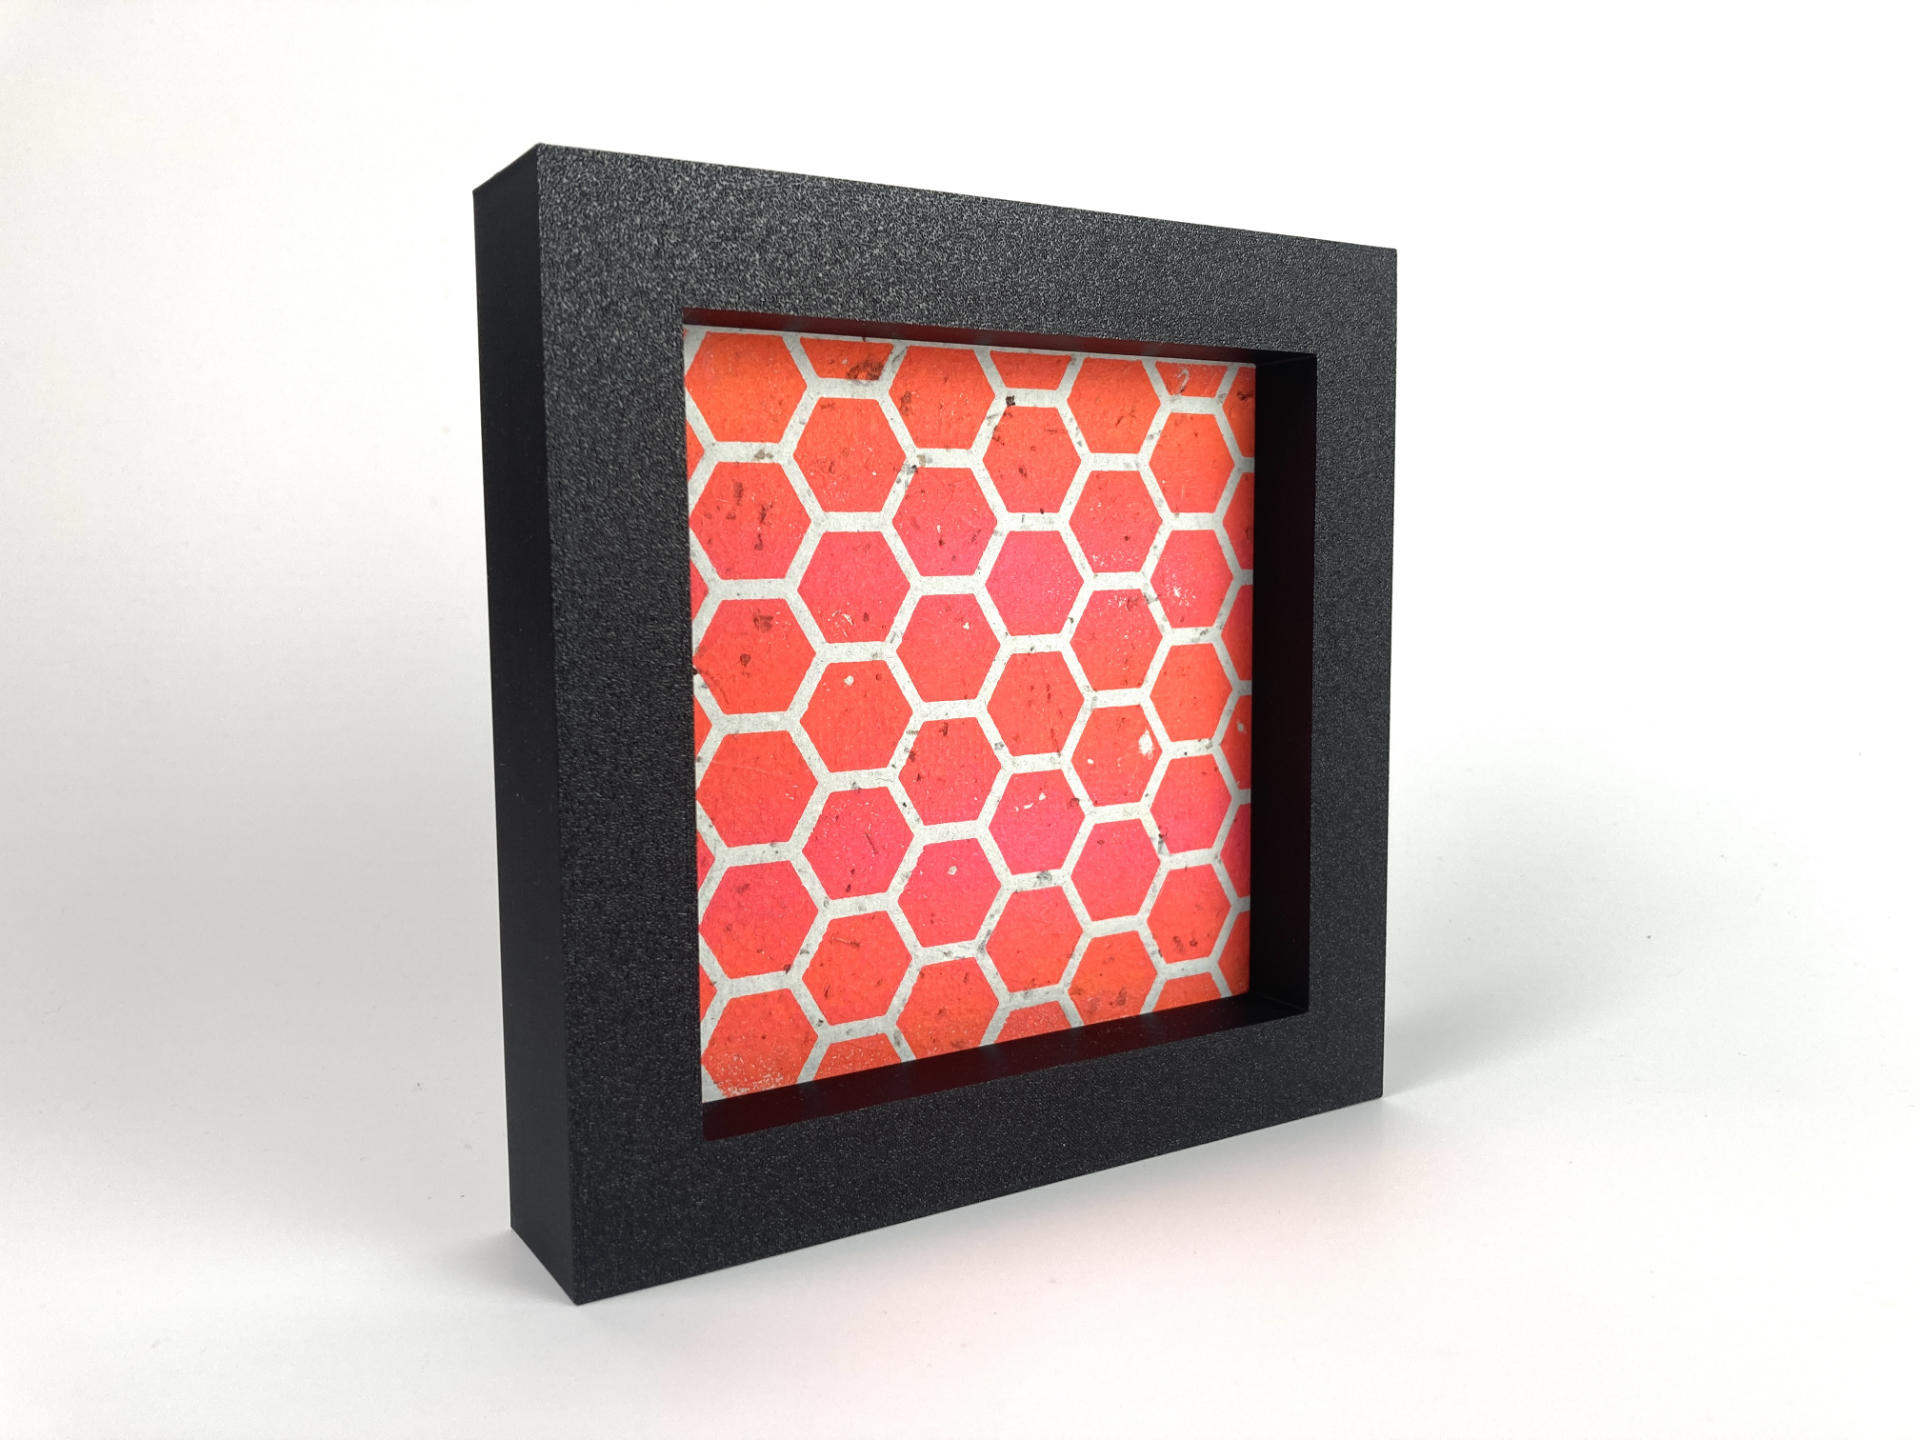
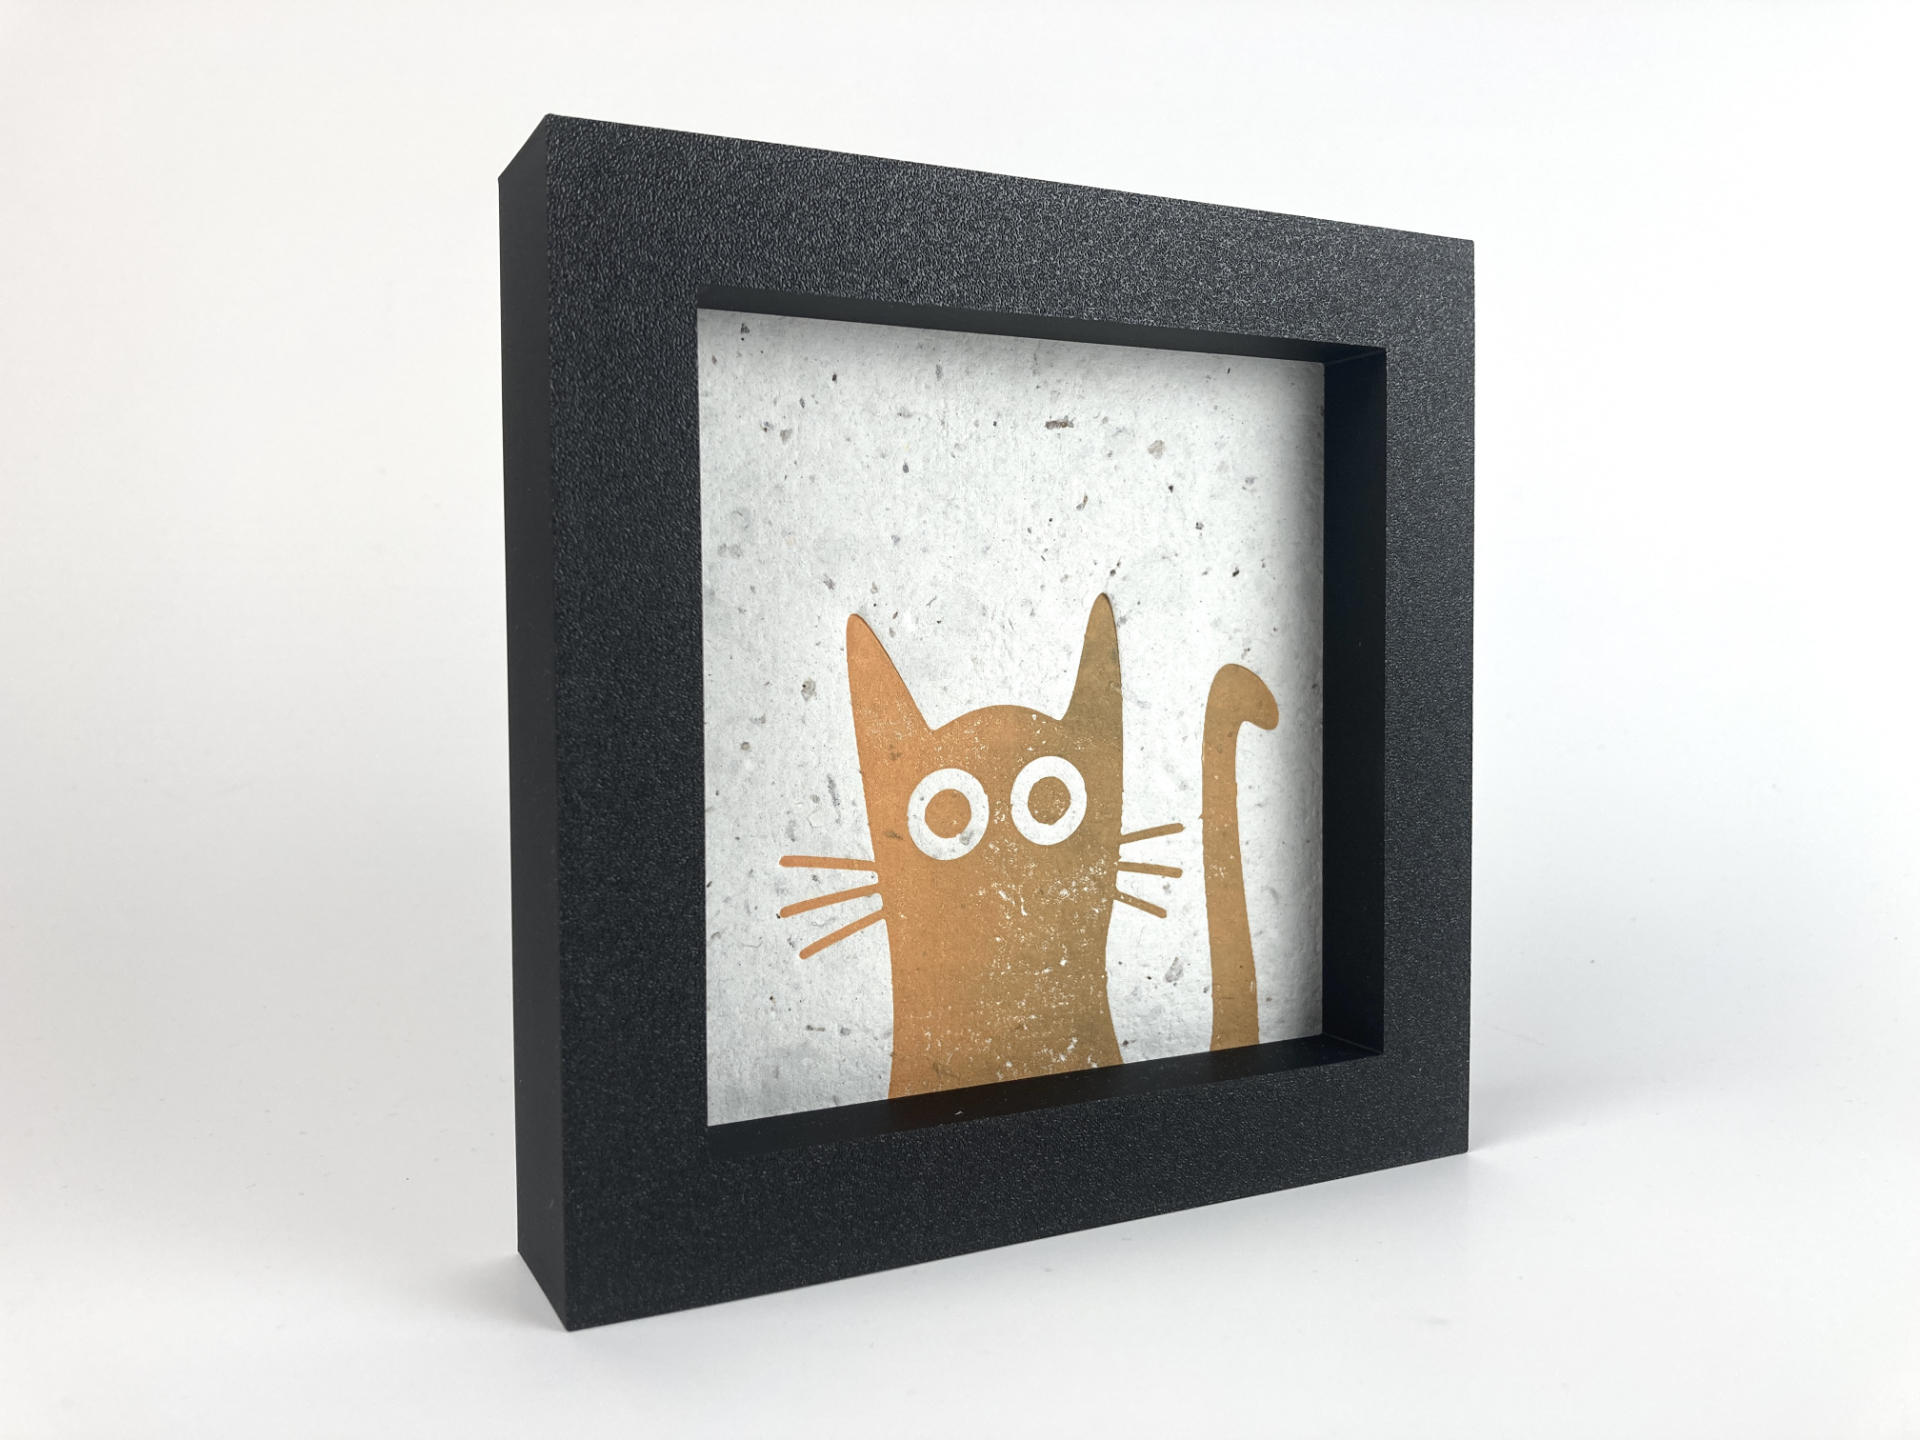
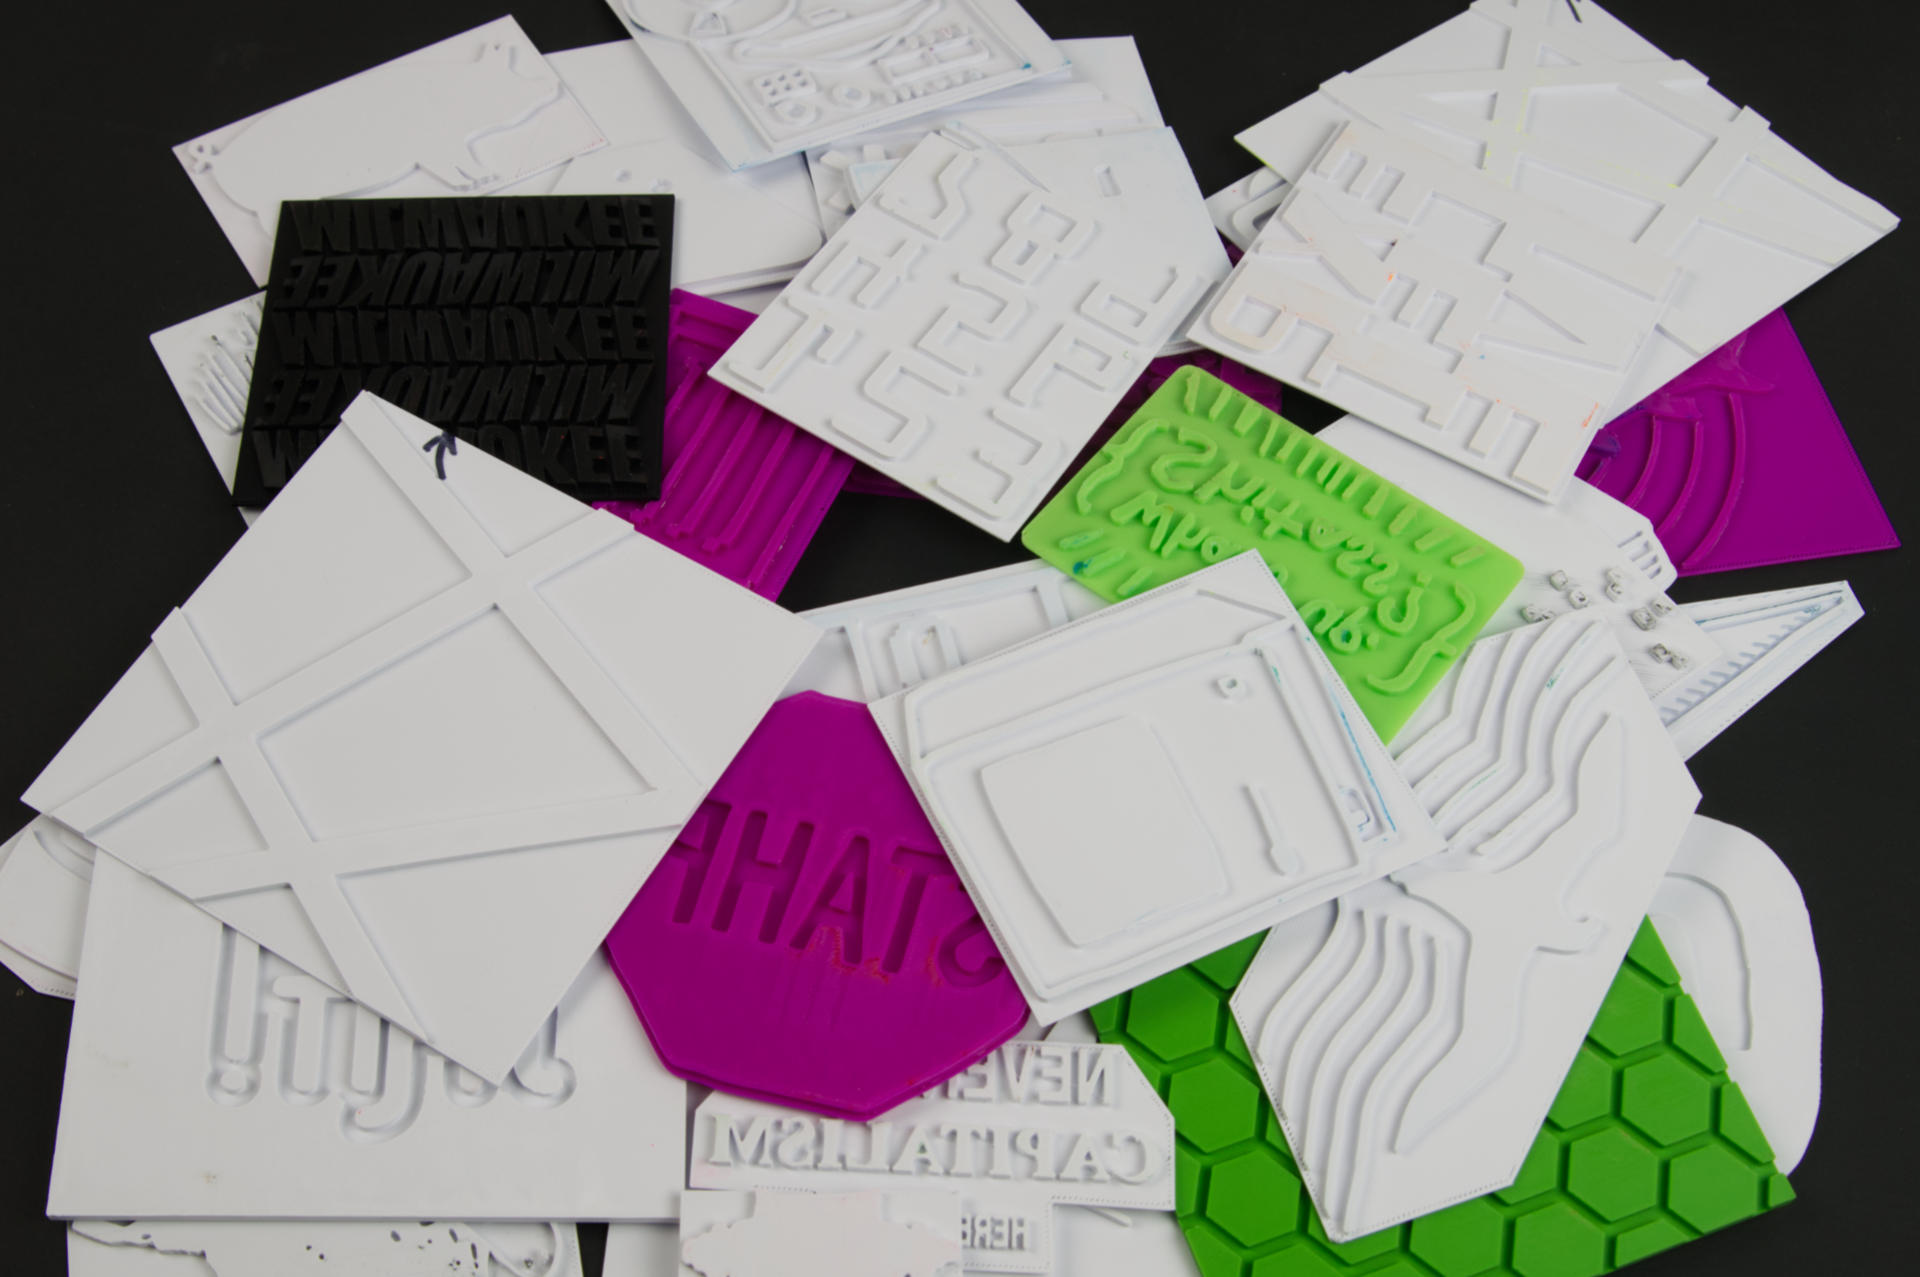
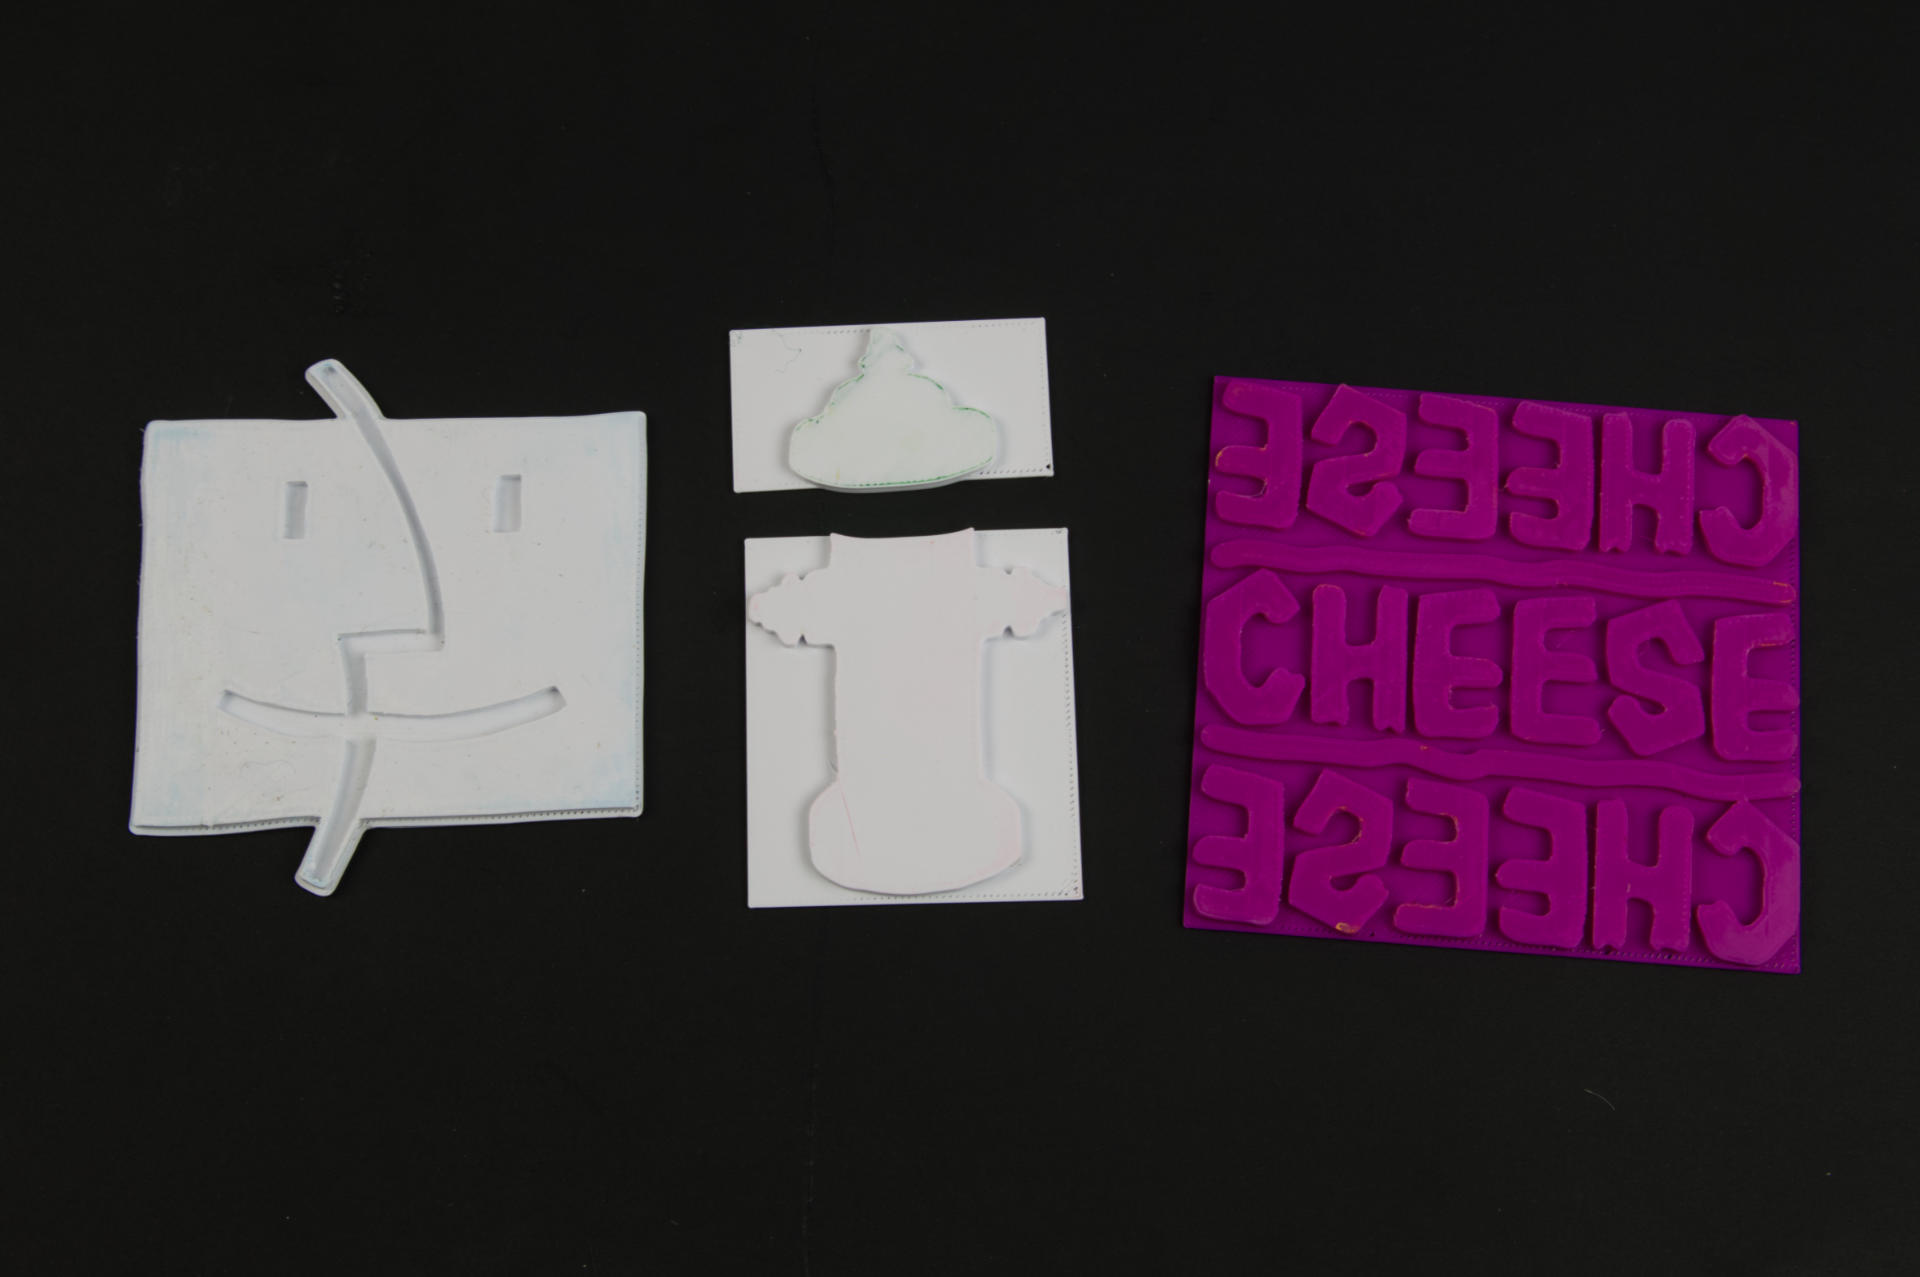
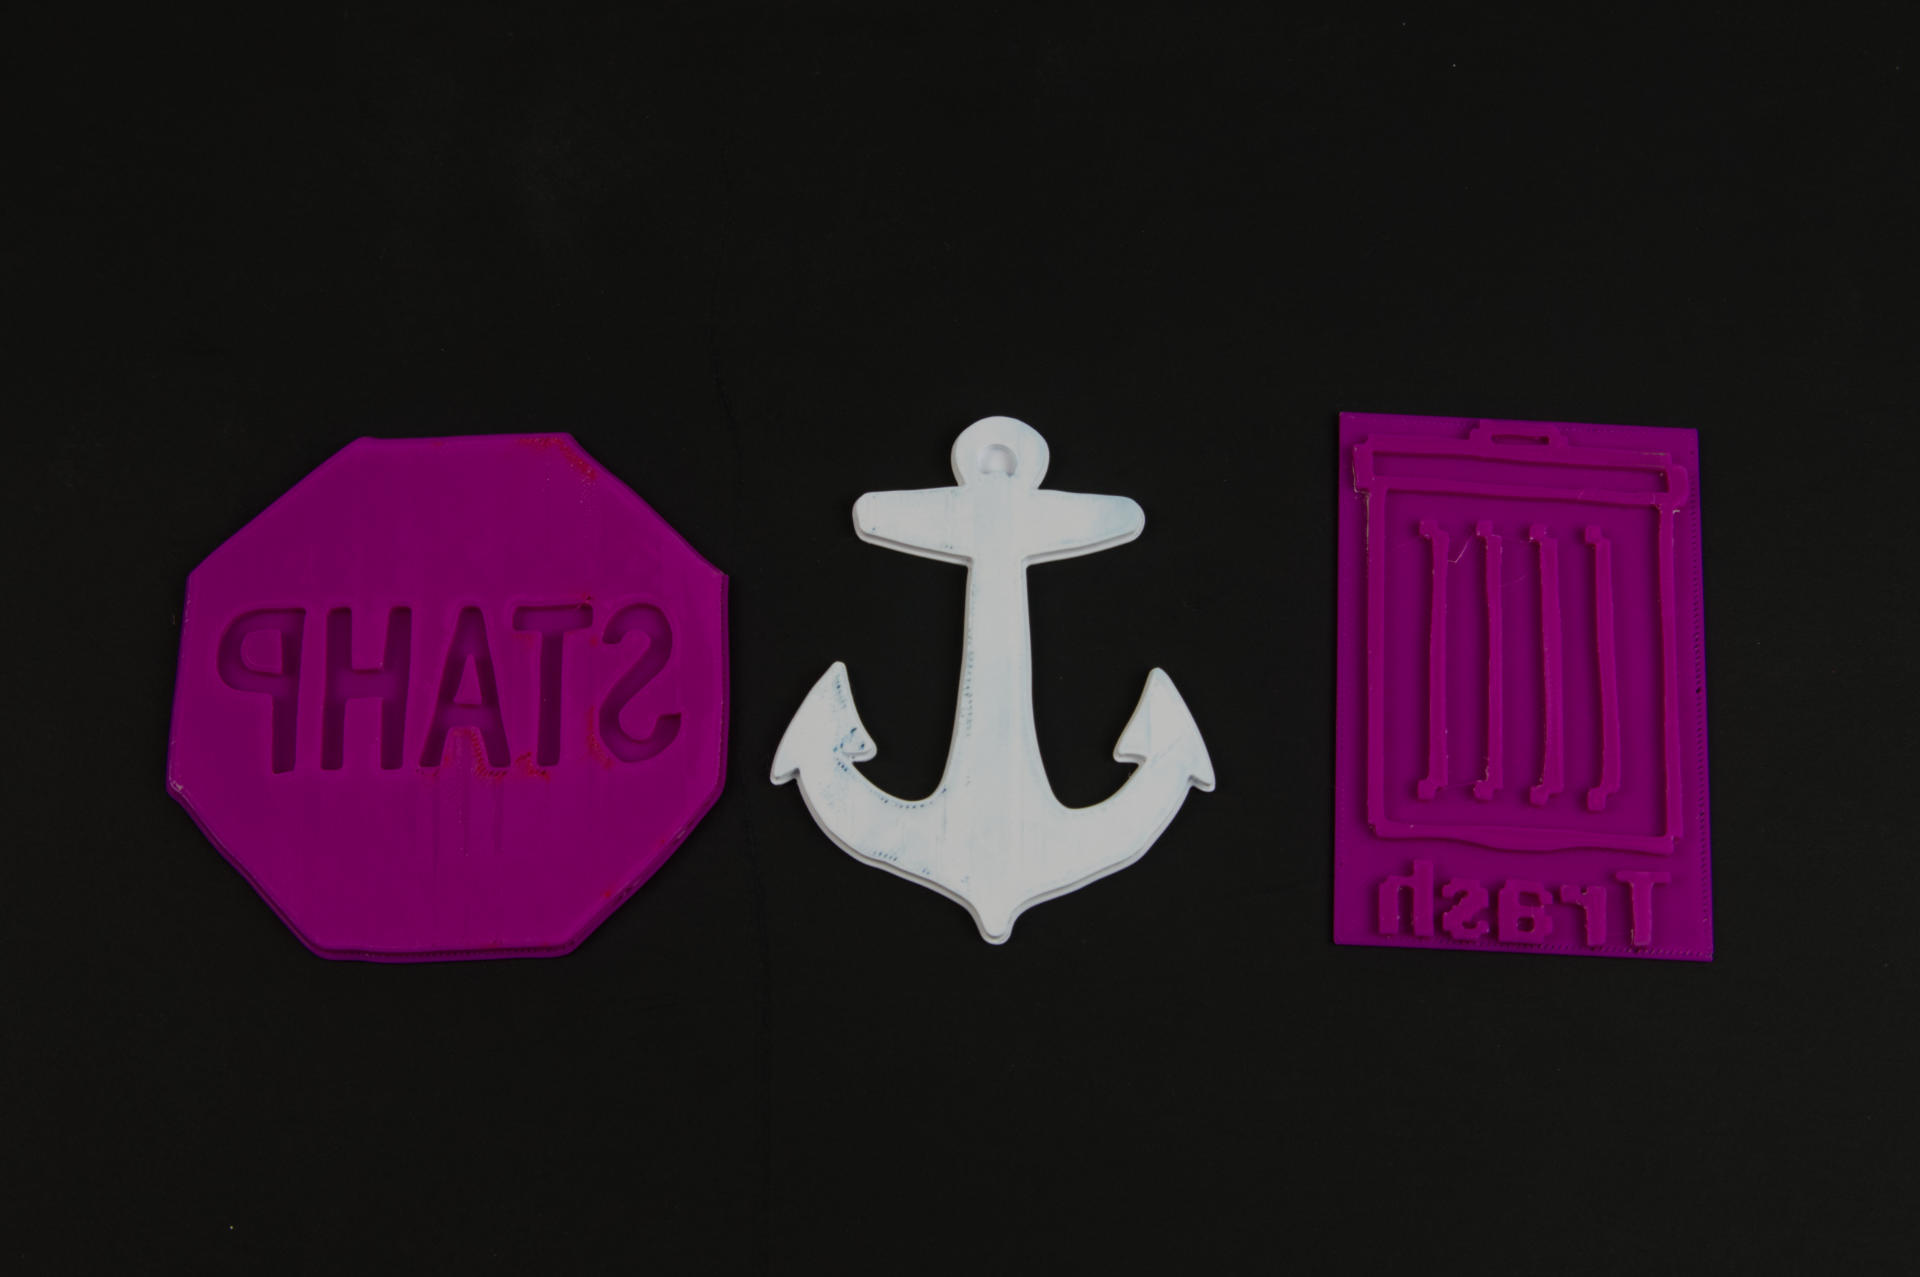
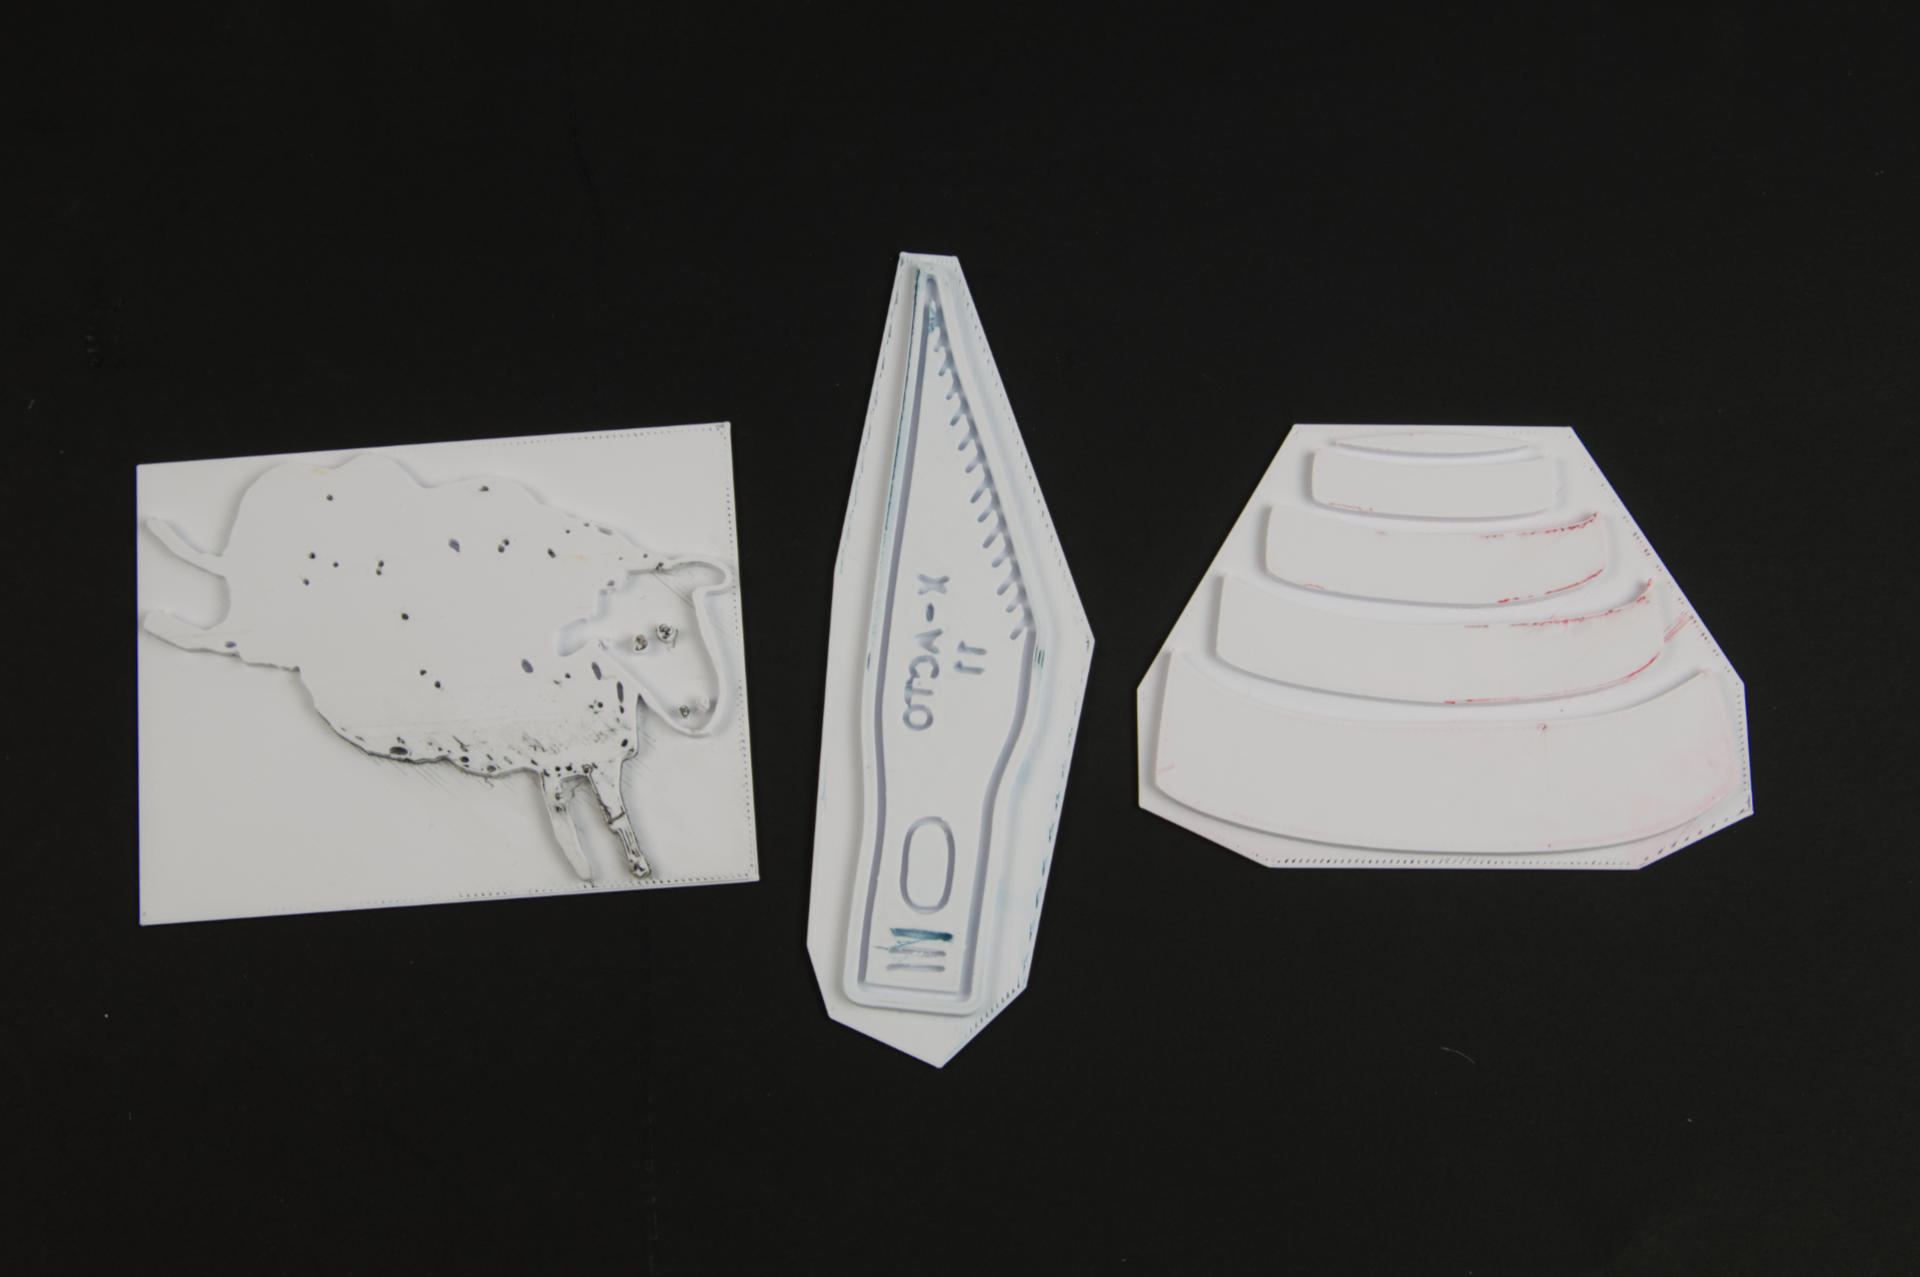
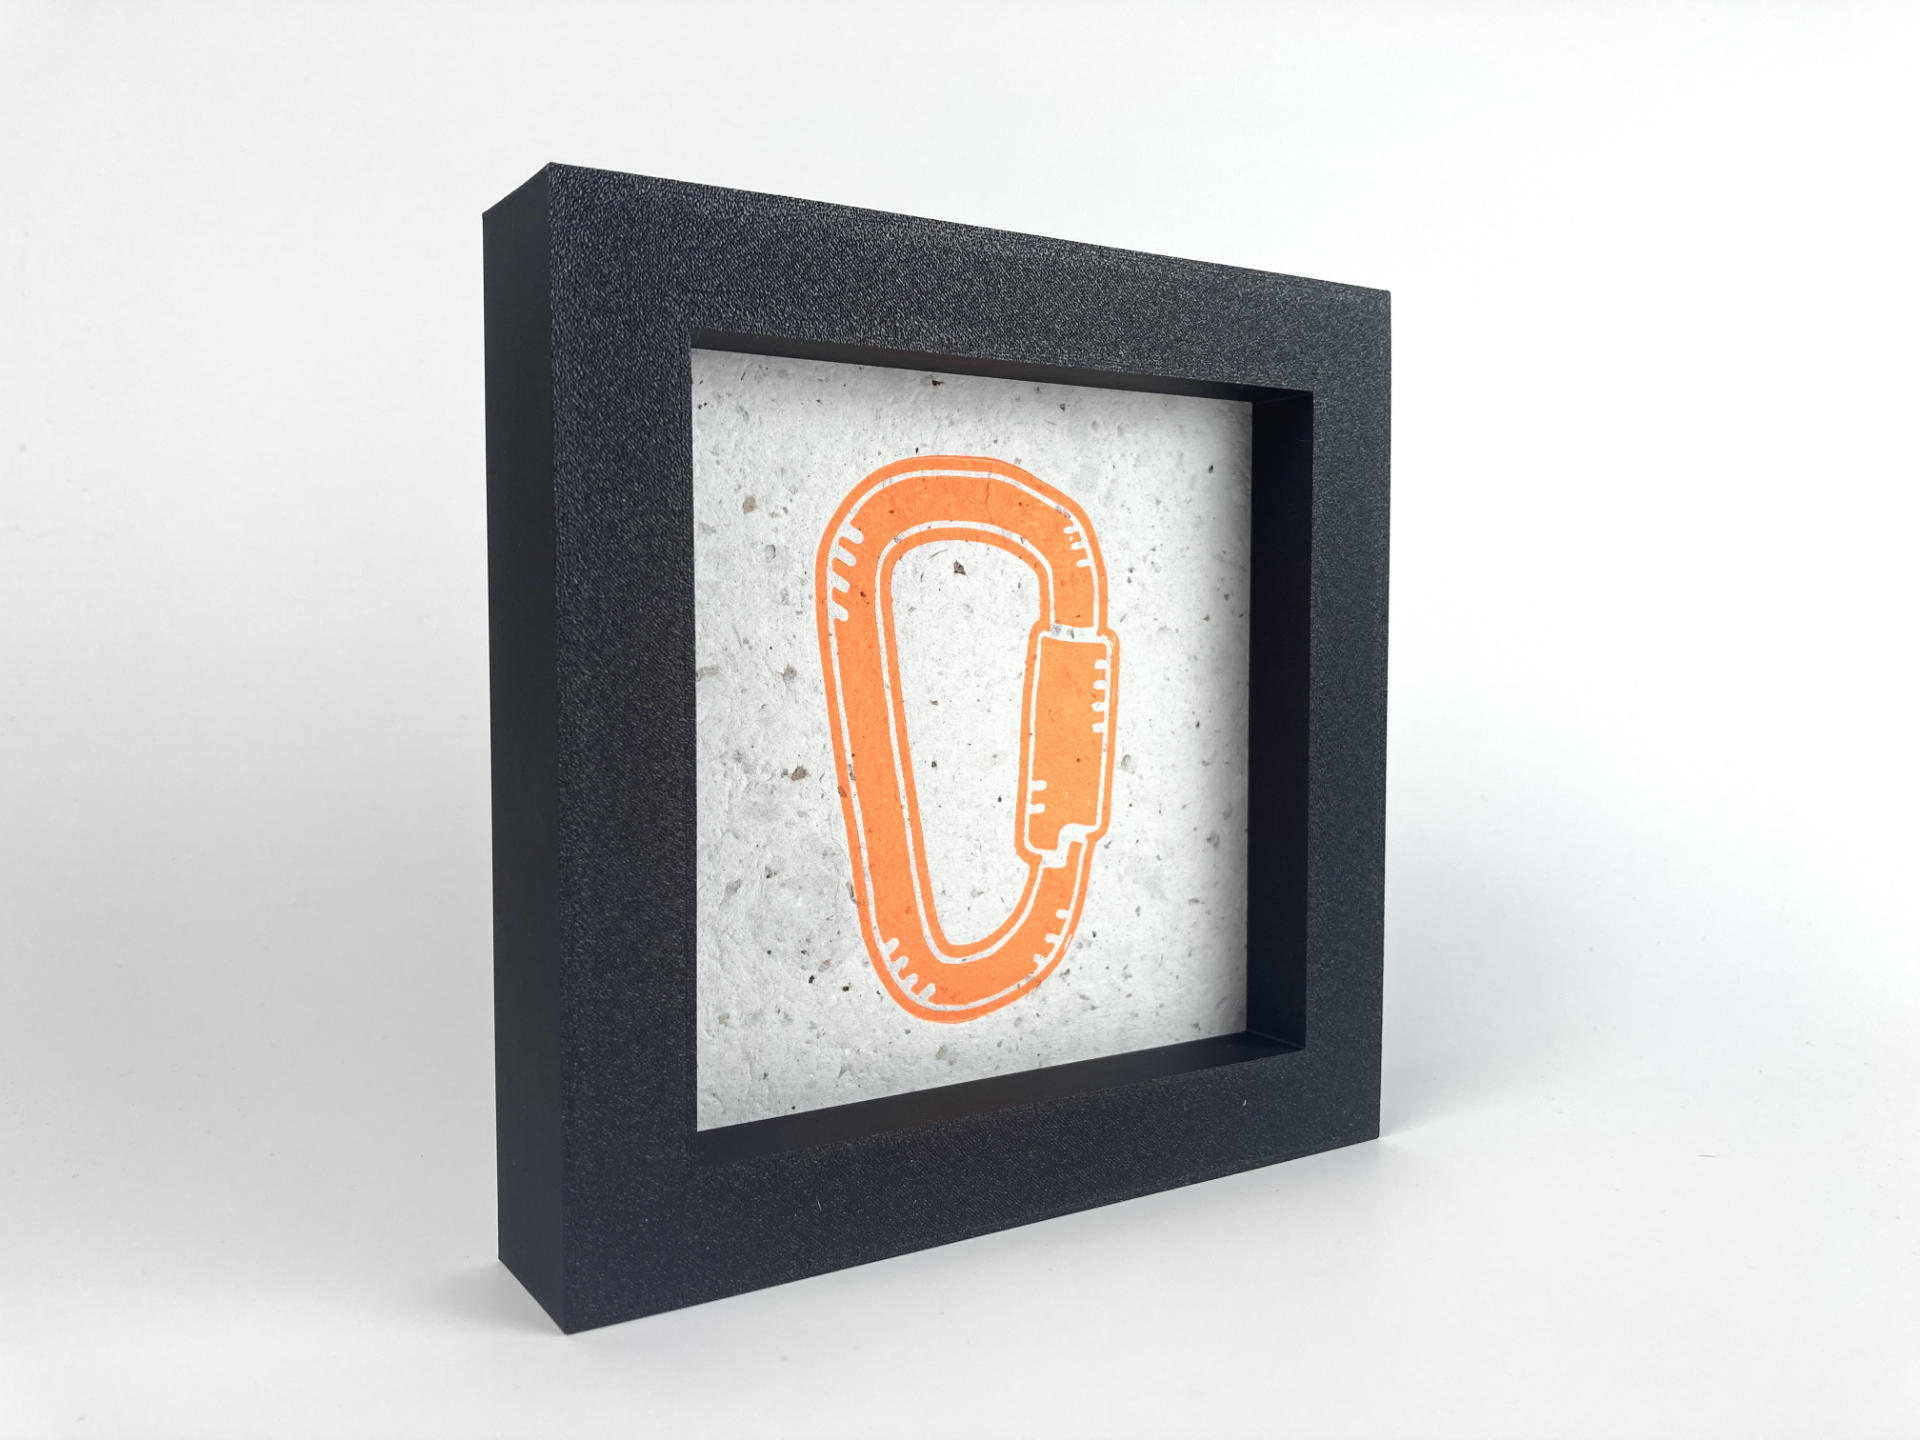
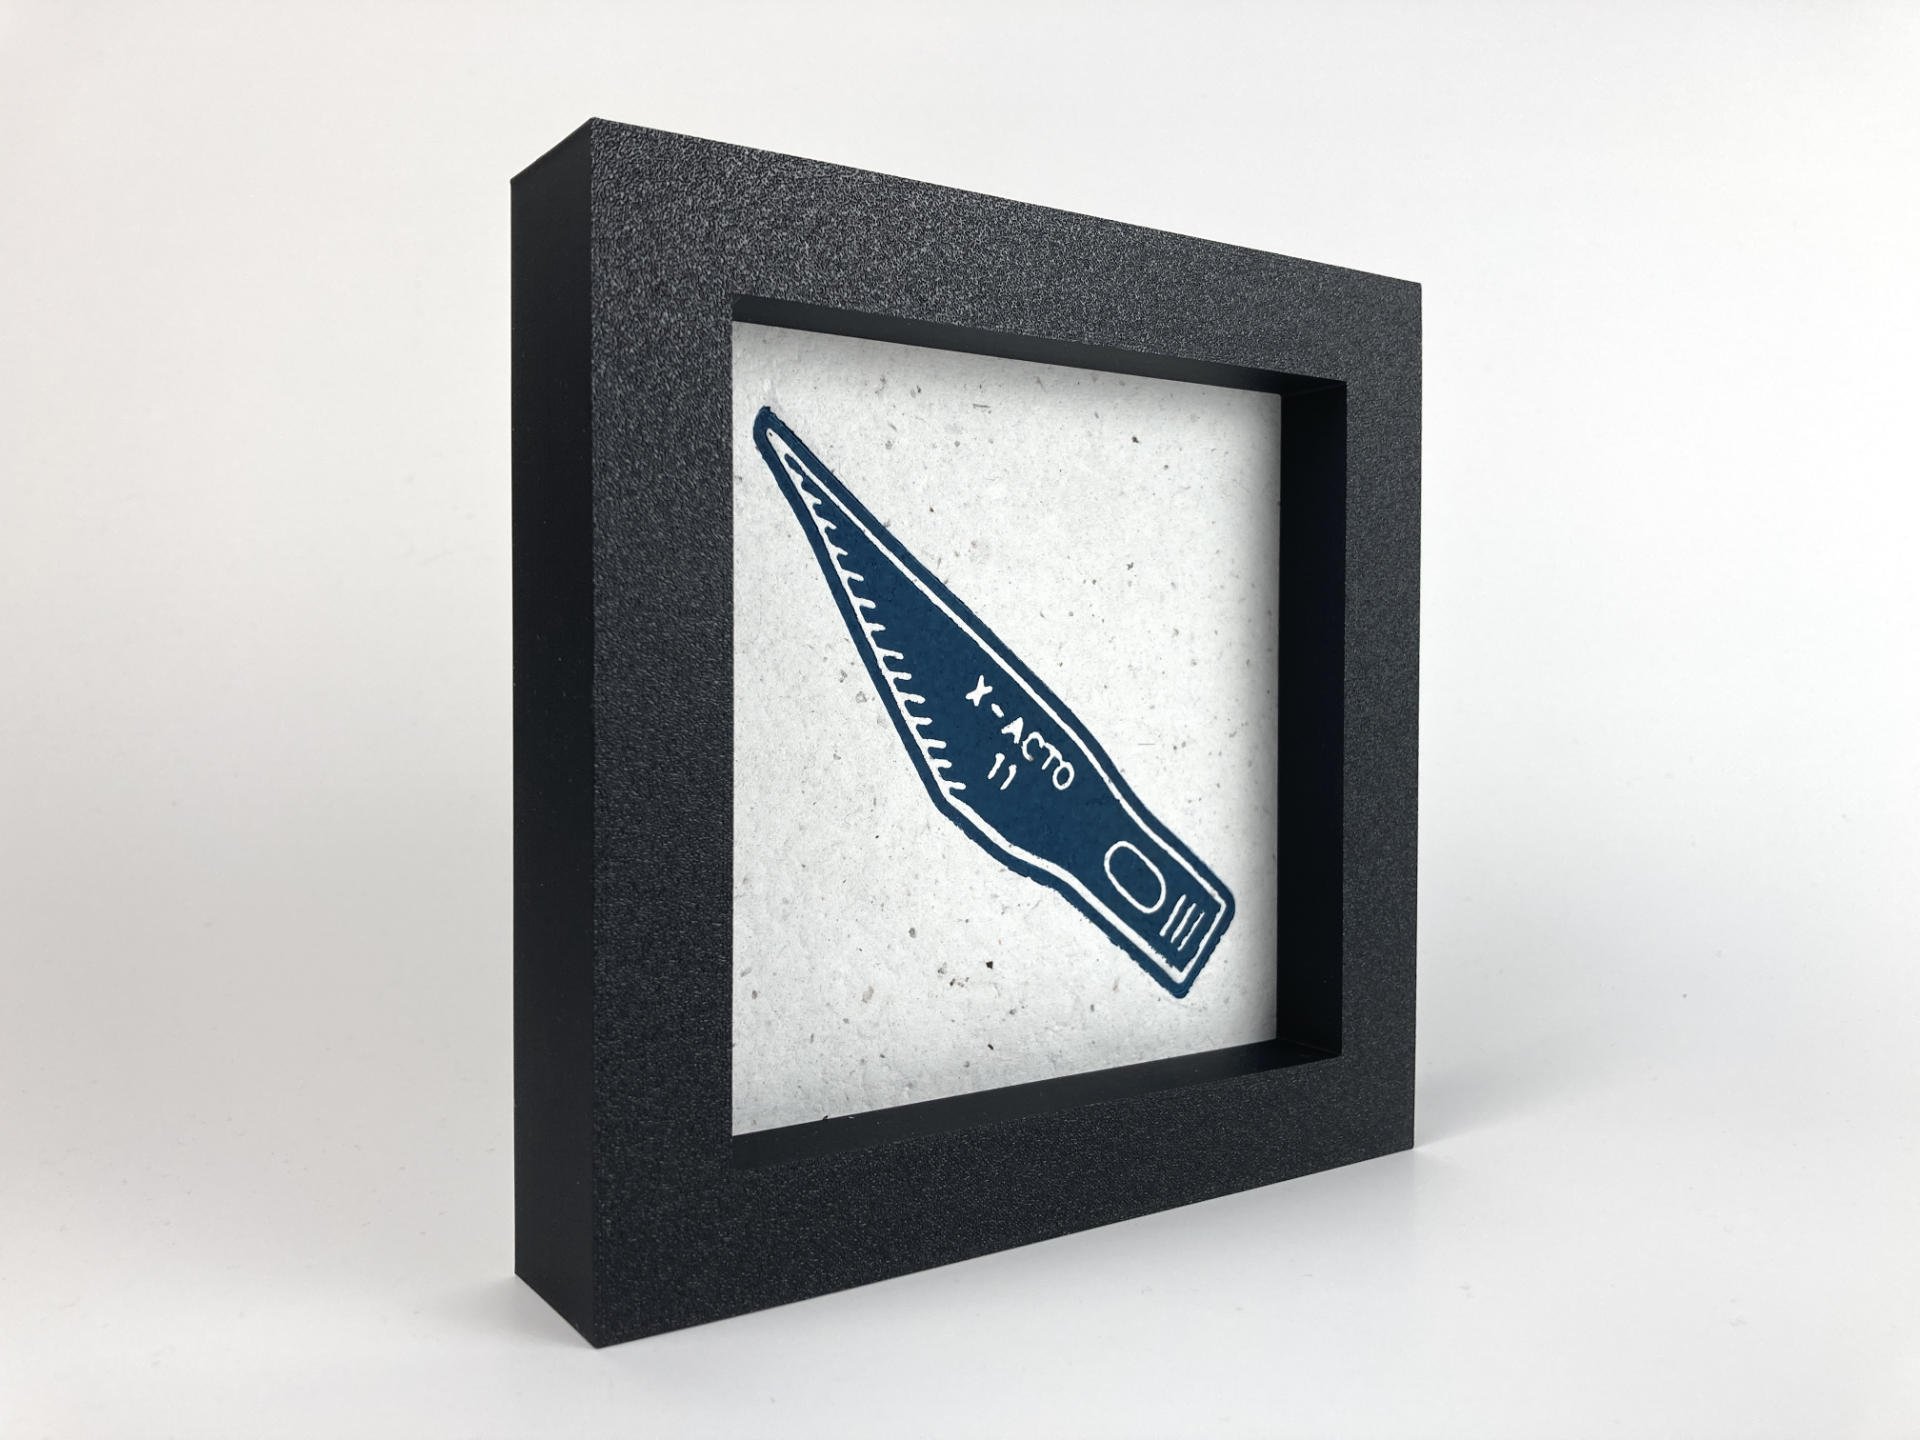
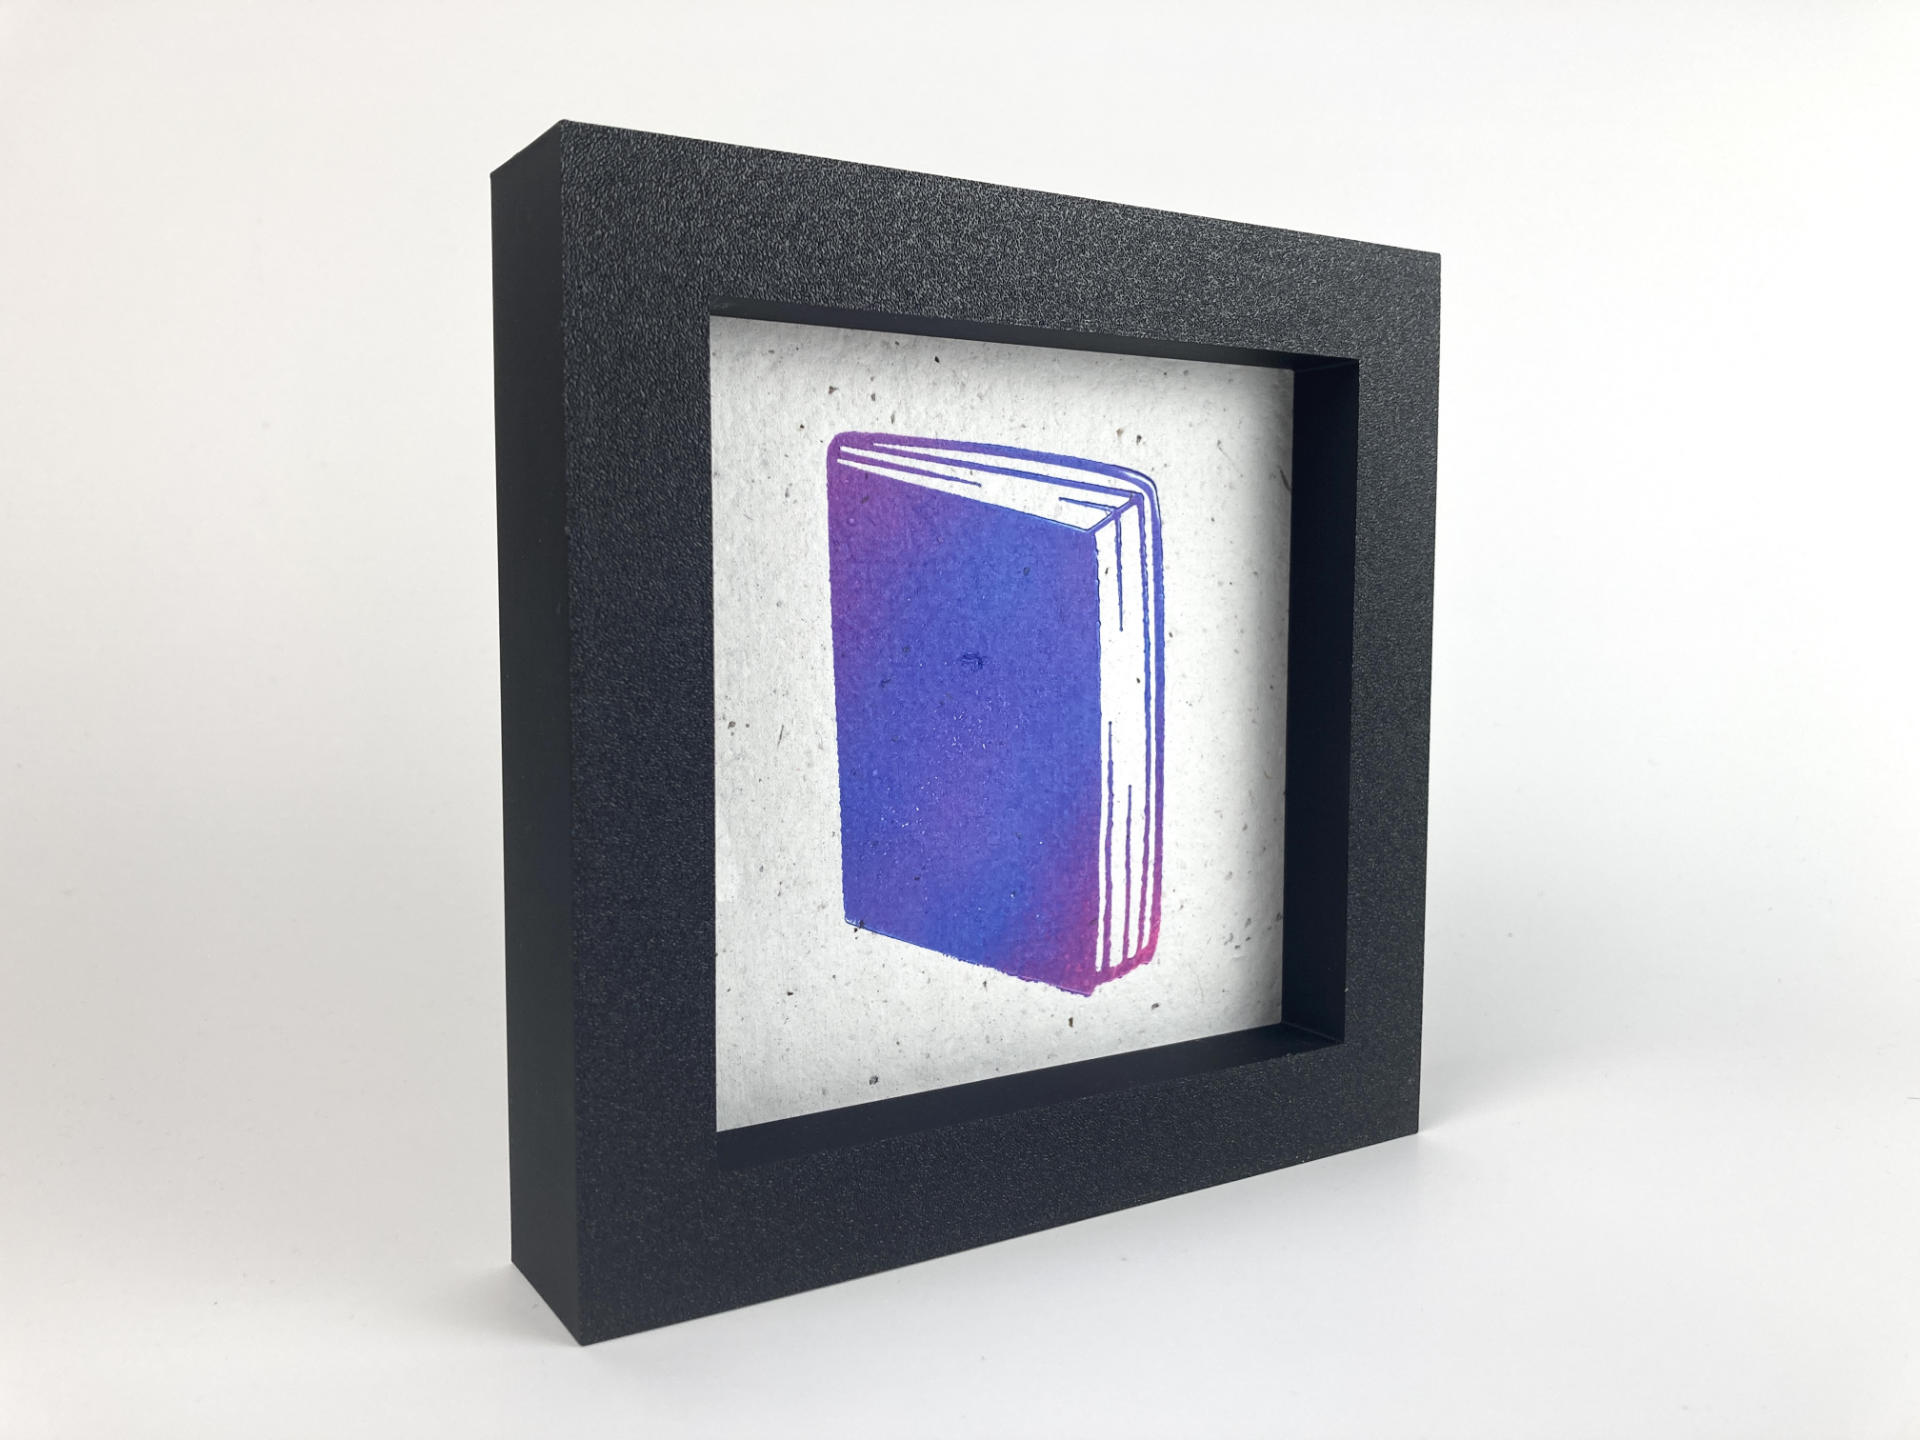
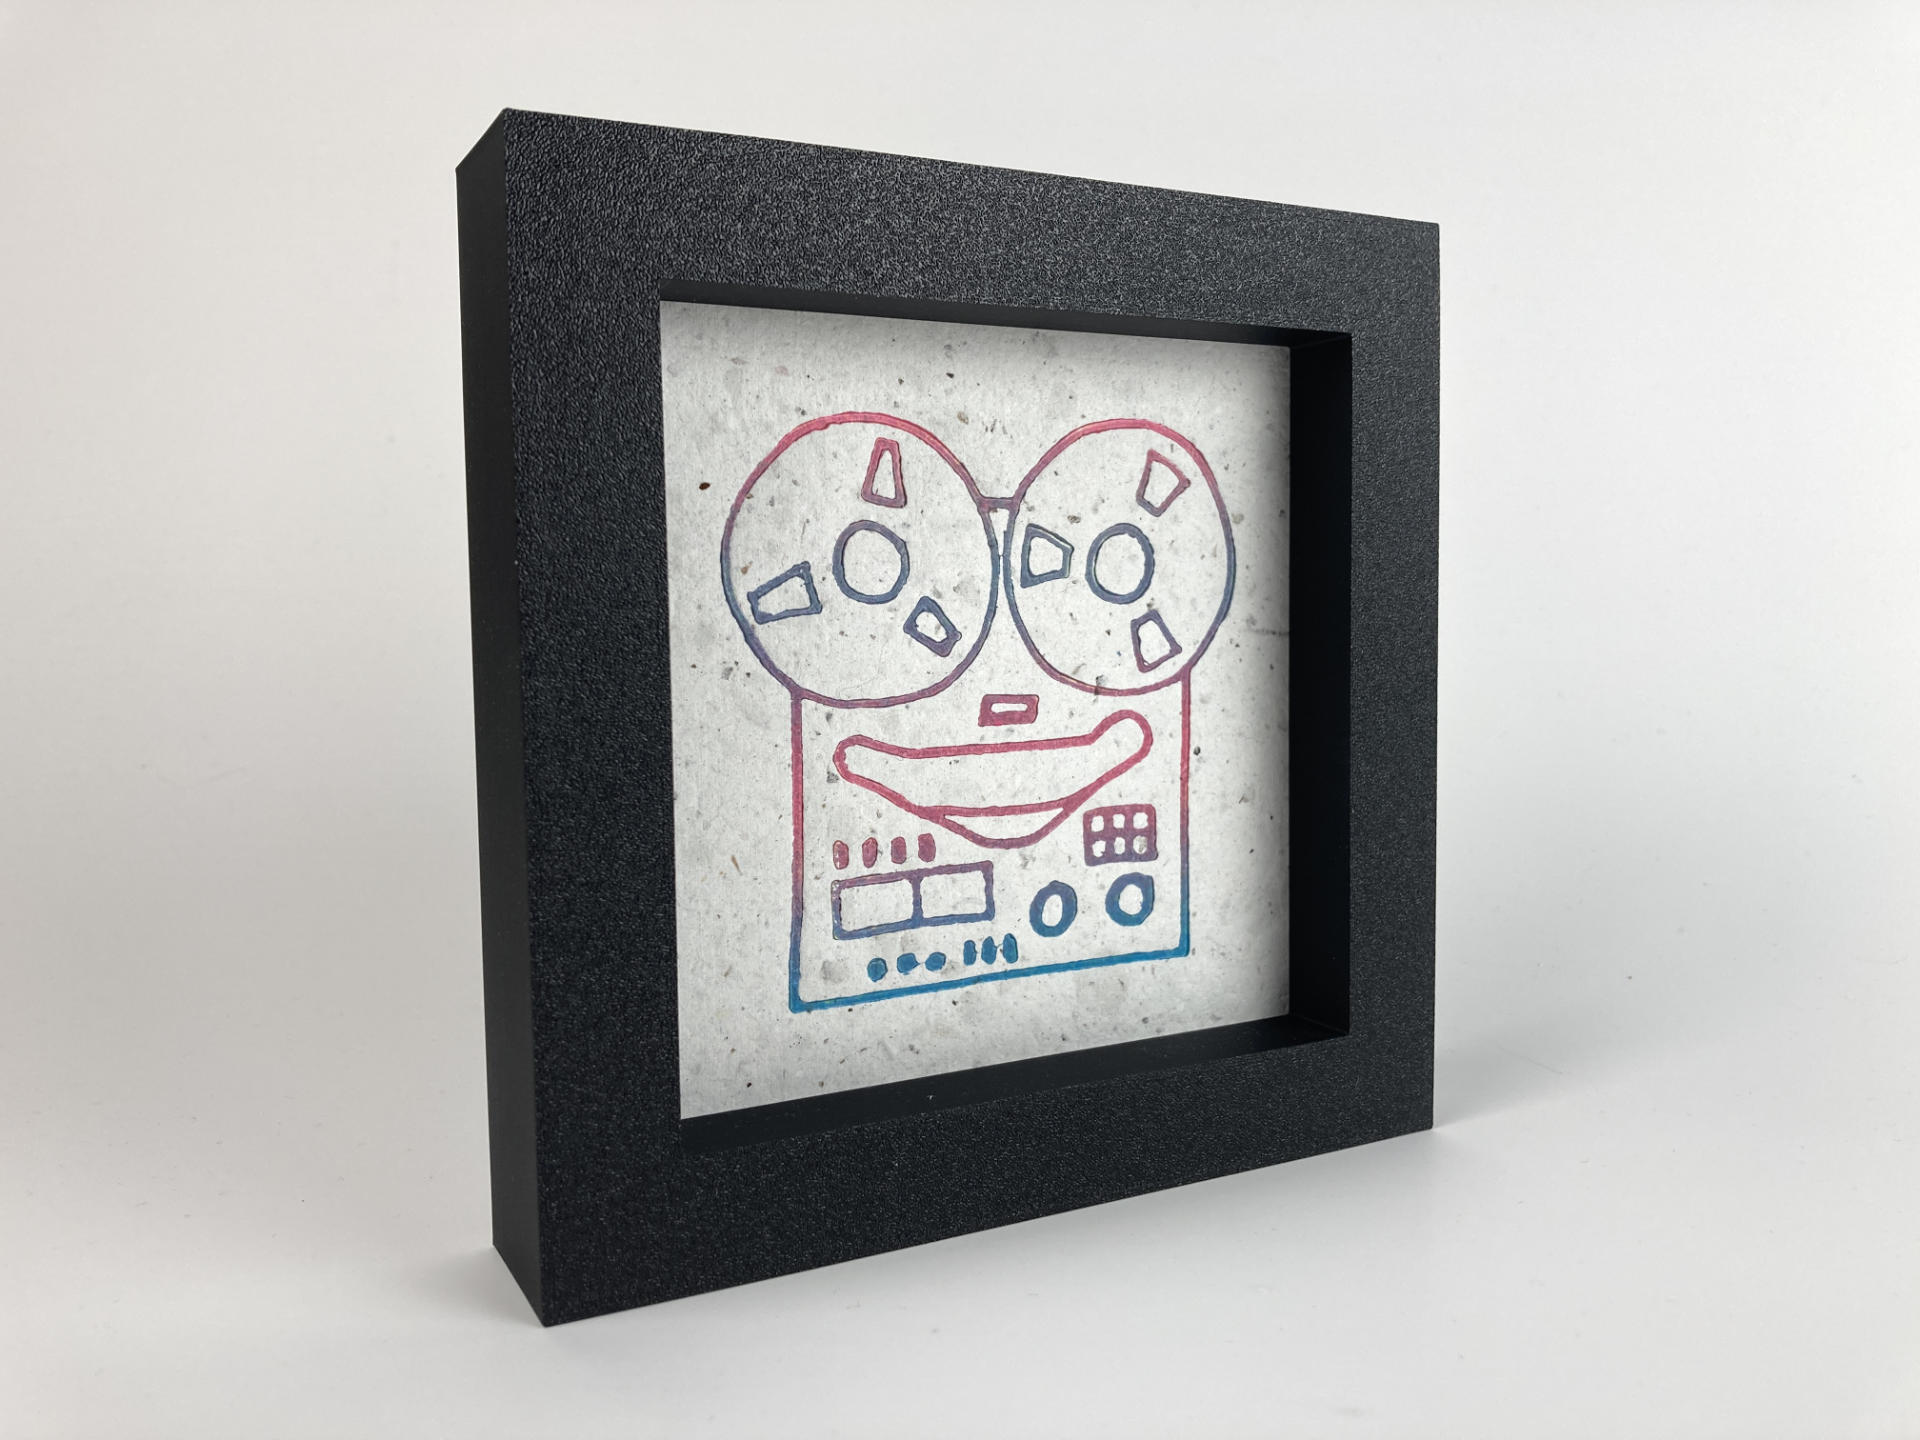
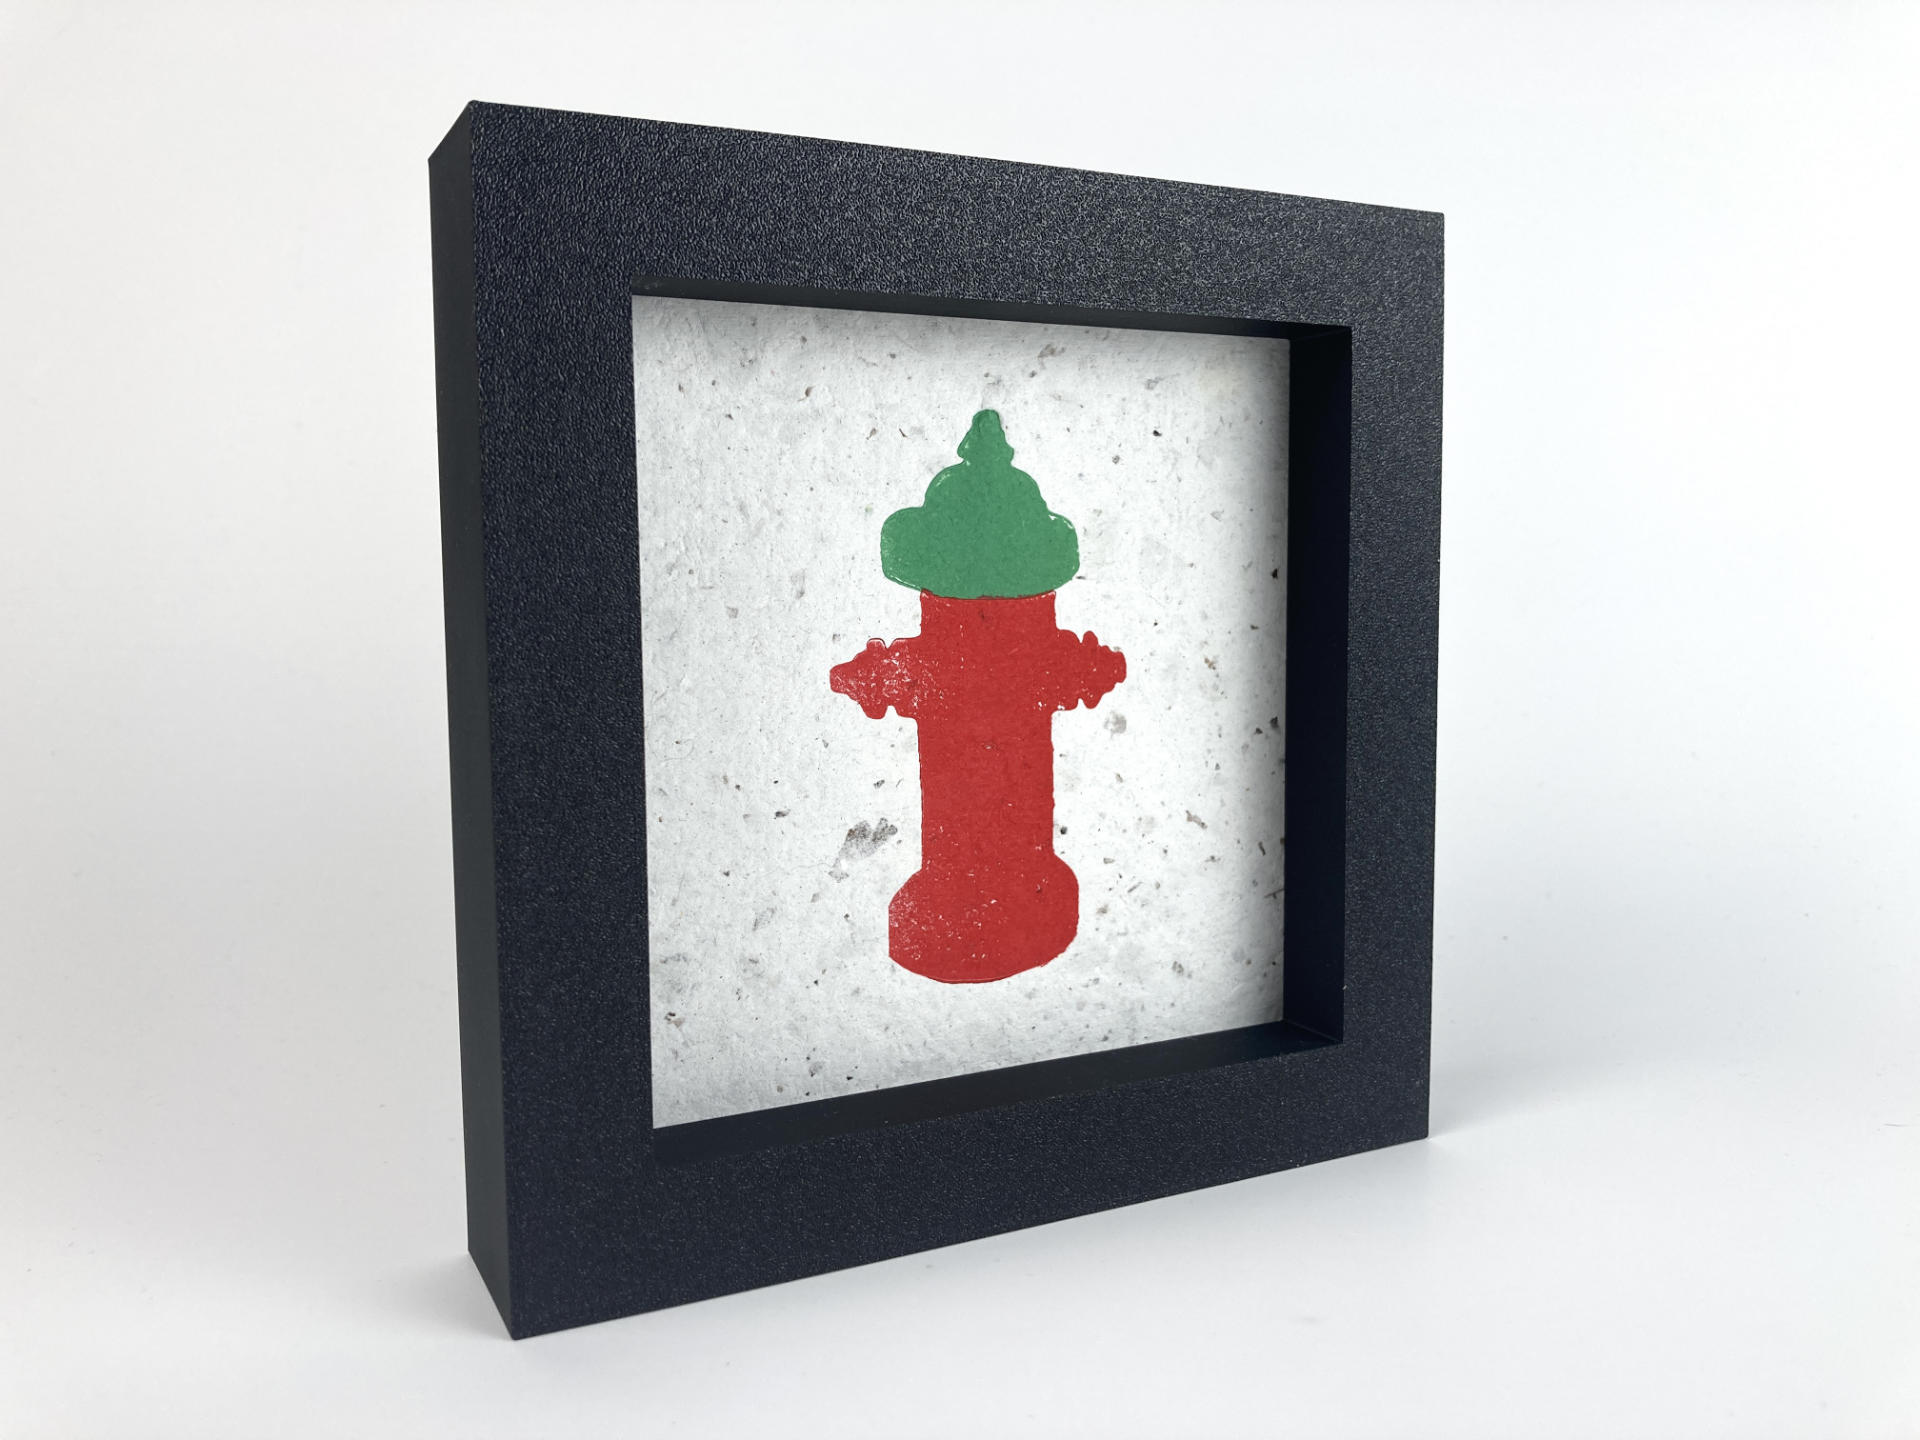
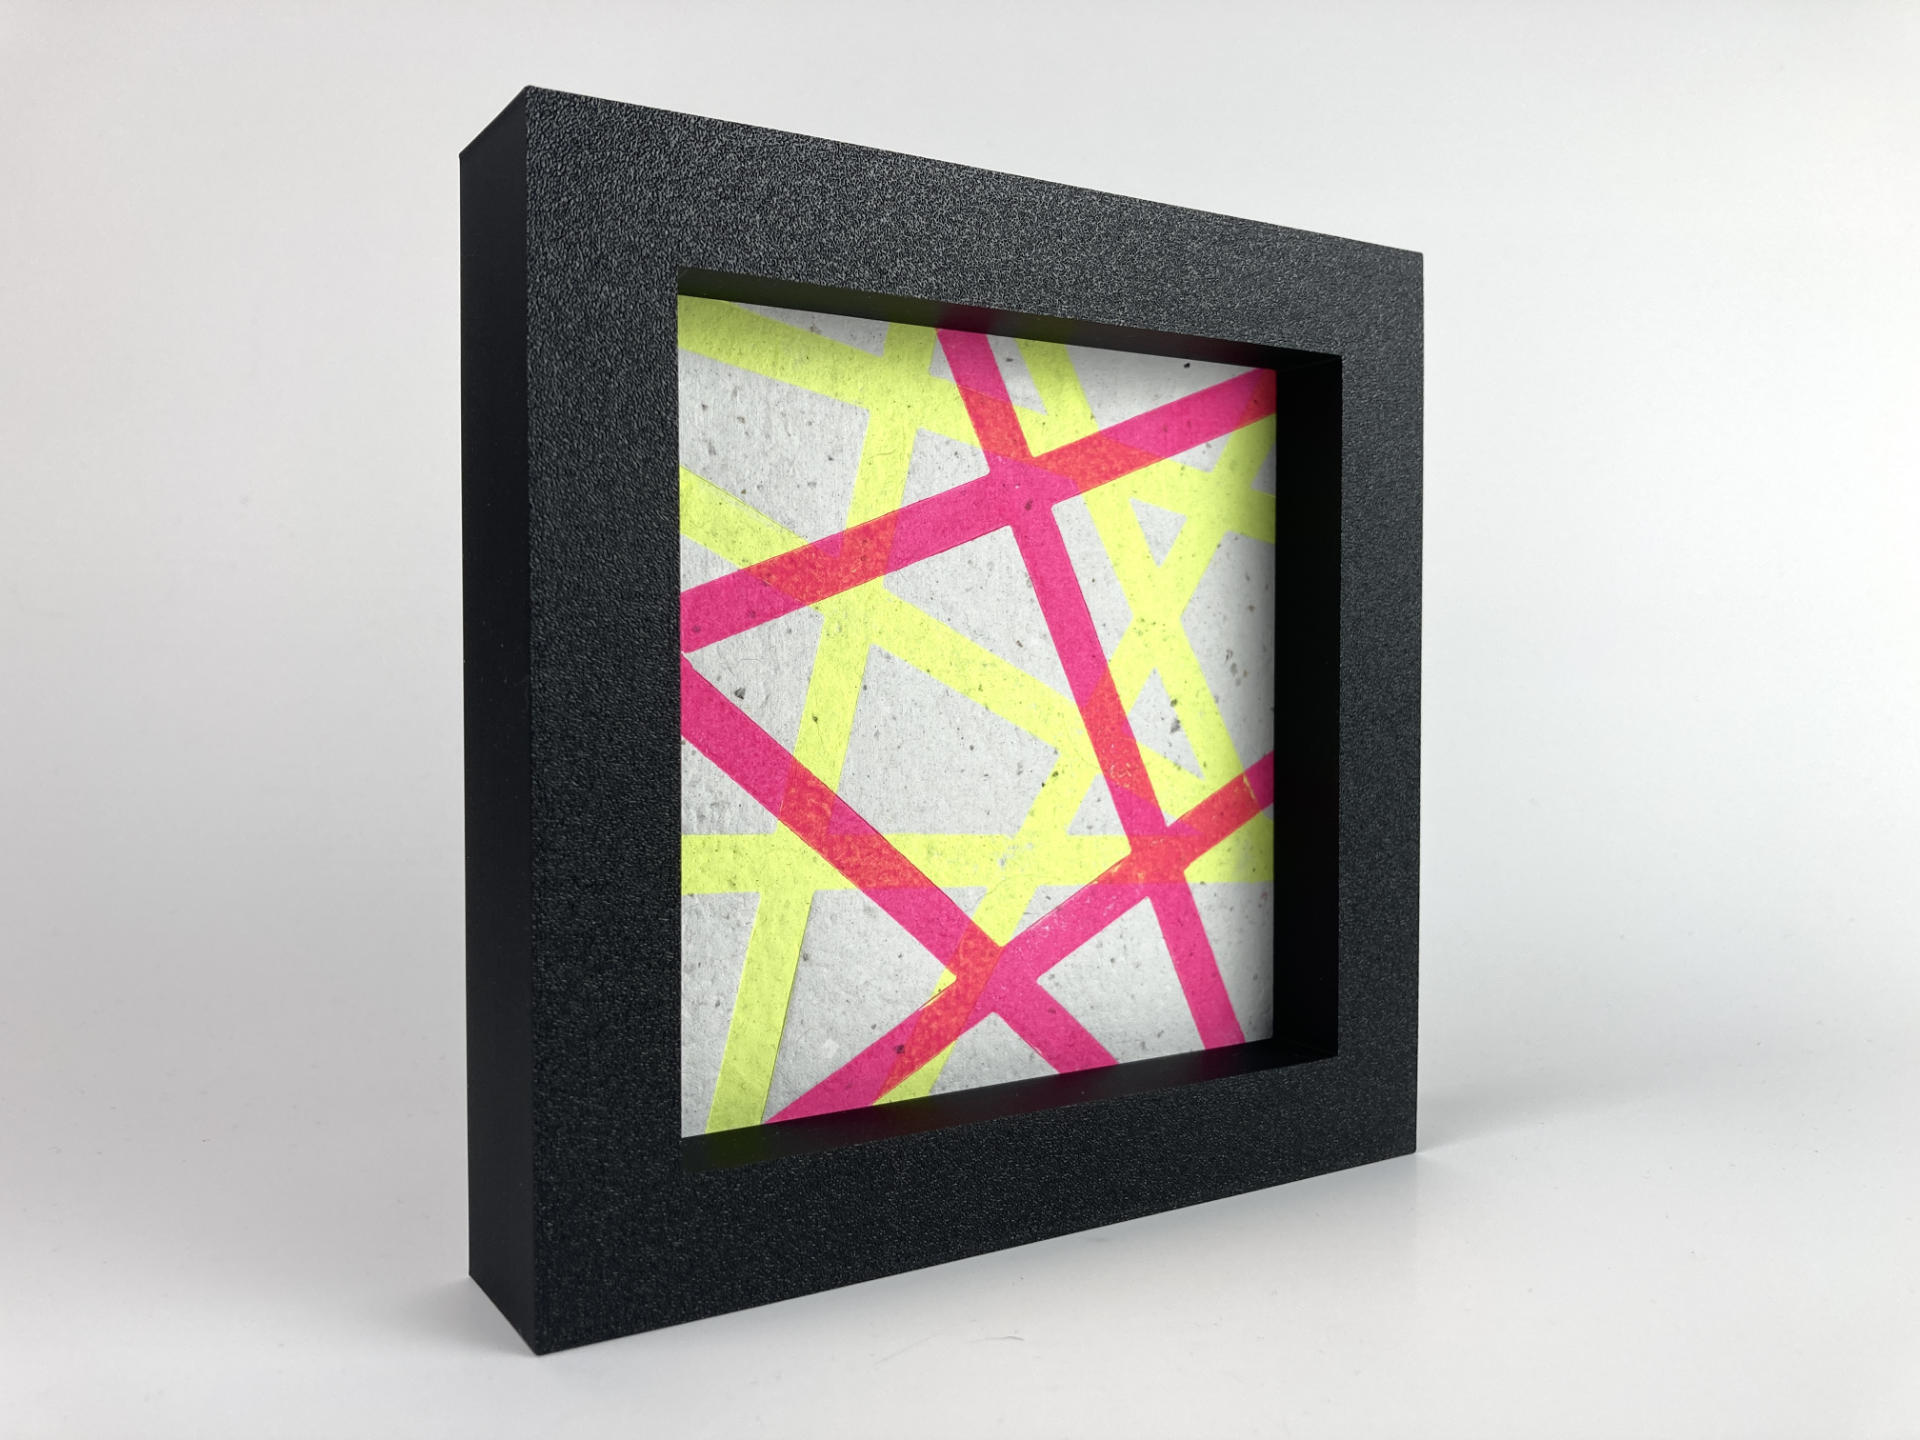
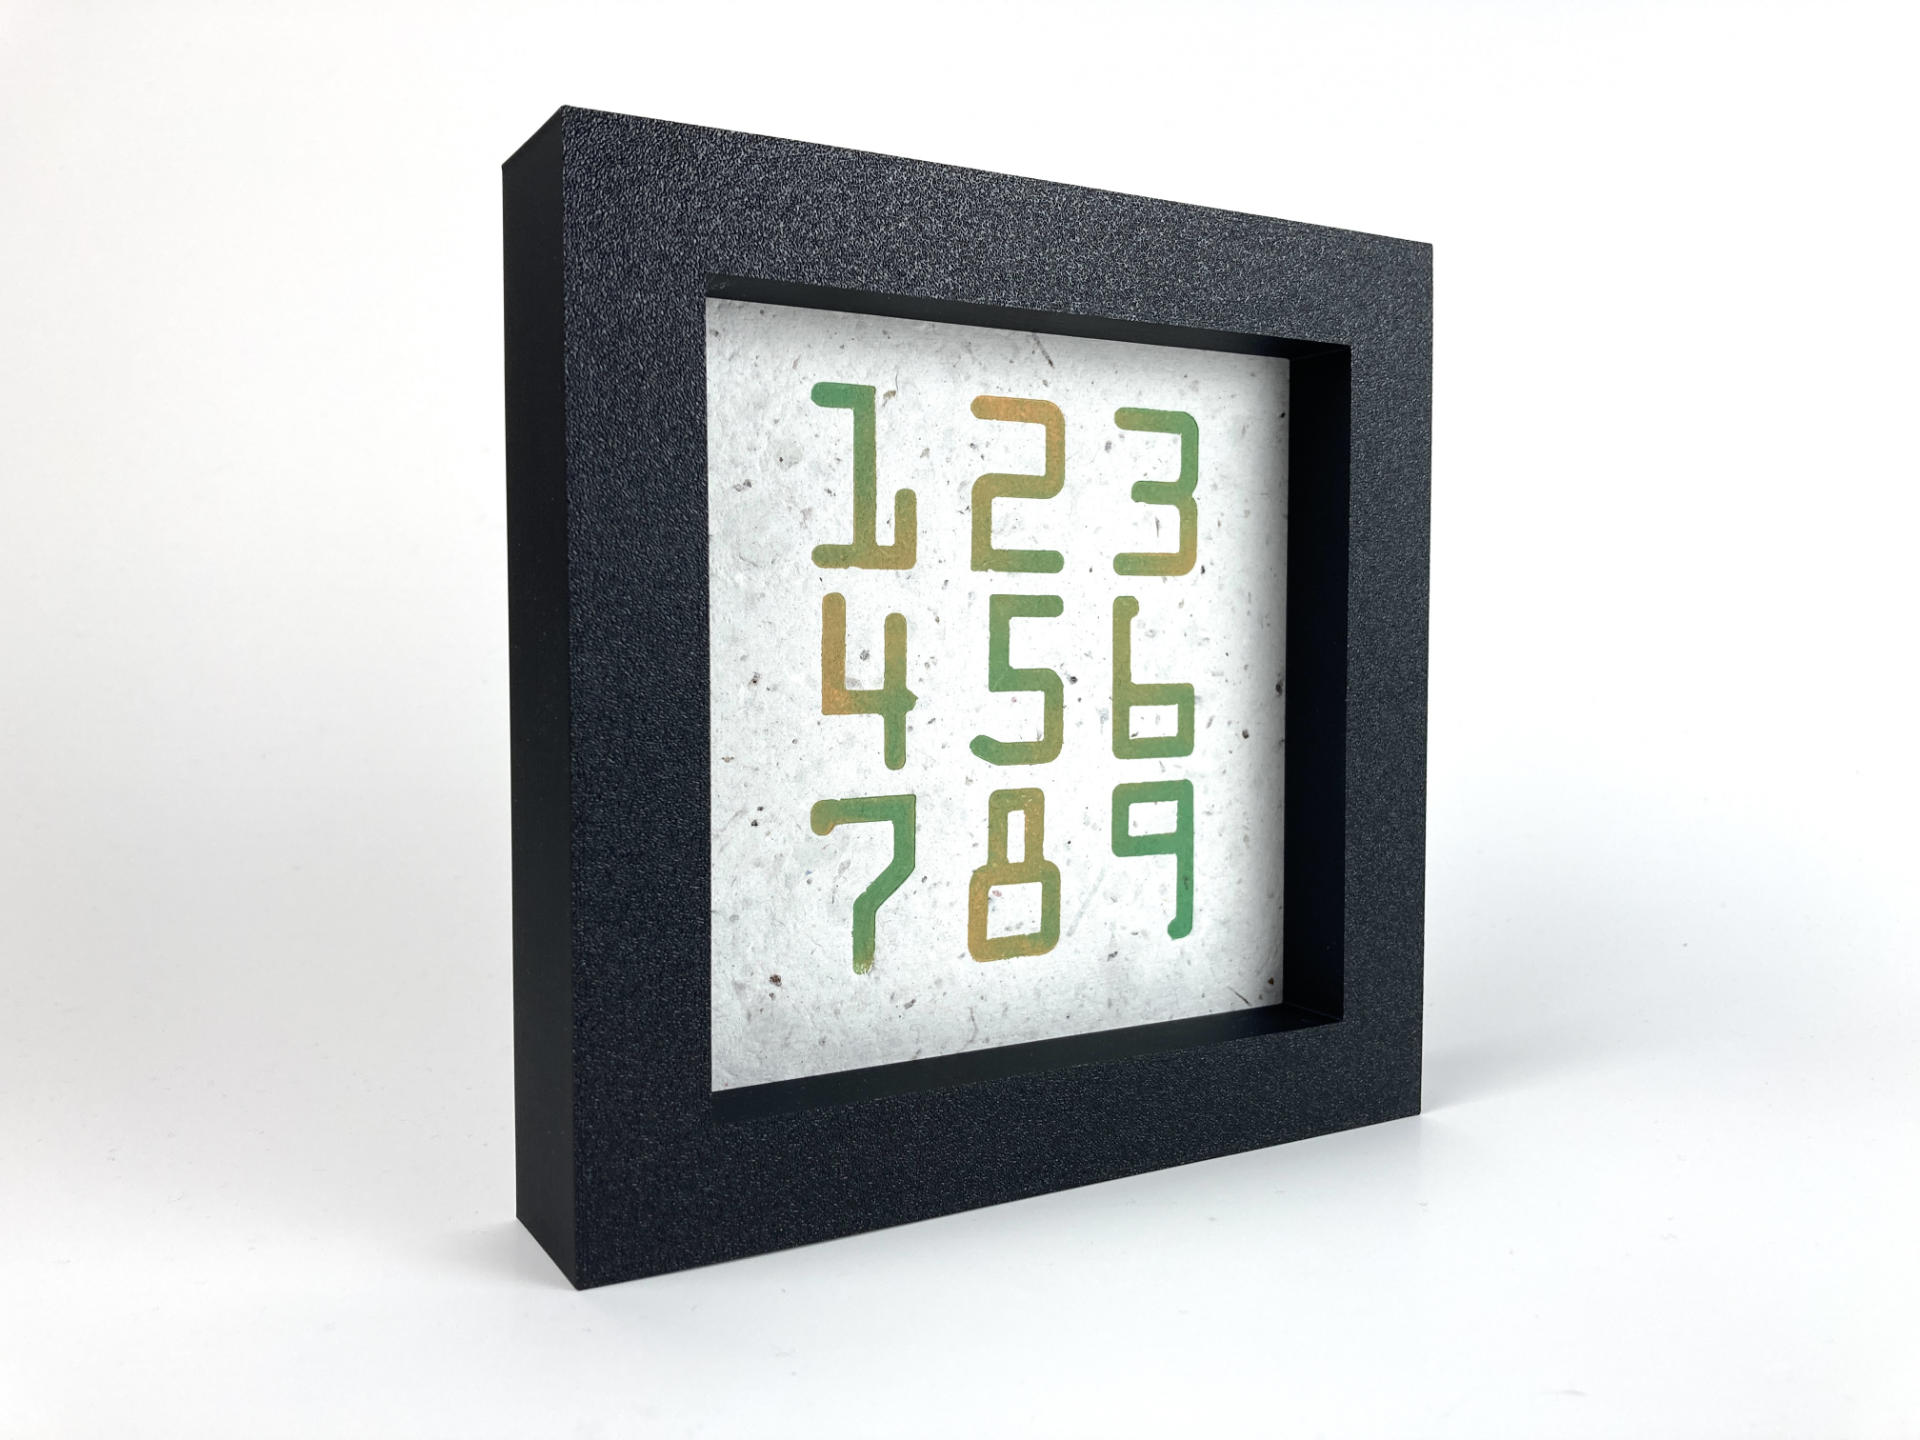
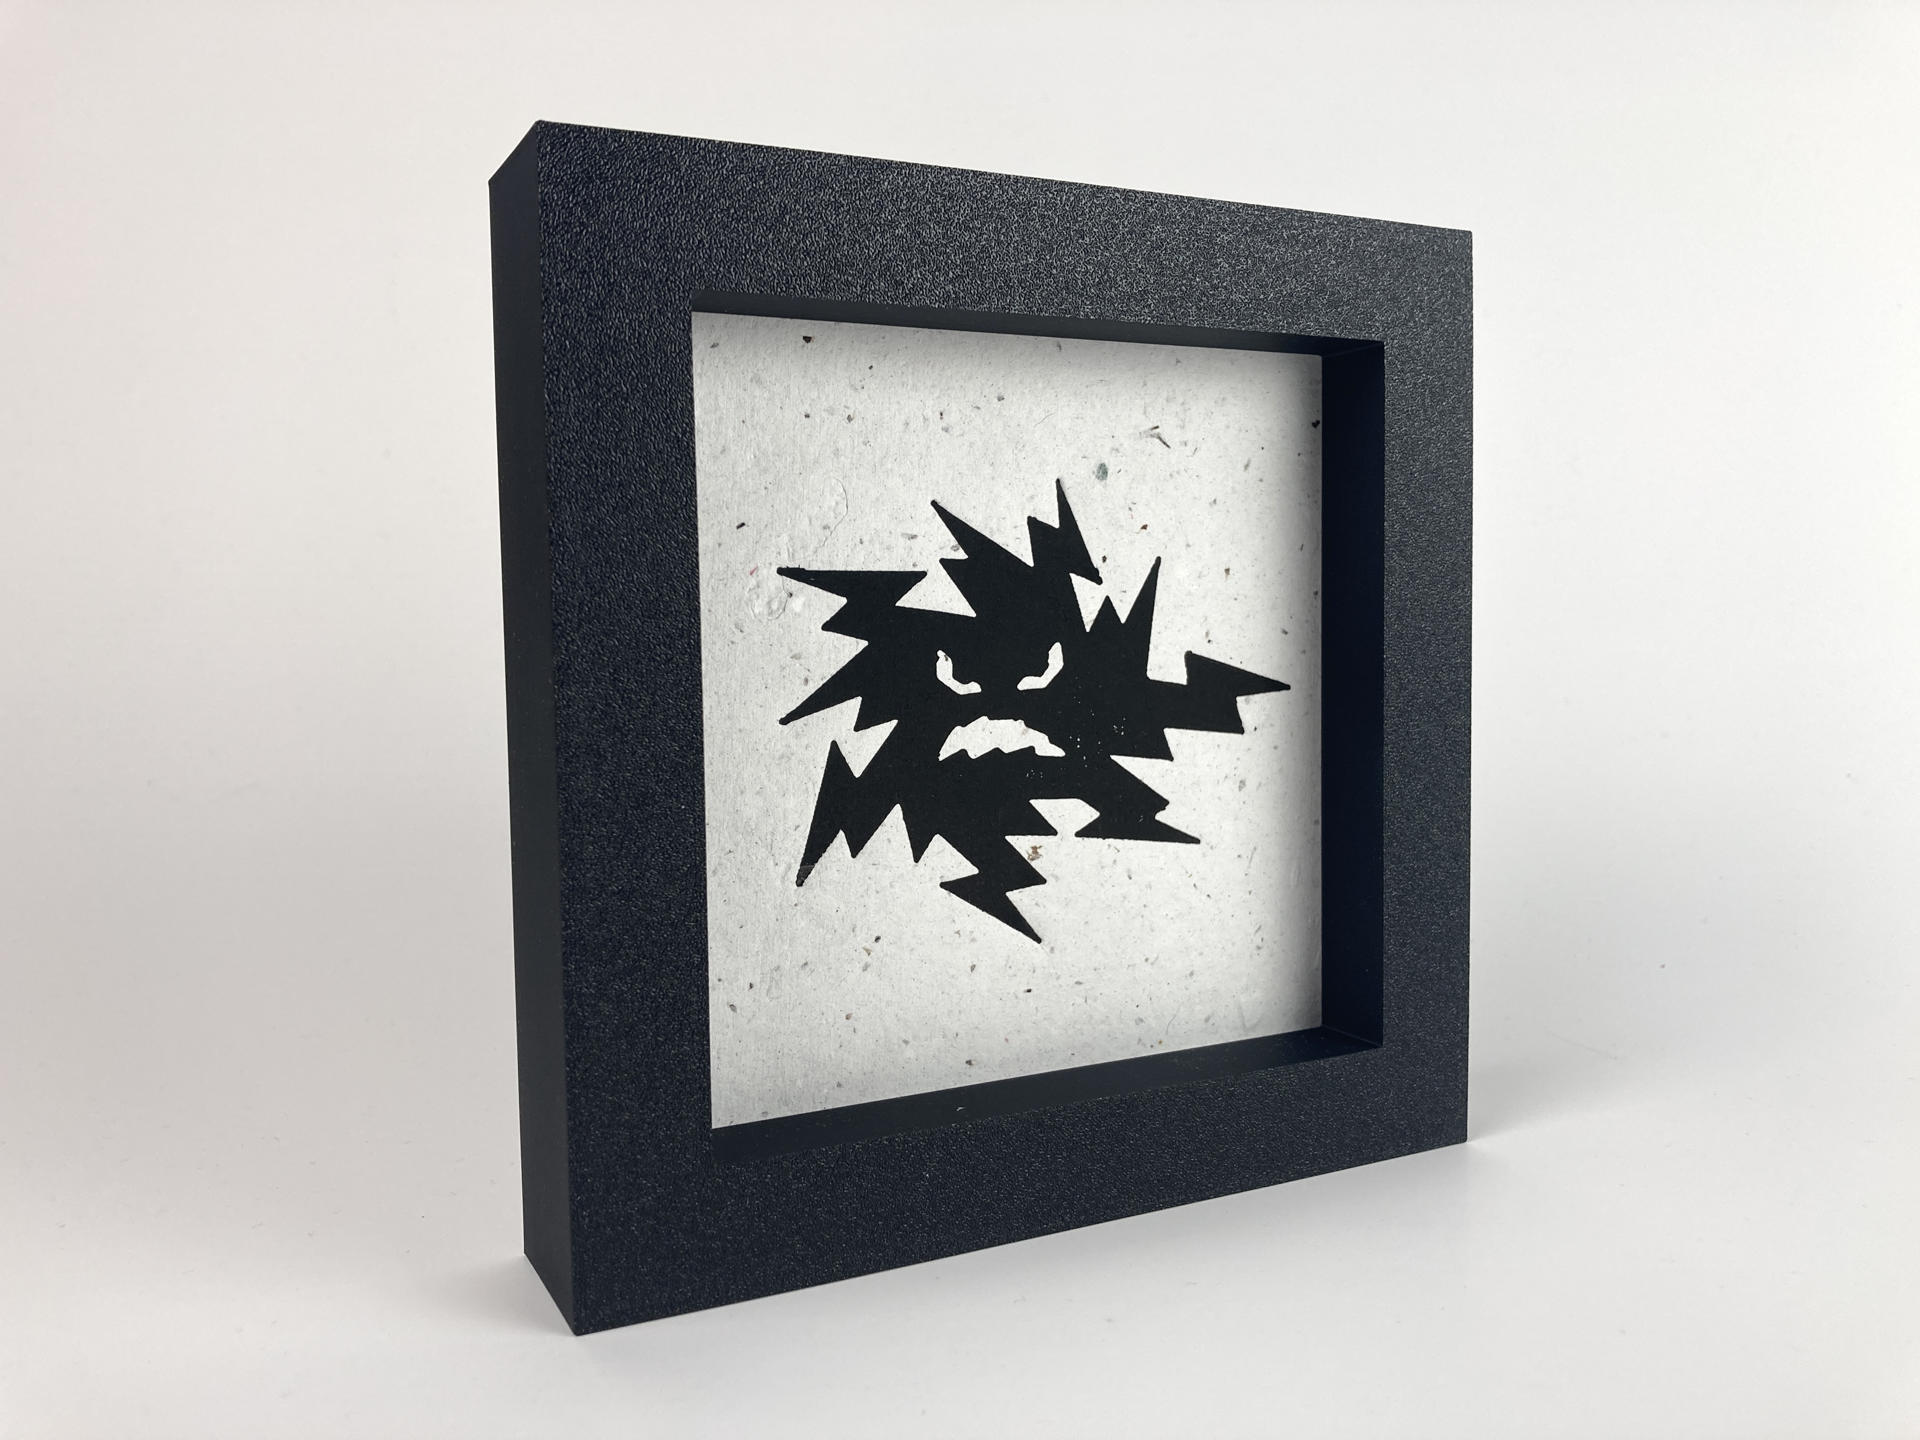
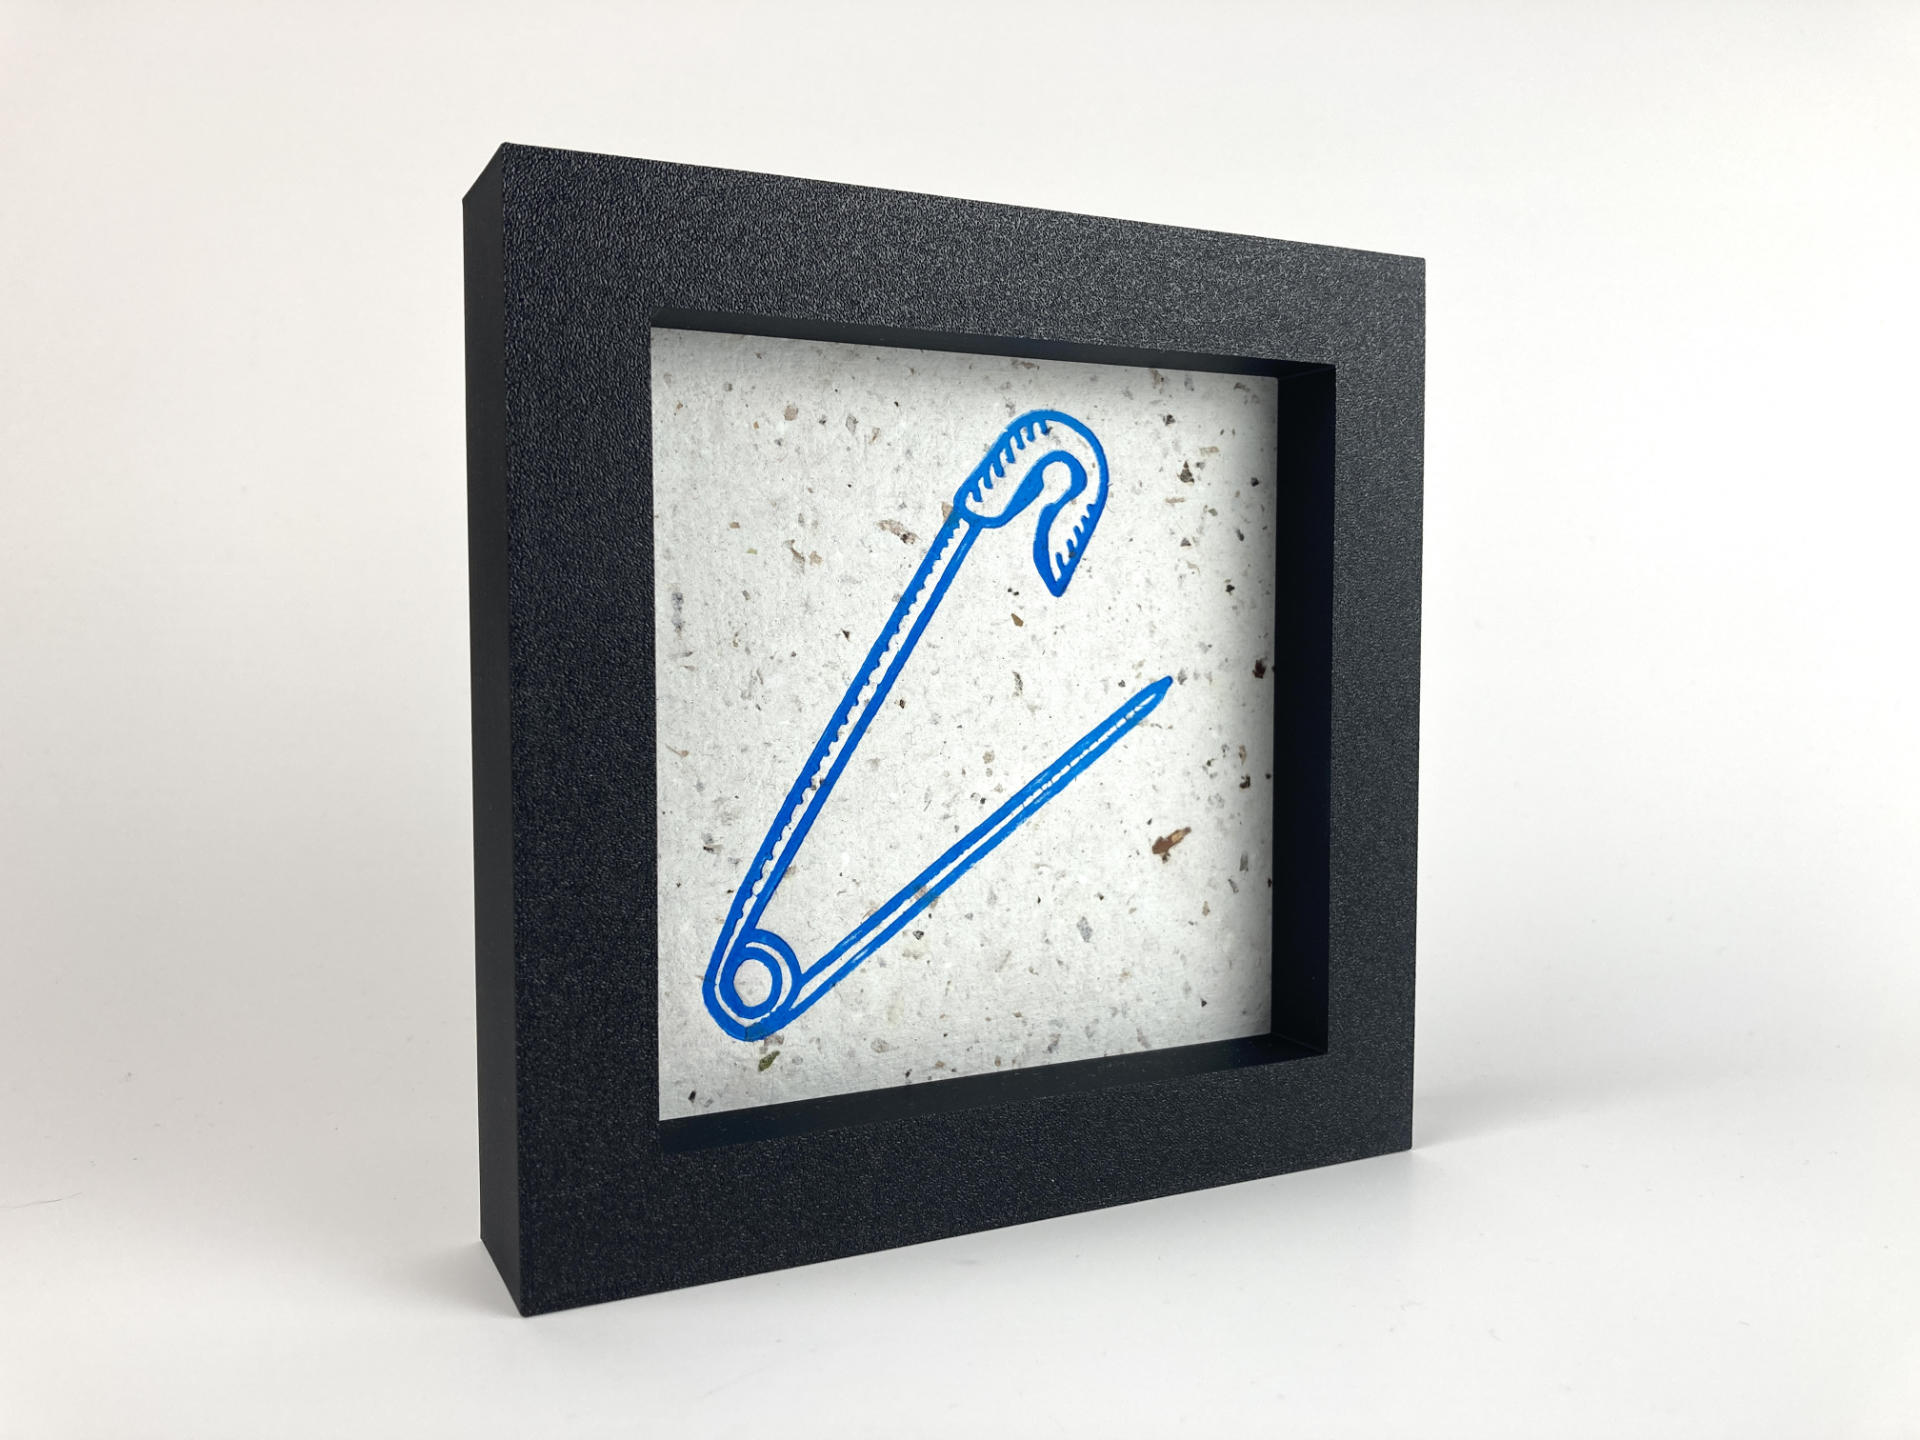
So here’s my progress so far. The first 10 prints of the month, with another 20 (or more?) to do. I stuck with the small works format of 6″ x 6″ except mine are 152.4mm x 152.4mm because I’m like that.

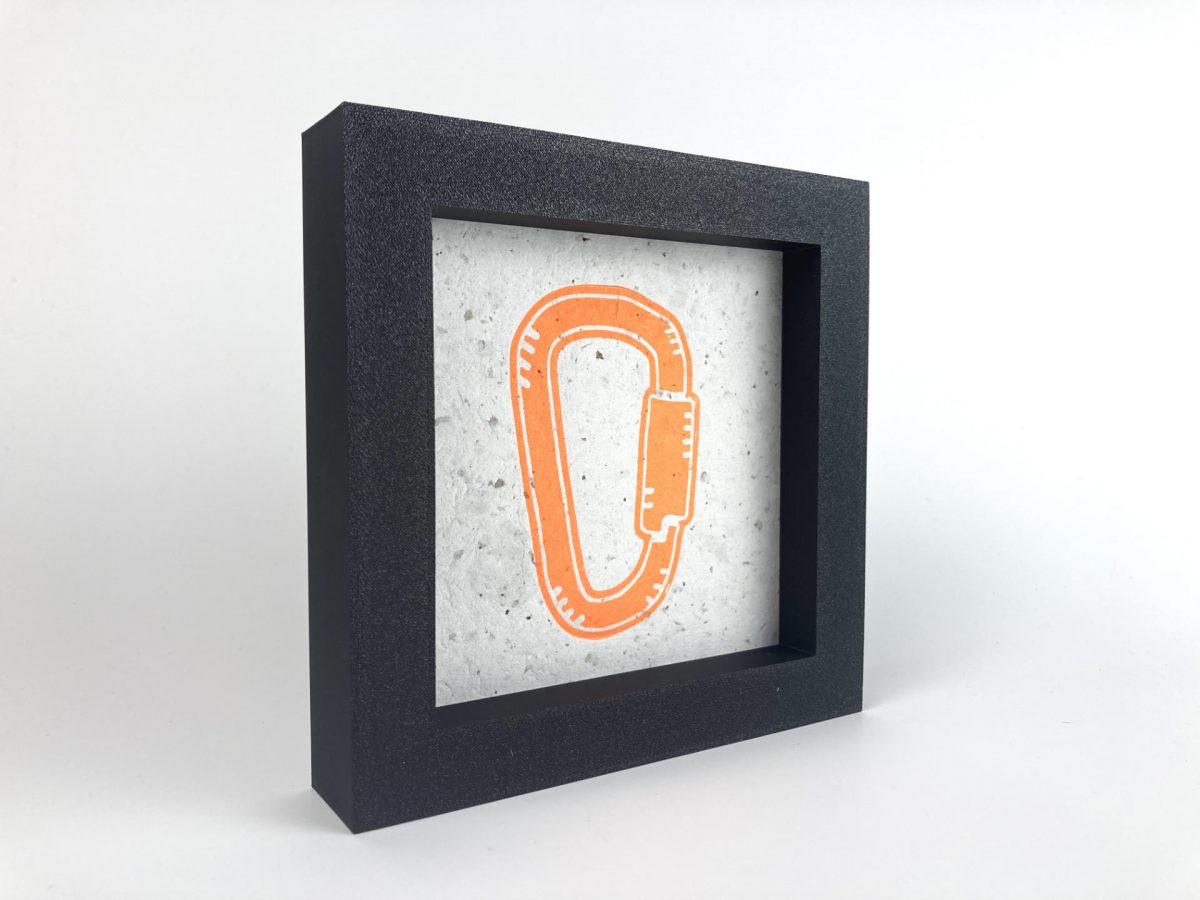
Each print gets framed in a 3D printed frame that I designed and printed. I used OpenSCAD to create a parametric design so I could create frames of any size. (Here’s a mention of the frame and another.)

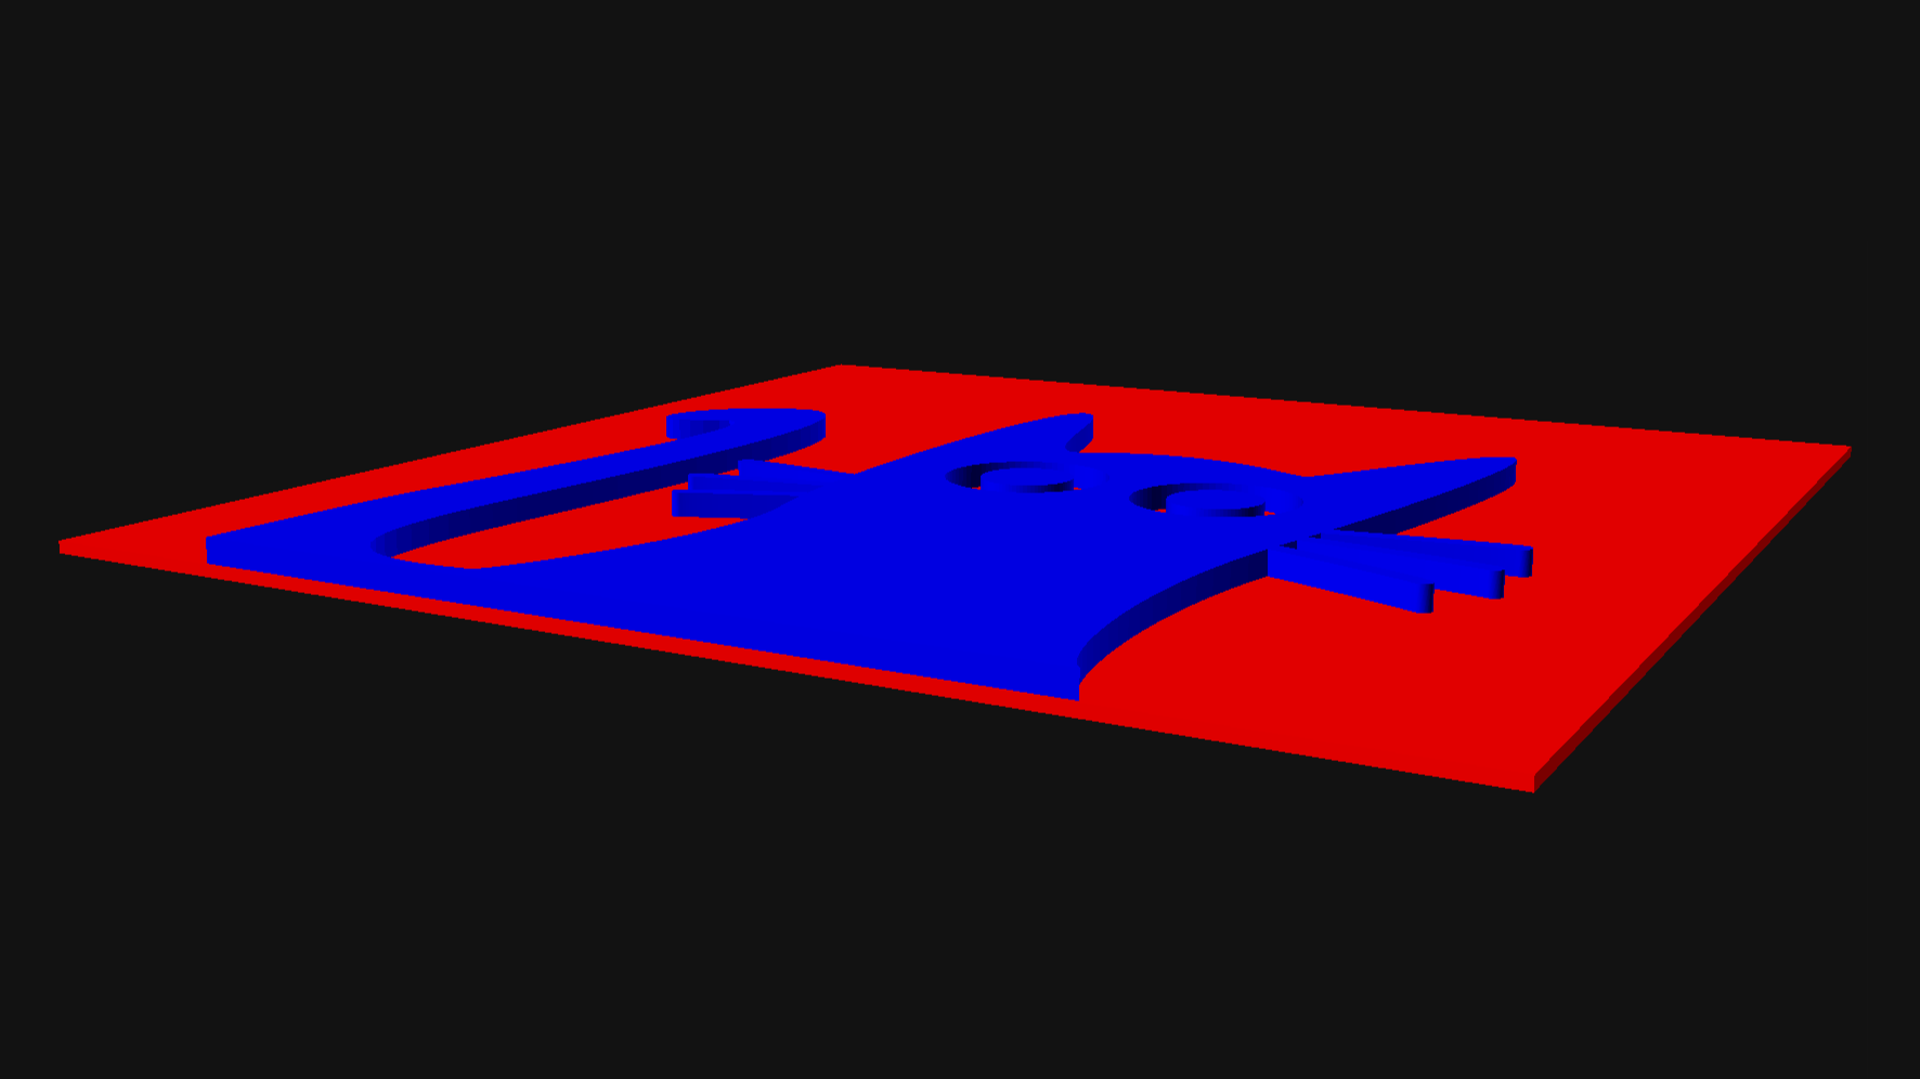
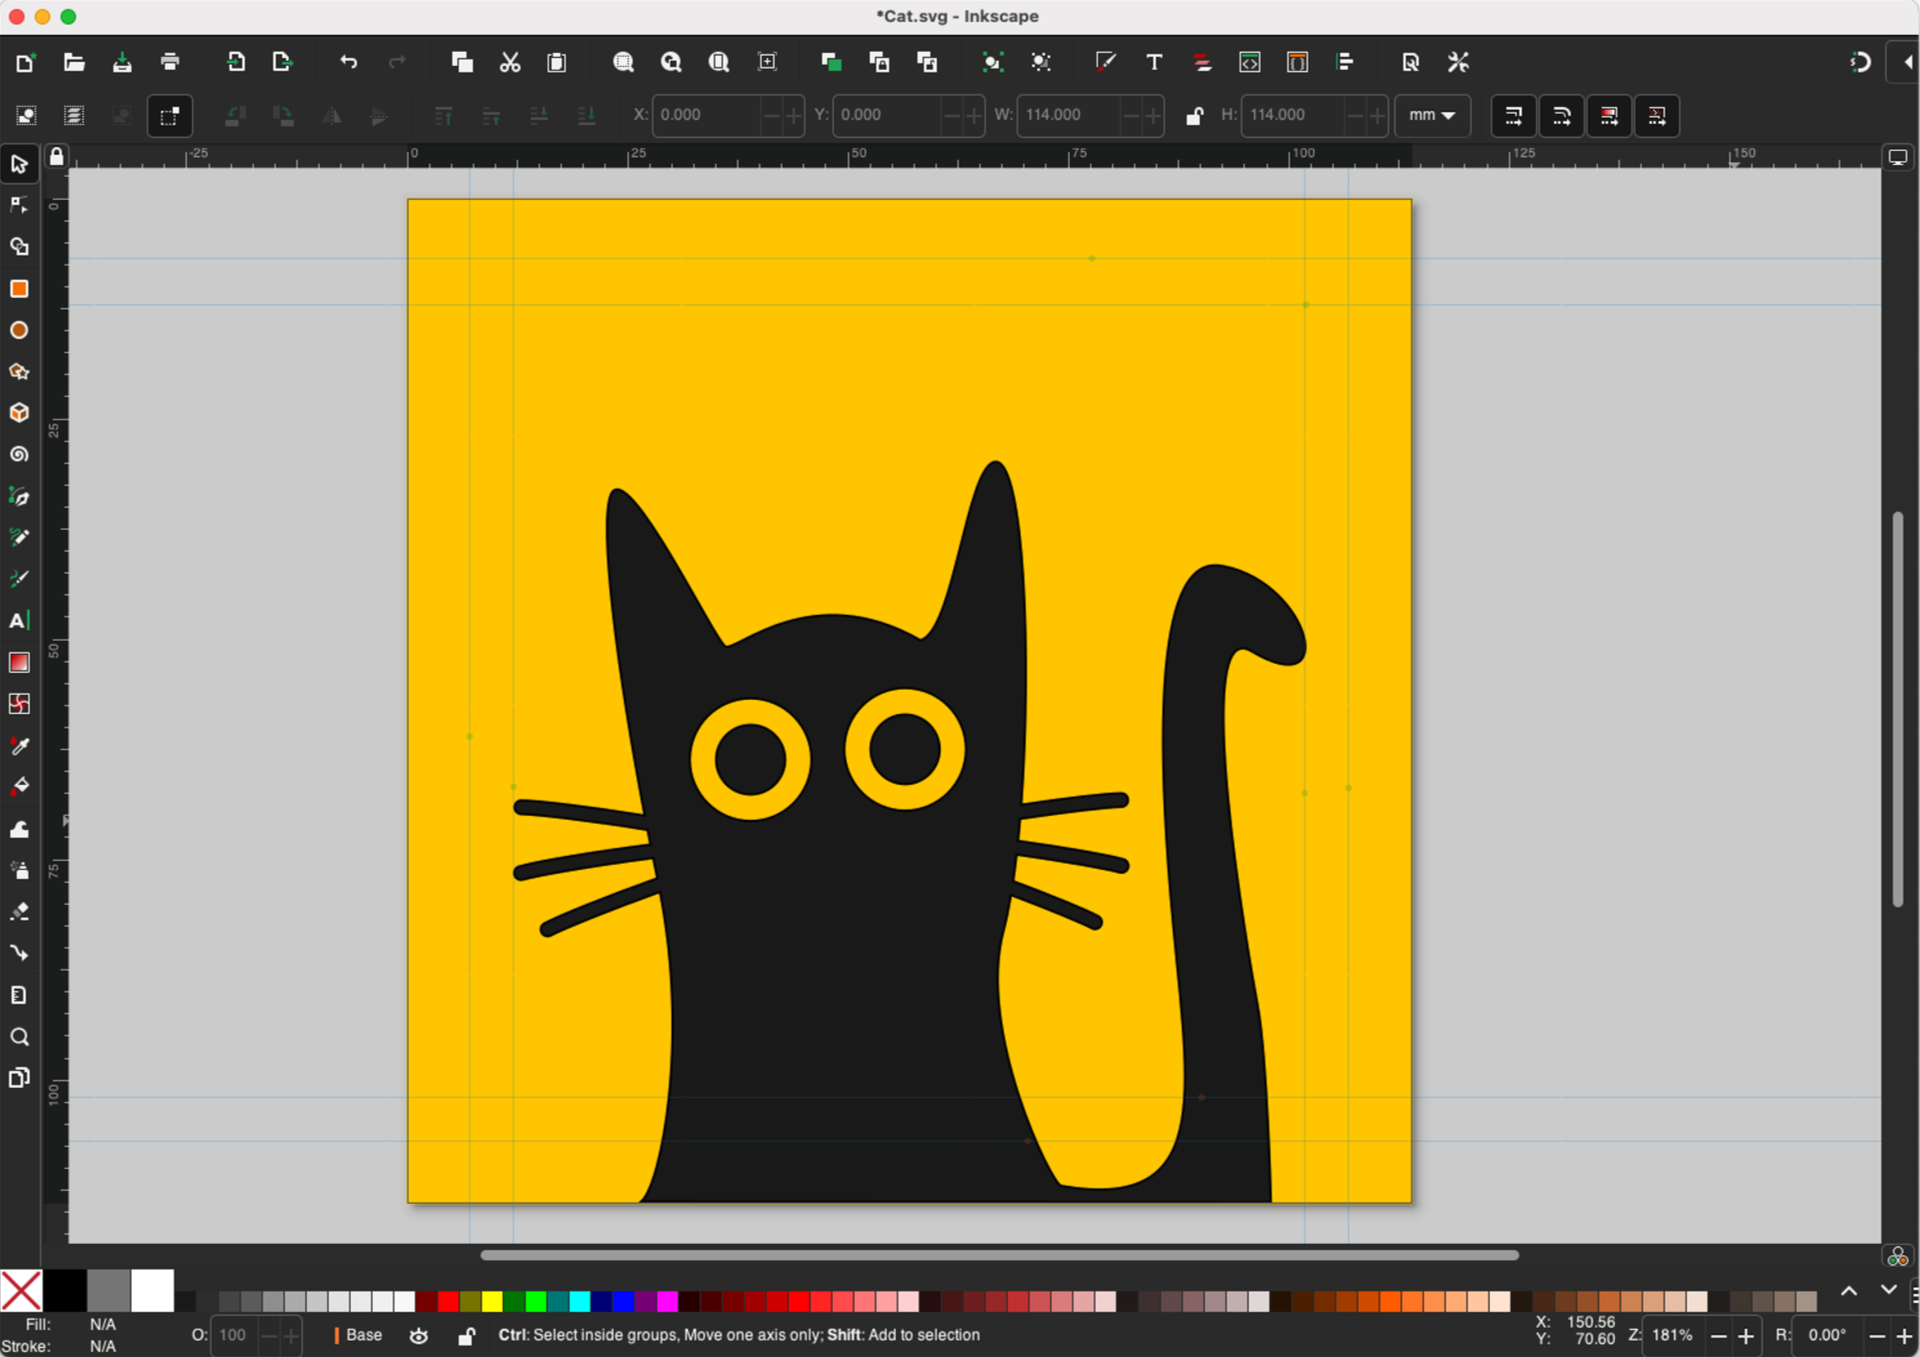
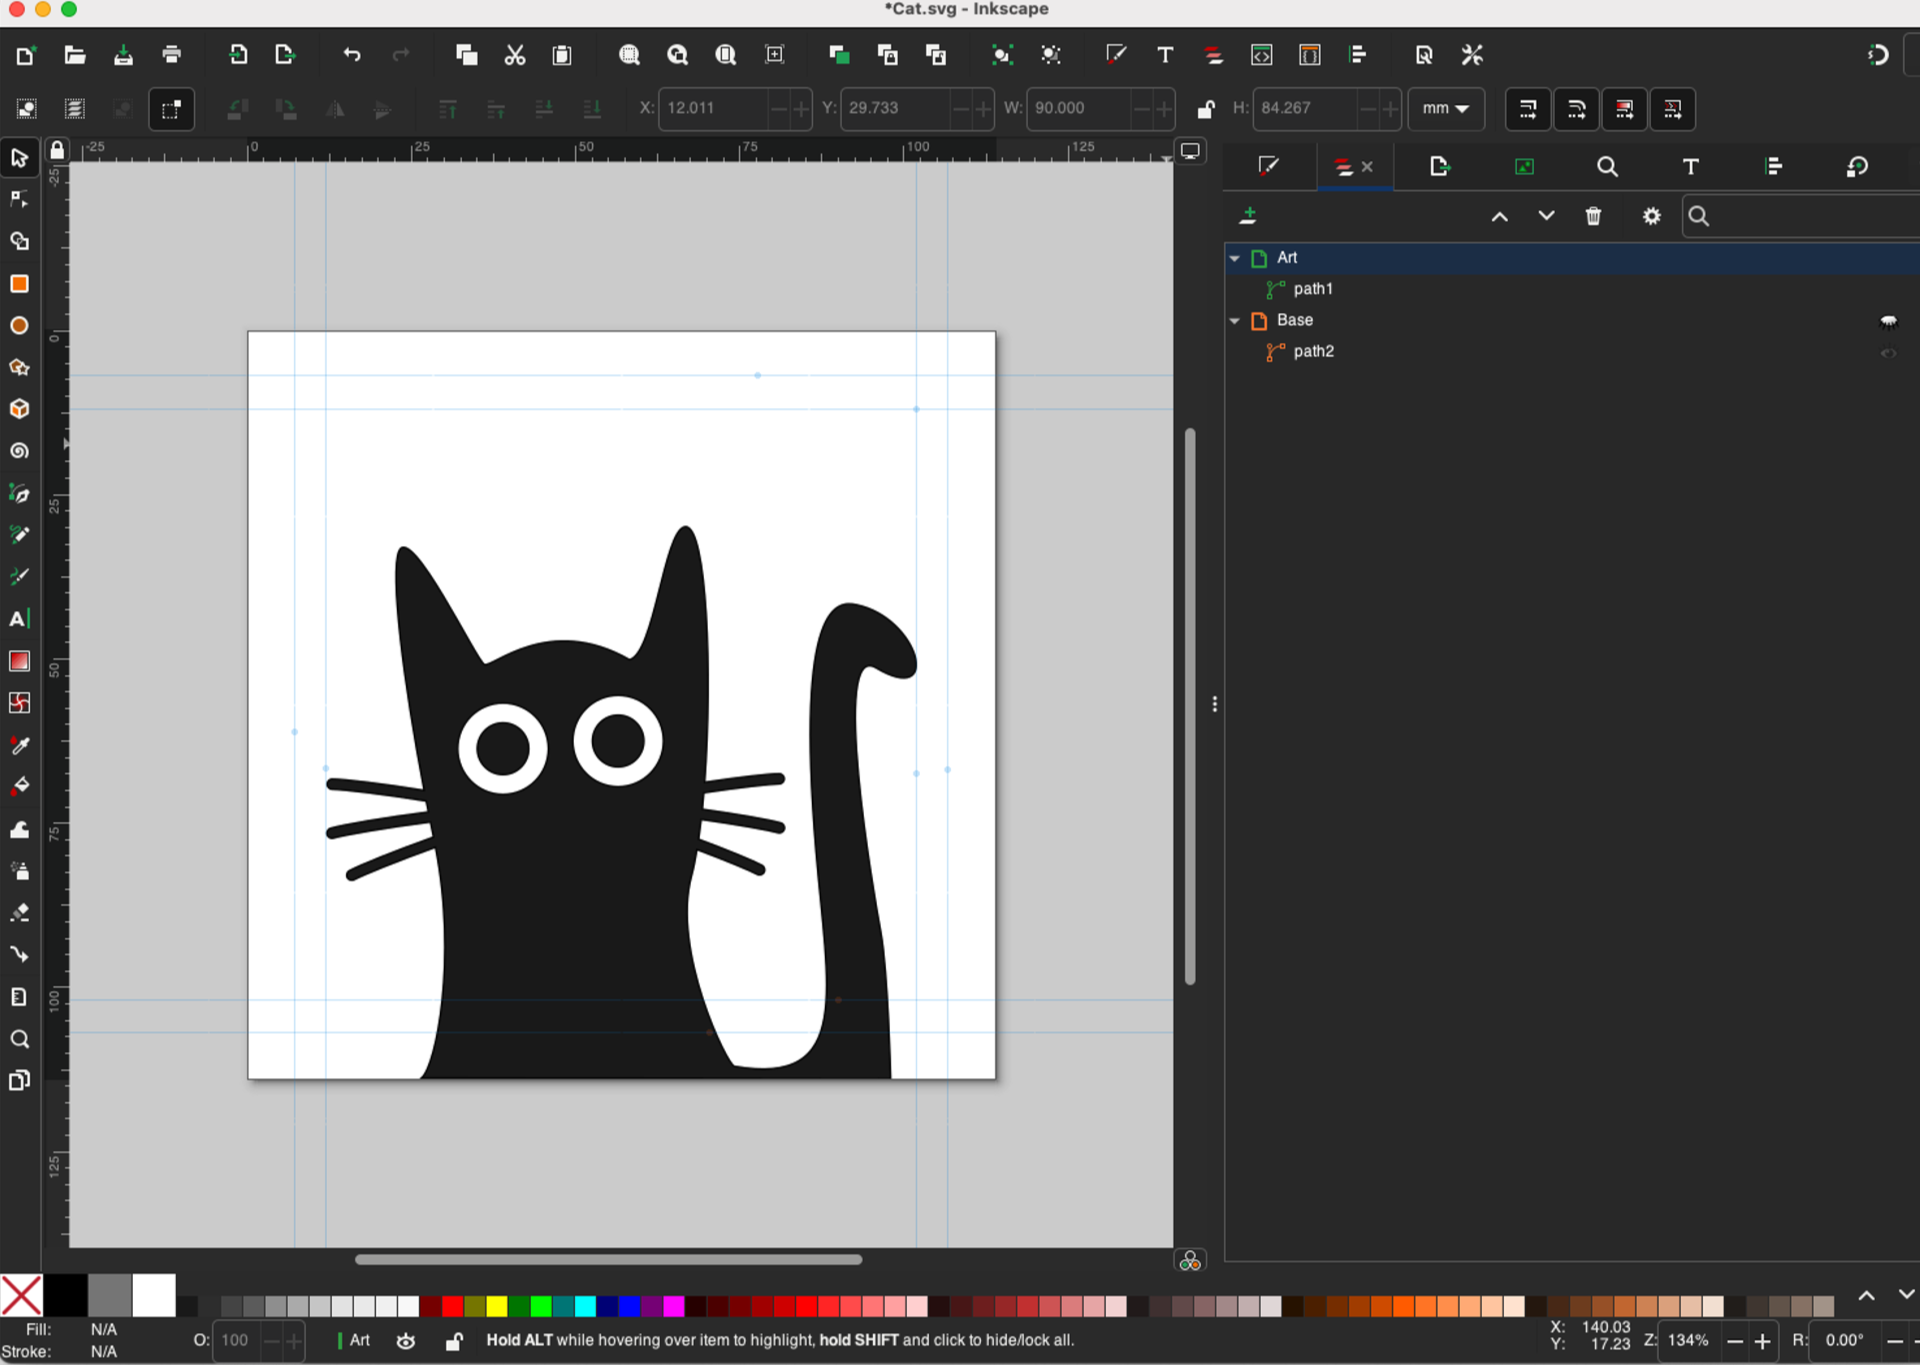
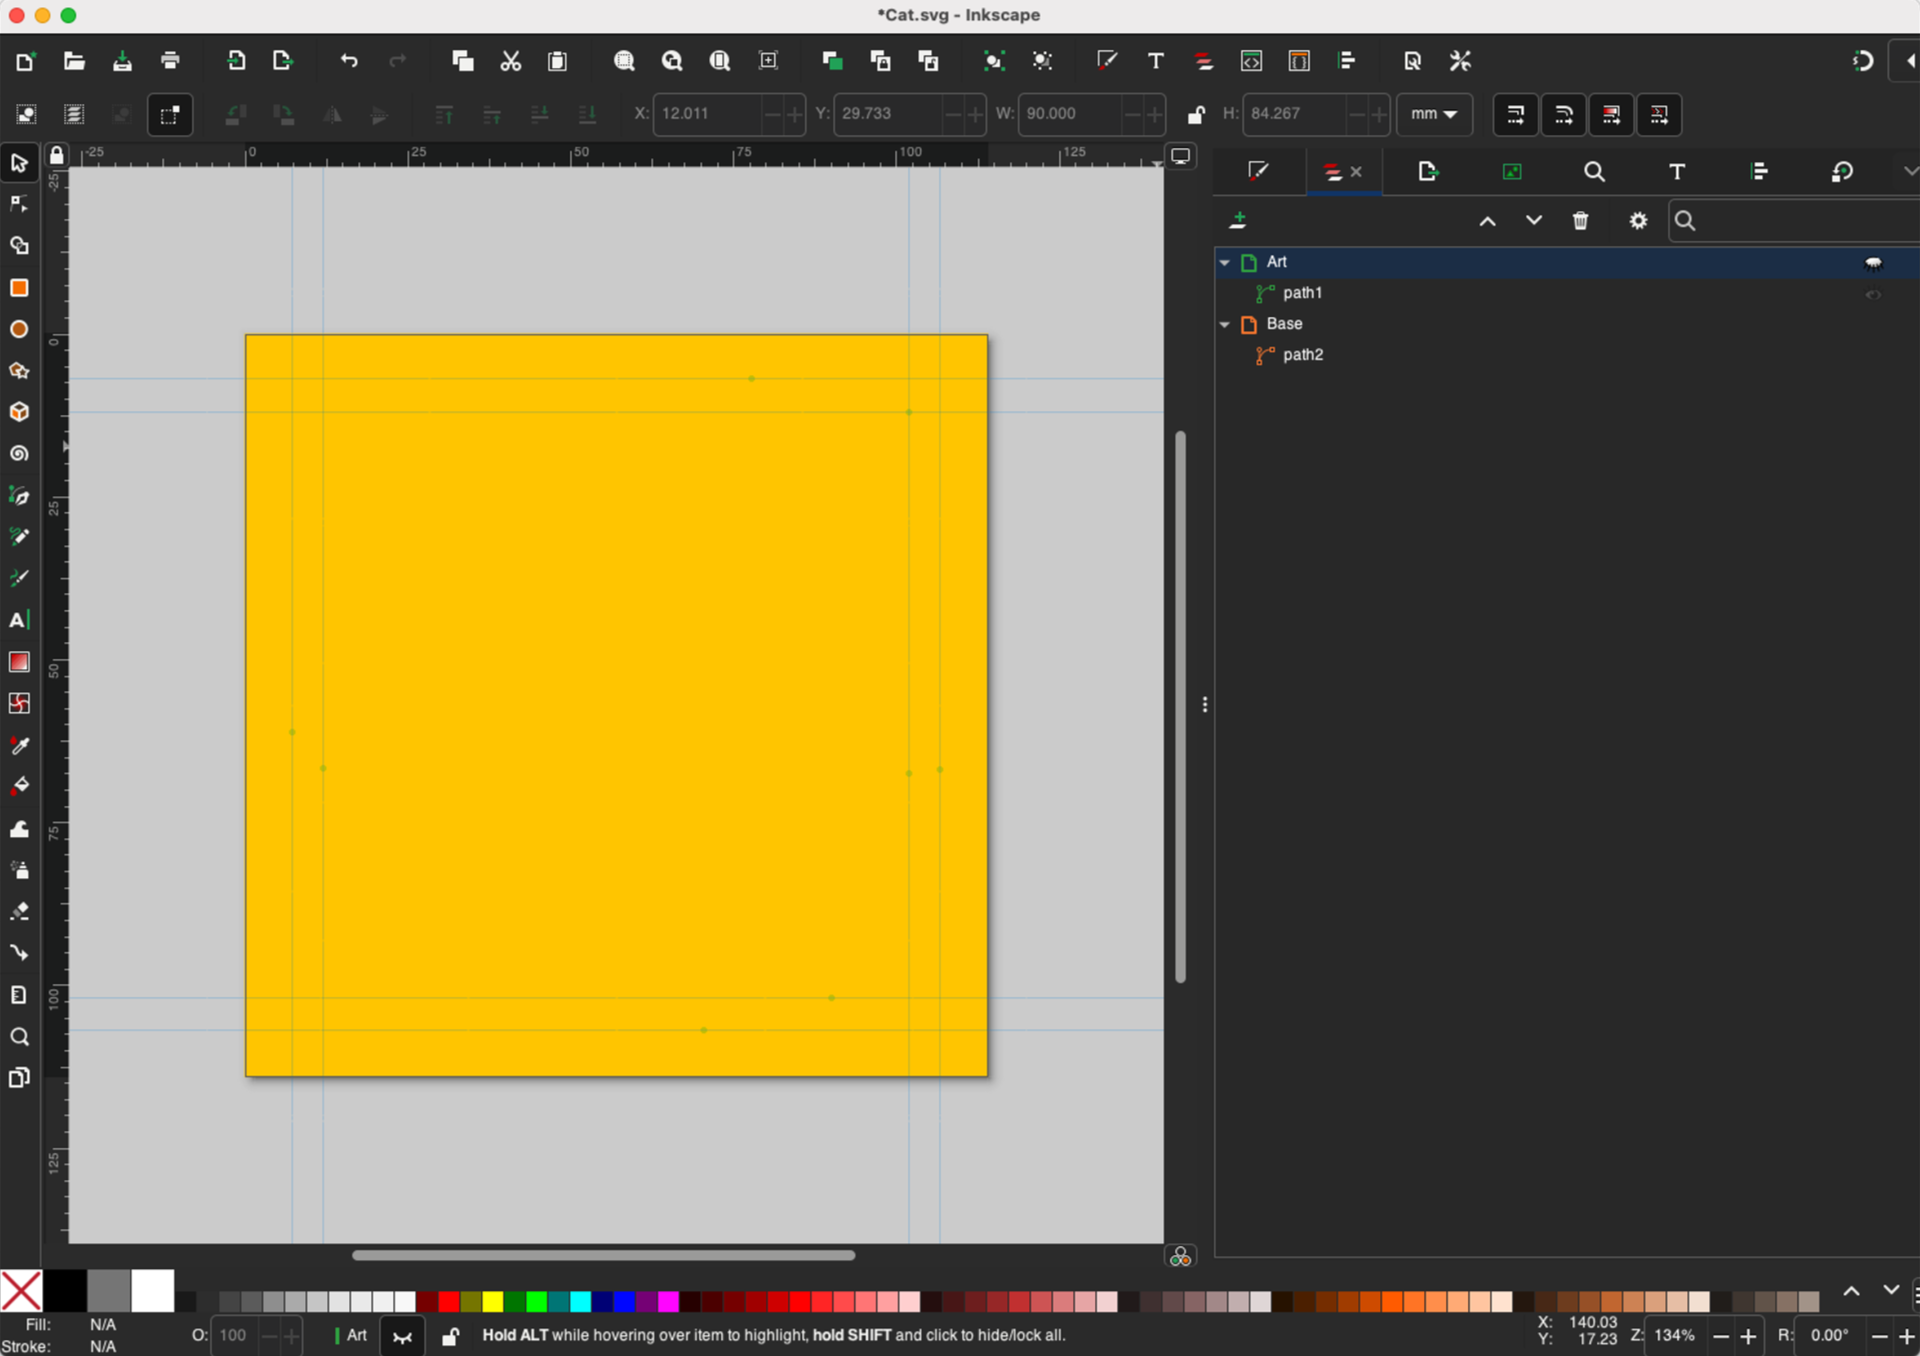
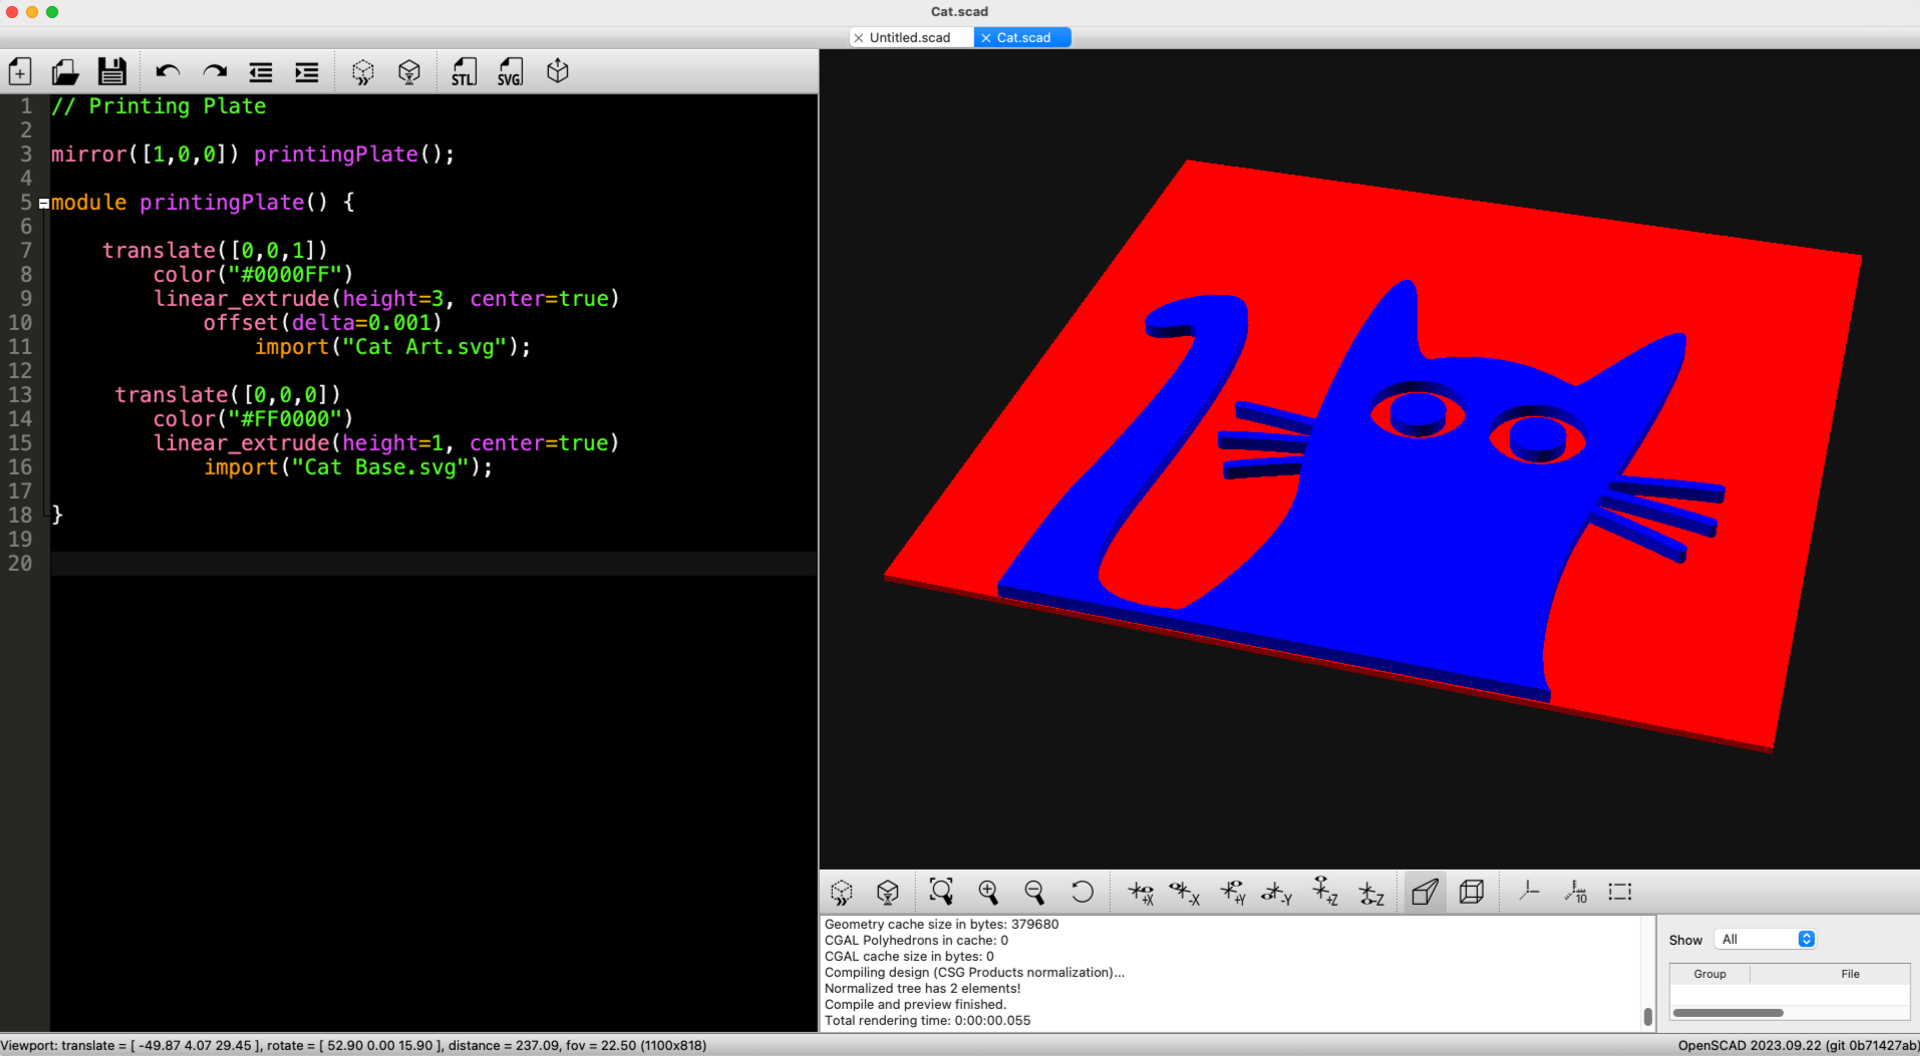
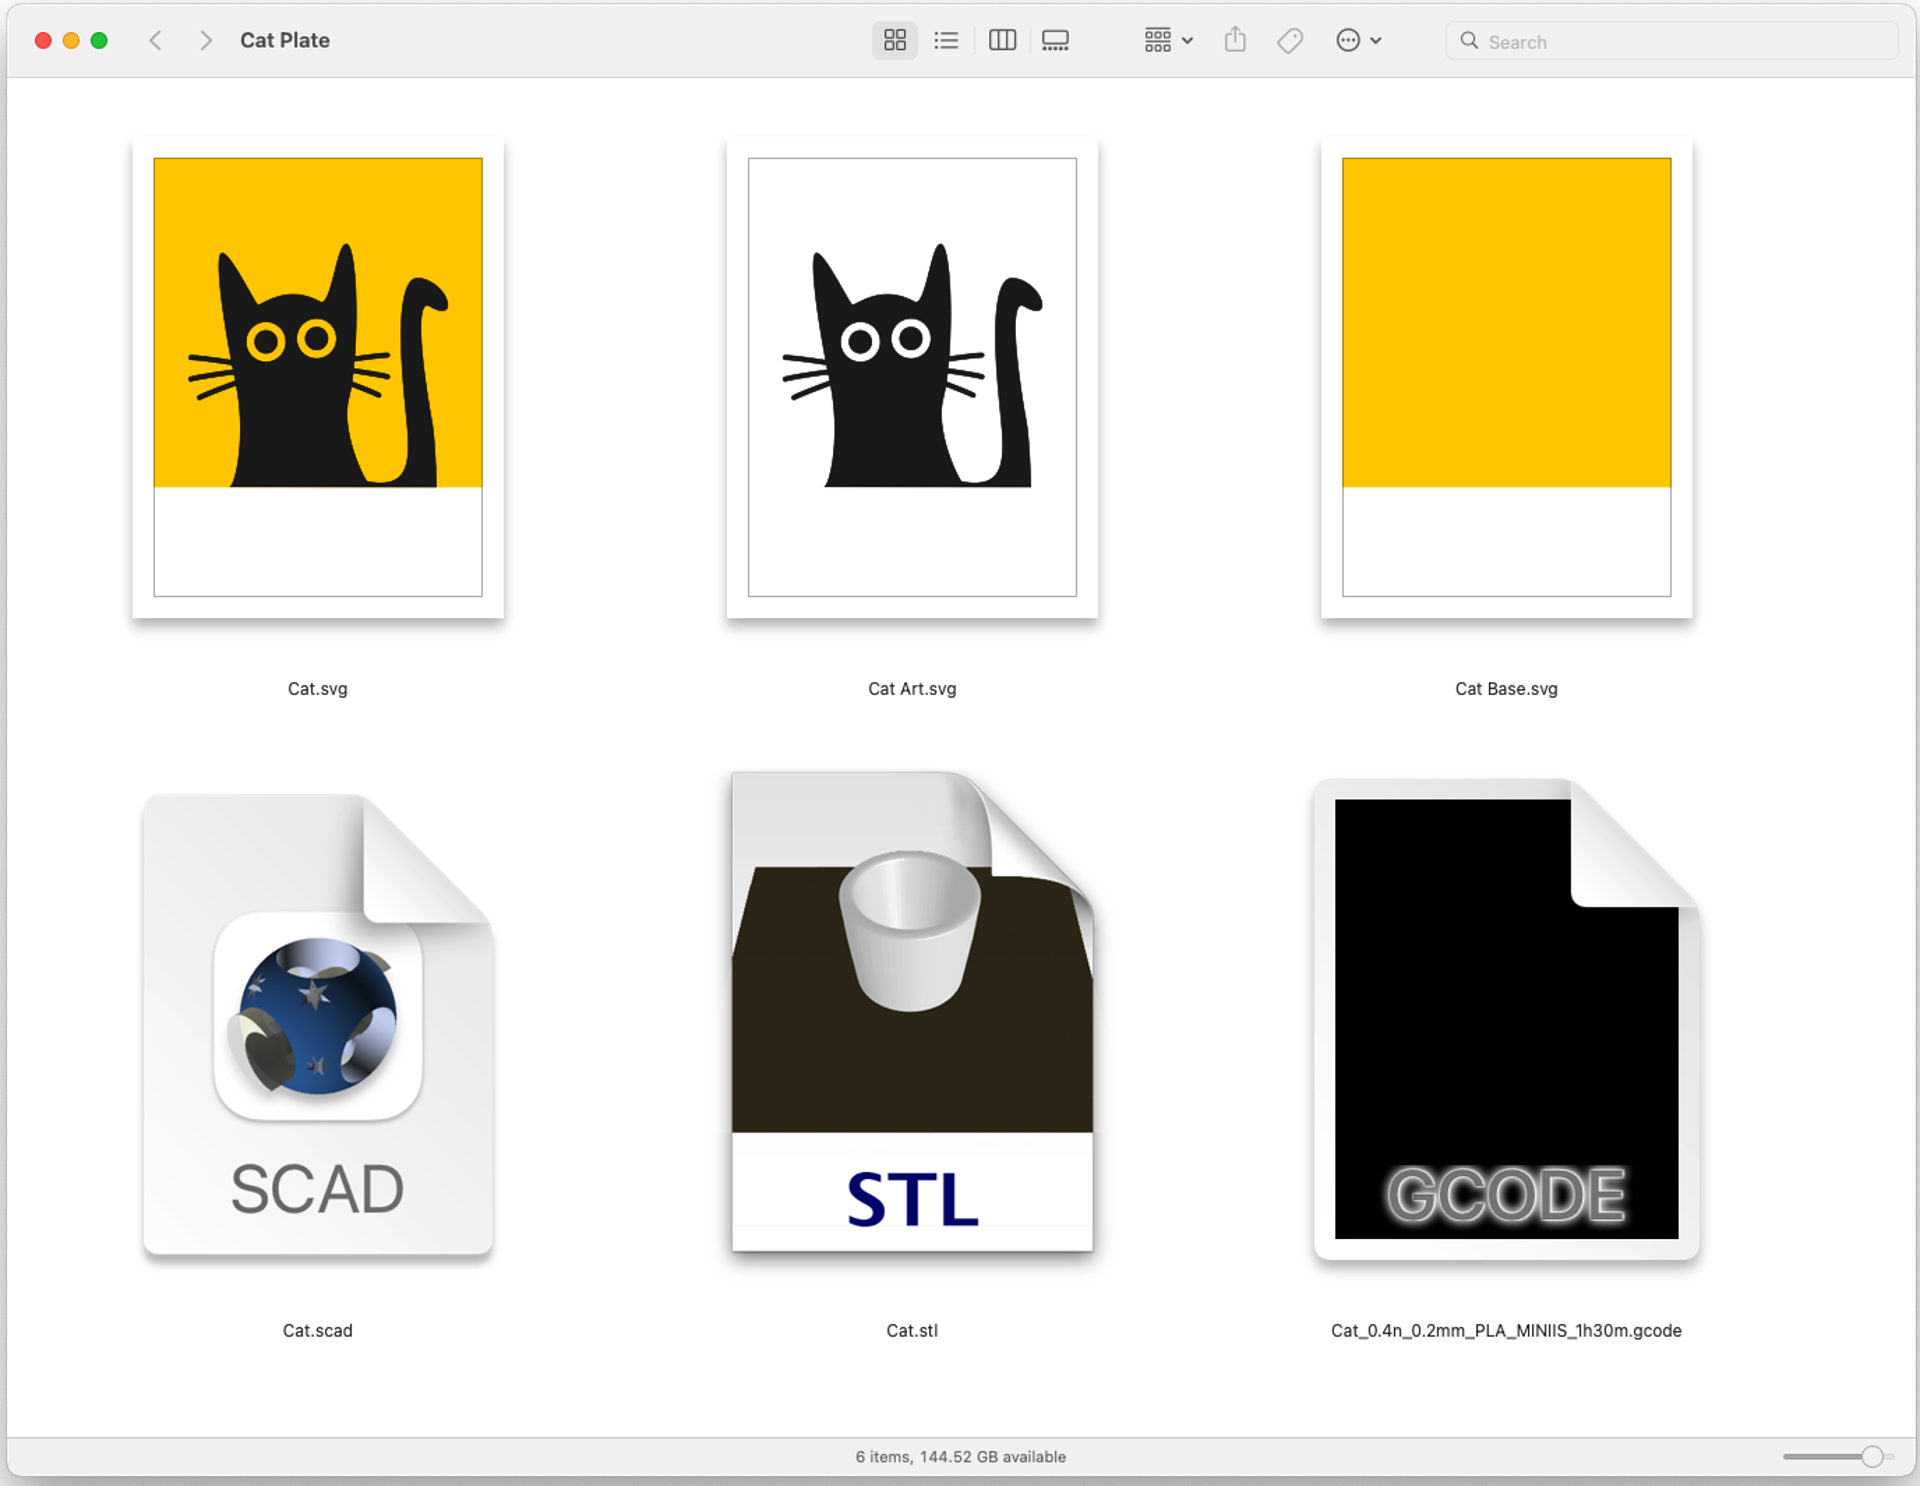
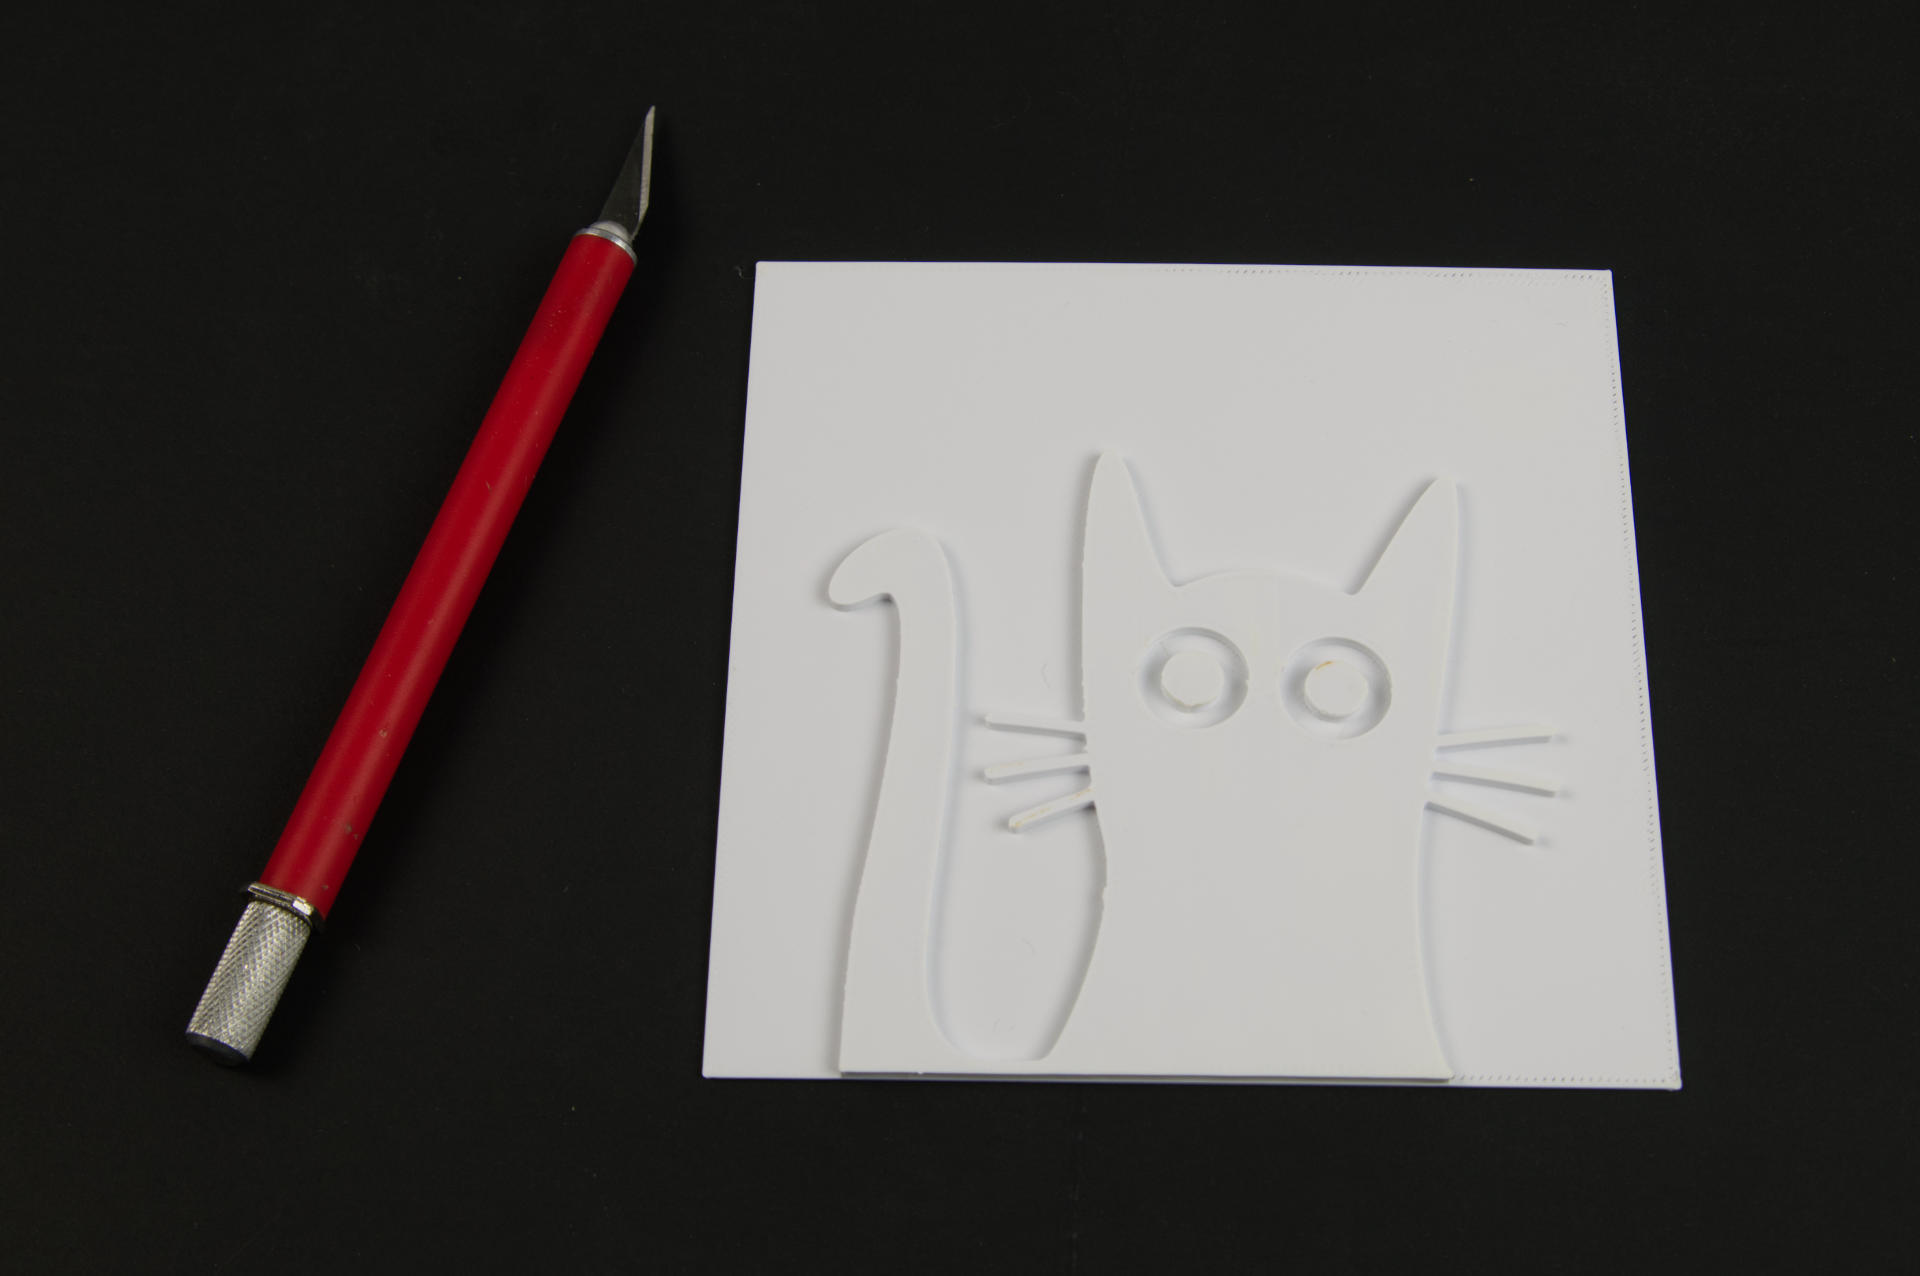
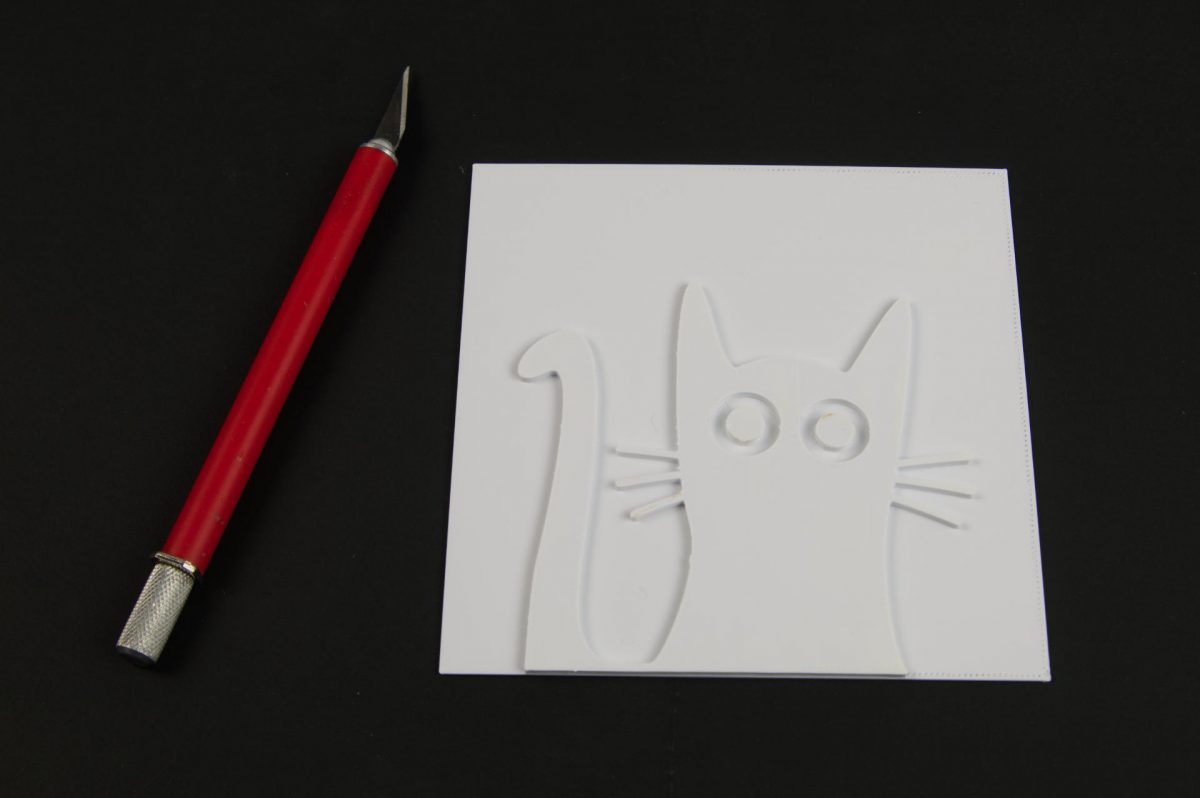
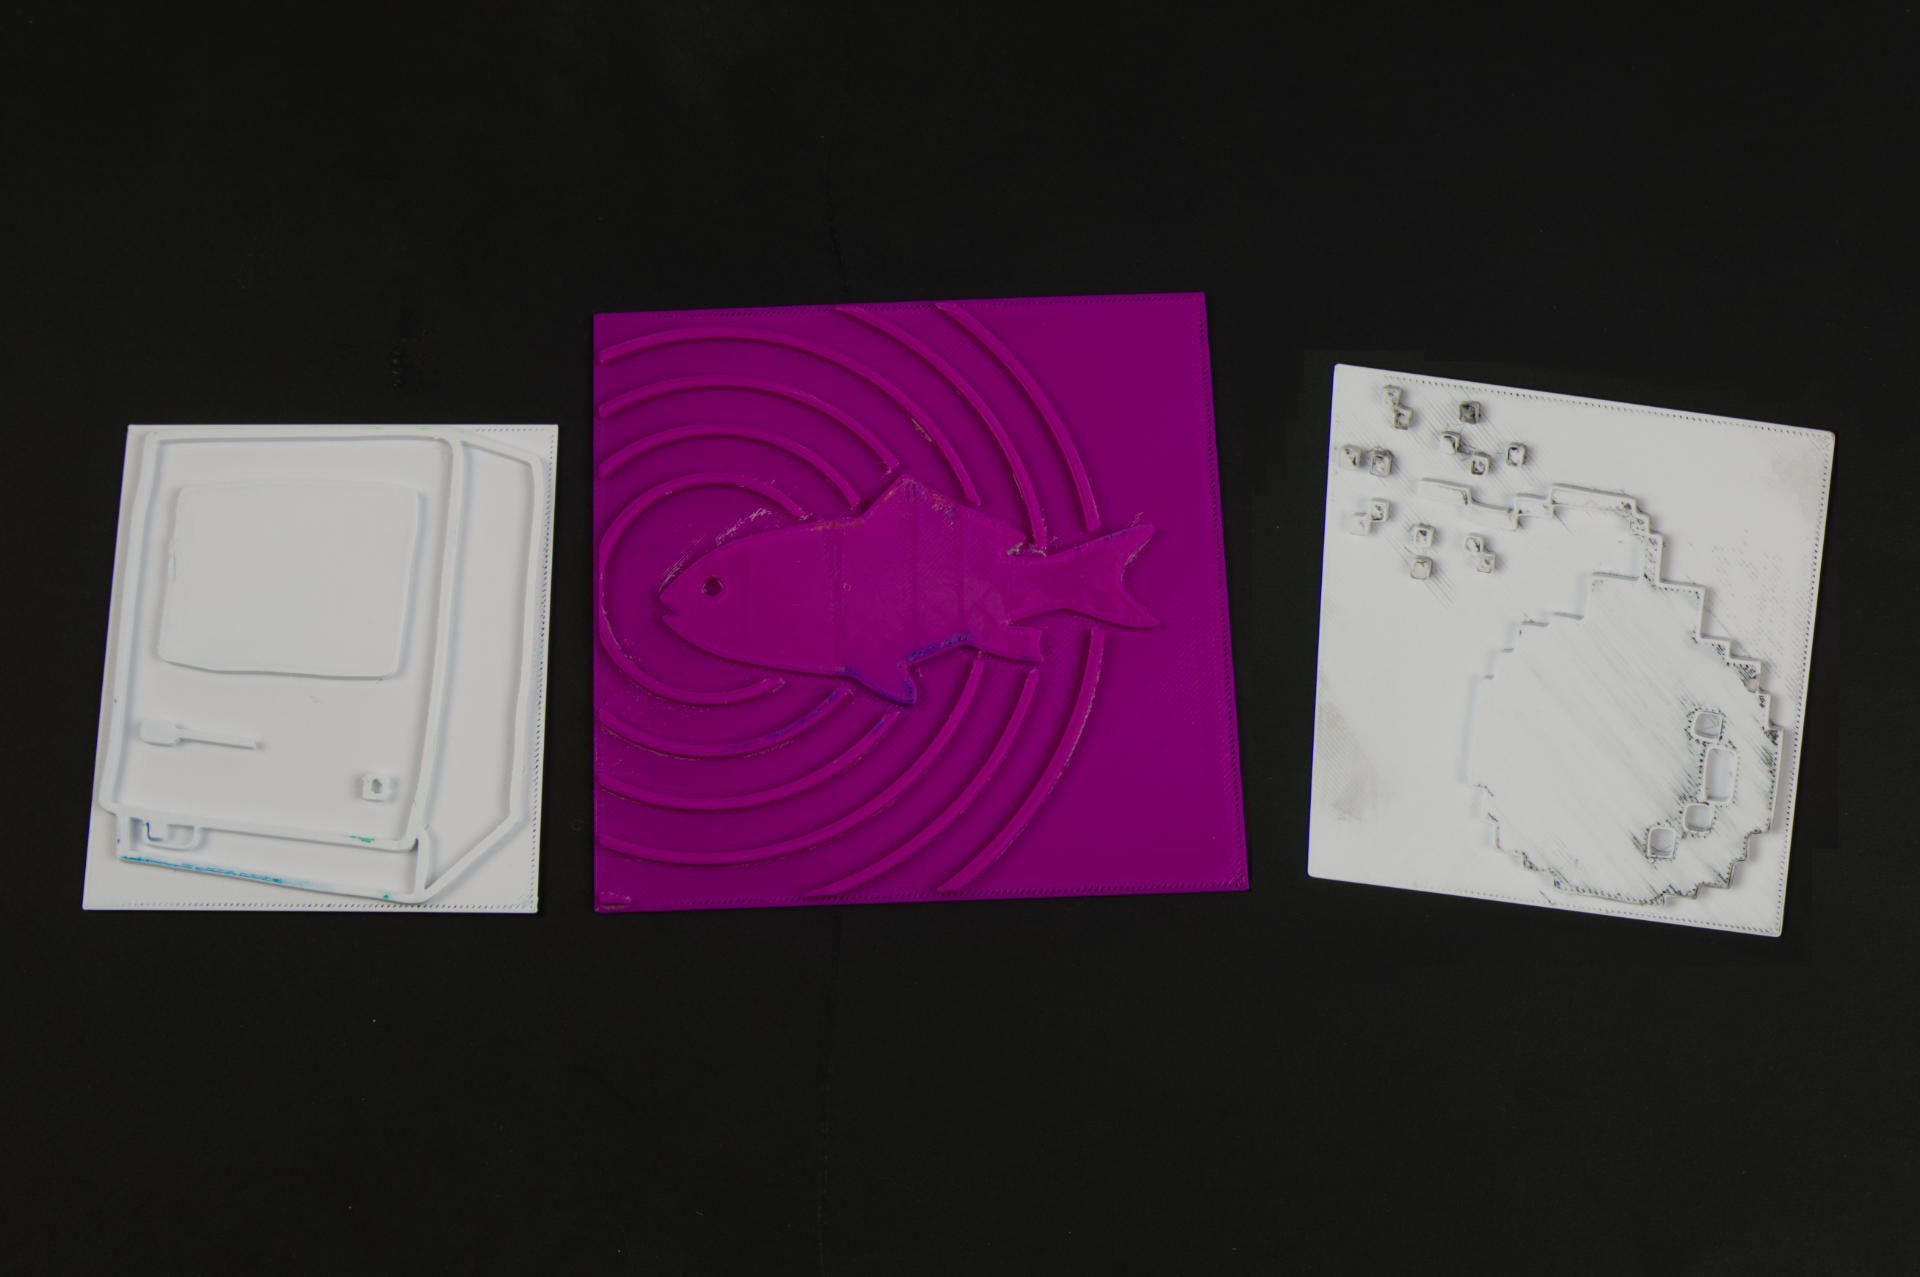
Each of these prints was done with a 3D printed plate. I design things in Inkscape (or draw on paper and scan it in) and then extrude the design and add a backing plate in OpenSCAD. (Yeah, I need to write up a post with that whole process.) Basically I am using 3D printing to create plates for printing 2D art and then framing it in a 3D print. Okay!

Some of the prints are really simple, and some are a bit more complex. The method of using 3D printed plates sort of forces some style choices, and producing work fast also adds constraints to things, but that’s sort of the idea right? A new piece of art each day isn’t easy, but it can definitely be fun. (Especially for someone who likes to make something, move on, and then make a new thing.)

Oh, and all that paper I made last month? I’m putting it to good use. Each print features the handmade recycled paper I made. Each piece of paper is unique and each print is unique. Of course along the way I also created a 3D Printed Mould and Deckle so I could make the paper because of course I did. DIY? Duh.

I’ve been doing a lot of rainbow rolls where two or more colors are used, and I’ve been mixing inks for a few of them. I ordered some white ink but it may not arrive until February so I really should try to get some locally because I still have a few ideas that would need it. I’ve also explored texture and color and share more than I typically do when creating art, which is a fun new thing for me.

I’ve been sharing the photos of the prints online (typically on Facebook, Instagram, Mastodon, Pixelfed, and even… LinkedIn!?) I love sharing the things I make with the world, and I always hope others enjoy them as well. In fact, people have actually wanted some of these prints. People wanting the art I made is a strange and new experience for me. I am fortunate enough to work two jobs which allow me to survive and making prints is basically a hobby/thing I love doing. In most cases it’s been people I know who want a particular print, and I’ve found a way to accommodate their requests. (Also, how fucking awesome is it to know my art will go to friends of mine? It’s really awesome.)

If someone wants a print I ask that they cover the cost of shipping and then I ask them to use the “pay what you want” model where they get to choose the price. Selling art is weird to me. I mean, I know artists have to survive, and selling their work is one way to do that, but for me and this adventure I just need to cover the costs of the shipping and materials, and if I make any more than that then I get paid something for my time. Again, with printmaking as a hobby I’m happy that people want these and are willing to pay for them.

I have no delusions of quitting my two jobs and becoming a full-time artist because I know the amount of work needed to do so. And the work is not just “make art” but all the work around that, which is marketing and promoting your work, constantly showing your work, always creating new work, making art people want to pay for, etc. Right now I am more than happy making a print, taking a photo, sharing it online, and whatever happens happens… even if nothing happens. Worse case I have a bunch of art in my studio (er, “basement”) and eventually I give it away or throw it away.

For me the largest value of this whole process is… the process. I’ve learned a ton of new things. I’ve developed new processes for making art, I’ve learned new techniques, experimented with styles, wrote parametric code to create frames, learned how to frame things inexpensively, and as always seems to be the case when creating things, I’ve learned about myself and the things I create. I shared with my artist friend that writing about the work (even if it’s just a few lines) makes me think about the work, and often have revelations about it, or form connections to it, and see how things connect to my life, and my experiences. And that is amazing.

So yes, stay tuned… we’ve still got 2/3rds of the month go to and we’ve got more art to create!

See Also: Part II, Part III, Part IV, and Part V.
Categories
Uncategorized

Speedball Brayer Holder

It’s a bad idea to store your brayers laying down on the roller, as they can flatten due to, you know, gravity (or mavity depending on your timeline) and since I don’t have a good place to hang mine I made a little holder that stores them standing upright.

Also, as I mentioned recently I use water-based inks, so that means I clean up my brayers with soap and water, so this holder makes a nice little drying rack for the brayers after a good washing.

The holes seem to fit all of the Speedball brayers I have, and others will not fit if the handles are a larger diameter (of course you can always adjust the OpenSCAD file to fix that.

So if you need to stand your Speedball brayers upright, and you have a 3D printer (or access to one) here ya go!

You can get the STL and .scad file from Printables.com – Speedball Brayer Holder. Print it if you need it!


Note: This post contains an Affiliate Link. Read More.

Categories
Uncategorized

Gallery 69 – Tyler Tork

Hello and welcome to yet another installment of the highlighting of an artist whose work is featured in Gallery 69! Tyler Tork is actually a VIP in the world of Free Little Art Galleries as he runs the web site freelittleartgalleries.art, and that’s how I met him. I listed Gallery 69 there and then he got in touch with me saying he’d be passing through town and was interested in stopping by!

And he did, and he brought some art for the gallery! He also had books, and I bought a copy of The Goodnight Agency for my partner, who happens to enjoy and teach literature. Tyler also makes art and other interesting/strange things, so check that out as well.

Some of Tyler’s things are 3D printed, and I’m pretty sure you remember that I’ve been 3D printing things since around 2011 or so. The chain pulls and light switch plate are 3D printed! The earrings are from another book Tyler wrote titled “The Deep End”. (I also really like the “Sad Computer Guy” magnet.)

I had a bit of a hiatus curating the gallery in the past month due to some health issues, but I’ve also been making a lot of prints and just did a refresh of all new things! Tyler’s stuff is going in there today and I’ll be digging through the archives for more art and asking other artists I know to contribute in the new year so keep an eye on the gallery for more! I often posts photos of the gallery’s new stuff on Facebook, so go be my friend there maybe.

Oh! You can also find Tyler on Facebook and Instagram, so check those out!

Gallery 69 is a Free Little Art Gallery located on 69th street just north of Locust street in the Enderis Park neighborhood of Milwaukee, Wisconsin.

Categories
Uncategorized

Water-Based Printing Inks

I like Water-Based Printing Inks. Yeah, I said it. Below I will explain in detail (possibly too much detail) why I like Water-Based Printing Inks.

First, some background. I’ve been printing for, well over three decades now. Yes, I am old. That doesn’t mean I know everything, or know more than you do, but it does mean I’ve observed a lot over the years. Second, I am cheap, or should I say, I like to keep things low-cost when I can. When I was printing shirts for punk bands and my own art in the early 1990s I would often get the cheapest shirts, scrounge materials, and buy low-cost things, and I could sell shirts for under $5 and still make a (small) profit. I mean, it wasn’t about the profits, it was about spreading art and making it accessible. Anyway, forget all that.

Printmakers will tell you to avoid water-based inks, and there certainly are reasons to do so, but I use them for two reasons. They are cheap and they are easy.

Cheap

Compared to “good quality” oil based inks, water-based inks are going to be much cheaper. sometimes close to half the price. For me, this means I can get more colors, and right now I am all about the colors. If you buy a print from a professional printmaker it will probably have been printed with high quality oil based ink. If you buy a (cheap) print from me it will probably be done using water-based ink.

Note that I said “professional printmaker” above. I do not consider myself a professional. I am a printmaker but I do it for fun, to explore, to learn, and if I ever make money from it, cool… but again, I am interested in spreading art around for cheap.

Using water-based inks means I can make prints cheap, and sell them cheap. I like that, as it makes art more accessible.

Easy

Easy has a few components to it, the most important being that it’s easy to clean up. Water-based inks can be cleaned up with soap and water. That’s it. Like washing dishes. There are some hybrid inks that are oil-based but water-soluble or water-miscible. They cam be cleaned with water, sort of, but in a specific way, and you’re not supposed to put the water down your drain.

So here’s the deal… If I make it easy to print, I am going to be more likely to print. If cleanup is a pain in the ass, I won’t want to do it. If cleanup is super-simple, then I don’t mind it at all.

One issue with water-based inks are that they can be difficult to work with for a long period as they dry up while you are trying to print. You can add a few drops of vegetable glycerin to the ink to prolong your printing time but for me, it doesn’t matter because I am quick.

Often a printmaking session for me is done in well under 15 minutes. I often only make a half dozen prints. I’m not doing huge runs, but just a few at a time. Sometimes I do a few prints in the morning before work, get everything cleaned up, and the whole process is less than 20 minutes.

Since I am using the Provisional Press I’m not hand burnishing prints or rubbing a spoon for five minutes. I can roll that press and get a print in seconds. It’s not about going as fast as possible, but I’m not taking minutes per print, so that ink is not getting a chance to dry on the brayer.

Anyway, that’s my argument for water-based inks, and why they work for my specific needs. I don’t expect everyone to work the way I do, but I think that if you want to use water-based inks because they are cheap and easy you can totally do that. I support you!


Note: This post contains an Affiliate Link. Read More.

Categories
Uncategorized

Fancy Sanding Blocks

About a year ago I “designed” (ha ha!) and 3D printed the Super Boring Sanding Block which has served me well for sanding miscellaneous wood in the shop, but I found a nice parametric sanding block for OpenSCAD so I thought I’d give it a try.

You can adjust the length, width, and height, and basically make it any size you want. I made mine to fit the sheets of sandpaper I normally buy. I’ve now got six of them with various grit for each one so I can just grab the right one and get to work. (I also added labels to each using the Niimbot.)

My one complaint (which someone else also had) is that you can’t easily figure out the size needed to fit a specific length of sandpaper. I don’t know if there is some OpenSCAD wizardry or maths that would do this for you, but my solution was to print a really thin version (repeatedly) and adjusting the numbers until it properly fit my sandpaper, then I made full width versions. Things like sanding blocks are a perfect match for 3D printing.