Categories
Uncategorized

January Prints in Progress (Part IV)

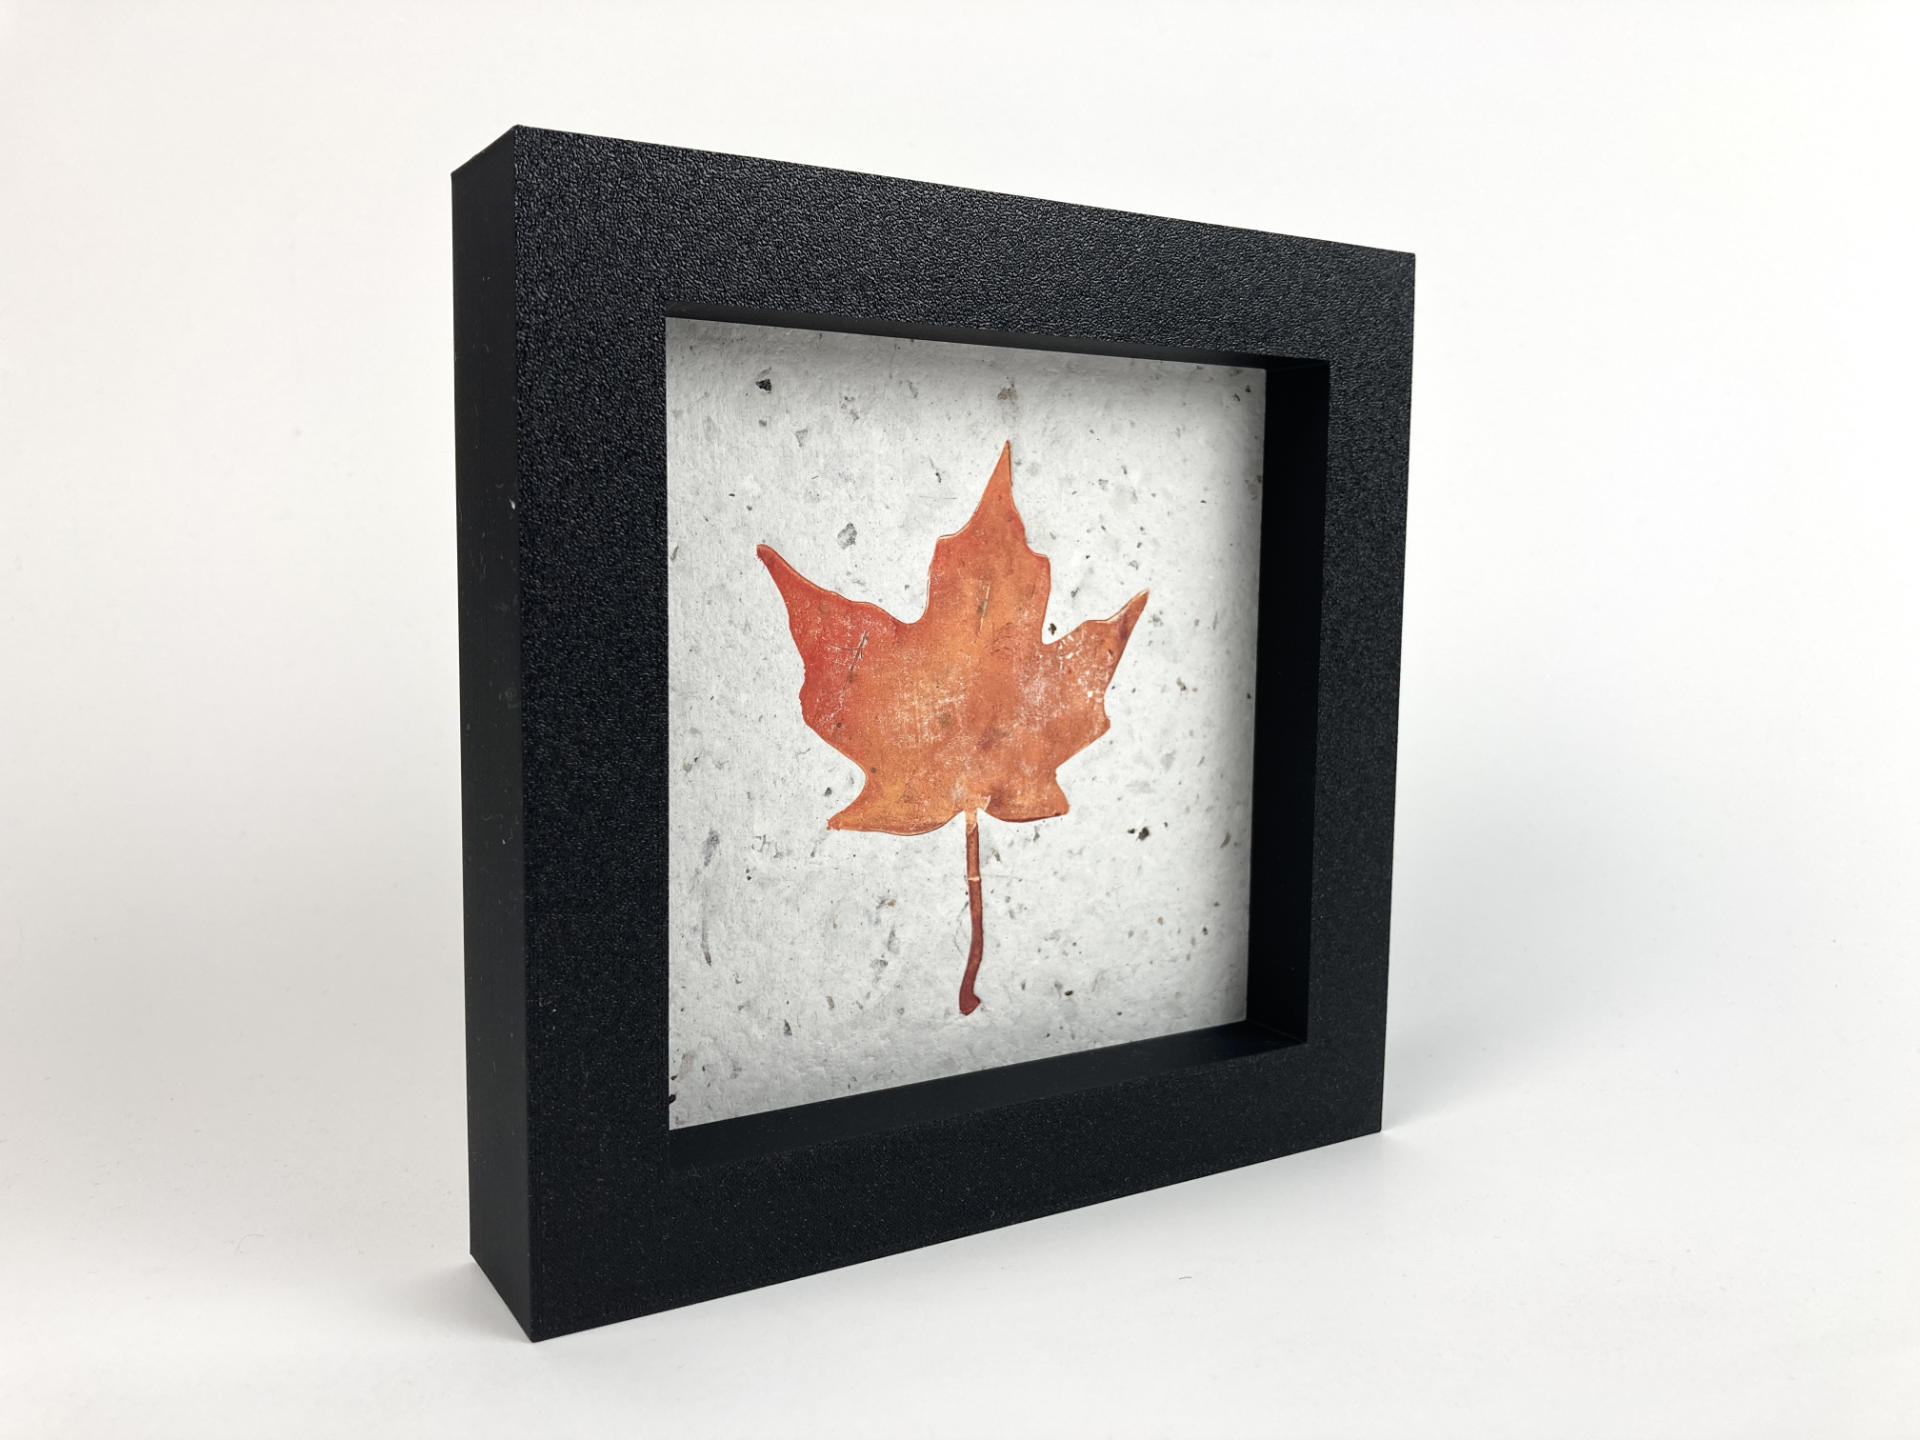
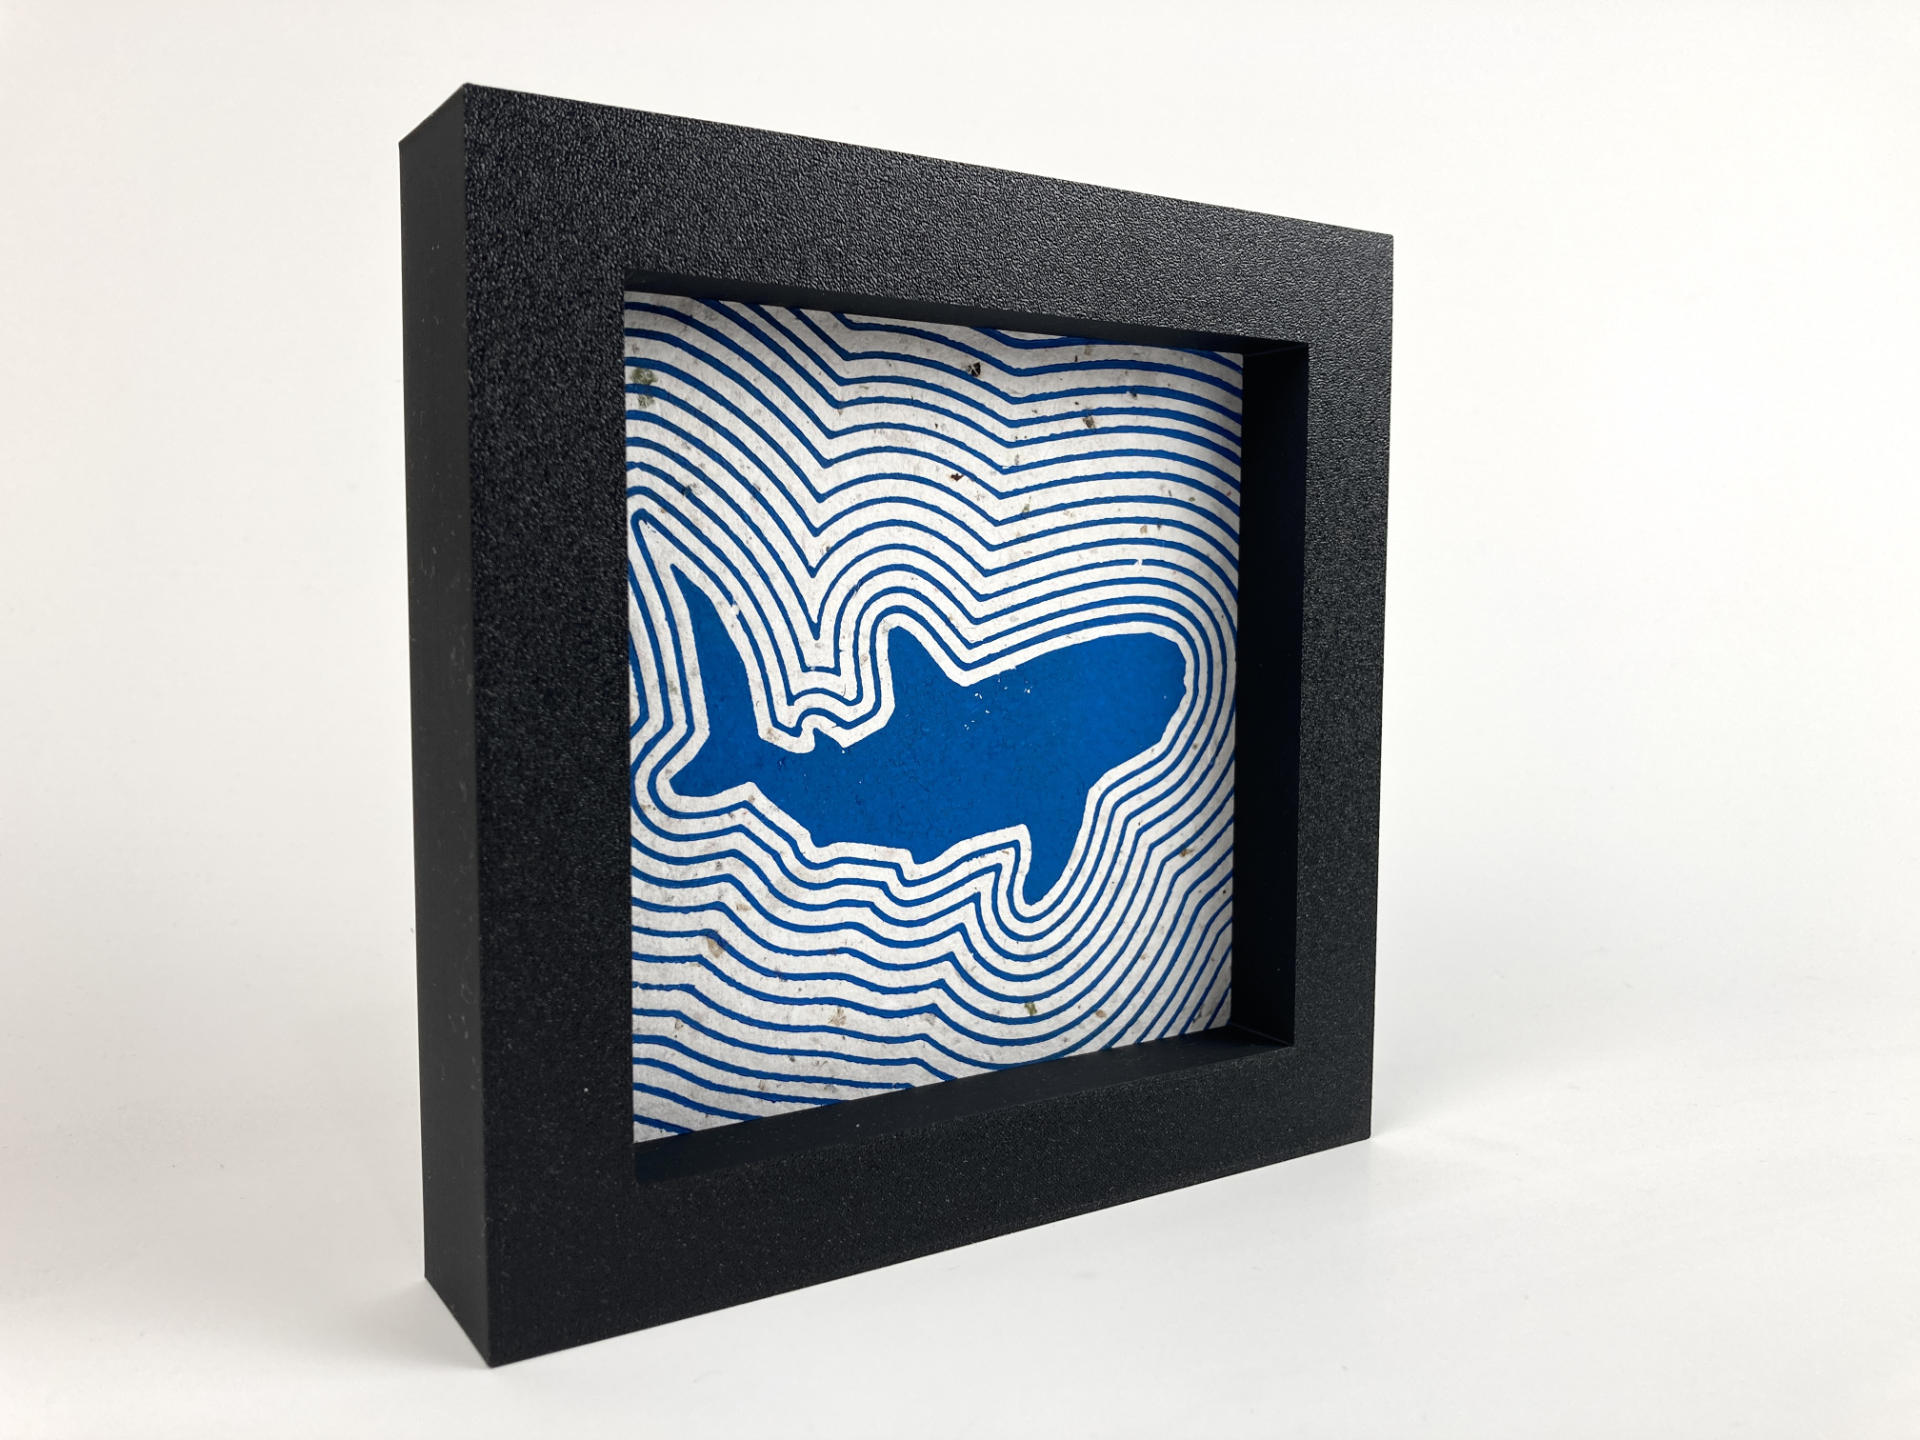
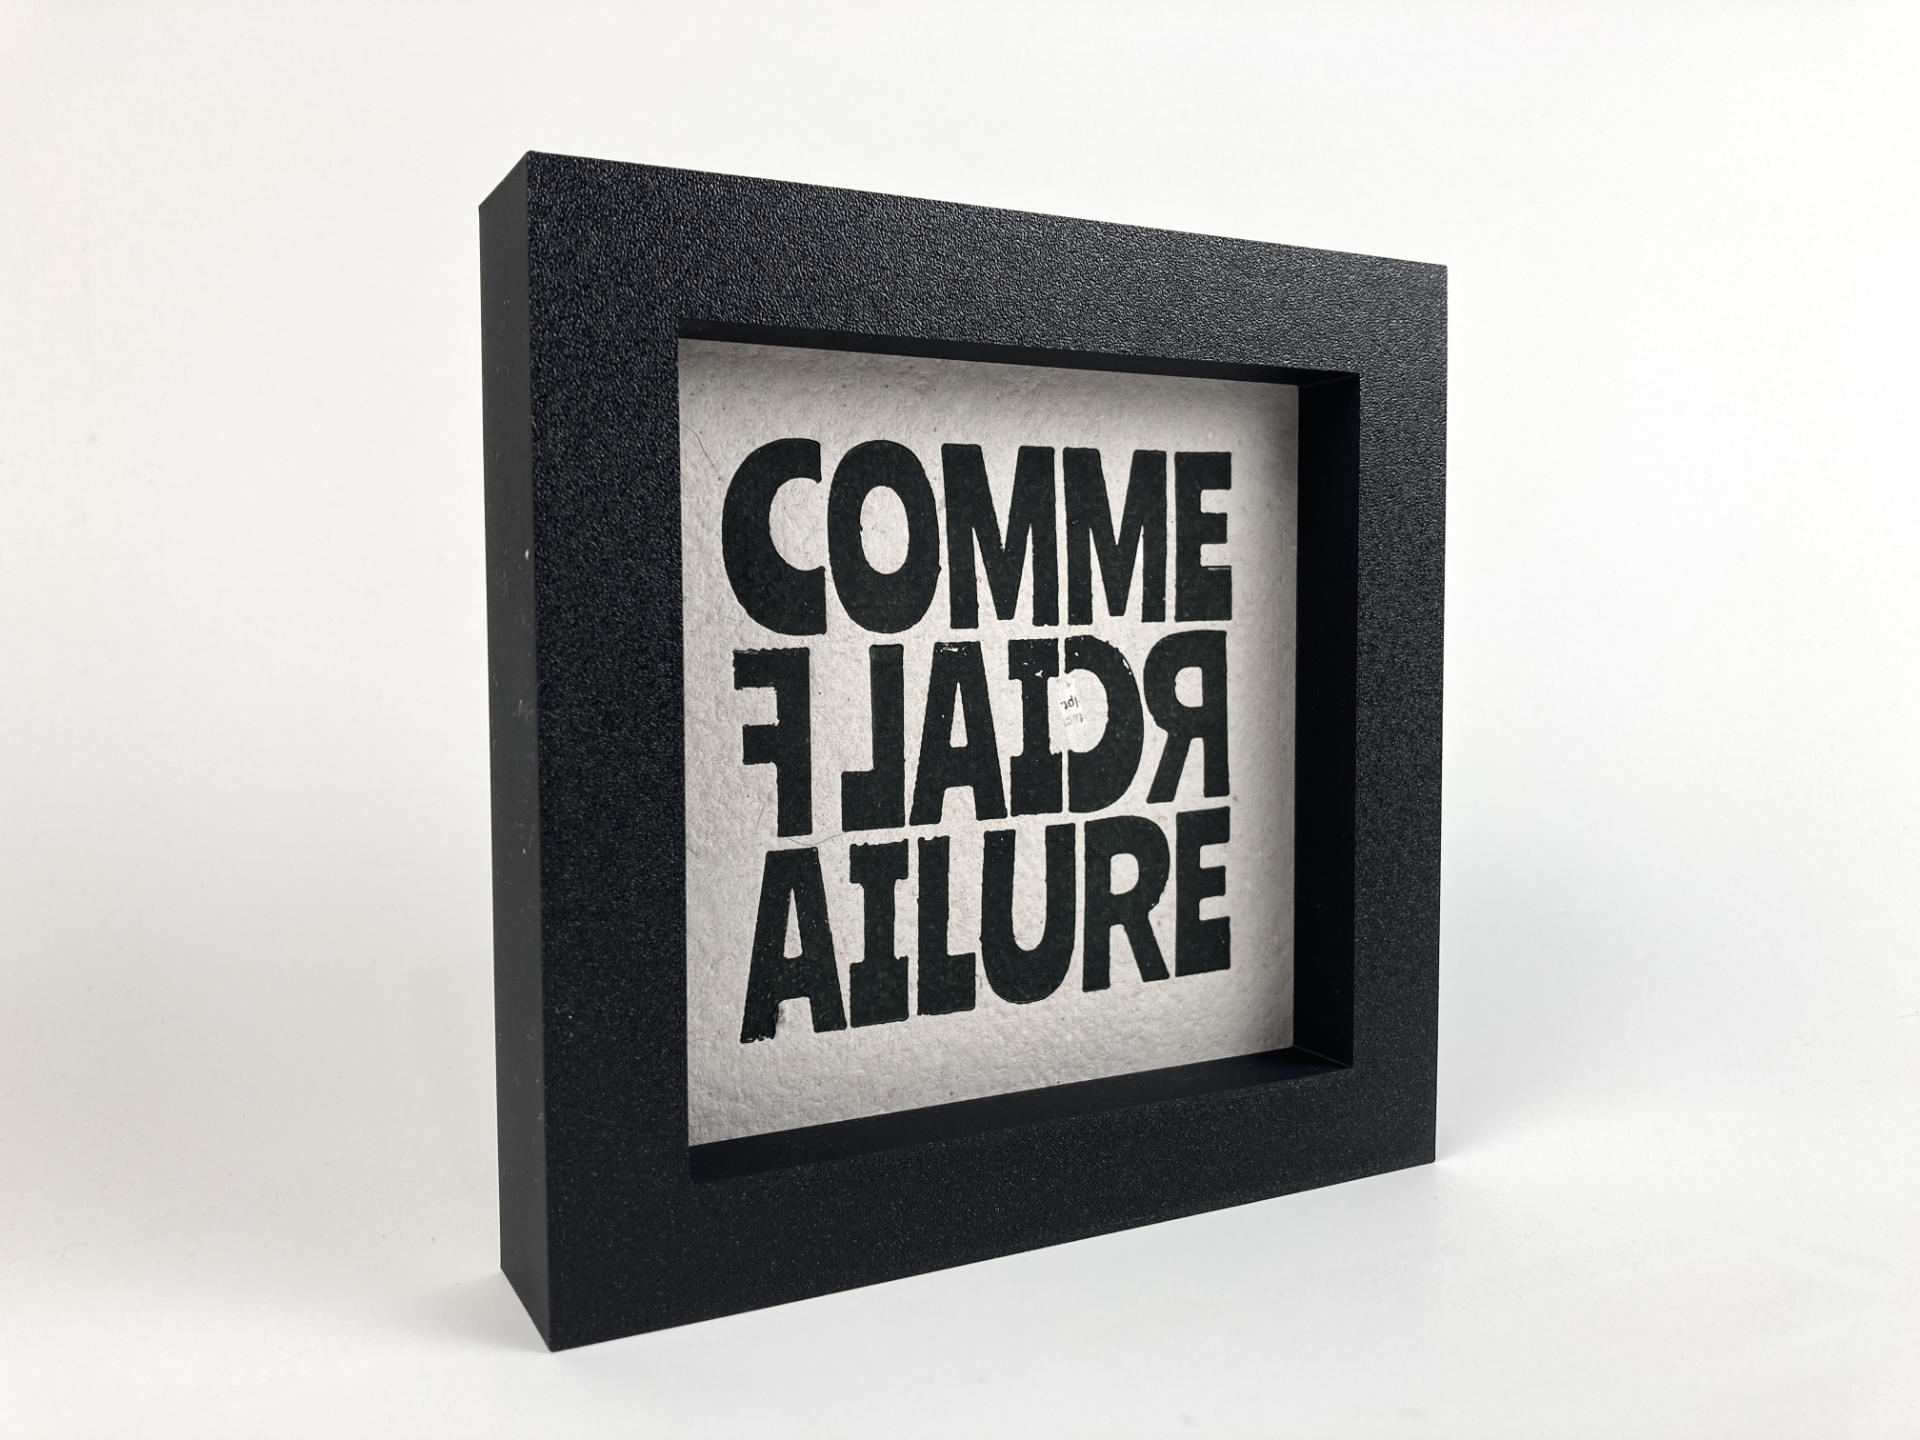
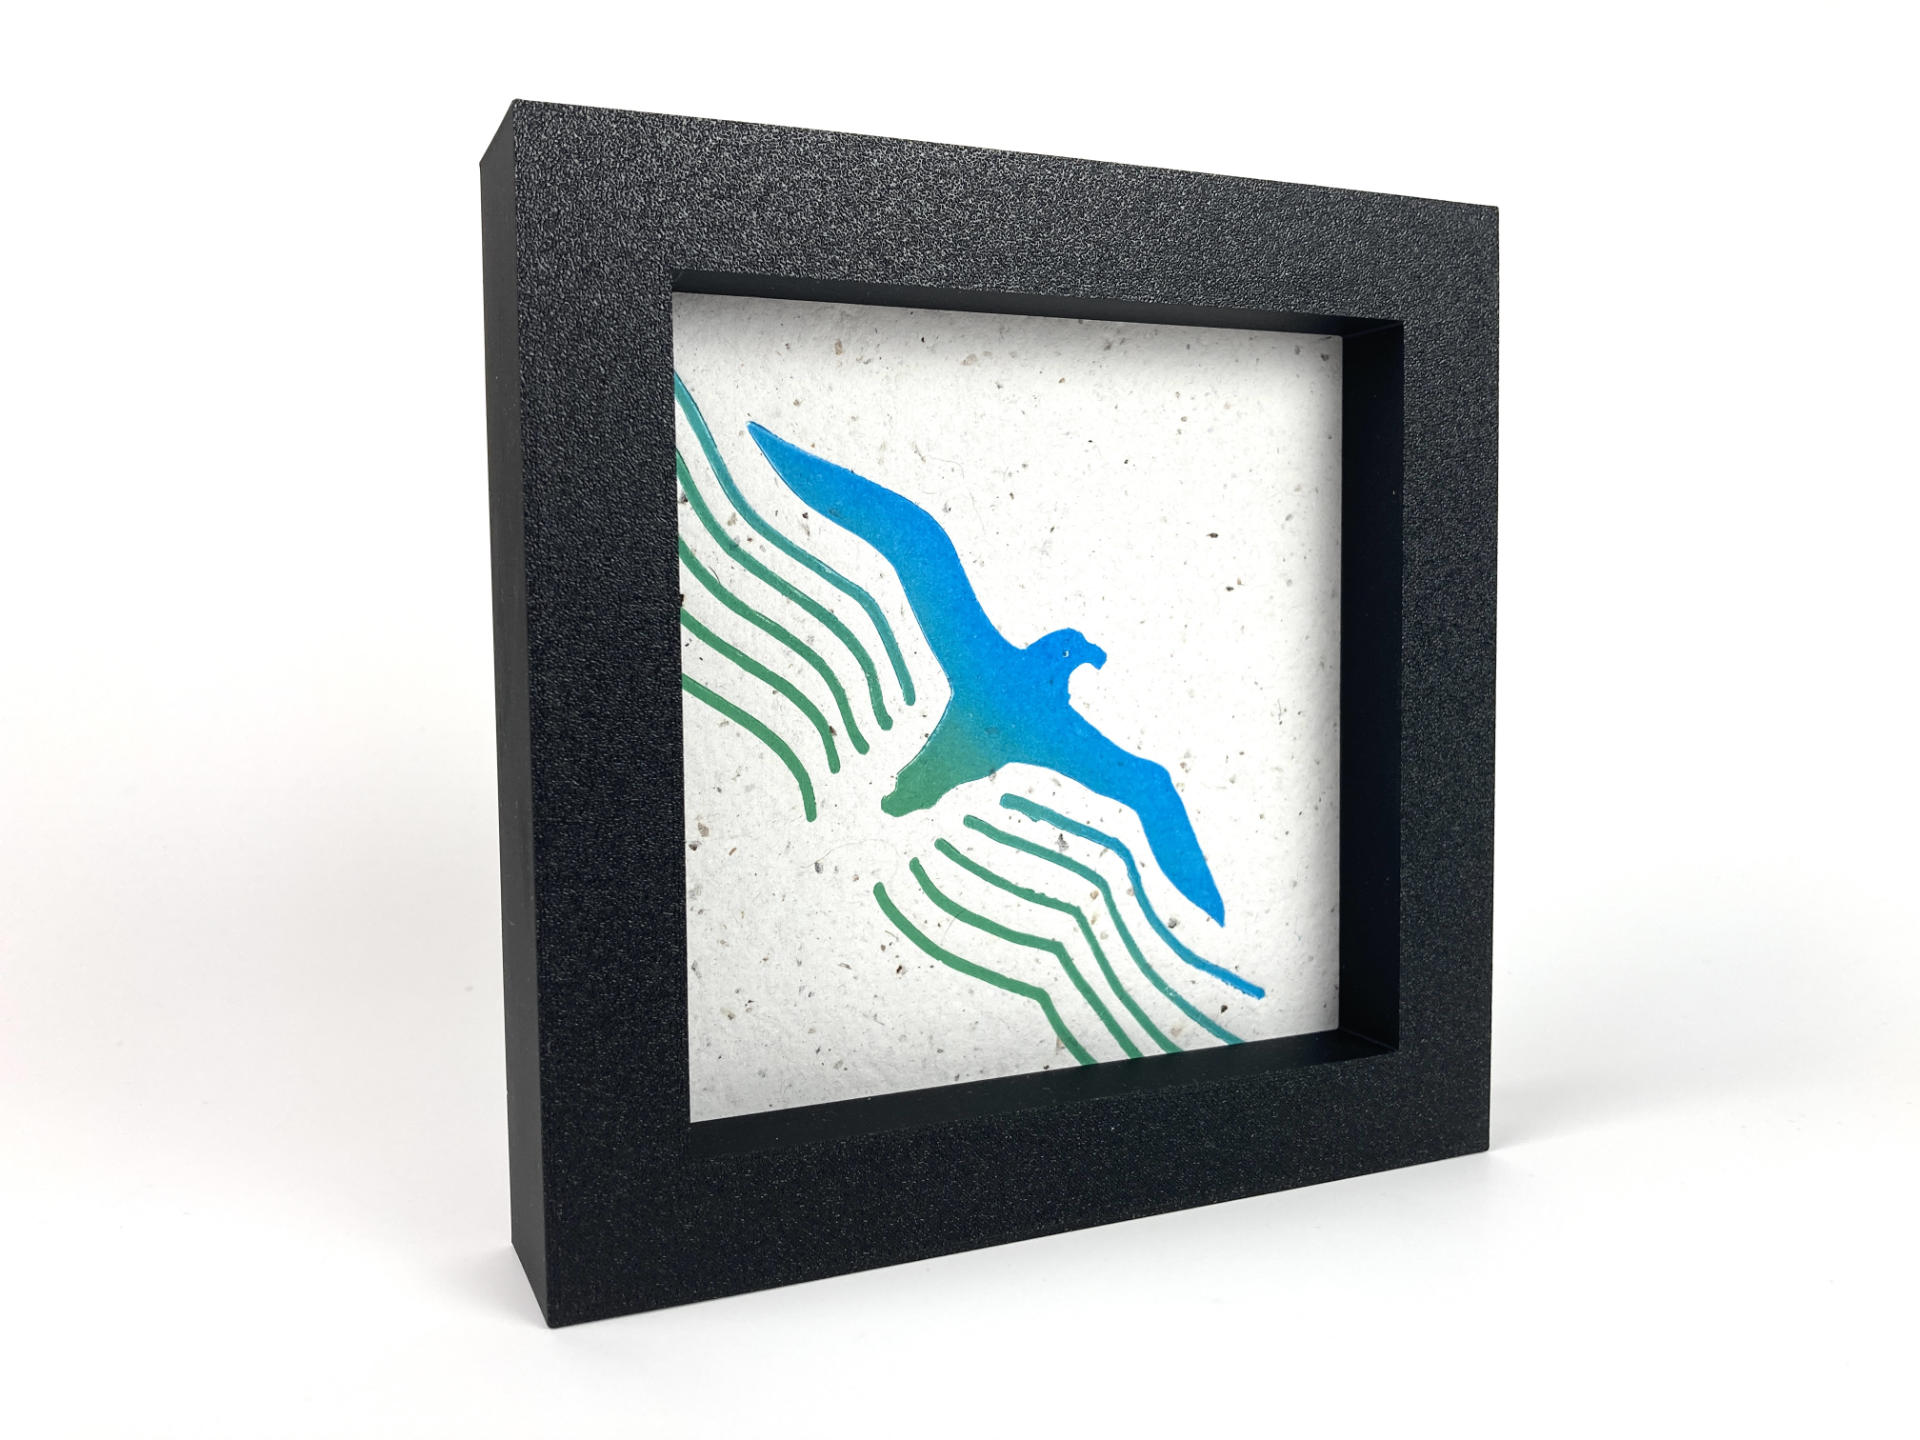
This post is the fourth covering the prints I’ve made in January 2024. (See Part I, Part II, and Part III.) The idea was to create 30 prints in 30 days. (I know, January has 31 days.) I based this on Var Gallery‘s 30x30x30 Exhibition which I applied to, but alas, I was not accepted. No matter. I’ve made well over 30 prints in fewer than 30 days. Zing!

I am writing this on January 27th and right now I’ve got 41 prints done, and another four plates ready to go, so I’m going to guess the final total will be 45 prints. If you had asked me if I could create 45 prints in less than 30 days I don’t know that I would have said yes, but somehow I did it.

While I certainly made a lot of art, is it any good? Well, there are pieces I definitely really like, and at least a few people liked some pieces enough to offer me money for them, so that’s nice… But from a challenge standpoint, I would say I definitely enjoyed the challenge, and I can see a path forward with new art I want to create.

This month has been about creating a process that works for me. The process is one where I can work fairly quickly, but I’m also interested in slowing down. There is one design I worked on about a week ago and I haven’t finished it yet. Most of the designs were done in little time, sometimes it took less than 30 minutes to design something, produce the files, and then hit “Print” on the 3D printer so I would have a plate ready for later.

The “working really fast” method is great for kicking out ideas, but that refinement and iteration of ideas can get lost in the speed of moving fast. I think there were only a few designs where I made a second plate because something wasn’t quite right with the first one. Two were size issues and one or two were redesign issues.

I think what I’ve seen after creating all this art is that some ideas and methods and styles have emerged, and the next step is to push those further. I consider these all experiments to figure things out, and things did get figured out.

I think there’s a good variety of different pieces included in this post, and some of them are favorites of mine, and some mean something to me personally, and others are just “meh” because I don’t think I quite nailed it. It’s weird though, because I’ve somehow melded graphic design (with iteration) into a printmaking practice, which I don’t think people who do woodcut or linocut really deal with.

Alright, thanks for once again reading my rambles around art. I guess there will be one more post in this series since I’ve got a few more prints to do before the 31st rolls around. Stay Tuned!

See Also: Part I, Part II, Part III, and Part V.

Categories
Uncategorized

Modern Papermaking [Book]

I picked up the book Modern Papermaking by Kelsey Pike because I wanted to learn more about making paper. My first real papermaking adventure was back in May of 2023. Then I made more, and more and more and even made my own 3D Printed Mould and Deckle. (I actually made a few of them along the way.)

I should point out that I learned enough to try my first batch of paper by watching a lot of how-to videos, and read a number of posts online, and sort of fused all that together into something that would work for me. I think in whatever creative endeavor you pursue you need to do what works for you. For me that means using things I already have, trying to avoid purchasing new supplies, material, and equipment if I can get away with cheap alternatives or things I already own. At least to get started… If I find that what I have is not adequate I can always update and buy things if needed later on.

So the question is, could you as a beginner, get started making paper with just this book, Modern Papermaking? I think so. Kelsey covers the tools she uses in her studio, but also talks about the tools you could use at home to make paper. There’s also a lot of good knowledge in the book I did not get from videos or posts online, and for that alone I’d recommend it for beginners.

I don’t know for sure, but I feel like the Modern in the title might be a reference to another book. Arnold Grummer’s Complete Guide to Easy Papermaking. Grummer is a well known name in papermaking, and his book was published in 1999, so it is a bit dated… in some ways. I mean, making paper is an art that is over 2000 years old, right? Grumer’s book is good (I checked out a digital copy from my local library) but it feels very DIY and hacky, more about weird experimentation and trying anything, which I of course really like, but in contrast Kelsey’s book seems aimed more towards people who want to make nice paper.

Kelsey sells nice paper in her Etsy shop, and that means she’s making paper that is consistent in color and quality, since people are buying it to make nice things. (Check out Kelsey’s site at Sustainable Paper + Craft for lots of great items for sale and other good resources.

In contrast, I will probably never sell paper. I do like making it because I can use it for my printmaking practice and it helps recycled a lot of the paper in my own household. I will be making a batch for a friend who does daily drawings. I don’t know how it will perform yet but it will be interesting to see the results.

So yes, I would recommend Modern Papermaking by Kelsey Pike if you are interested in getting into making your own paper. Start with it, and then fill in with other resources (videos and posts you find online) and if you get stuck, get in touch and I’ll offer any advice I can!


Note: This post contains an Affiliate Link. Read More.

Categories
Uncategorized

January Prints in Progress (Part III)

This post is the third covering the prints I’ve made in January 2024. (See Part I and Part II.) The idea was to create 30 prints in 30 days. (I know, January has 31 days.) I based this on Var Gallery’s 30x30x30 concept which I applied to, but alas, I was not accepted. No matter. I’ve made well over 30 prints in fewer than 30 days. Zing!

Throughout this month and this process I’ve definitely become better at printmaking. I’ve got a good feel for the ink now, and know how much needs to be applied, and have gotten much better at estimating the amount of ink needed, and better at mixing inks too. One of the things I was always proud about back when I was a screen printer is that I could almost always tell if there was ink on my hands, which mattered a lot when printing shirts for customers… (What’s that old saying “We had ink in our blood”?)

Some of these designs are purely digital, but many of them are hand drawn/traced from things I’ve printed out. Hand drawing introduces things that you just can’t get with the digital process. The thing is, I like both… and I will probably continue to use both. I’m okay with that. Back in 2023 I had this goal for 2024 to do more drawings… hand made drawings that is, not computer illustration. Oddly enough, this printmaking exercise has been the thing that kicked my drawing into gear, which is good.

I used to love drawing. (Most people/children did, right?) But for some reason I got away from it. I guess I could blame computers? I used to use a digital drawing tablet but it just never felt the same. As I’m using the Shaper Trace more and more I’ve come up with some interesting new ways to use it to capture drawings. I sometimes capture a drawing multiple times during the process to get different versions. I also draw different “layers” (sheets of paper) and then combine them digitally. I should also note I draw with felt tip pens, not pencils.

As far as style, I feel like I don’t have a style because I do so many different things. I never know if this is a problem. Some people who create art (you know, those “artists”) develop a style and go for it, and all of their work looks like that. I just have never done that, and much of my stuff tends to look different. Maybe I don’t like to be constrained? I also work in so many different mediums and do so many different things… I don’t know.

I read this interview with Ian Burke and he was asked why he did printmaking and he said “Coming from a working-class family in the North East I firmly believe in affordable art.” And you know what? I do too! I’ve sold some of these prints and would not mind selling more. People have paid anywhere from $10 to $50 because I’ve implemented a “pay what you want” model. If you want to buy a print and can pick it up, pay anything! If I need to ship it, you’ll need to cover the cost of shipping and then pay anything.

Just like with Gallery 69 the idea of “Art for the People” is a great idea, and one I want to help promote. Speaking of Gallery 69, none of these prints have gone in there yet, but some of the test prints will most likely find their way in there once the weather warms up…

Oh! One of the people who bought a print said “Wait, you made the paper?” and well, yes… I did make the paper. The batch I made in December lasted until about the second week of January, and I’ve made two more batches since then. (A batch is about 16 to 20 sheets.) I like making the paper, and it makes every print unique.

Speaking of unique, while the whole idea of printmaking is that you can make a whole bunch, the Var Gallery 30x30x30 requirements started that prints should be unique, not part of a series. I’ve mostly stuck to that idea. Each photo is the good print. Sometimes I’ll do two, and maybe three in some cases, but the one you see a photo of is the one print that turned out most acceptable.

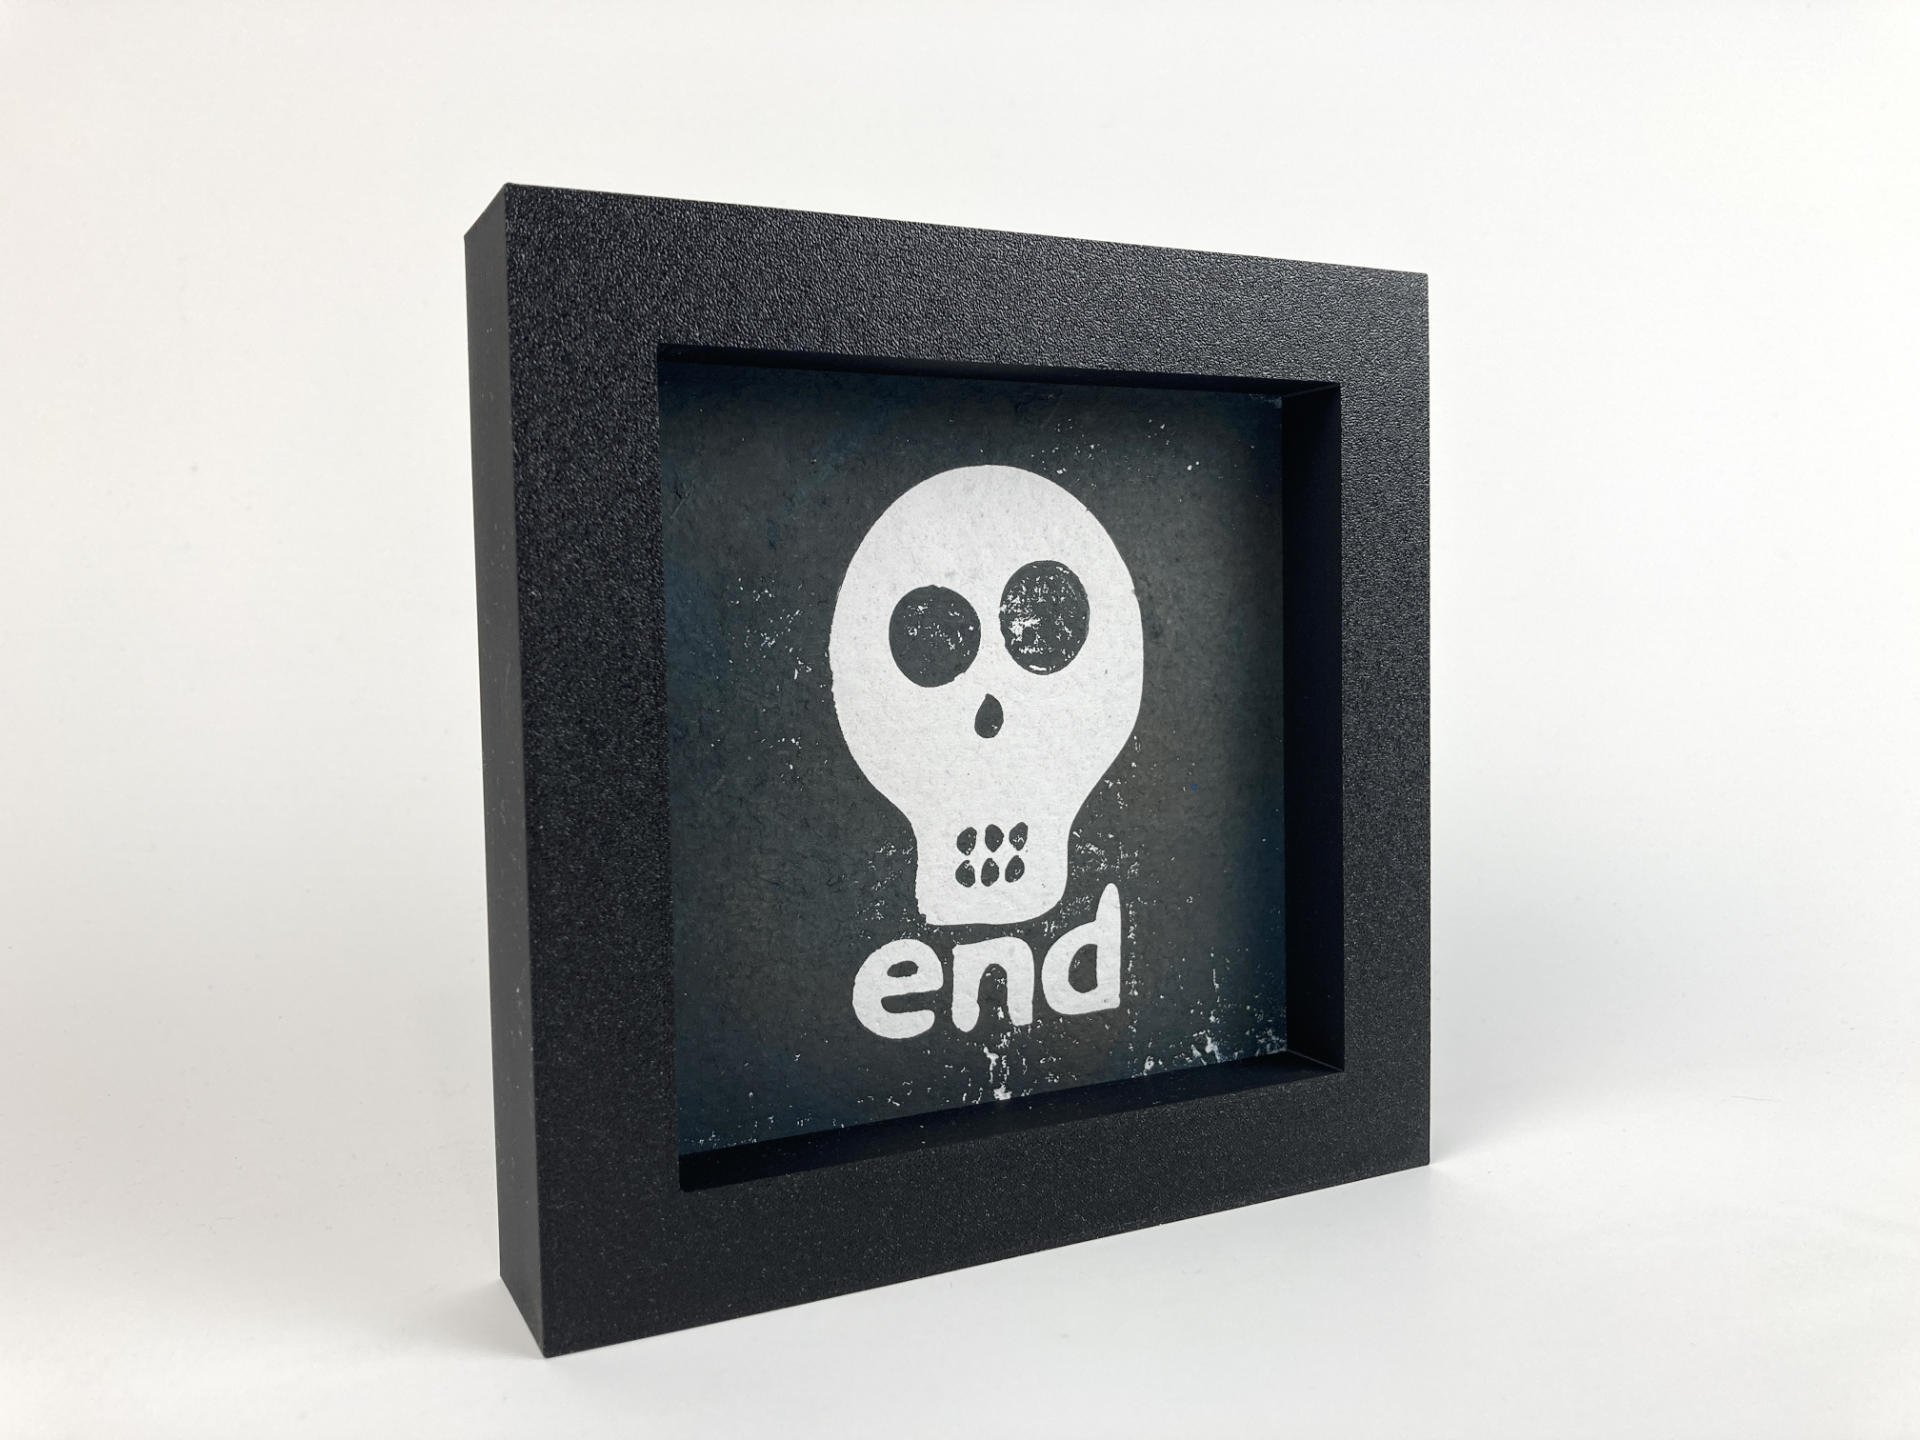
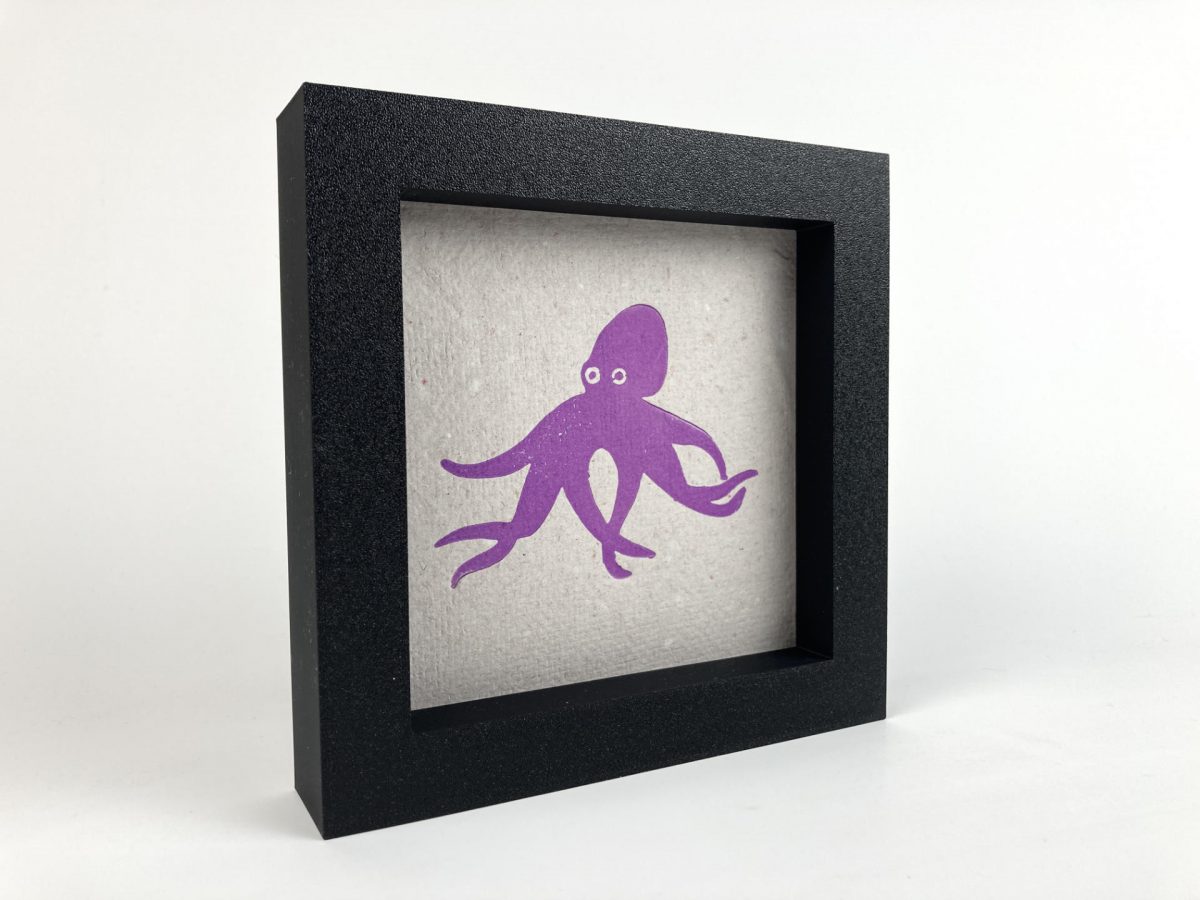
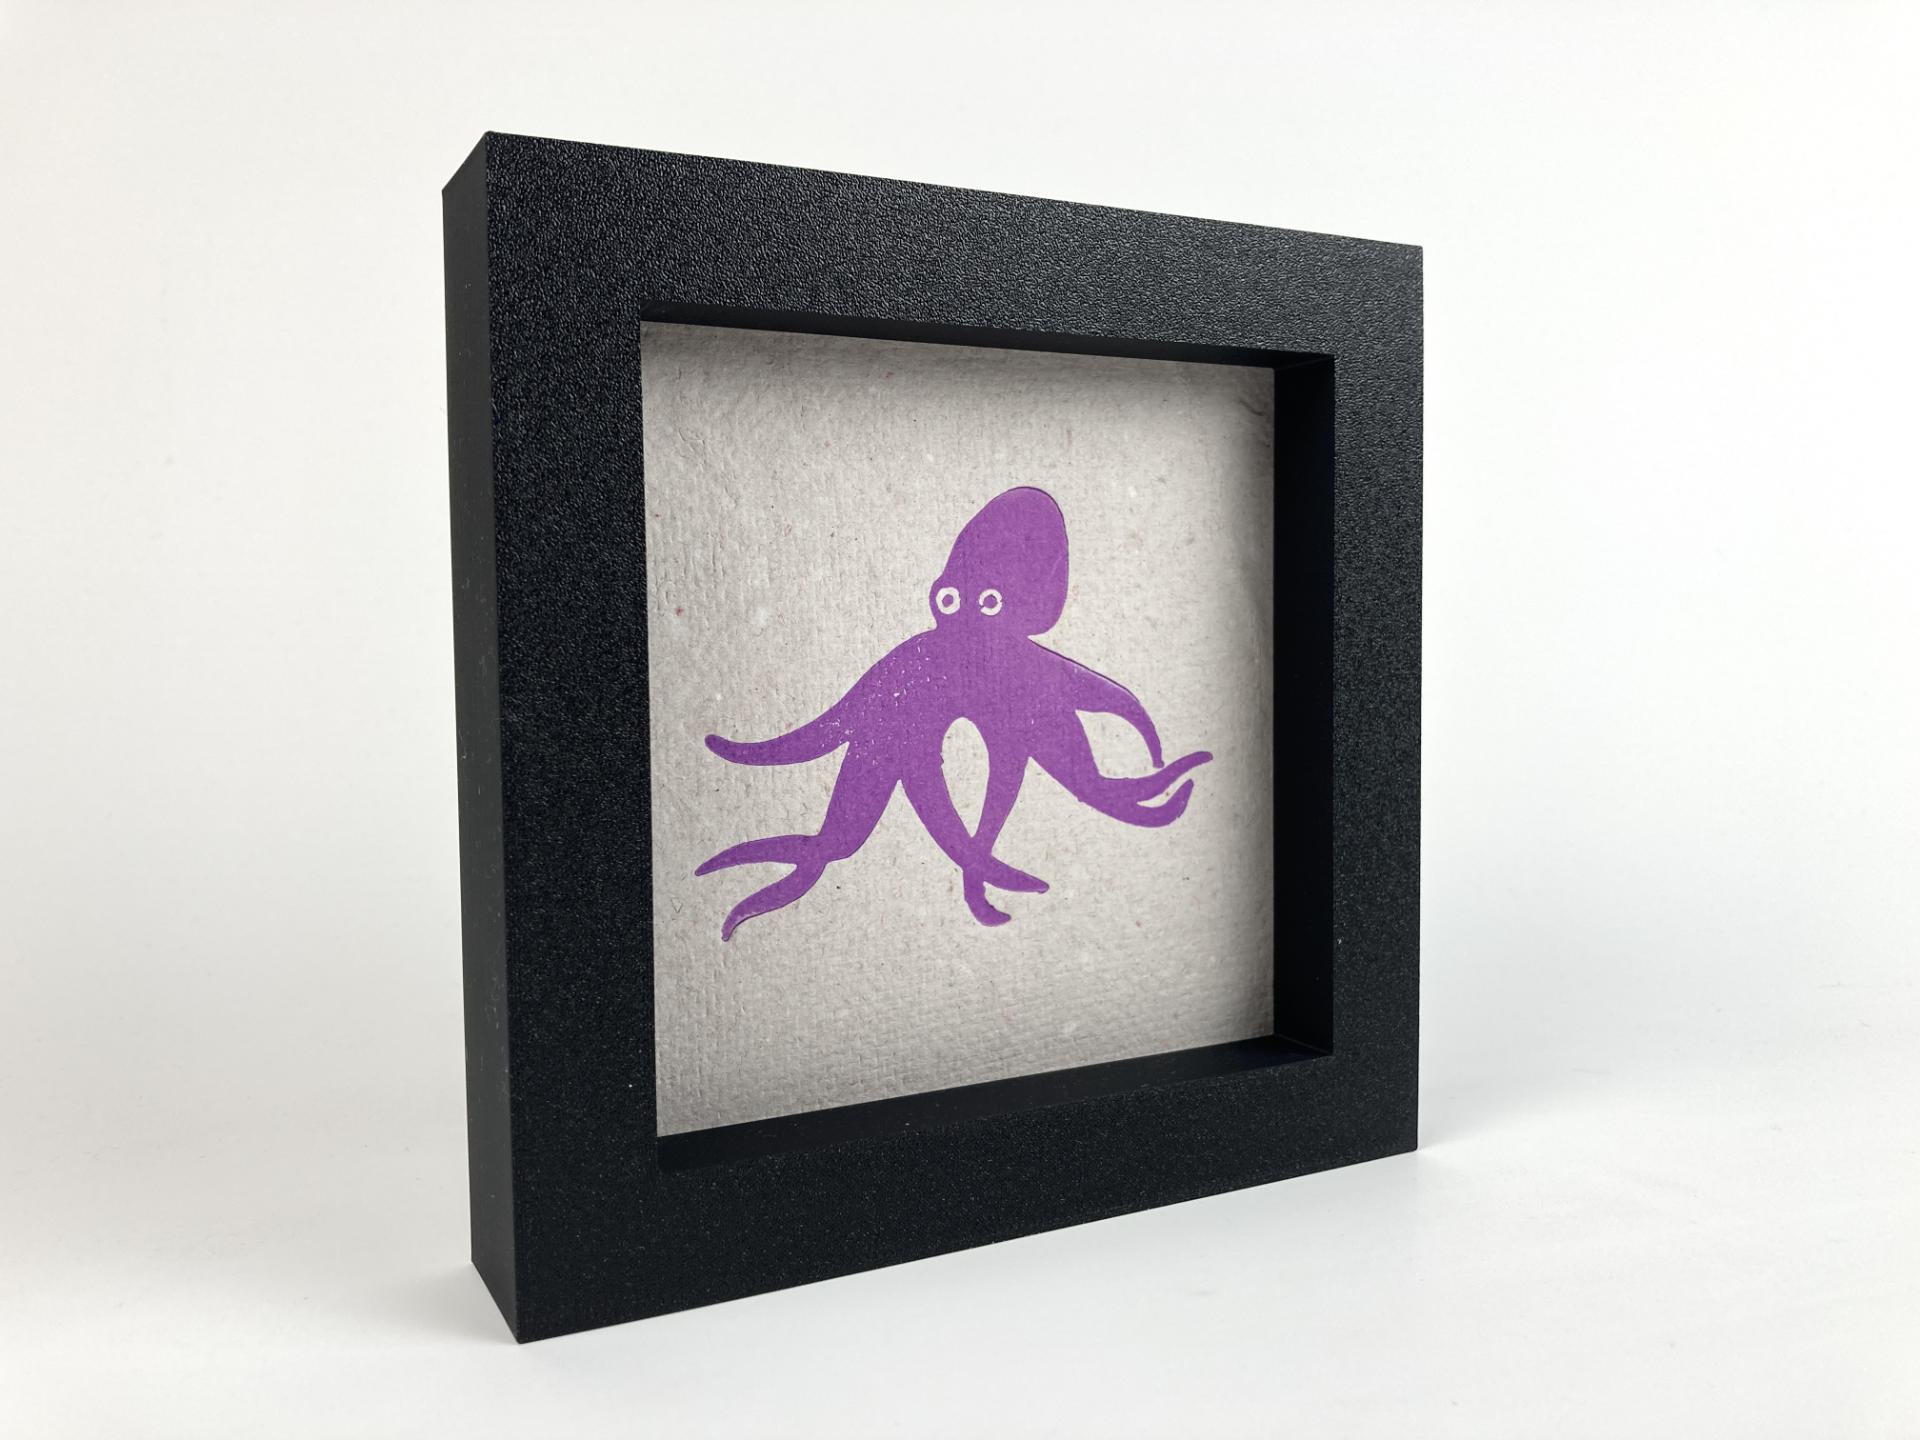
You’ll also notice each print is framed. I figured that a frame piece of art is ready to go, and you can get it and just hang it on the wall or put it on a shelf. I’ve been guilty of getting a print and not getting it framed for nearly a year. This solves a problem I had and maybe other people have too. (All the frames are 3D printed, and I designed those as well.)

Anyway, I’ve really enjoyed this challenge, experiment, exploration… whatever it is. I’m extremely fortunate to be able to do it. Sure, I pushed other projects to the side, I spent a lot of time alone (which I need and like anyway) and I can definitely say I learned new things… new things about myself, about the art making and printmaking process, and about how I want to move forward with my own journey.

But wait! There’s one more… Sure, I’ve shared 32 prints so far, but there’s still a week left, and I have more prints coming, so stay tuned for the exciting conclusion of… January Prints (2024 Edition)!

See Also: Part I, Part II, Part IV, and Part V.

Categories
Uncategorized

January Prints in Progress (Part II)

Have you already see January Prints in Progress Part I? This is Part II of the journey to create 30 pieces of art in 30 days in January 2024. Part I covered the basics of the project, so in Part II I’ll show the latest prints and talk about all sorts of random things.

I have been really enjoying this process. Each day I come up with one or more ideas, and either design something digitally or print out an image and do a bit of tracing and drawing and then digitize that and make a plate. The plates are all 3D printed for this project, which has also been a challenge (sometimes fun, sometimes frustrating) but overall I have a process that works for me.

These sorts of creative challenges where you need to create something every day can be rough. I remember discussing a photo challenge with someone where they took one photo every single day and they said there were a number of times it would be 11pm at night, they’d be exhausted, but still had to find the energy to be creative and come up with an idea and get a decent shot…

If you get sick or have unexpected things happen (you know, like a power outage, flat time, having to get an MRI) it can be difficult to prioritize being creative when you are just trying to survive! (Luckily this month has been pretty smooth so far… Fingers crossed!)

Even though this month has been pretty smooth, it still takes alot of time. For me I’ve found that if I can get in 30 to 45 minutes in the morning before going to work that helps move things along pretty well. January has been a slow month for sales and I’ve just sort of pushed off a few other projects I have been working on. They are still getting done, just a little bit slower…

Speaking of slower, while I do like the challenge of creating something new every single day, I sort of look forward to this project ending so I can slow down. Most of these prints are a single iteration of an idea. To me design has always been about iteration and continually trying to improve things, so there are a few prints that I think are (nearly) perfect, and some that could definitely benefited from a bit more time and versions.

Ideas can be like that though… sometimes you get an idea and BAM! That’s it! You nail it on the first attempt… Or so you think. Maybe doing a number of versions, playing around with it, pushing it, pulling it, and trying variations is something worth doing. Once this months is over I may take that approach.

Speaking of approaches, these are relief prints and not linocuts or woodcuts because I don’t actually cut anything. Carving plates is a subtractive process while 3D printing the plates is an additive process. I am not the first person to do this, but I think I’m definitely a person who has now done a lot of this. As I mentioned in the previous post these 3D printed plates have some pros and some cons, and I’ll probably follow up on that topic in another post.

I also had to make more paper because of all these prints. Luckily I’ve sort of got that process down and can make about 16 to 20 sheets in about an hour or so and they are dry and ready to use in about a day and a half or so. Sometimes I really like the paper I make and other times I think I should just use pre-made quality paper made for printmaking. I’ll probably continue to make paper in the future (perhaps experimenting more and trying to create higher quality paper).

I hope you’ve enjoyed this update. We’ve still got another 10 days to go, so expect more prints to come. If you are interested in acquiring one of these prints for your collection let me know. We’re still running a “pay what you want” model in the interest of getting more art out to more people… people like you!

See Also: Part I, Part III, Part IV, and Part V.

Categories
Uncategorized

Using the Shaper Trace

Back in December I heard about the Shaper Trace and ordered one immediately. I normally don’t order products immediately but a few client payments all came in at the same time and I needed to spend something on new tools before the end of the year, so the Shaper Trace was it.

I am no stranger to using the the Image Trace in Adobe Illustrator or Trace Bitmap in Inkscape to convert images into vector artwork. I’ve also uses a desktop scanner dozens of times to scan an actual object or a drawing, and convert that to vector lines so I can use it in various ways. The Shaper Trace streamlines that process and makes it (in theory) as simple as taking a photo on your mobile device and letting a web site (not a locally installed app) covert it for you.

Does it work? Yes, it does work. Is it perfect? No. I mean, nothing is perfect, but it is quick and easy and as I’ve mentioned before the easier a process is the more likely I am to do it. If it takes me between 5 and 10 minutes to scan something, bring it into Inkscape, and then convert it to lines that’s not bad. But… if I can take a photo with my phone, save the file, and have it in Inkscape as a vector file in less than 60 seconds? Well that’s pretty damn good. Shaper says “From Sketch to Vector in Seconds” and it’s kind of true.

Caleb wrote up a post on Makezine back in July. I dug around but didn’t find too many other posts about it. Some forum posts, and some promotional videos, but few longer write-ups.

The idea that Shaper has is that you’ll use the Trace to capture a paper drawing, vectorize it, and then send it right to a laser cutter or CNC machine for cutting or etching, maybe with some minimal design work along the way. They show someone tracing the outline of a tool and then cutting out a pocket for the tool. I tried doing a few traces of objects and I just wasn’t pleased with the results. I’ve been using calipers and measuring things for CAD for a decade now, and I just feel like that’s a lot more accurate for my needs.

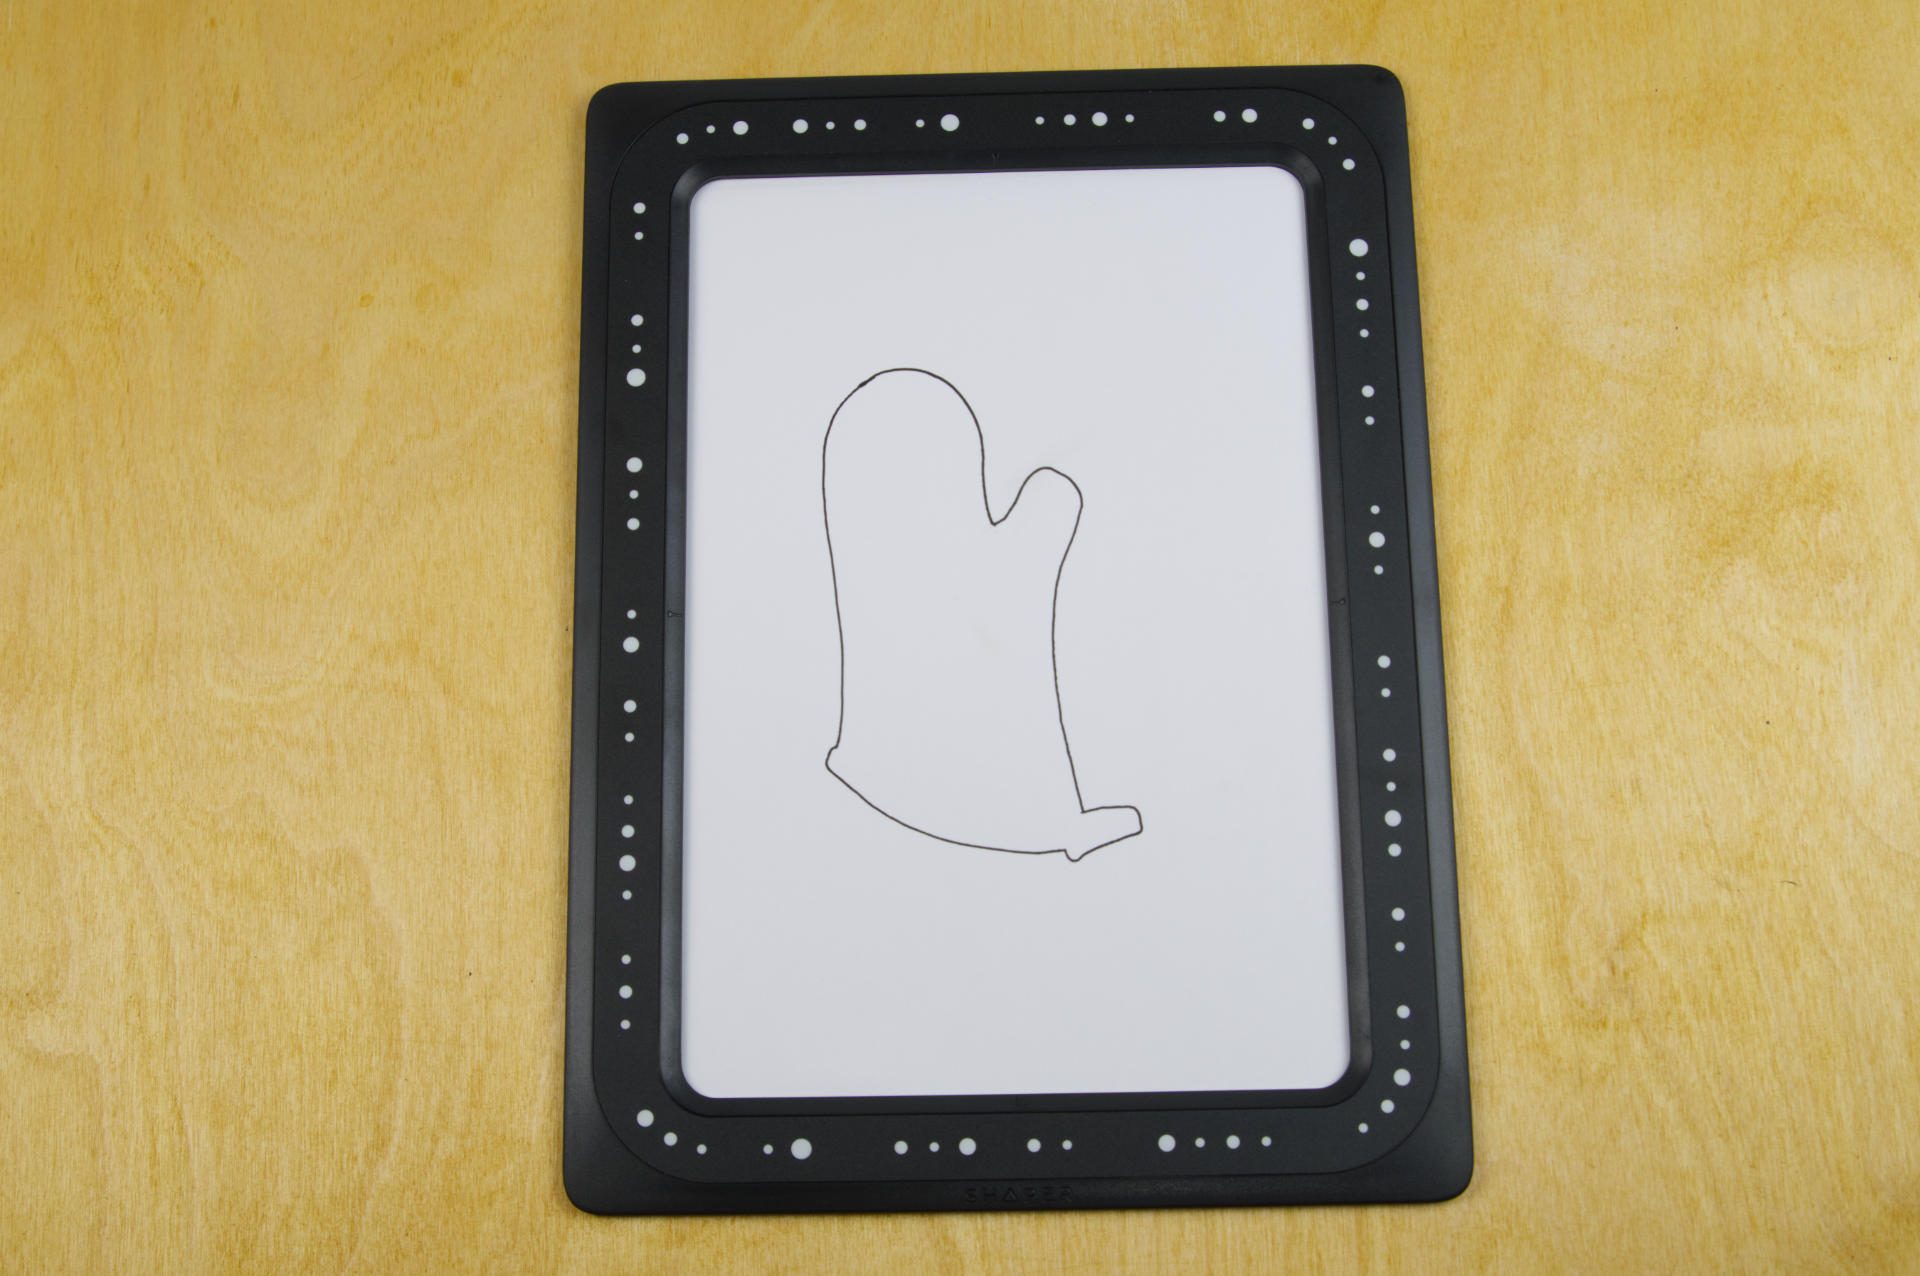
So what is this thing? It’s just a frame? Well, it’s a frame and a web app (not a mobile app) that captures an image and gives you a vector file. Note that you don’t have to perfectly align the camera directly above the drawing as the frame will compensate for angles. That’s nice. (In fact it seems that it might work better if you do shoot from a slight angle.) Each frame is the same on the front (more on that later) but on the back is a unique QR code associated to that frame, and you then register it to your account to use it. Want to share the frame with someone? You’ll need to use one account. The frame itself is just a hunk of plastic with no magic inside. And I mentioned the web app, right? A lot of people were really upset there is no local app that can work without an Internet connection. (I’d like both options, please!)

So basically you are paying a (one-time) fee to get access to an application running on the Shaper Tools web site that works with the frame. For $99 USD I guess I’m okay with that. (I will probably never buy a $2,900 USD Shaper Origin, and $99 is probably the upper limit I’d pay for a device like the Trace. It could honestly be a bit cheaper if you ask me.)

Since this post is titled “Using the Shaper Trace” I should probably explain how I use it.


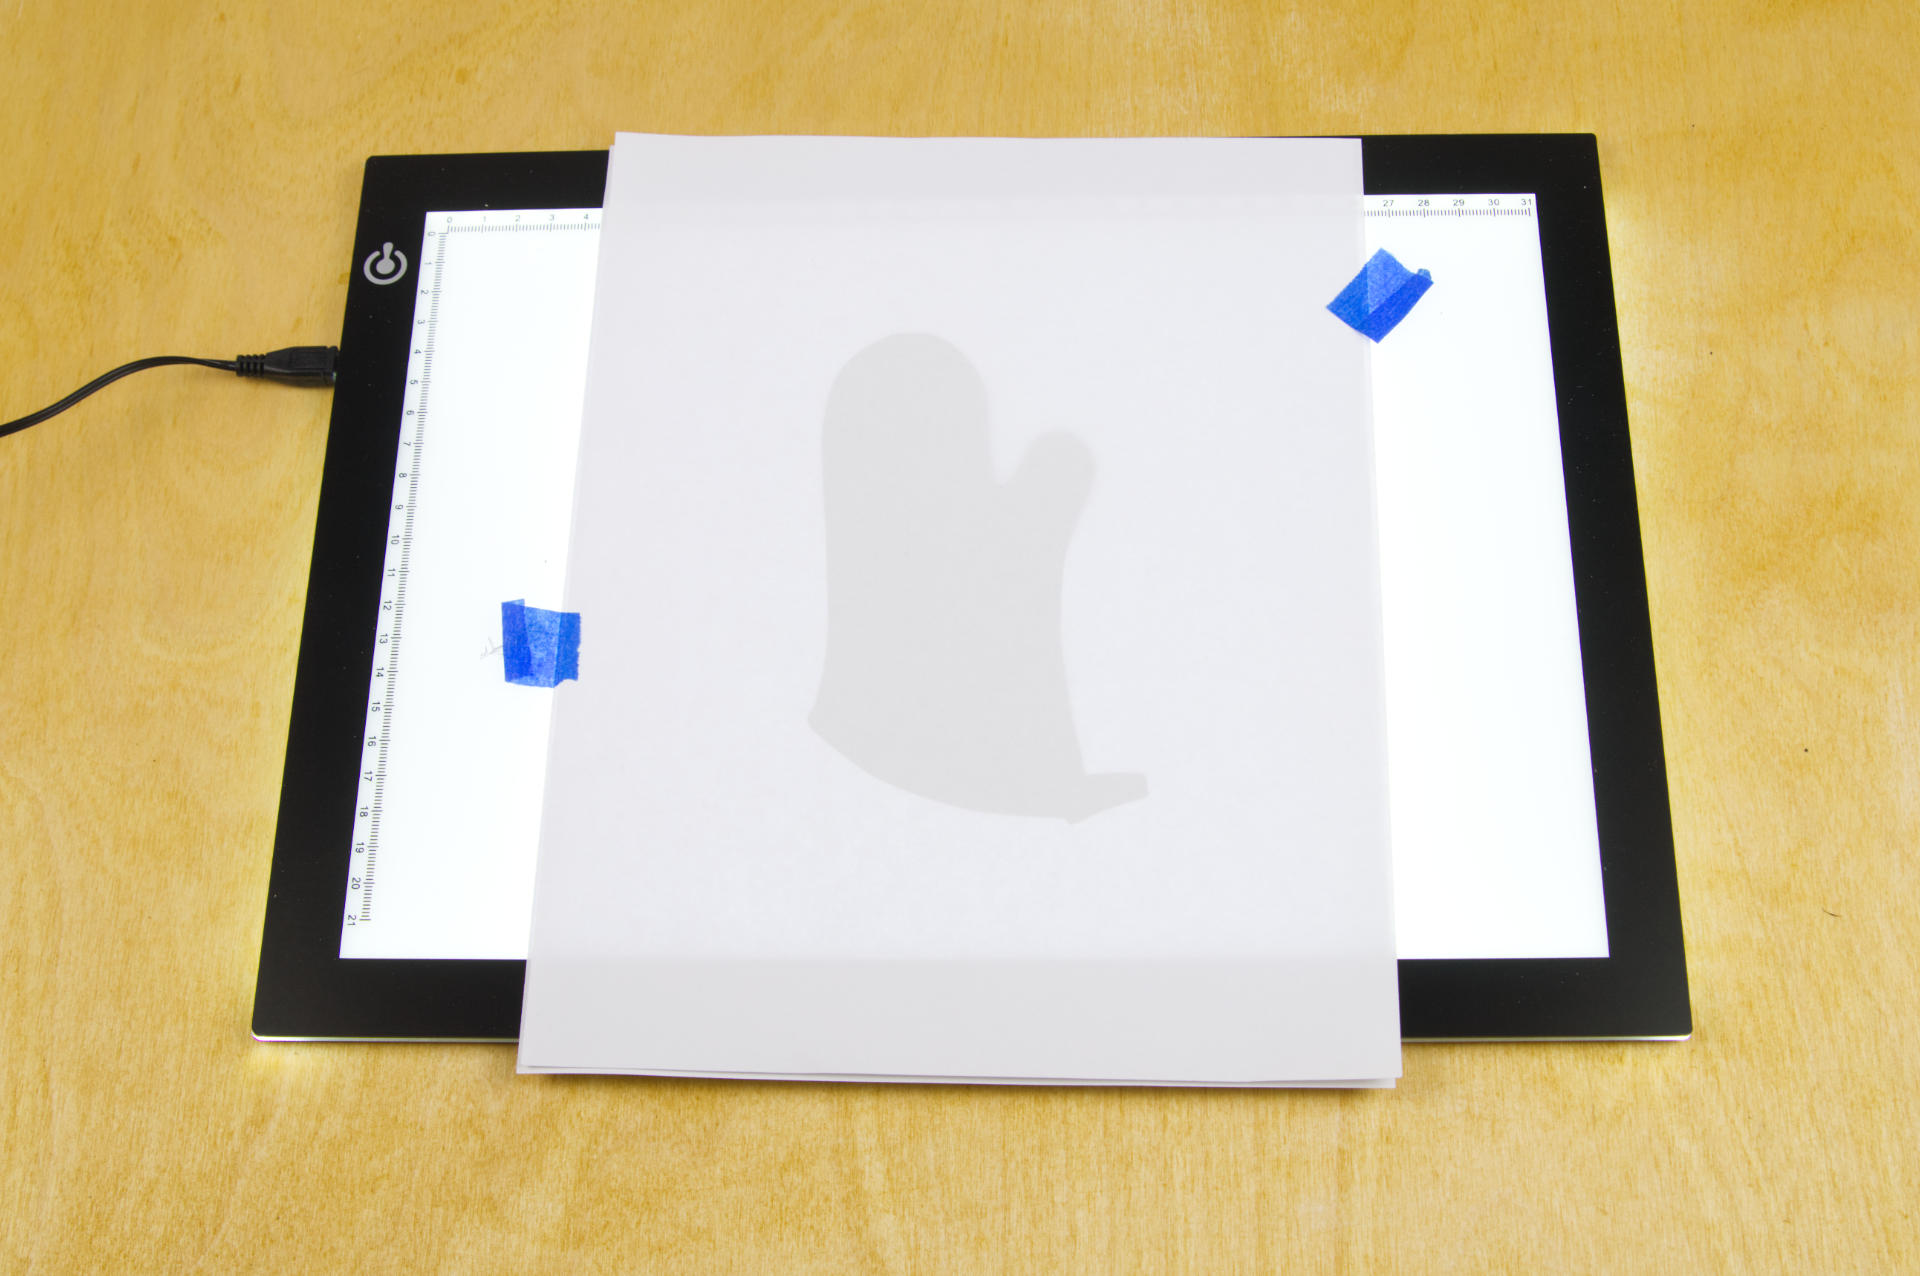
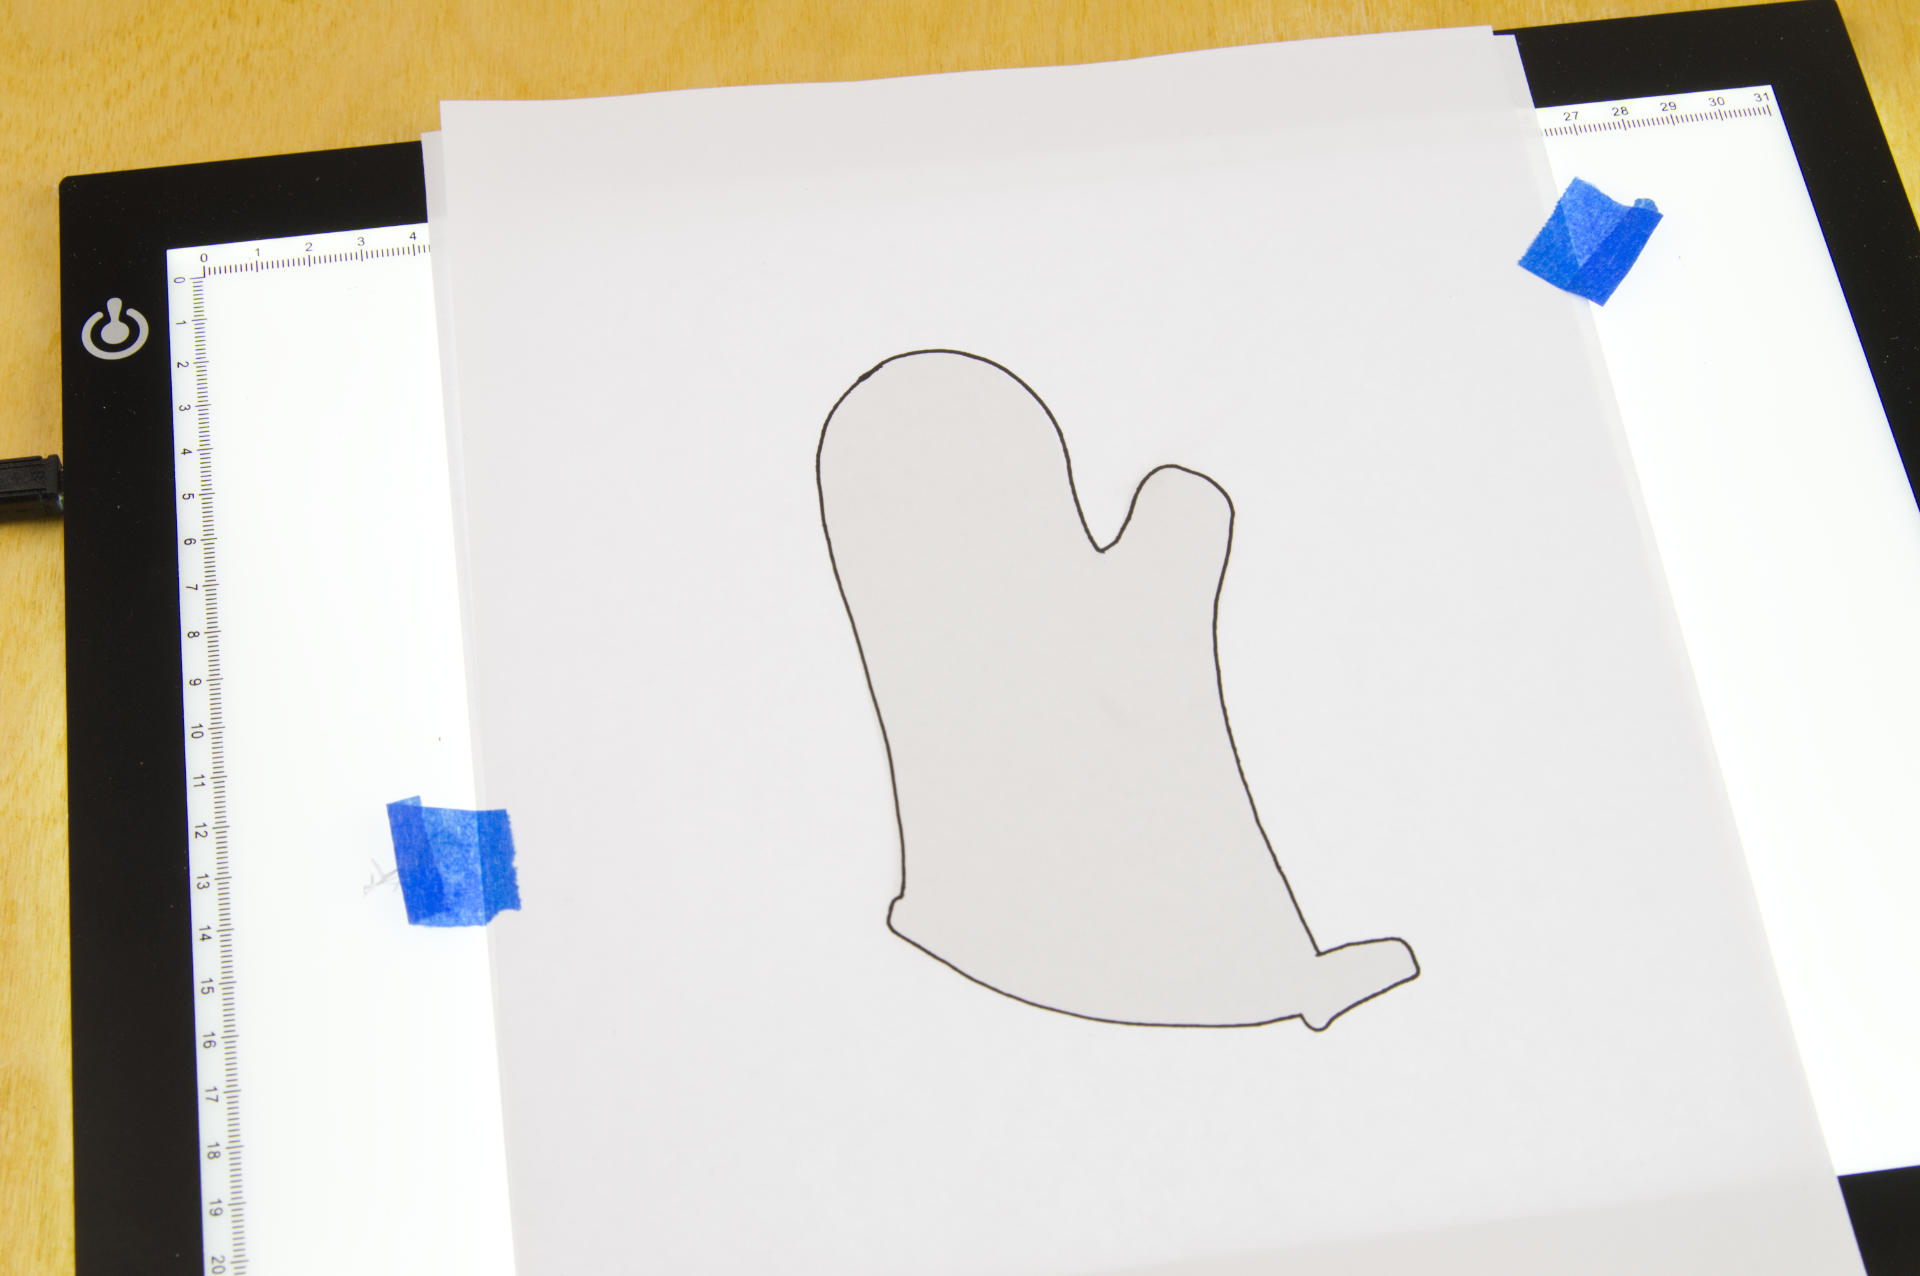
Look, I made a drawing! It’s an oven mitt, in case you couldn’t tell…

I use my mobile device to load the web site and capture the drawing by placing it within the Trace frame.

The drawing is converted to vector and you can choose two options, outlines and centerline. I pretty much always use outlines since I’ve create my drawings with the idea that the outside of the line is what I want.

I save the SVG, either to my phone, a drive accessible to my computer(s), or in my case I use AirDrop to send it directly to my computer.

I think I’ve digitized a few dozen drawings with no issues. I do tend to place the Trace and drawing in good lighting and get a nice clear shot of it with the camera. Still, things can go wrong. Here’s an error I got one day. I think I closed the web page, reopened it, and tried again and it was fine. Not sure if the issue was their servers, my browser, or something else. (And of course you do need an Internet connection for it to work.)

I then sit down at the computer and open the saved file in Inkscape where I can do whatever I want with it. (I won’t get into the specifics of editing a vector file, preparing it for use with whatever machine you might be using, but hopefully you get the idea. It’s that simple.)

But Wait! What if you are at work, and your Trace is at home, and you really want to use it? Well, just use a copy. As I mentioned, all the Trace fronts are the same, so the web app doesn’t care what Trace you are using, as long as you have an account and it sees a Trace-like thing, it works just fine.

Here’s a printed out copy of the Trace frame. It’s not even my Trace, I grabbed the image from the Shaper web site and printed it on the copier at work. Neat! (Oh, some other people noticed this as well.)

Even better, you can print smaller ones. Here’s a letter size sheet of paper with four Trace frames. You can basically make them any size you want to work with the size of drawing you want…

This is really cool because if I wanted to do a small drawing with the actual Trace frame I’d still need to scan an entire sheet of paper and the drawing might be quite small on it, so this sort of lets you play with the resolution, which can make a different if you are drawing by hand, and lets you play with different pens and line width as well. This basically eliminates the need to even use the actual Shaper Trace frame.

So the Trace is an interesting tool, and I can totally see how someone might get one and it may not do what they want, and I think I felt that way at first, but the more I use it the more I am building a workflow around it, so that’s good. If you’ve got any questions about the Shaper Trace let me know!