Categories
Uncategorized

NIIMBOT Label Maker

I recently got a NIIMBOT D11 label maker. I’ve had a DYMO for years (and even shared a great tip for it!) The NIIMBOT has some nice features but also a few things that are sort of annoying, and I’ll ramble on about those things in this post.

Here’s a short list of the good things:

  1. It uses an app
  2. It has a built-in battery
  3. It’s inexpensive
  4. It’s pretty simple
  5. You can make fully custom labels

And another list of the bad things:

  1. It uses an app
  2. It has a built-in battery
  3. It cannot stand up
  4. It’s complicated

The App
Okay, let’s start with the first item on both lists… the app. Many years ago I got a DYMO LabelManager 160 Portable Label Maker. It’s dead simple to use, does not need an app, and just… makes labels. We have one at work, and at my previous job, and anyone can use it quite easily.

With an app, you first need to install an app (of course) and that is the only way you can use a NIIMBOT. There is no keypad, you can’t connect it to a computer (which would be awesome) and so yeah, an app. The world is full of apps now, and you need them to do things, which means you need a mobile device to do things.

And yes, the NIIMBOT is a Chinese product, so the app is also from China, so if you are hesitant about installing apps from China, you are out of luck. Supposedly you do not need to register to use the app, unless you want to save labels/templates for future use. I found this out after I registered. The app also has “Premium” content, where it shows you clip art and fonts that you cannot use unless you pay, which is quite annoying.

The Battery
It has a built-in battery, which is of course good and bad. When the battery dies, it’s not going to work until you charge it. You can’t swap in a fresh set of cells. Of course this also means it won’t kill a set of 6 AAA batteries like the DYMO might. The built-in battery thing is a toss up but everything nowadays seems to be headed that way. Once the internal battery is dead I guess you just chuck the whole unit into the bin. More rubbish.

The Cost
The NIIMBOT D11 costs just under $20 USD, which isn’t too bad. My DYMO purchased in 2017 was about $10 USD (and is currently $45 USD!?!?) of course you can get an old school embossing label makers for $12 as well, and no batteries are needed!

It cannot stand on its own…
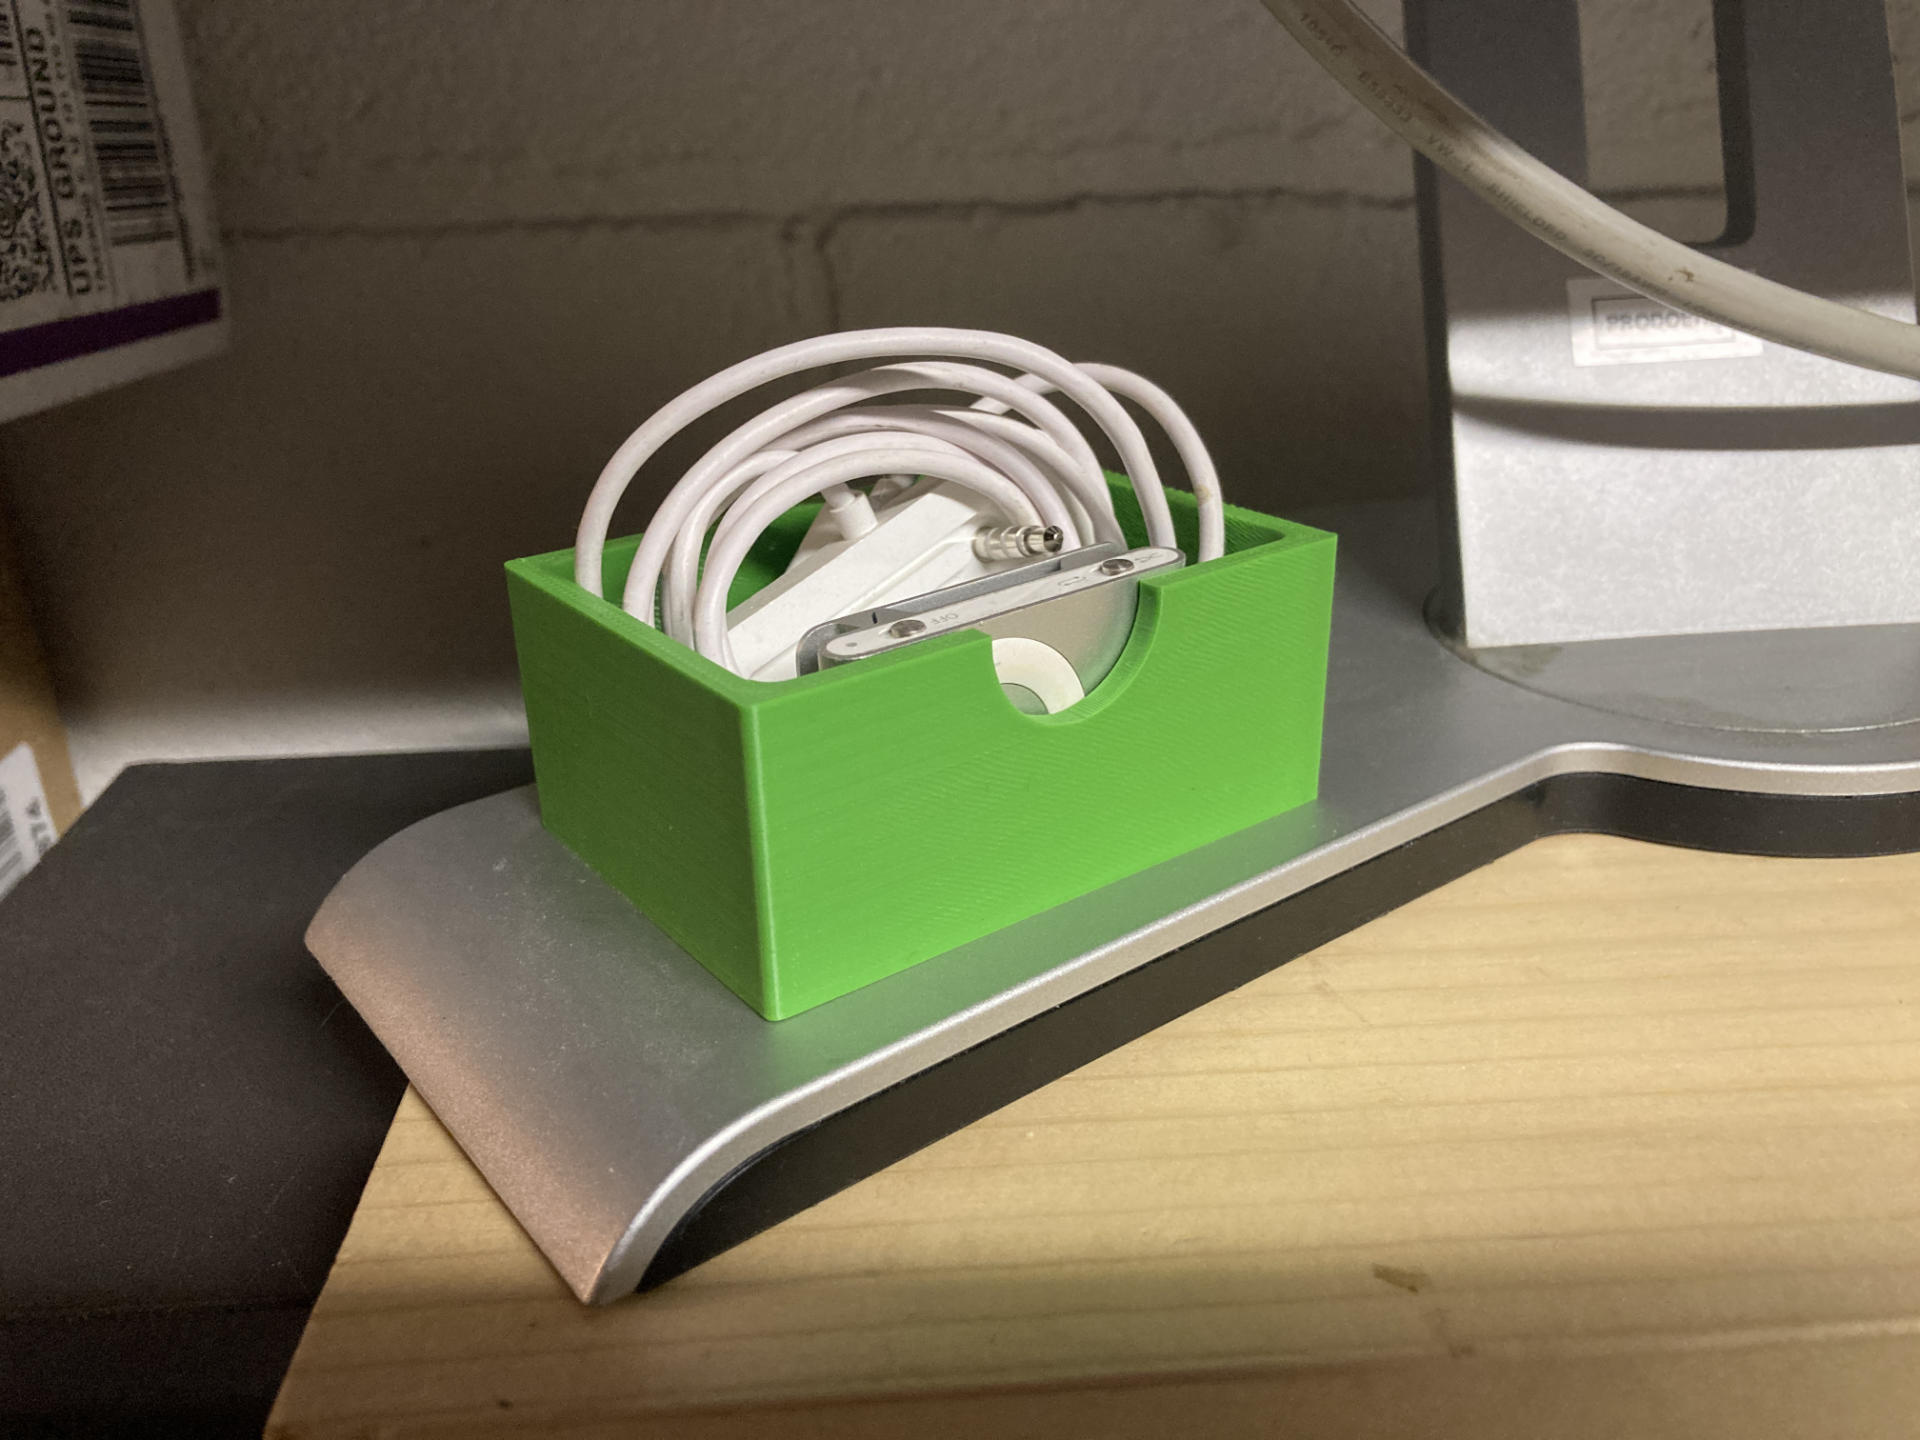
The strange design choice to add a completely rounded bottom to the unit means it cannot stand upright. I fixed that with a 3D printed NIIMBOT D11 Stand.

Simple
If you just want to print labels, it’s pretty simple. In some ways using the app can be easier than using the keypad on a DYMO 160. So yeah, as long as you have no issues using the app, you get simple.

Complicated
If you want to get complicated, you can. As I mentioned, completely custom labels are possible but they are more work. If you don’t like some of the aspects of the app (China, Premium content, an account) or have issues connecting via Bluetooth, well… it can get more complicated.

Completely Custom Labels
Now for some good news. Since you can load any image into the app, you can create completely custom labels outside of the app. Just use your favorite software to design a label the proper size (in one color) and export it as an image file (PNG or JPG) and then load that into the app and print it. This works well, but is obviously more work than just doing the label design within the app. I used Inkscape on my desktop computer, but for you mobile freaks you can probably figure out some mobile app that can work.

One More Bad
I saw a YouTube review of a NIIMBOT printer and supposedly the reviewer had a NIIMBOT made by… not NIIMBOT. Yes, there are fake/counterfeit units. NIIMBOT themselves even note that there is a fake app you need to avoid. So fake hardware and fake software are things you need to avoid when dealing with this device. Fun! (No, not fun. Bad.)

Whew! With all that out of the way, the labels themselves are good. The app can certainly be easy to use, and spits out labels quickly and they stick well. So yeah, a label maker should be simple, and the NIIMBOT D11 certainly can be simple.


Note: This post contains an Affiliate Link. Read More.

Categories
Uncategorized

Framed Hapto Cone Art

Hapto has been working on a project using cut up bits of orange traffic cones to do relief prints, and asked if she could try using my Provisional Press to see if it would work well as an alternative to hand burnishing prints. So I packed up the press and took it to Milwaukee Makerspace (Norwich Edition) to give it a try.

Hapto did all of the printing, and I just watched, after giving a quick lowdown on the press and how it works compared to a more “normal” press with adjustable knobs and a moving bed and all of that.

She made a whole bunch of prints! And the verdict was that the Provisional Press would probably work quite well for her printing needs. Note that she printed on fabric that had retro-reflective material on it and had been treated with various paints to get the crazy color. She also used fabric block printing ink. The last time I did relief print patches I just used regular water based ink because it was all I had.

The nice thing about working with another artist is that you can teach and learn at the same time. I picked up a few techniques for printing, and I told her about how vegetable glycerine can help slow the drying of water based inks…

I got to take a print home and I figured I should frame it. Since I’ve been working on an OpenSCAD script to help me create 3D printed frames I thought I would give it a try.

The frame consists of two parts, the frame itself, and the back piece that fits into place.

The two images above show the “front” facing parts of the design, and the two images below show the back sides of the pieces. It’s pretty darn simple, and yes… I know there are other 3D printed frames out there, but I (as usual) wanted to design my own… in OpenSCAD… and make it parametric.

The ridges you see around the inside piece are meant to help create a press-fit so no additional hardware is needed. It’s a good idea to make them a little too large and then sand/shave them down for a perfect fit if you want it removable. Otherwise you can always glue it in place. I’ve also managed to laser cut some clear acrylic that can be placed into the frame before the artwork just like a standard store-bought frame. Without the acrylic I just spray glued the print to the back plate of the frame to hold it in place.

I’m glad Hapto invited me to do an art thing with her, and appreciate the print I received. After framing the piece it is now on the wall of my office right next to a piece of my own art.

Note: I realized I failed to get a photo of a relief carved traffic cone printing plates that Hapto created so here’s a photo she shared from a previous printing run.


Note: This post contains an Affiliate Link. Read More.

Categories
Uncategorized

Power Mac G5 Side Panel Wall Hanger

For me, 3D printing represents niche custom things that solve problems, sometimes for a few people and sometimes for just one person.

While cleaning the shop I found this old side panel from a Mac… well, a Mac Pro, or a Power Mac. I wasn’t actually sure, but I got some help. (It’s from a Power Mac G5!)

I had wanted to hang this on the wall years ago, so I figured now was the time. I took some quick measurements, spent a few minutes in OpenSCAD, and 25 minutes later had a piece that fit and was suitable for hanging.

I used four 3mm x 14mm bolts, two to hold the bracket in place, and two at the bottom of the panel so it would sit away from the wall a consistent amount.

I honestly don’t know if anyone else will ever use the file, but I figured I would share it anyway. So I did.

You can get the STL and .scad file from Printables.com – Power Mac G5 Side Panel Wall Hanger. Print it if you need it!

Categories
Uncategorized

OpenSCAD Viewing Angles

I’ve found that more and more I am exporting images from OpenSCAD, and while in the past I was satisfied with just spinning the object to an angle and exporting a PNG file, I’m now doing more step-by-step things where I want consistency and don’t want things jumping around. Instead of carefully setting the view with the mouse and doing all the exports, I now set the viewing parameters directly in the file, because you can do that in OpenSCAD…

Time to go back to the OpenSCAD User Manual! While the Cheat Sheet is an excellent resource, I find myself hitting up the manual a lot more frequently lately. The Cheat Sheet will show you this of course:

$vpr viewport rotation angles in degrees
$vpt viewport translation
$vpd viewport camera distance
$vpf viewport camera field of view

And that’s what we need! So over to the manual section for $vpr,_$vpt,_$vpf_and_$vpd.

Pop open that Viewport-Control in the Window menu and look at that… it shows you values and you can change them…

(Note: You can also set the aspect ratio, and lock it. Sweet!)

But the real powerful bit is that you can just set those parameters in your code. When you preview your code it will set those values and you get the same viewing angle, rotation, distance and field of view each time. Brilliant!

You can see my commented out code for the bottom versus top view on line 37.

I love finding stuff like this and them implementing it into my code… It’s probably not some amazing killer feature, but it’s one more nicety that helps me keep things consistent and adds a bit more power to what I can do with OpenSCAD.

Categories
Uncategorized

Circular Positioning in OpenSCAD

This post is about a problem… it’s about looking at a problem from the wrong angle, and eventually realizing it.

I wrote some code in OpenSCAD, and then I wanted to change something and I could not figure out how to get the positioning right. I should confess I am terrible at maths. In school I took geometry, but never did calculus or trigonometry, and know almost nothing about those areas of mathematics.

Since I tend to work in Cartesian coordinate systems I think about moving things in X and Y. Left, right, up, down… Sure, there are angles, but they can be difficult. But maybe they shouldn’t be…

Here’s what I wanted to do: Create a circle with three smaller circles evenly placed into a triangle. Now typically in OpenSCAD I move things around in the X and Y and for the mostly rectilinear things I design (mostly enclosures) that’s simple, but circles can get weird. So what I tried to do was move each of the holes along the X and Y axes, but I could not get them evenly spaced…

See, this is easy for me. Four things, evenly spaced. Everything moves from the center an equal amount in X and Y. My simple maths brain has no issue with this. I’m so used to doing it this way I can bang it out without any thought. But this way (while simple) is sometimes not ideal.

As is often the case, I took to Mastodon with my problem, because there are people there much smarter than I am… Luckily @GeekAndDad was on the case! While he was busy doing the hard math I was distracted with some other projects… but when I returned I realized I knew how to do it… because I did it ten years ago! Check out this post about Derby Wheels.

Okay, so I did it before, but didn’t have easy access to the code I had written, but remembered how it worked, so I banged this out:


// Position things in a circular pattern in OpenSCAD

$fn=100;

howMany    = 3;
distance   = 10;
holeSize   = 10;
startAngle = 30;

difference() {

    // create the object
    translate([0,0,0])
        cylinder(d=40, h=3, center=true);

    // loop around in a circle and difference some holes
    for(variable = [startAngle : 360/howMany : 360+startAngle]) {
        rotate([0,0,variable])
            translate([distance,0,0])
                cylinder(d=holeSize, h=3.1, center=true);   
    }
}

(You can also find this code in my gists repository.)

Here we go! Three holes, evenly spaced… We do this by rotating around the center and placing the hole X number of units from the center, every X number of degrees. You can set the number of holes howMany, the distance from the center, and of course the holeSize and also the startAngle which helps rotate the whole set into something that matches up properly.

Hey, you can even do four holes! They are all still evenly spaced from the center…

You can do seven holes… The bit with 360/howMany does the maths to determine how many degrees there are before adding another hole.

Heck, you can even do just two. Want them top and bottom instead of left and right? Just change the startAngle appropriately.

You can put the holes on a square instead… or a rectangle, or anything, really. And they don’t even need to be holes… I just needed holes for this specific example.

Another square with some holes…

And yet another square with some holes… This time with a different startAngle set.

Those holes look a little large… can we make them smaller?

We sure can! Look at that… Obviously you are not limited to just making circles, and this technique of using a for loop to put things around the center of an object can be expanded in many ways. I just wanted to share this recent remembrance so I can find it again when I need it!

By the way, these OpenSCAD renders were all done using my Cyber Night theme for OpenSCAD.