Categories
Uncategorized

OpenSCAD Improvements

When writing code for yourself you can choose to leave it messy and confusing (though you may not want to) and when writing code that other people will see it may be a good idea to attempt to be clear and organized. I’m trying to be more clear an organized. Which you know, can help your Future Self as well.

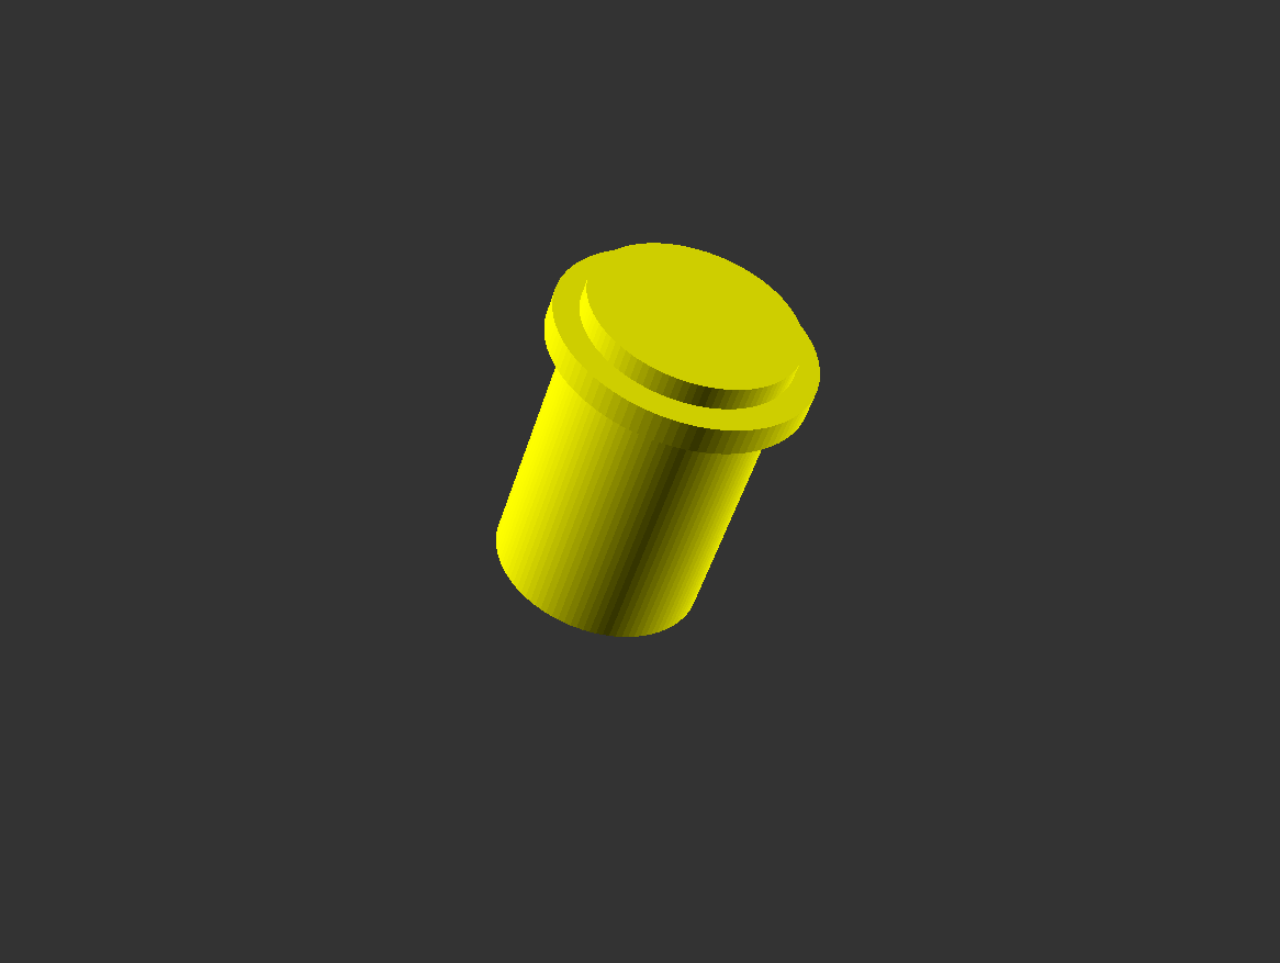
Here’s a recent project. It’s a 3D model of a simple foot switch. There are two 3D printed parts (a base and a cover) and one non-printed part (a push button) and sometimes I want to see one part, and sometimes I want to see all of the parts together.

Another thing I’m hoping this helps with is that since you need to export each part individually for slicing and printing I used to just add a line that said “Uncomment this to export” above each item to be exported.

I figure this is a bit cleaner as you just need to toggle some values between 0 and 1. (And yes, you can do an export that is all parts laid out ready to print but I tend to not do that.)

Anyway, I’ve never really read up on best practices for writing OpenSCAD code. I’ve picked up things over the years from looking at code others have written, and from making my own mistakes and wanting to improve them.

If you know of any good tricks or have some tips, let me know!

Update: Someone asked why I was using 0 and 1 instead of false and true. I am not an expert on this but I believe since OpenSCAD is not strongly typed that 0 and 1 pretty much work as Boolean values and the only real difference is readability. If so, it’s really just a personal choice. (Let me know if that is incorrect.)

Categories
Uncategorized

Printing versus… Not Printing?

After I posted about my Fan Shelf Brackets I shared it on Facebook, and got the following comment from a friend:

I’ve done that with blocks of wood. I’m not sure the 3D printer adds any value over that.

I didn’t try to add value by using my method (3D printing) over another method (cutting blocks of wood) but I wanted to explain my approach, so I did. you can read my response below:

Great comment! So here’s the deal… Sometimes printing is easier for these things, at least for me. I would need blocks of wood, and I would also need to cut the wood. Now, those things should not be too difficult, but they can be. I have a miter saw in the garage, and to use it I need to open the garage door and move my car back partway into the alley, then use the saw, then move my car back. The miter saw is okay for cutting small pieces of wood, but I don’t always feel comfortable doing that. (I don’t have a real table saw, so that’s not an option for me.)

Once I make the needed cuts I probably have to glue and clamp things, or nail/screw them together. Again, not a huge pain, but it is work. Also, I do need to have wood on hand. (Who am I kidding, I always have scrap around!)

With the printed version, I printed a small test part quickly to see if it would fit, then I printed the larger versions overnight, confident they would fit right based on my test. Since the groove is 6mm wide I would either need to cut a groove that width or stack multiple cuts/pieces and glue them together to get what I needed.

There’s always multiple ways to do things, and honestly, with two 3D printers on hand and plenty of filament, this was the easiest way for me to make this thing.

I’ve been 3D printing things for over a decade now. Have I printed things that might seem silly to print? Sure, and I’m one of those people who mostly does practical printing, not fun decorative things. I once print a shim because it was the easiest way for me to get exactly what I needed. As long as I have a 3D printer I am going to use it for all sorts of things that other people might not. If you’ve got metalworking or woodworking tools and raw materials and feel comfortable and skilled working with those, you might choose to do so. For me personally, modeling and printing a thing makes good sense, and luckily, I still enjoy it.

Note: I think it’s important to pull conversations like this out of the walled garden that is Facebook, so I may do this more often if valuable insight (!?!) warrants it.

Categories
Uncategorized

Parametric Sink Strainer / Sifter

Continuing on the journey of improving my OpenSCAD skills I worked up this parametric sink strainer for the slop sink in our basement. It’s a useful print because sometimes we clean dirty things in the sink (like muddy shoes) and keeping yard waste out of the drain is probably a good idea.

Here’s the sink drain in question. I just measure the diameter and depth of the hole and created a strainer that could fit inside.

It’s not a super snug fit so it’s easy to remove the strainer by just sliding it out when not needed.

You can also make a sifter, which is something I designed and printed before when I needed to sift the rocks out of some concrete.

You can customize the diameter, height, wall and floor thickness, and size and spacing of holes. I didn’t add the capability to switch to round holes versus square holes, but that may be an improvement in the future. There’s also no lip/edge like most strainers have, so maybe that should get added to the list as well. (Or you can check out Customizable Drain Strainer by fardog.)

You can get the .scad file from Printables.com – Parametric Strainer / Sifter. Just open in it OpenSCAD, set the size of things and render your object.

Categories
Uncategorized

Fan Shelf Brackets

Once again my fan can sit on the window sill and cool my home office! We got new windows installed this year, and since it was a complete tear-out the new windows have this large lip that prevent you from placing a fan on the sill. 3D printing to the rescue!

Here’s the giant lip, which is about 6mm thick. I guess this is how they make moderns windows… I’m not sure I’m a fan. (Ha Ha.)

Here’s the giant lip, which is about 6mm thick. The bracket has a 6mm slot that fits onto the lip. The bracket also has different heights on each side of the lip to accommodate the different heights of the sill on either side.

I used 1/2″ long #4 screws to secure the brackets to a piece of 1/4″ thick Baltic Birch plywood I have lying around. (The brackets were designed with using that hardware in mind, so the lip on the bracket would be enough to prevent the 1/2″ screws from pocking through.)

Here is shelf. Good shelf. Shelf works. Shelf is removable. The only downside of the shelf is that I do not think it will support our 10 pound cat. And it definitely will not support our 20 pound cat/ Which is a shame. Obviously I’ll need to come up with a solution for those problems.

You can get the STL file from Printables.com – Fan Shelf Bracket, though unless you have the same windows, it’s not going to work. Feel free to use it as inspiration to fit your own windows.

Categories
Uncategorized

Parts Tray with Sliding Lid

I get a lot of hardware from Bolt Depot and it comes in these tiny bags with labels, which are great, but when I’m building products I find that I’m always opening and closing bags to grab what I need and I wanted to try another way. I designed a parts tray with a sliding lid to organize things a bit better.

Here’s a render showing how it fits together. I do this stuff in OpenSCAD. (I’m still far from being an expert in that application, but I am getting better, and exercises like this help.)

It’s a three piece design. There’s the bottom part (the tray) that holds things, a top part which gets attached to the bottom part with screws, and a lid. I laser cut some clear(ish) acrylic for the lid so I could see the parts inside. You could just print the tray part if you don’t need a lid.

No laser cutter? No problem! You can also just print a lid. Obviously you can’t see the contents with the 3D printed lid… though maybe if it were printed in resin? I don’t know… I don’t print with resin. Anyway, there are files to laser cut a lid and for 3D printing a lid.

Part of the idea of two separate pieces connected with fasteners was to allow for making the fit tighter or looser, to some degree. There are friction bumps on the top part that the lid slides against, and the top part flexes a bit to allow for a good sliding fit. That’s the idea anyway.

Now, the first sliding lid I laser cut didn’t fit… seems it was 2.8mm acrylic, not 3mm acrylic. To make it fit right I just added a bit of tape along the edge of the lid. (Note: Clear tape might be better. I used blue tape for this photograph so you can see it.) You can also adjust the top part and print it until you get it right. It’s a small part that doesn’t use too much filament.

I posted the in-progress photos of this on Twitter and a fellow named Pooch asked if I could just print it as a single piece standing up. Turns out you can, so I included an STL for that method as well. (I’m still a fan of printing in two pieces and then using a laser cut lid but hey, options are good!)

Because options are good I also created a “deep dish” version that’s a bit taller and will hold more (or larger) hardware a bit easier. There’s also some OpenSCAD files so you can change whatever you want. So… many… options!

You can get all of the files from Printables.com – Tray with Sliding Lid.