I’ve been using this 3D Printed Printing Plates method for almost a year now, and one of the issues I’ve had is that most of the designs tend to avoid thin lines, and the reason for that involves the limitations of 3D printing. Thin lines get delicate because of how 3D printing works. (There are some workarounds but they are… complex.)
The other issue is that I really like the look of linocuts, including chatter, but since I am not carving away materials in a reductive process there is no chatter, unless we add chatter.

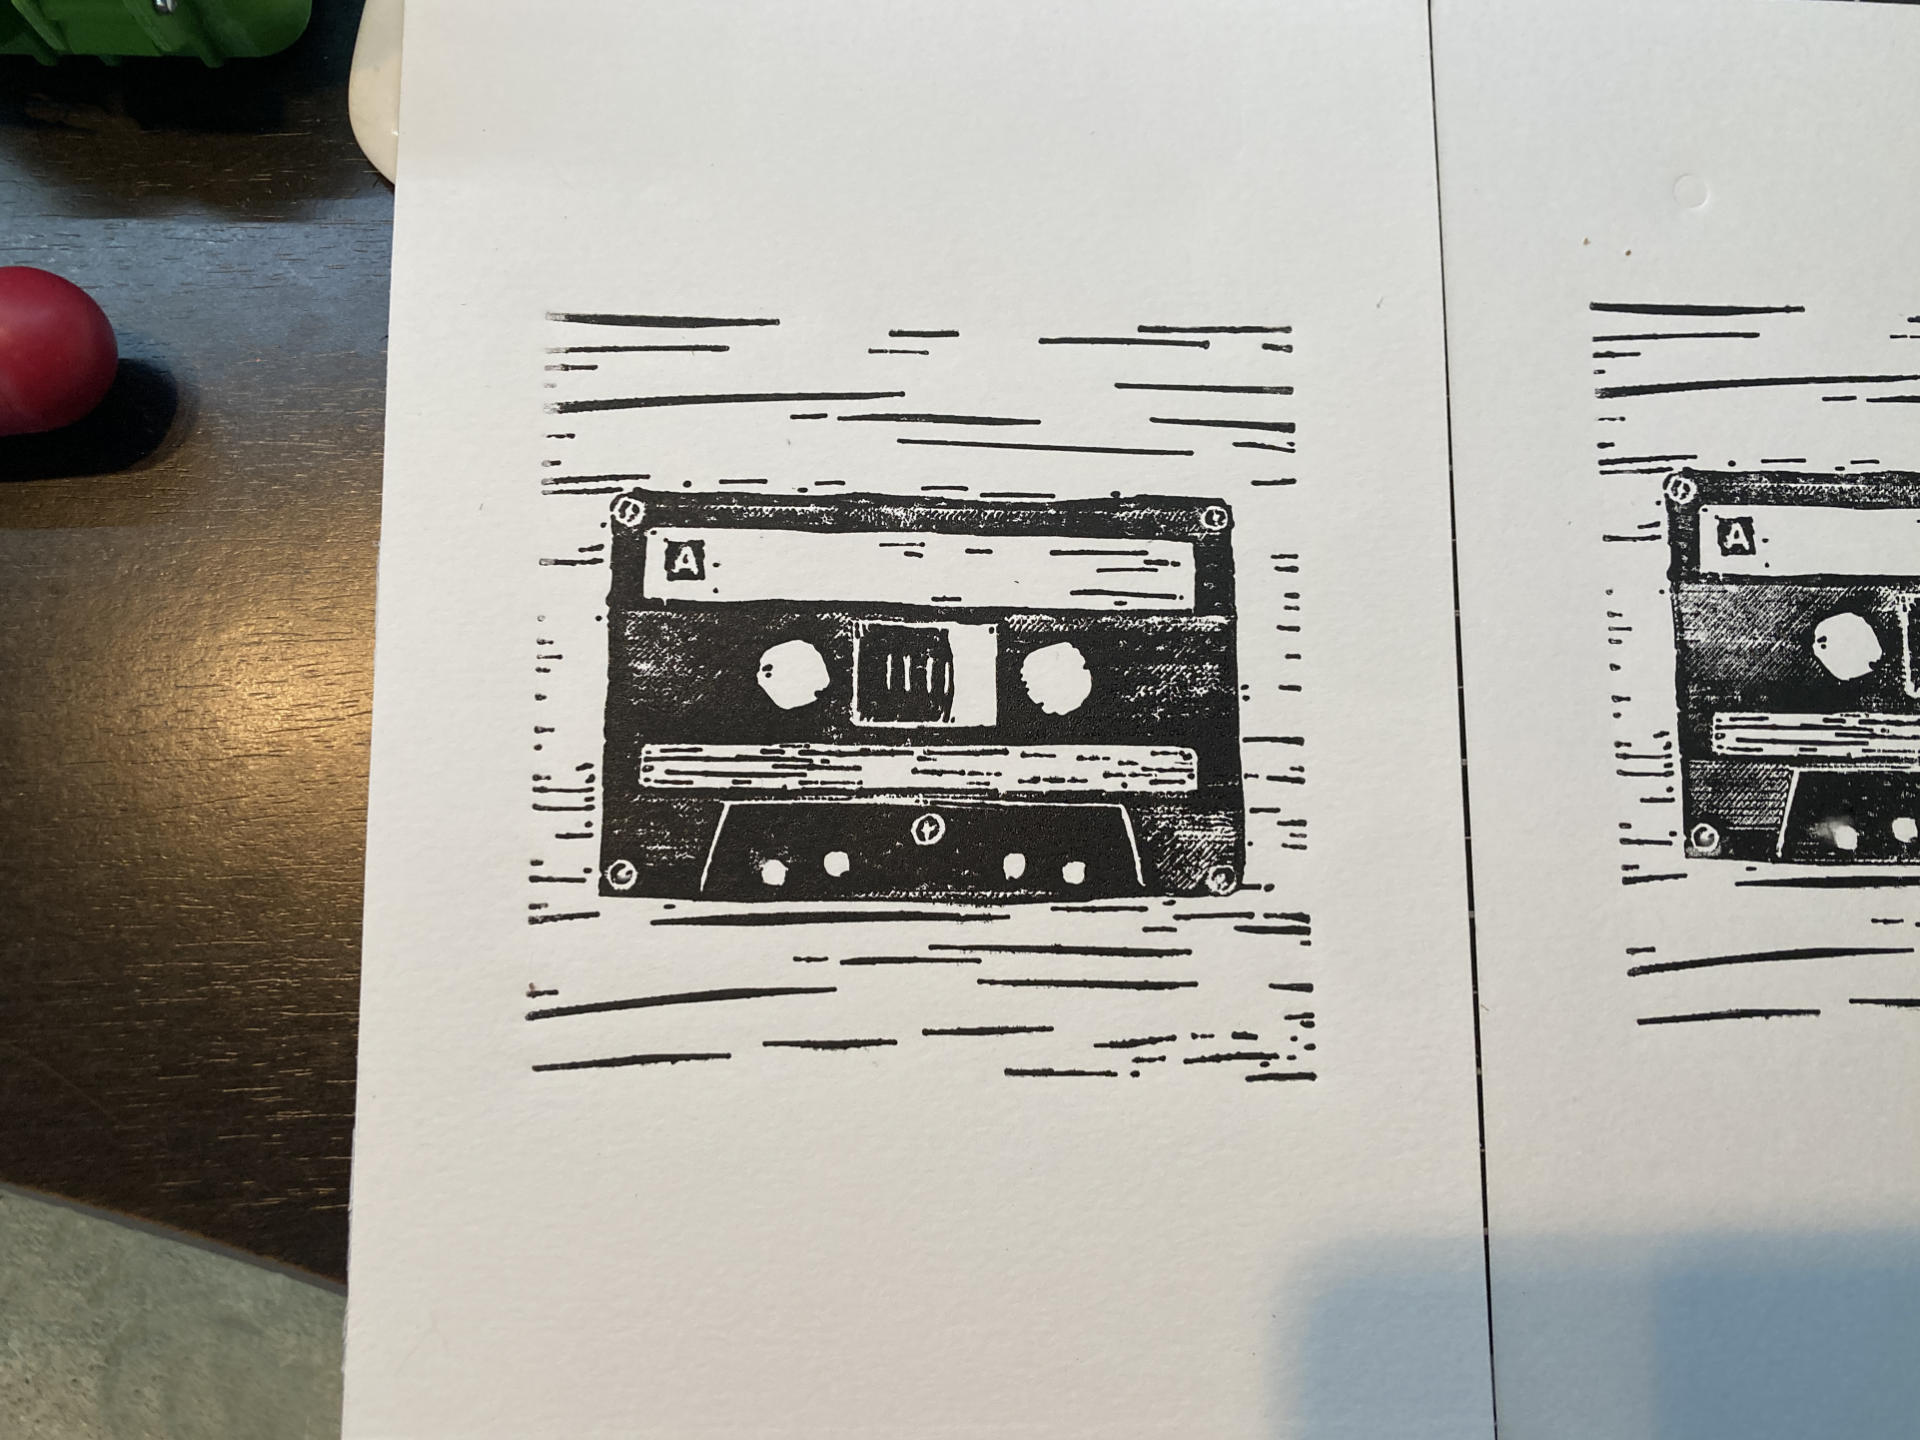
Here’s an illustration of a cassette audio tape I did in Procreate. Instead of drawing it like I normally would, I flooded the layer with black and then erased to get white, so this is sort of a reductive process since I am taking away ink (or pixels, as it were) which is somewhat similar to carving away materials.
I have not perfected this technique, and I think there are some good possibilities with it. I’ve noted before that I don’t carve linoleum for a few reasons, mostly arm pain. Besides that though, the digital to analog process offers a few great advantages. You can resize things, you can easily fix mistakes, you can make multiple plates since they are 3D printed (so iteration is built-in), and they are extremely cheap. Most of my 3D printed plates are less than $0.75 USD.

Once I finished the Procreate drawing I exported it to a PNG file, brought it into Inkscape, and then created a vector file from the bitmap file. Since this is a “rough” style of art I wasn’t too concerned with anything being precise, but it looked like a pretty good translation. From there I used the method outlined in How I 3D Print Printing Plates to make the 3D file to print.
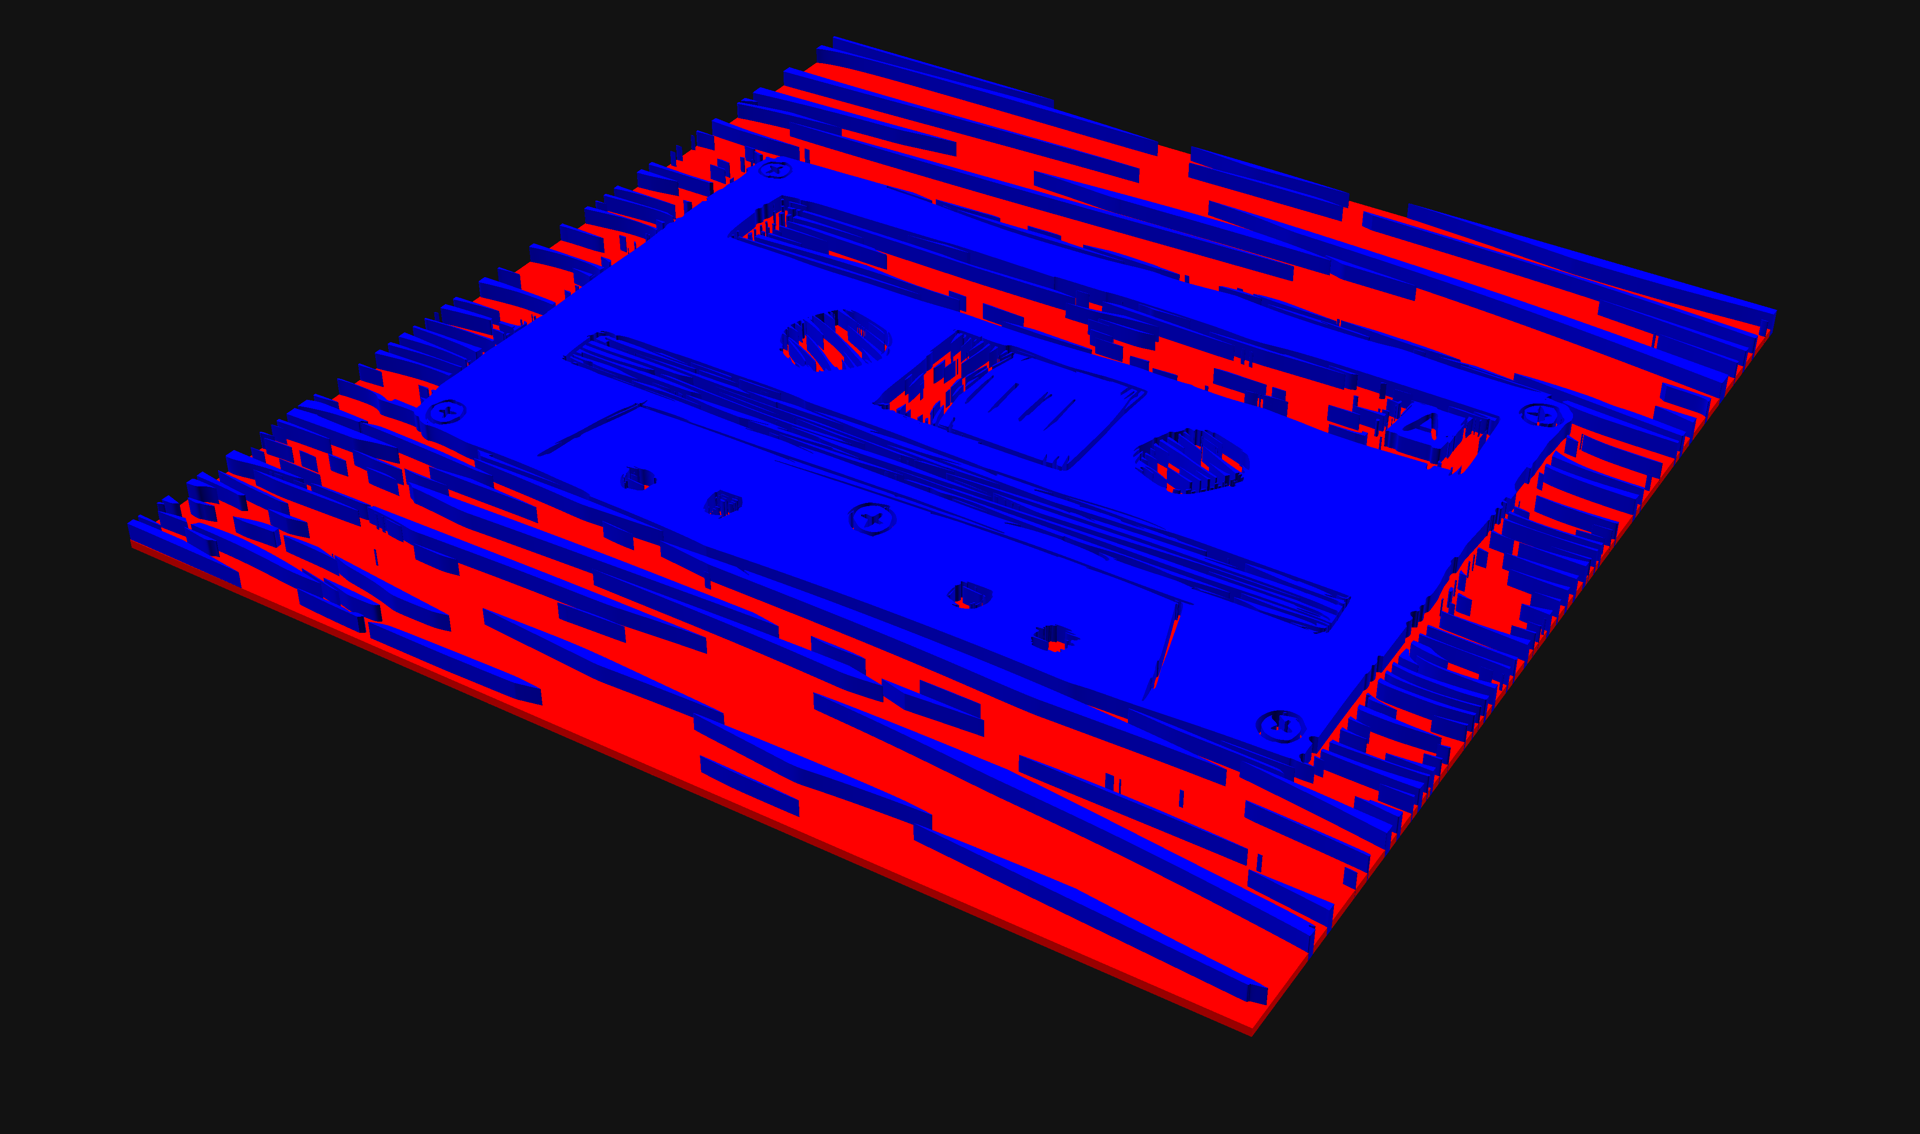
Here’s a render of the 3D model of the printing plate. I usually use 1mm for the bottom flat part and 2mm of “raised” art which has worked well for previous designs, but I’m also wondering if I can get away with 1.5mm or 2mm for the flat part. It’s worth testing and easy to do!
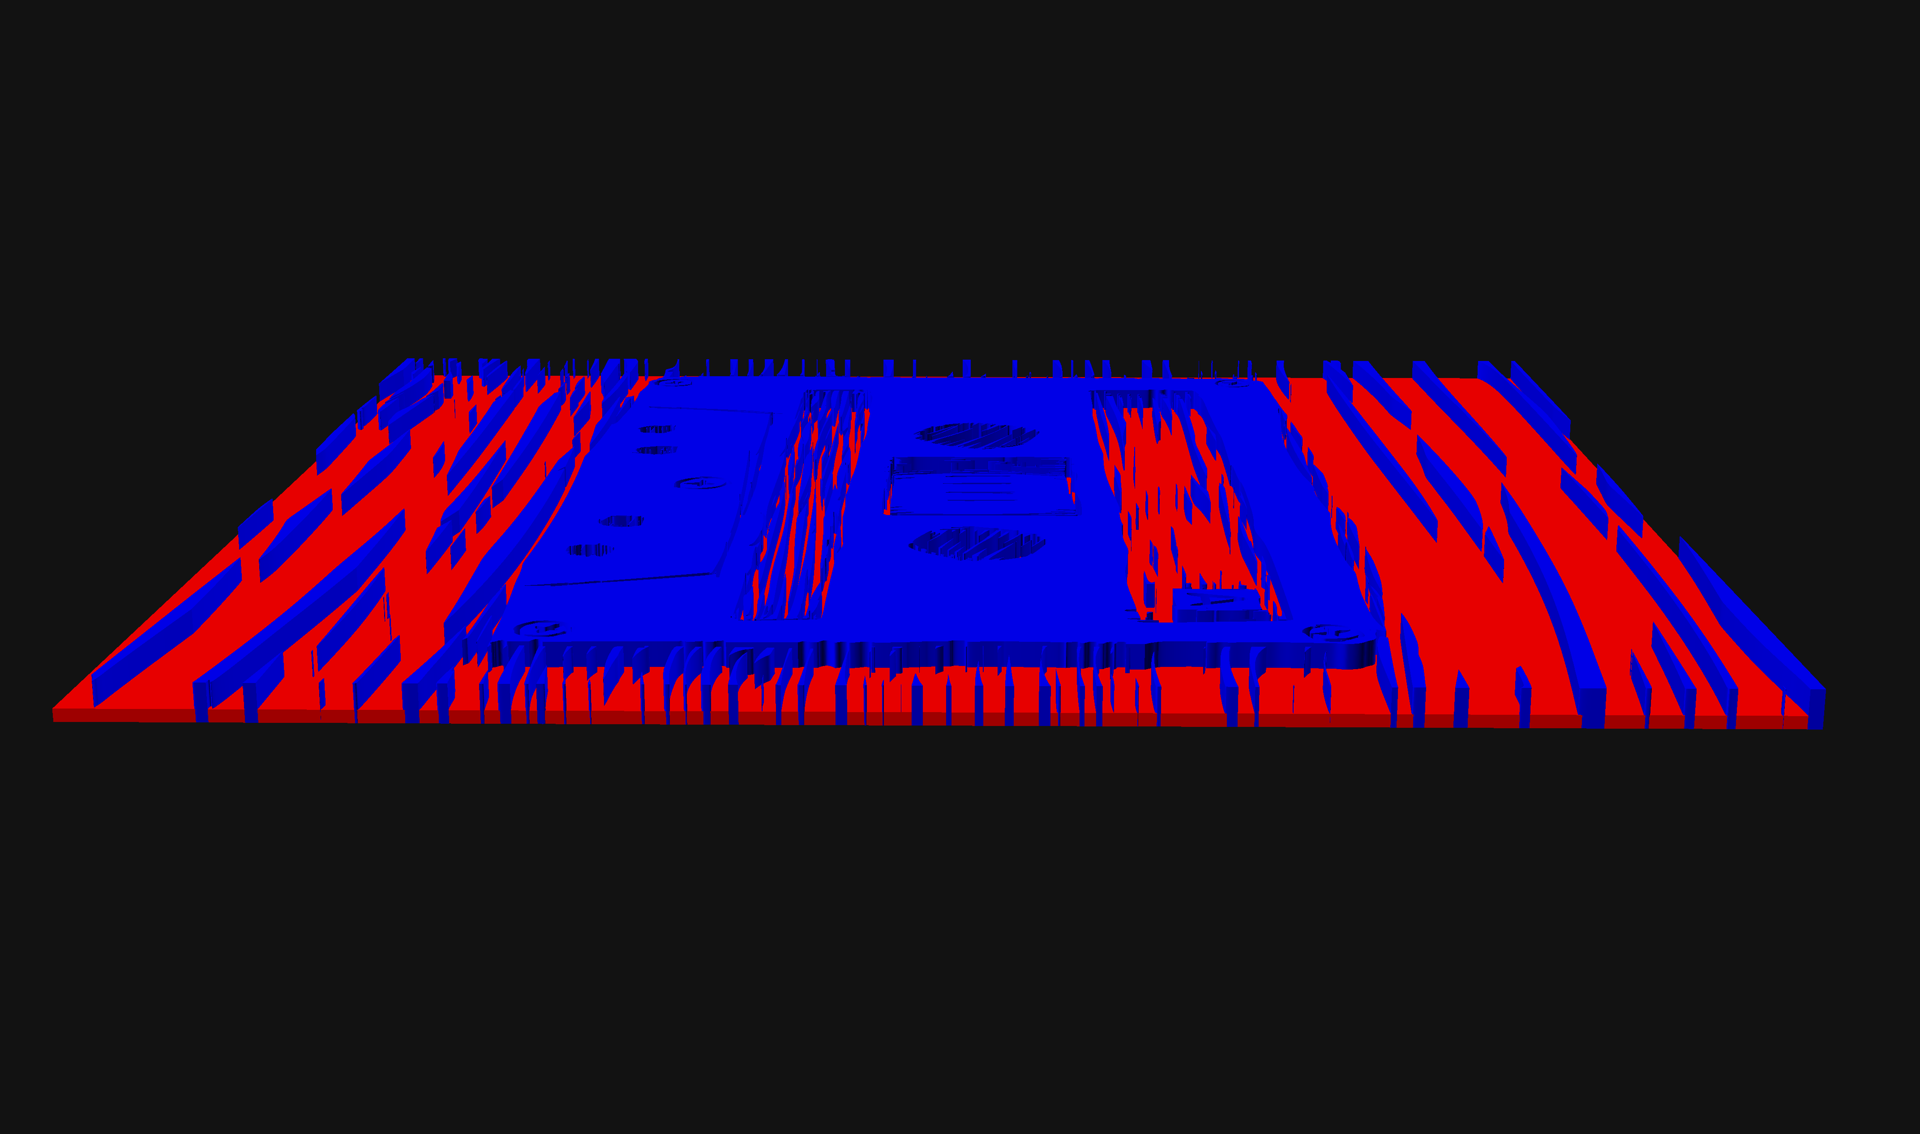
The reason for changing the flat backing plate versus artwork ratio is to help those thin lines be a little stronger sine they would not be as tall. Hmmm, something to consider!
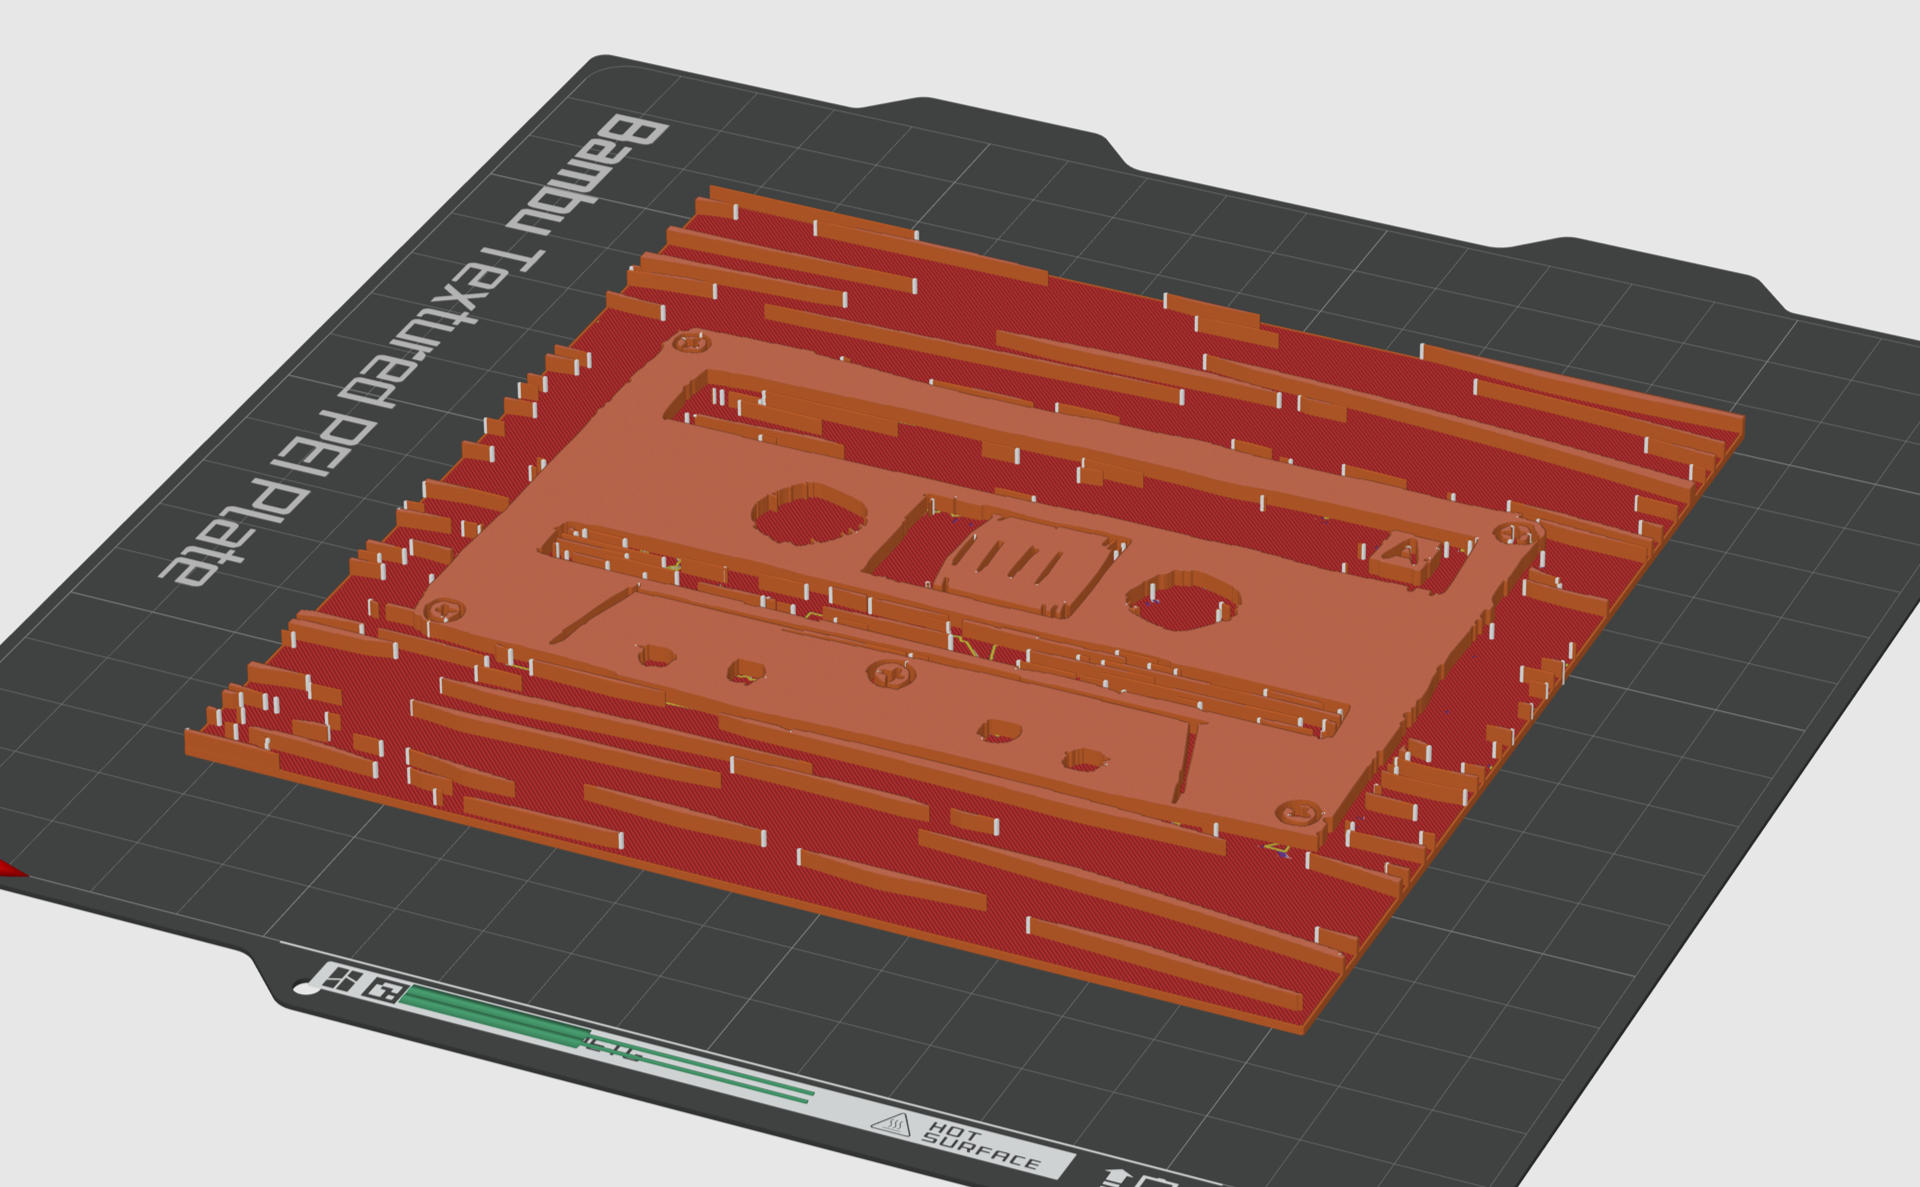
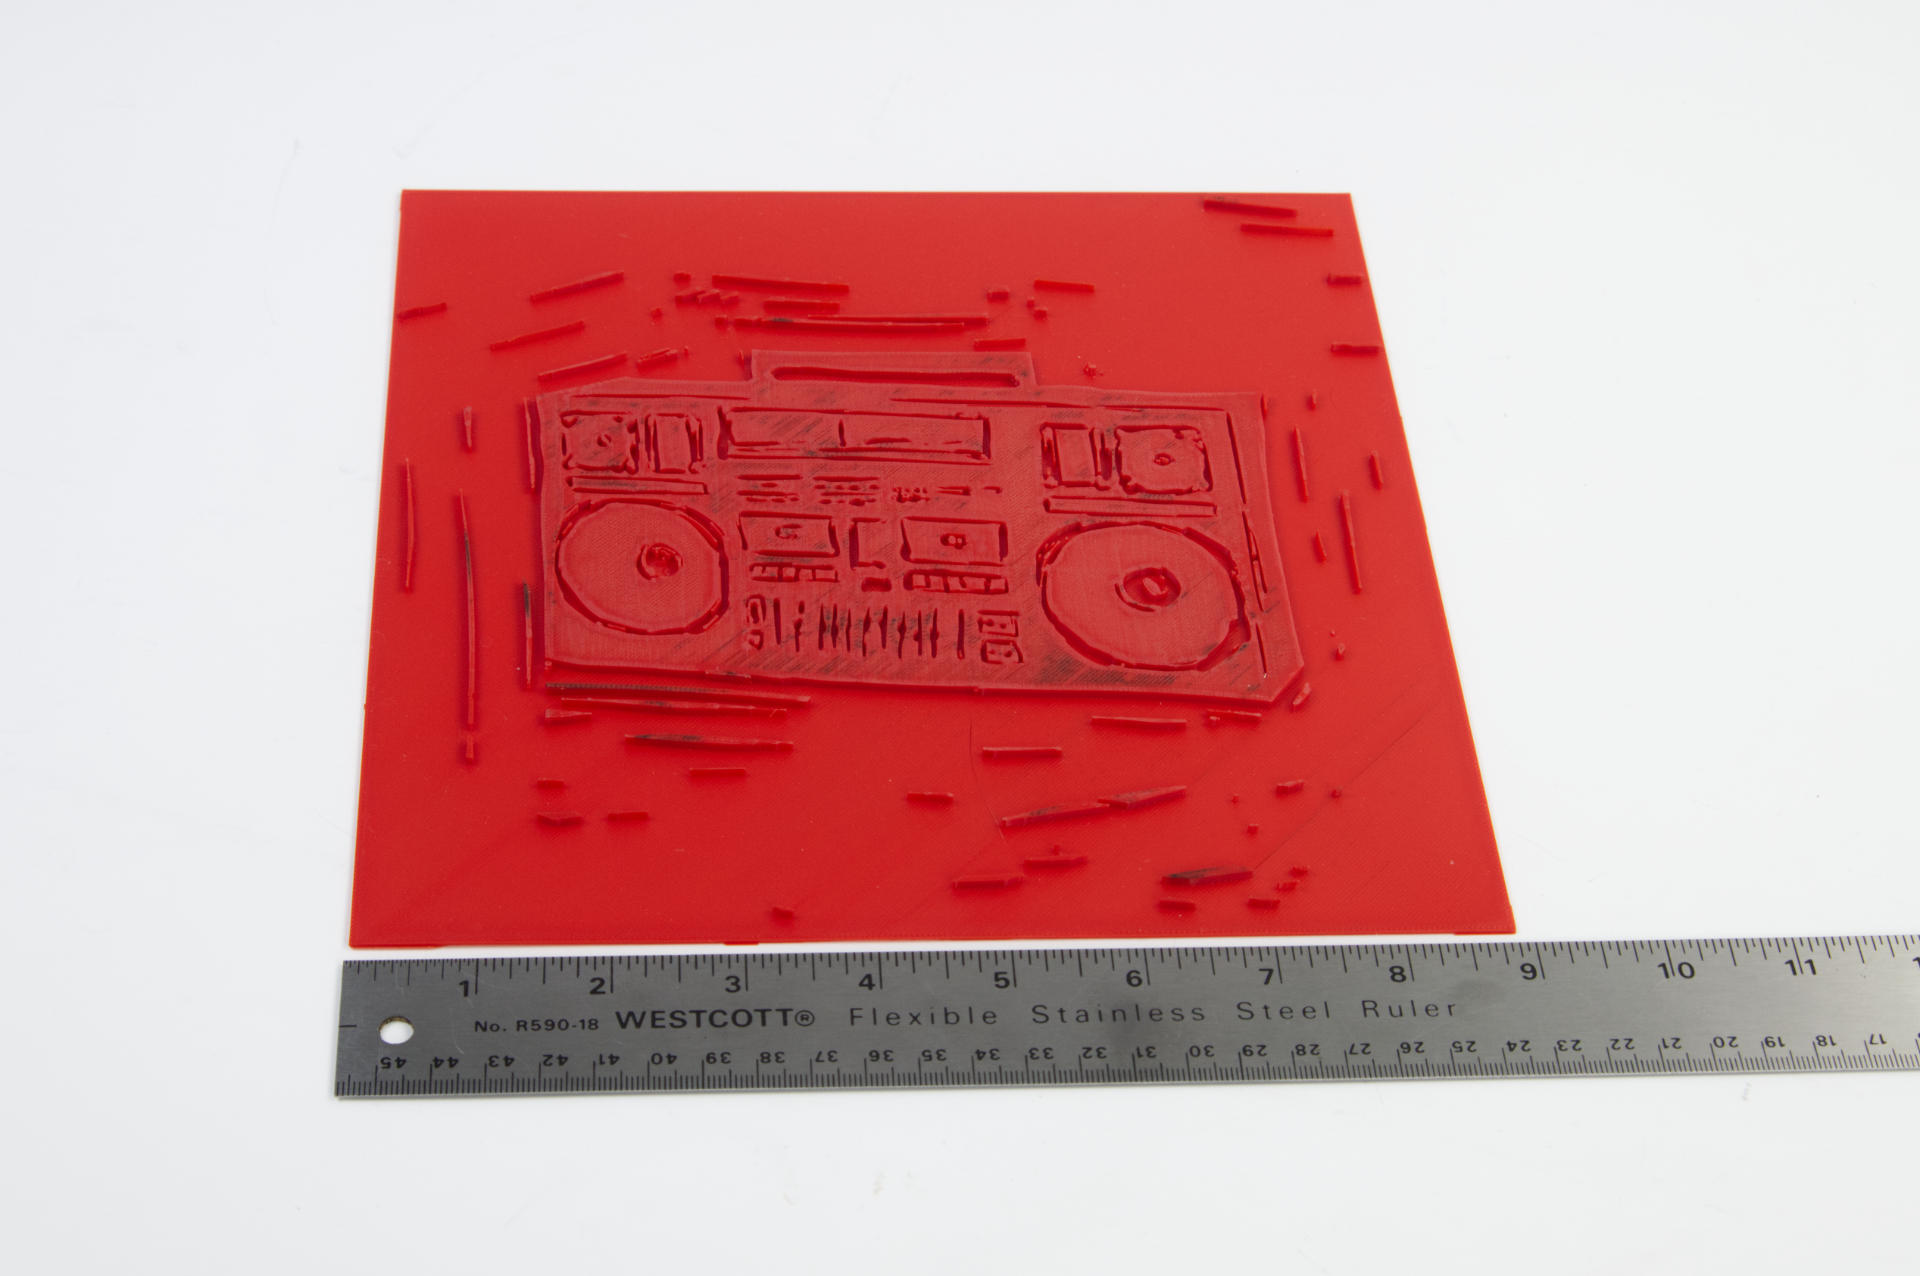
This is what the sliced plate looks like before sending it to print. I printed it on my Bambu Lab A1 mini 3D Printer which is a small printer and actually perfect for these small plates.
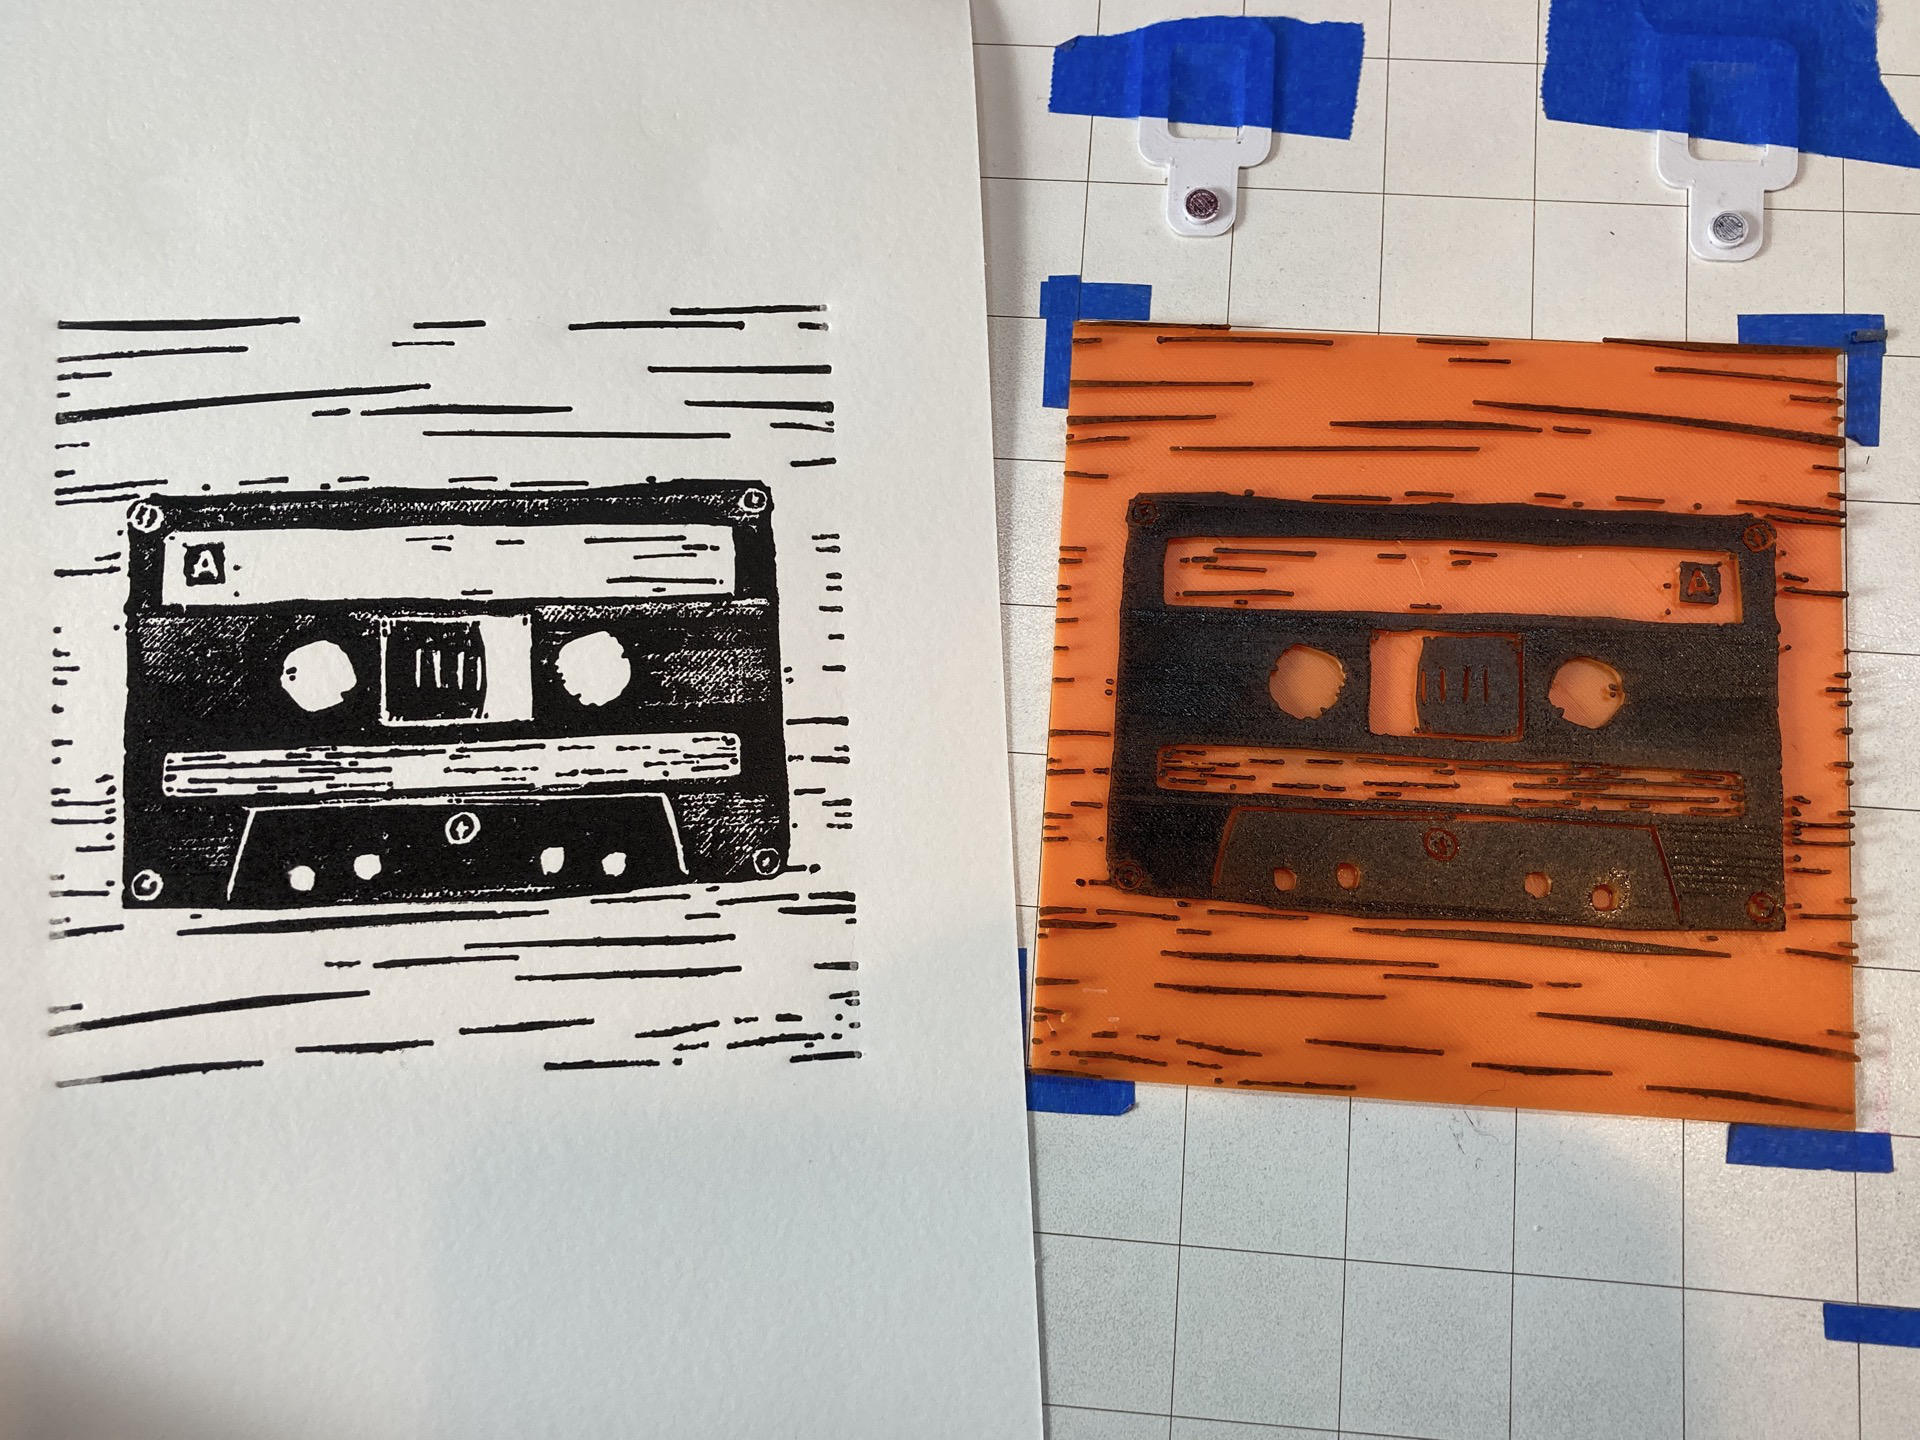
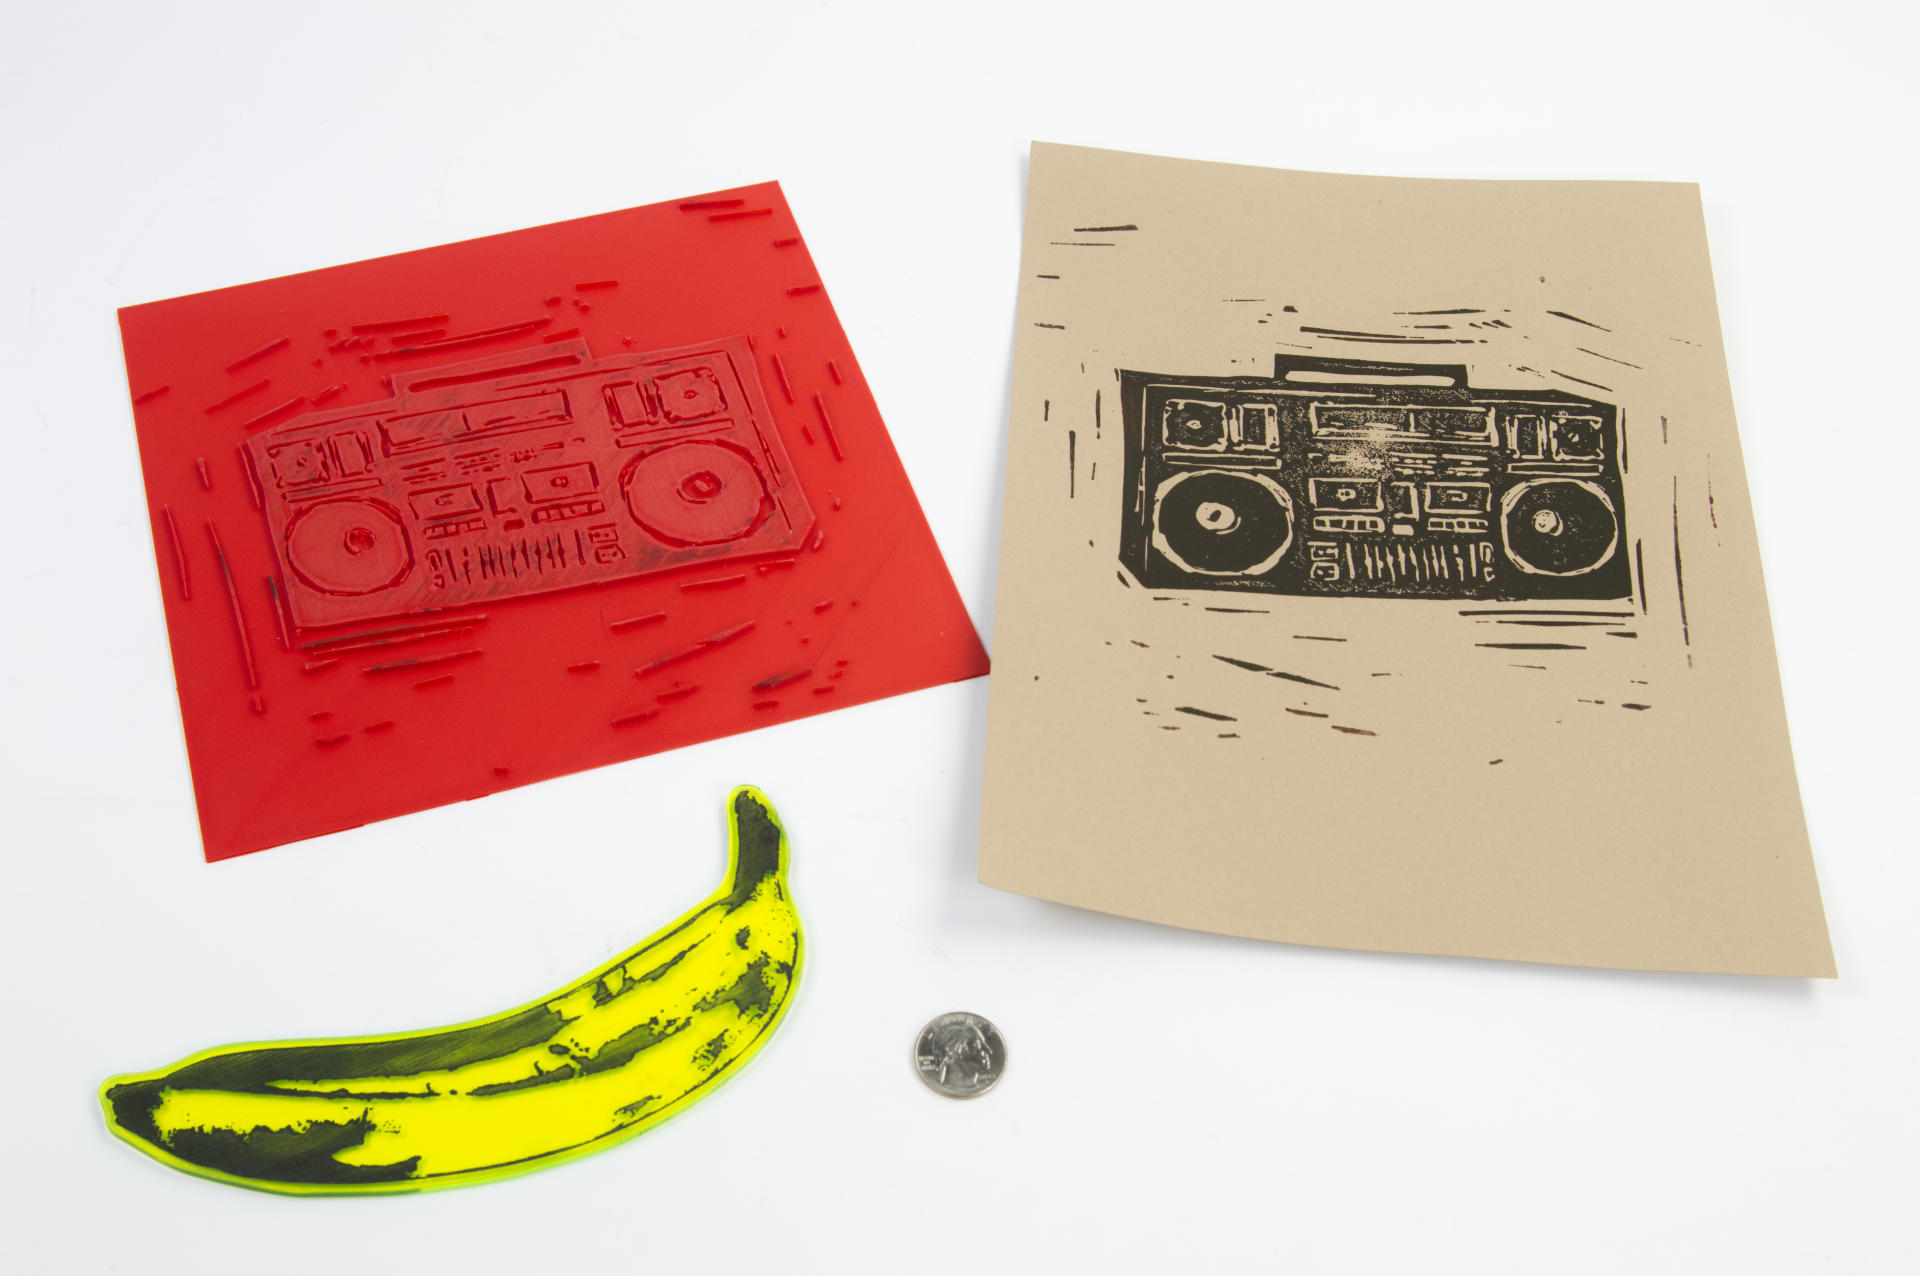
Ready to print! Here’s the first print along with the printing plate all inked up. I’m using my Provisional Press for this. I love the Provisional Press because it’s under $200 USD and works great for my needs.
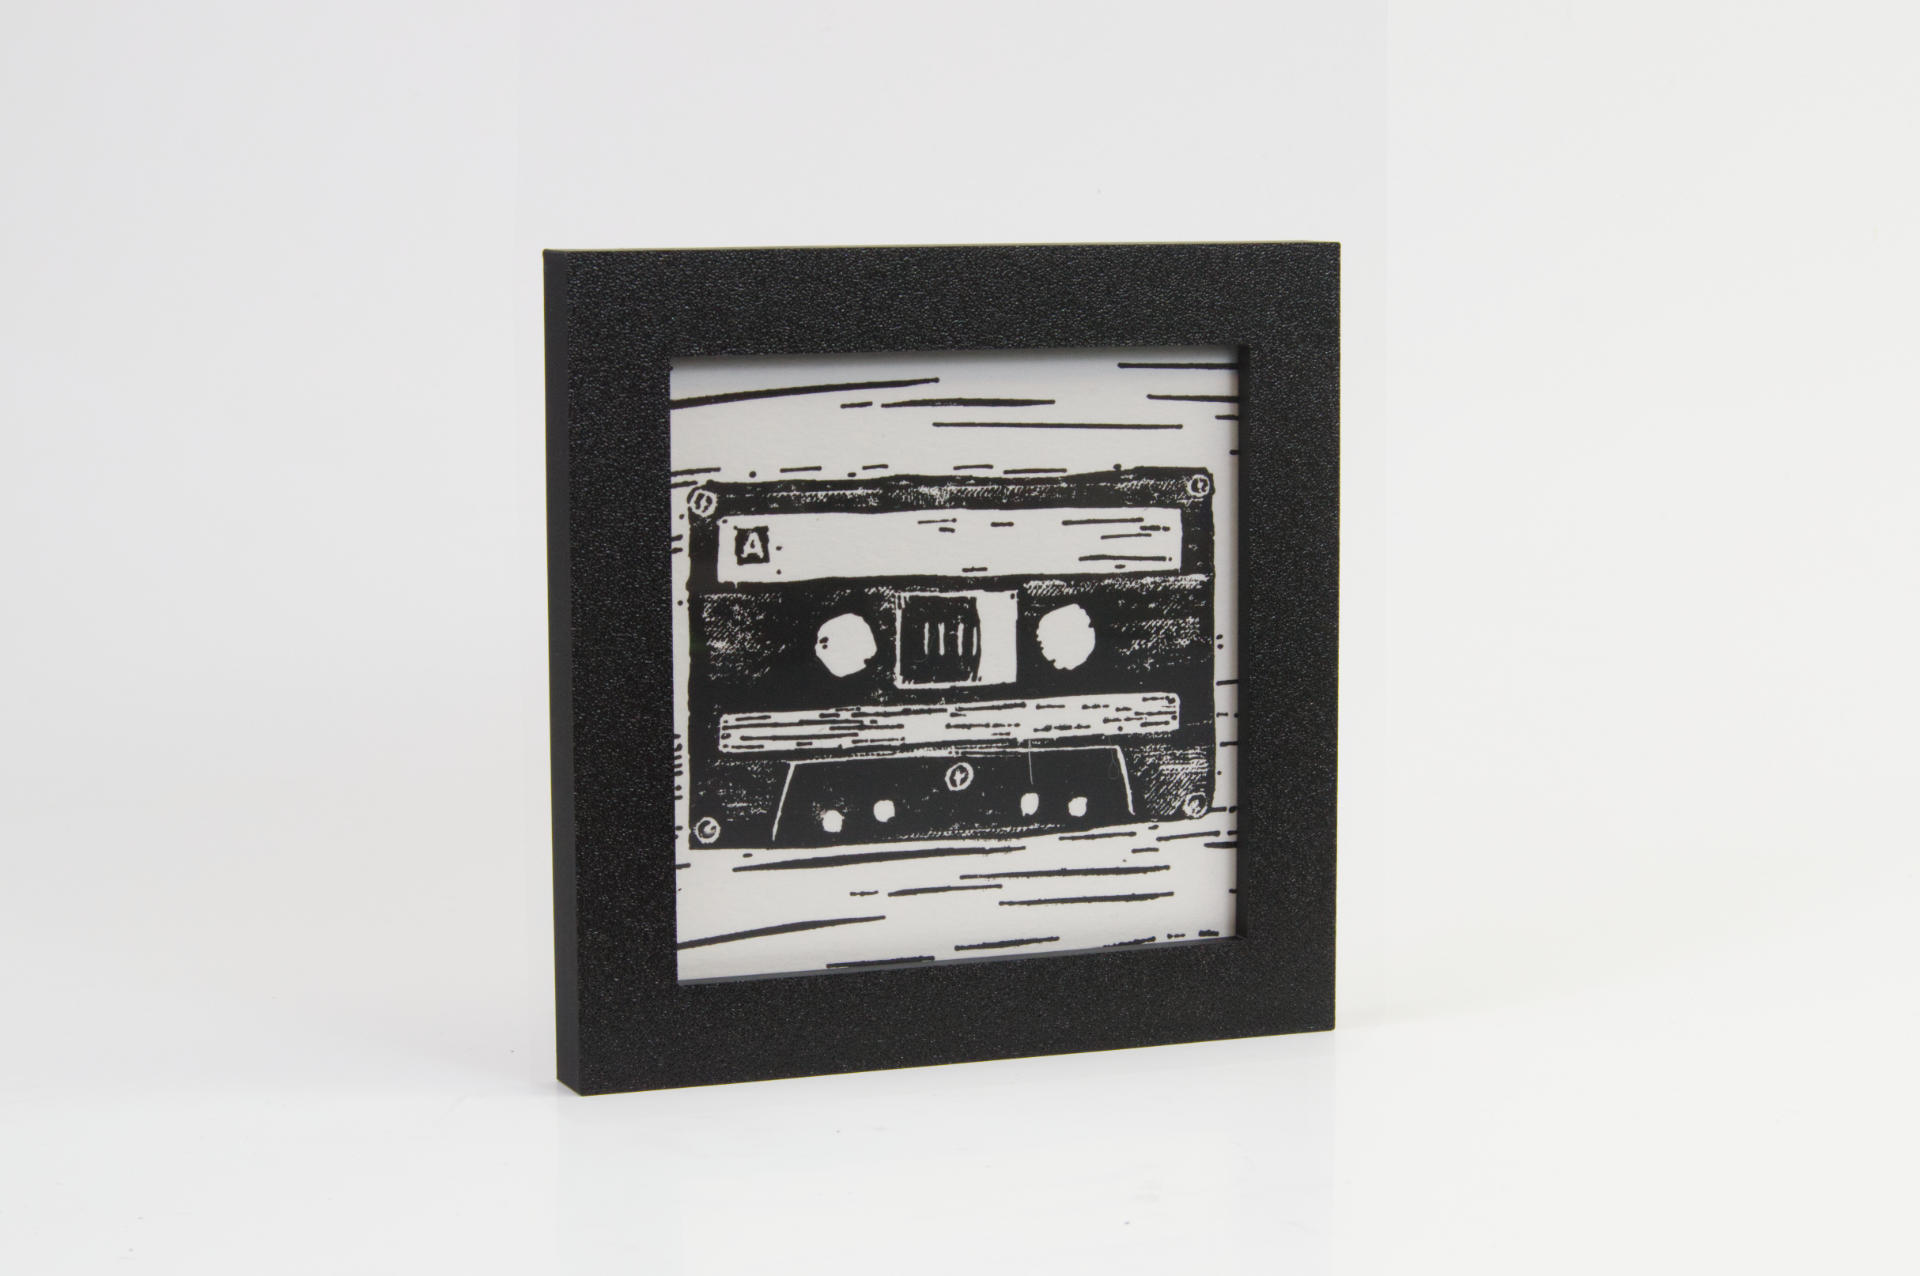
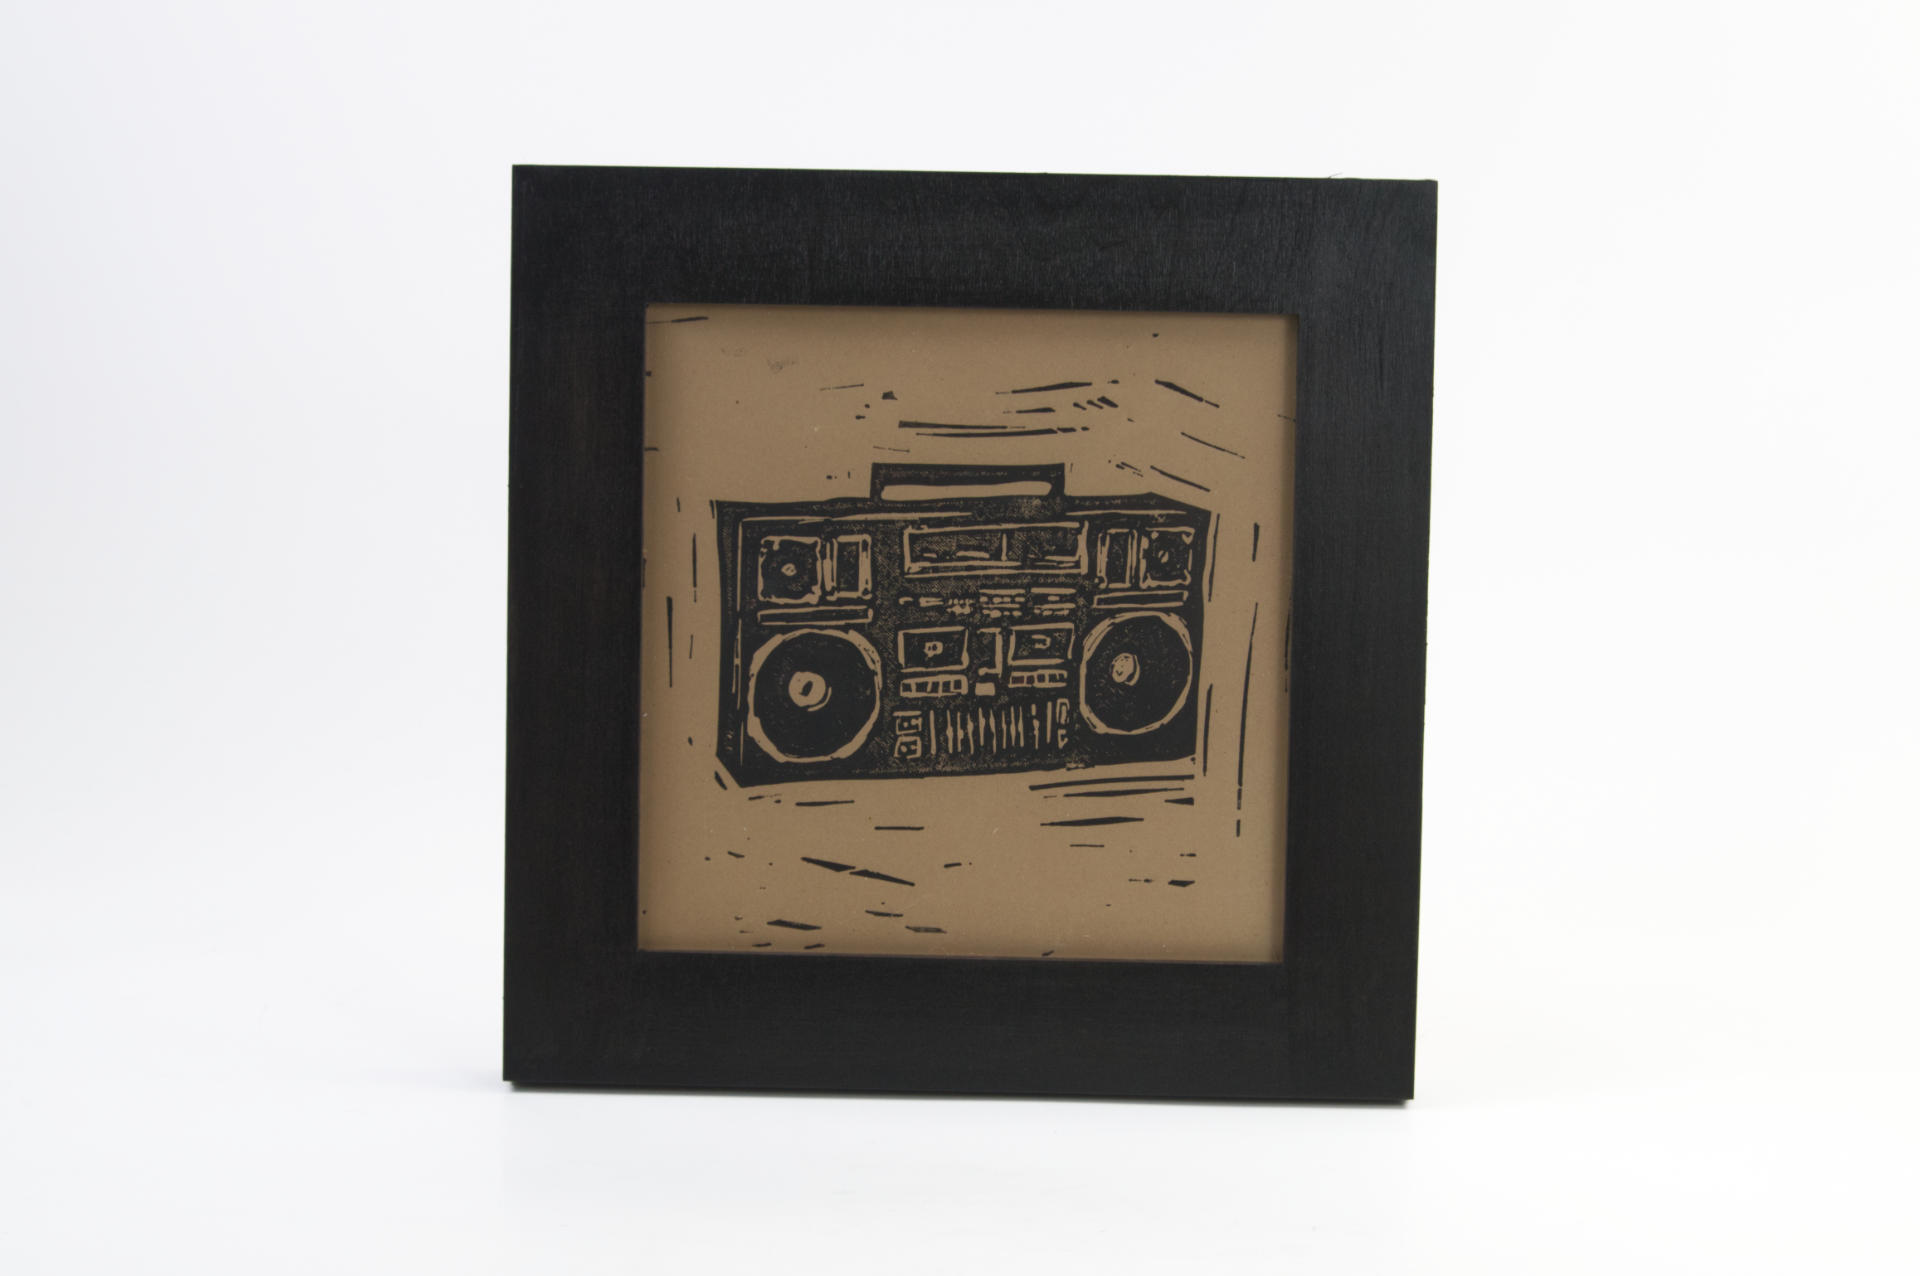
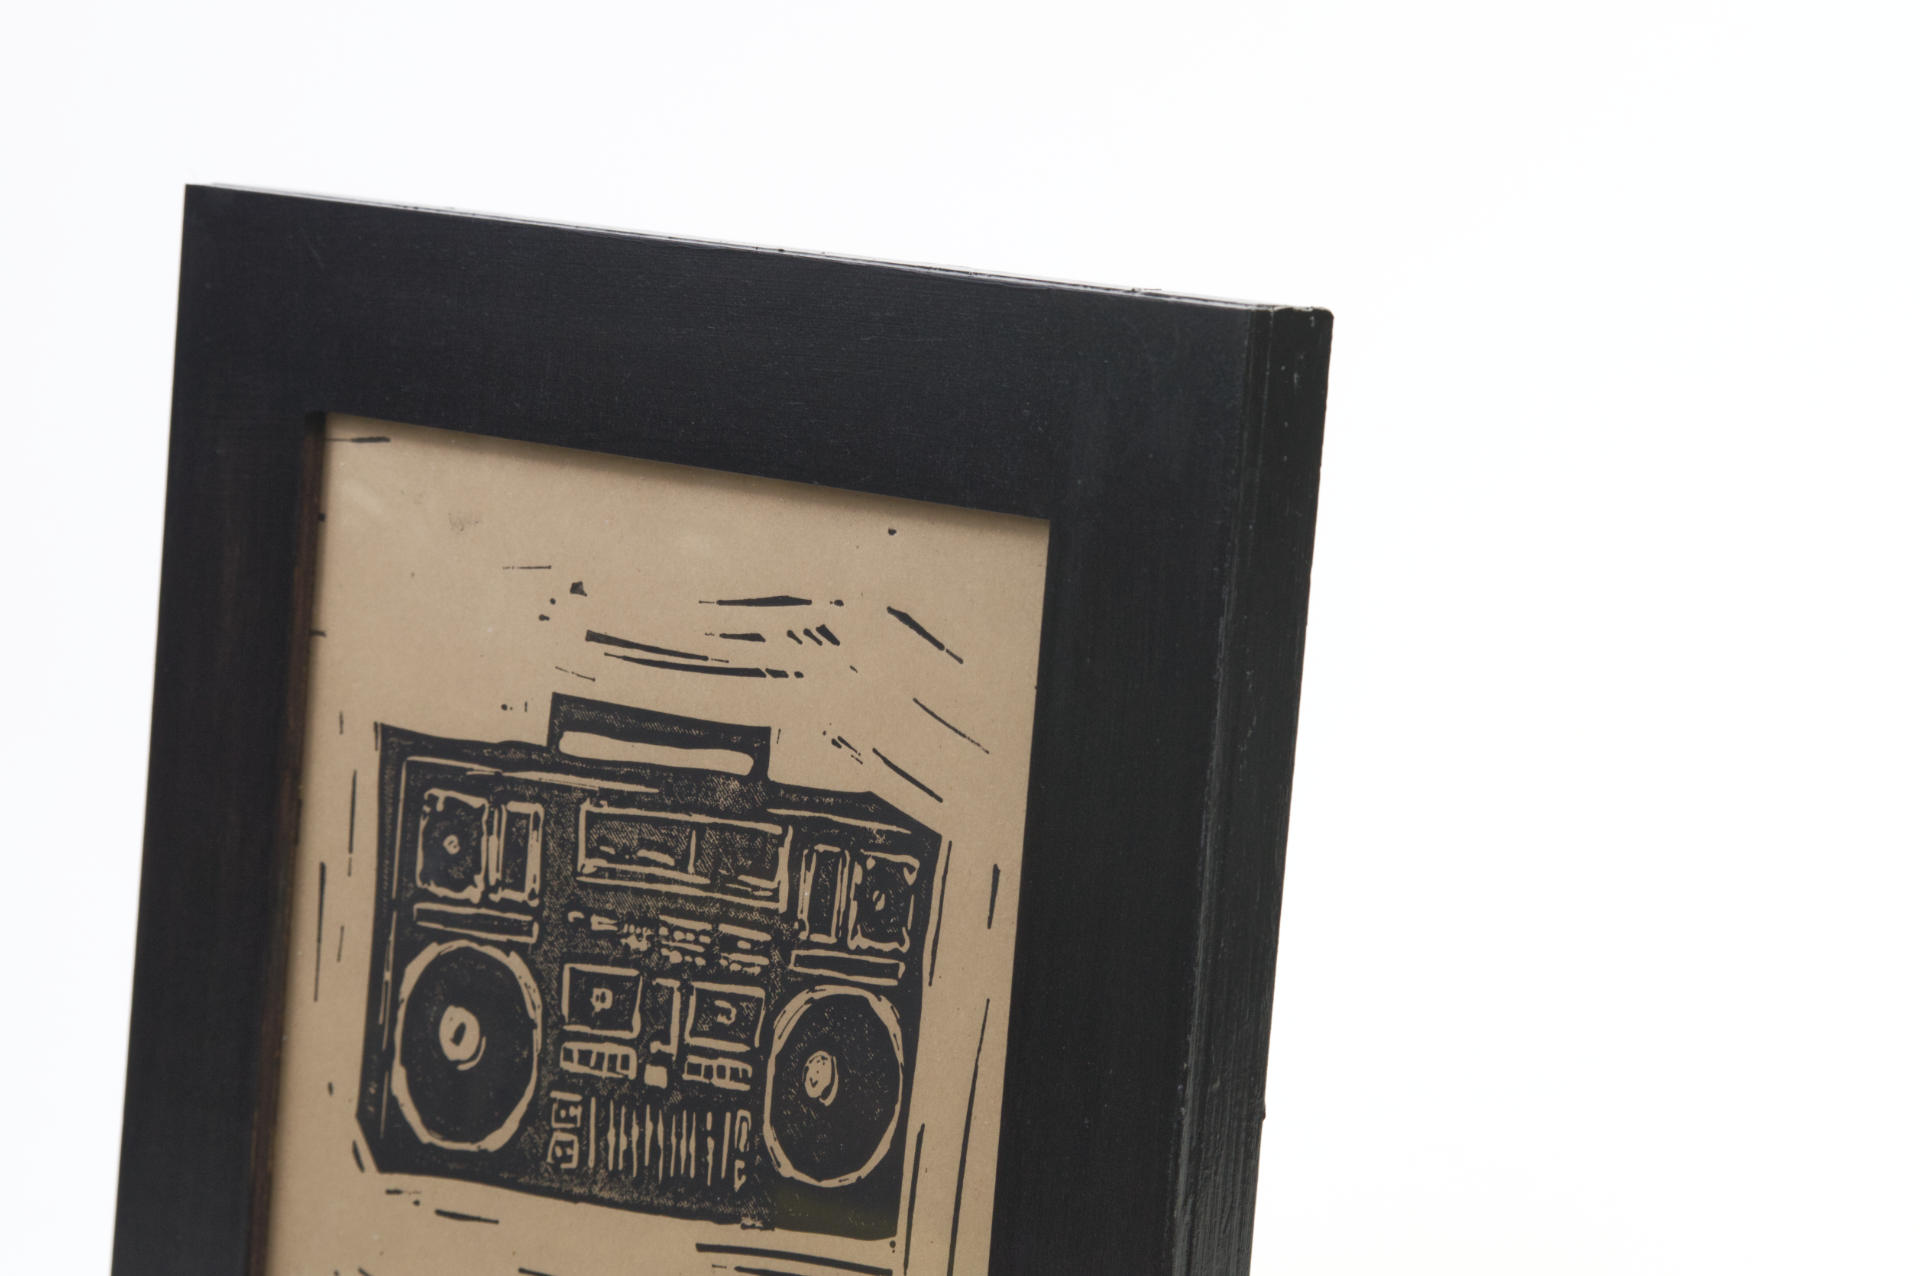
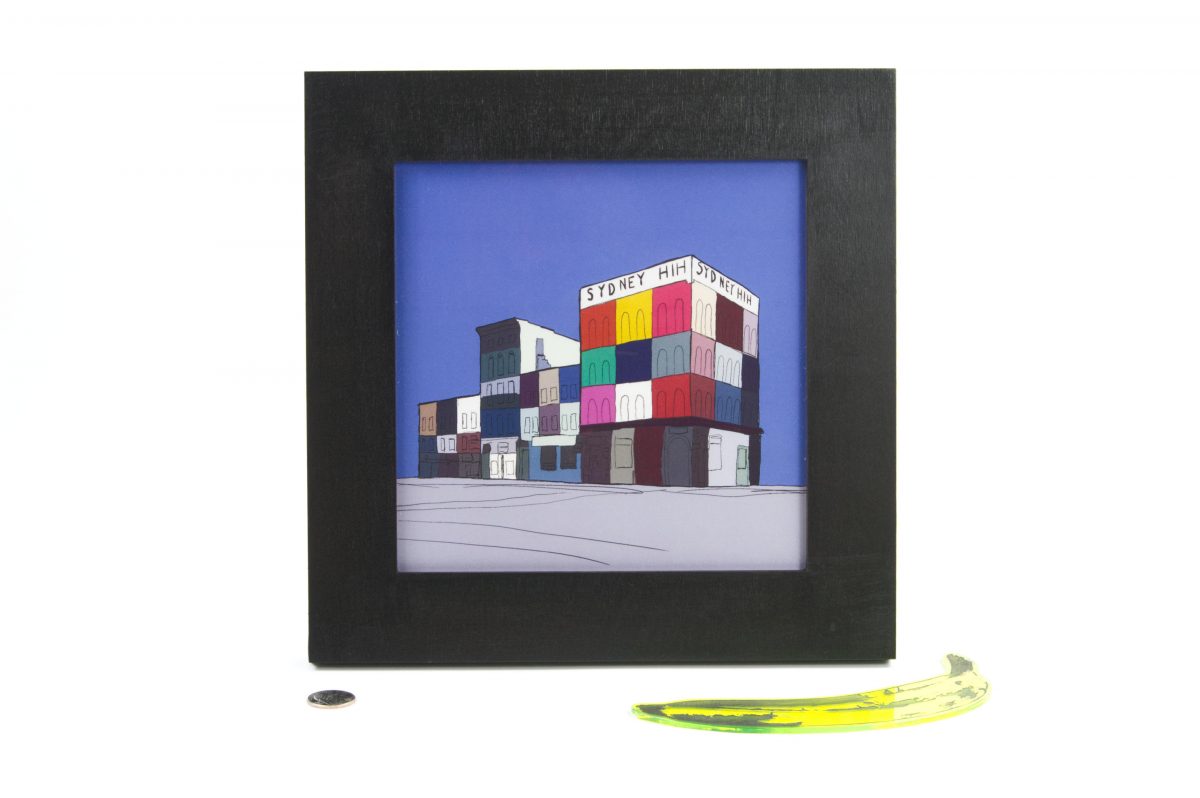
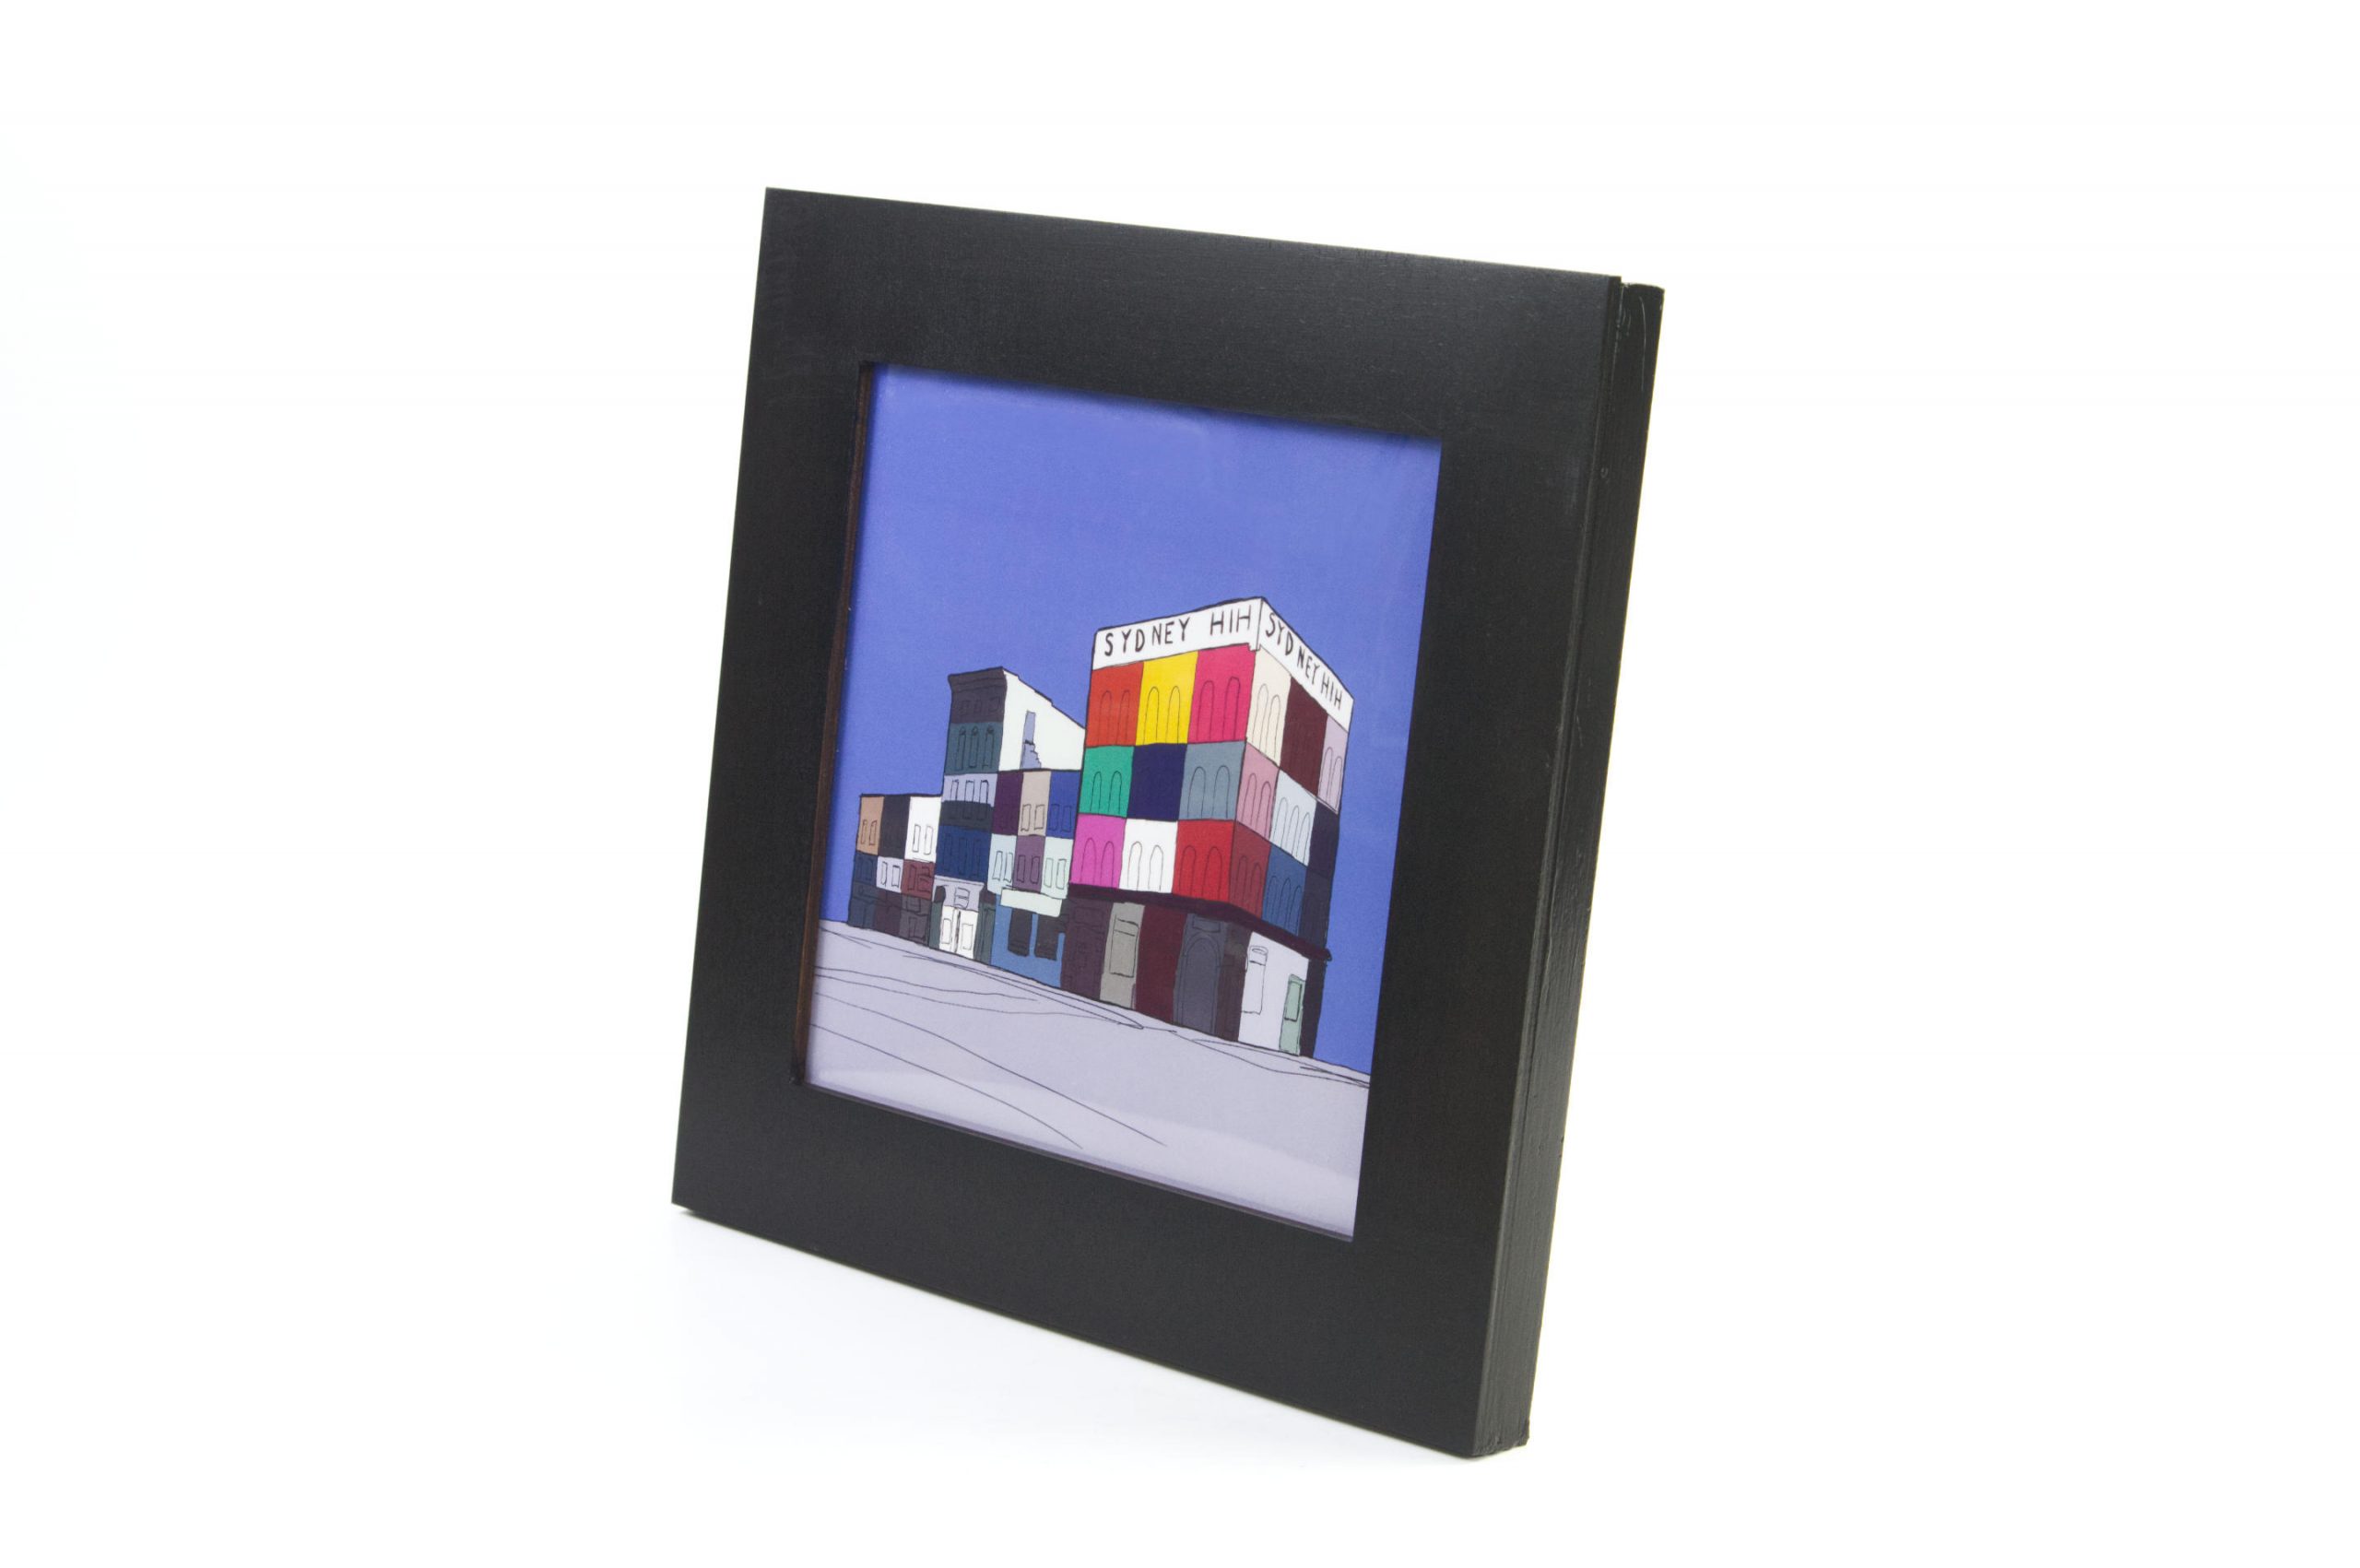
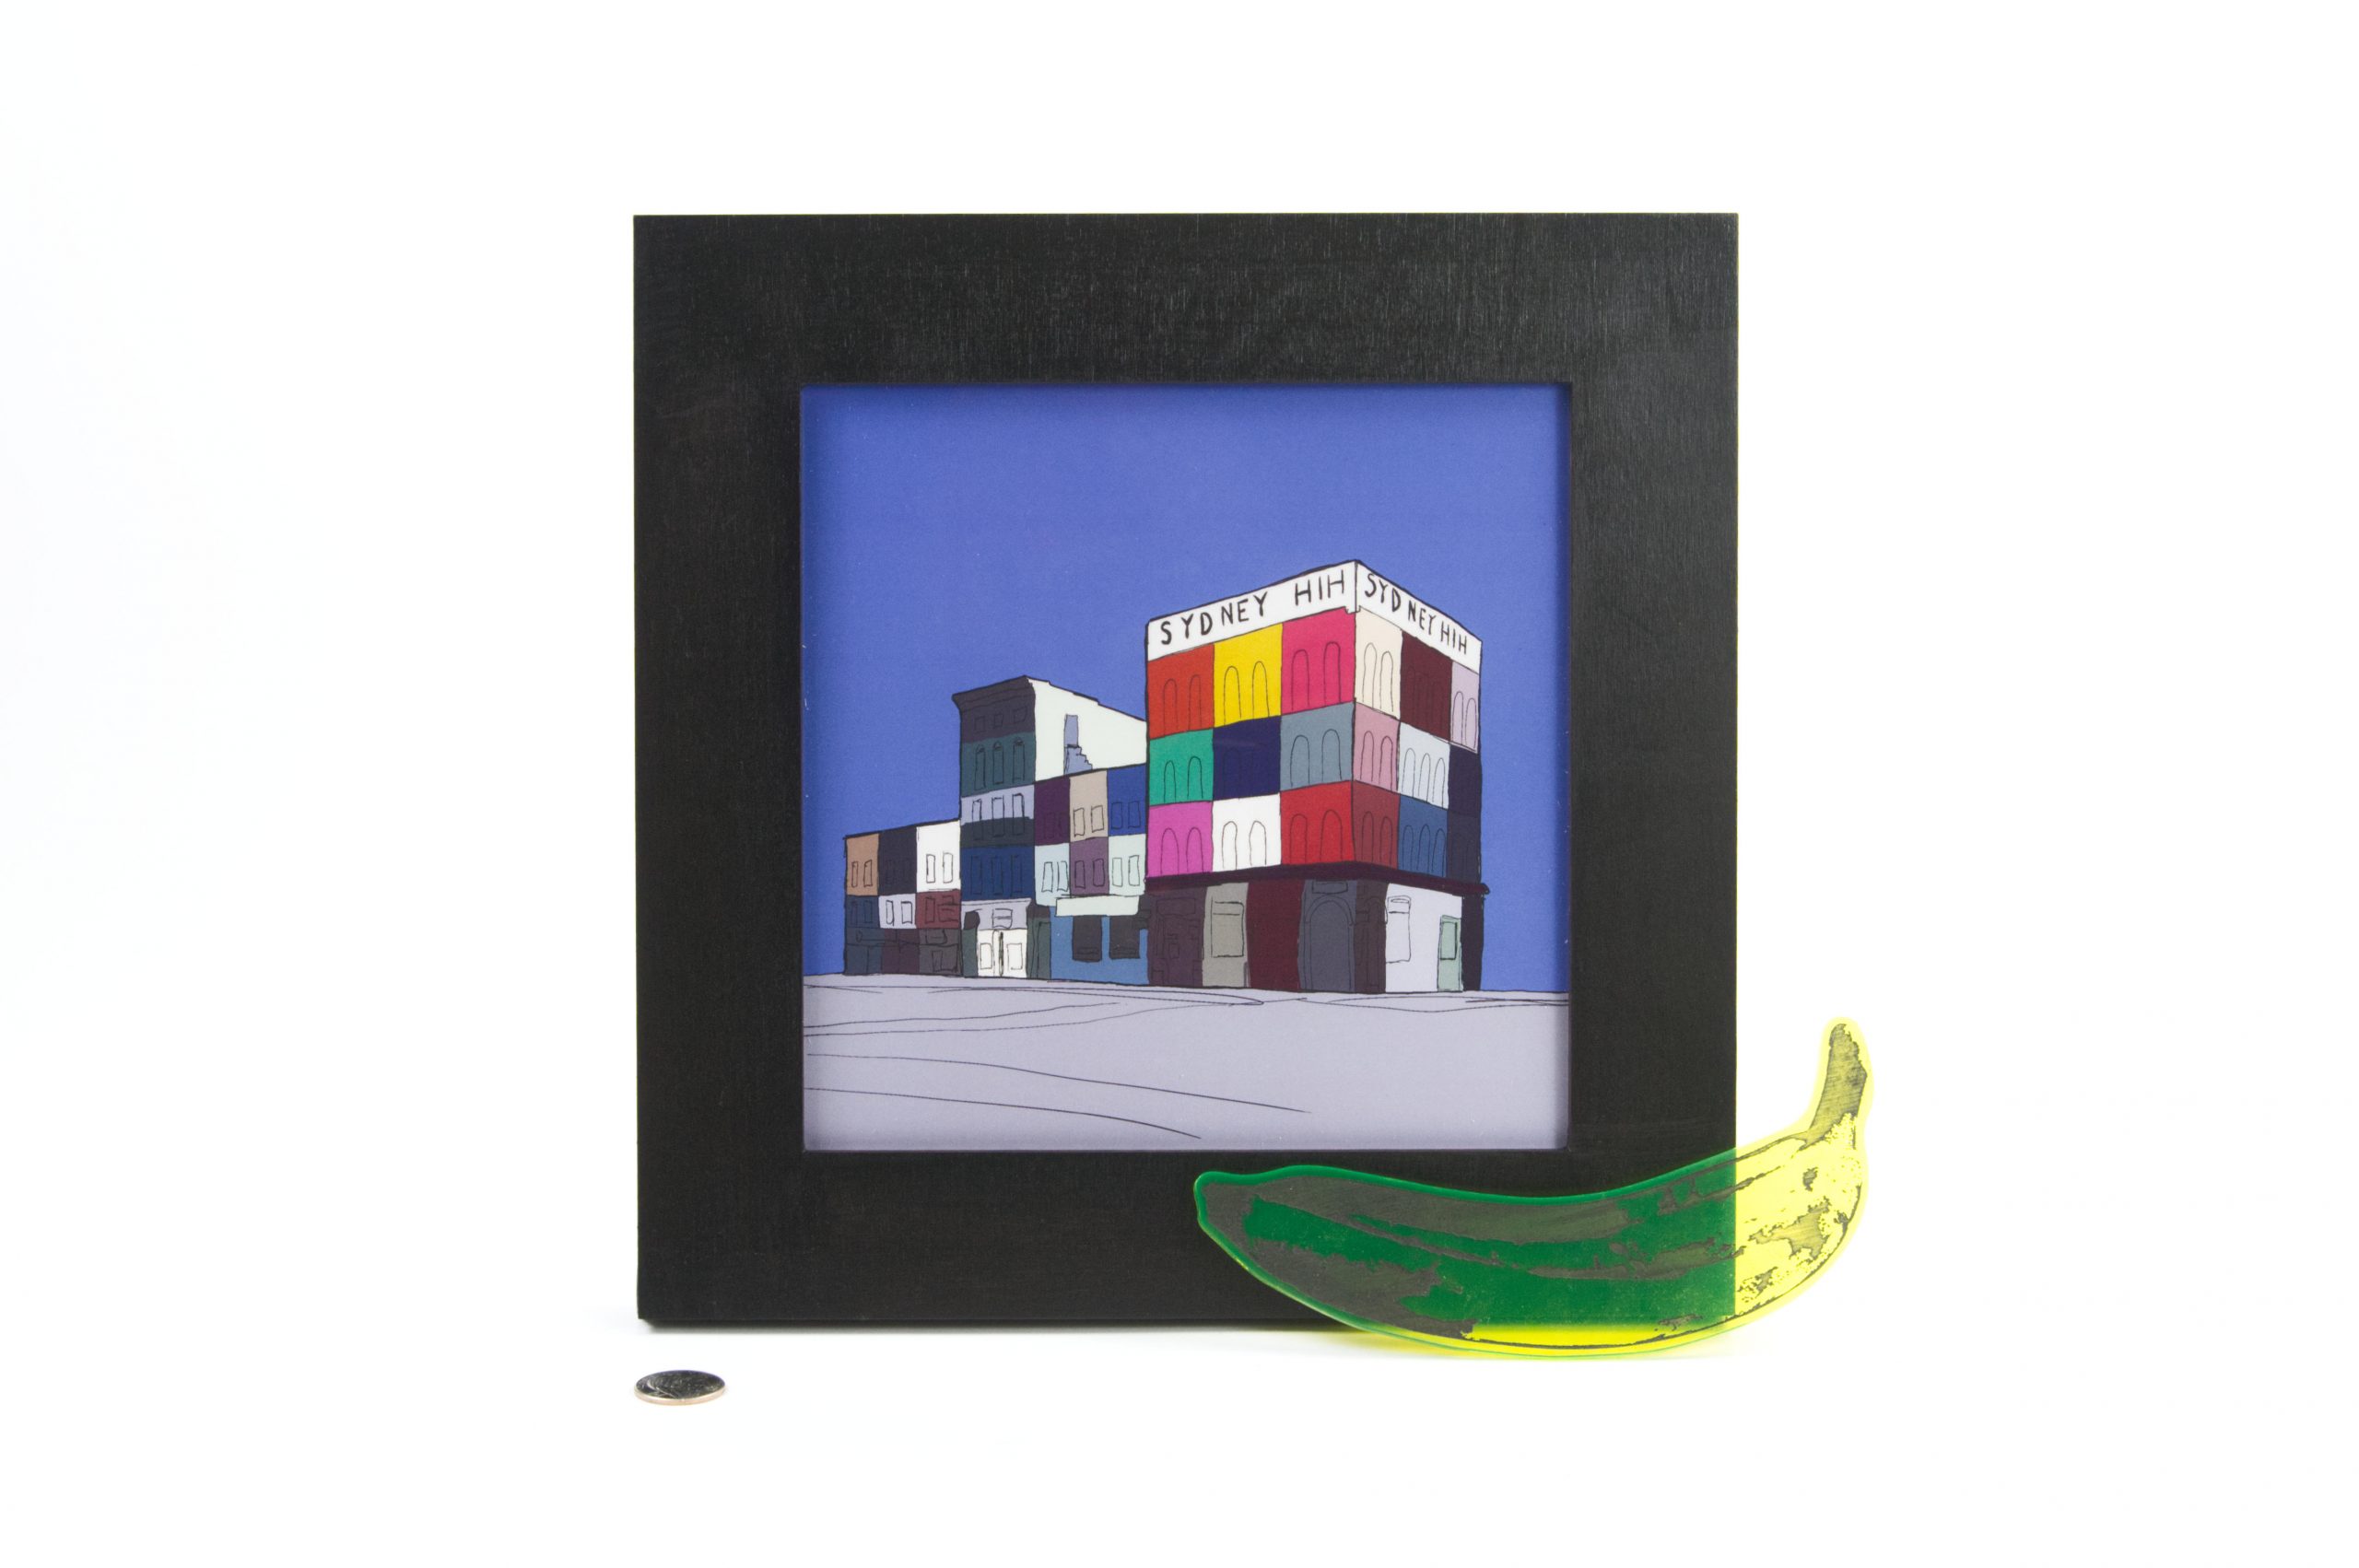
Finally, here’s the print framed. (Yes, I 3D printed the frame.) I like where this is going, and will definitely be working on this idea in the future. I think part of what gets me excited is that I am still figuring this stuff out as I go, and there is learning and exploration as part of the process. Always room for improvement, and always new discoveries and surprises along the journey.