Categories
Uncategorized

Pen Holder Assembly Jig

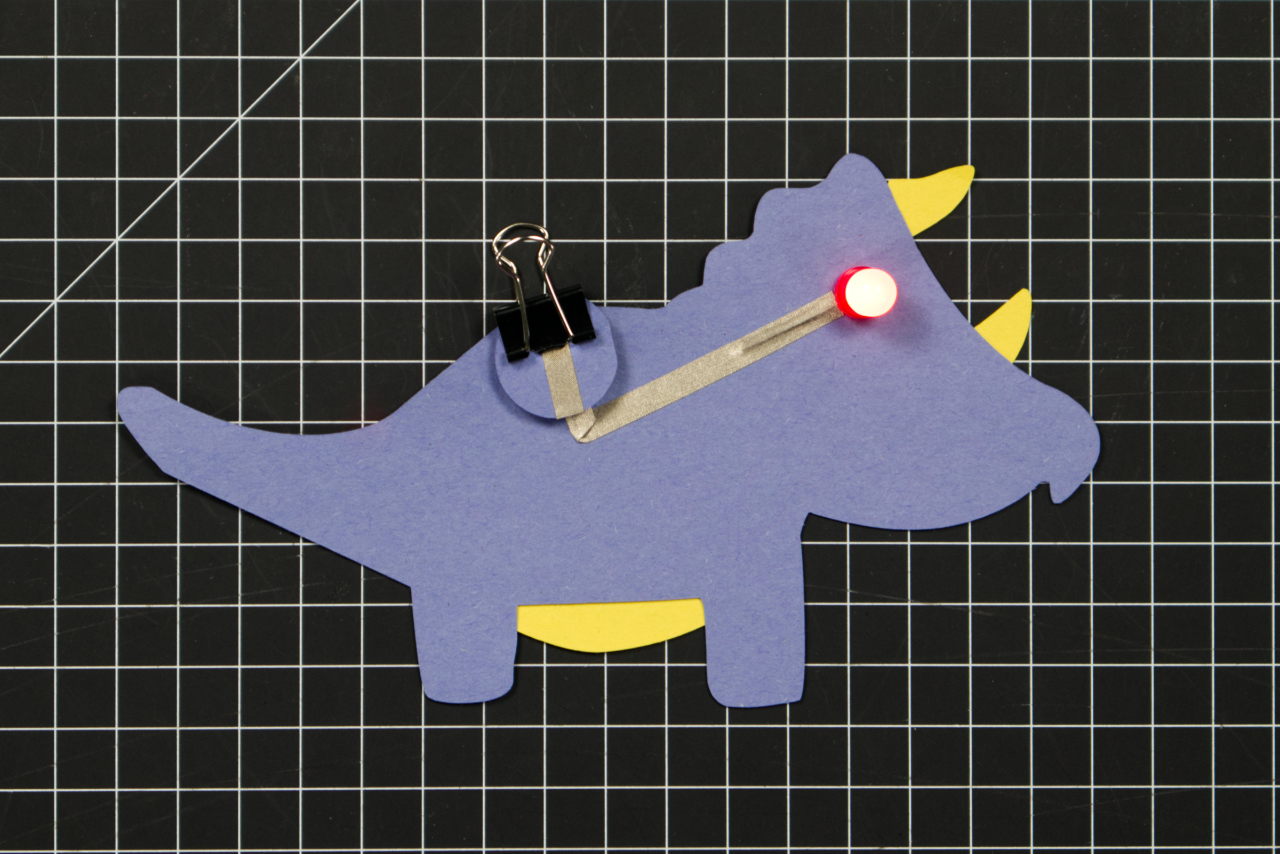
I designed a Pen Holder for Brown Dog Gadgets Rover project. When we were prototyping it was easy to make one. I would just 3D print the part and then carefully hold a 3mm hex nut in place with some small forceps and tighten the 3mm bolt until it drew the nut up into the hex-shaped cavity…

When it was decided we needed to print and assemble a lot of them I had to find a better/faster way to do it. Obviously the answer was a jig. So here’s what I came up with.

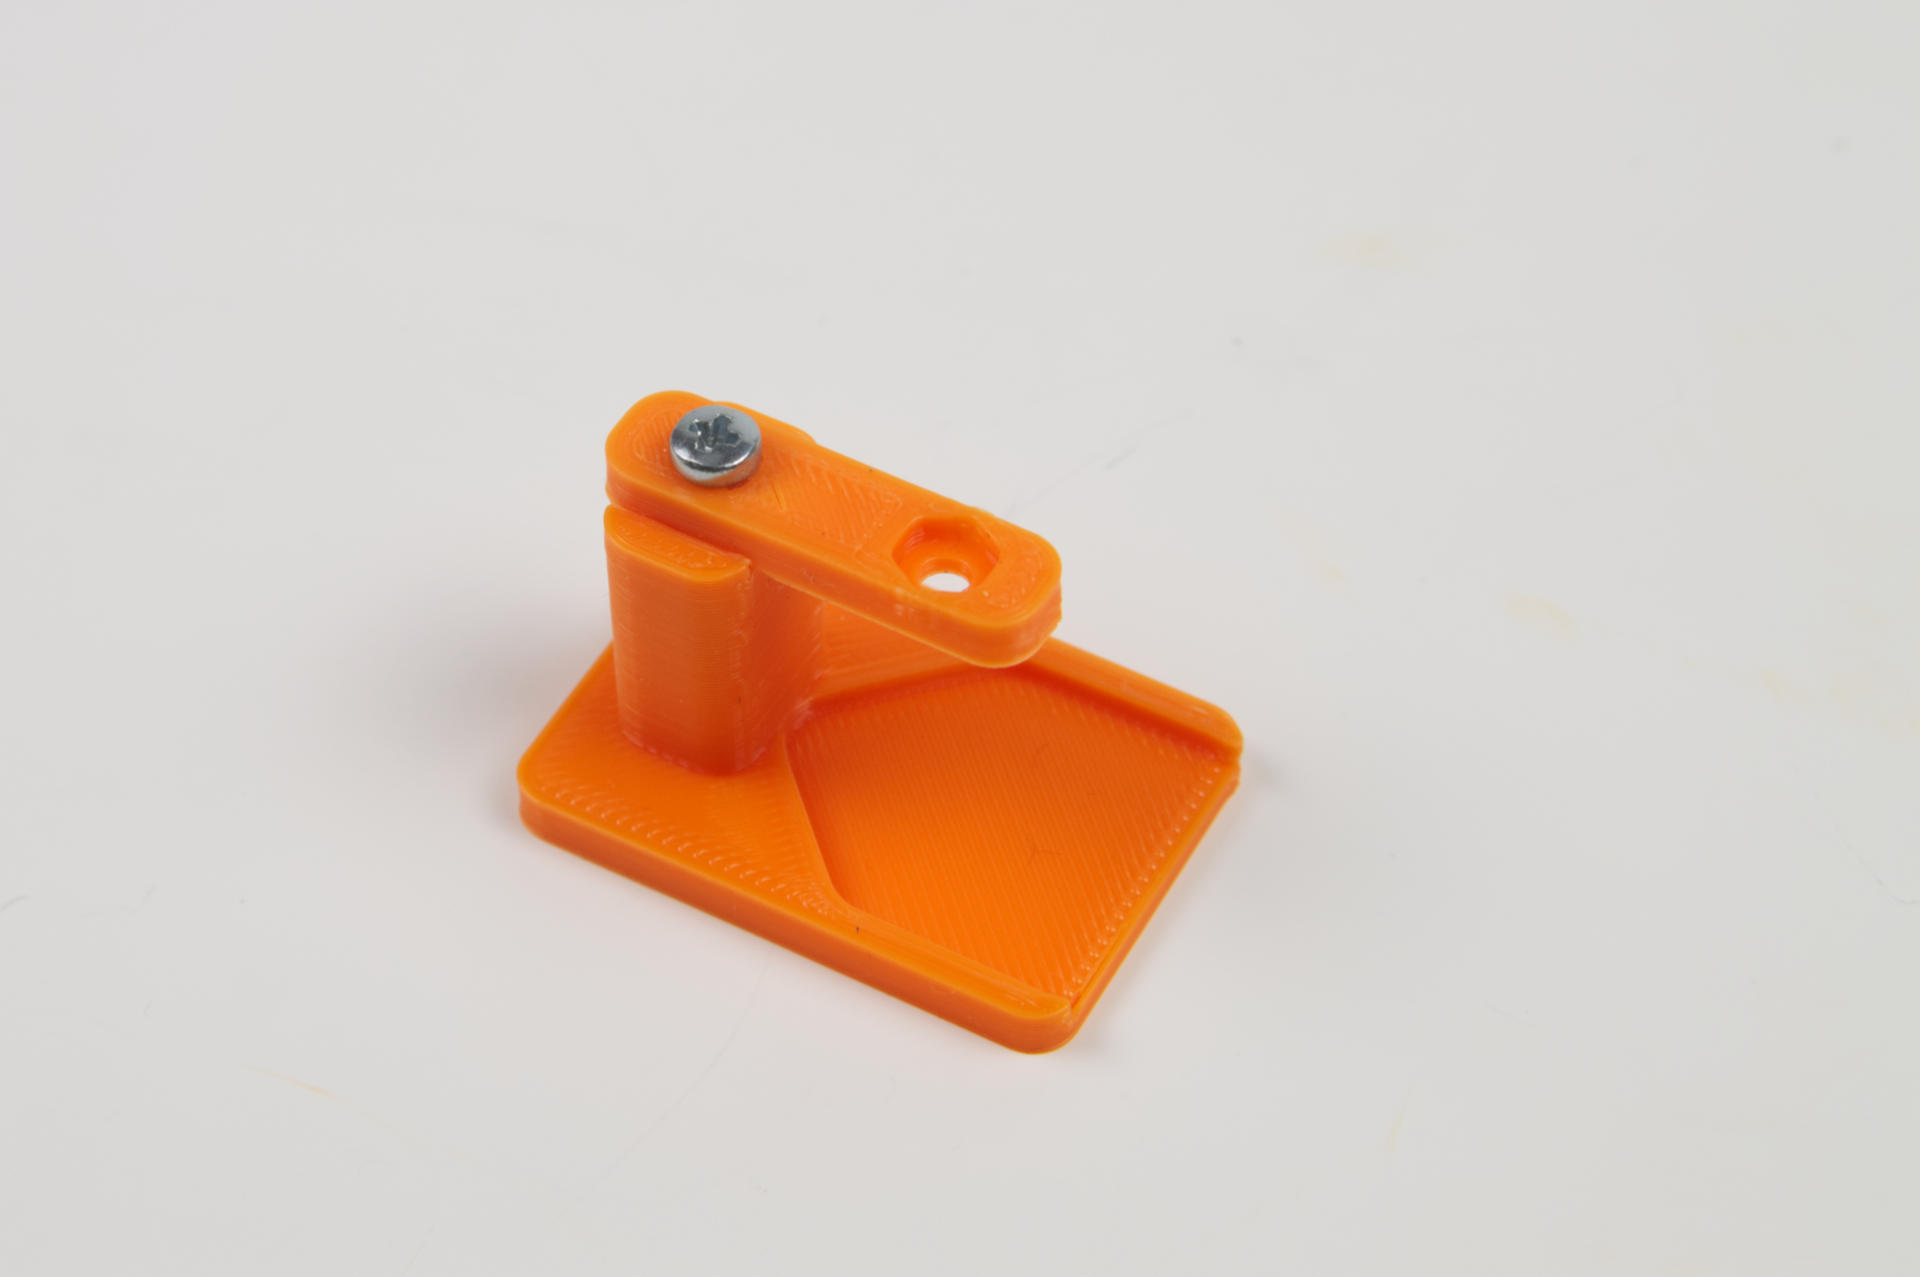
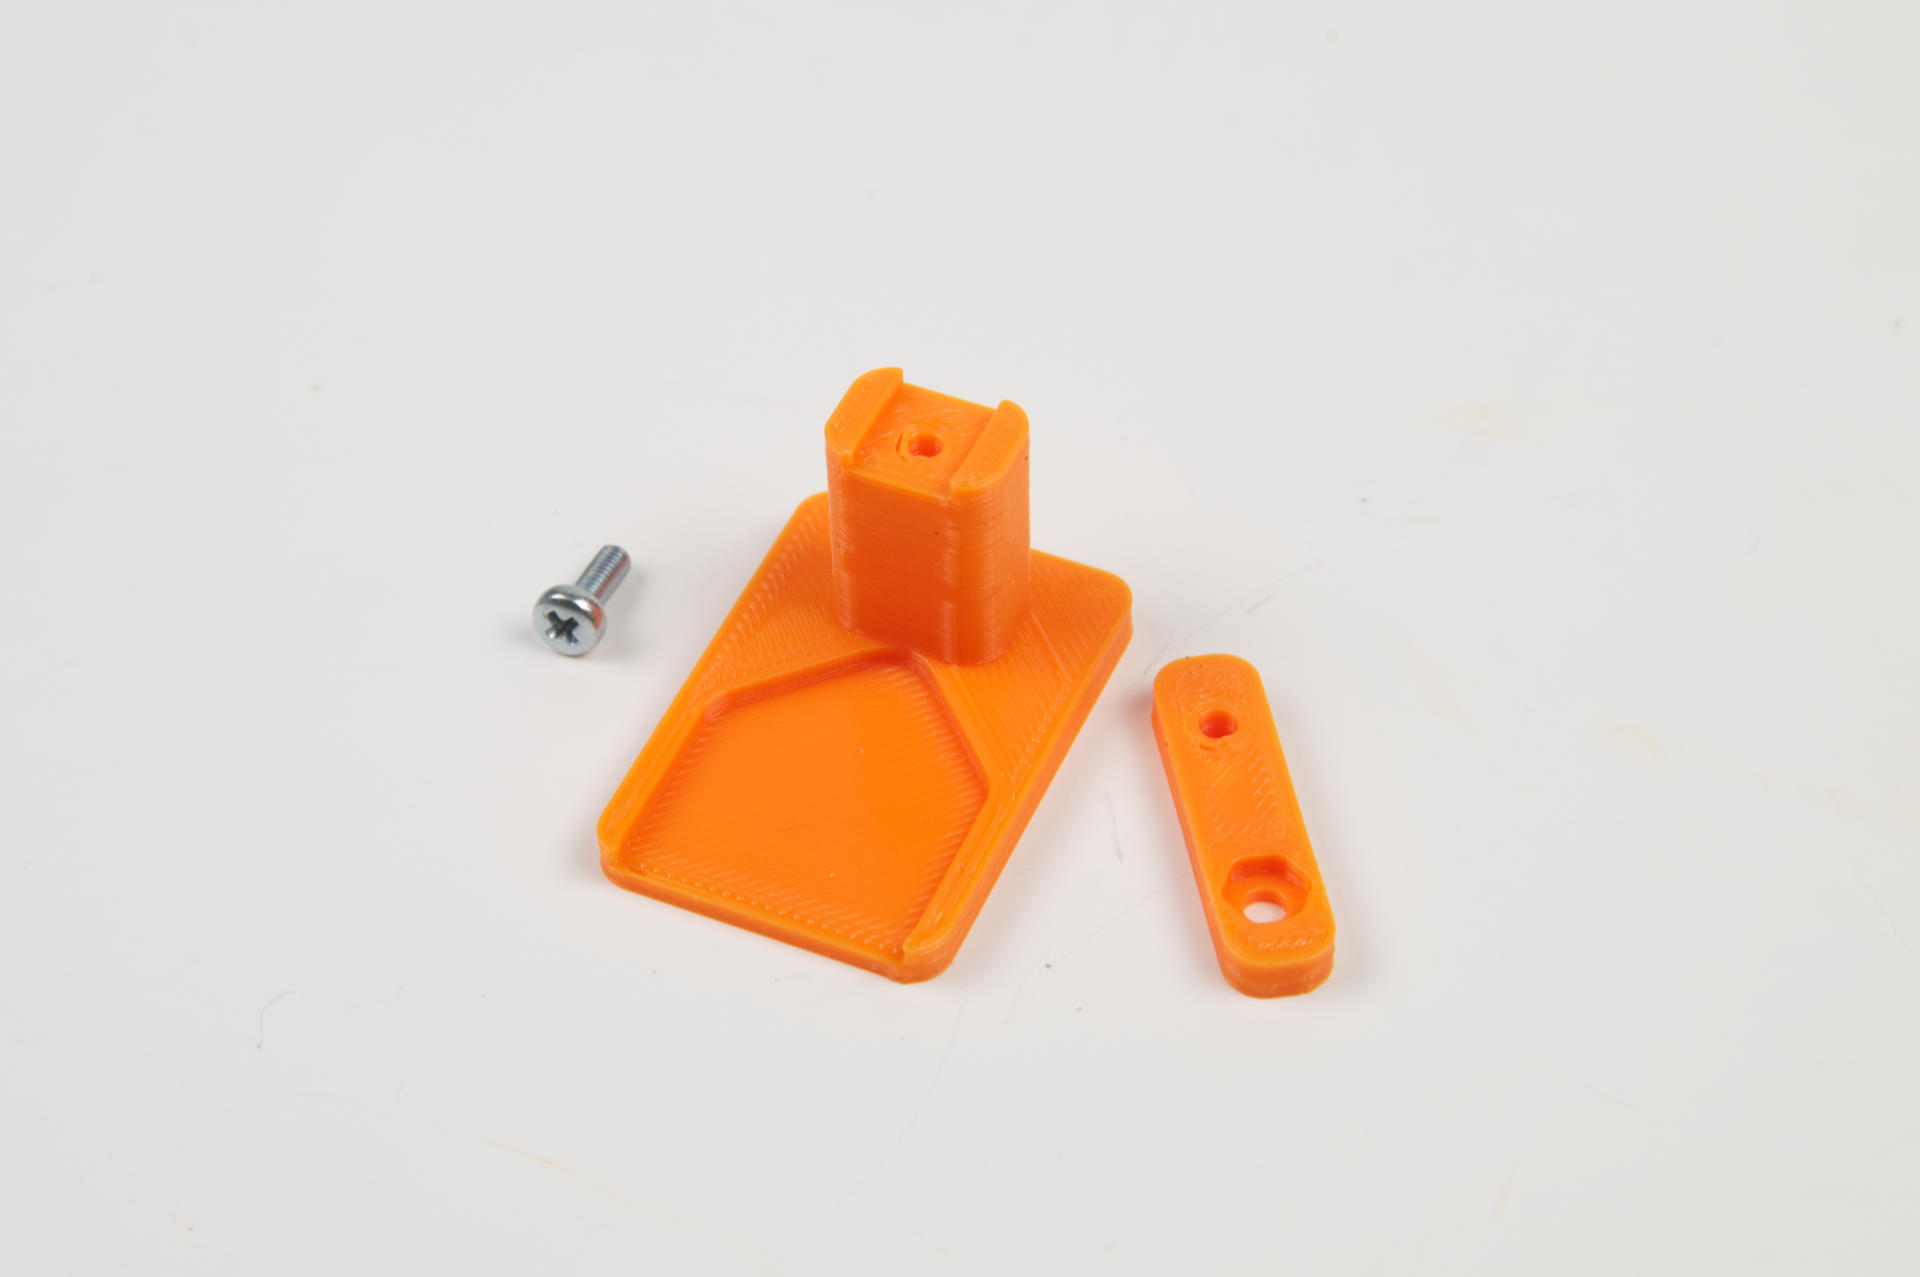
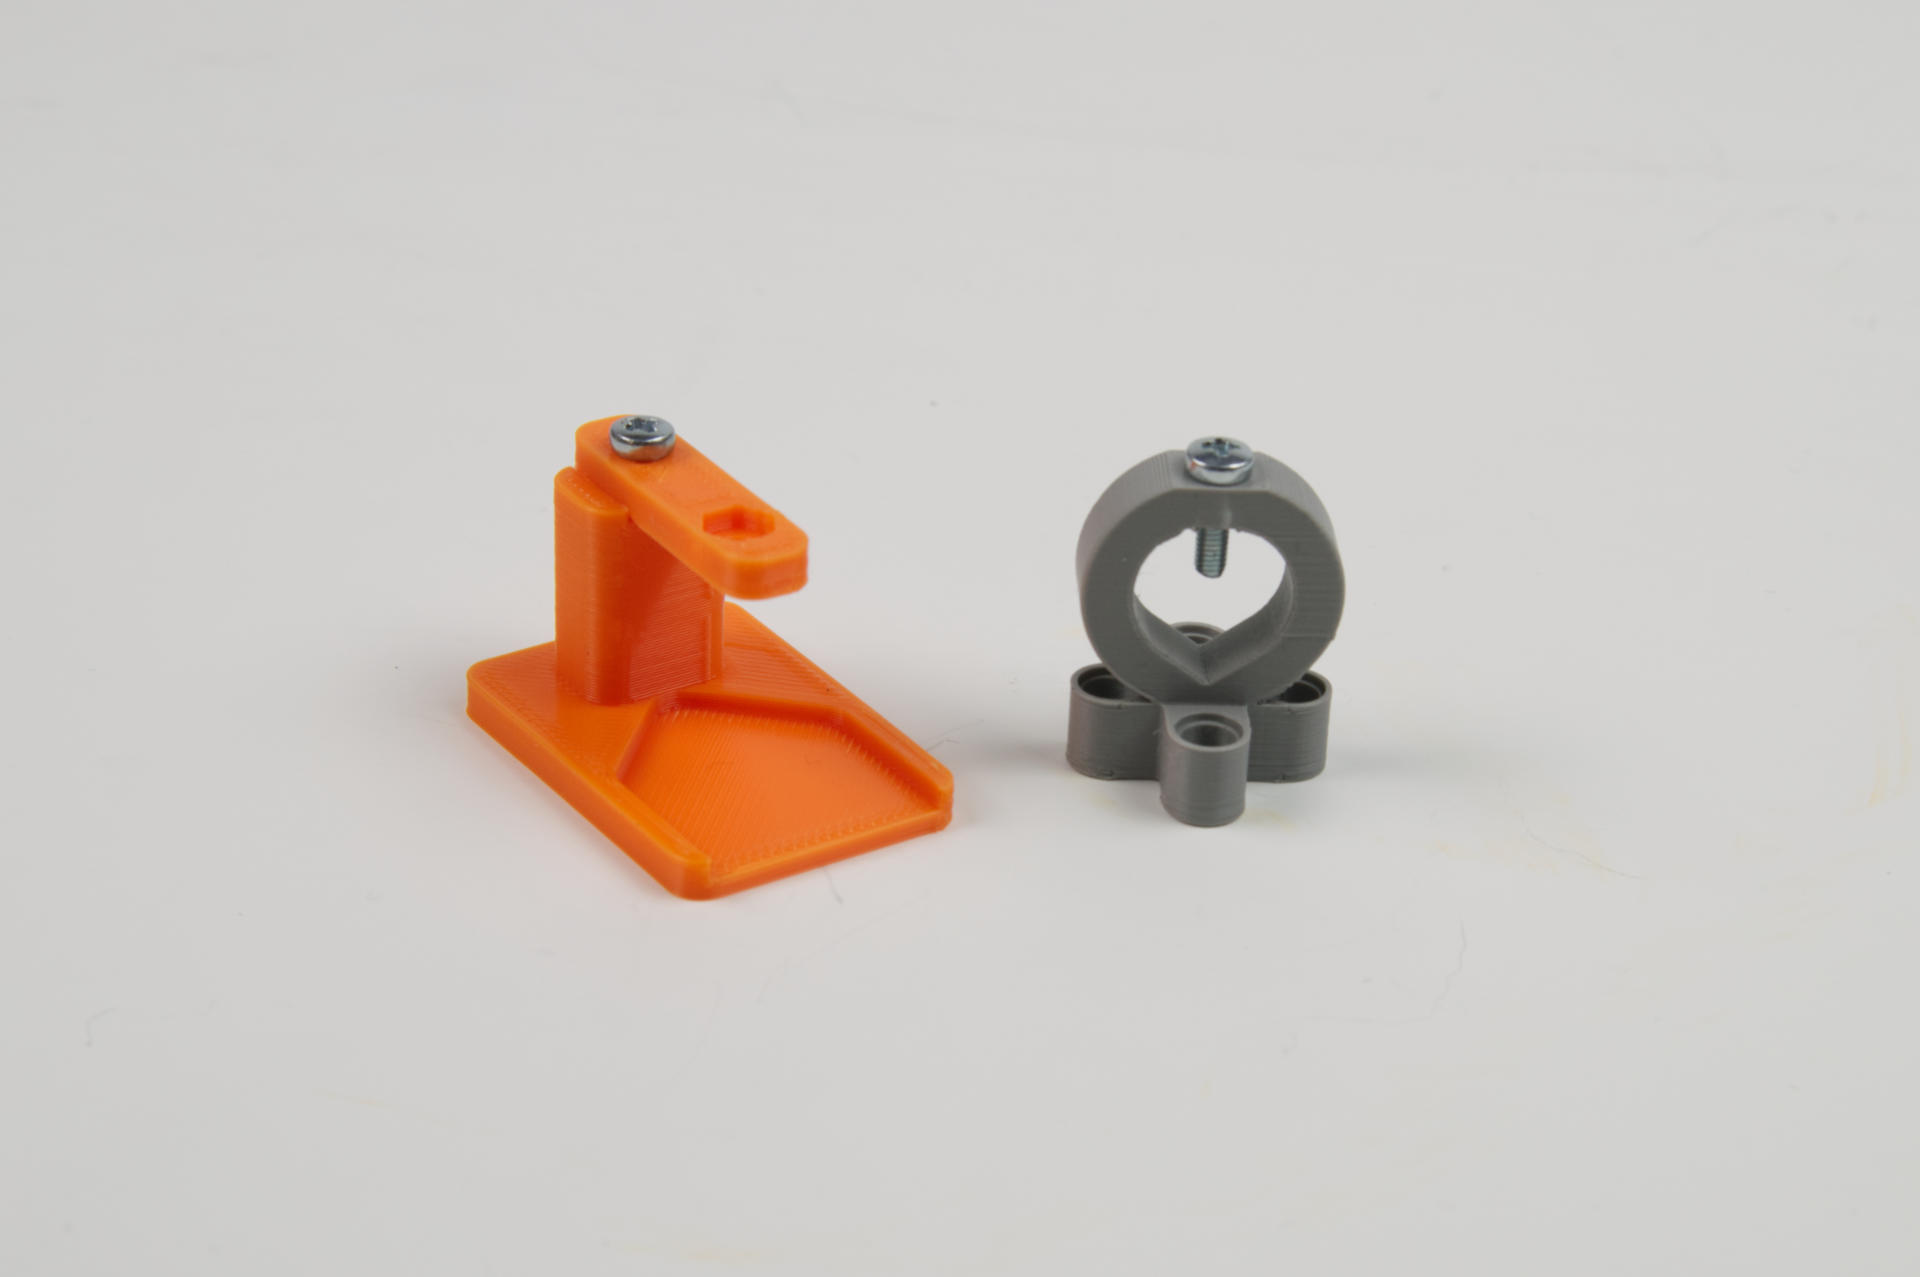
The jig is basically a little stand with an arm going straight out at 90 degrees. This is the sort of thing where it’s silly to print it all in one piece and mess around with supports when a single screw will do the job.

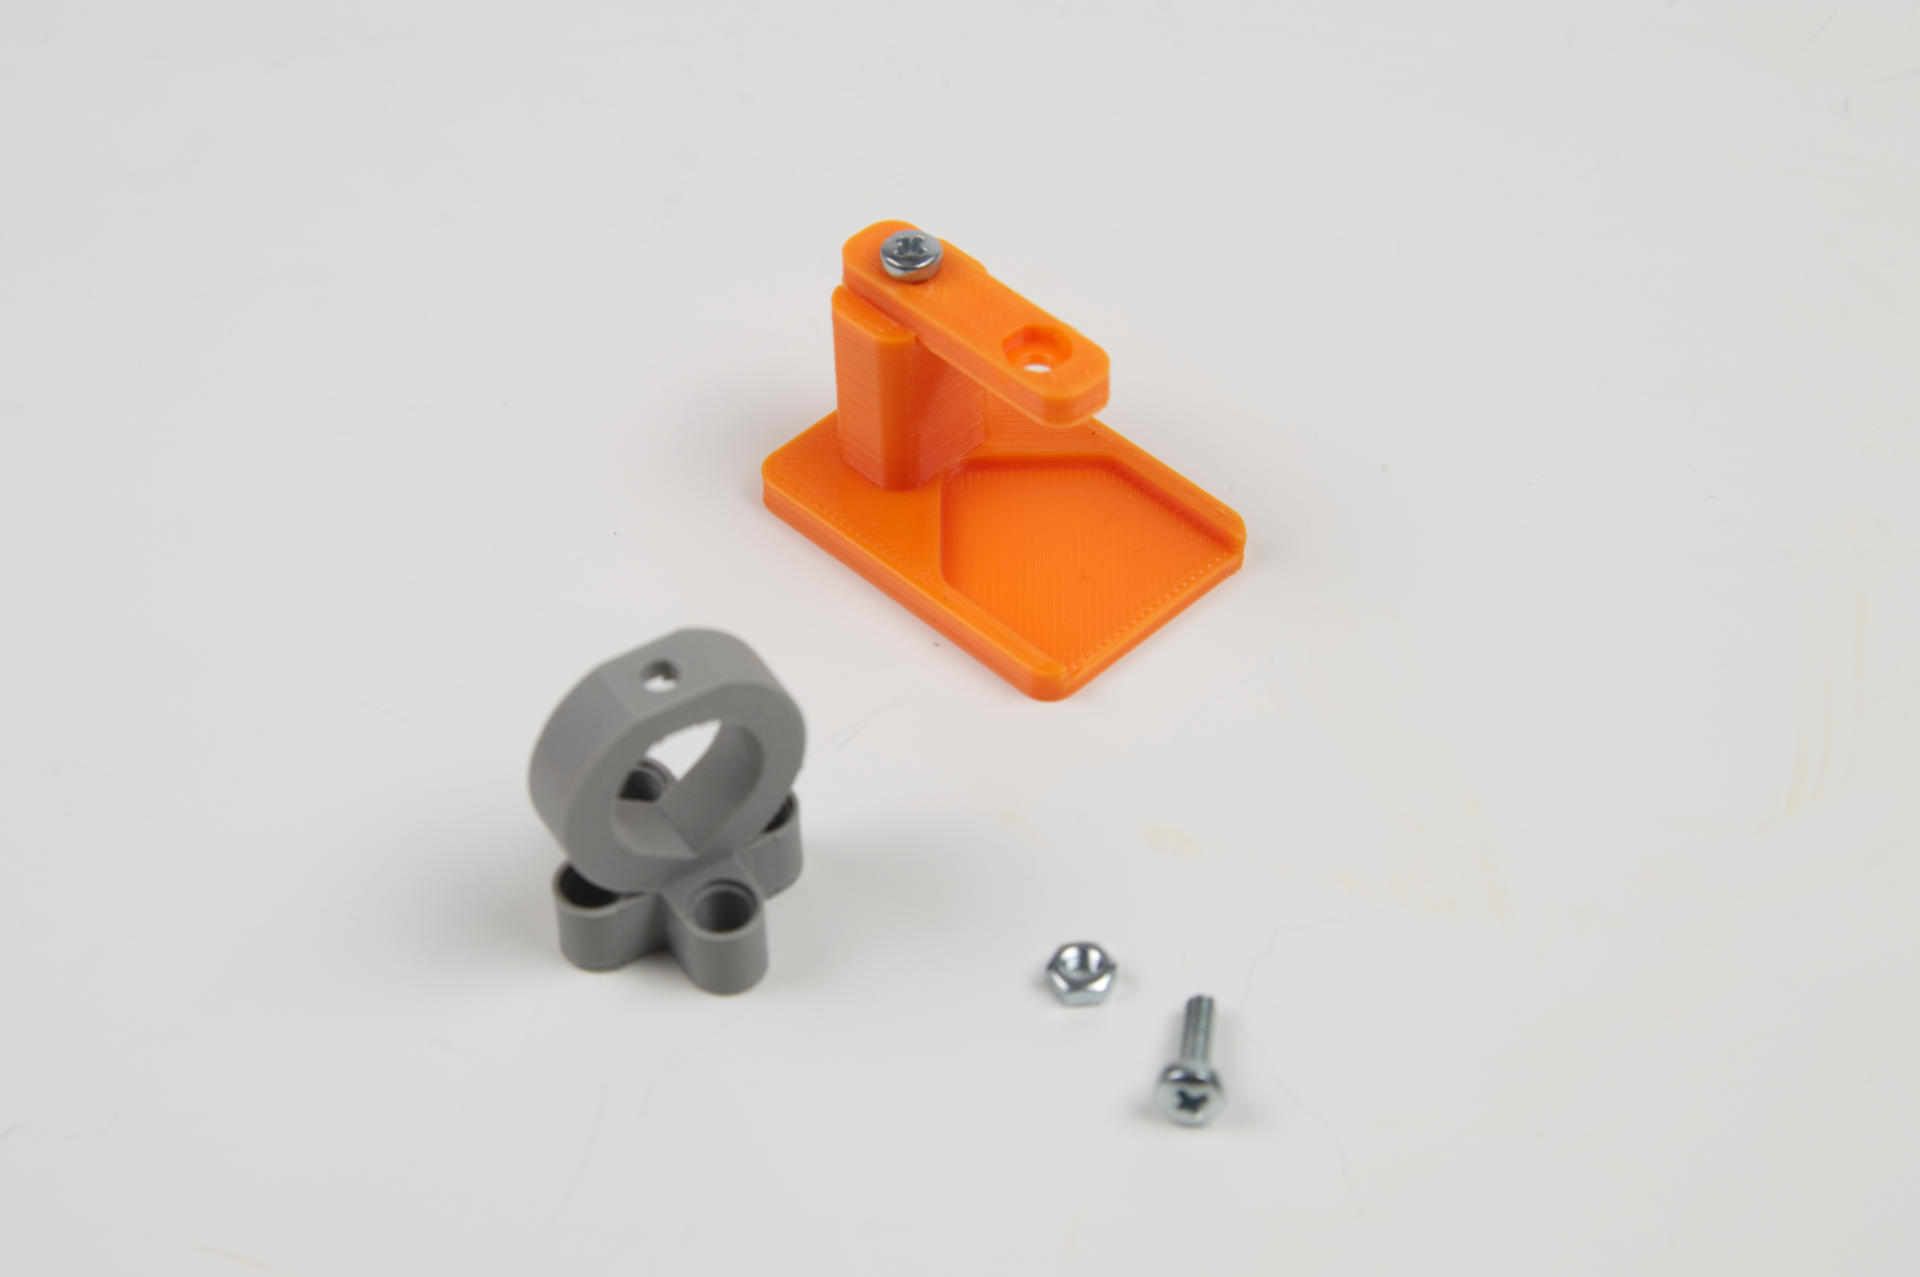
With the jig assembled we are ready to put together a Pen Holder. You also need a 3mm bolt, and a 3mm hex nut…

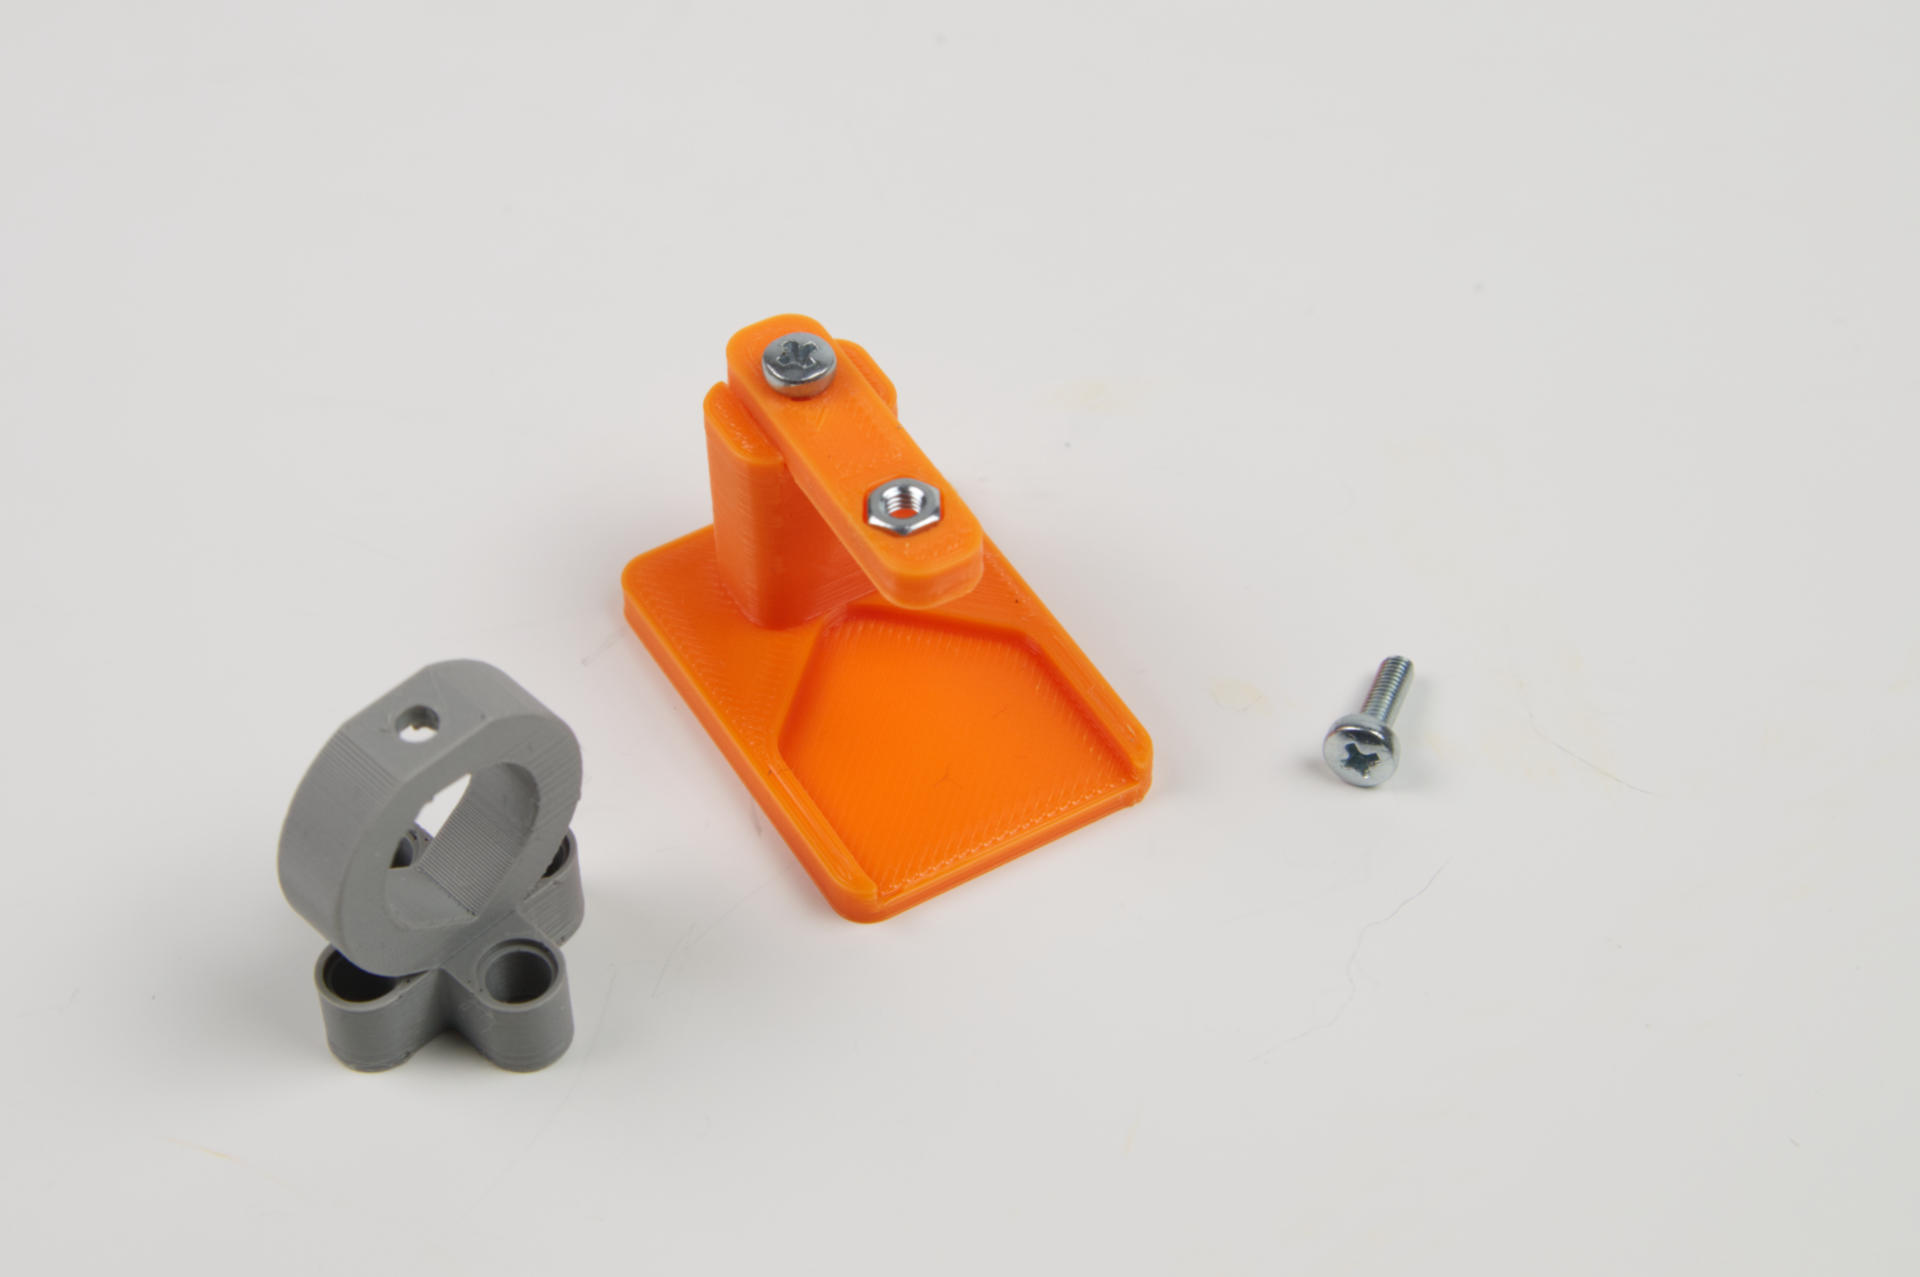
You place the hex nut into the hex-shaped pocket on the arm of the jig…

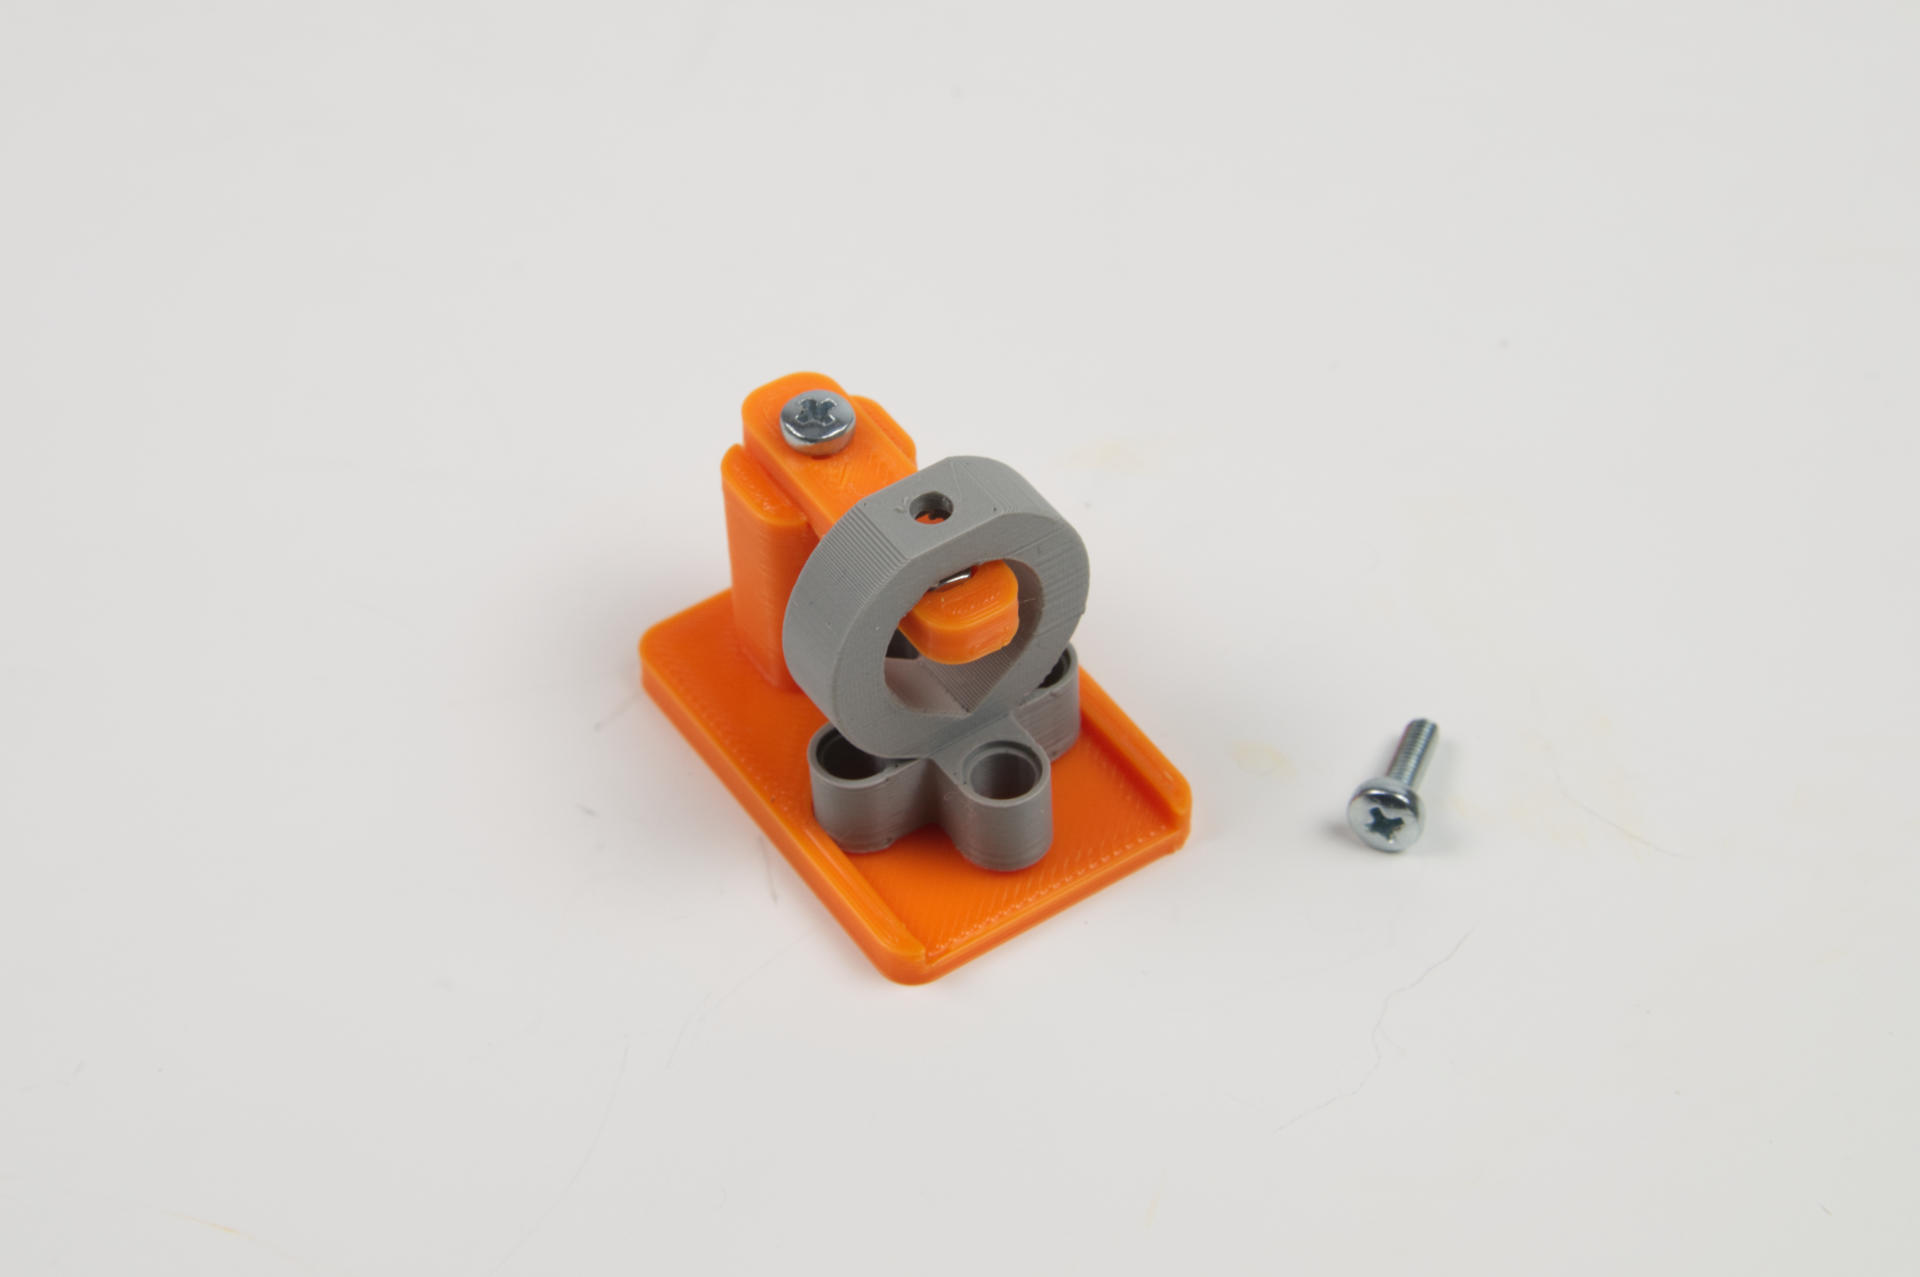
And then you slide the Pen Holder into the base all the way. It will be aligned wit the hex nut and ready for the next step…

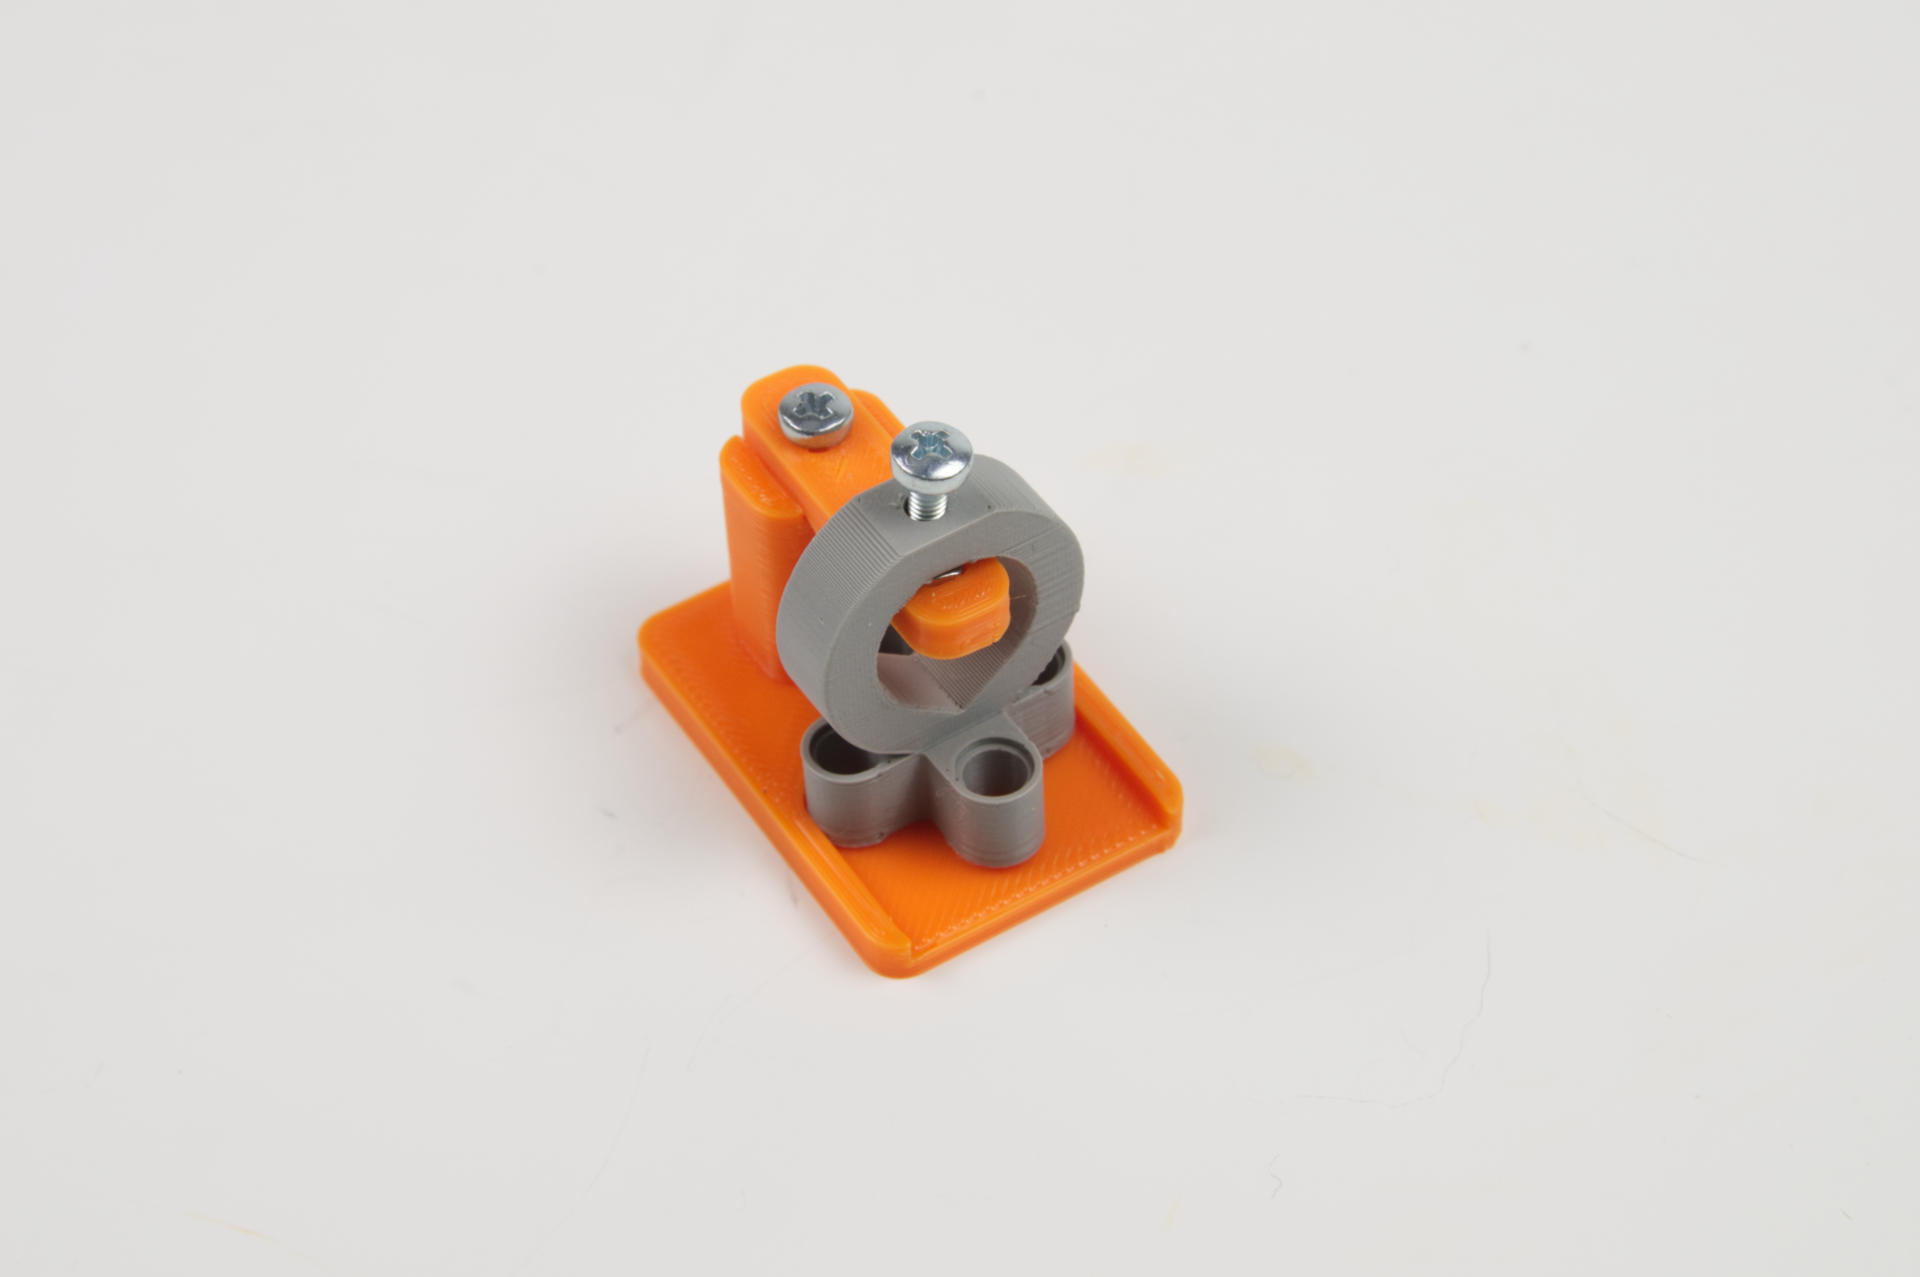
Add the screw and turn it a bit with your fingers to get it started…

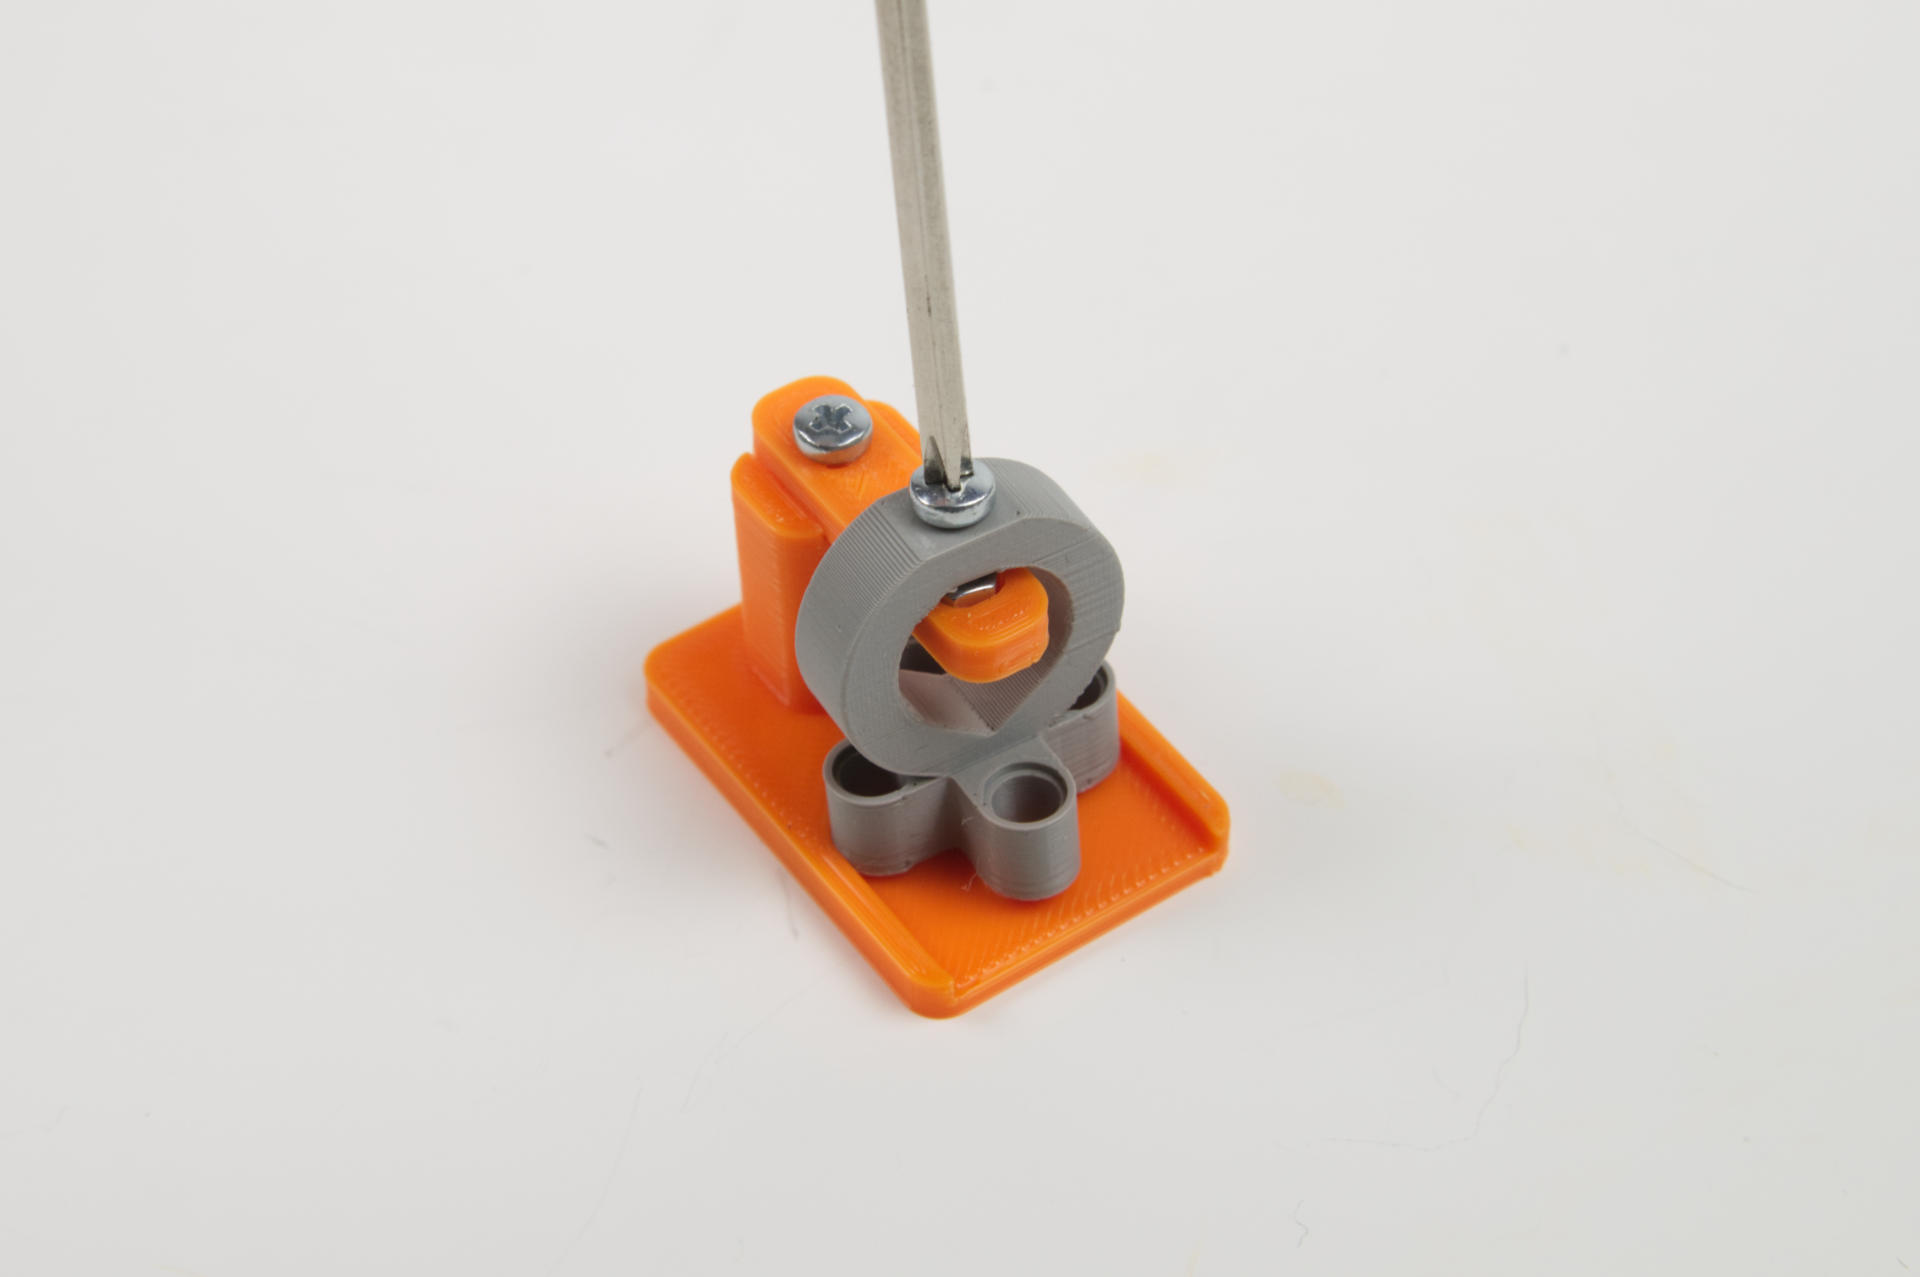
Then grab a screwdriver and start screwing around… and around…

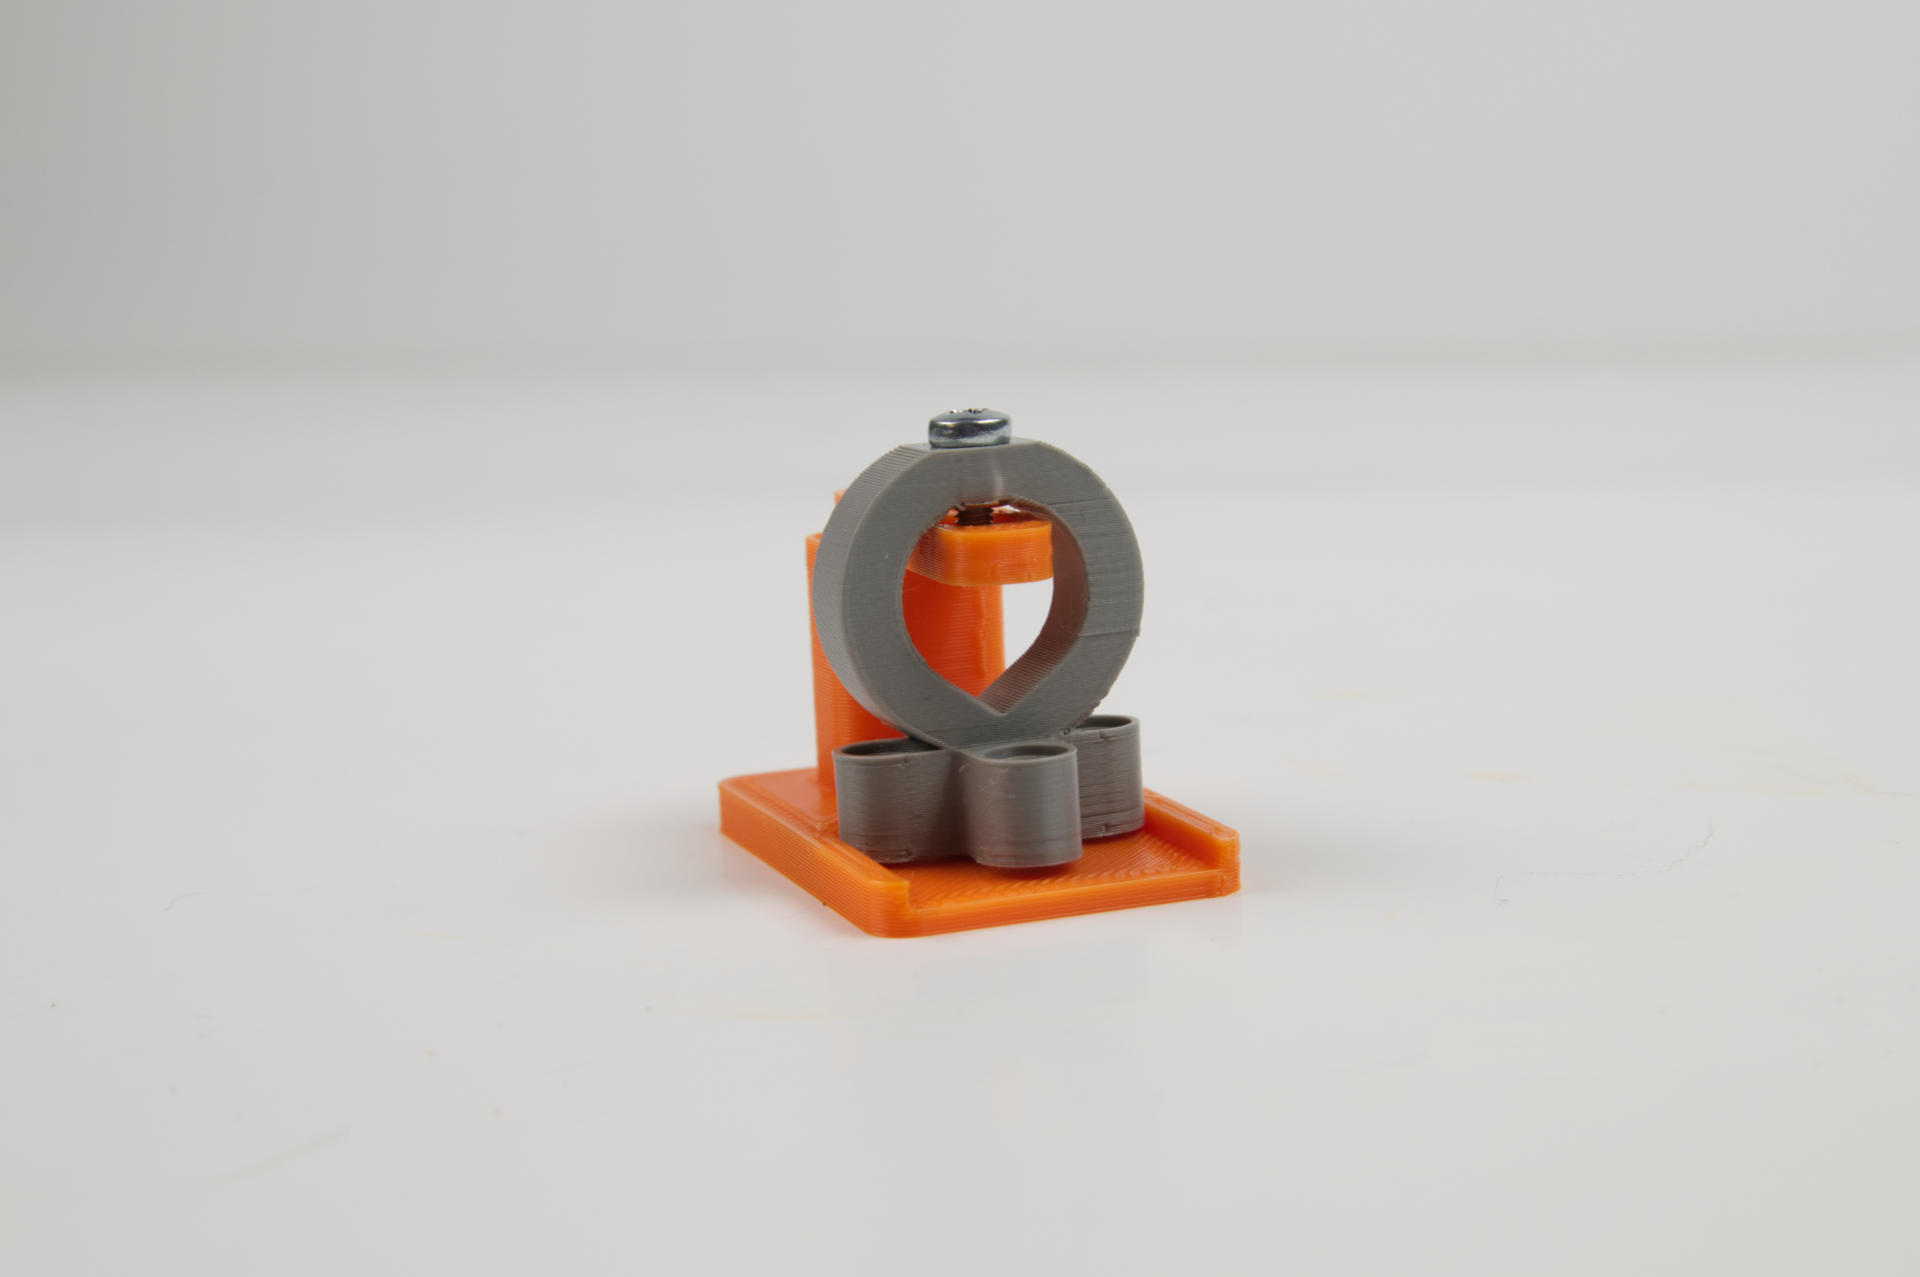
The hex nut will lift up and insert into the hex-shaped cavity on the Pen Holder…

You then lift the Pen Holder (which now has a screw sticking into the hole in the center) straight up and pull it out of the jig. So far it’s the best solution we’ve come up with for quickly (and easily) assembling these Pen Holders.

Categories
Uncategorized

A Cardboard and Tape Pushbutton

There’s a new switch in town! It’s a Cardboard Push Button! You may have enjoyed the Cardboard Knife Switch, or tolerated the Cardboard Slide Switch, but this pushbutton is my new favorite.

For this project I ended up doing all of the illustrations first before I took any photos, and actually used the illustrations as a guide for some of the photography. Typically with these projects I build the thing first, then figure out how to best create a set of instructions, and sometimes that means photos, and sometimes it means illustrations, and usually it’s a combination of both of those.

I’ve also strengthened my ability to create isometric drawings quite a bit. If you compare this project to the knife switch, you’ll see the improvement. I took a few drafting classes back in the 1980s & 1990s (pre-computer!) and I still enjoy creating technical illustrations quite bit.

This switch can be used with any simple circuit, and is perfect for paper circuit projects, but can also be used with microcontroller projects and for any Crazy Circuits projects since you’re probably already working with Maker Tape.

I ended up creating a few fun illustrated examples of button tops for the guide, but then I thought it would be nice to actually create and photograph them, so I did that too. And like many of my cardboard projects, I’ve tried to keep things simple. It’s all straight cuts, and you can make this with an X-ACTO knife, or a box cutter if you do that sort of thing. It’s also great for a laser cutter, and you can easily scale this up to larger sizes since it’s just stacked pieces so it’s parametric.

Categories
Uncategorized

Paper Dino Friends!

Who loves dinosaurs? Well, besides every kid I’ve ever met, some adults love dinosaurs too! I’ll note that these are not my designs, but I really like them! We’ve got a T-Rex, a Triceratops, a Pterodactyl, and a Plesiosaurus. While I did not design these dinos I just finished updating all of the instructions, and created new photos and videos for each one.

The instruction sheet for each was updated to change the method of construction so that Maker Tape was used, and used to its strengths. These are a few years old and still had instructions for using copper tape. (Boo!) Things are much simpler now with the conductive nylon Maker Tape which is stronger and easier to work with.

The studio we’ve built at Brown Dog Gadgets in the last year makes doing all the media creation a lot easier. We’ve got a permanent setup for video streaming, and I use that for any of these “hands on” making videos. Each video needs to be 30 seconds or less, so with a bit of editing and speeding things up, we can hit that mark.

Nearly all of our projects had a PDF component that at a minimum shows a diagram, has a template, and sometimes has step-by-step instructions. Typically there’s a lot of illustration involved, but we still try to keep in simple, and crank out as much new material as we can.

These dino friends are great for a classroom or camp experience, and work great for kids 10 and up. (Kids younger than 10 may have some dexterity issues dealing with the LED legs and the tape.) You can cut out the shapes with scissors, or an X-ACTO knife, or a laser cutter, though we really like using a Silhouette Cameo which slices through construction paper quite easily. Lots of options!

Categories
Uncategorized

Omni Wheel Robot (LEGO Build)

I’ve always found omni wheel robots fascinating. I even tried to design my own omni wheel (which did not turn out great.) But over at Brown Dog Gadgets I thought we should give it a try and build an Omni Wheel Robot. (And there’s a full guide and code available.)

This is a perfect use of LEGO parts. It is completely possible to fabricate all the parts needed to build this, either using digital fabrication (laser cutter, 3D printer, etc.) or by hand, if you’re the handy kind. But honestly, the LEGO aspect made the build super-simple, and the guide links to all the parts on BrickOwl (which are all pretty cheap.)

The other magic of this build is using 4 servos instead of stepper motors. While you do lose precision, this makes things much less complex and just simplifies everything. We’ve also got an Arduino and a battery pack. That’s it. Yeah, the goal was simplicity.

This is a beginner project in many ways, but it can also serve as a platform for code exploration. We provided the basic code for movement, but there’s room to expand on that, add sensors, etc.

And since it’s LEGO, it is by definition a platform you can build upon and add to. (We’ve even got 3D printed LEGO compatible parts for you.)

Check out the guide to this Omni Wheel Robot if you want to learn more.

Categories
Uncategorized

Reaction Game with micro:bit

I built a simple game for Brown Dog Gadgets which will test your reaction time. The basic concept is this: A series of LEDs will light up in sequence, and when the fourth LED is lit you need to press the button. If you time it right you’ll get a point! When you get 25 points you’ll win the game! But wait! Each time you press the button successfully the game will speed up… and if you press the button at the wrong time you’re score will go down.

It’s a fun and easy build for the classroom or at home, and once again we’ve got a micro:bit controlling things. (Though it would be very easy to port this to an Arduino or another microcontroller.) We’re building on LEGO because that’s how the Crazy Circuits system works. We sometimes joke that these are PCBs or “Plastic Circuit Boards”.

After creating the Reaction Game (7 Segment Version) we came up with two variations, one that uses the build-in LED matrix on the micro:bit instead of our 7 Segment Display (the Reaction Game (LED Version)) and then we got even more minimal and built a paper circuit version with even less parts, the Reaction Game (Paper Version).

As always, we’re publishing these resources for those who purchase our kits, and also for everyone else. You are free to take the ideas and run with them, make your own thing, and while credit is always nice, supporting Brown Dog Gadgets by purchasing things helps us to continue offering these resources. I mean, in the last year I’ve published over 100 guides and templates for freeeeeee….. We appreciate your support!