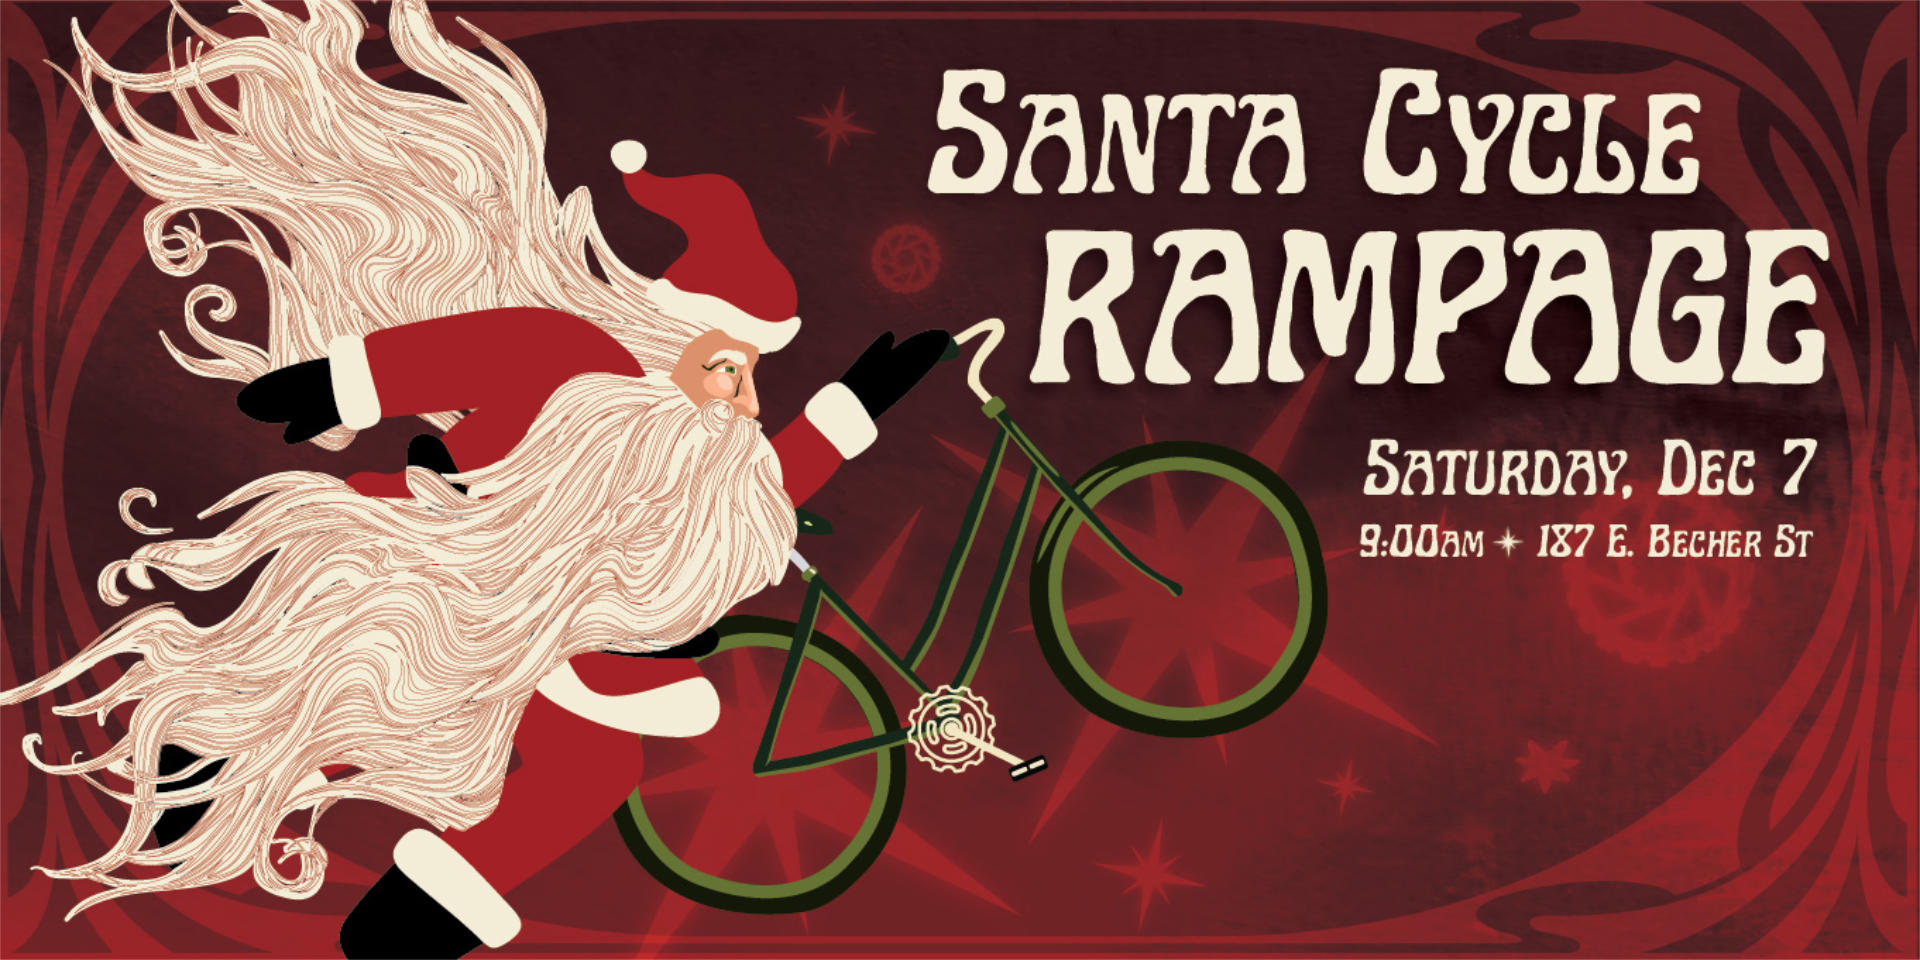
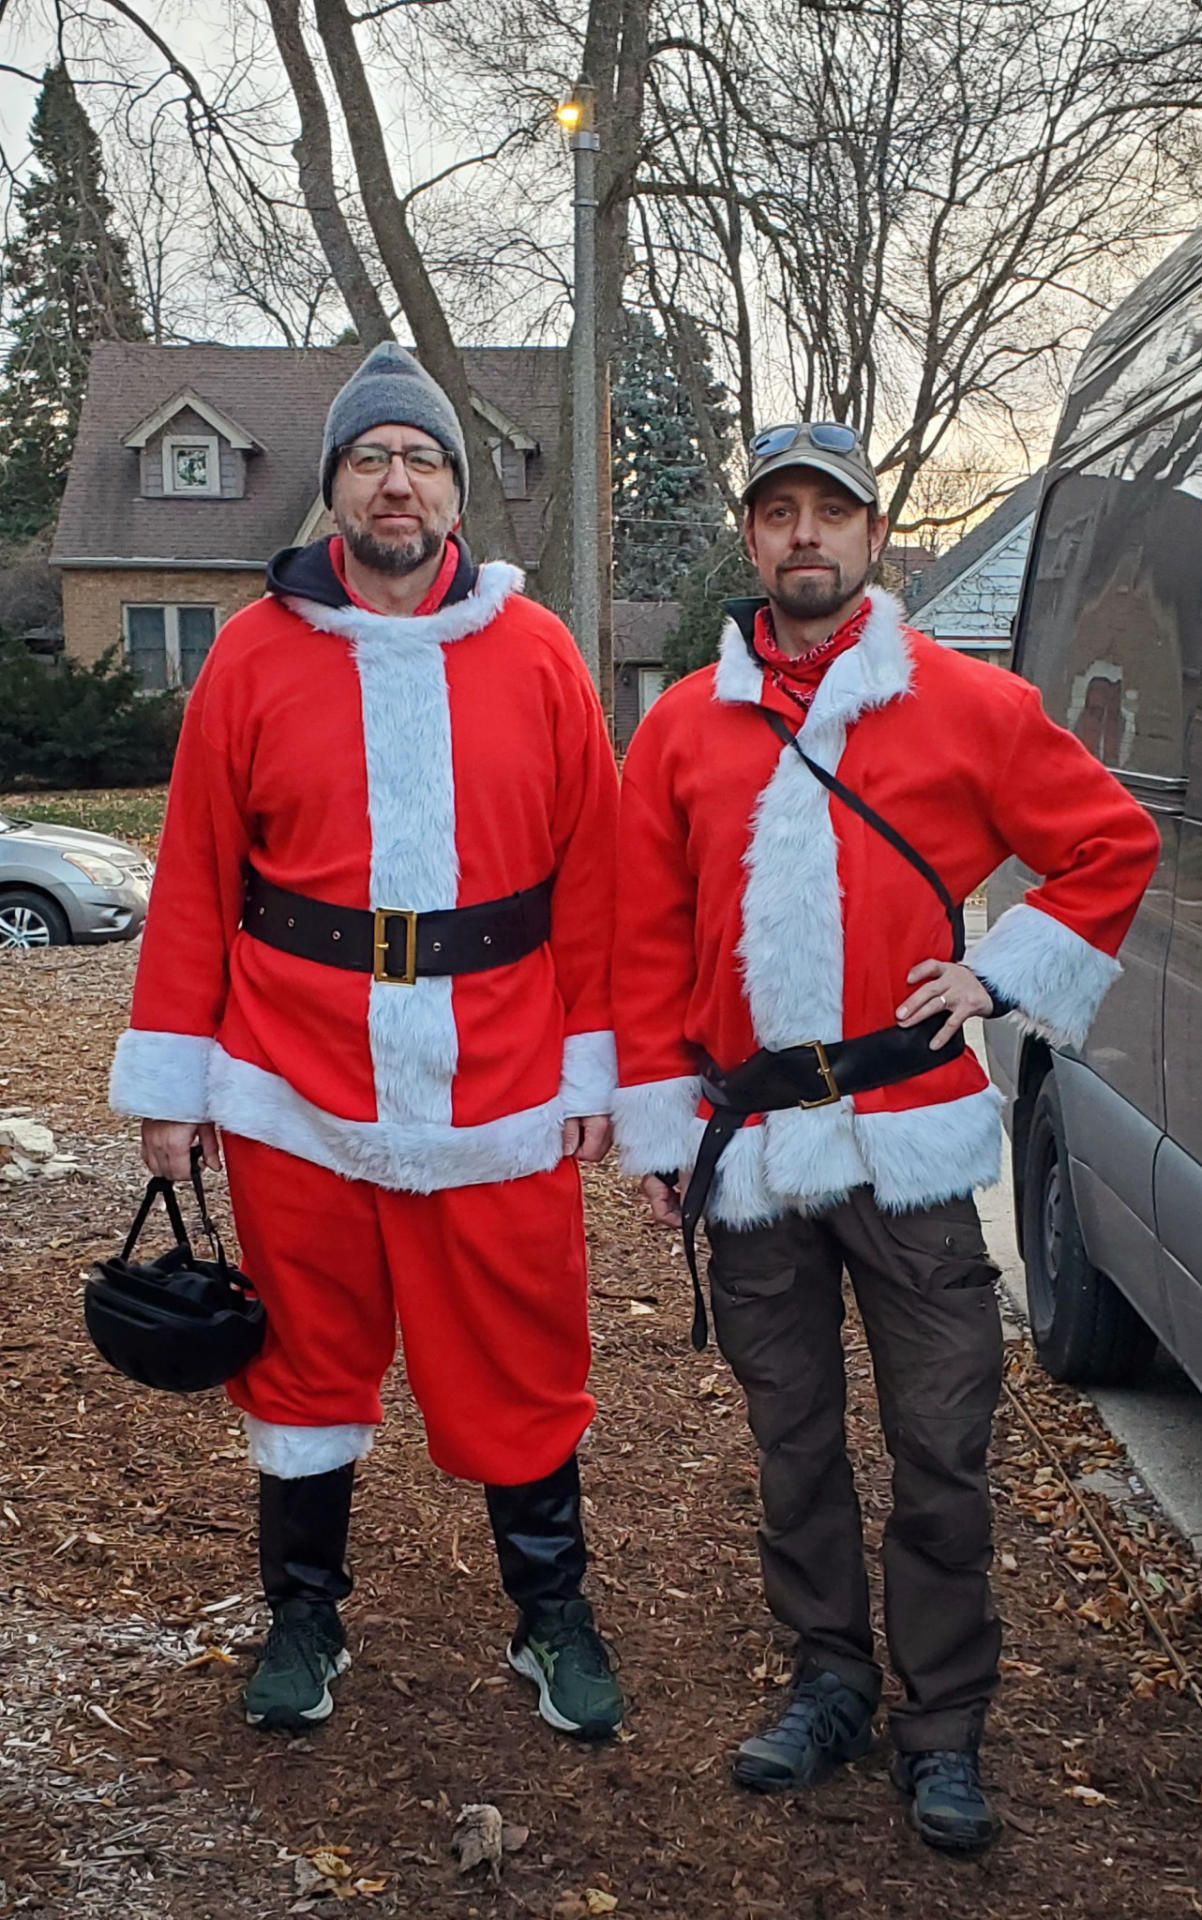
Ho! Ho! Ho! I Santa Rampaged! This was my first time taking part in the largest Santa Bike Ride here in Milwaukee and it was a blast. A blast of cold air for sure, but also a fun blast. Back in October I mentioned it to my neighbor Michael and he said he’d do it too, and little did I know he was a veteran because he’s done the ride in the past, and even tended bar for the very first one over a decade ago, so he had the inside scoop.

There were over 2,000 people who joined in on the ride, with a huge percentage dressed as Santa or Santa-adjacent (Mrs. Claus, etc.) but we also had Grinches, Elves, Reindeer, and all sort of Christmas-themed outfits and costumes. We also had a dude who was shirtless, and then we realized he was also pantless, and just wearing red shorts with white fur trim.
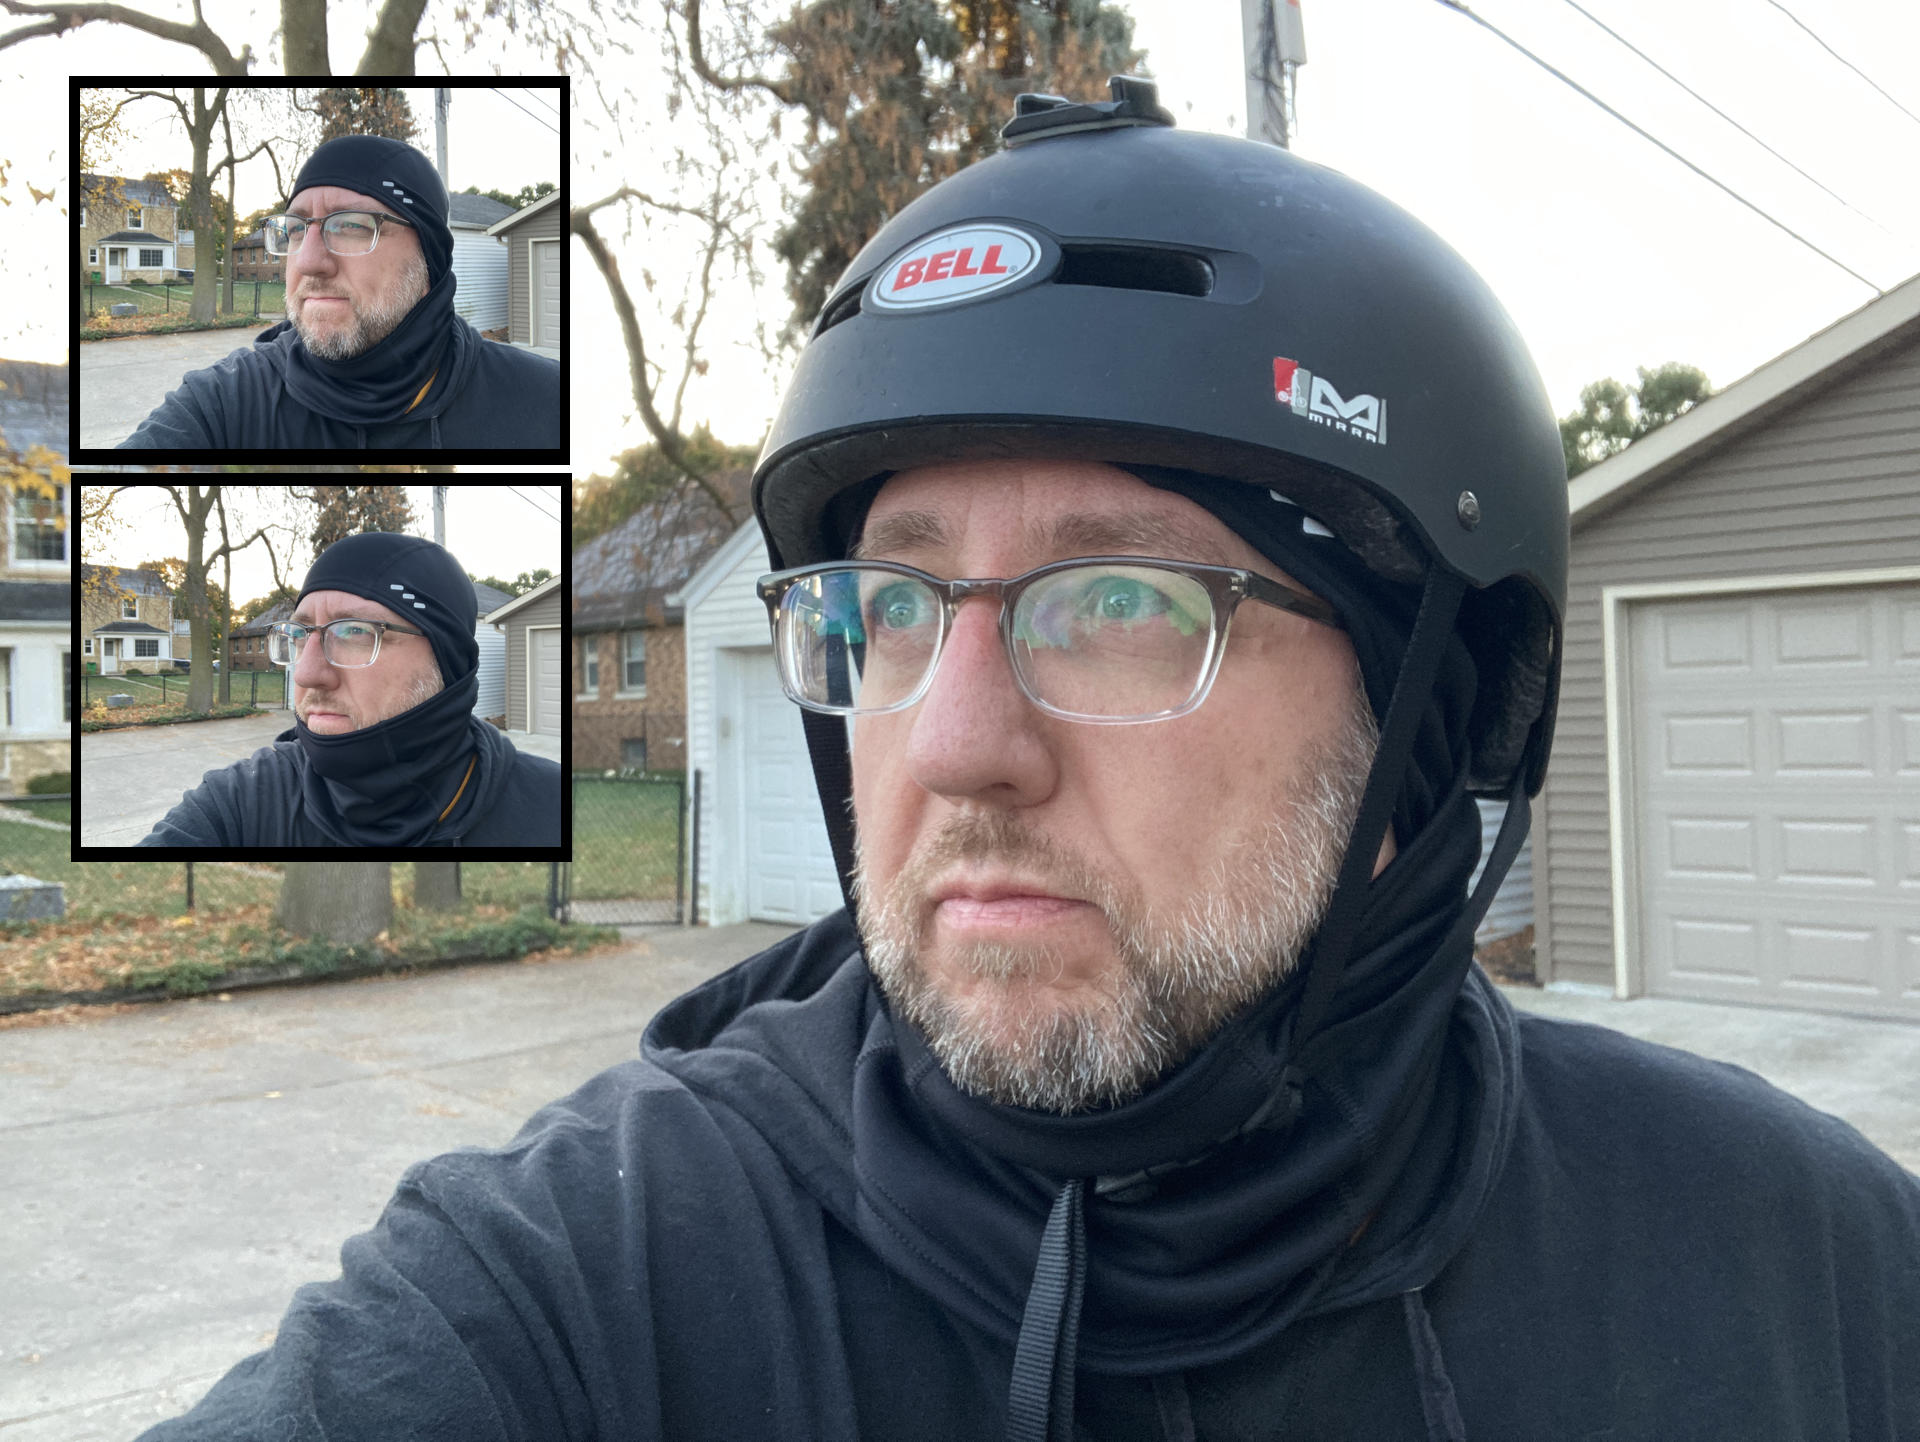
Did I mention it was cold out? It was in the 30s but definitely felt much colder when standing around waiting to get going. I had on three shirts, a sweatshirt, and the (very thin) Santa shirt along with some thermal lined pants and the (thin) Santa pants. The thing is, it seemed fairly warm out near East Tosa before we left but when we got down to Bay View (near the lake) it was much cooler. I made a poor choice on shoes but I think the wool socks saved me. Luckily I brought some heavy gloves, and other cover-up gear so it wasn’t too bad. Next time better shoes through.
Obviously I’m old and I get cold, because the younger folks were not bothered by it. I saw plenty of women in tights with exposed ankles and they seemed to be holding up okay… And of course the shirtless (and pantless) guy were there. Anyway, December… it’s gonna be cold!
The ride itself was great. The last time I did a large group ride was the Black is Beautiful Slow Ride in 2020. This one was twice the size, but very well organized. We were near the front of the pack nearly the whole time so I don’t even know how long the whole thing stretched behind us. There was a car that got in the middle at one point, right in front of me, and they had to drive slow until they could get out of the way for a few blocks. I guess there was one bad crash/injury but the most trouble I saw was when someone would drop a glove and then hit the brakes. Doing that causes near or minor crashes because while we were going slow, we’re also packed in fairly tight. Still all in all, a great ride, a fun time, and I will do it again.
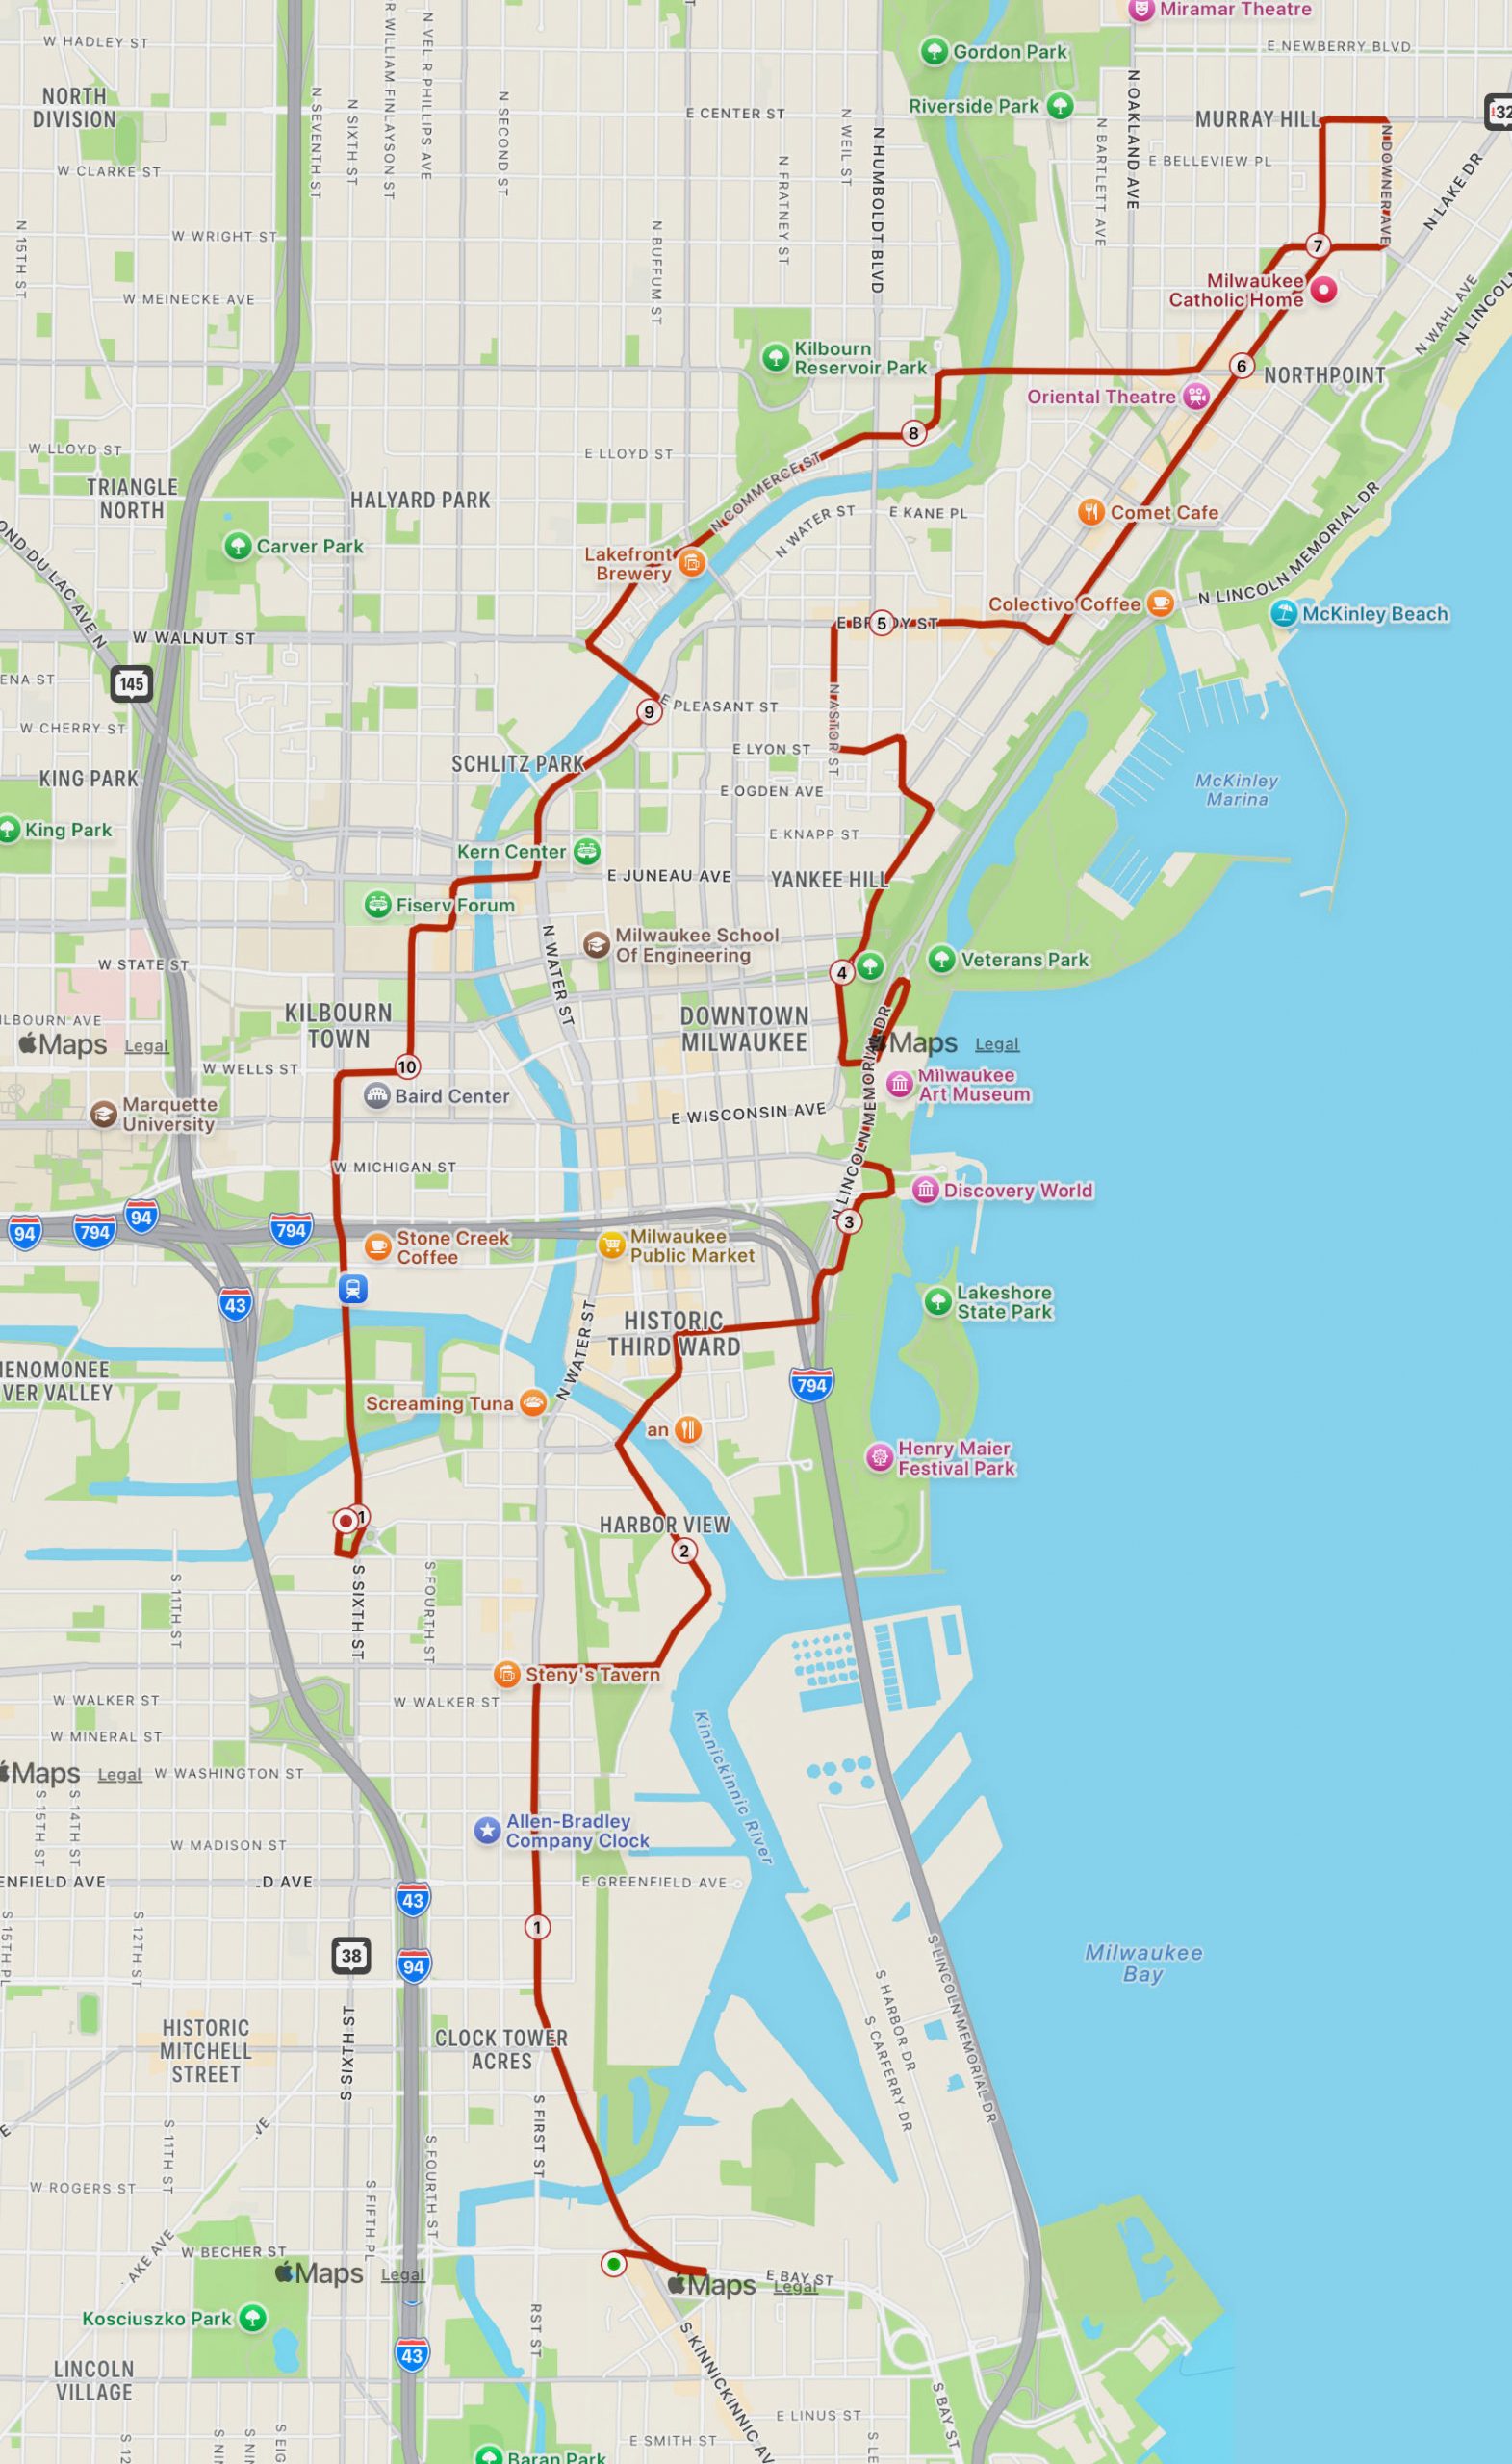
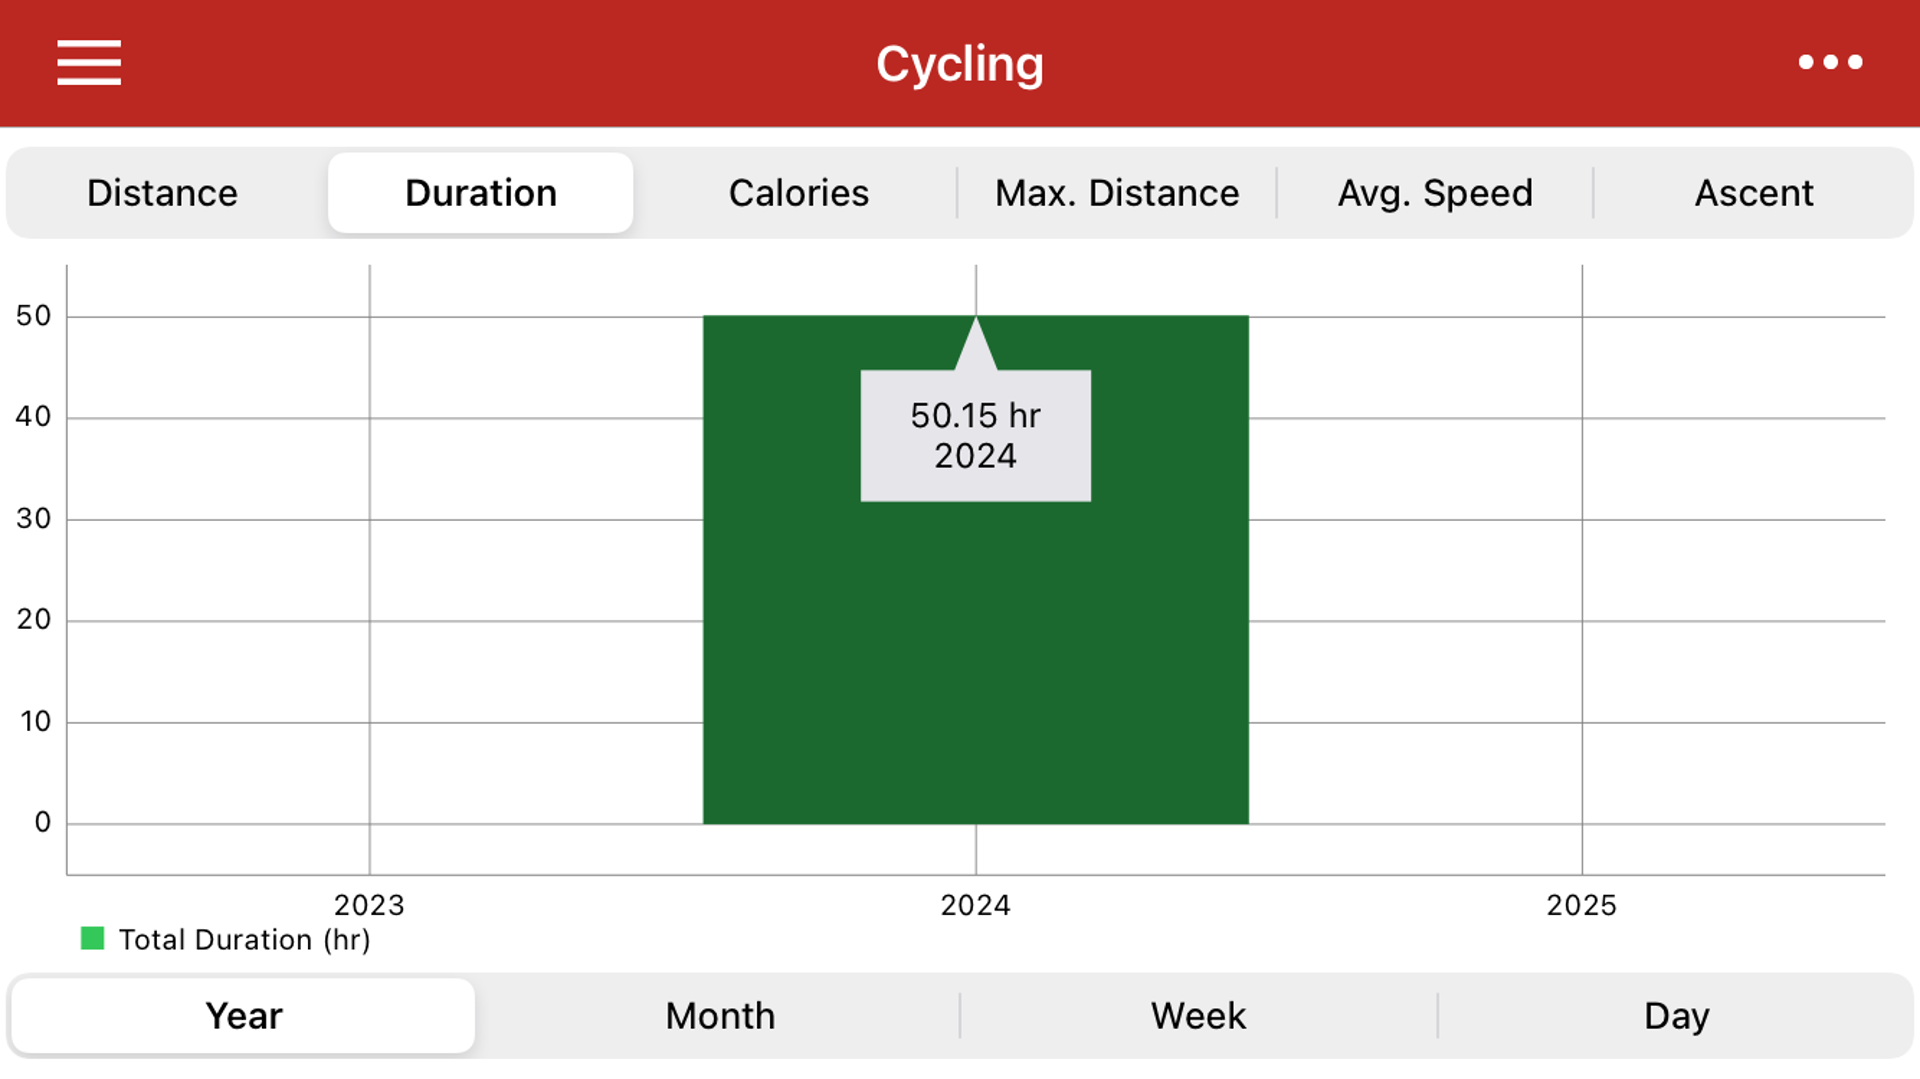
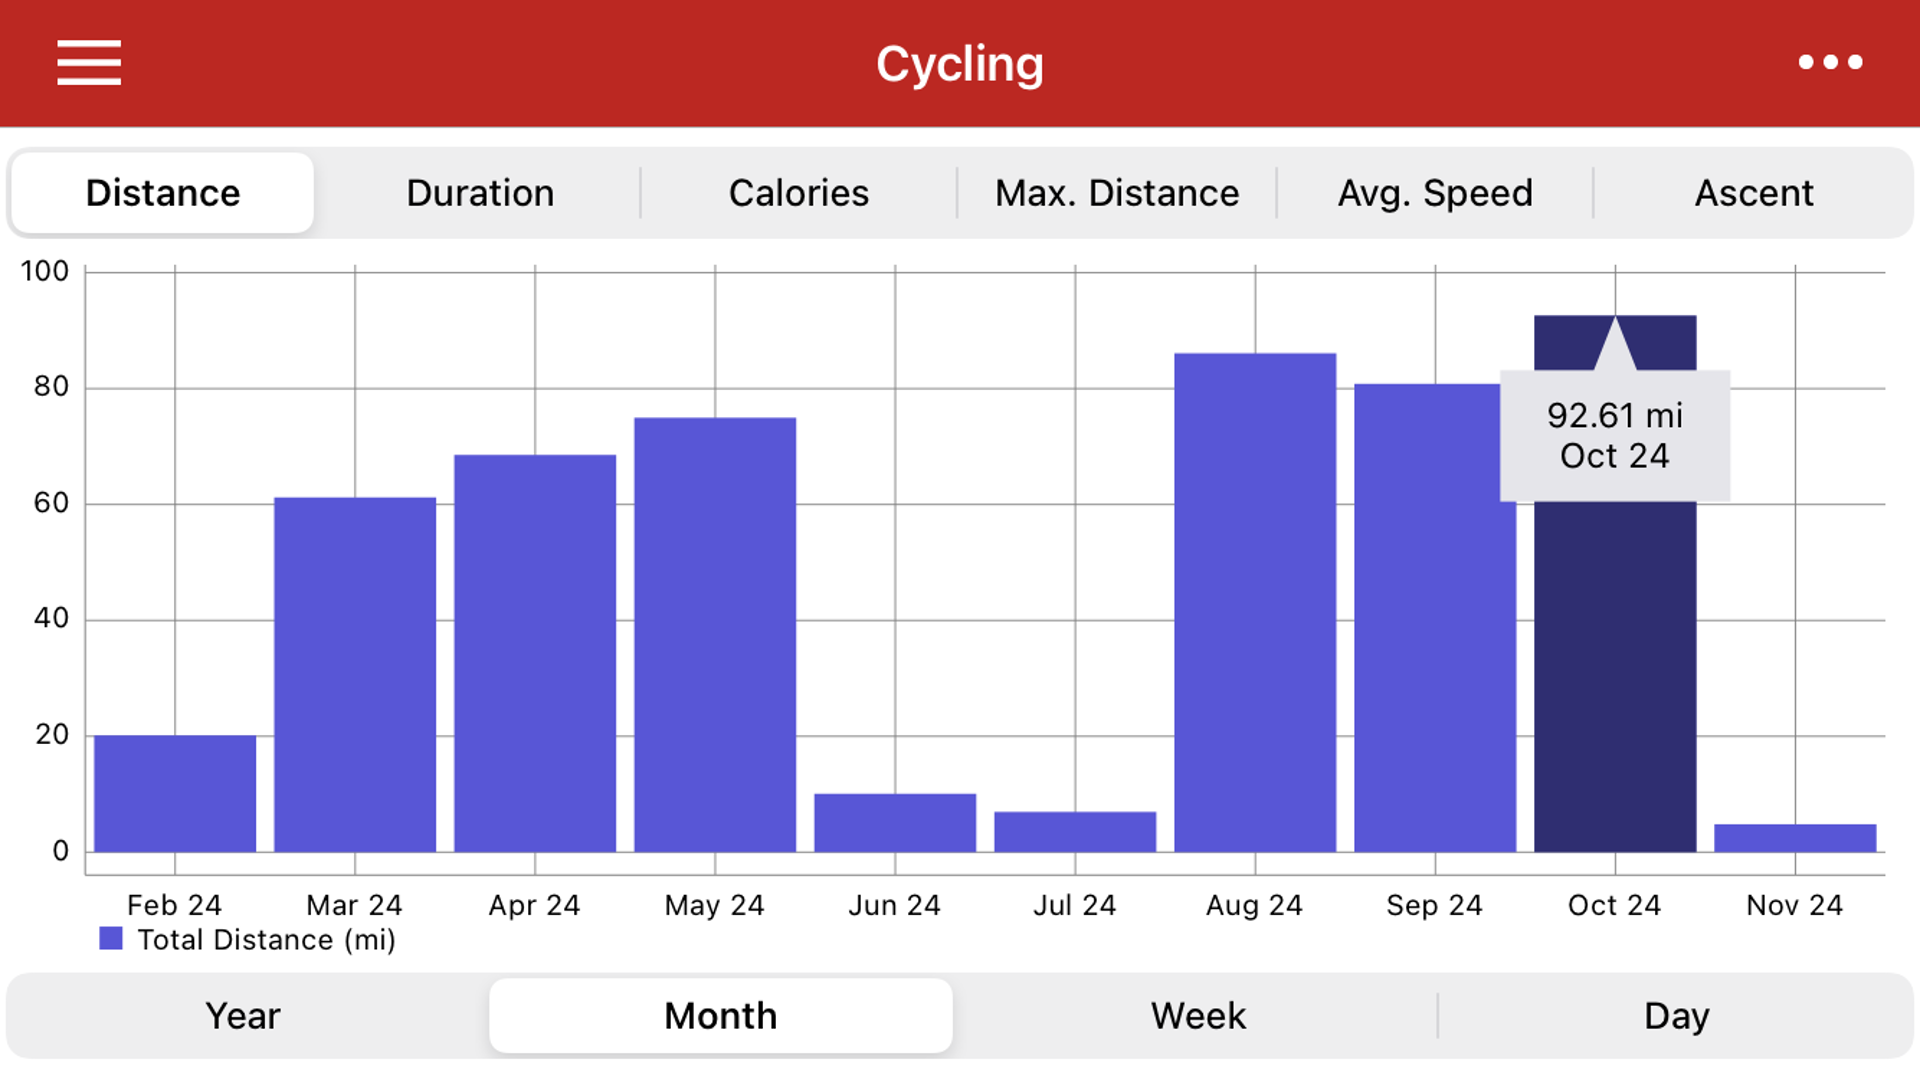
The ride from the Bike Fed to Great Lakes Distillery was 11.17 miles. We ended at the distillery because that’s where we parked to avoid the crowds. (We rode from there to the Bike Fed so that was another 2 miles so in total we rode just over 13 miles.) I also got a slice from STREET-ZA which is the #1 Food Truck in the U.S. according to their web site.
I also had a few drinks (or a few too many) at the distillery and they made them strong because Michael knows a guy and whew I pretty much went home, lost my keys in the garage, and then got in the house and took a nap. All in all, an awesome day with friends.
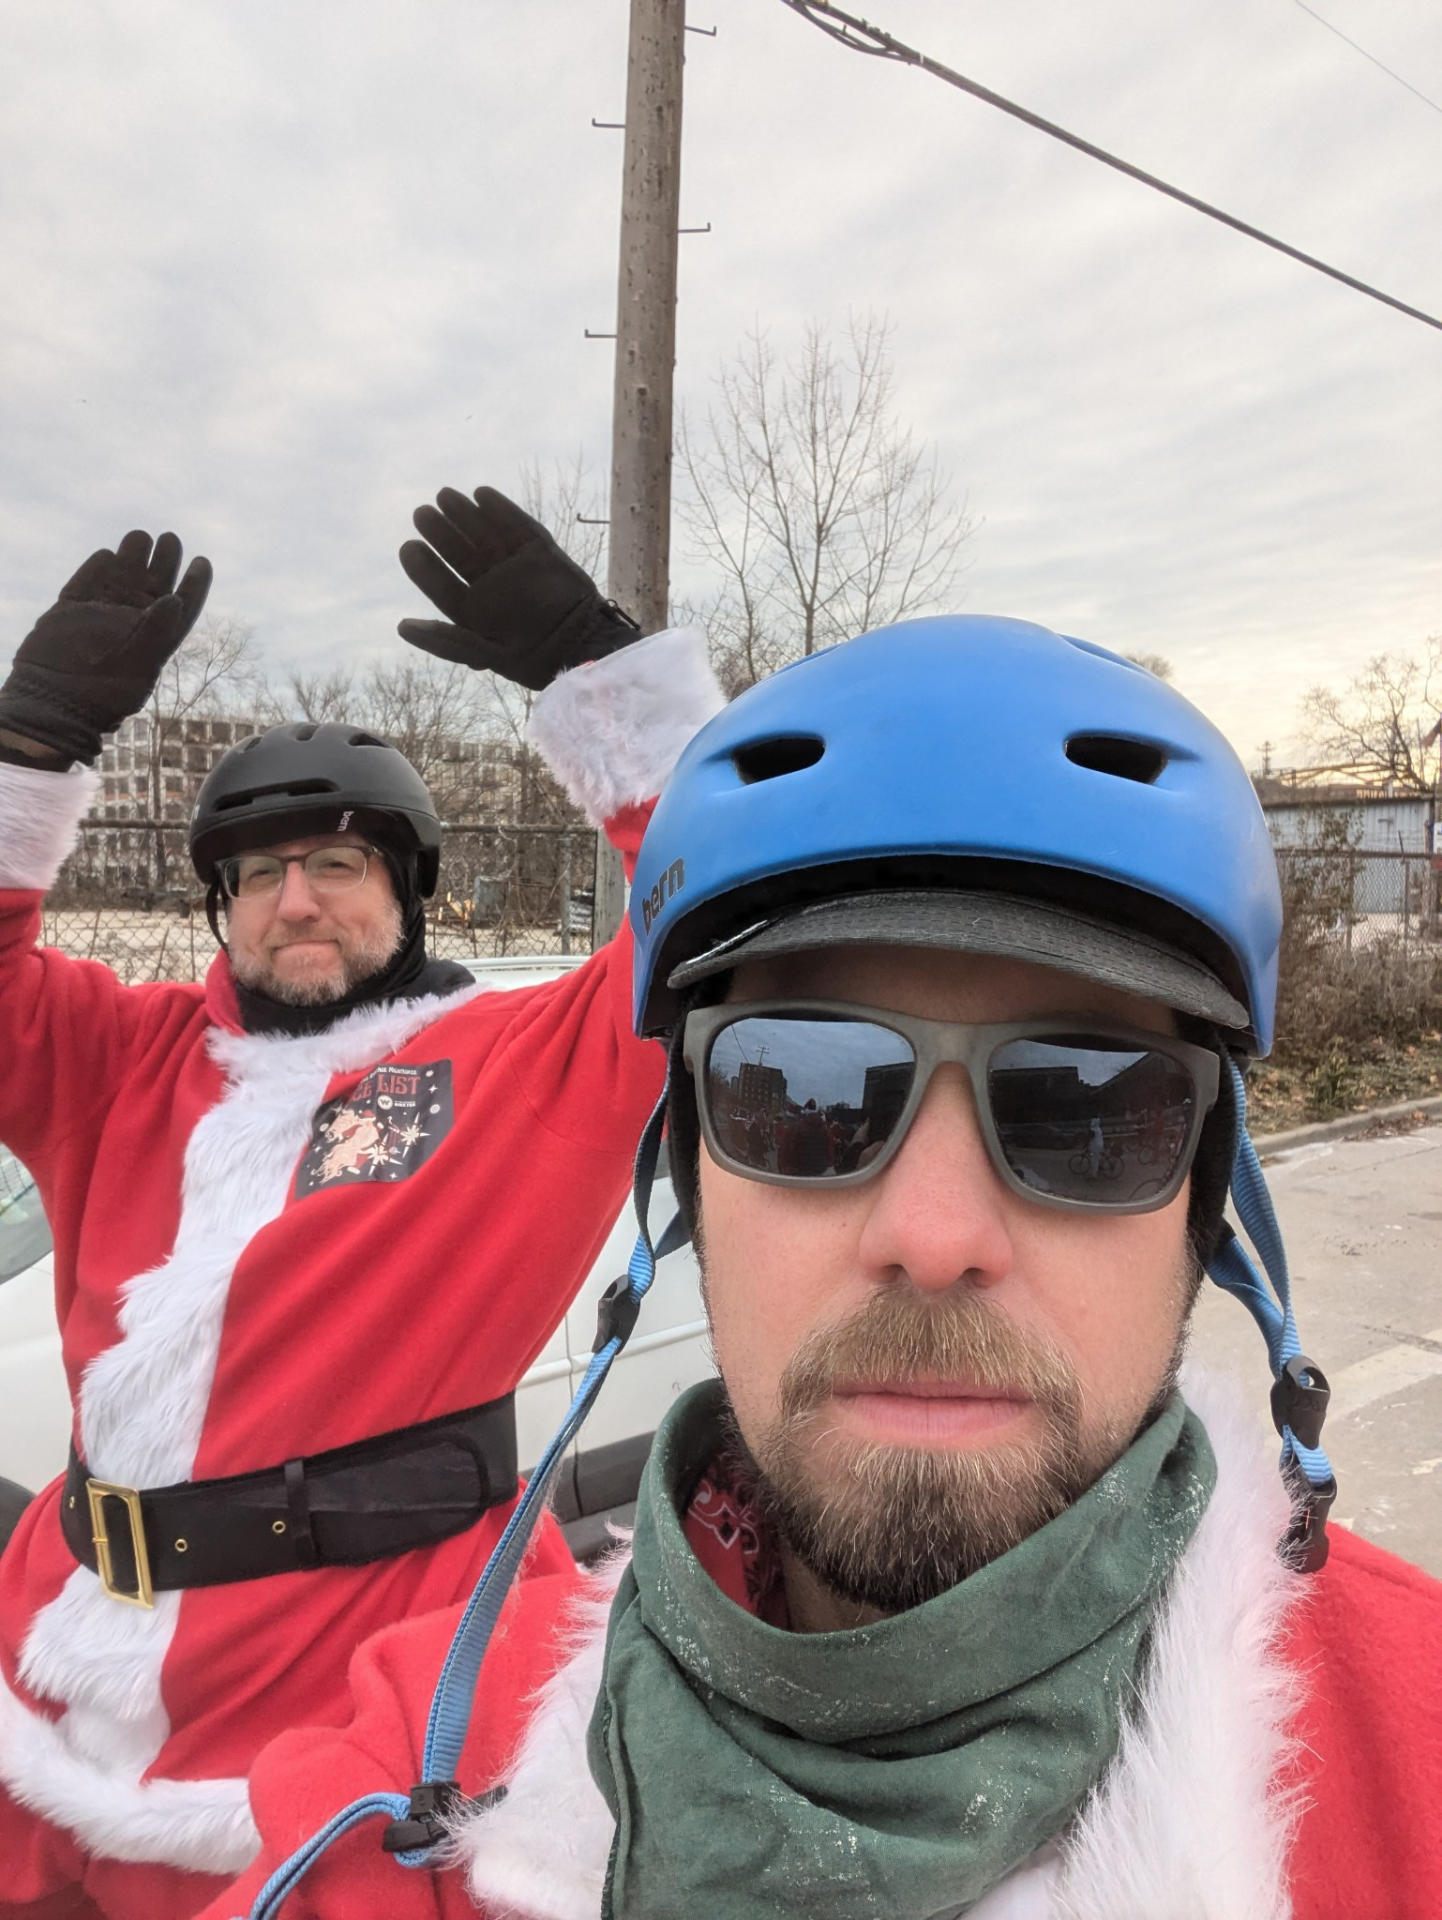
My daughter asked if I was going to film or photo document it, and while that’s a thing I would have done years ago I decided to just ride and enjoy and let others do that… so I’ve collected a bunch of links to videos and coverage. I know I appear in at least one of the videos below. I’m easy to spot… I’m the one dressed like Santa.
- Santa Cycle Rampage MKE 2024 by Rob Nicholson
- SJOL Santa Rampage Watch Party 1080WebShareName Loni Kagen
- Santa Bike Rampage 2024 #1 1080WebShareName by Loni Kagen
- Santa Cycle Rampage 2024 Milwaukee Wi by All-Terrain Cycling
- 2024 Milwaukee Santa Rampage by Sandra Wicker
- 2024 Santa Cycle Rampage in Milwaukee | FOX6 News Milwaukee by FOX6 News Milwaukee
- FOX6 Milwaukee – Santa Cycle Rampage in Milwaukee
- WTMJ620 Holiday bike ride brings thousands of Santas to Milwaukee
- Be careful on downtown Milwaukee streets Saturday with Santa Rampage riders and Wisconsin-Marquette game
- Urban Milwaukee – Wisconsin Bike Fed Hosts Annual Milwaukee Santa Cycle Rampage December 7, 2024
- Wisconsin Bike Fed – Santa Rampage
- Wisconsin Bike Fed – Thank you for being part of Santa Cycle Rampage!