Categories
Uncategorized

Game Show Buzzer System

I recently completed a build for a client that I’m calling a “Game Show Buzzer System” because, well… that’s what they asked for. The requirements were a system with two buzzers, green and red, that when pressed each played a different sound. They also wanted a light controlled, as they were going to build this all into a podium for some game show broadcast on the Internet.

At first they asked for colored light strips, so I was going to use NeoPixels, but then they switched to wanting to control a DMX light. I didn’t have a DMX light handy so I got the cheapest one on Amazon to start doing development with. Meanwhile they shipped me a very nice professional DMX light. I got the code working on my cheap light, but once moved over to the good light it didn’t work without some tweaking. Different DMX lights operate differently, duly noted.

The electronics live in a 3D printed enclosure. This probably took more time than the code. (But since code is often reused, that’s not surprising.) This project came together pretty quickly, but if it hadn’t I probably would have spent more time on the enclosure. It’s not bad, it just has a few things that annoy me about it. Everything is labeled, which is good, because it is possible to plug the 3.5mm plugs into the wrong place.

The top features a knob and small display which are used to set the reset time for the unit after a button is pressed. The client thought that 30 seconds for the reset might be good, but while discussing it there was concern that might be too long, so I suggested a way to adjust it.

The large buttons use 3.5mm jacks and cables to connect. Since TRS cables have three connections, they’re perfect for items with GND, a button, and an LED. This also allows for the client to easily swap cables if these are too long or too short.

The client provided the sounds. (Well, links to YouTube videos with the sounds.) If they ever want to replace the sounds, or the SD card fails, it can be easily accessed. I didn’t have time to make a door or panel for this, so I covered it with gaff tape before I shipped it.

A peek at the inside. It’s a little tight, but there’s a lot going on in there. I ended up making my own “shield” to connect everything because, this was a rush project, but it all works, even if it’s not the prettiest thing I’ve built. I did about 4 days of testing before shipping it out. It all works, and it was a fun and challenging build. Neat!

Categories
Uncategorized

Development with Resistance

As you may know, I sell a variety of USB controllers (on Etsy and my own shop) and I accept custom orders where I work with the customer to build (and program) what they want or need. So last year someone got in touch with me and said “Your Dual Button looks great! I need it with a 2.5mm stereo jack though, and it’s going to control some [REDACTED] equipment.”

So this was not a USB controller, but they liked the form factor of my product. Well, no problem. I do custom. I got as much detail as I could about the device they had (which was not working anymore) and asked for photos. There was a resistor wired into one of the buttons, so I asked the customer to check it with a meter to get the value. He couldn’t quite figure it out, but we made some guesses based on the color bands in the photo and I came up with a solution.

With the 2.5mm stereo jack we determined which of the TRS (Tip, Ring, Sleeve) parts were ground, and each of the buttons, and which button had the resistor on it. One button supplied full voltage and the other a lower voltage. I didn’t find out too much about the extremely expensive equipment it was connecting to, but I didn’t need to.

I came up with an easy way for the customer to swap the resistor, and even sent spares of various values in case we didn’t guess correctly. I think it worked fine with our “guess” resistor, so maybe the equipment just looks for full voltage versus a lower voltage. Who knows? I don’t work in the [REDACTED] field.

I often find these projects fun and a little challenging. I probably don’t always cover the time I put into them, but often they’re a good learning opportunity and sometimes turn into a product or repeat business.

Categories
Uncategorized

8K Controller for Ubuntu & Blender

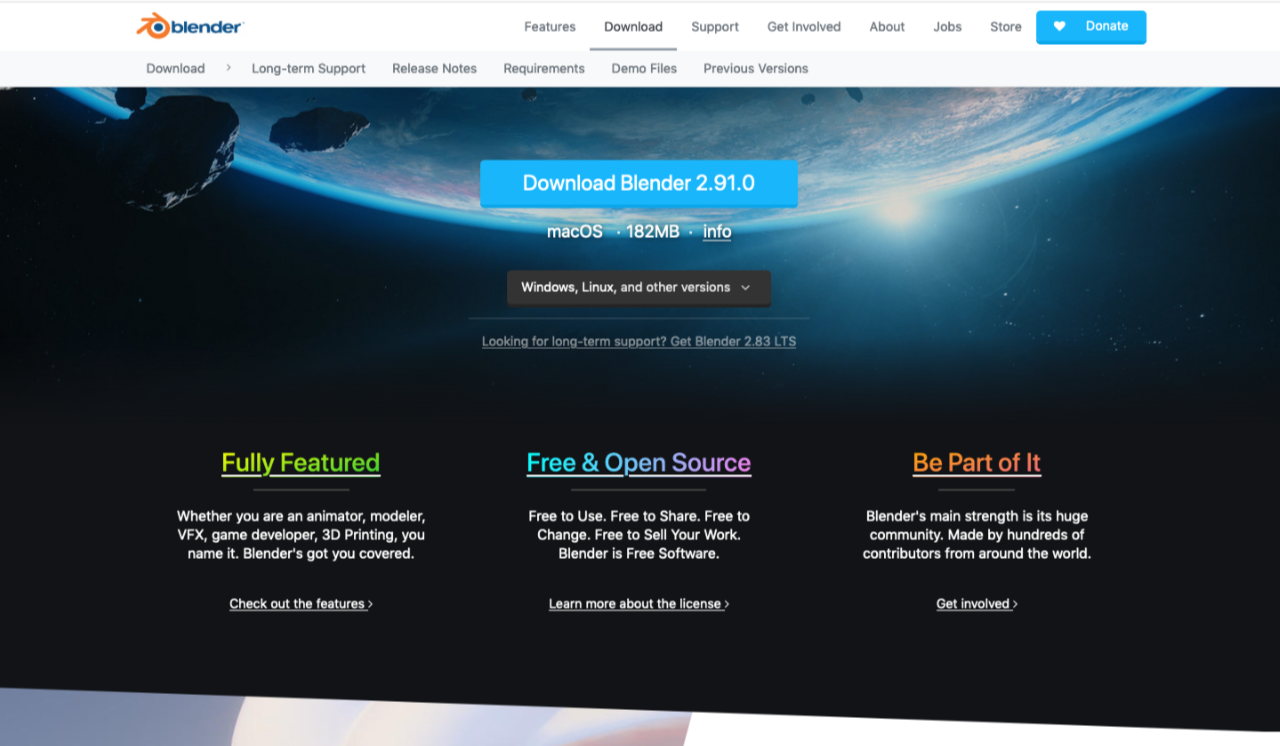
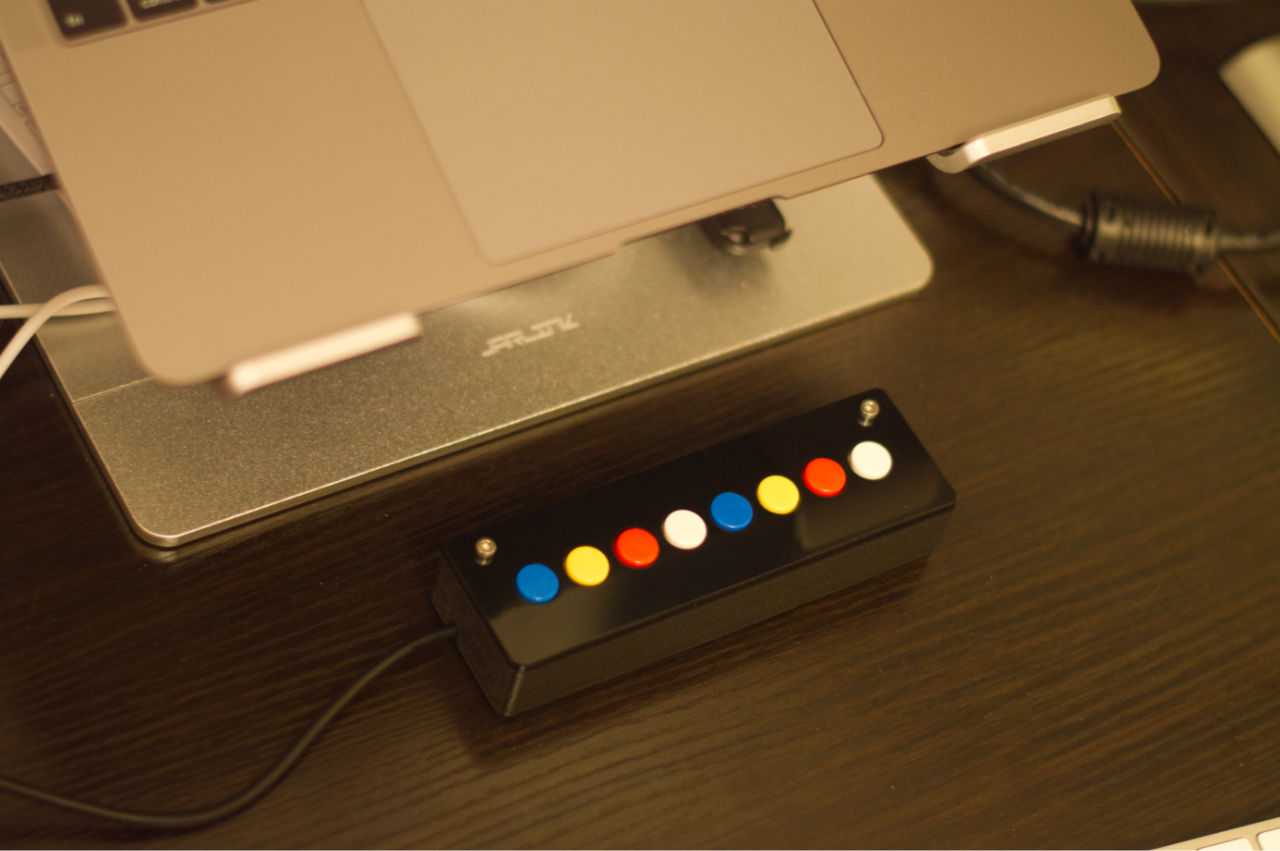
A new request came in for the 8K Controller along the lines of “I’m using Blender on Ubuntu and would like these eight key commands programmed to make life easier.” So yeah, that’s what we’ve got.

While the 8K Controller (and all the USB devices we create) should work fine on macOS, Windows, Linux (and even Android and iOS) I still wanted to do the testing on Ubuntu. Luckily I’ve still got a Linux laptop lying around, even if it’s not running the latest version. (It worked great!)

There was also a request for specific colors, which we were able to do. (Note: I’m debating if I should add button color choice to the ordering process or make it a “get in touch” sort of thing. This is the first order that has specifically asked for certain colors.)

As for Blender, it’s been years since I tried to use it, though people have told me it’s gotten a lot easier to use. I know a few die-hard users who just love it.

Reminder: The 8K Controller is a USB controller. By default, it’s programmed for function keys F13 through F20 (which are not found on most keyboard) but can be customized for any key or key combo. You can get one at the EtsyShop.

Categories
Uncategorized

Zoom iPad Keypad Control

While it’s possible to use a Bluetooth keyboard with an iPad, you can also use a USB keyboard (or keypad) with an iPad. Some quick tests revealed that the 8K Controller worked just fine. In fact, we programmed it for the following Zoom controls:

  • Mute/Unmute my audio
  • Start/Stop my video
  • Display/Hide Chat
  • Minimize meeting
  • Display/Hide manage participants

While “Minimize meeting” only minimizes and does not maximize, all the other controls are toggles. Press a button to mute yourself, press it again to unmute yourself, etc.

The command to “Close the front window” (which works fine on the macOS desktop application) did not work on iOS. (This may be due to being the host of the meeting… more testing is needed.) Everything else worked great!

So how do you connect a USB device to an iPad? It doesn’t exactly have USB ports… While Apple’s Lightning to USB Camera Adapter and USB-C Digital AV Multiport Adapter should fit the bill, I used a cheaper option, an OTG USB Adapter that was less than $11 USD.

Reminder: The 8K Controller is a USB controller. By default, it’s programmed for function keys F13 through F20 (which are not found on most keyboard.) You can get one at the Etsy Shop.

Categories
Uncategorized

Zoom Power User 8K

Are you forced to use Zoom for work? Or worse, do you love to use Zoom for work, or fun, or whatever? No worries… with the 8K Controller we can enhance the experience. Zoom makes great use of keyboard shortcuts and they’re customizable, which means we can assign them to F13, F14, etc. that the 8K Controller uses. Let’s walk through the process…

Note: While the following screenshots were taken using macOS, this all works fine on Windows as well. (And once we install Zoom on Linux we’ll test it there.)

In the Zoom Settings you’ll see Keyboard Shortcuts. It lists the actions that can be controlled by key commands. One of the most popular things people want to do is mute and unmute themselves. You can do this with the key combo Command-Shift-A on macOS, or Alt-A on Windows and Linux.

You can even set some of these key commands to be Global Shortcuts, which means they’ll work even when Zoom isn’t the frontmost application. This is handy if you’ve got a browser or some other application in focus. It’s up to you which shortcuts you want to be global.

Nearly all of the shortcuts allow for customizing. Just click on the already populated shortcut and it should allow you to edit it.

Once it’s highlighted and ready to be changed you can just press a button on the 8K Controller and it will populate the field. Let’s press the F13 button.

Boom! We’ve now got F13 (the first button on the 8K Controller) set to mute/unmute Zoom, and it will work globally, no matter what application has focus. But wait, there’s more! We can keep going… Here’s a list of all the shortcuts I set.

  • F13 Mute/Unmute My Audio
  • F14 Mute Audio for Everyone Except Host (Host Only)
  • F15 Start/Stop Video
  • F16 Start/Stop Screen Sharing
  • F17 Switch to Speaker/Gallery View
  • F18 Show/Hide In-meeting Chat Panel
  • F19 Enter/Exit Full Screen Mode

Well, there’s seven, which isn’t too bad. Zoom on macOS does not recognize F20, though on Windows 10 it works fine. This was all done with the default F13-F20 that the 8K Controller uses. If you really wanted something custom, we can program the controller to use any key commands found on the Zoom Hot keys and keyboard shortcuts page, including the commands that are not customizable in the settings.

Reminder: The 8K Controller is a USB controller. By default, it’s programmed for function keys F13 through F20 (which are not found on most keyboard.) You can get one at the Etsy Shop.