Are you forced to use Zoom for work? Or worse, do you love to use Zoom for work, or fun, or whatever? No worries… with the 8K Controller we can enhance the experience. Zoom makes great use of keyboard shortcuts and they’re customizable, which means we can assign them to F13, F14, etc. that the 8K Controller uses. Let’s walk through the process…
Note: While the following screenshots were taken using macOS, this all works fine on Windows as well. (And once we install Zoom on Linux we’ll test it there.)

In the Zoom Settings you’ll see Keyboard Shortcuts. It lists the actions that can be controlled by key commands. One of the most popular things people want to do is mute and unmute themselves. You can do this with the key combo Command-Shift-A on macOS, or Alt-A on Windows and Linux.

You can even set some of these key commands to be Global Shortcuts, which means they’ll work even when Zoom isn’t the frontmost application. This is handy if you’ve got a browser or some other application in focus. It’s up to you which shortcuts you want to be global.

Nearly all of the shortcuts allow for customizing. Just click on the already populated shortcut and it should allow you to edit it.

Once it’s highlighted and ready to be changed you can just press a button on the 8K Controller and it will populate the field. Let’s press the F13 button.

Boom! We’ve now got F13 (the first button on the 8K Controller) set to mute/unmute Zoom, and it will work globally, no matter what application has focus. But wait, there’s more! We can keep going… Here’s a list of all the shortcuts I set.
- F13 Mute/Unmute My Audio
- F14 Mute Audio for Everyone Except Host (Host Only)
- F15 Start/Stop Video
- F16 Start/Stop Screen Sharing
- F17 Switch to Speaker/Gallery View
- F18 Show/Hide In-meeting Chat Panel
- F19 Enter/Exit Full Screen Mode
Well, there’s seven, which isn’t too bad. Zoom on macOS does not recognize F20, though on Windows 10 it works fine. This was all done with the default F13-F20 that the 8K Controller uses. If you really wanted something custom, we can program the controller to use any key commands found on the Zoom Hot keys and keyboard shortcuts page, including the commands that are not customizable in the settings.
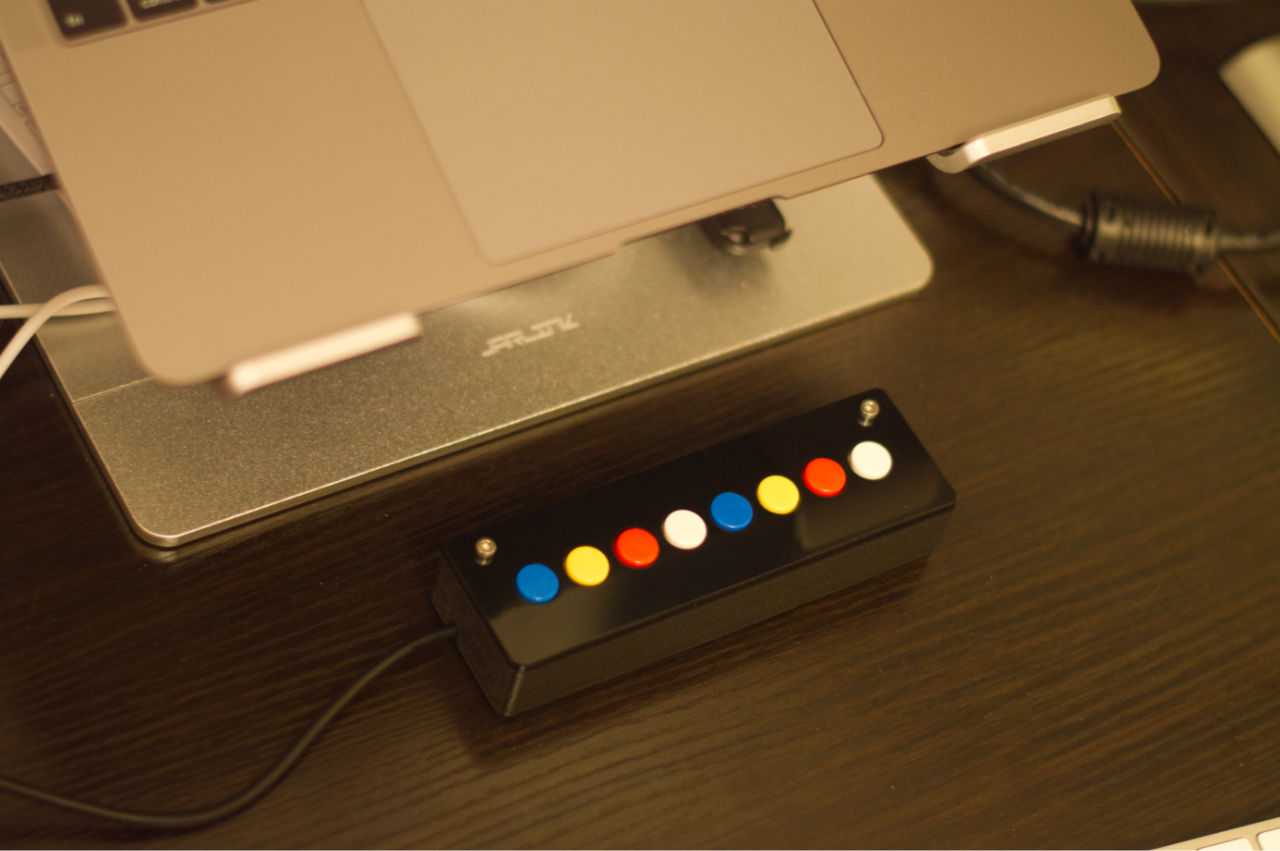
Reminder: The 8K Controller is a USB controller. By default, it’s programmed for function keys F13 through F20 (which are not found on most keyboard.) You can get one at the Etsy Shop.