Categories
Uncategorized

Vivitar Foot Repair

Vivitar

So I got this Vivitar 285 flash last year, and it’s been working great, except for one thing… the little plastic foot is no match for the weight of this thing. Eventually, it broke. Argh… To be expected though.

I found a replacement metal foot on ebay for $6.99, and I watched some YouTube video that explained replacing it. Here’s the thing though… after I watched a damn advertisement, and then a 9 minute video showing how to do the replacement, I decided that I’d help people of the future by presenting the same info in a good old no-nonsense way, with words and pictures!

Broken Foot

So here is our broken foot. Thin, old, cheap plastic. No good! Grab a tiny screwdriver and remove the foot. Don’t lose the screws, they are tiny! (Also, you will need them later!)

Remove Foot

Here is the broken one still attached, next to the new one. On the original unit, there are 4 wires. Two of them (white and green) go to the test button. You don’t need these! You just need the black and red wires. The button on the new one will work just fine with only the black and red attached.
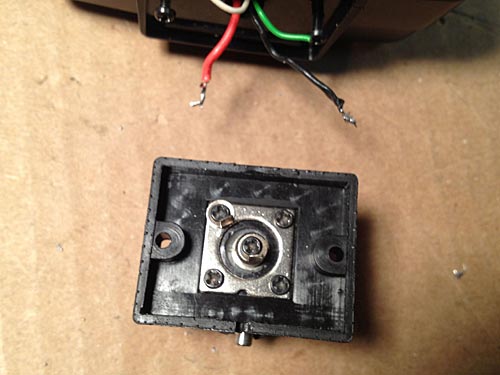
New Foot

The black and red wires are short, so don’t cut them, you need to desolder them. If you don’t have a good soldering iron, and some soldering wick and a solder sucker, find someone who does. (Maybe your local hackerspace?) I did cut the white and green ones, and put a tiny amount of tape over the ends, just to be totally safe.

Soldered

Solder the black and red wires in place securely. It appears I put the black on in the center. I’m not sure that it matters, but YMMV and I make no guarantees. (See where I put the screws? Right where they belong, because they are so damn small I was afraid of losing them!) Also, don’t put the foot on backwards, as that would be stupid. (Disclaimer: I’m not even sure you can put it on backwards. I just like disclaimers.)

New Foot

With the soldering done, put the foot in place, put the screws in, and put the batteries back in (you did take them out before you started, right!?) and test it!

OK, there’s your short guide to replacing the hotshoe foot for a Vivitar 285 camera flash. Hopefully you read this in less time than it took me to watch that 9 minute long YouTube video.

(And yeah, the fact that this is a post about photography that has terrible photos is not lost on me. Apologies…)

Categories
Uncategorized

Cameras I’ve Owned

Cameras

My daughter interviewed me for a school project, and we talked a lot about cameras… specifically, the cameras I’ve used and owned. So here’s a quick visual guide to the cameras I’ve owned.

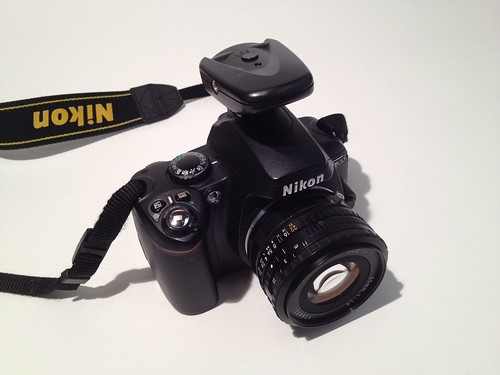
Kodak Disc Camera, Olympus D150, Nokia 7610, Nikon Coolpix L4, Nokia N75, Nikon D40, Apple iPhone 3G, Apple iPhone 4S.

I’m sure there were a few others along the way, but this is what I could remember, or dig up through EXIF data. And yeah, the fact that 4 of them are phones does seem weird, or maybe not weird enough nowadays. When I had the two different Nokias, those were actually my primary cameras at the time. The camera in the iPhone 4S is pretty darn good, but yeah, I’m still rockin’ the D40 after 3 years, and it’s still working well, though I’m eyeing up some other Nikons as I’m contemplating the DSLR video stuff. And hey, how about that Kodak Disc Camera? Crazy stuff, with those silly discs instead of rolls of film. (And I mean discs of film, not discs of data.)

I think I’d like to create another image with all the cameras I’ve used at work added in, because that should be a pretty extensive list of gear…

Categories
Uncategorized

The iPhone 4S Camera

I’ve been meaning to do some iPhone 4S camera tests for a while now, and rather than wait and wait while I come up with a scientific method, I thought I’d just do a few shots and post them here. Early and Often, right?

Each photos links to the Flickr version you can view it at various sizes. None of the photos have been retouched at all.

iPhone Test 01
Normal iPhone 4S photo with direct light.

iPhone Test 01 (HDR)
HDR iPhone 4S photo with direct light.

iPhone Test 02
Normal iPhone 4S photo with soft light.

iPhone Test 02 (HDR)
HDR iPhone 4S photo with soft light.

For each shot the iPhone was on a tripod, and an overheard light consisting of a single bulb was used. (It’s a large high wattage bulb from an old photostat machine.) For the soft light shots, I put an umbrella in front of the light. I used Apple’s default Camera app that comes on the iPhone. All were shot on the white sweep I use for all my tabletop stuff. (If you’ve seen my Flickr stream, you’ve seen plenty of shots on that sweep.)

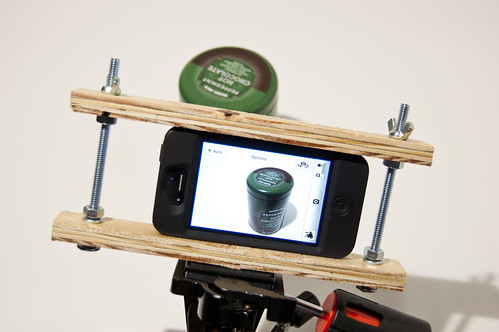
iPhone Tripod Mount
Experimental iPhone Tripod Mount

This photo of my “Experimental iPhone Tripod Mount” was taken (handheld) with my Nikon D40. If you wanted to compare the two, the iPhone 4S is supposedly an 8 Megapixel camera, while the Nikon is a 6 Megapixel camera. Size isn’t everything of course. Well, the Nikon does have a bigger lens, so that helps quite a bit. The Nikon also shoots in RAW, and yes, this shot has been edited quite a bit, but hey, that’s what I do with RAW photos. (And I mainly took this shot to show the set-up I used.)

When I get ambitious again, I’ll set up two tripods, one with the iPhone, and one with the Nikon, and do duplicate shots of various objects. Until then, enjoy these… I’m off to work on my Experimental iPhone Tripod Mount Version 2.0

Categories
Uncategorized

A DSLR you can bank on!

DSLR Bank

From our pals at Photojojo comes this awesome DSLR Bank. And why is it awesome? Well, first of all, it looks like a real DSLR camera. In fact, it looks so real, you could use it as a prop, and that’s cool. Heck, maybe someone will get one of these and mount a real camera inside of it! (Personally, I’m waiting for the Nikon version.) Oh, and it’s also amusing that you’d hide your money in something that (if it were real) would probably cost 500 times the amount of money you have hidden in the thing. I mean, if I were a thief, I’d grab a DSLR because they’re expensive, and then HA! the joke is on them because they’re only getting $8 in change instead of a nice camera they can sell for some quick cash.

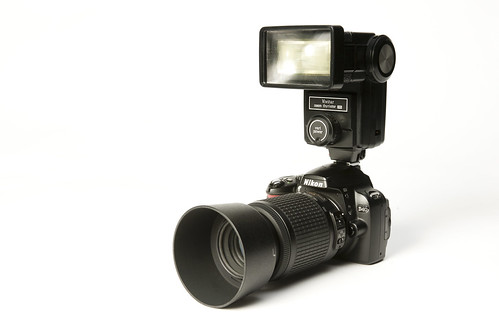
Nikon D40 + Vivitar 285

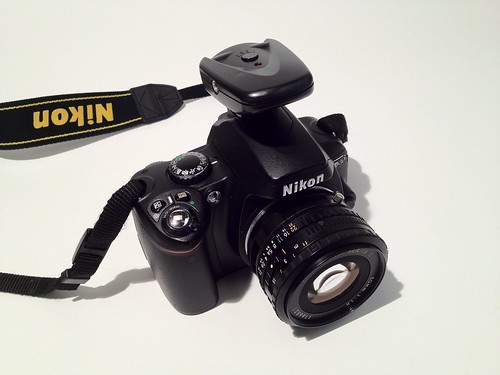
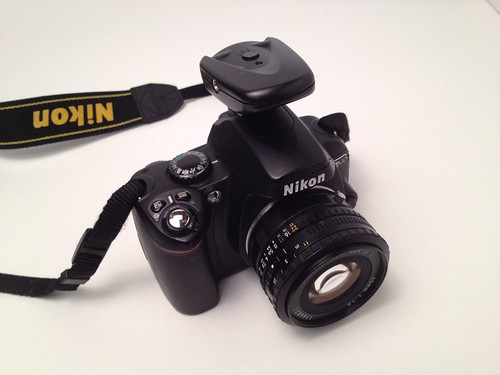
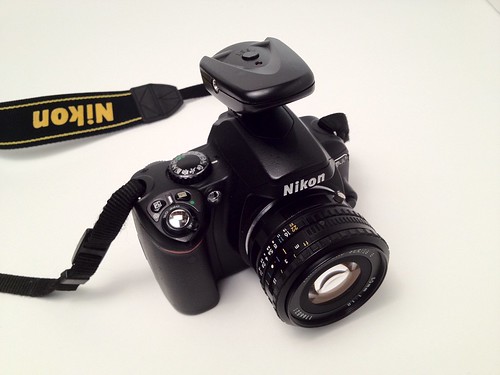
By the way, for comparison, here’s a photo of a real camera… or is it!?!?

P.S. Photojojo is hiring! If you love photography, it looks like an awesome place to make awesome things happen.

Categories
Uncategorized

iSight vs. Logitech C910

In my Photo Booth post I talked about using a Logitech C910 instead of the built-in iSight camera on a 2007 iMac. I wasn’t happy with the quality and ended up using a Logitech HD Pro USB Webcam C910. The Logitech camera worked much better on the iMac, so I figured I’d compare it to the built-in iSight on my 2009 13″ MacBook Pro.

iSight - Color
MacBook iSight – Color

Logitech - Color
Logitech C910 – Color

Comparing the two images you can definitely see the difference in color temperature. The iSight leans more towards red/yellow while the Logitech leans the other way. (Note that the Logitech has a slightly wider field of view as well, so you may have to move in closer.) The only light in this room was a CFL bulb with a lampshade over it, and the glow of 3 monitors. Besides the color, the sharpness of the image is what really stands out. The Logitech is way sharper.

iSight - Black and White
MacBook iSight – Black & White

Logitech - Black and White
Logitech C910 – Black & White

Taking color out of the comparison, and just looking at a greyscale images, the sharpness of the Logitech over the iSight seems even more noticeable. As I’ve said before, the iSight is a tiny little camera, with a tiny little lens, and a tiny little sensor. It’s great that every MacBook contains a camera, and for general video chat, etc. it’ll do just fine, but if you need better image quality, it’s nice to know you can get it for a reasonable price.

The Logitech also has the advantage of being able to view things on the other side of the Mac, and be placed a short distance from the Mac itself. The images on the 2XL Networks Photo Booth site were taken with the Logitech, and we’ll be testing it out with Make: Live as well…