
I was recently given a Samsung PL200 digital camera, which was released in 2010, making it 14 years old. I’ve had a number of digital cameras over the years and I started shooting with DSLRs at work around 2007 and got a Nikon D40 around 2008 or 2009 so I don’t think I’ve owned a simple “point and shoot” digital camera after 2010 because I was probably using an iPhone for point and shoot stuff by then.

So Maks gave me this 2010 Samsung PL200 with no charger but I found one on eBay for $9 USD and figured it was worth grabbing one to get the camera working. My thought was that I’d toss it in the bike bag for rides since my phone is mounted to the handlebars while riding so it’s not the easiest thing to use for a quick snapshot.
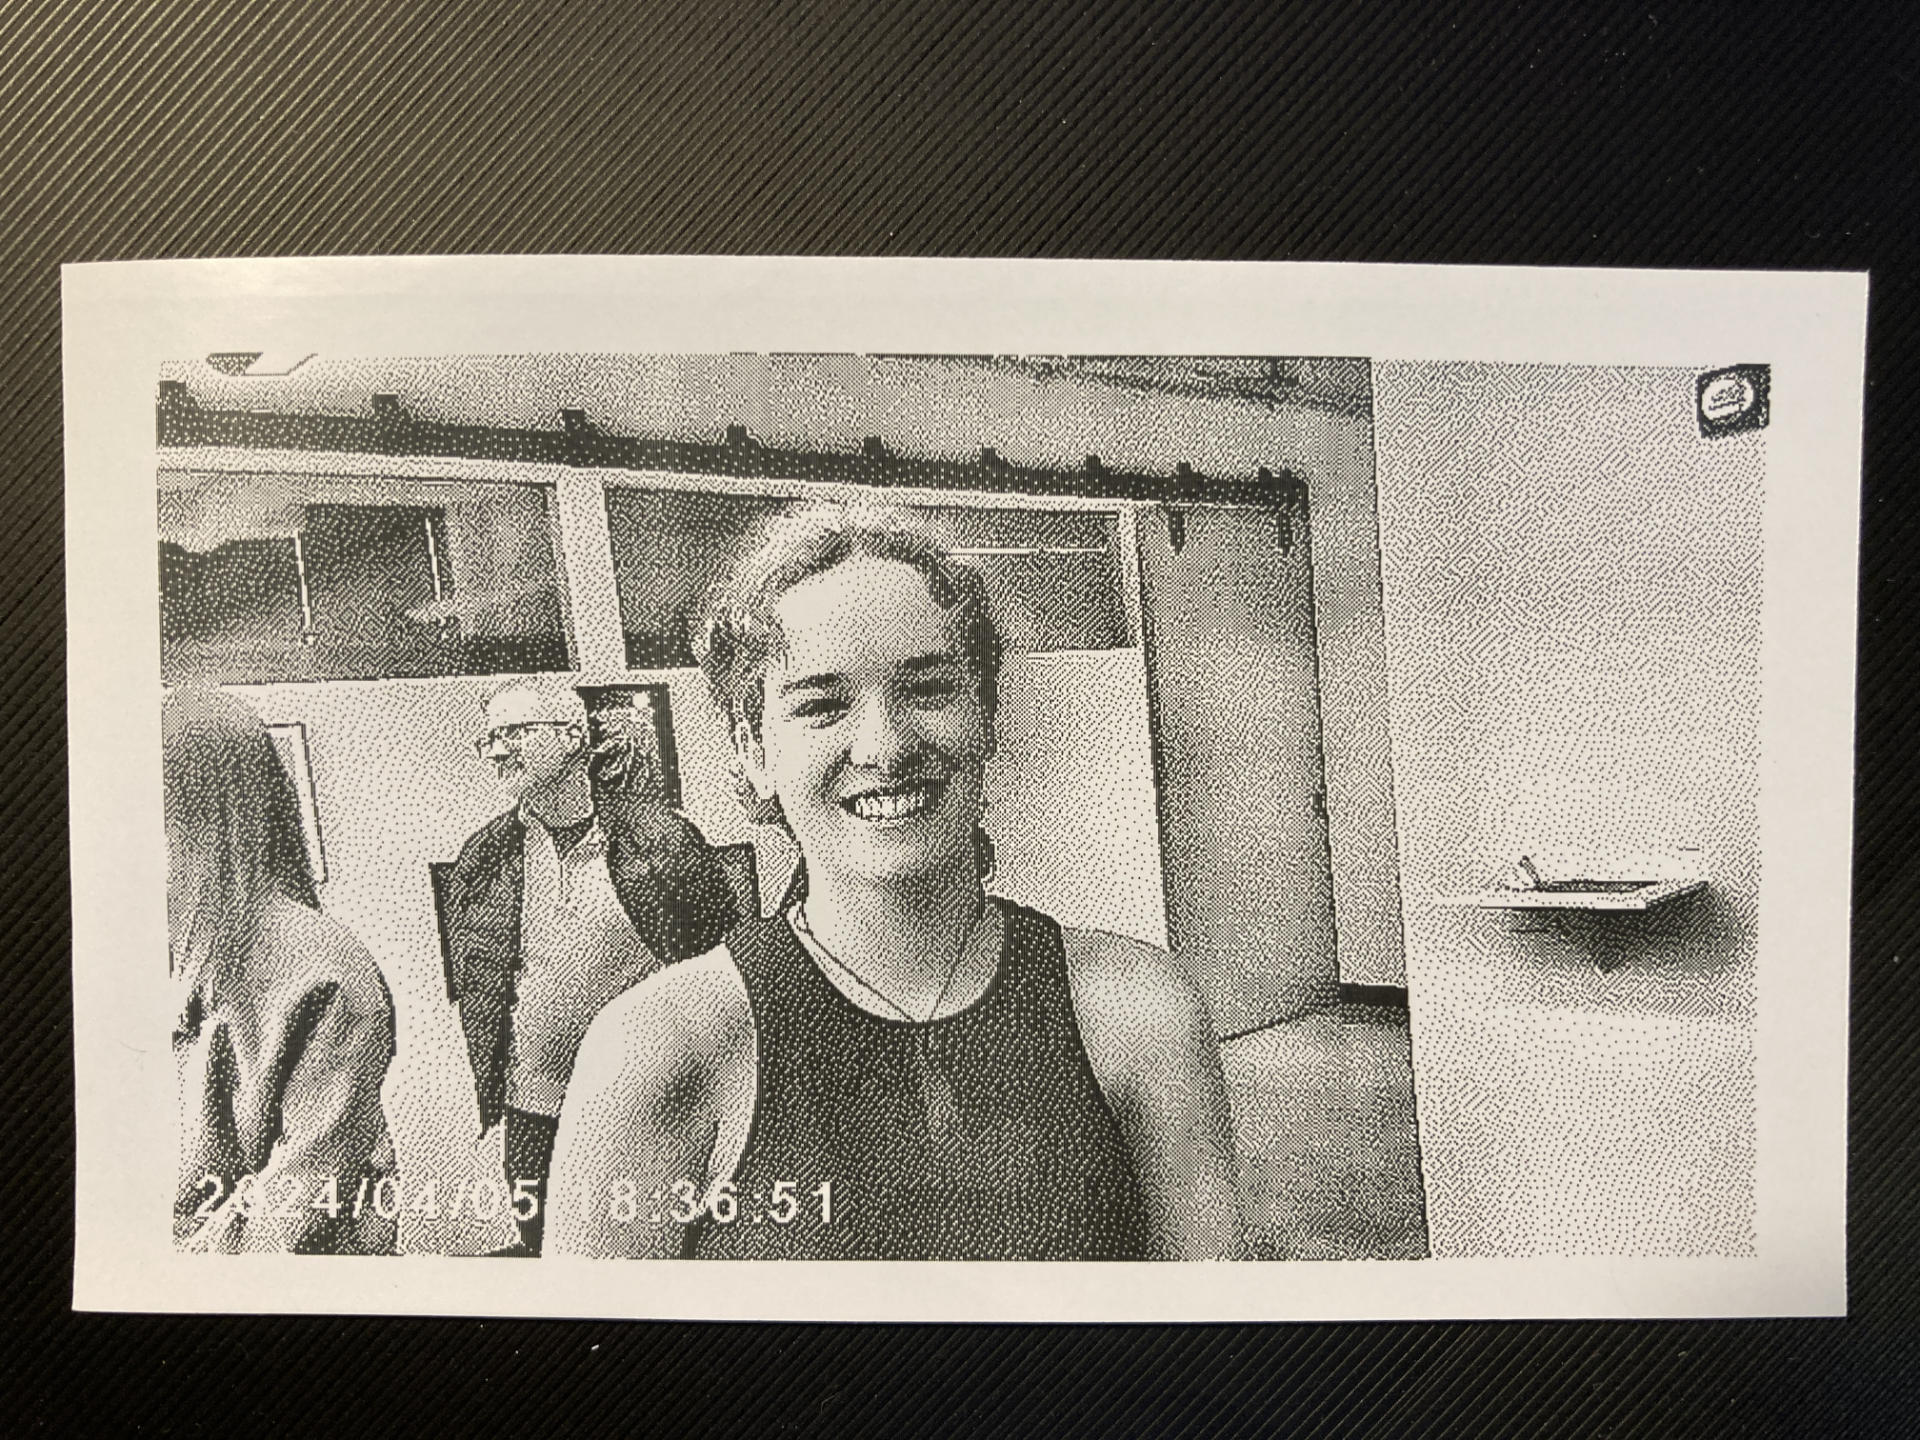
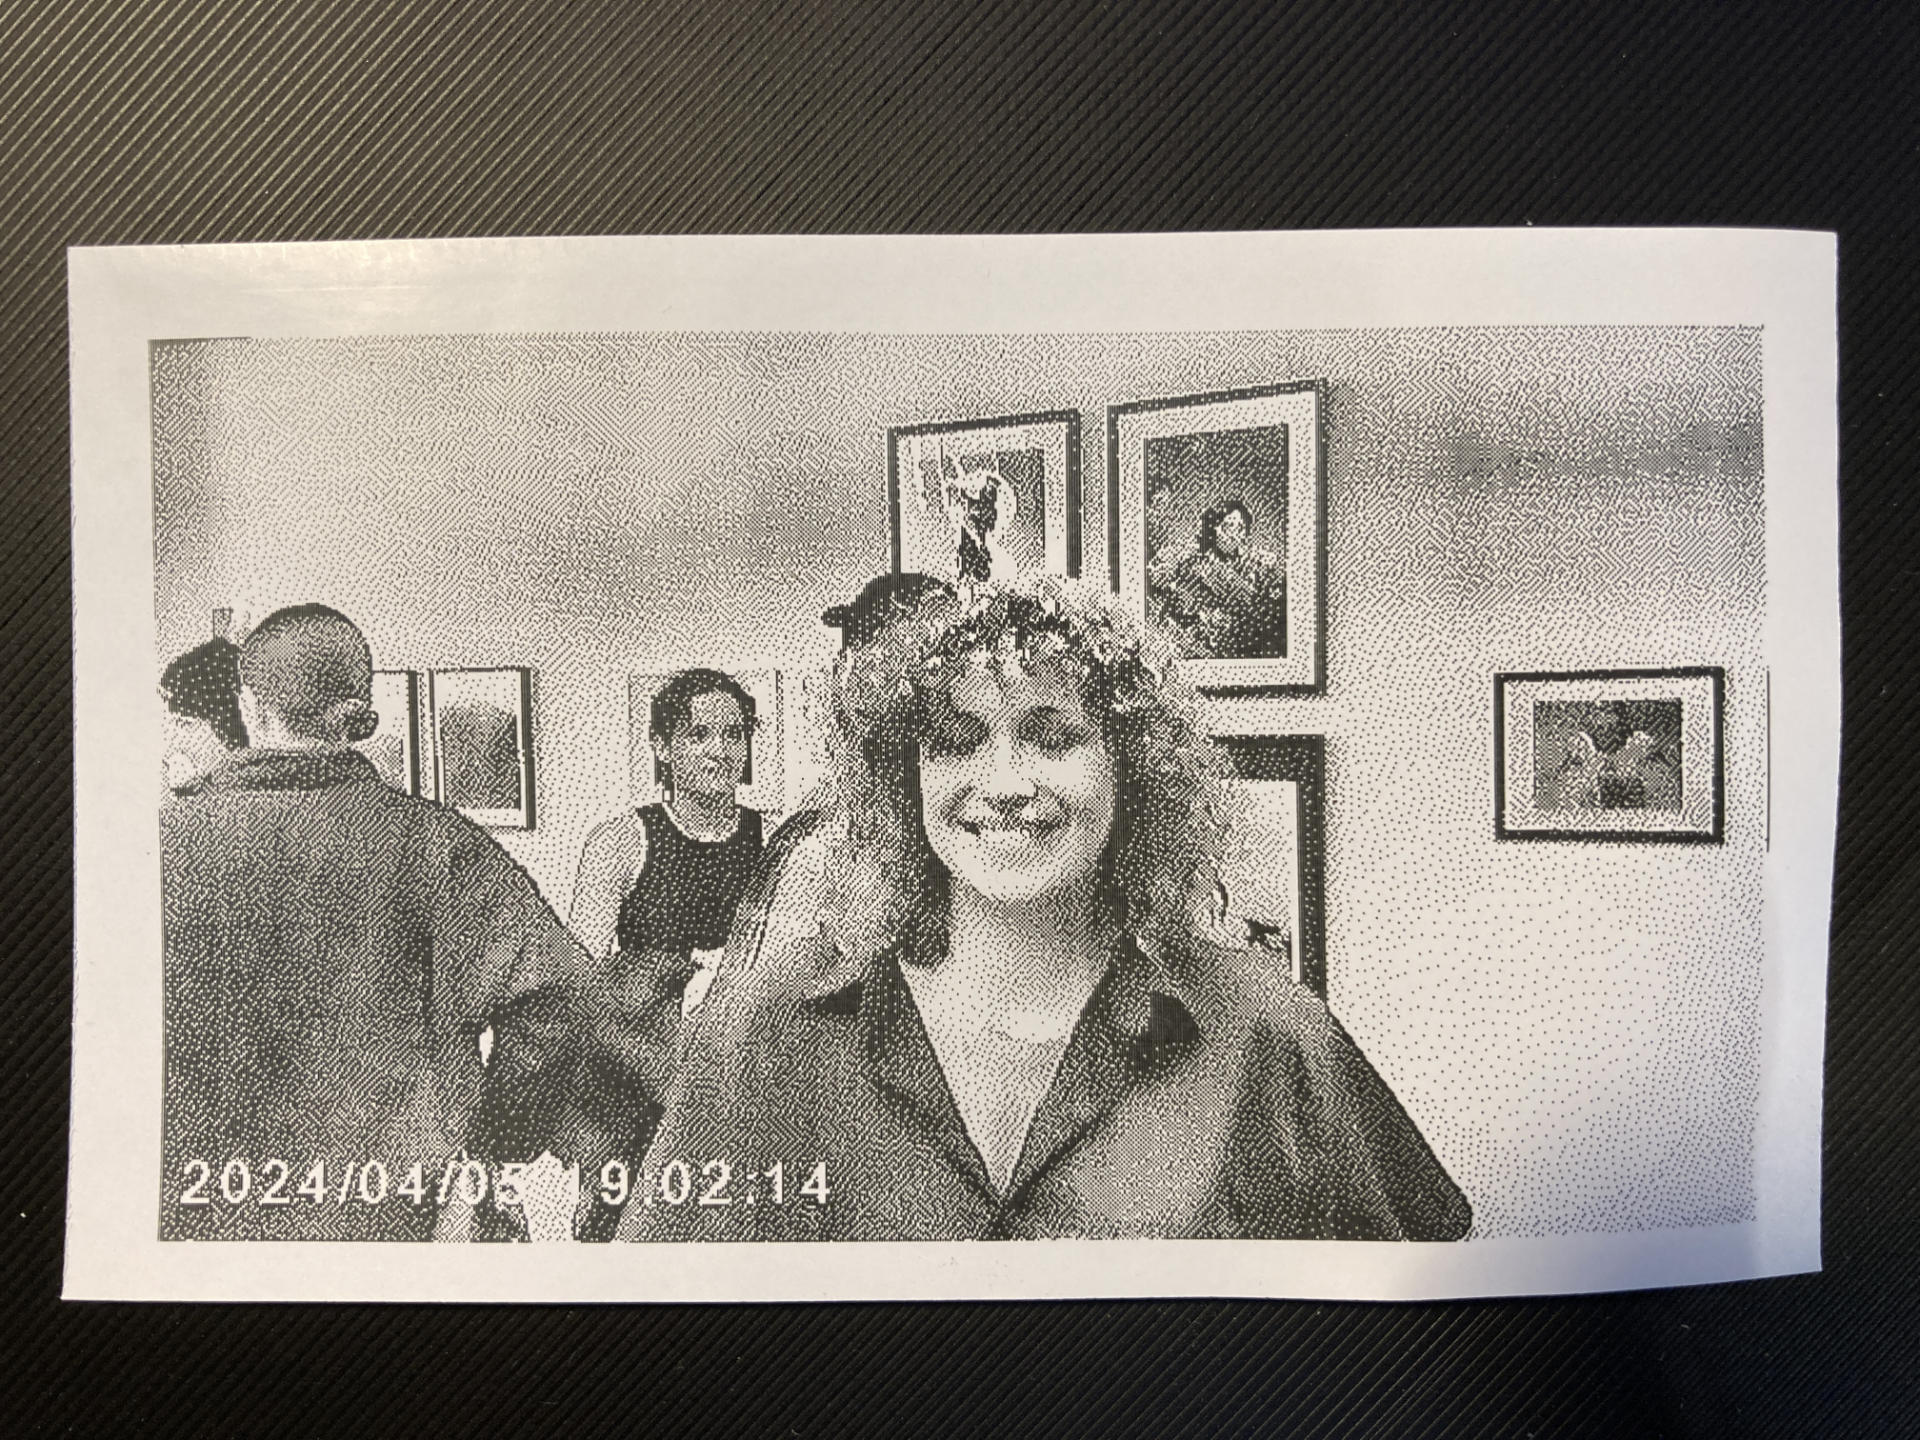
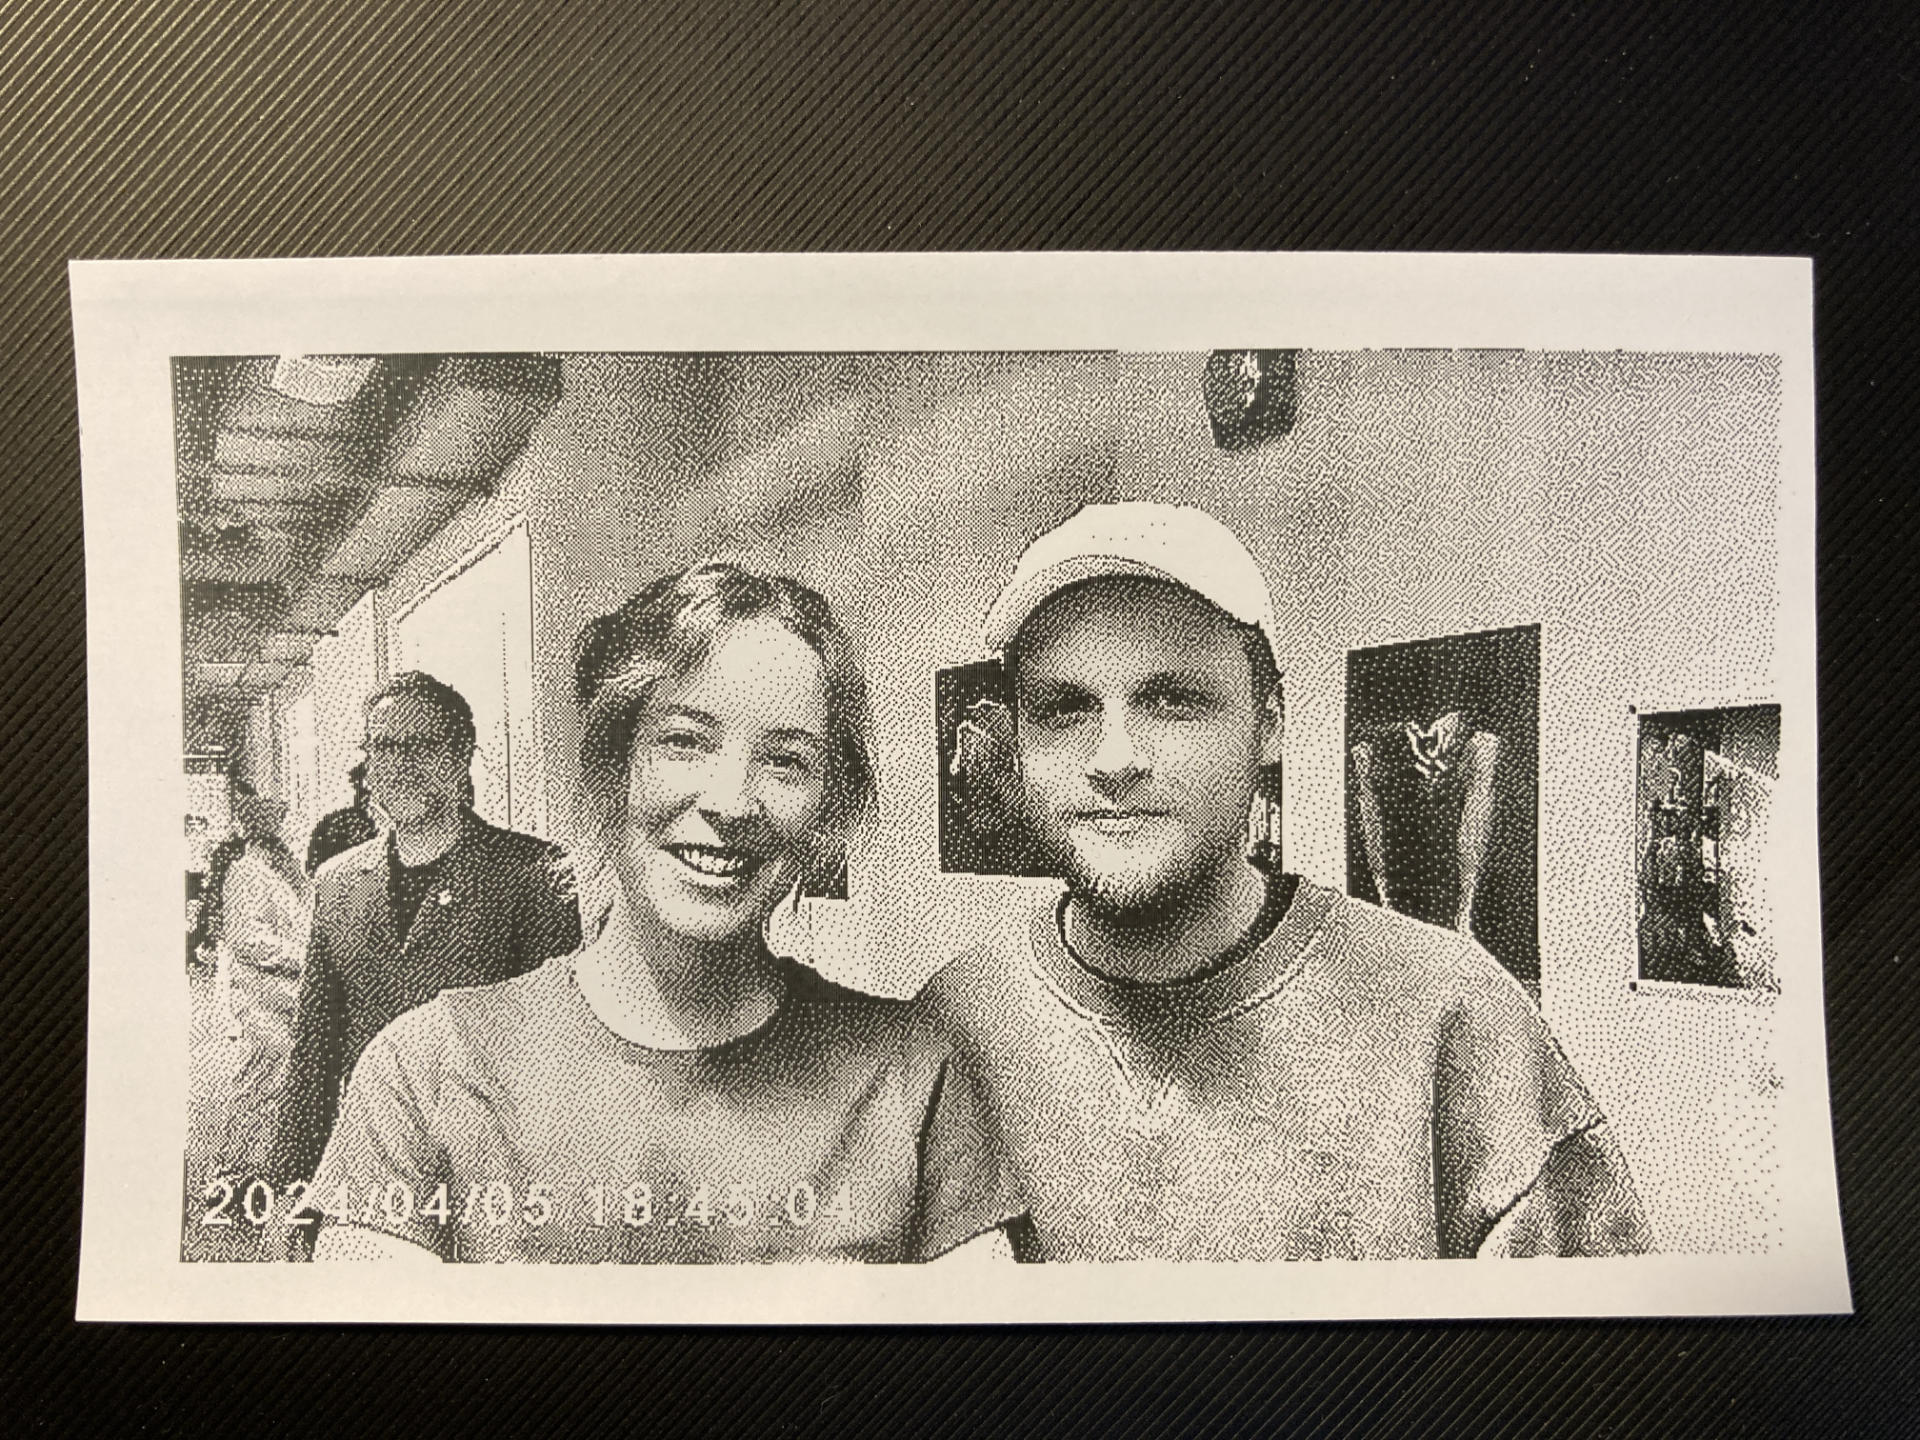
So these photos do not show off the capabilities of this 14 year old 14 megapixel camera, but they do something different…
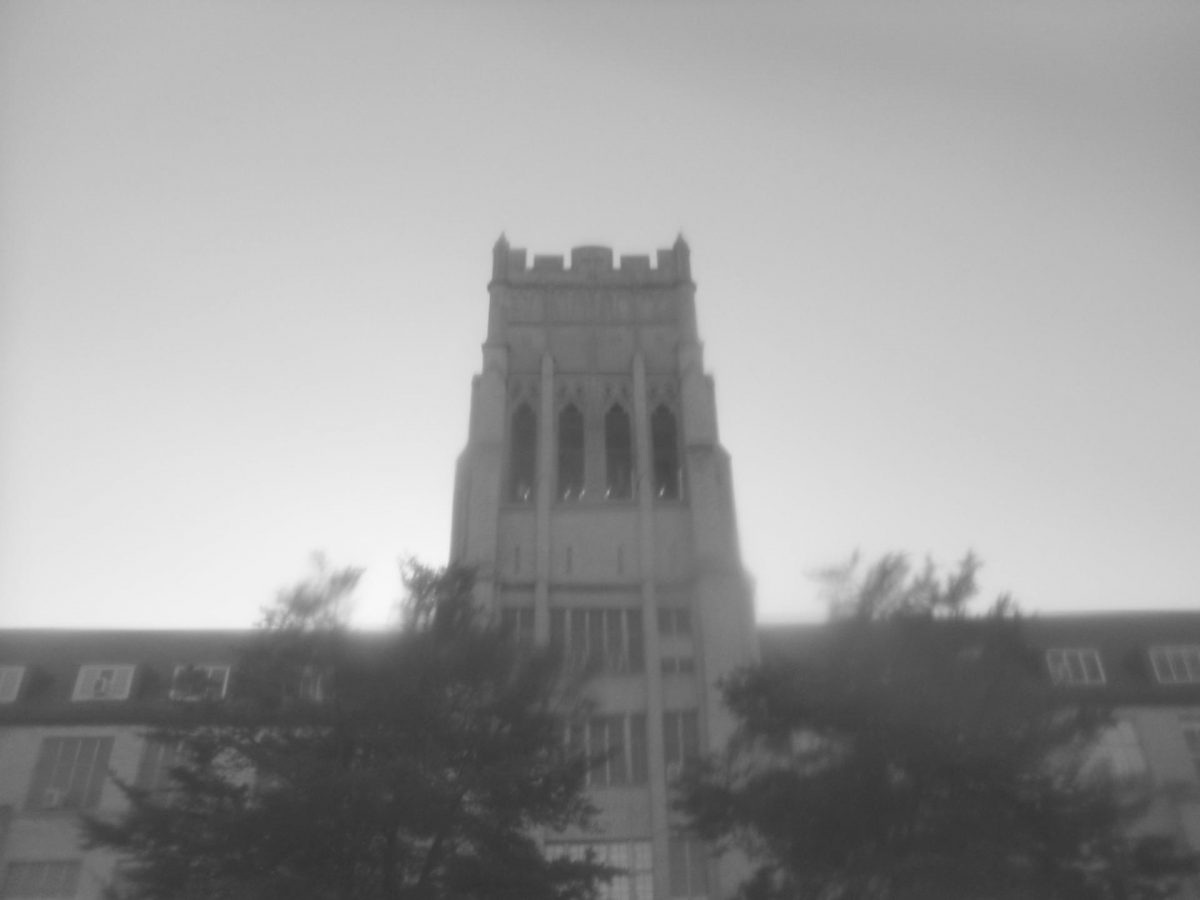
I was thinking back to 1988 or so, when I was hanging out with an old bandmate Ricky and he had just got some album from Dischord, and one of the photos was this black and white soft focus sort of blurry image. I remember we talked about the image, and we wondered if they put Vaseline on the lens, or plastic (“Saran”) wrap, or something else…
I should note that around the same time period is when I would have just started shooting on 35mm film at UWM using my sister’s SLR camera. (Thanks, Carol!) I do still have some of those prints and should scan them in one day. Anyway…
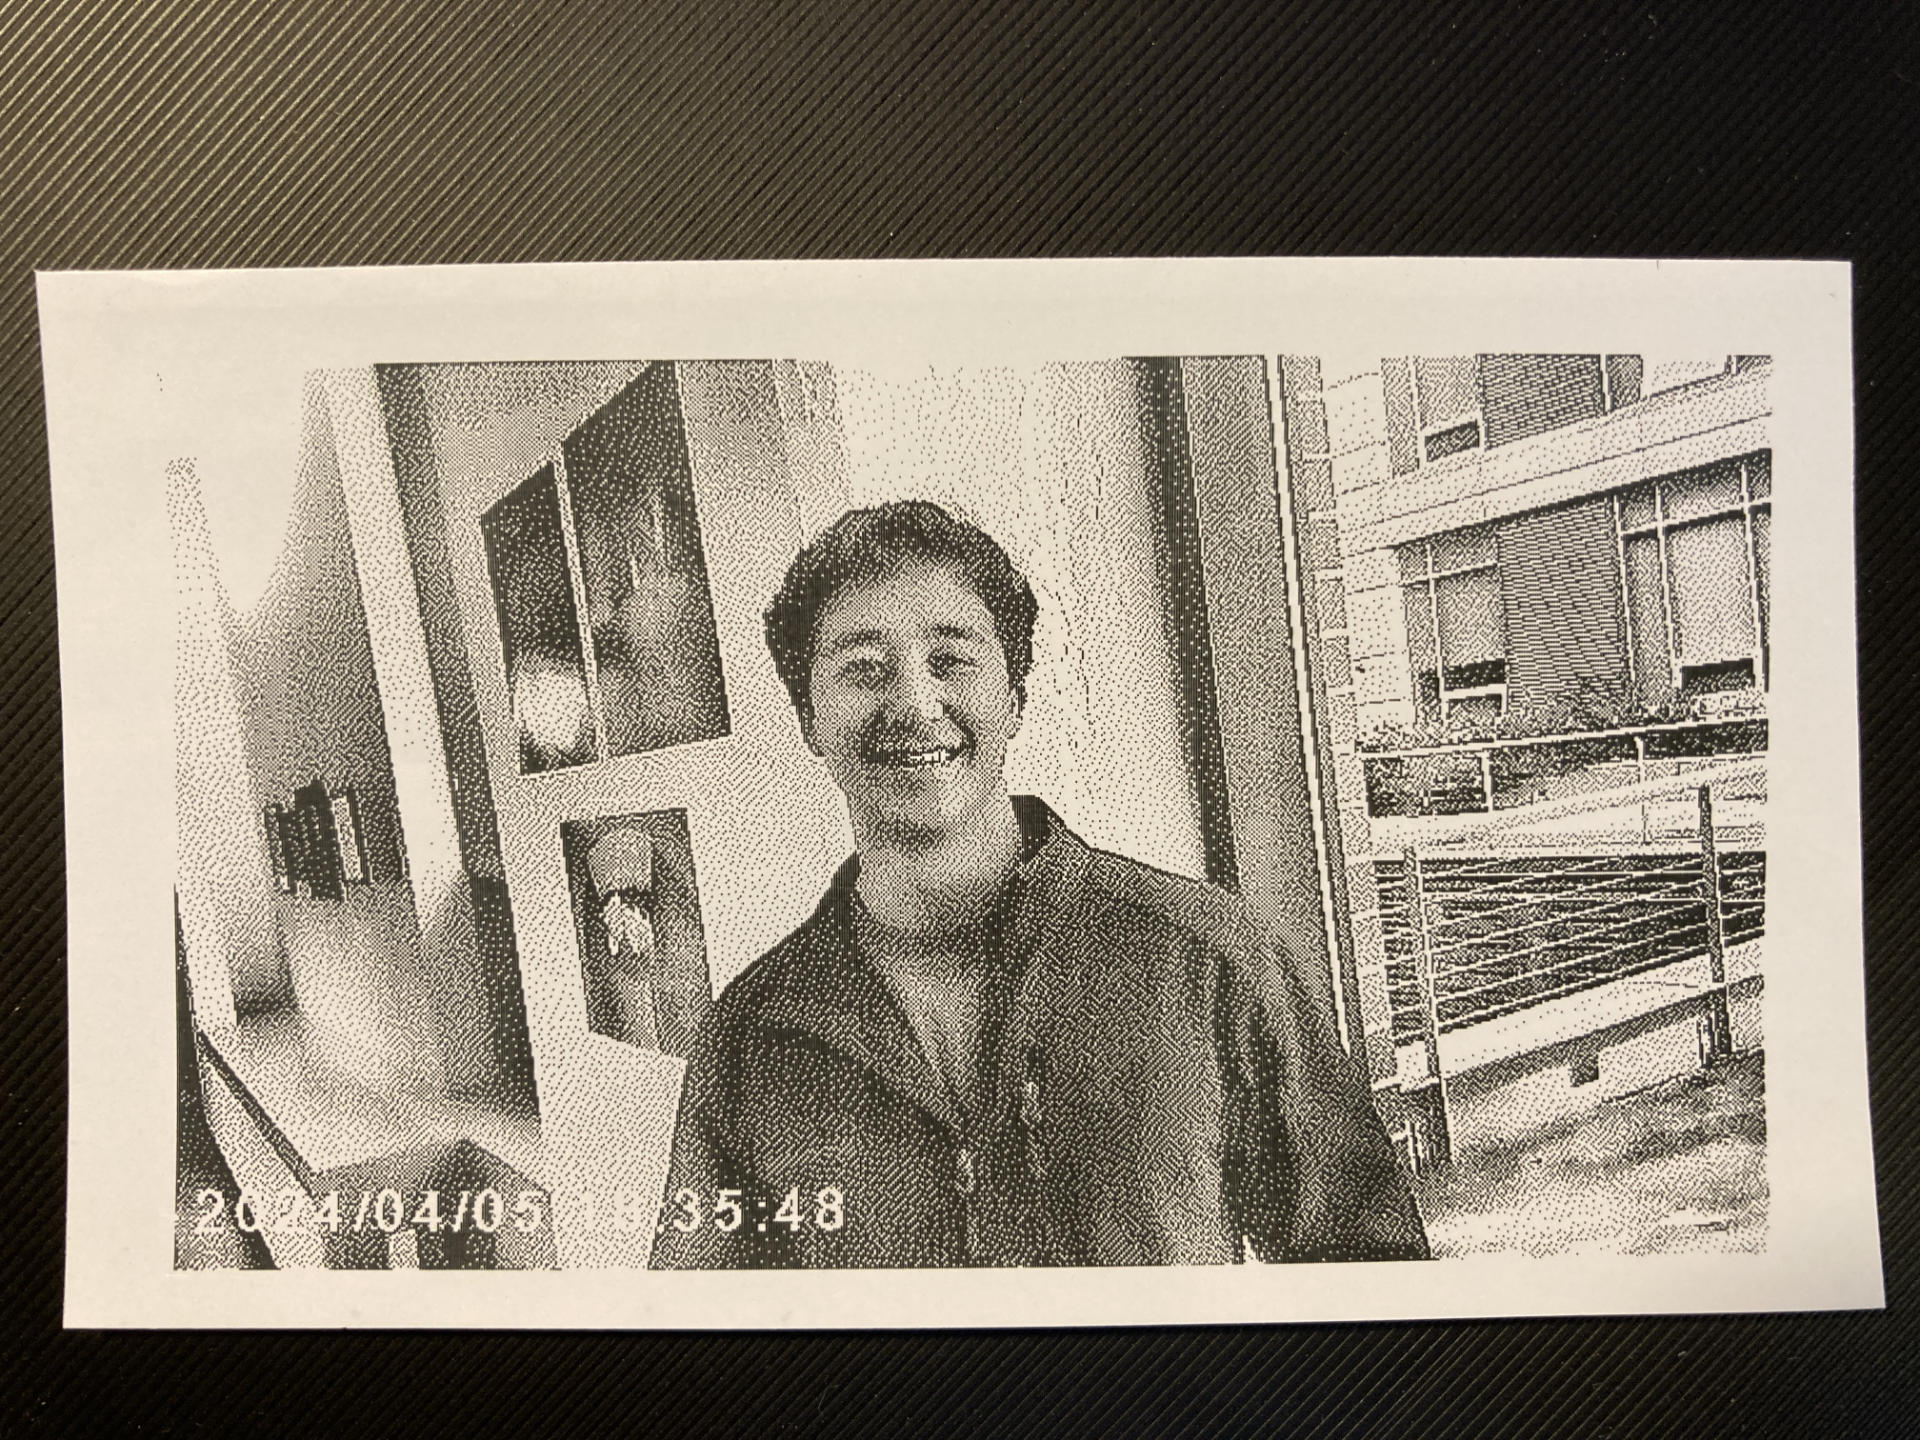
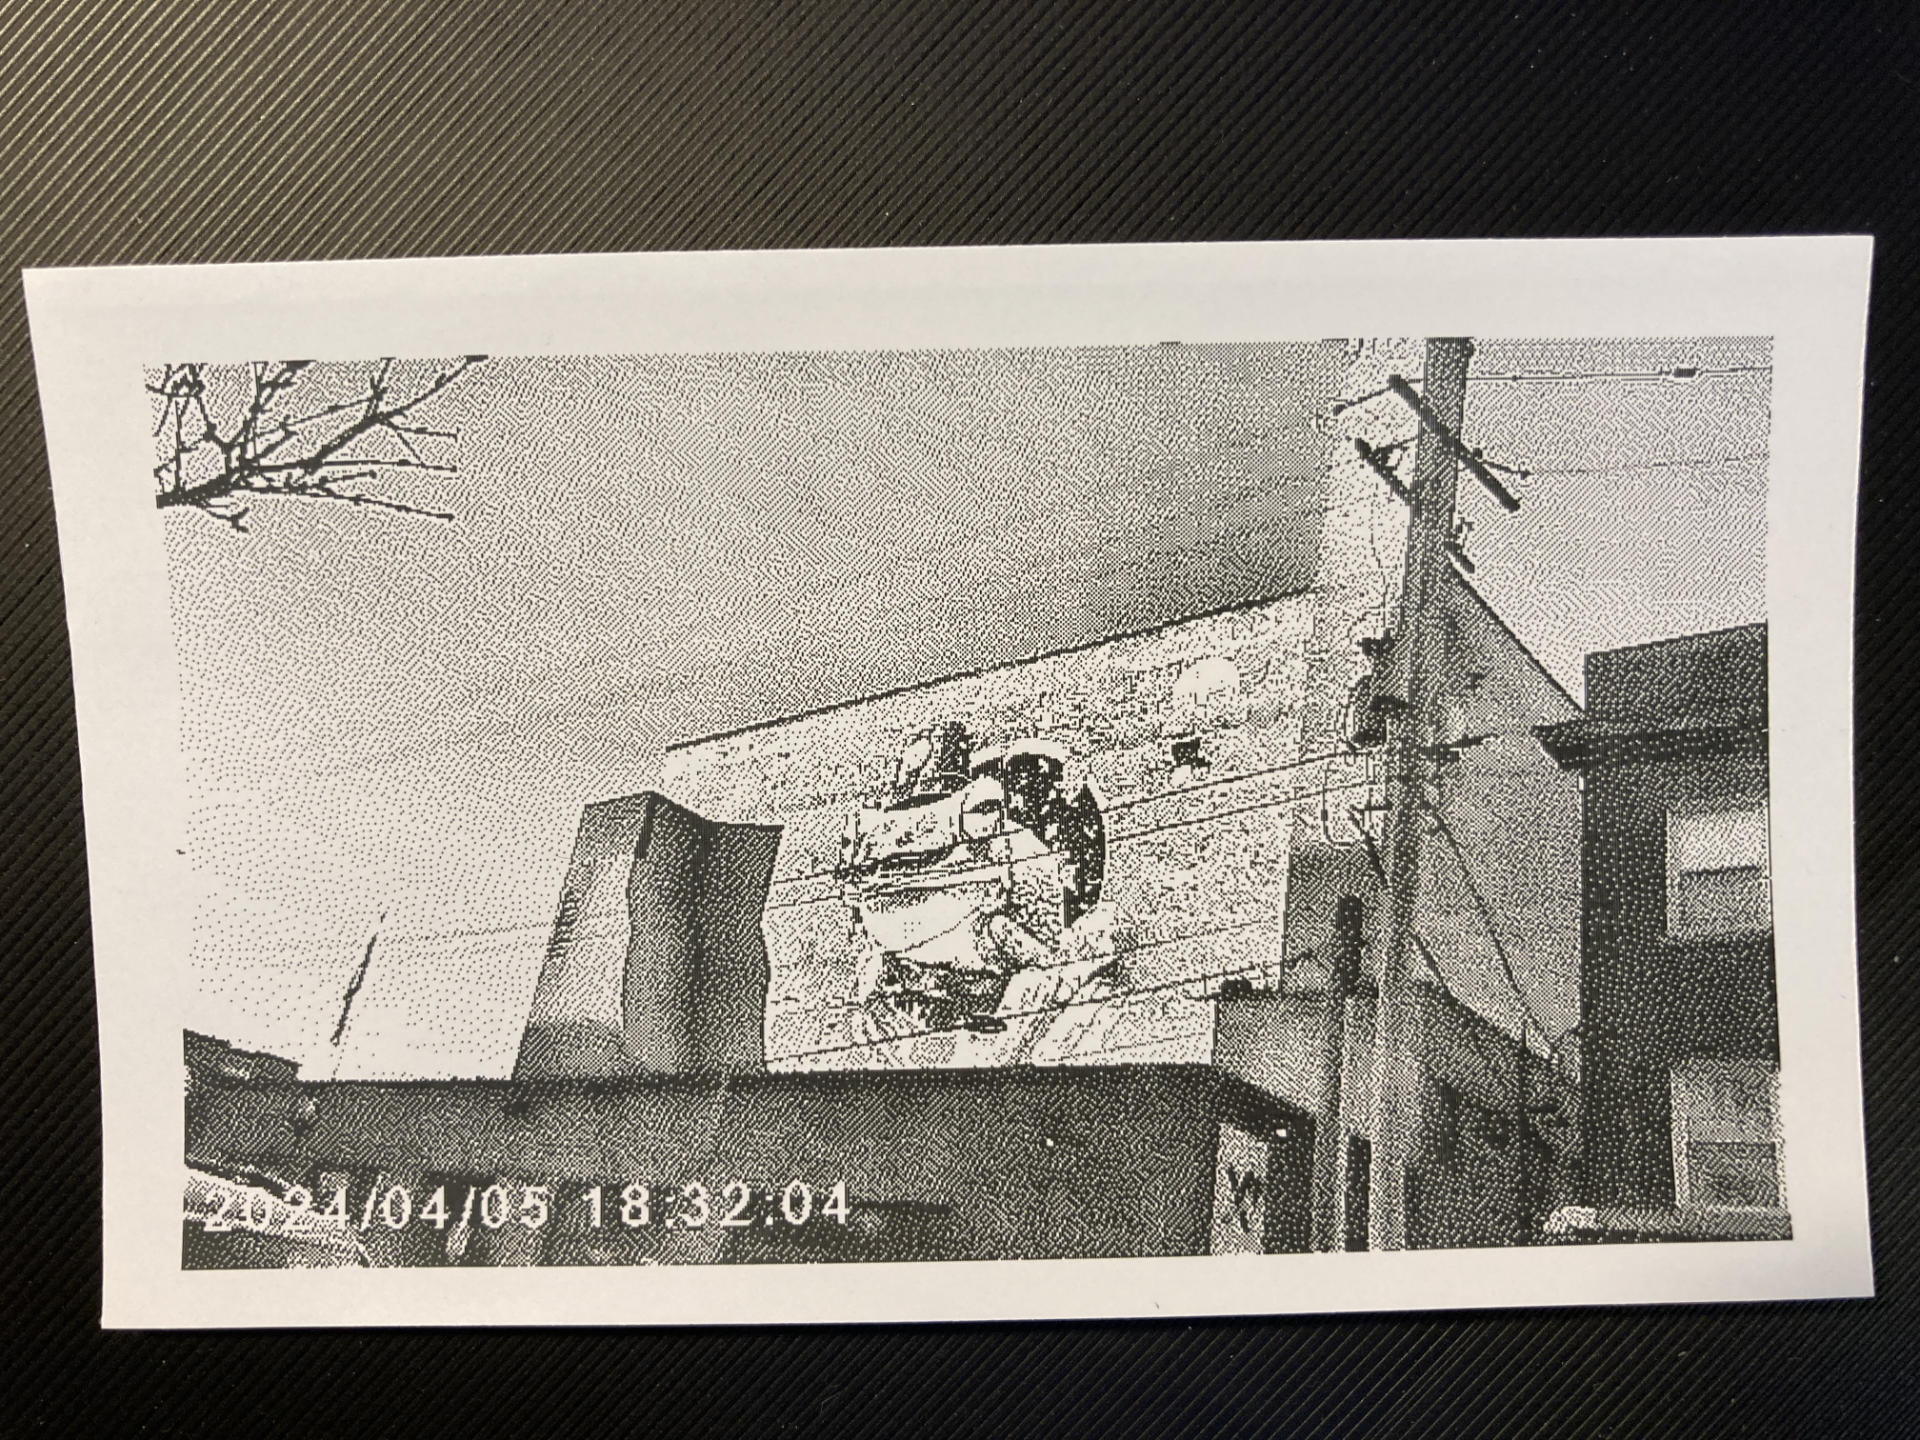
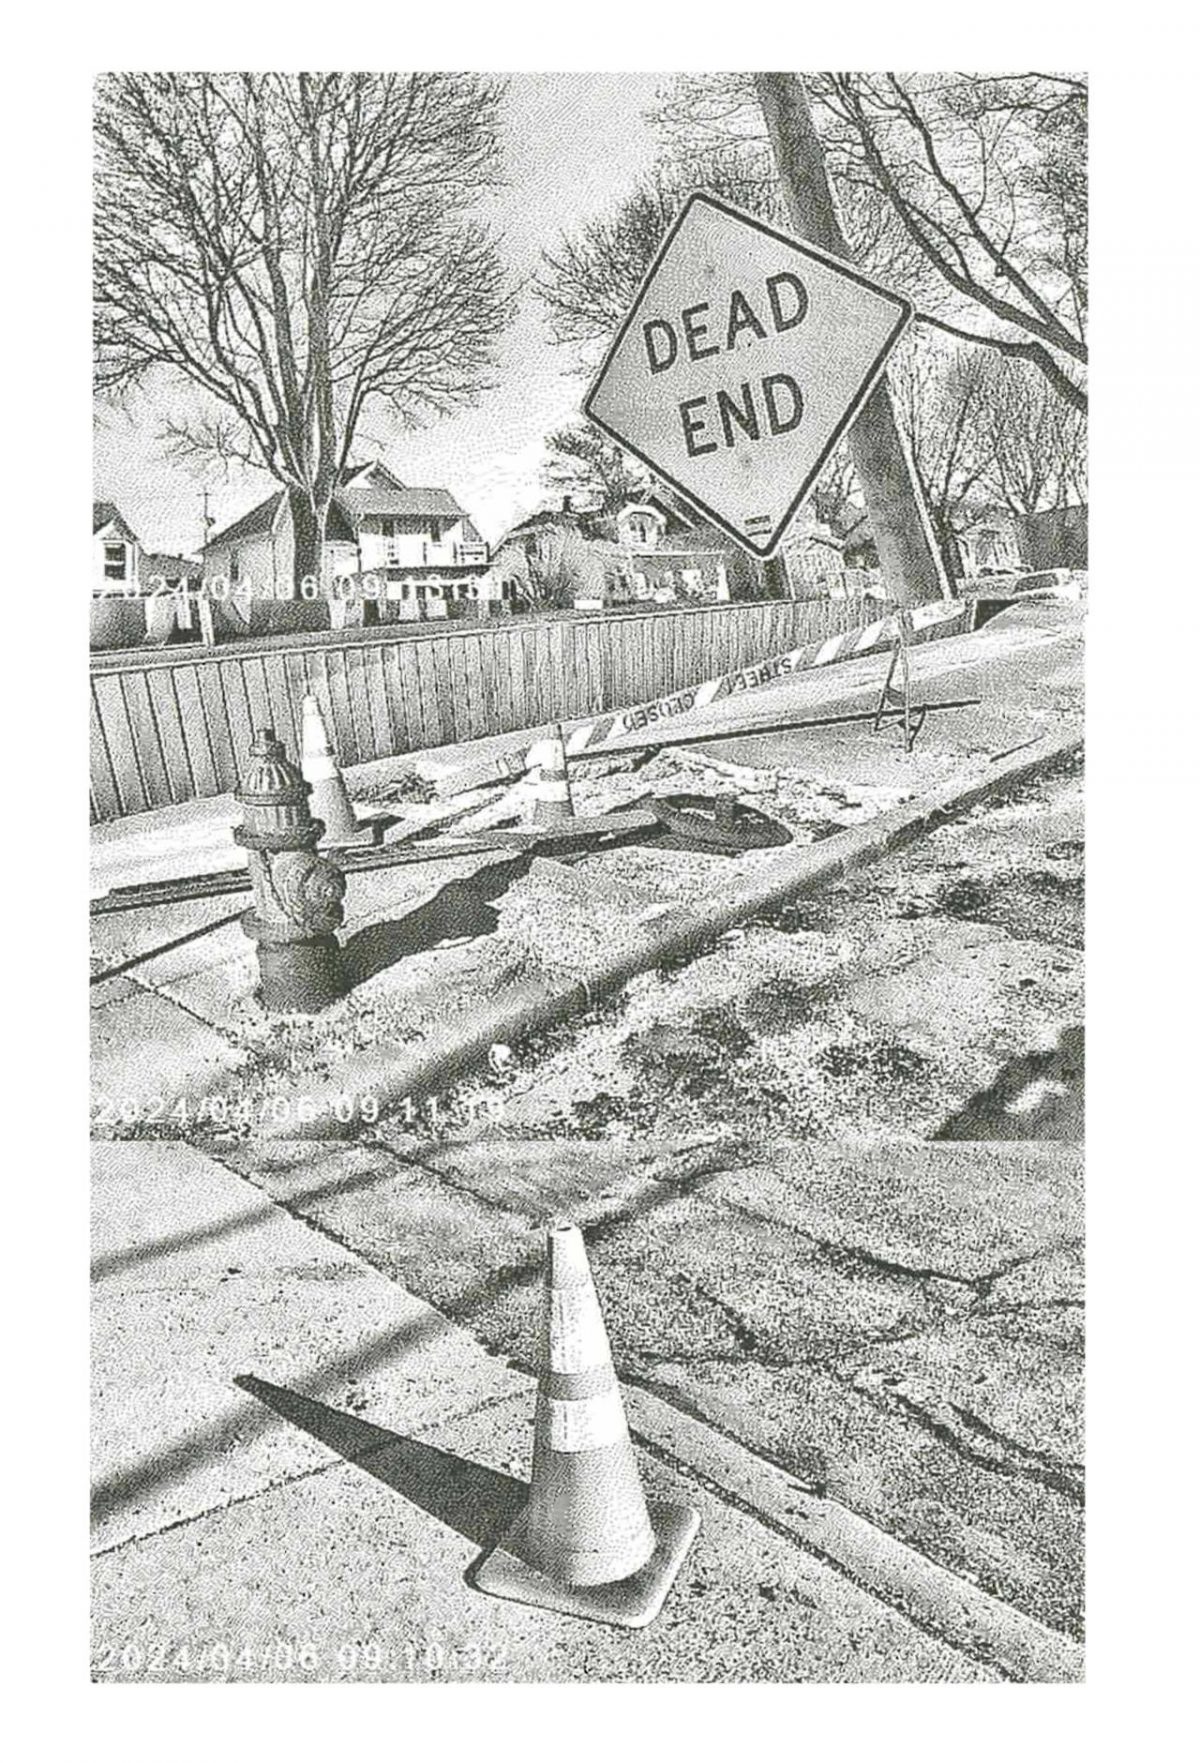
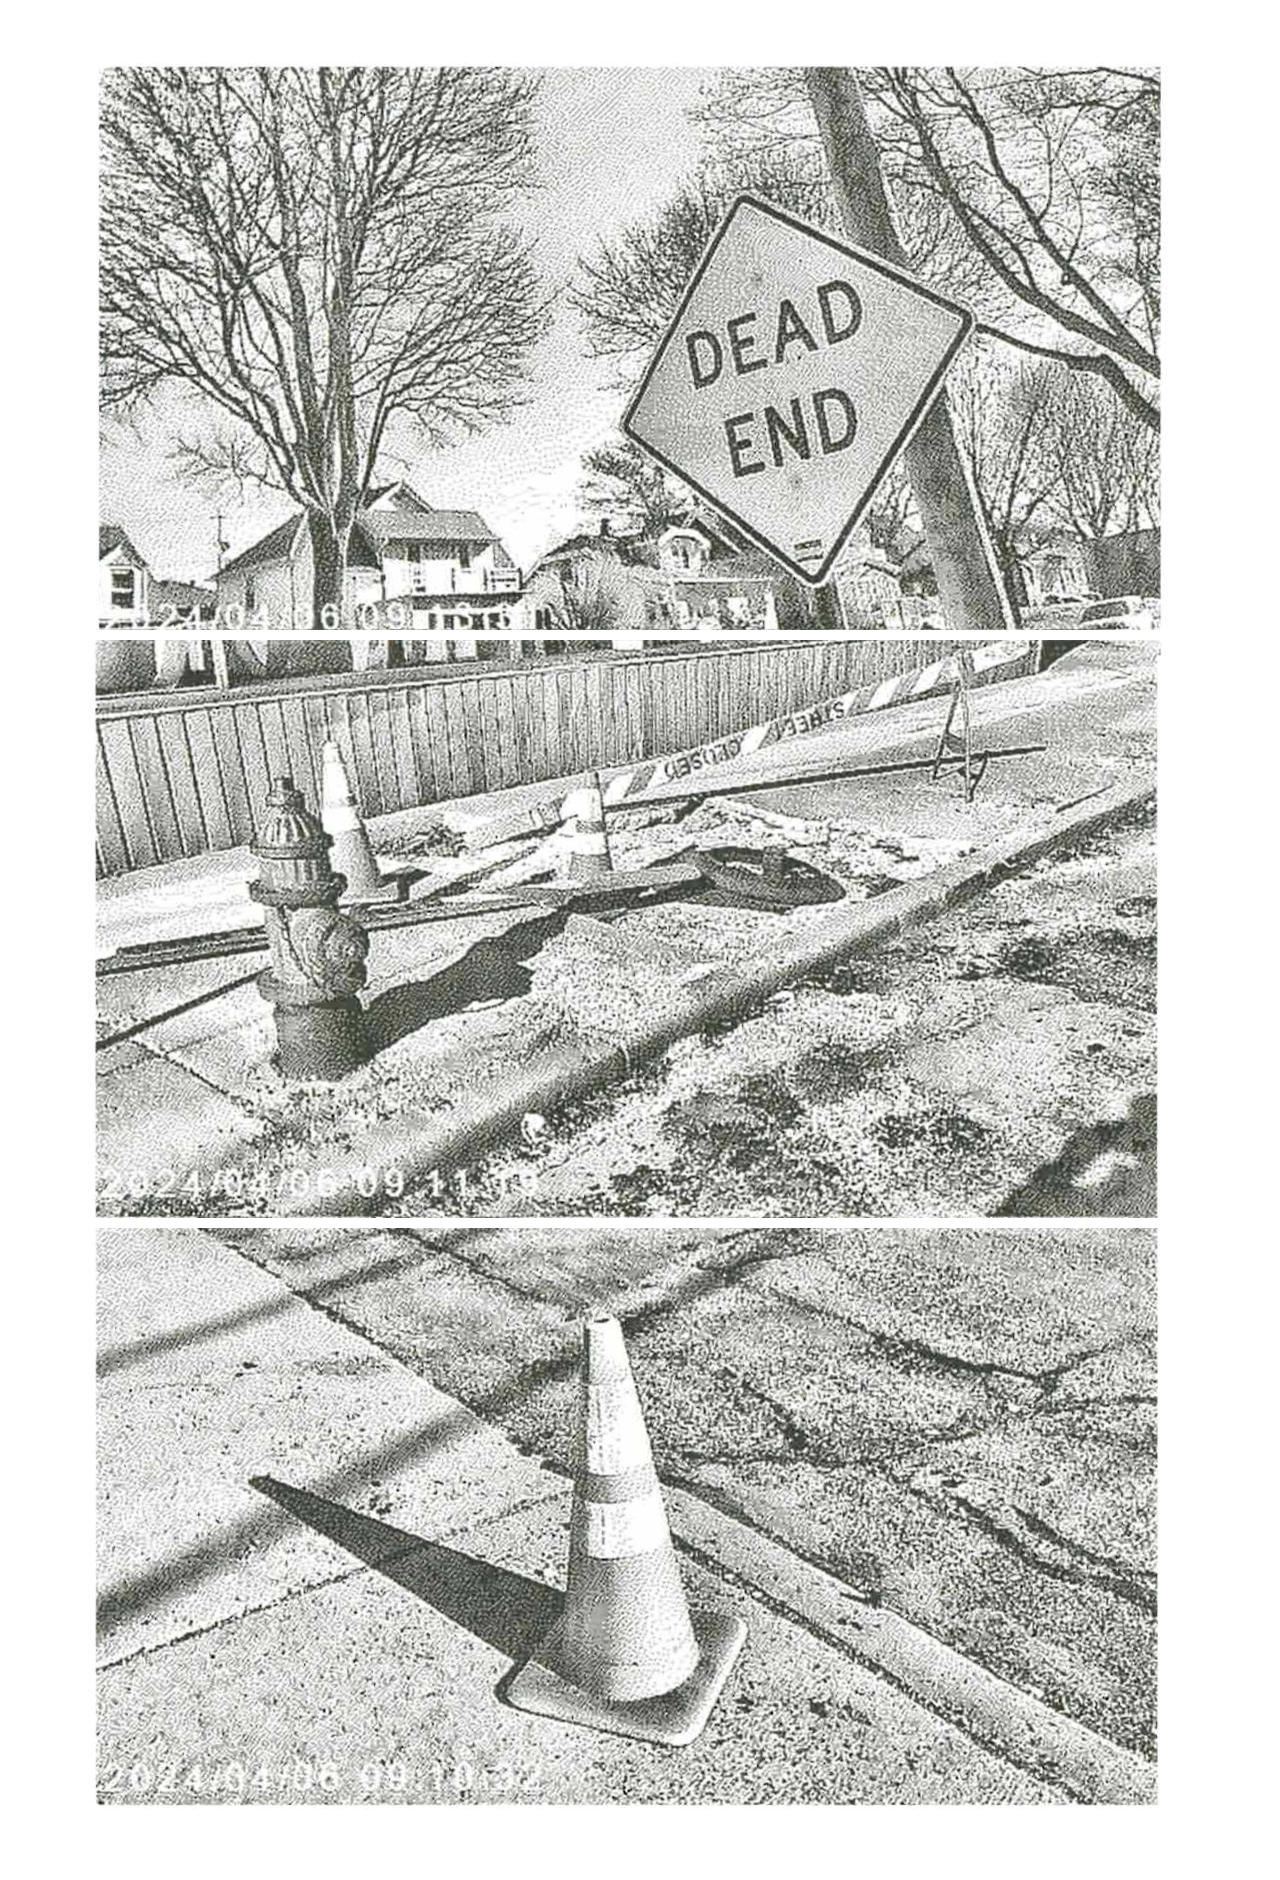
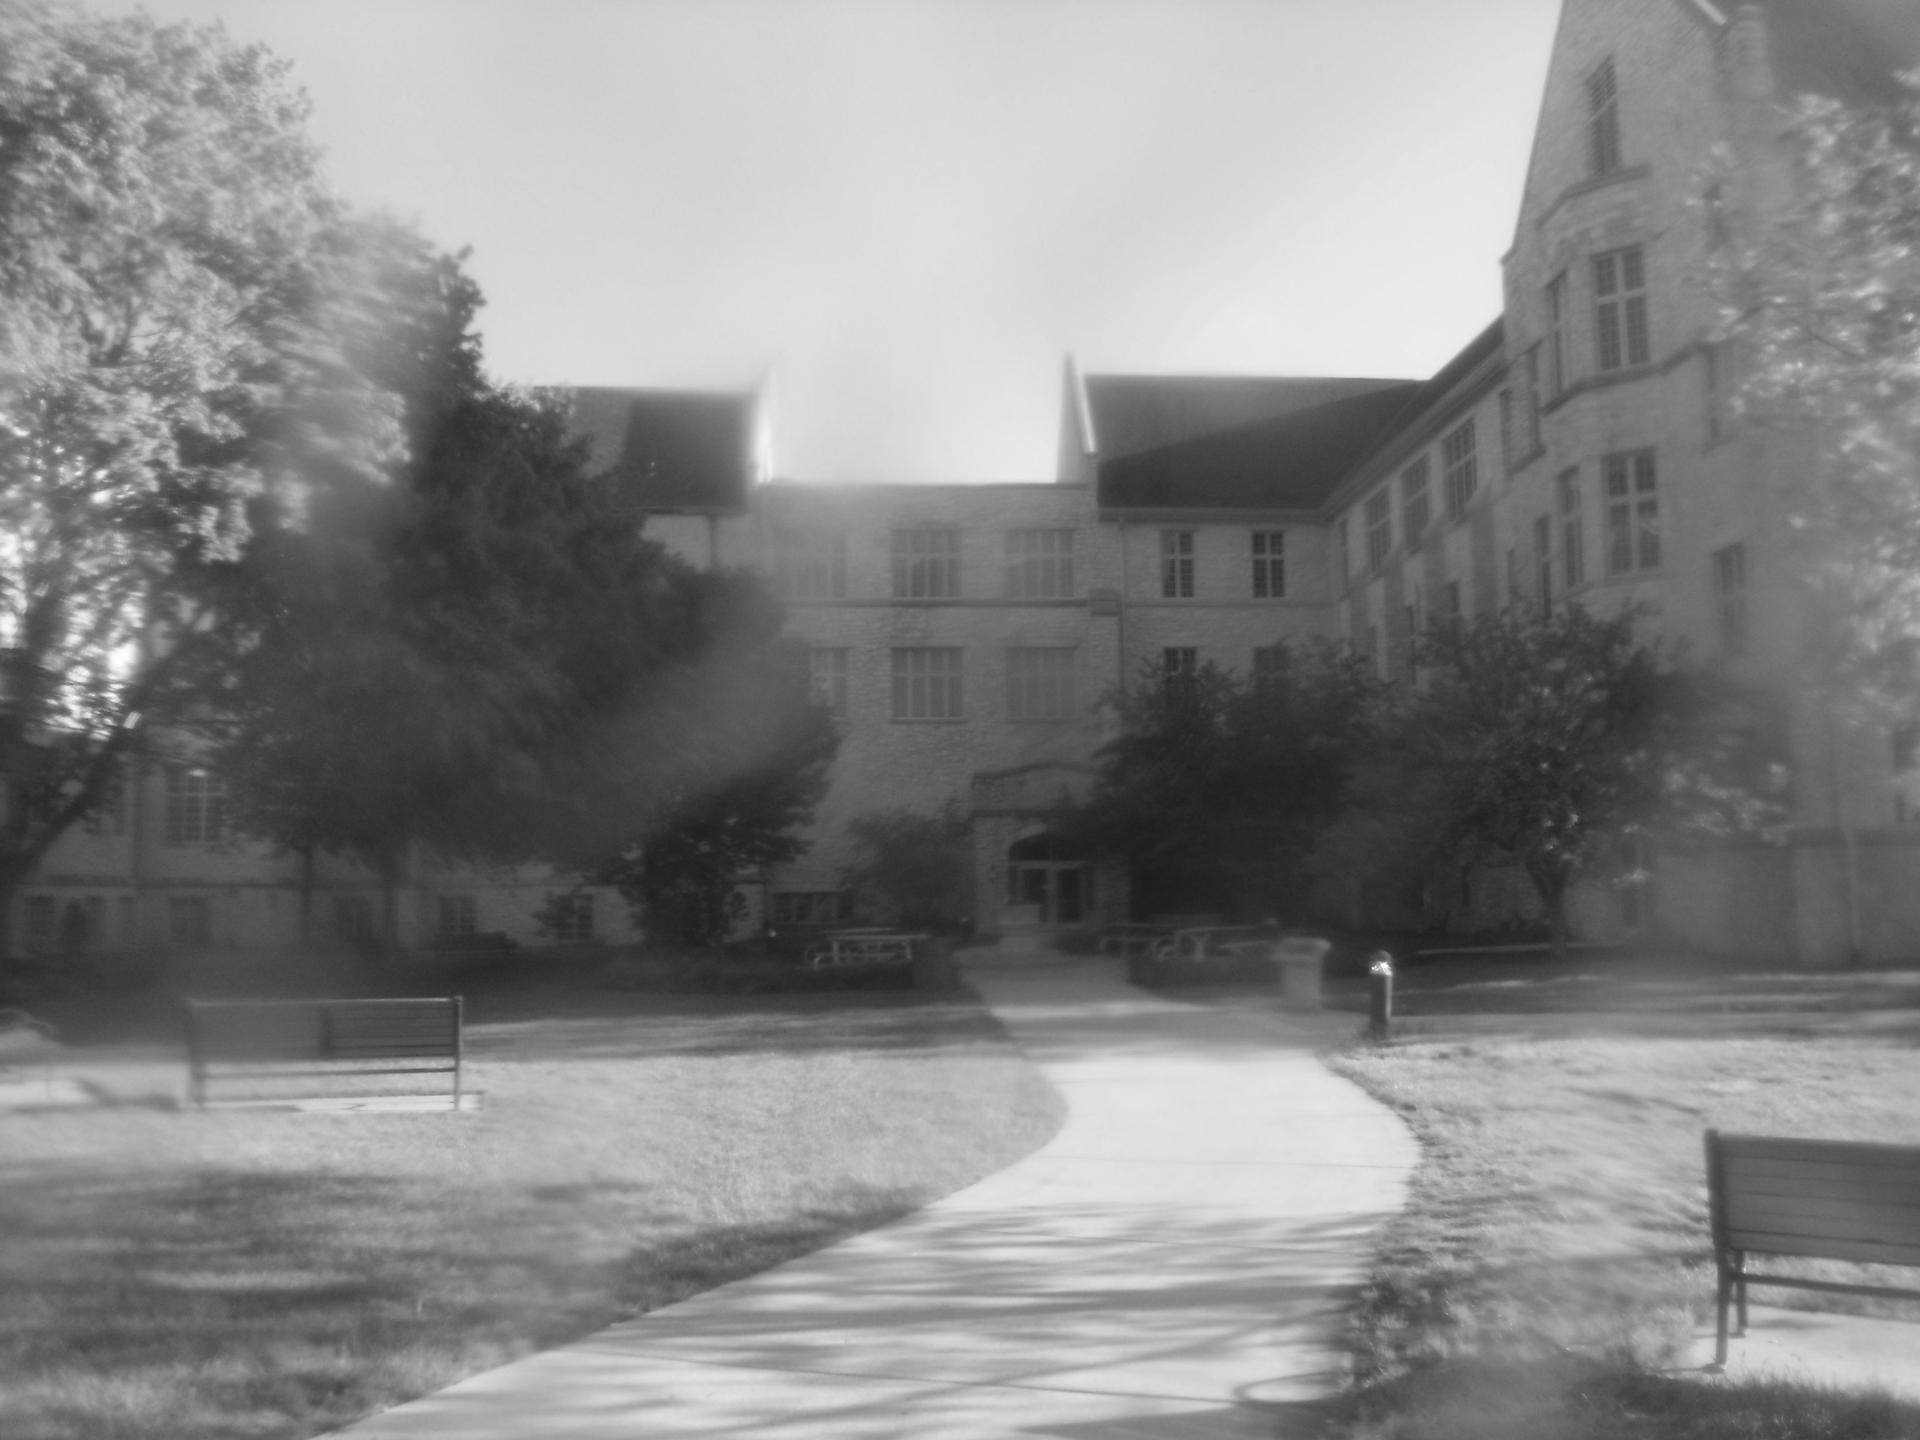
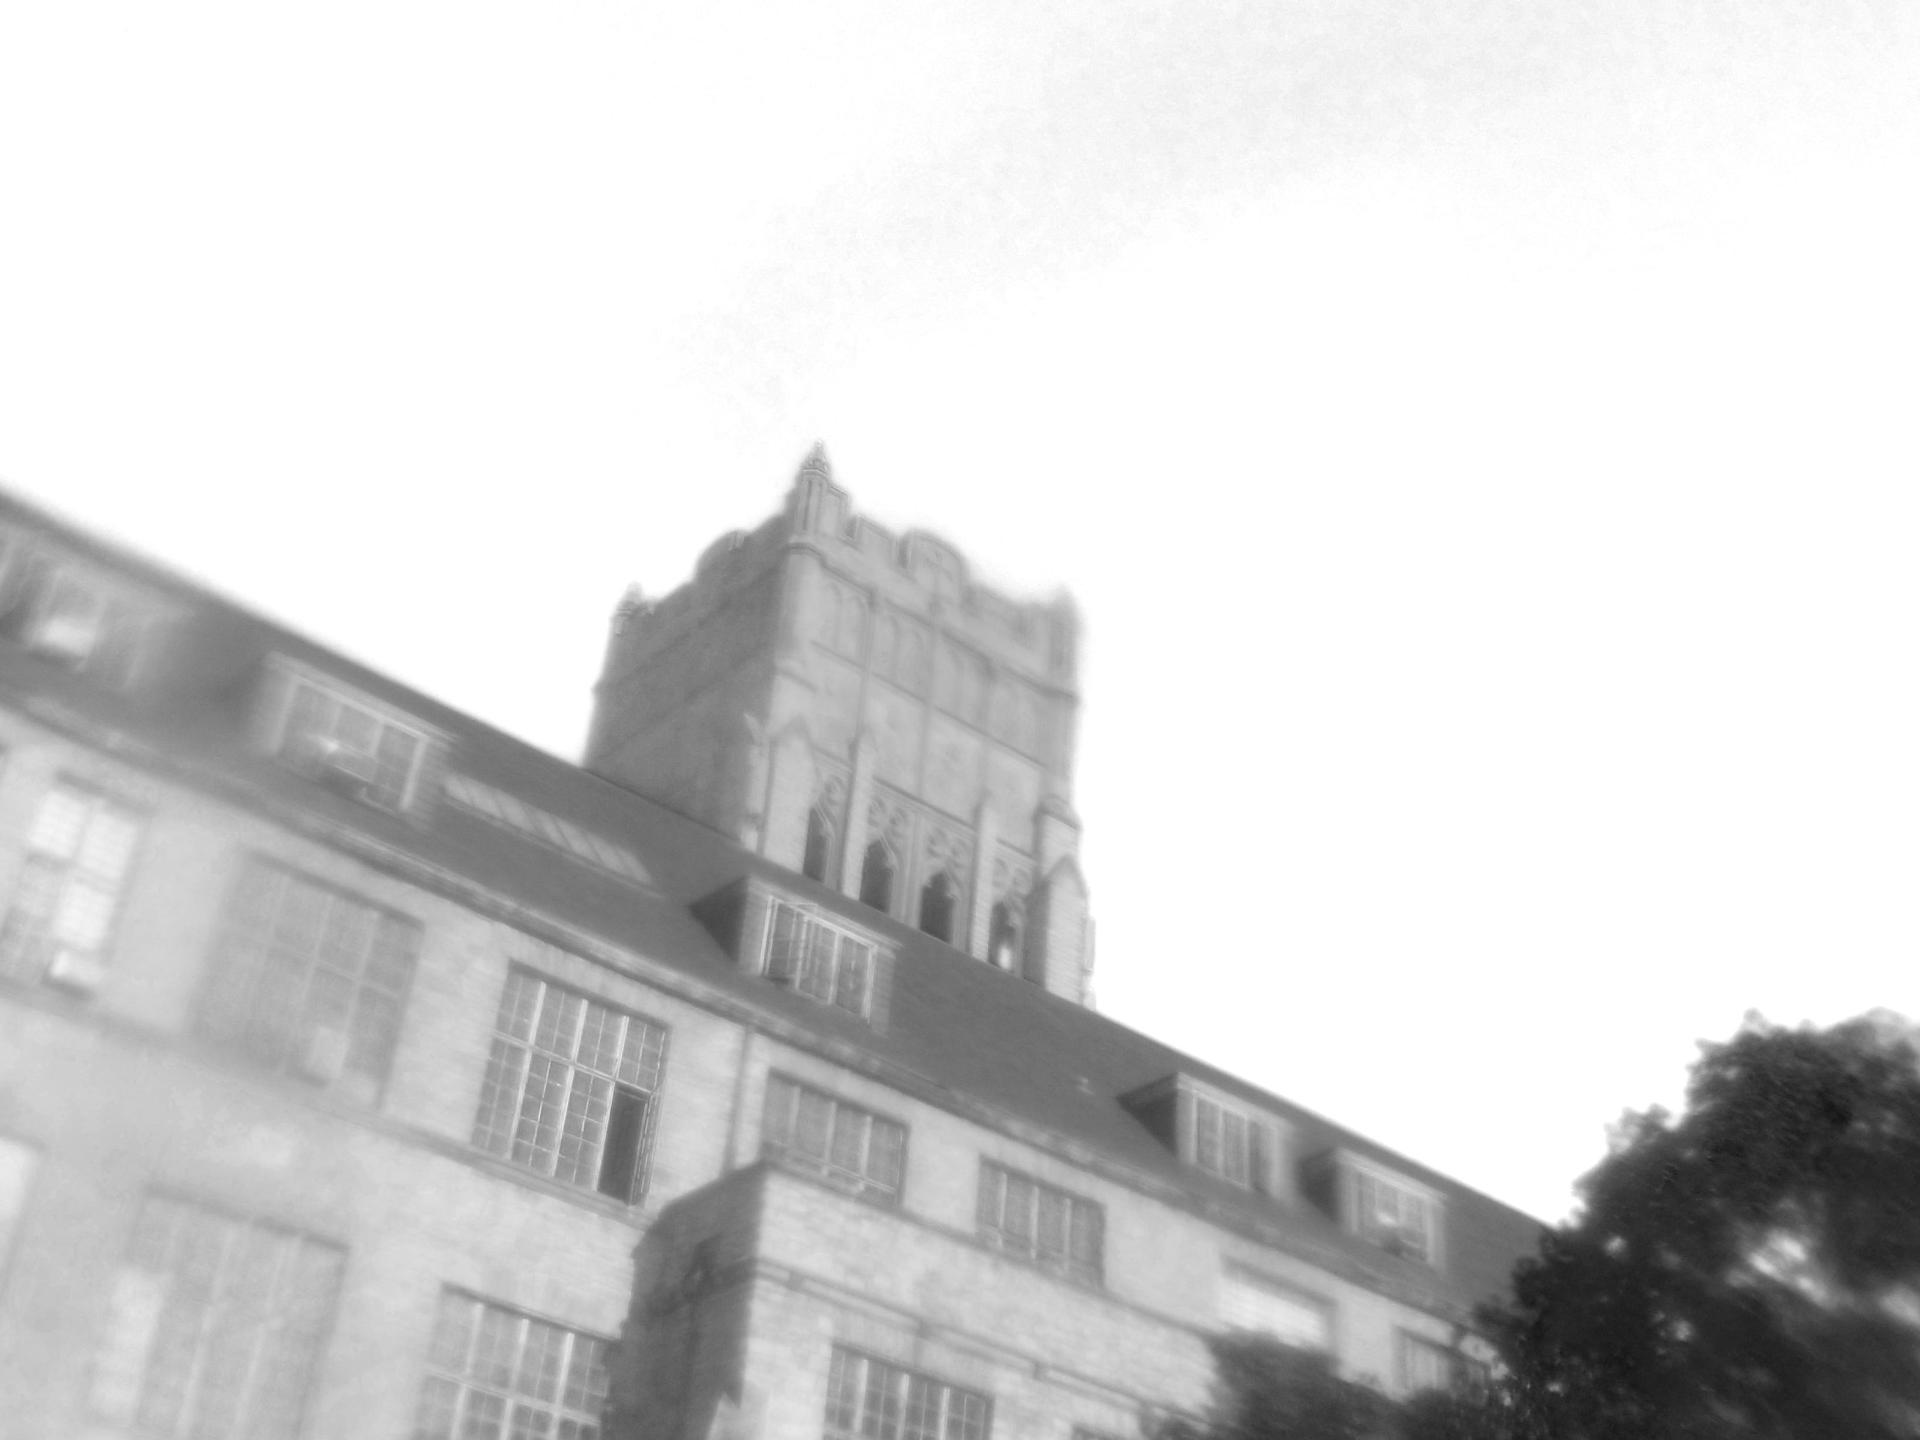
So yeah, I threw the camera in my bag along with some plastic wrap and biked up to Mount Mary. I got a few shots of the buildings and then one more of a street in Wauwatosa on the way home. The only editing I did for these digital photos was to convert them to black and white, otherwise no filters (as the kids say) and I sort of like how they turned out.

The process of shooting while out, then getting home, transferring the photos to the computer, converting them, and saving them… all before uploading them to this post is something some people have probably never experienced. I’m going to assume there’s a whole generation who just uses a photo to snap a photo and posts it online immediately, with no regard to the (old?) process. I’m not sure why I’m mentioning this but I’m going to ponder it a bit.
I think there’s sort of an ethereal quality to them, and they look like they could have been shot on film. I seem to be on a weird camera / photography kick lately and I’m totally fine with that.