Categories
Uncategorized

Rugged Box Silicone Gasket Seal (Part III)

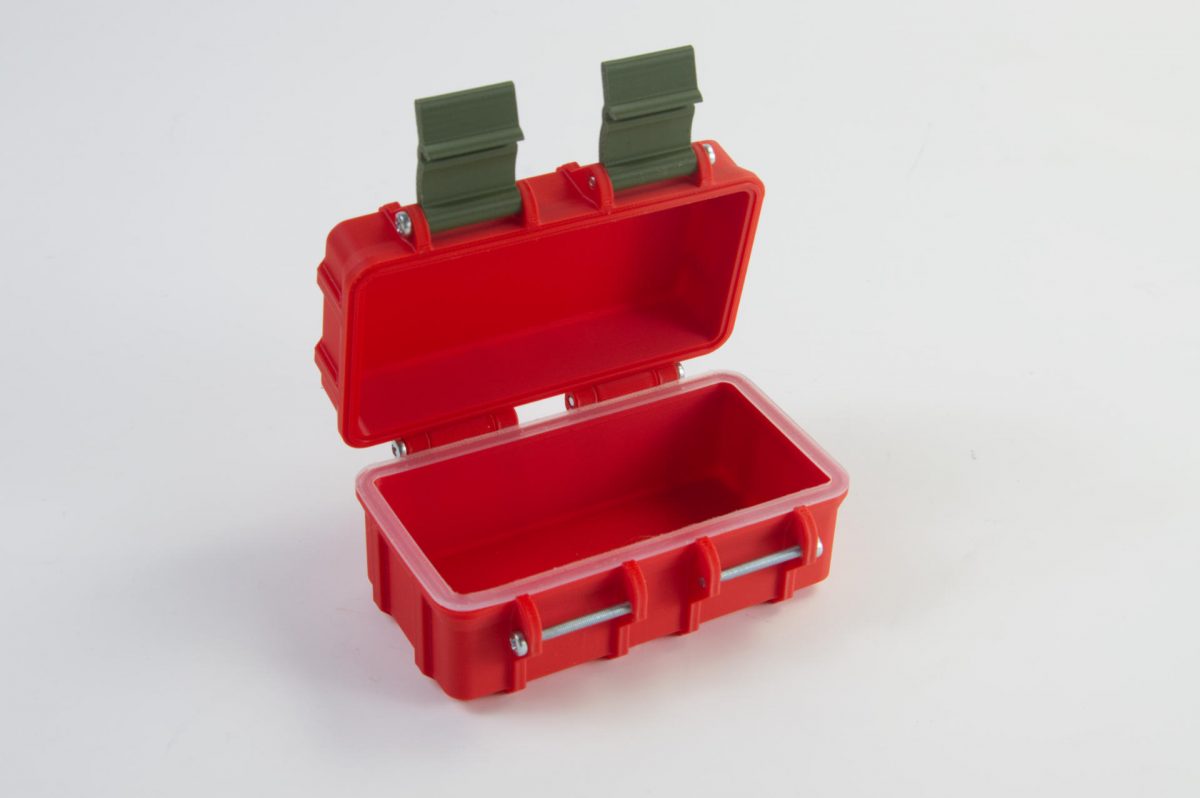
Did you read Rugged Box Silicone Gasket Seal (Part I) and Part II where I attempted (and succeeded!) at using CHANGTIKEJI Silicone Mold “Super Elastic Liquid Silicone” to make a gasket (seal) for these 3D printed rugged boxes?

Well, here’s the next installment. In Part II we tried to pour the silicone directly into the groove on the bottom half of the enclosure. Which worked but failed, so I guess it didn’t work. There were other factors at play, so I think it could work in some cases. Nevertheless, we’re going to try to “glue” this existing seal into place using silicone.

So this time we took the existing box and seal which do work fine, but have the bothersome quirk of the gasket not staying in place and falling out when you open the box. I drizzled just a little bit of silicone into the groove in the bottom part, then inserted the seal and put some weights on it to press it down into the uncured silicone. In theory the uncured silicone should stick (somewhat) to the 3D printed plastic, and adhere fully to the silicone seal, sort of “gluing” it into place.

Did it work? It did work, as far as it has not fallen out. It seems to be held in place. I have not tried to pull it out, as I am sure I could do so, but the idea was to just prevent it from falling out every time I open the box, so there is some success there for sure.

But remember this seal was made for a box that had a 1mm gap added in for the seal, so more space to fill means a larger/thicker gasket. I think this made everything a little easier.

As I’ve noted before, there’s a bit more experimentation to be done, but I’ve learned a few things in the process so far, and that’s what it’s all about!

See Also: Rugged Box Silicone Gasket Seal (Part II) and Rugged Box Silicone Gasket Seal (Part I).


Note: This post may contain Affiliate Links. Read More.

Categories
Uncategorized

Rugged Box Silicone Gasket Seal (Part II)

If you read Rugged Box Silicone Gasket Seal (Part I) you read about how I used CHANGTIKEJI Silicone Mold “Super Elastic Liquid Silicone” to make a gasket (seal) for these 3D printed rugged boxes.

But I wasn’t completely happy with the results…

I sort of wish there was a way to “glue” it into place, but you can’t exactly glue silicone, because it doesn’t really stick to anything! I do have an idea for that…

The one thing I don’t like with this one is that it easily falls out. If this is a box you open a lot you’ll probably get annoyed with it falling out on occasion.

So I wanted to try a few thing to solve those annoying issues…

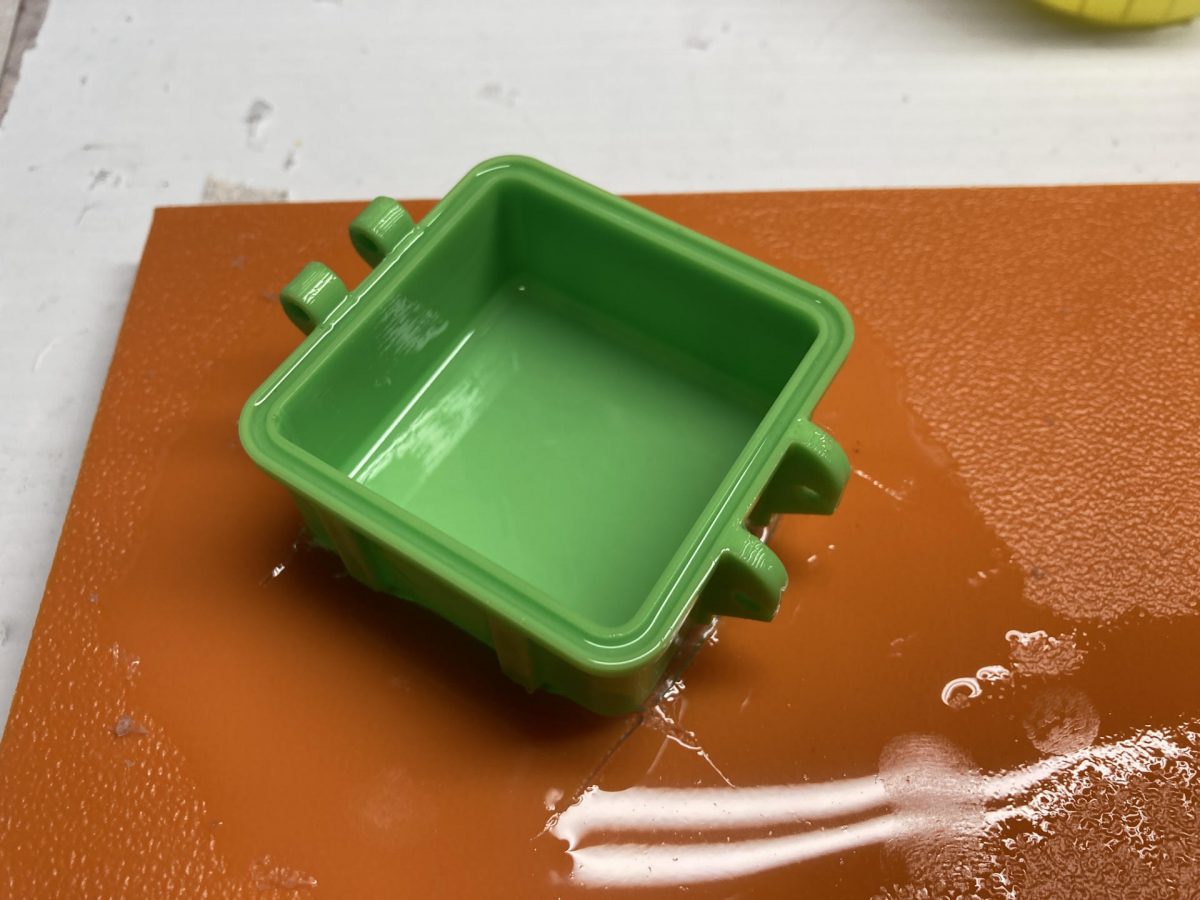
Someone on Mastodon had the idea to pour the silicone directly into the groove of the box. (I can’t seem to find that reply right now!) I thought I should try that. It was not easy. It was messy. And I had to do it twice. The first time I leveled off the silicone with a wooden popsicle stick. Once it dried it sort of sunk down a bit… I did it again, this time dripping (drizzling?) it into the groove just a little at a time with a popsicle stick. That gave me a lot more control versus pouring way too much. (Luckily it peels off when dry.)

One other issue is that once dry the lid would not close! I ended up shaving down the lock just a bit and using some good pressure to close it. Again, I may need to mess around with the TSealHeight parameter to get things just right.

Finally, I tested it for water-tightness by doing to paper towel submersion test and… it failed. So not water-tight, and not a good fit.

Also, while the idea to “glue it in place” by pouring the silicone directly in was a good one… it just came out very easily. Maybe because it was so thin.

Anyway, this was a good test! I have another test that I just finished, so keep an eye out for the next post!

See Also: Rugged Box Silicone Gasket Seal (Part III) and Rugged Box Silicone Gasket Seal (Part I).


Note: This post may contain Affiliate Links. Read More.
Categories
Uncategorized

Rugged Box Silicone Gasket Seal (Part I)

Here’s the short version, I used CHANGTIKEJI Silicone Mold “Super Elastic Liquid Silicone” to make these seals / gaskets for the rugged box(es) I 3D printed. There’s a smaller size available as well. I have not used it but it should be the same thing. Keep reading for more!

I’ve mentioned these Rugged Boxes before which are based on Universal Parametric Rugged Box by Rainer Backes, and the design allows for a gasket to seal the lid and bottom, and the suggestion is to print it with TPU, a flexible filament but I’ve been making a ton of silicone molds lately, so I gave it a go. And it worked!

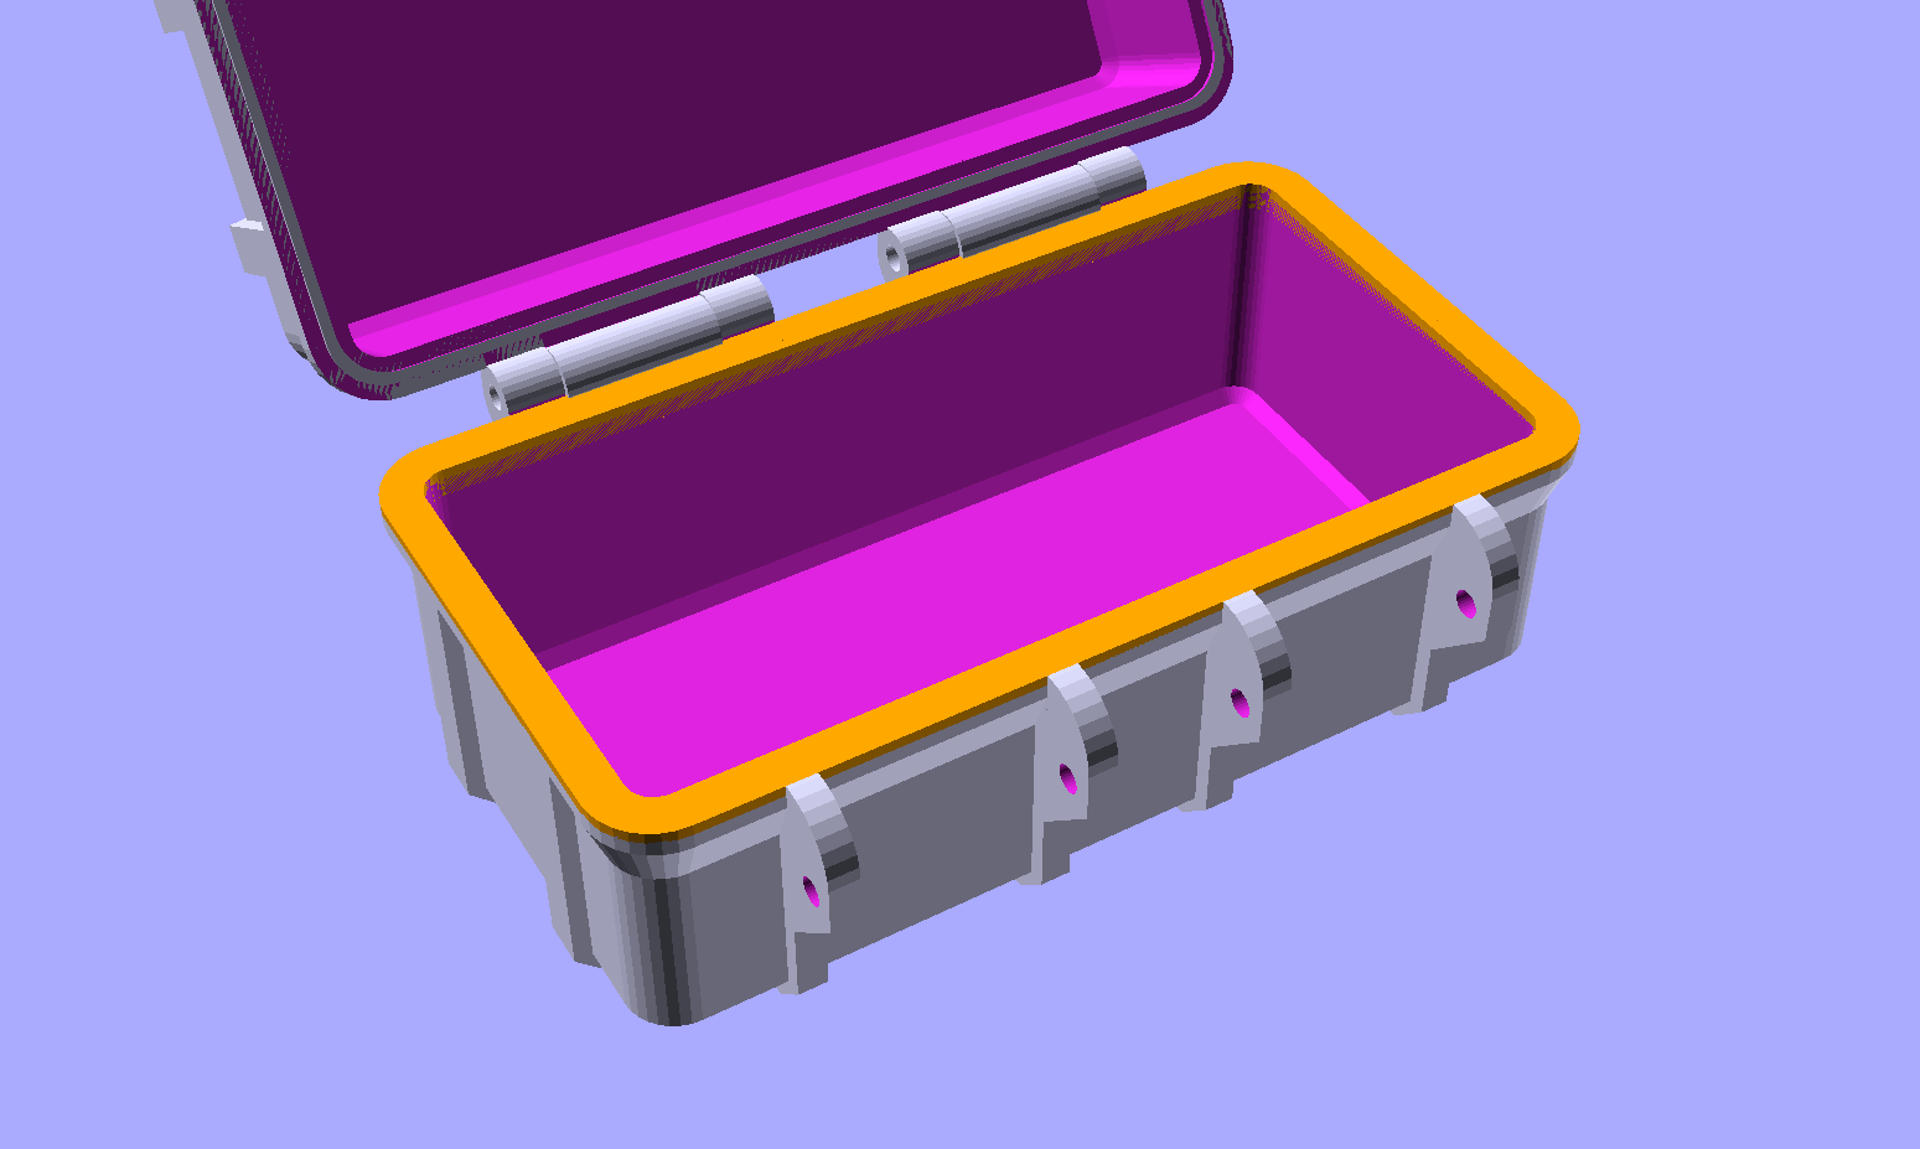
Here’s the box with the seal rendered in orange…

You can export each part separately, so here’s the seal on its own. Again, you could print this in TPU, but the TPU I’ve tried isn’t very soft or flexible, so why not try silicone?

I make a little frame and differenced out the seal (after filliping it upside down) and then I printed it.

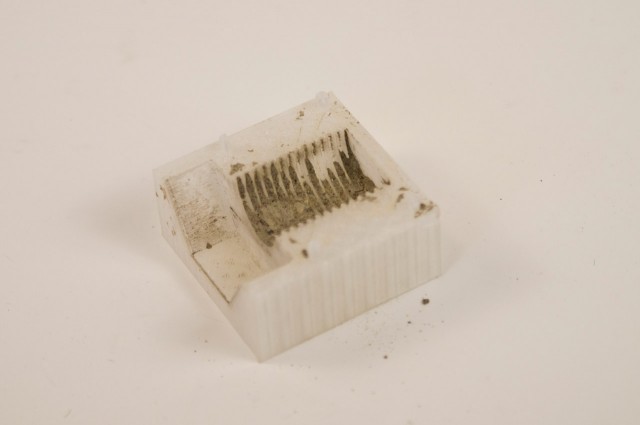
Here’s the print. (And another frame for another box off to the side. The silicone doesn’t stick to the PLA plastic so it peeled right out. I should note two things. First, I should have done the silicone pour on an even surface. In the past I’ve used a level and shimmed up a piece of flat stock to make sure the mold is nice and level so the silicone fills the mold without unevenness.

Second, I don’t have a photo of this, but after the silicone was set I grabbed a razor blade and scraped it across the top to clear off any little overflow strings and give a nice clean edge to the casting.

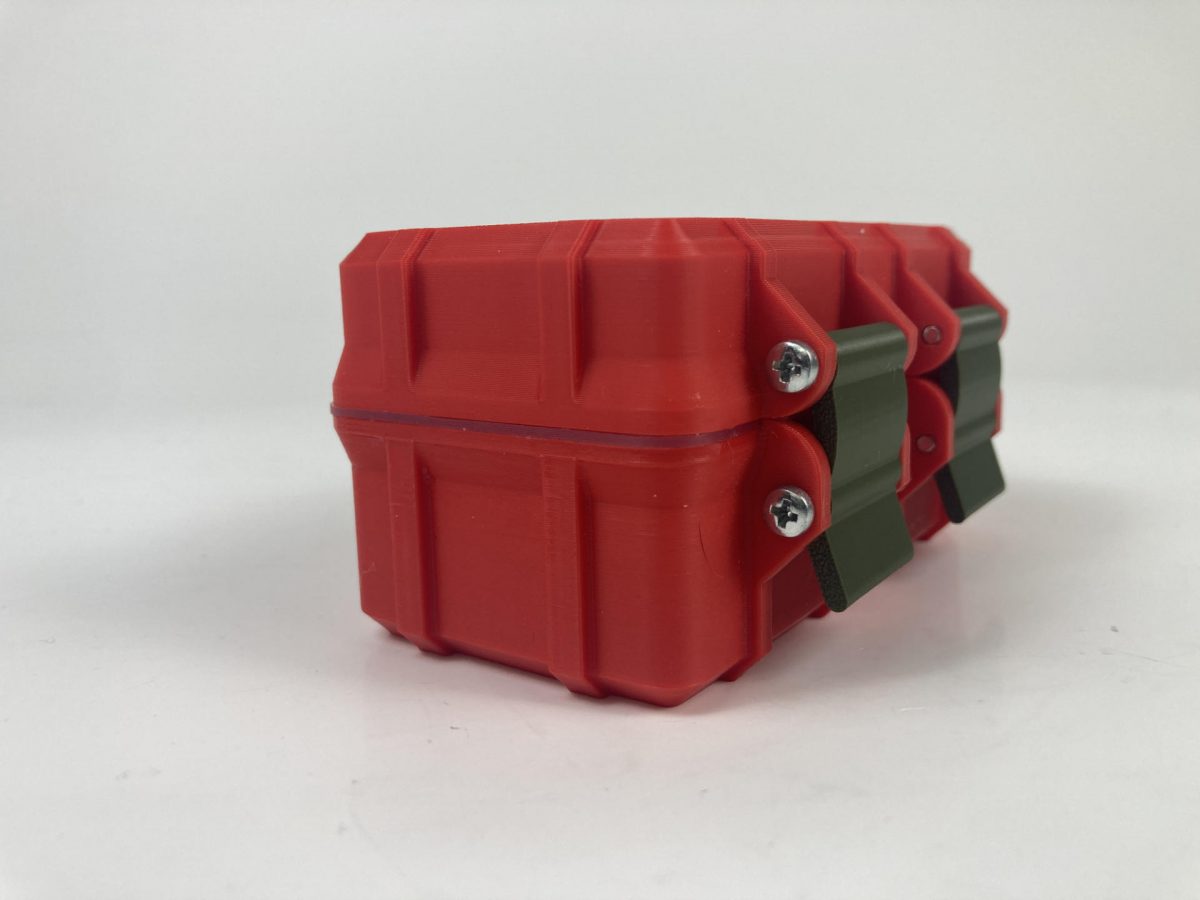
Here’s the seal in place after the silicone was fully cured. This CHANGTIKEJI “Super Elastic Liquid Silicone” is very soft and rubbery, which is a good thing, but it may not be the best thing… I sort of wish there was a way to “glue” it into place, but you can’t exactly glue silicone, because it doesn’t really stick to anything! I do have an idea for that…

I think next time I’ll make the mold slightly smaller so there is some stretch when placing it into the slot of the box. The one thing I don’t like with this one is that it easily falls out. If this is a box you open a lot you’ll probably get annoyed with it falling out on occasion. On the other hand, if this box is outside and rarely opened, it would probably be fine.

You’ll notice that there is a nice layer of silicone showing between the lid and the bottom of the box. There is a parameter named TSealHeight and while it is set to 0 for a default, I tried it at 1 for this box. So the seal has a “T” shape profile to it. I think next time I’ll try the 0 value again which will make the seal thinner and it should not even be seen when the box is closed.

Anyway, this was a great experiment, and very successful! I’m working on an outdoor box next, and a good seal will be important. I’ll most likely use ASA or PETG instead of PLA for the next one.

If you try this using the silicone I mentioned let me know how you get on. (My daughter originally bought some for a school project and I ended up liking it and ordering my own.) I’ve used Smooth-On silicone in the past and it’s worked well sometimes and not as well other times, that could be due to the scale I was using at the time. This stuff is a 1:1 ratio and when we measured in grams it worked great. We even did some large pours and measure in ounces (not as accurate) and it turned out just fine.

See Also: Rugged Box Silicone Gasket Seal (Part II) and Rugged Box Silicone Gasket Seal (Part III).


Note: This post may contain Affiliate Links. Read More.
Categories
Uncategorized

Casting Wax using Silicone Molds

wax-mold-00

I’ve been experimenting with casting for the last year or so and typically my “experiments” come out terrible, mainly because I try weird things, but sometimes I sort of get it right…

This time I made a silicone mold of a model of a glue stick for a hot glue gun and it mostly worked fine. I modeled a glue stick and tall cylindrical container for it using OpenSCAD and then 3D printed the two pieces. The idea being I’d place the “stick” into the container and then pour silicone in to create the mold.

wax-mold-01

I had a small amount of silicone we were going to throw out at work because it wasn’t enough to do anything useful with, and it was just enough after scraping everything out of the two containers and mixing it together.

wax-mold-02

Once again I had to destroy the original mold master to get the mold out, but since it was printed using PLA I just smacked it with a hammer a few times and peeled away the plastic to get the silicone mold out in good condition.

wax-mold-03

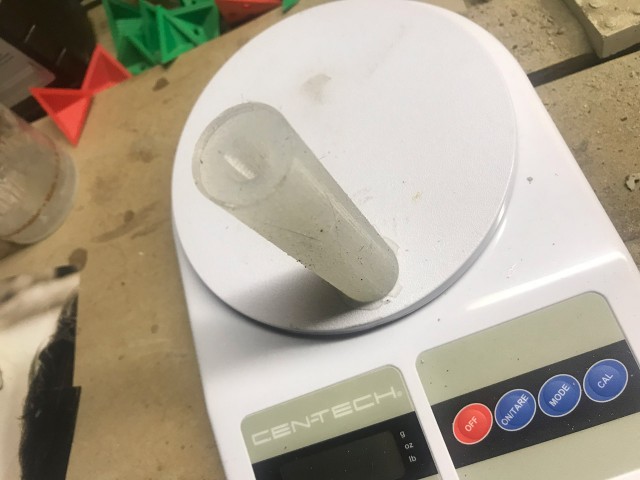
I could not find the cheap little cooking pot I bought at Goodwill a few years ago for melting things so I grabbed an old metal can, made a makeshift gaff tape handle, and melted down some old candle wax to pour into the mold.

wax-mold-04

Hey, it worked! A wax stick the same size as a glue stick you would use in a hot glue gun. ;)

Oh, see those rubber bands? They hold the mold together because I split it down the side to allow for getting the wax out of the mold. I may have wrapped the mold too tight or not aligned properly because the first stick wasn’t totally straight.

wax-mold-05

Here’s the second one… much better. You can see the split in the mold. I just ran an X-ACTO blade down the sides to split it.

wax-mold-07

Now, to ramp up production I may need to make a lot more molds, or come up with an alternative. Here’s a method using a metal tube and parchment paper that might work. Honestly I think I prefer silicone molds but this might be a good way to get really long sticks.

wax-mold-06

The next part of this experiment requires a hot glue gun, and most likely, disassembling it for the heating element. Stay Tuned!

Categories
Uncategorized

A Concrete Bolt

concrete-bolt-2844

When last you saw my cast bolt it was made from plaster and an ABS 3D print which served as a mold. It sort of worked. As mentioned, it was more “art object” than “functional thing” and that was what I was going for…

Well, I made another ABS mold from the first experiment and even though I had worked with a flexible filament mold I thought I would give the ABS version one more try, this time with concrete instead of plaster.

concrete-bolt-2845

I really liked the way this one turned out. Yes, I had to destroy the mold again, and in the process the part got damaged and broken, and then I pulled out the hot glue gun and put it back together, and now I like it even more!

concrete-bolt-2846

It’s one of those situations where things go wrong so you just do something and it turns out (possibly) better than you thought it would. I joked that this was the modern maker equivalent to Kintsugi, using hot glue instead of gold.

concrete-bolt-2847

concrete-bolt-2842

concrete-bolt-2843

concrete-bolt-2852

concrete-bolt-2856

concrete-bolt-2850

concrete-bolt-2859

concrete-bolt-2860

I really like how it has this feel of being an ancient relic. In a strange twist of fate, I was at first annoyed with all the tiny pebbles in the concrete, so much so that I made a sifter to remove them, but now I’m thinking up a list of things I can mix into the concrete besides pebbles (and, probably pebbles too.)