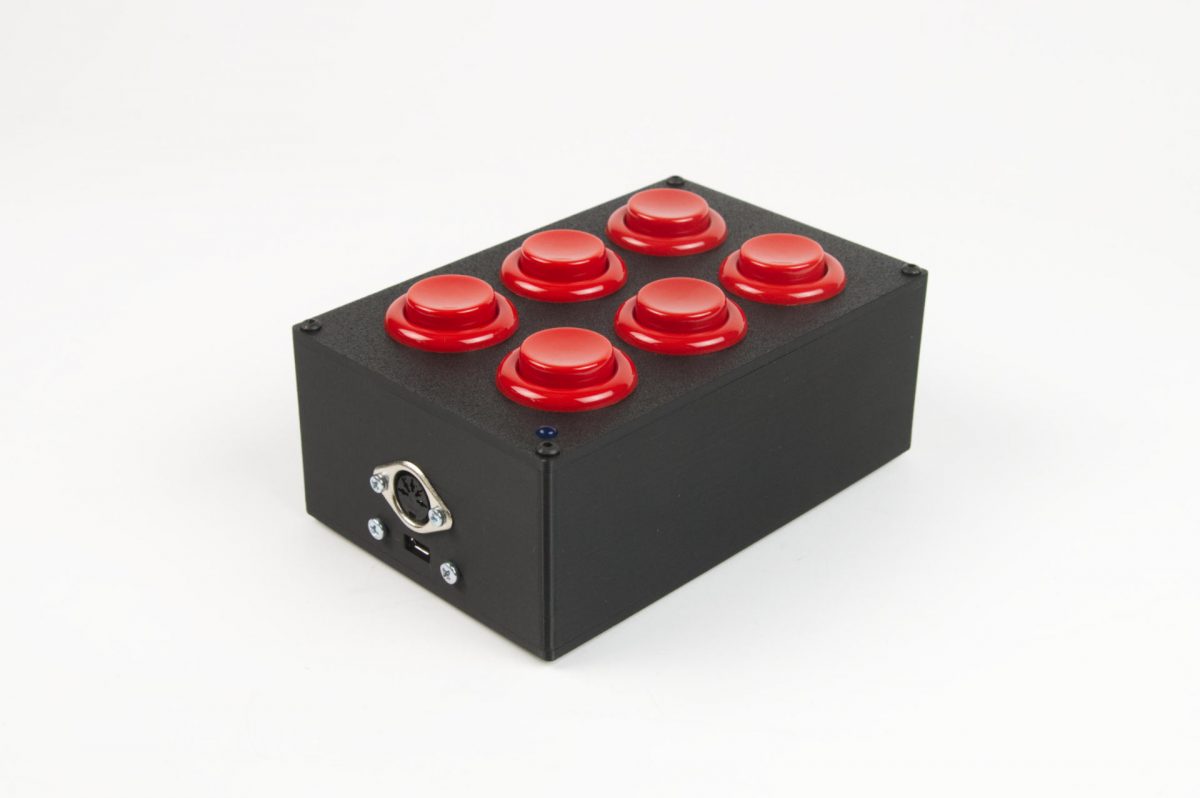

I was recently asked to build a 6 button MIDI controller. This will be used with a Midas M32R Digital Console by someone who runs sound production. They wanted (up to) six mute groups, so the MIDI Controller LC was a little short with only four buttons.

I ended up modifying the LC enclosure to fit two more buttons, and you’ll notice there’s actually a 5 Pin DIN MIDI output port on both ends. That was a request from the client, and fairly easy to do. Like most other MIDI controllers I build this one is powered via a Micro USB port. The nice thing about this is we can do USB MIDI output (if plugged into a computer) as well as standard MIDI out via the 5 Pin DIN ports. Alternately you can just power it via a standard USB wall wart power supply instead of a computer.

For the programming the client asked for something special as well. Instead of just sending a single MIDI command, it toggles between two different commands. I think the M32R expects one thing for mute and another for unmute. That was pretty easy to implement.

The bottom cover is removable in case the client ever needs a firmware update. Some of the devices I build have enclosures with small holes in the bottom to load the firmware without opening them up via access to a reset button. Not all devices have that, and it’s actually pretty rare that I do need to provide firmware updates, but it’s there if needed.
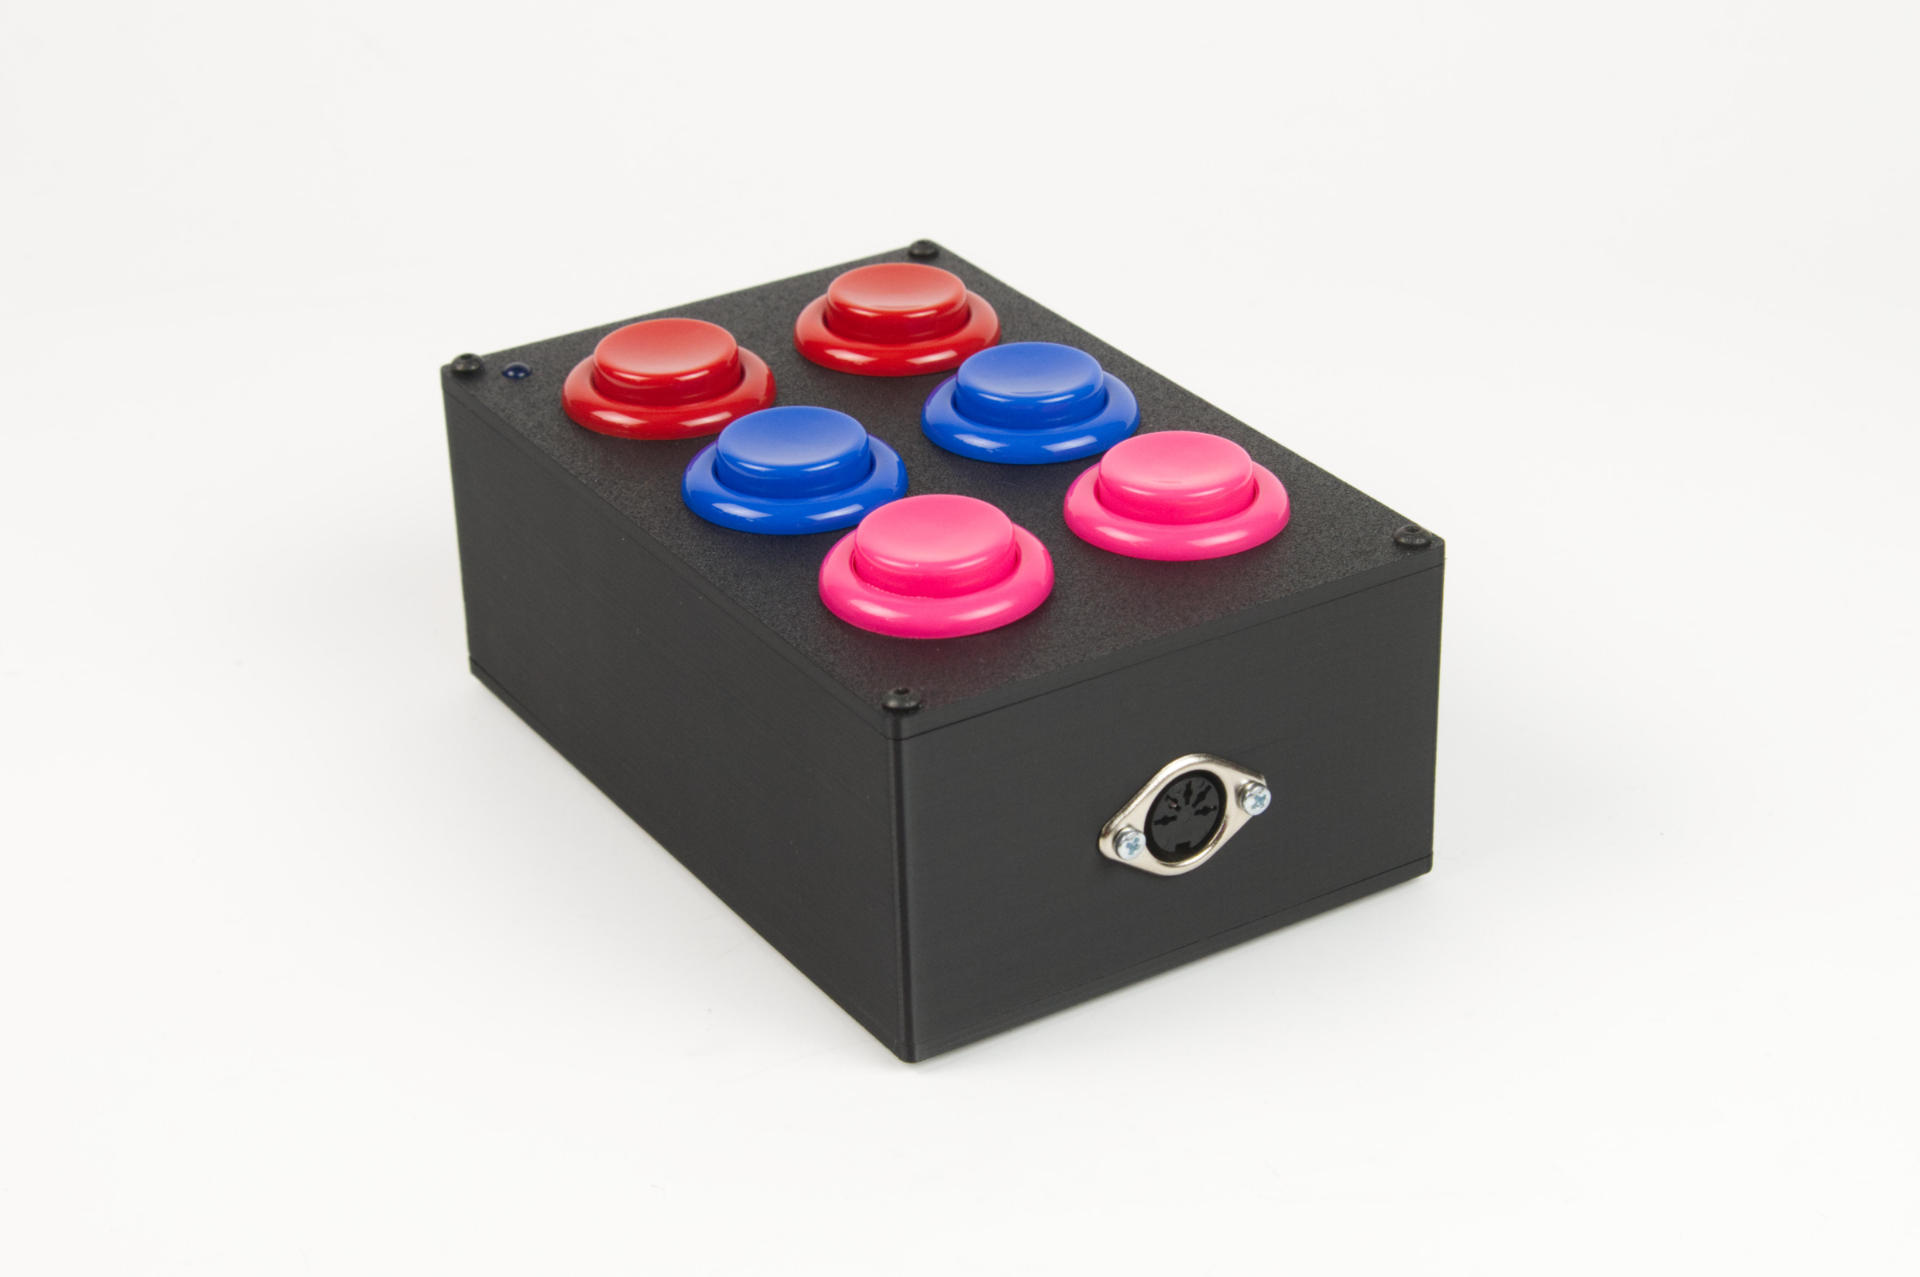
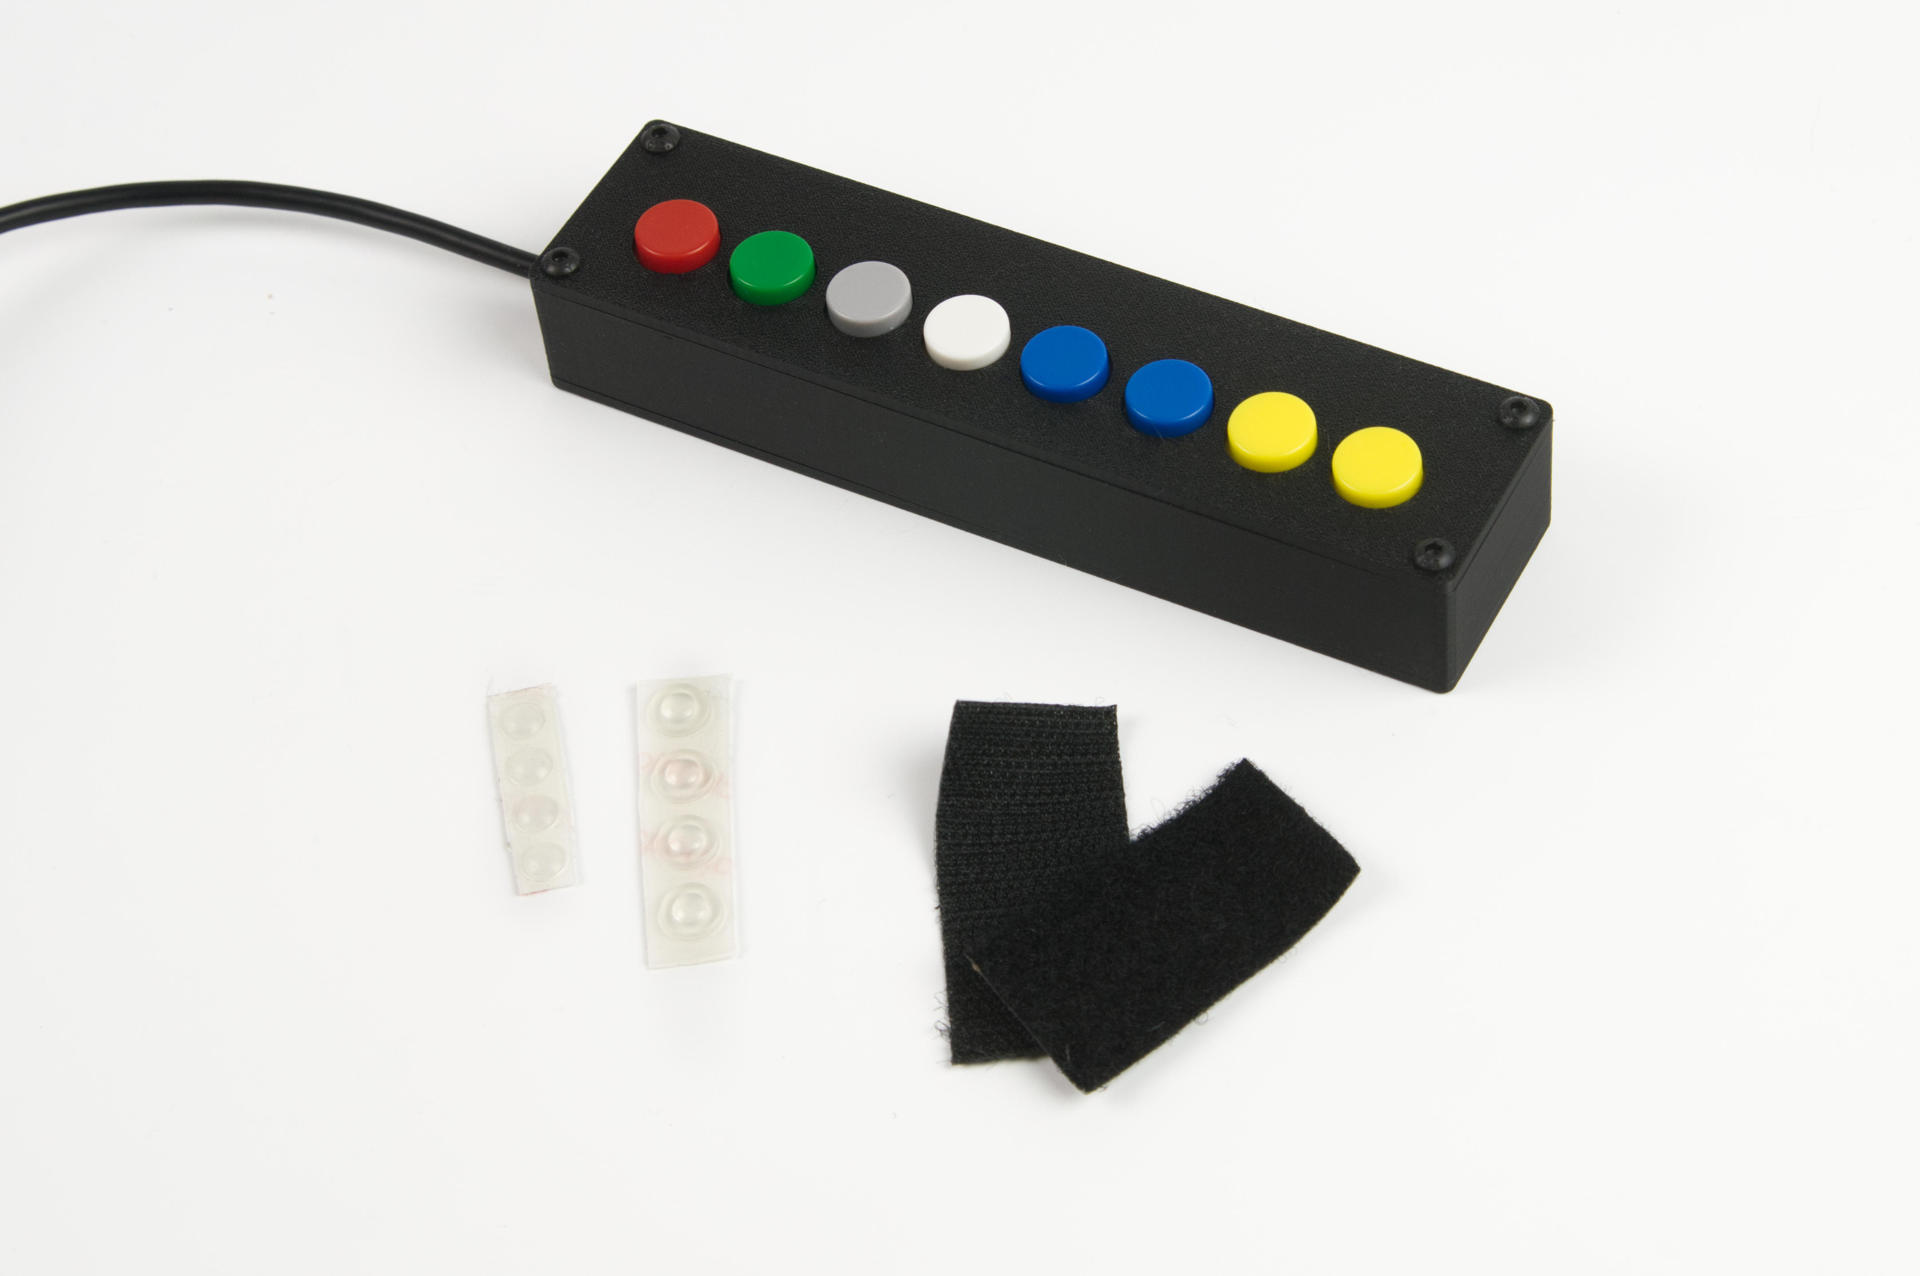
The client wanted all red buttons, though when I was sending in-progress shots I threw a bunch of other colors in for a quick photo.
As always, if you need some custom built MIDI or USB controller, get in touch!