Categories
Uncategorized

I Made Peanut Butter

Home made peanut butter in a food processor

We normally buy peanut butter because I use it for making granola bars, smoothies, and baked goods. I rarely just spread peanut butter on something and eat it. As I’ve been trying to be more and more aware of the foods we eat and what’s in them (and where they come from) I noticed the ingredients listed sugar and palm oil.

I know palm oil is a controversial ingredient so I did some searching and found this page on SKIPPY Natural Creamy Peanut Butter Spread. They claim it’s “the good palm oil” and okay, but why? And also, there’s added sugar. I’m sure there are reasons for this but I don’t think they are needed.

Home made peanut butter in a food processor

So I looked up “how to make peanut butter” and damn, it’s pretty simple. Peanuts and a food processor. You can add in some honey, oil, salt, or whatever and just blitz it. The instructions I found said it takes a bit of time to come together and look smooth and creamy, and it did. I also did end up adding just a bit of honey and some oil, thinking that would help mix it all up.

Home made peanut butter in a food processor

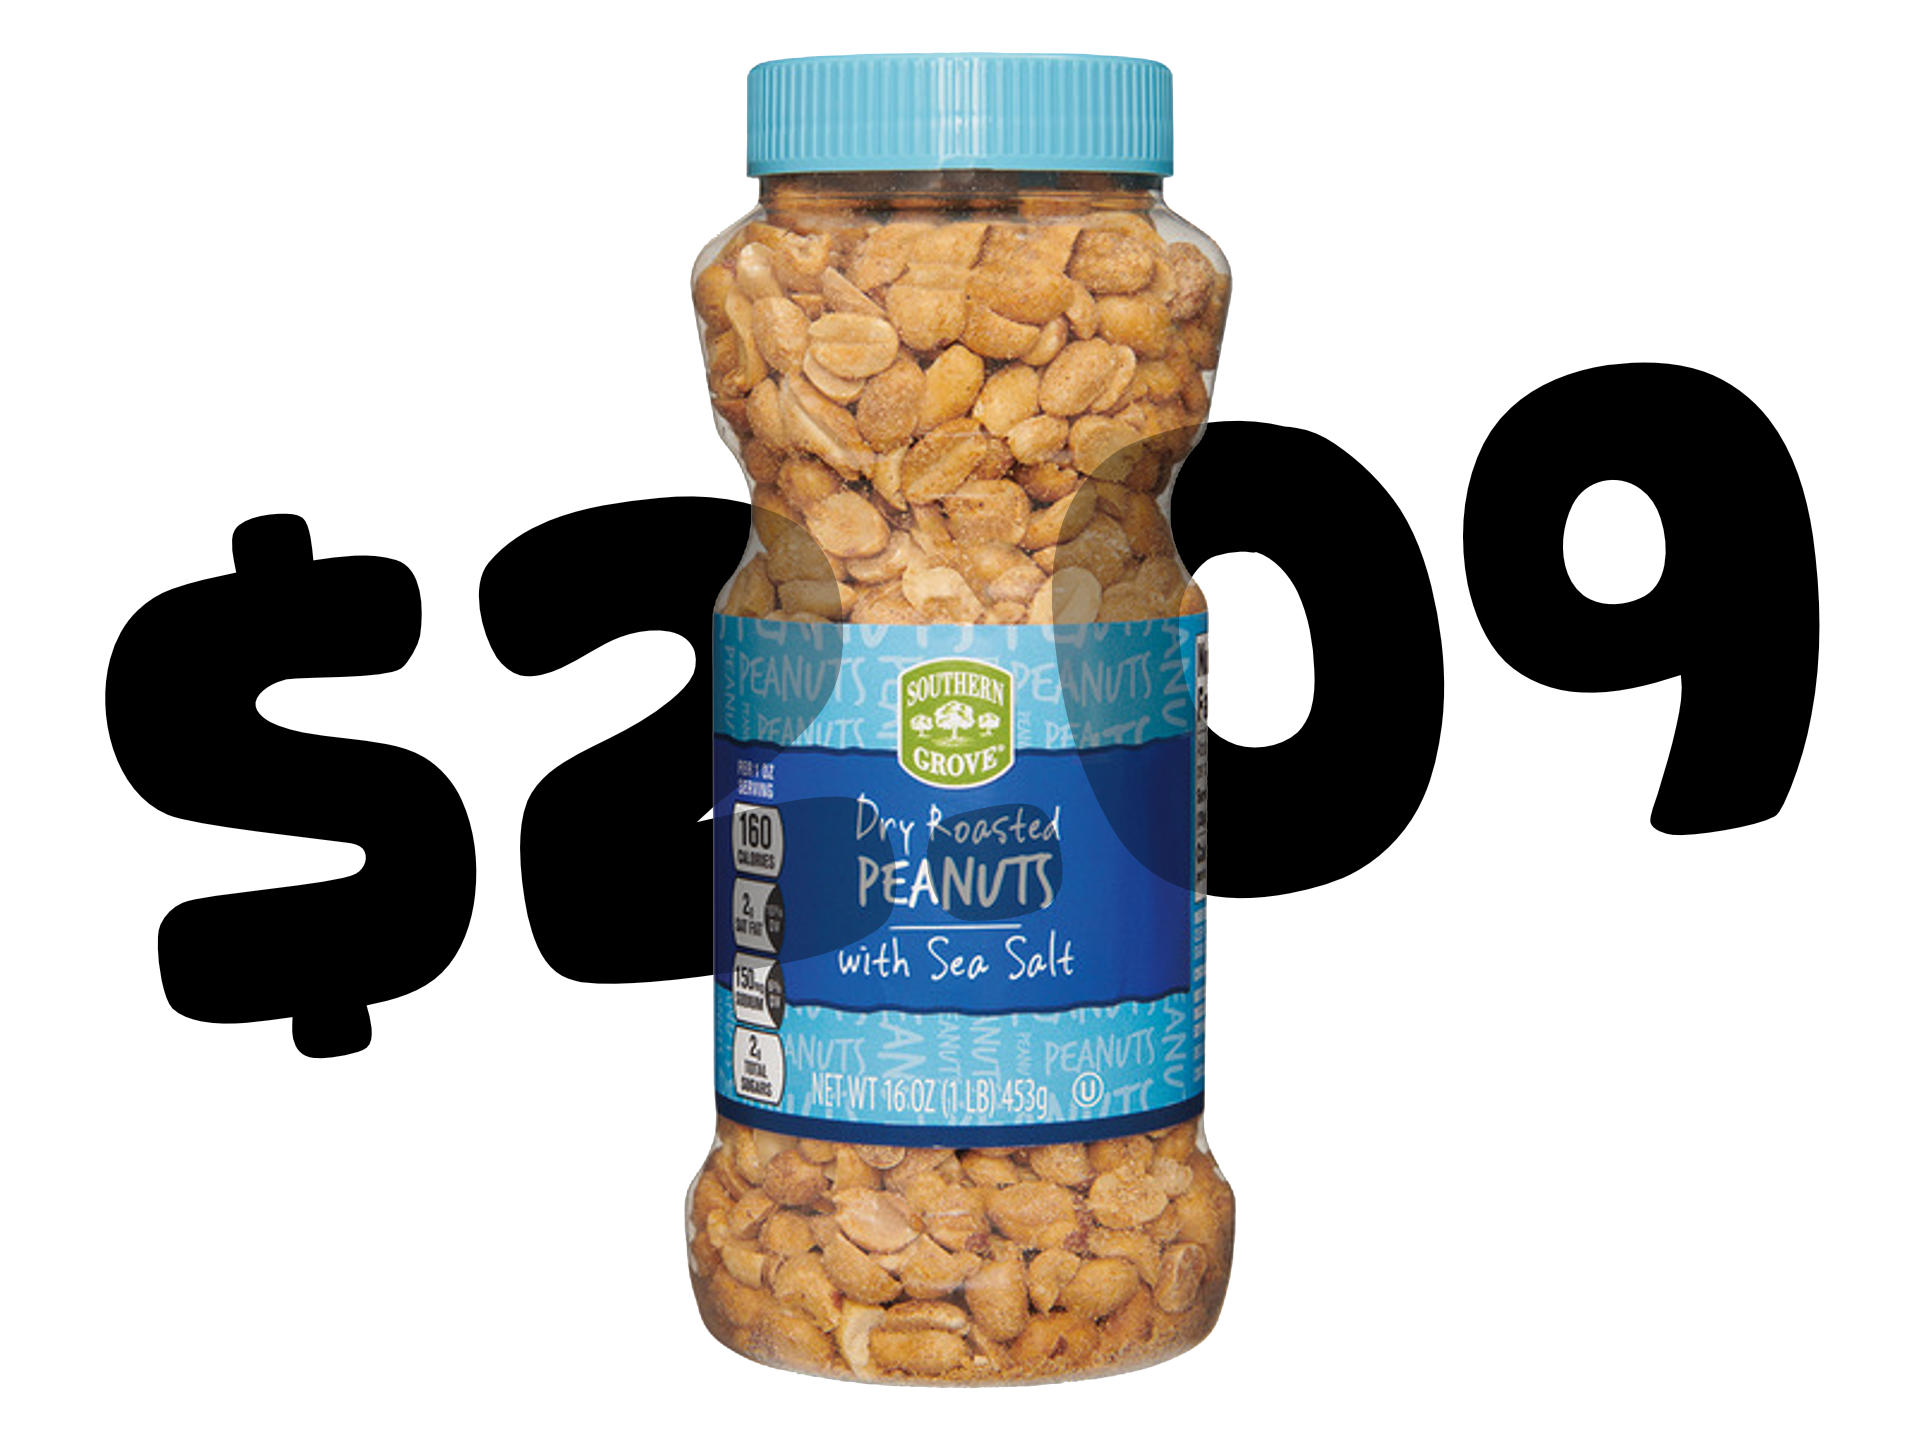
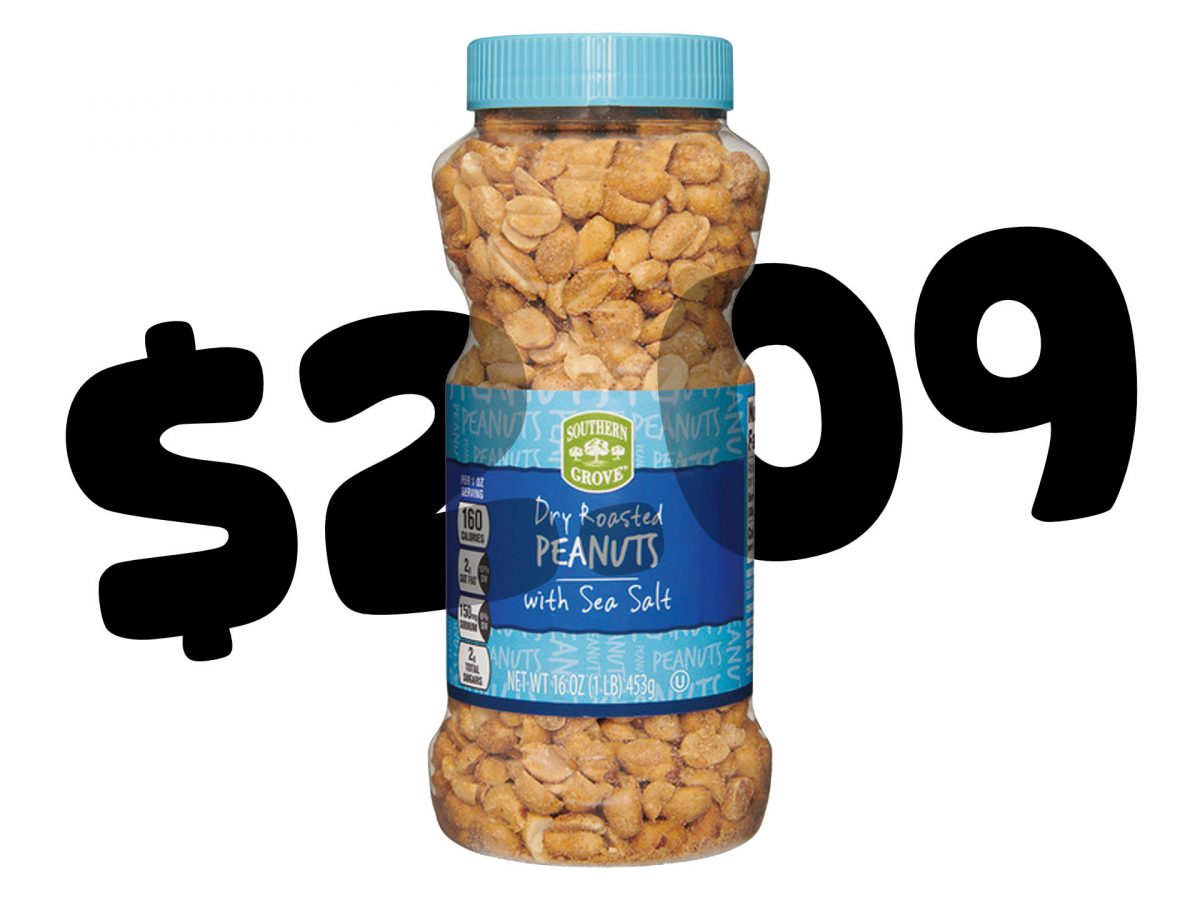
The process was simple though, and I started with a 16 ounce jar of dry roasted peanuts and ended with roughly 16 ounces of peanut butter. (Maths!) The cost of a jar of peanuts was pretty similar to the cost of a jar of peanut butter, so there’s not exactly a huge cost saving. It’s more about being able to make your own, knowing what goes into it, and buying one less thing. (Sort of, I still bought peanuts. I just need to find a source of free peanuts now!) Actually if I can buy bulk peanuts for cheaper I could potentially save a little bit of money. (But not time. That’s the tradeoff, right? Give Me Convenience or Give Me Death as the old saying goes.)

Home made peanut butter in a food processor

The one downside to this is that you are using a food processor to make peanut butter. First you need a food processor, and second you need to clean peanut butter out of the food processor. Peanut butter is sticky and messy and difficult to clean. So there is that, again, the time element.

Home made peanut butter in a container

As I mentioned, I rarely just spread peanut butter on something, which is good, because I plan to keep this in the refrigerator. It should be fine in the cabinet but should last longer refrigerated. (Honestly this is the part I researched the least so if you have insights please share them.)

This method should work for any nut butter, so cashews or almonds might be worth trying in the future. I really just need to work out a scheme to get free nuts now and I’ll be all set!

Home made peanut butter in a container

Feel free to check out my Granola Bars v2 recipe. The page it is on has no ads, no tracking, no pop-ups, and none of the annoying shit most recipe sites tend to have.

Note: The second time I made this my daughter helped out, and she pointed out we should let the food processor run even longer, and we did, and the peanut butter was much smoother! Lesson learned.

Categories
Uncategorized

Boot Repair with Plasti Dip

Boots worn out

Remember back in 2007 when I got new boots? Well, they broke. 17 years ago I said “they should last at least 10 years” and they did!

But in the last few years I noticed they were cracking and sort of falling apart. For a minute considered getting a new pair because I am an adult with more than a few hundred dollars in my savings account…

But then I thought, maybe I should try to fix them? So I did. First, the damage… see the photo above and the two below.

Boots worn out

The right boot wasn’t too bad, but the left was terrible. It came apart right below the seam where it is sewn together and in other places the boot had cracked and split open. You can see the white filling on the inside of the boot.

Boots worn out

I’ve had this Plasti Dip since at least 2017 (I know this because I used it for a project) and honestly I think I dipped all the tools I needed to dip. I started the repair by grabbing a cheap bristle brush and “painting” on a coating of Plasti Dip. I let it dry and did a few more coats and called it a day.

I then wore the boots outside, did some walking around, and they split open again. Obviously the solutions was… more Plasti Dip!

Boots repaired

This time I grabbed a popsicle stick and just slathered it on, filling in the cracks and gaps and I did this a bunch of times to build up a good layer of rubber to stick everything back together. (You might notice I also fixed the aglets with some heat shrink tubing.)

Boots repaired

I’ve flexed them a bit and they feel like they’ll hold together, but if not I can always just pour the rest of the can onto them. Seriously though, I hope this does it because I’d really hate to buy a new pair, mainly because I want to cut down on buying new things if I can repair old things I already own. I probably wear these boots less than 30 days a year since we don’t really get that much snow and I don’t spend a ton of time outside if it’s extremely cold outside.

So fingers are firmly crossed that this fix works!

Update: 10 days later the boots are holding up but I lost an aglet.

Categories
Uncategorized

Pressing Handmade Paper

In a previous post titled Handmade Paper I mentioned my process of pressing the paper I make:

Once the sheets are fully dry that’s when I press them. I put each piece between a sheet of 3mm thick Baltic Birch plywood and then put the stack between two steel plates in a hydraulic press. (Here’s a press similar to the one I have.)

At least one person has asked about this so I figured providing a bit more information might be helpful. I’ll try to outline the things I use and the process below.

The mould and deckle I use makes sheets of paper that are just shy of 7″ x 7″. I make the paper, let it dry, and then peel all the pieces off the couching sheets. I then place each sheet between a piece of 3mm thick Baltic Birch plywood. (The pieces of wood are 8″ x 12″ so the paper fits with some room to spare.) I then place the stack of wood (with the paper between each sheet) between two 12″ x 12″ steel plates.

Here’s all the stuff:

This whole “sandwich” goes into the hydraulic press, and I crank it down hard. I let it sit for at least half a day, though it’s usually a full day, and if I remember I’ll go crank the press tighter if possible. After time has passed I remove all the paper and marvel at how flat and smooth it is.

The things you need (besides a hydraulic press) are the paper, which should be just dried, sheets of wood, and two pieces of steel.

The steel goes on the bottom, then a piece of wood, then the paper…

Repeat the process of stacking wood with paper in between each piece…

End with one piece of wood on top of the last piece of paper, and then put the other piece of steel on top of all that.

Stick the whole thing into the hydraulic press and crank it down! Wait a while (a few hours) and then come back and try to crank it down even further. I tend to make thick paper because it does get compressed down a bit thinner in this pressing process.

This is DIY handmade paper made with junk I have in my workshop, there’s no professional equipment or methods at work here. Still, I get some good, flat, smooth pieces. Not all of them, but most of them for sure. If I can find new ways to refine and improve the process I’ll let you know.


Note: This post contains an Affiliate Link. Read More.
Categories
Uncategorized

Handmade Paper

If you read the previous post you saw the mould and deckle I made, and the start of the process of making paper using the mould and deckle. Well, once the paper dries it looks quite different!

Here’s a stack after the pieces have dried. They are not exactly flat, as they curl up while drying. I couch them onto cut up pieces of an old bed sheet. I don’t press them when they are wet, I just let them air dry while laying flat, which takes about a day or so.

(Most people will tell you to press the paper when wet to remove the water and to flatten it, but I just sort of do it the way I’m doing it and so far it seems to be working fine.)

Once the sheets are fully dry that’s when I press them. I put each piece between a sheet of 3mm thick Baltic Birch plywood and then put the stack between two steel plates in a hydraulic press. (Here’s a press similar to the one I have.)

I’m still experimenting with the right amount of pressure. If I totally crank the press down hard I can get some very flat (and sometimes very thin) paper. One batch was actually a bit too thin! This batch is a bit thicker (since it was made better) but I also didn’t apply quite as much pressure, so it would retain some of the texture. Either way, one side is going to be much smoother (the side that dried face up) and the side that was against the bed sheet will have some texture to it.

Wait, bed sheets? Yeah, this is all pretty DIY, and I’m mostly using materials I have available and not purchasing a bunch of stuff. As I mentioned in the mould and deckle post I am using old window screen material because I have a bunch of it.

To make the pulp I am using paper shreds create by our home paper shredder. I’m making sure I don’t shred any envelopes with plastic windows or other strange matter (though my first batch did contain plastic!) The paper is never white because the ink/toner/whatever from the paper mixes with the water and pulp and turns it gray, which is fine. I do plan to experiment with some colorants. If you notice the brown speckles in this batch that comes from a bunch of dried up leaves I harvested from the garden. I crunched them up and added them to the pulp when blending it. I think it adds some nice character to the final product.

I was able to make a total of 16 sheets on the attempt, which isn’t bad, as I am somewhat limited in space. I’m starting to get to the point where I know how much pulp and water to use and how much it will make, so that’s good. I should probably measure things and write it down but at this point I’m still just screwing around to see what works and what the outcome is… Stay Tuned!


Note: This post contains an Affiliate Link. Read More.

Categories
Uncategorized

3D Printed Mould and Deckle

NOTE: STL files are now available. Scroll to the bottom of this post.

Back in May 2023 I 3D printed a mould and deckle in an attempt to make my own paper. It worked, but was not optimal. I tried again, and wanted a slightly larger mould and deckle to make larger paper. It worked, but I didn’t love it since I had to print it in two parts and glue it together. Design is about iteration, right? I think I’ve got a good one now…

For this version I got the model just right. I did a number of test prints to make sure the wall thickness for the inside grid was correct, and I spent some time getting the magnet holes right. Yes, the magnets. Lots of mould and deckles are just two wooden frames you hold together in your hands, but I figured since I was designing my own I would add in magnets that would tightly hold the mould and the deckle together with a piece of metal screen between them.

So I added magnet holes in the four corners of each part and press-fit magnets into place. This time I made the pockets deeper so the magnets press in further down, which means they have really good holding strength when put together. You’ll notice the holes aren’t just holes, but have some little ridges, or “crush ribs” as well. The idea being that with 3D printed parts it can be difficult to get a perfect hole, so instead you just make the hole a little wider than needed, and add in some ribs so the magnet (or other round thing) just needs to slide against those, and if needed, can crush them a bit.

Hey, I guess I’m not the only one who likes the magic of magnets! Check out this video of Stephanie Hare and the mould and deckles she made with… magnets! (Or see them on her site.)

Of course you can always just glue the magnets in place. Since I’m now on my third fourth mould and deckle I wanted a way to remove them easily if I ever retire one and want those 8 magnets back.

I’ve mentioned before that you can do much much more than a simple square or rectangle, and you can 3D print a mould and deckle in any shape. I still want to experiment with that, as well as some other neat stuff. I like a plastic mould and deckle because (besides being easy) you don’t have to worry about warping like you do with wood, or having to use spar varnish or polyurethane to waterproof the wood. (I’ve talked about 3D printing versus using wood before.)

Oh, I should note one more thing. The reason I use window screen material is because I have a bunch of it from our old windows that we’ll never use for anything else. But, using a flexible screen material also makes it easy to remove the paper from the mould and deckle during the couching process by just pulling the screen off (after removing excess water with a sponge). (BTW, it’s pronounced ‘coo-ching’ not ‘cow-ching’.) I’ve found this a simple method of couching, though there are other methods and some special tools to assist with it if you want to explore other routes.

3D printing is a good fit for papermaking because it’s one of those things where you may need to build your own tools, and being able to rapidly iterate through ideas is handy. Okay, time to go make more paper!


Update! Files are now available.
Grab the STL files to print your own at Printables.com – Mould and Deckle.