We normally buy peanut butter because I use it for making granola bars, smoothies, and baked goods. I rarely just spread peanut butter on something and eat it. As I’ve been trying to be more and more aware of the foods we eat and what’s in them (and where they come from) I noticed the ingredients listed sugar and palm oil.
I know palm oil is a controversial ingredient so I did some searching and found this page on SKIPPY Natural Creamy Peanut Butter Spread. They claim it’s “the good palm oil” and okay, but why? And also, there’s added sugar. I’m sure there are reasons for this but I don’t think they are needed.
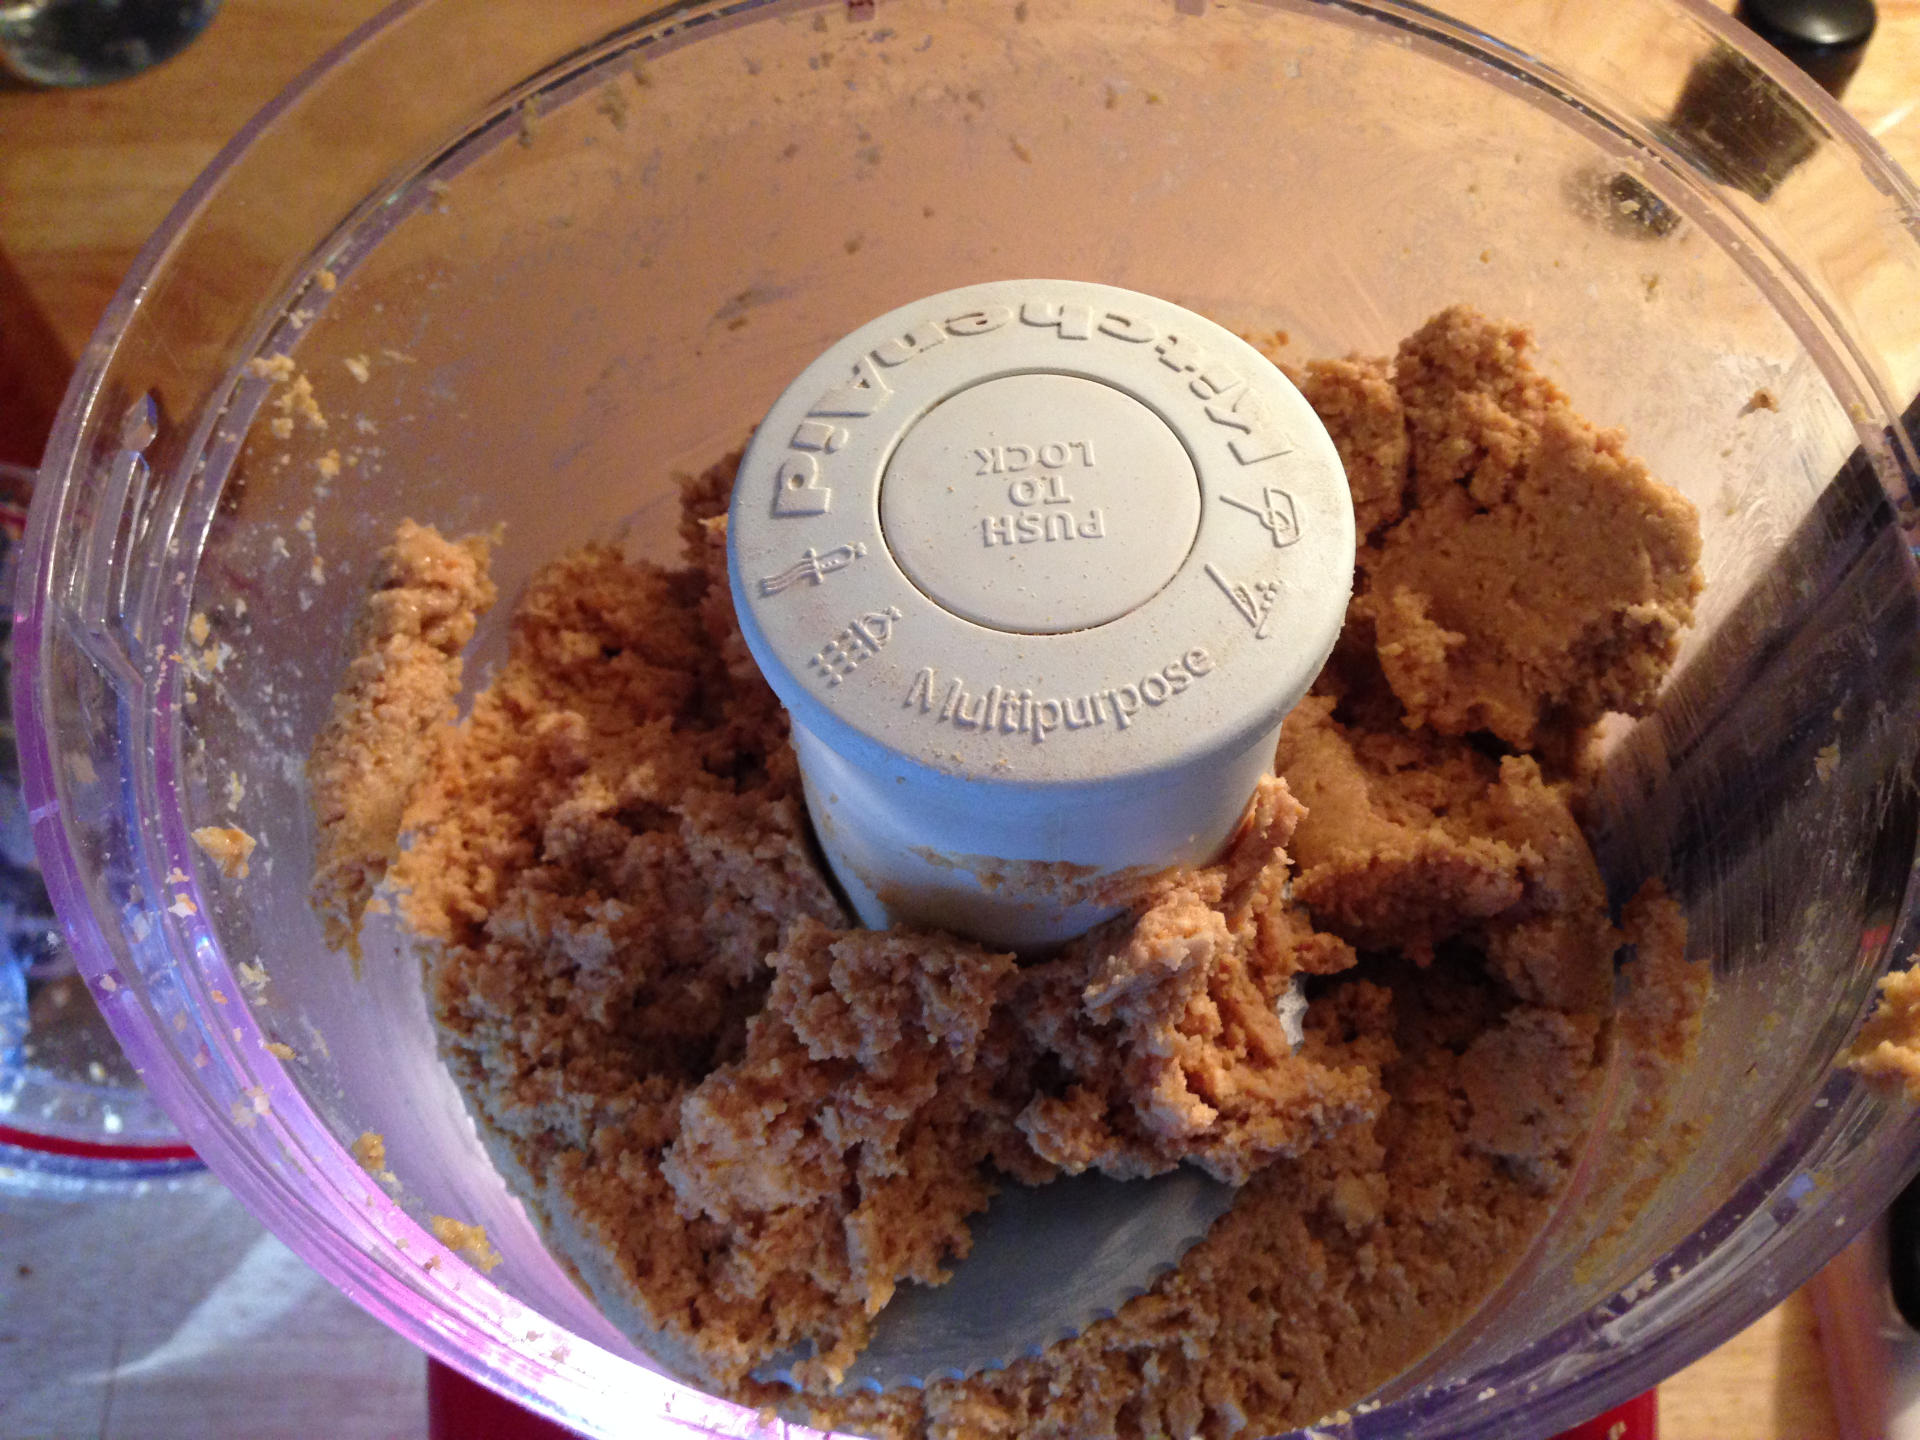
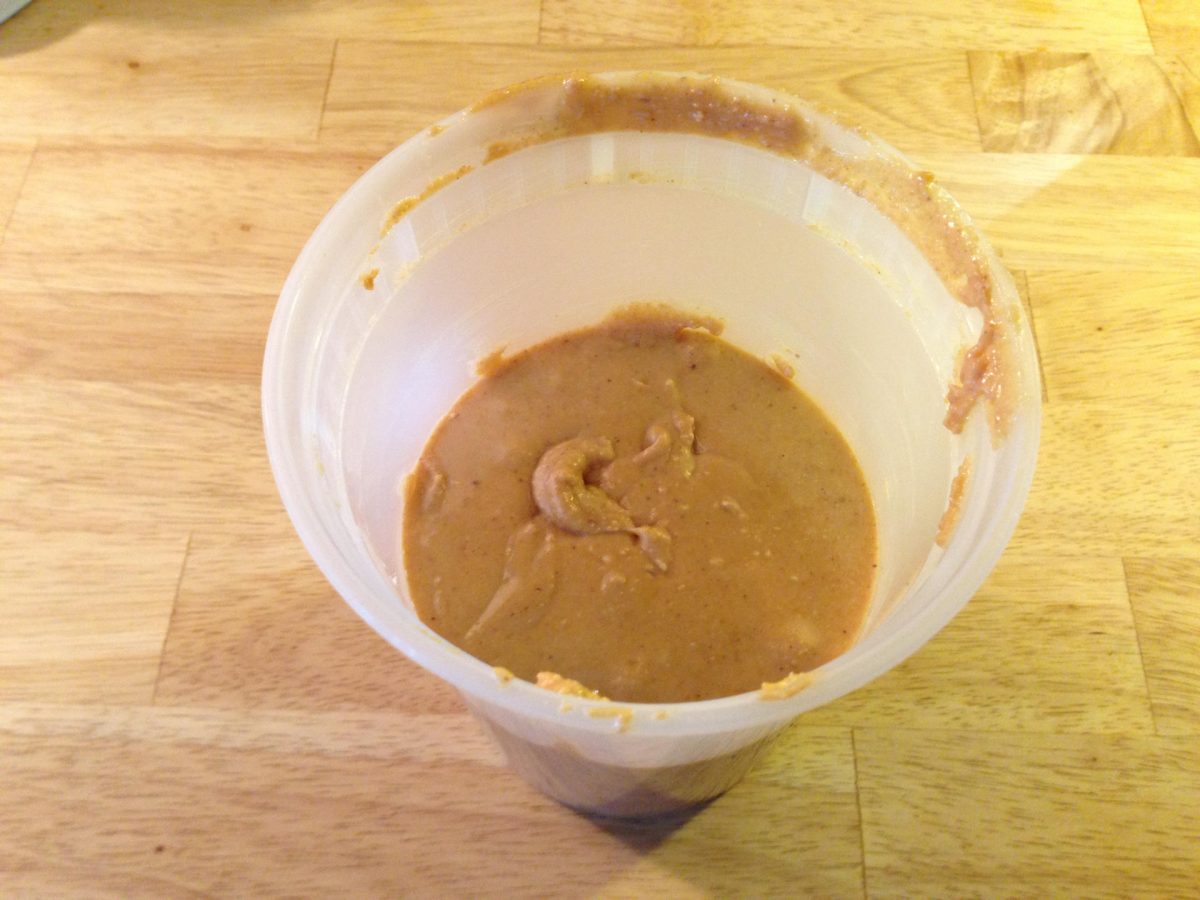
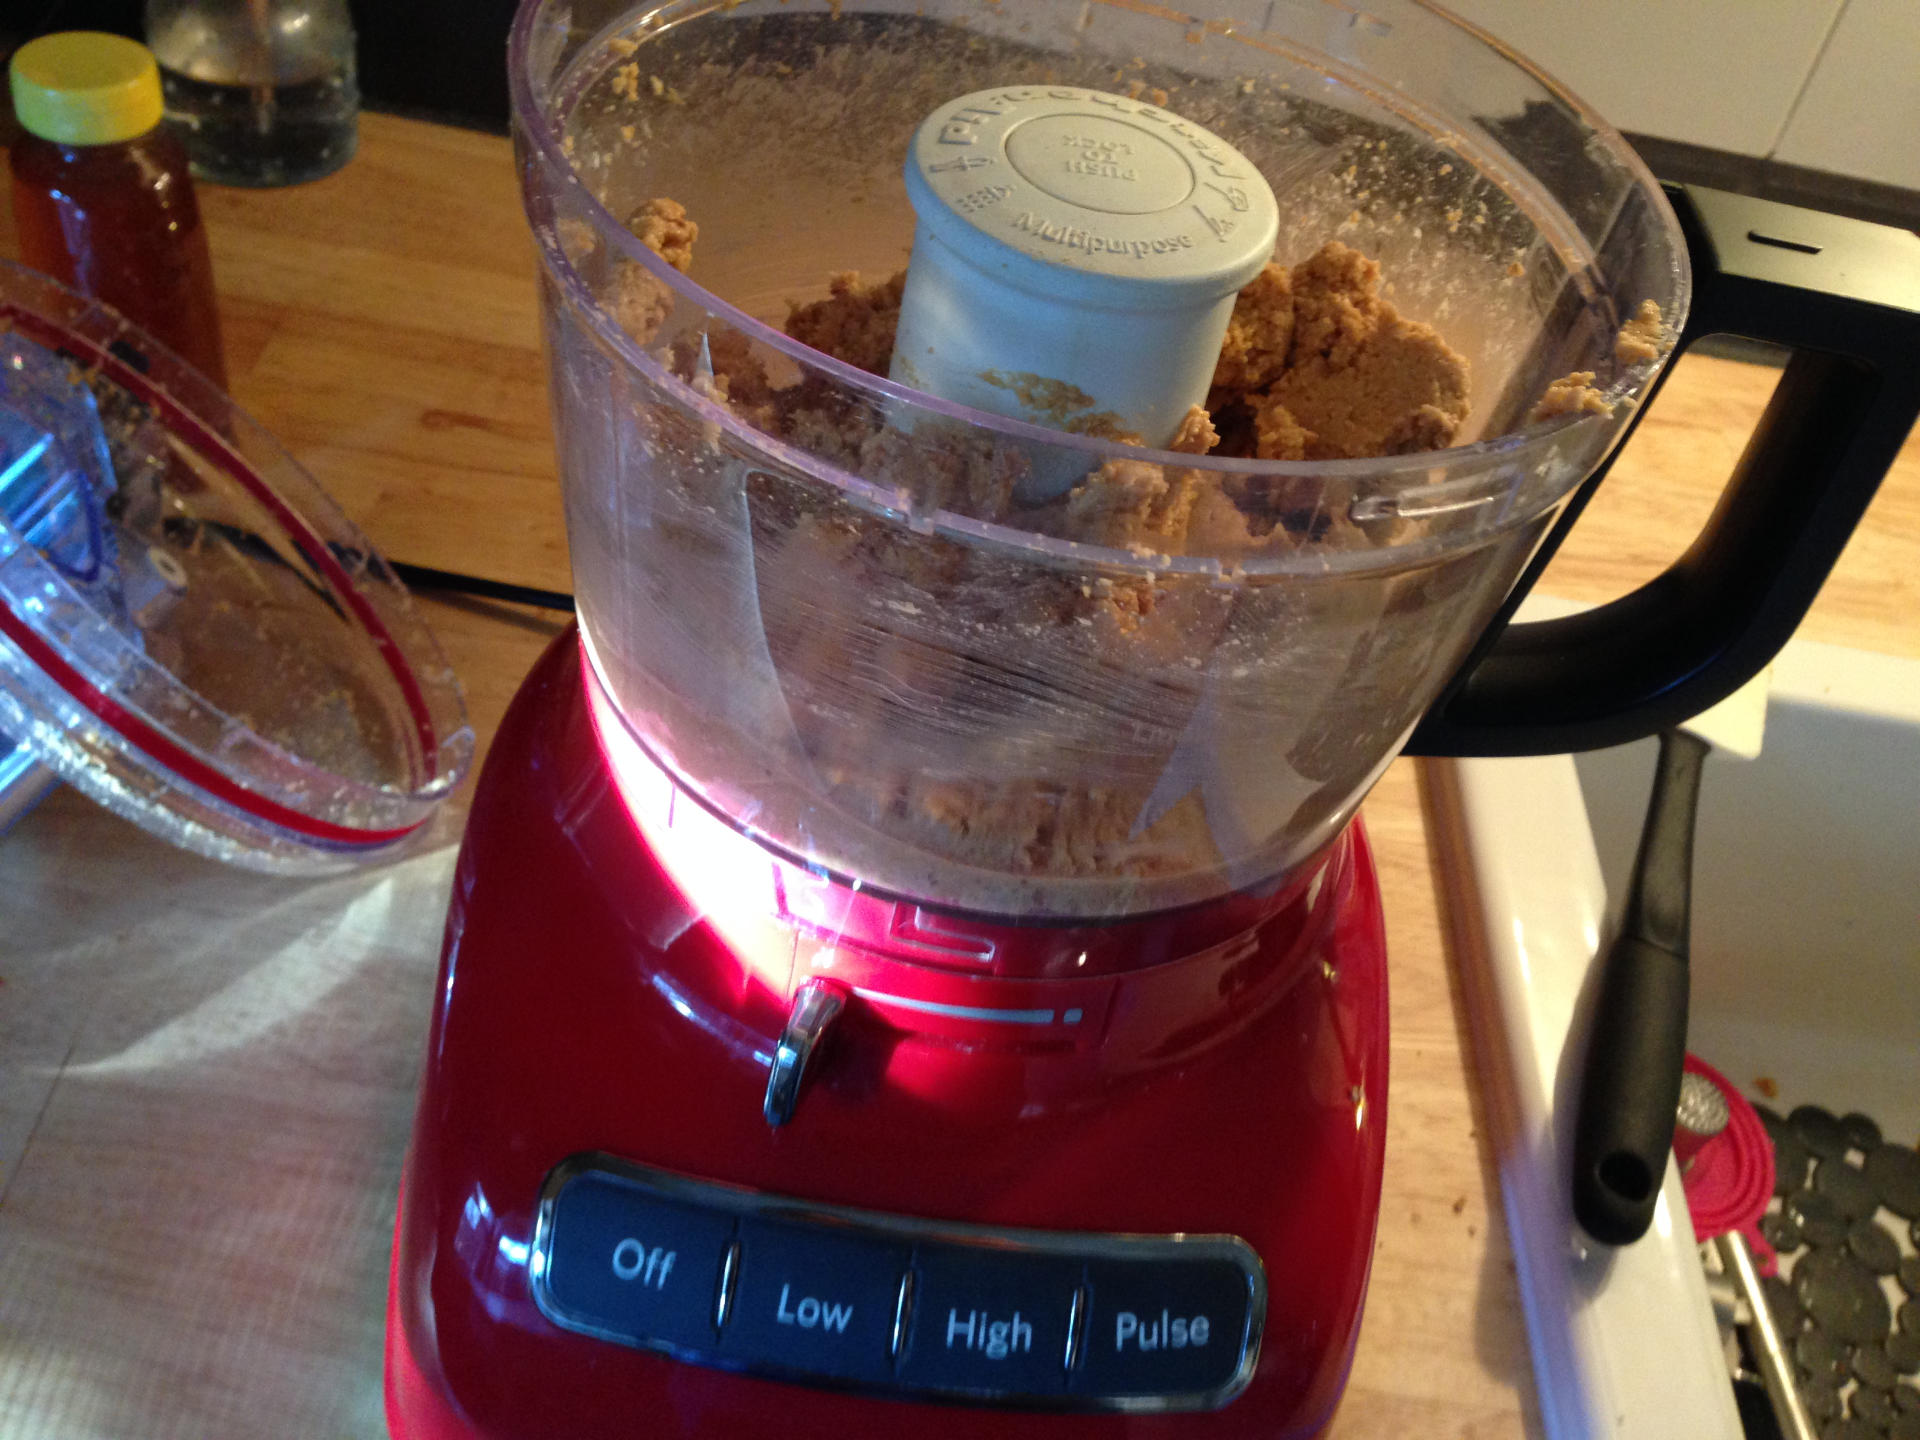
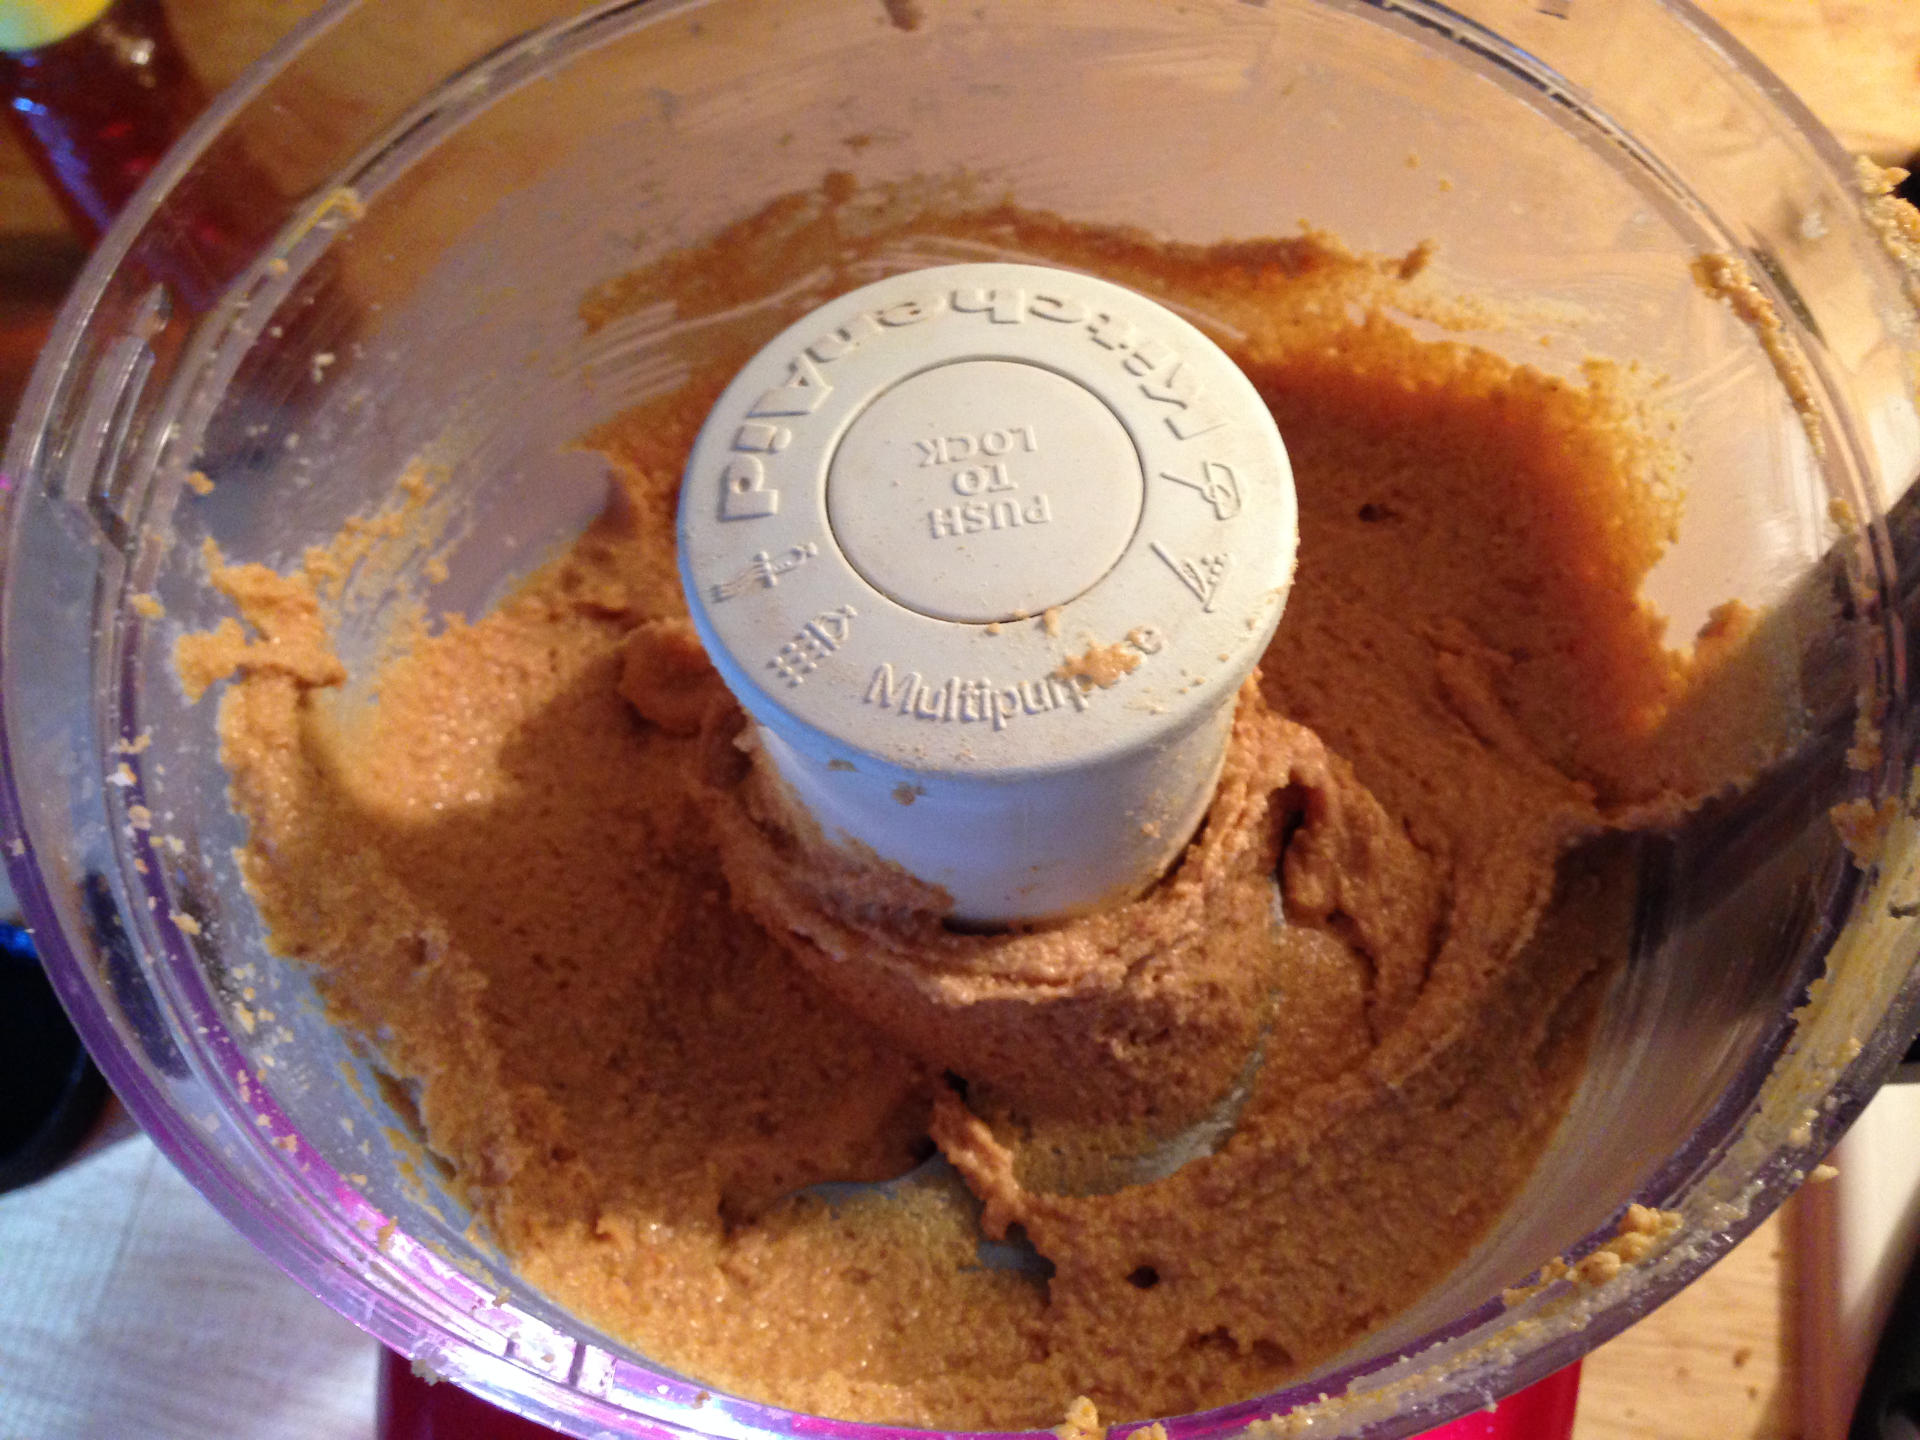
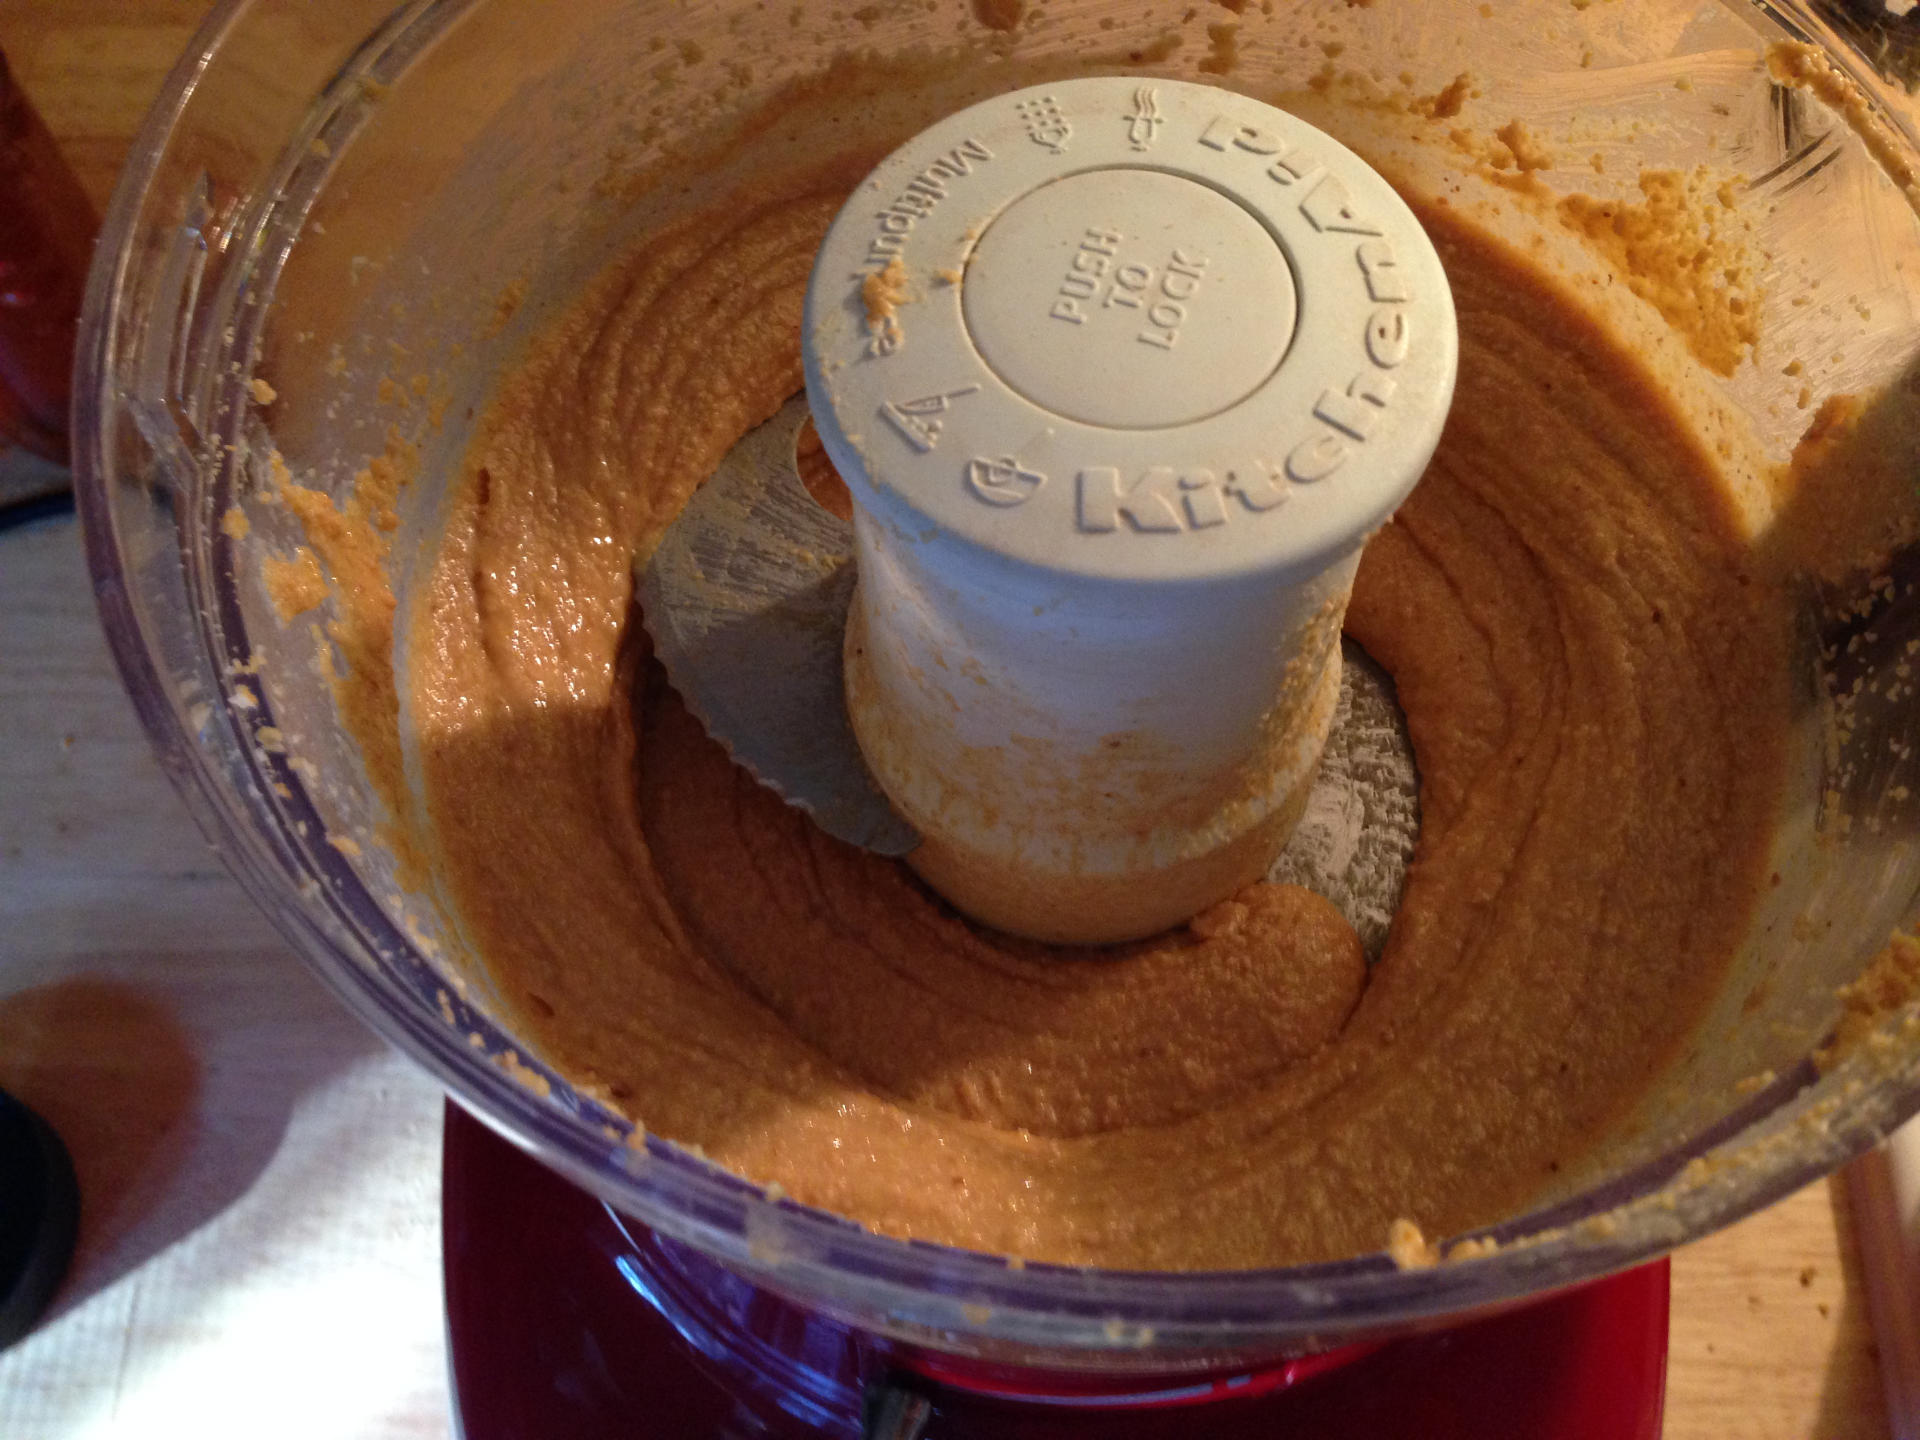
So I looked up “how to make peanut butter” and damn, it’s pretty simple. Peanuts and a food processor. You can add in some honey, oil, salt, or whatever and just blitz it. The instructions I found said it takes a bit of time to come together and look smooth and creamy, and it did. I also did end up adding just a bit of honey and some oil, thinking that would help mix it all up.
The process was simple though, and I started with a 16 ounce jar of dry roasted peanuts and ended with roughly 16 ounces of peanut butter. (Maths!) The cost of a jar of peanuts was pretty similar to the cost of a jar of peanut butter, so there’s not exactly a huge cost saving. It’s more about being able to make your own, knowing what goes into it, and buying one less thing. (Sort of, I still bought peanuts. I just need to find a source of free peanuts now!) Actually if I can buy bulk peanuts for cheaper I could potentially save a little bit of money. (But not time. That’s the tradeoff, right? Give Me Convenience or Give Me Death as the old saying goes.)
The one downside to this is that you are using a food processor to make peanut butter. First you need a food processor, and second you need to clean peanut butter out of the food processor. Peanut butter is sticky and messy and difficult to clean. So there is that, again, the time element.

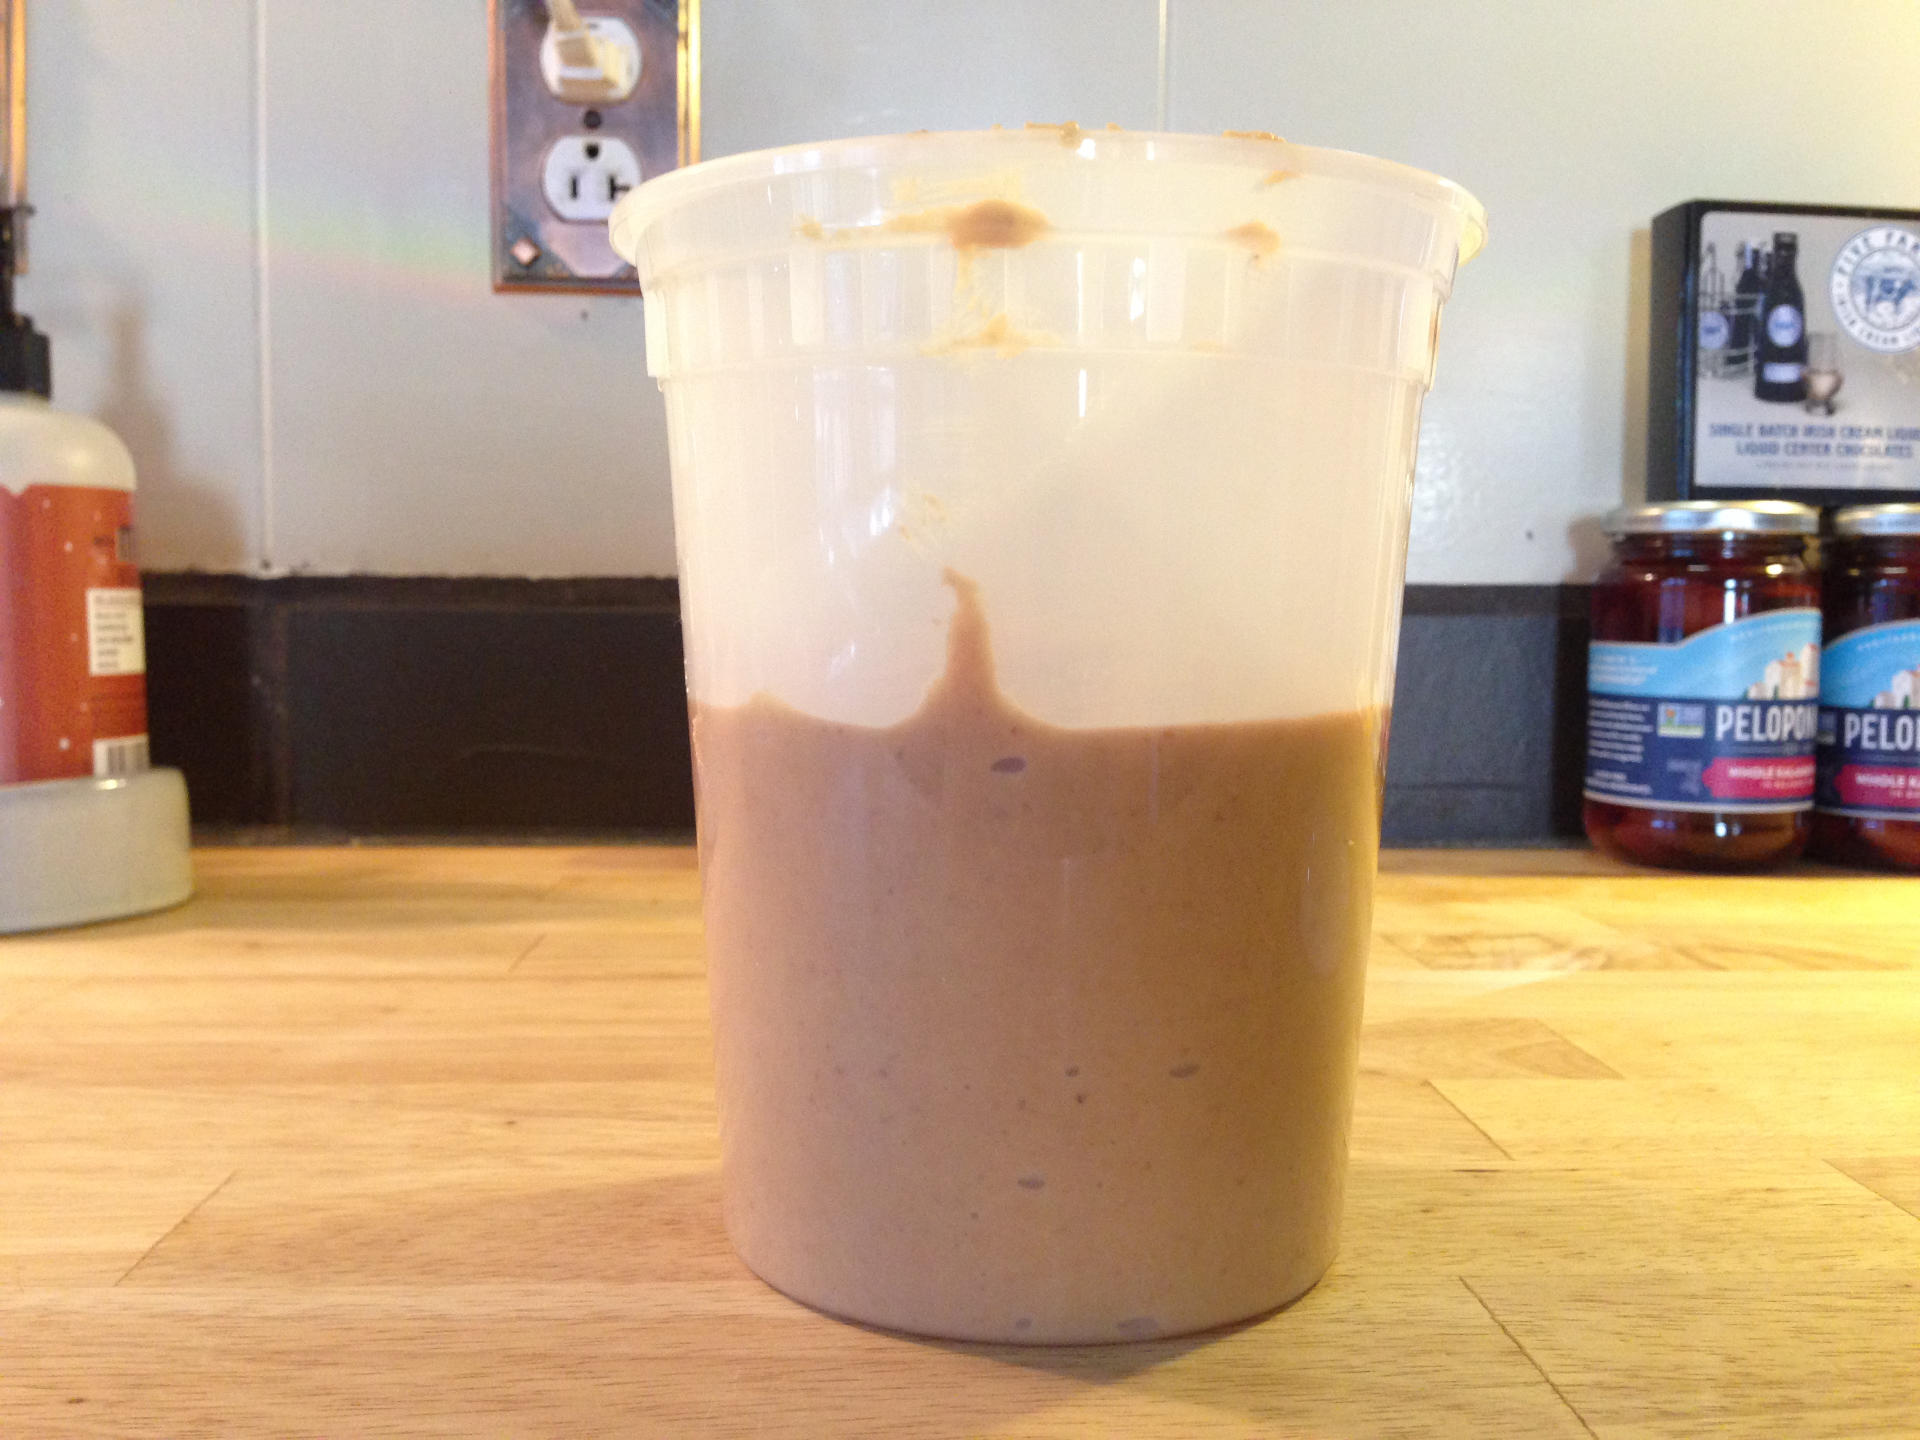
As I mentioned, I rarely just spread peanut butter on something, which is good, because I plan to keep this in the refrigerator. It should be fine in the cabinet but should last longer refrigerated. (Honestly this is the part I researched the least so if you have insights please share them.)
This method should work for any nut butter, so cashews or almonds might be worth trying in the future. I really just need to work out a scheme to get free nuts now and I’ll be all set!
Feel free to check out my Granola Bars v2 recipe. The page it is on has no ads, no tracking, no pop-ups, and none of the annoying shit most recipe sites tend to have.
Note: The second time I made this my daughter helped out, and she pointed out we should let the food processor run even longer, and we did, and the peanut butter was much smoother! Lesson learned.