Categories
Uncategorized

Bike Light – Downtube – White LED Strip

I’ve previously posted about a bike light I made and while I am working on a more complex, programmable, and controllable set of lights, I needed something quick because it got pretty dark last week. I found this LED strip in the shop, which I think I got from the junk-pile at work. It may have been an under cabinet style light… I don’t know or remember, but I do know it has a Micro USB port and runs just fine from a USB power bank.
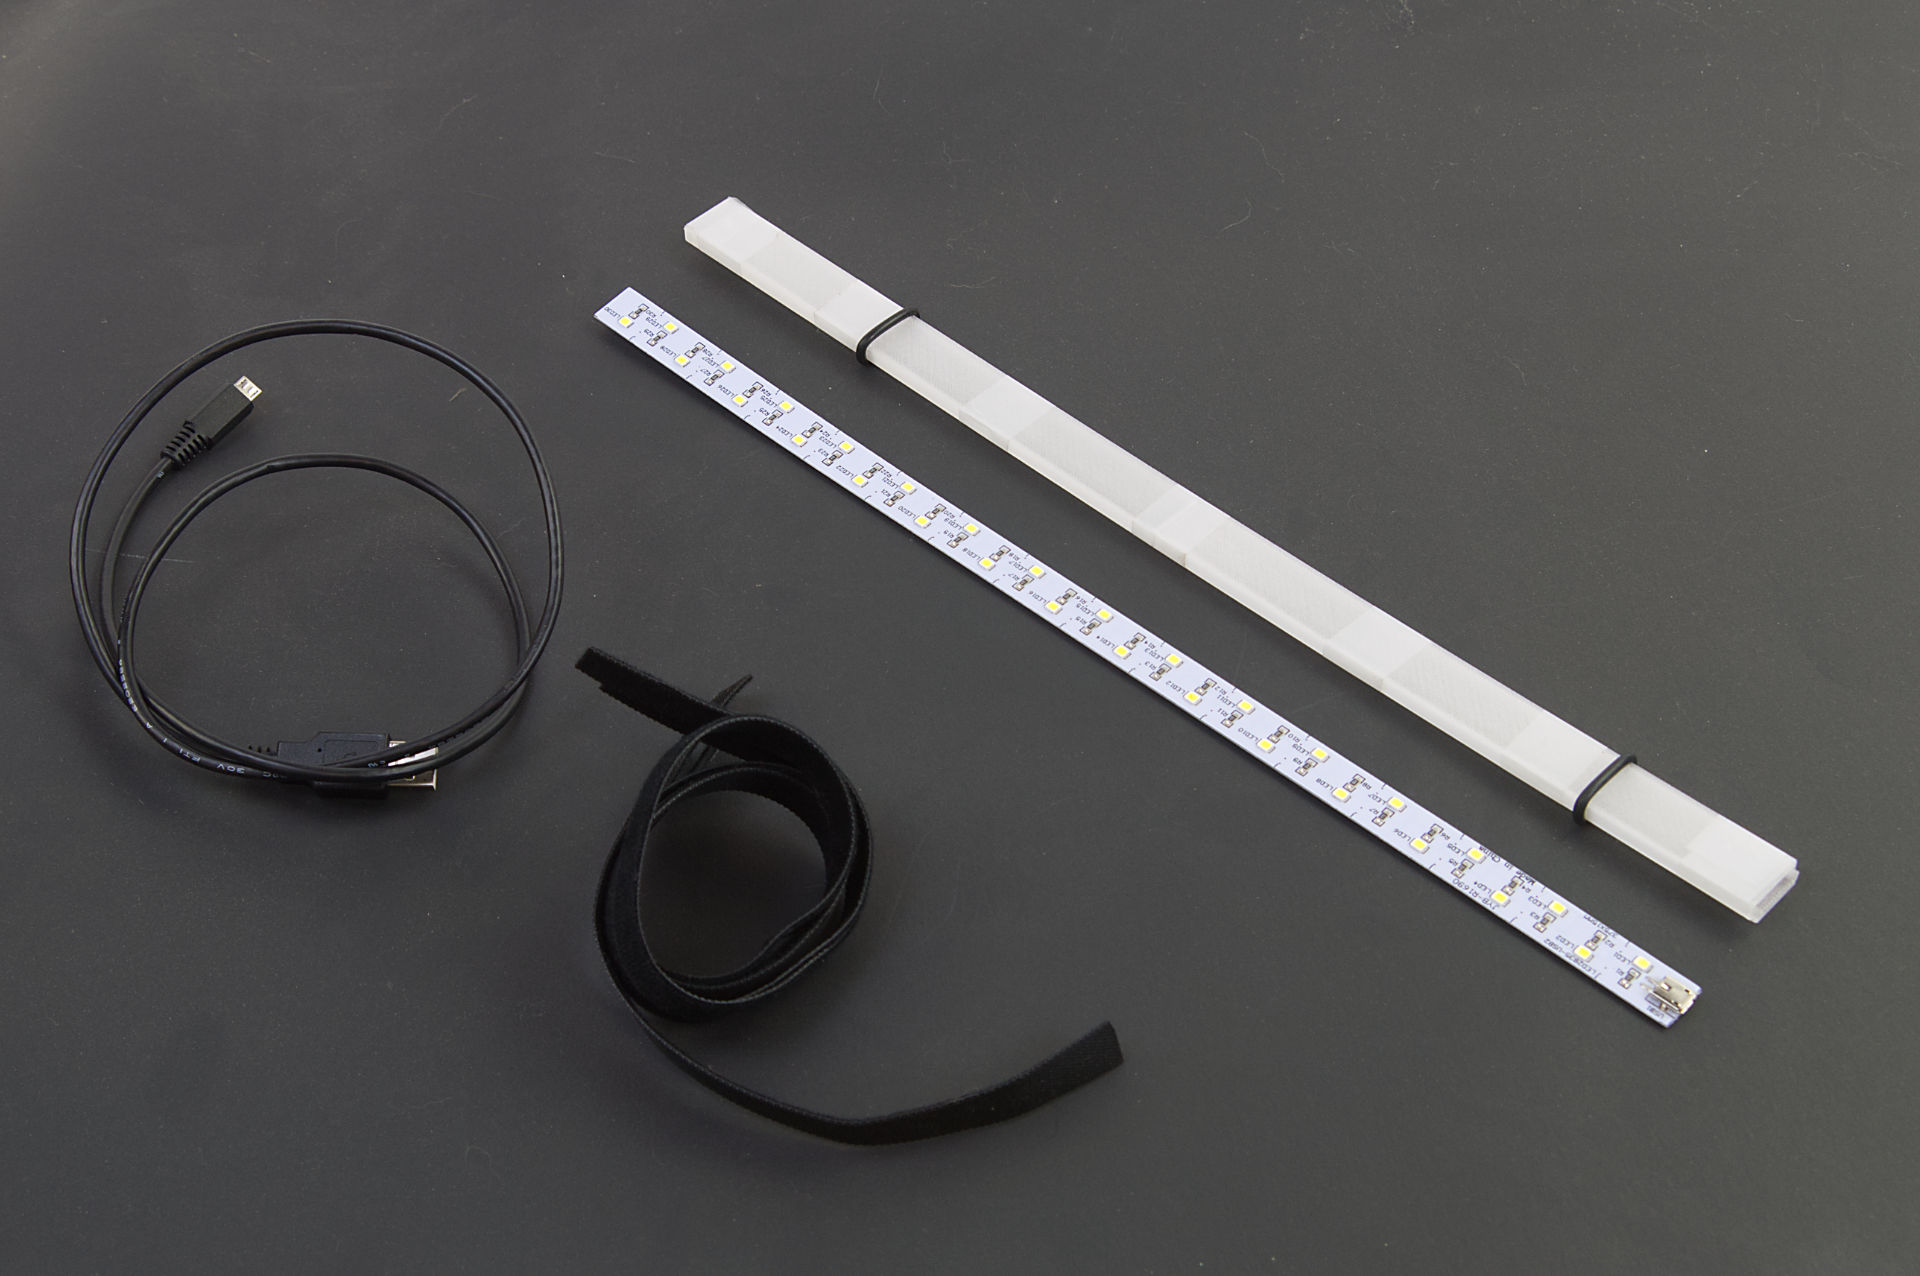
You can see the bare LED strip in the photo above… that’s how I found it. I was able to 3D print a sleeve for it to slide into. The Micro USB port is just at the end, and it’s not exactly waterproof, but I could just hot glue the heck out of everything if needed.
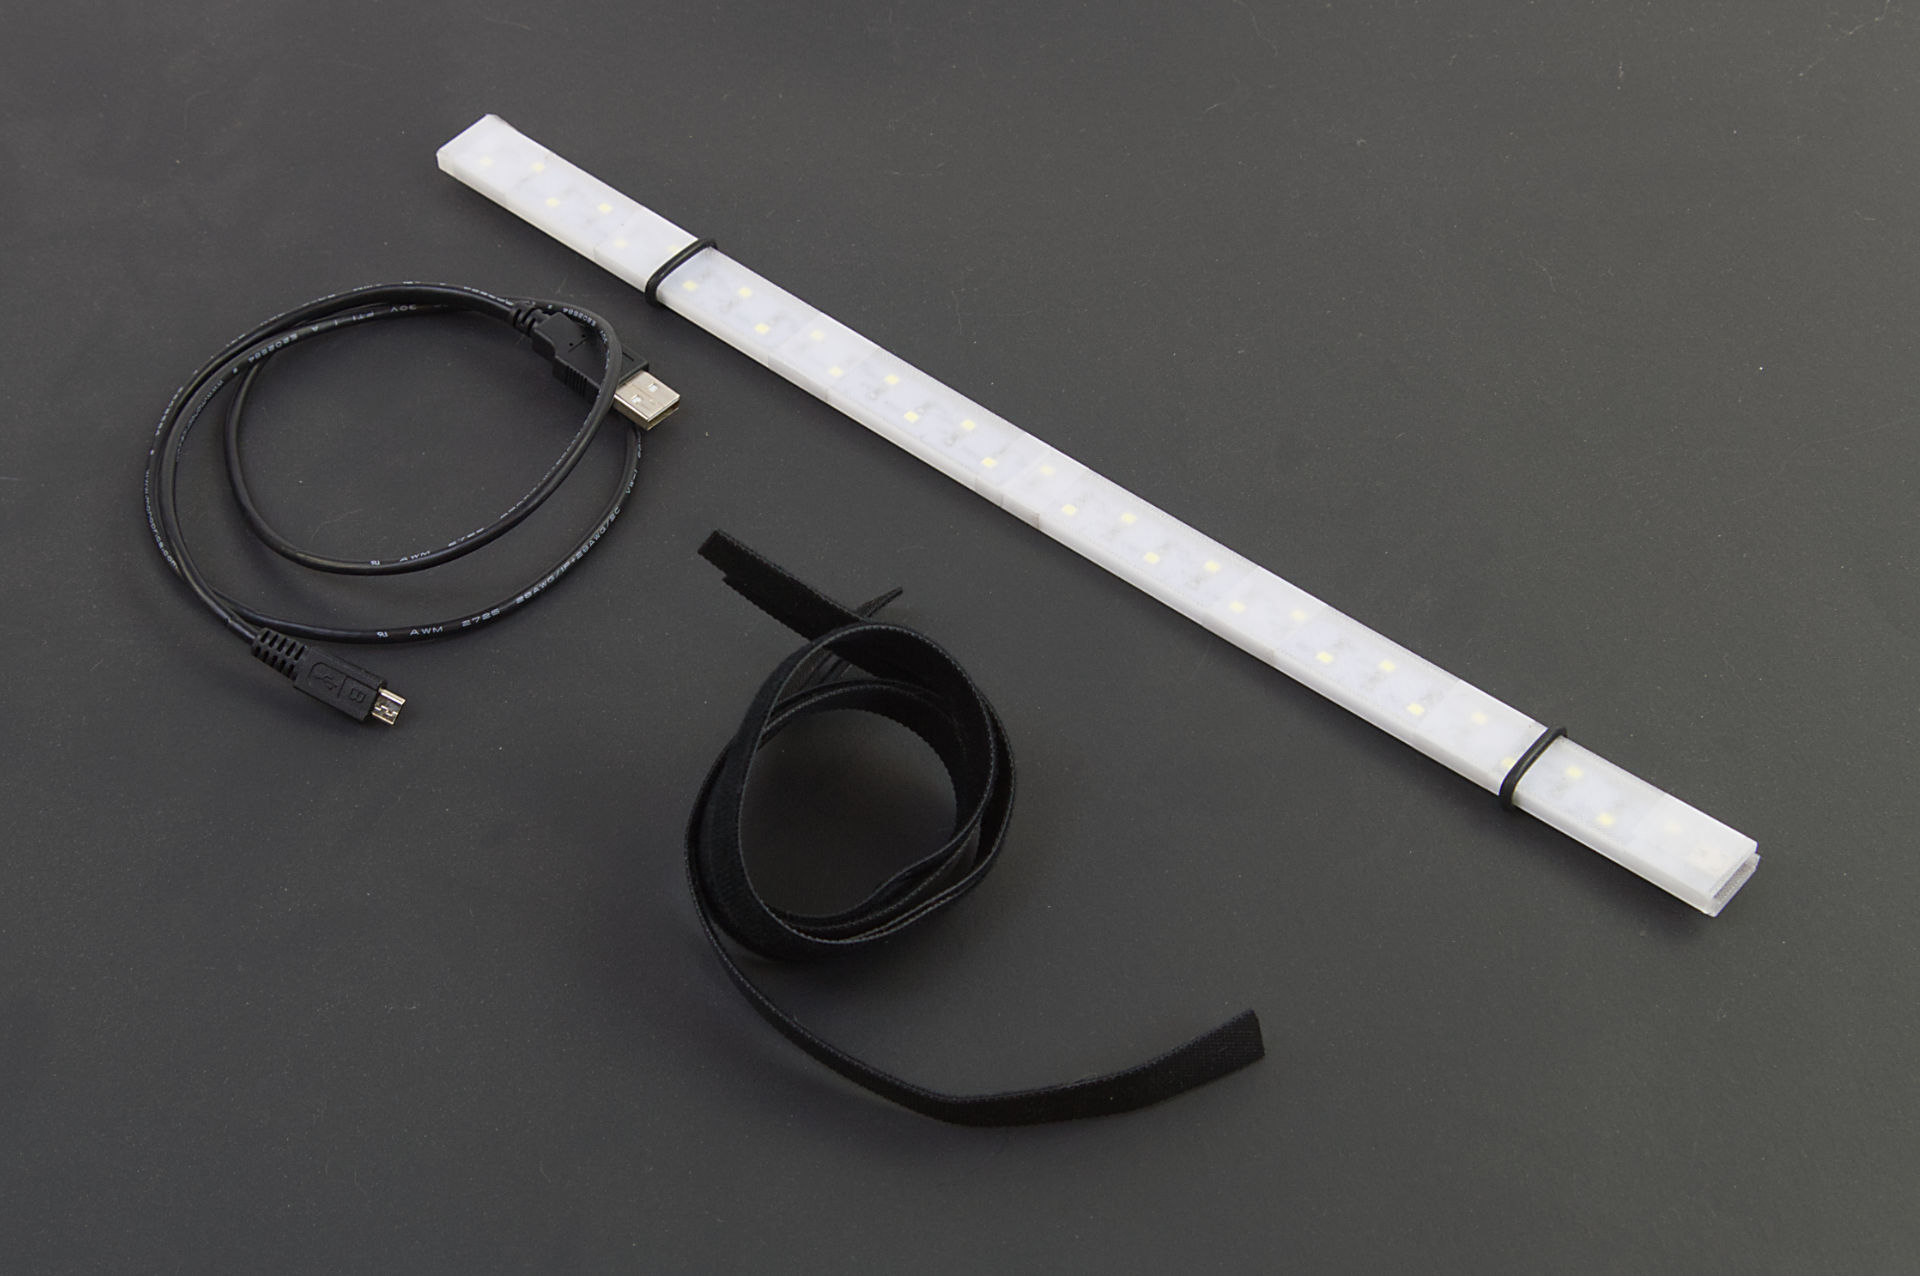
Besides the strip and 3D printed parts, there’s a 3 foot long Micro USB cable and some hook & loop straps. (I got a roll of 1/2in x 100ft Hook and Loop which someone said might be a lifetime supply.) There are also a few O-rings holding things together and they sort of work to help hold the strip in place on the bike. (I got a cheap O-ring set years ago.)

The 3D printed parts are taped together with clear tape, but Silicone Rubber Bands could also work.
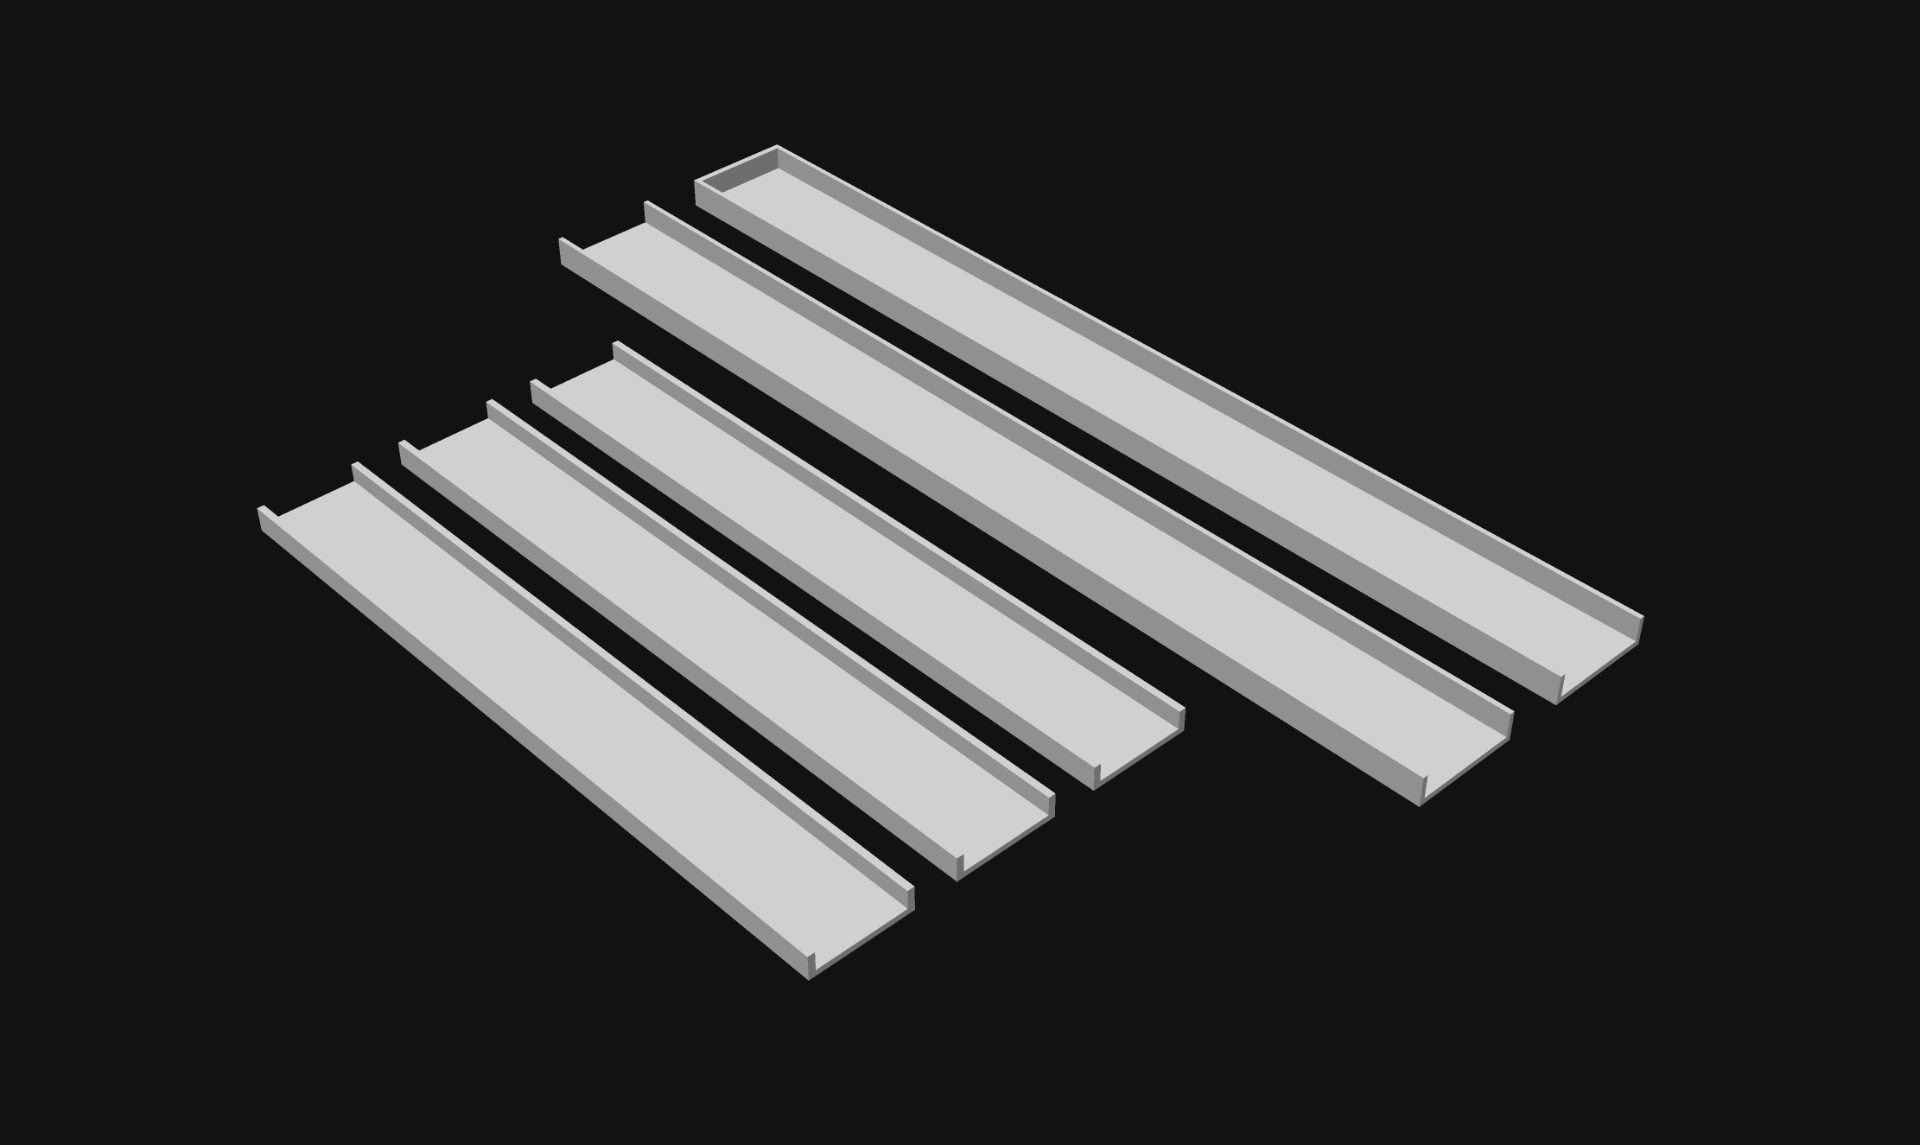
I designed the sleeve / sheath thing in 5 parts. Two “outside” pieces and three “inside” pieces. I figured two and three would be good so the seams between the inside and outside parts didn’t all line up.
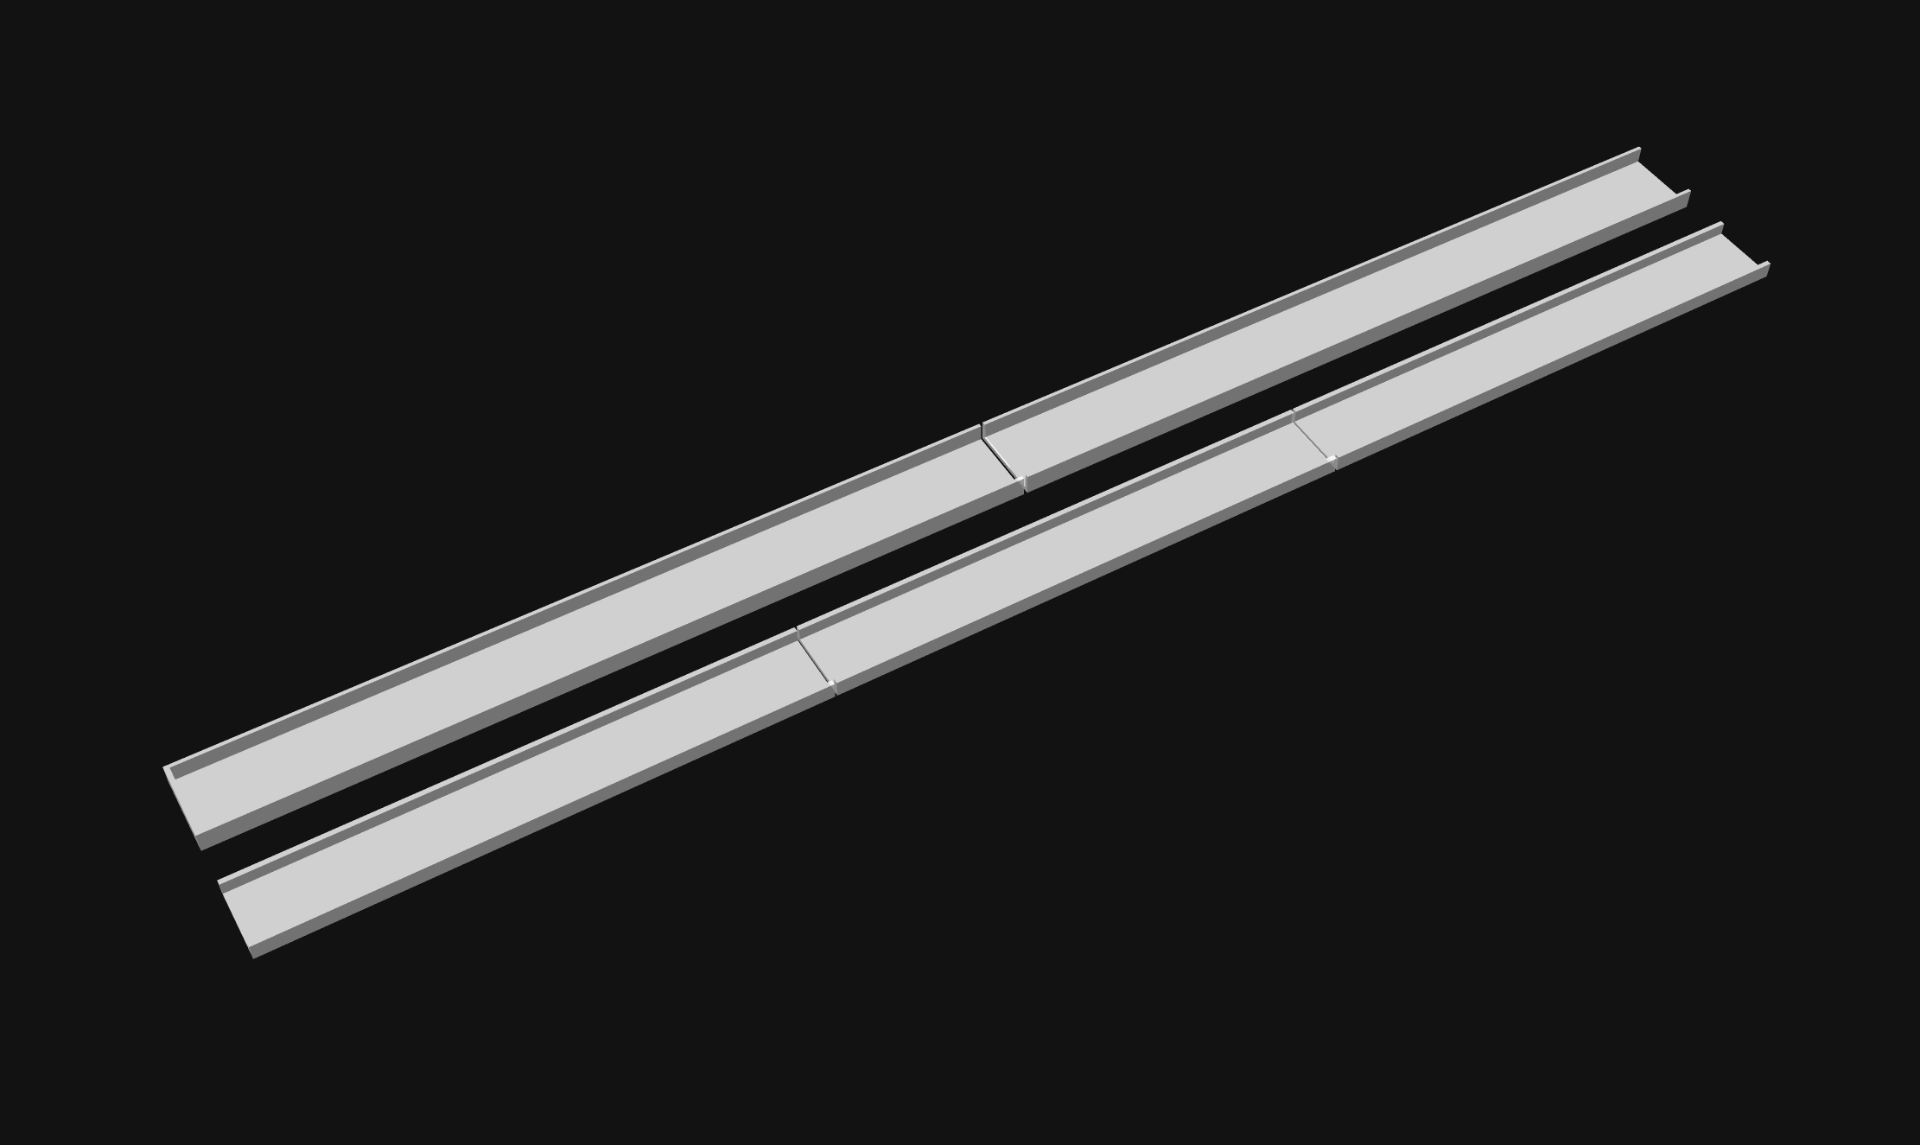
And here is what the pieces look like laid out so they are the length of the LED strip. I printed these with transparent PLA, which isn’t exactly clear, but it’s a thin print and the light shines through just fine.

If I were to make another one of these I’d probably use some COB LEDs. I’ve used these White 6000K LEDs bu you can also find cheaper COB LEDs. COBs are pretty bright, and some of them are also (mostly) waterproof.

To power the LEDs I have a USB power bank in my handlebar bag which I already use to charge my phone, so I just plug it into there.
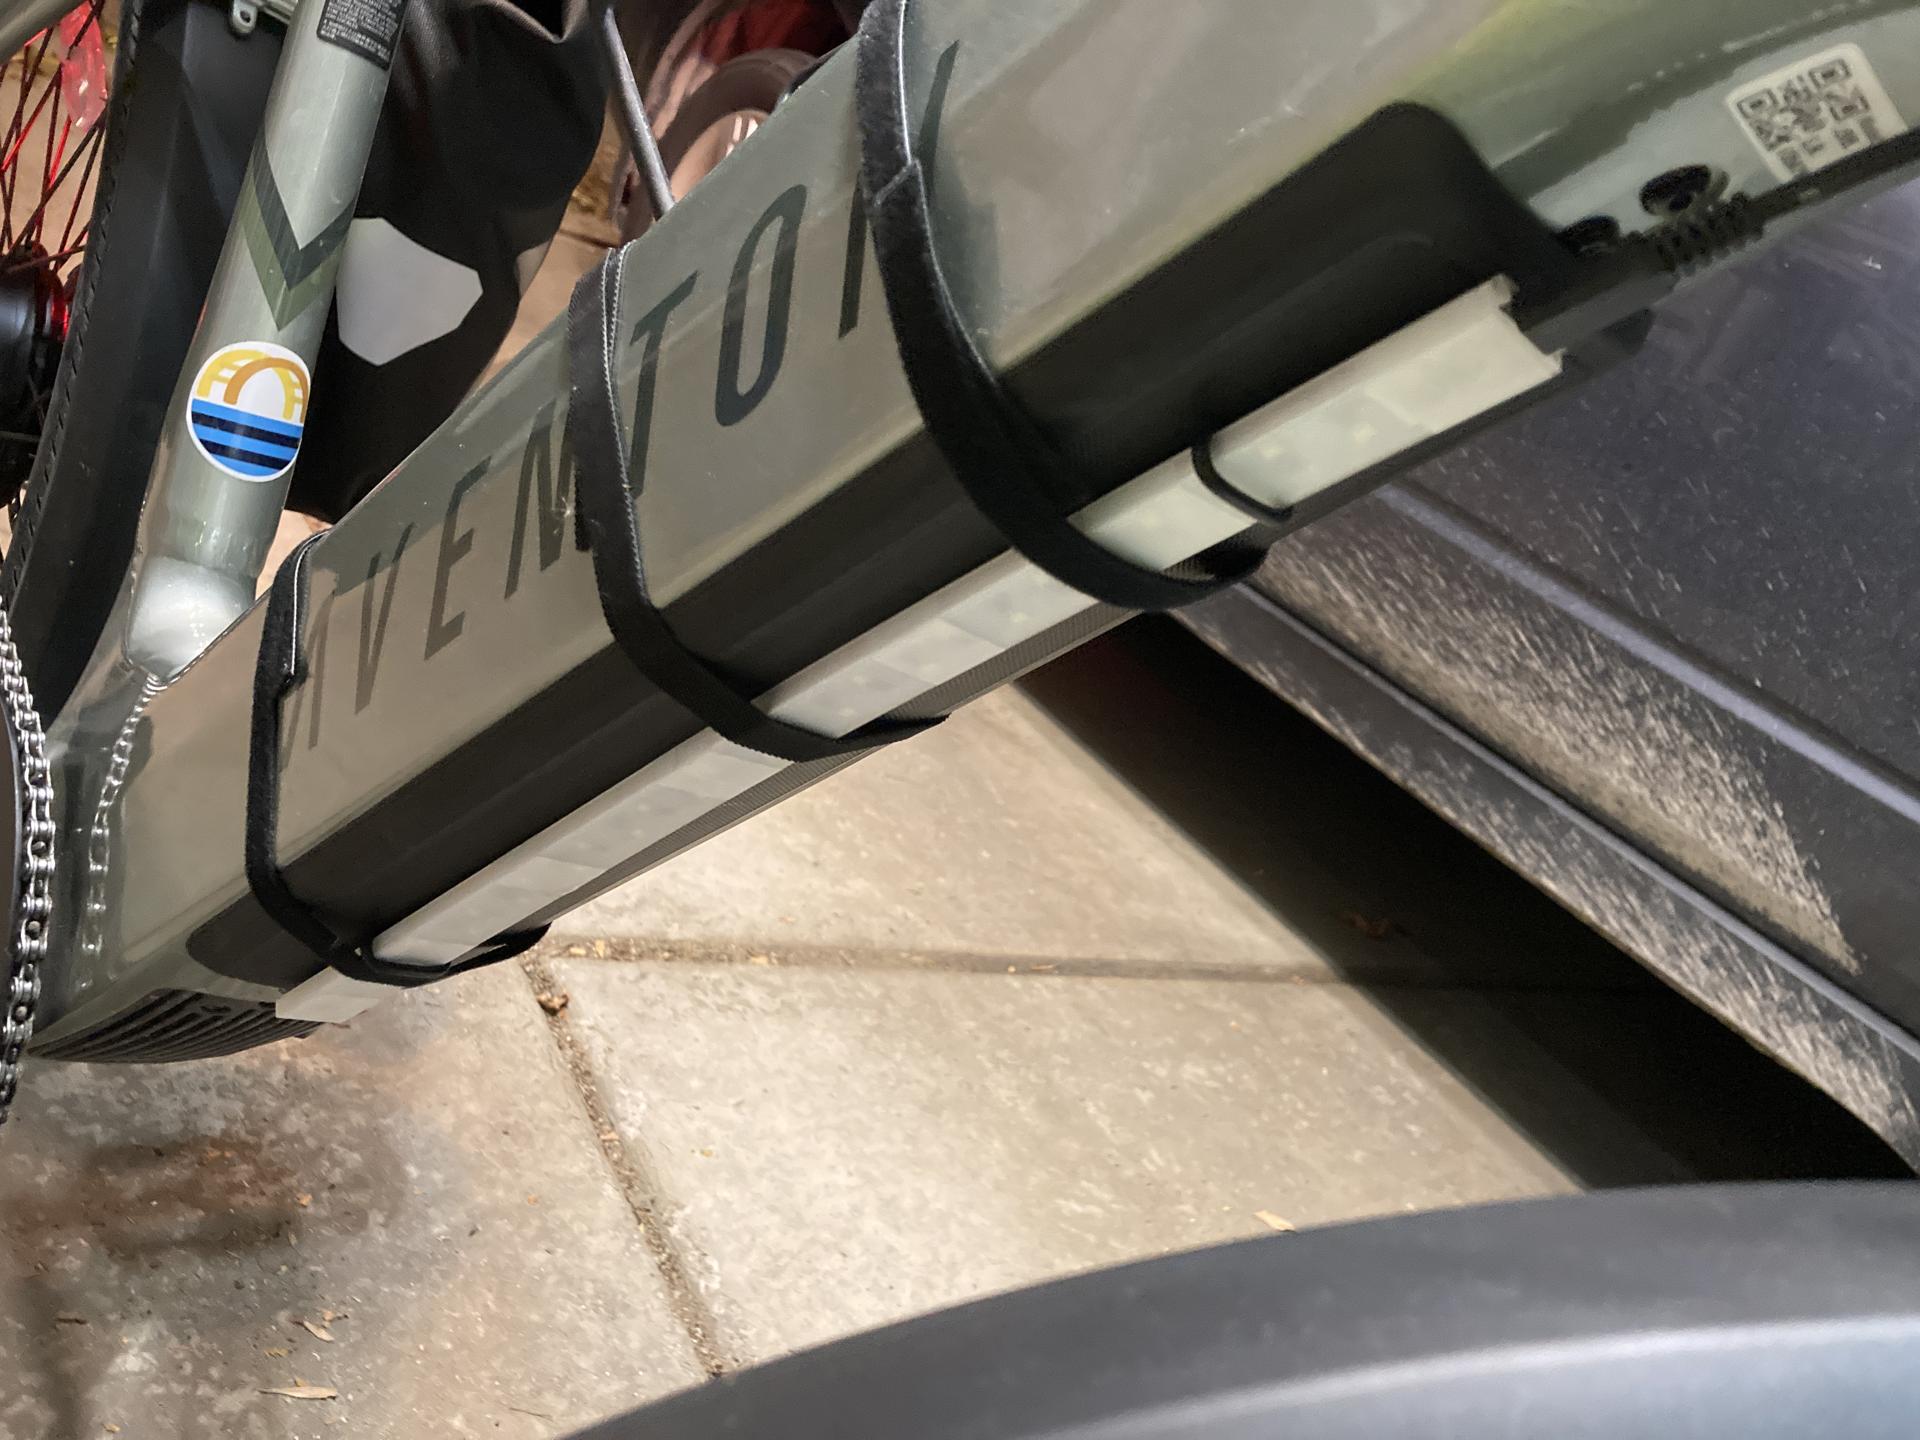
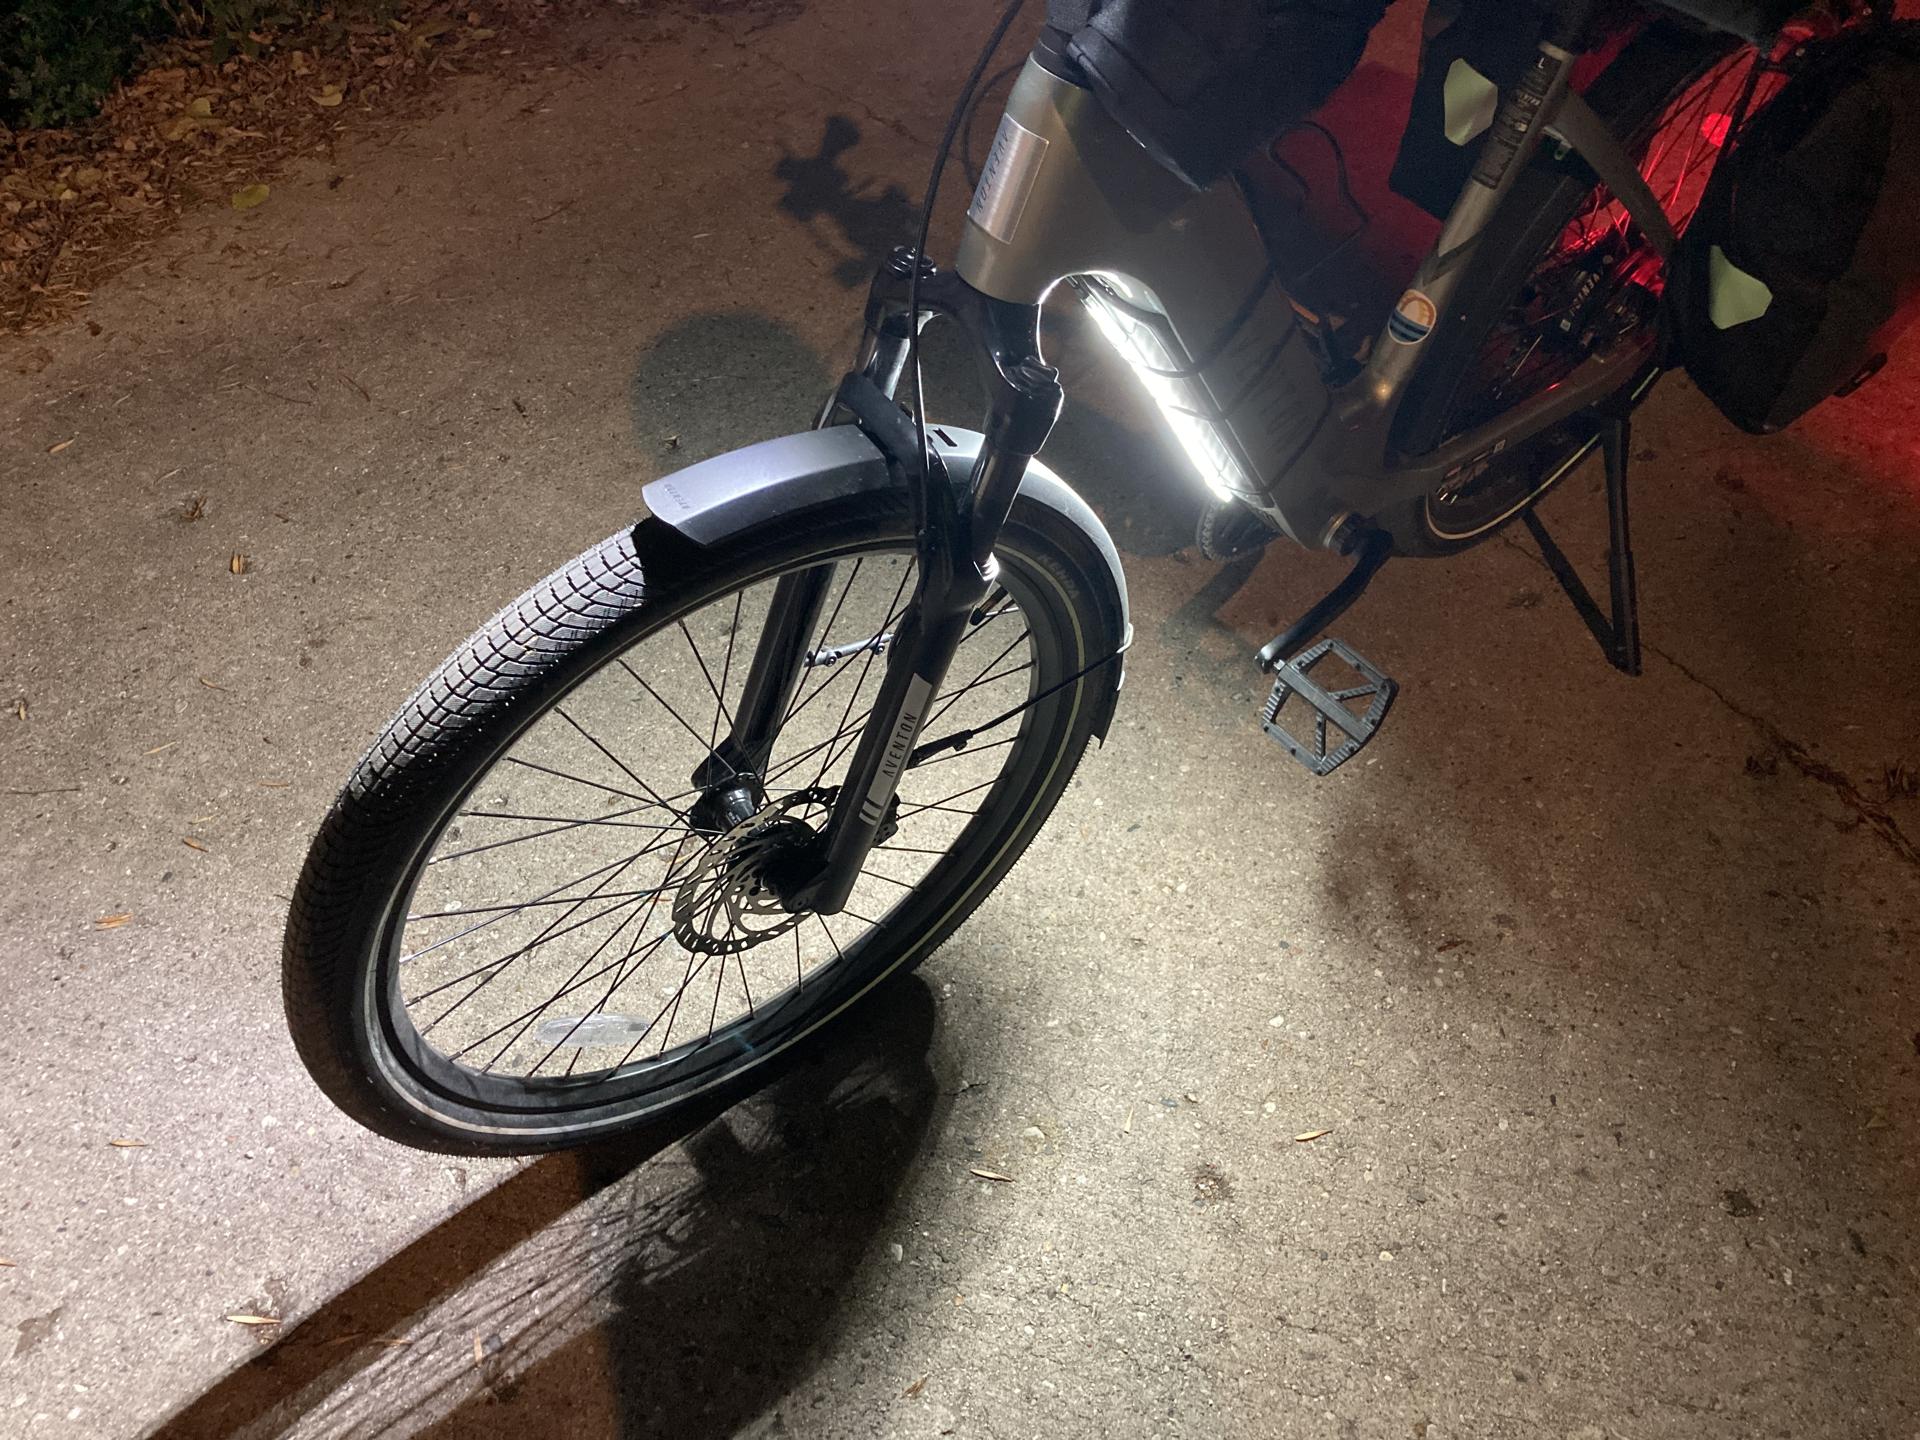
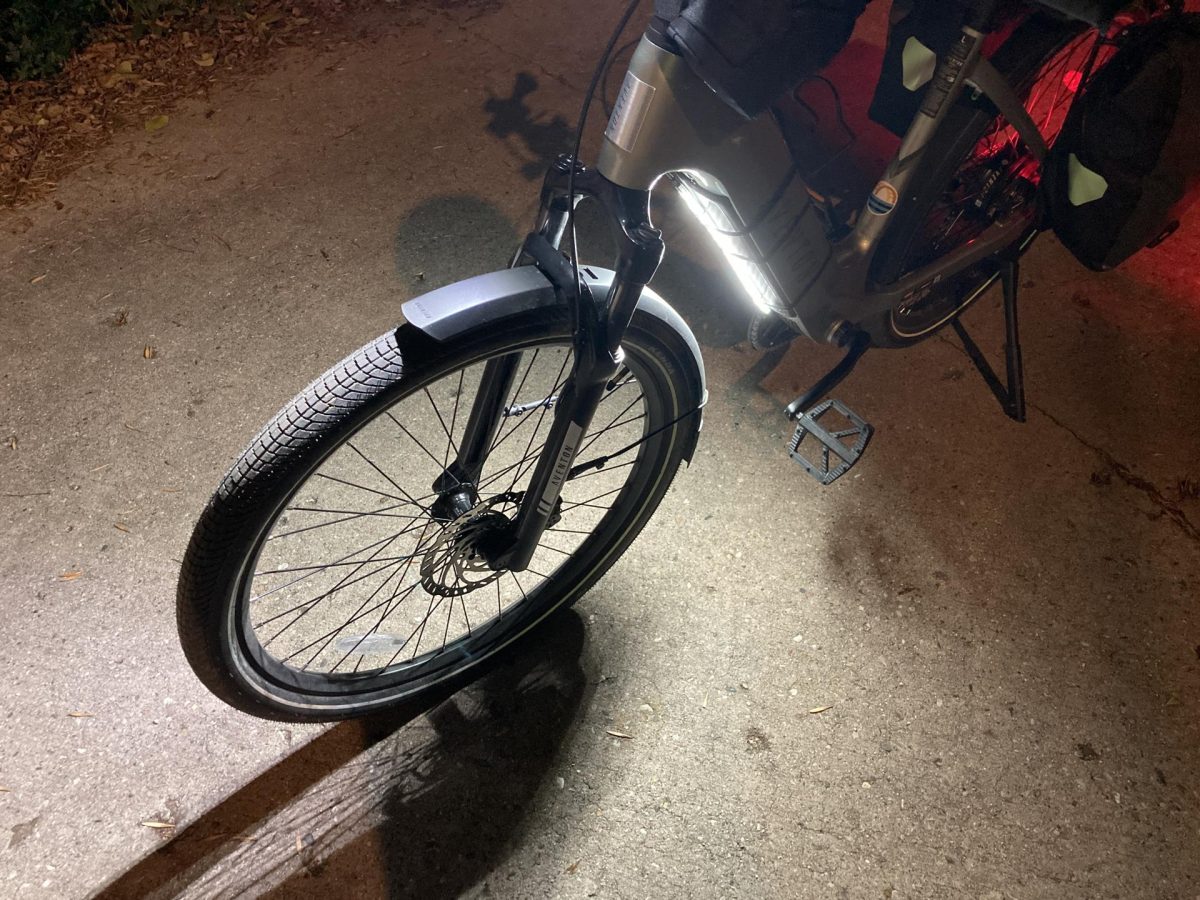
Here’s how I attach it to the downtube of the bike, which is where the battery is. The one little thing is that the strip could be about 3cm shorter and then I wouldn’t have to slide the whole strip up a bit to get to the charge port. (Maybe that’s a reason to make a new COB version?)
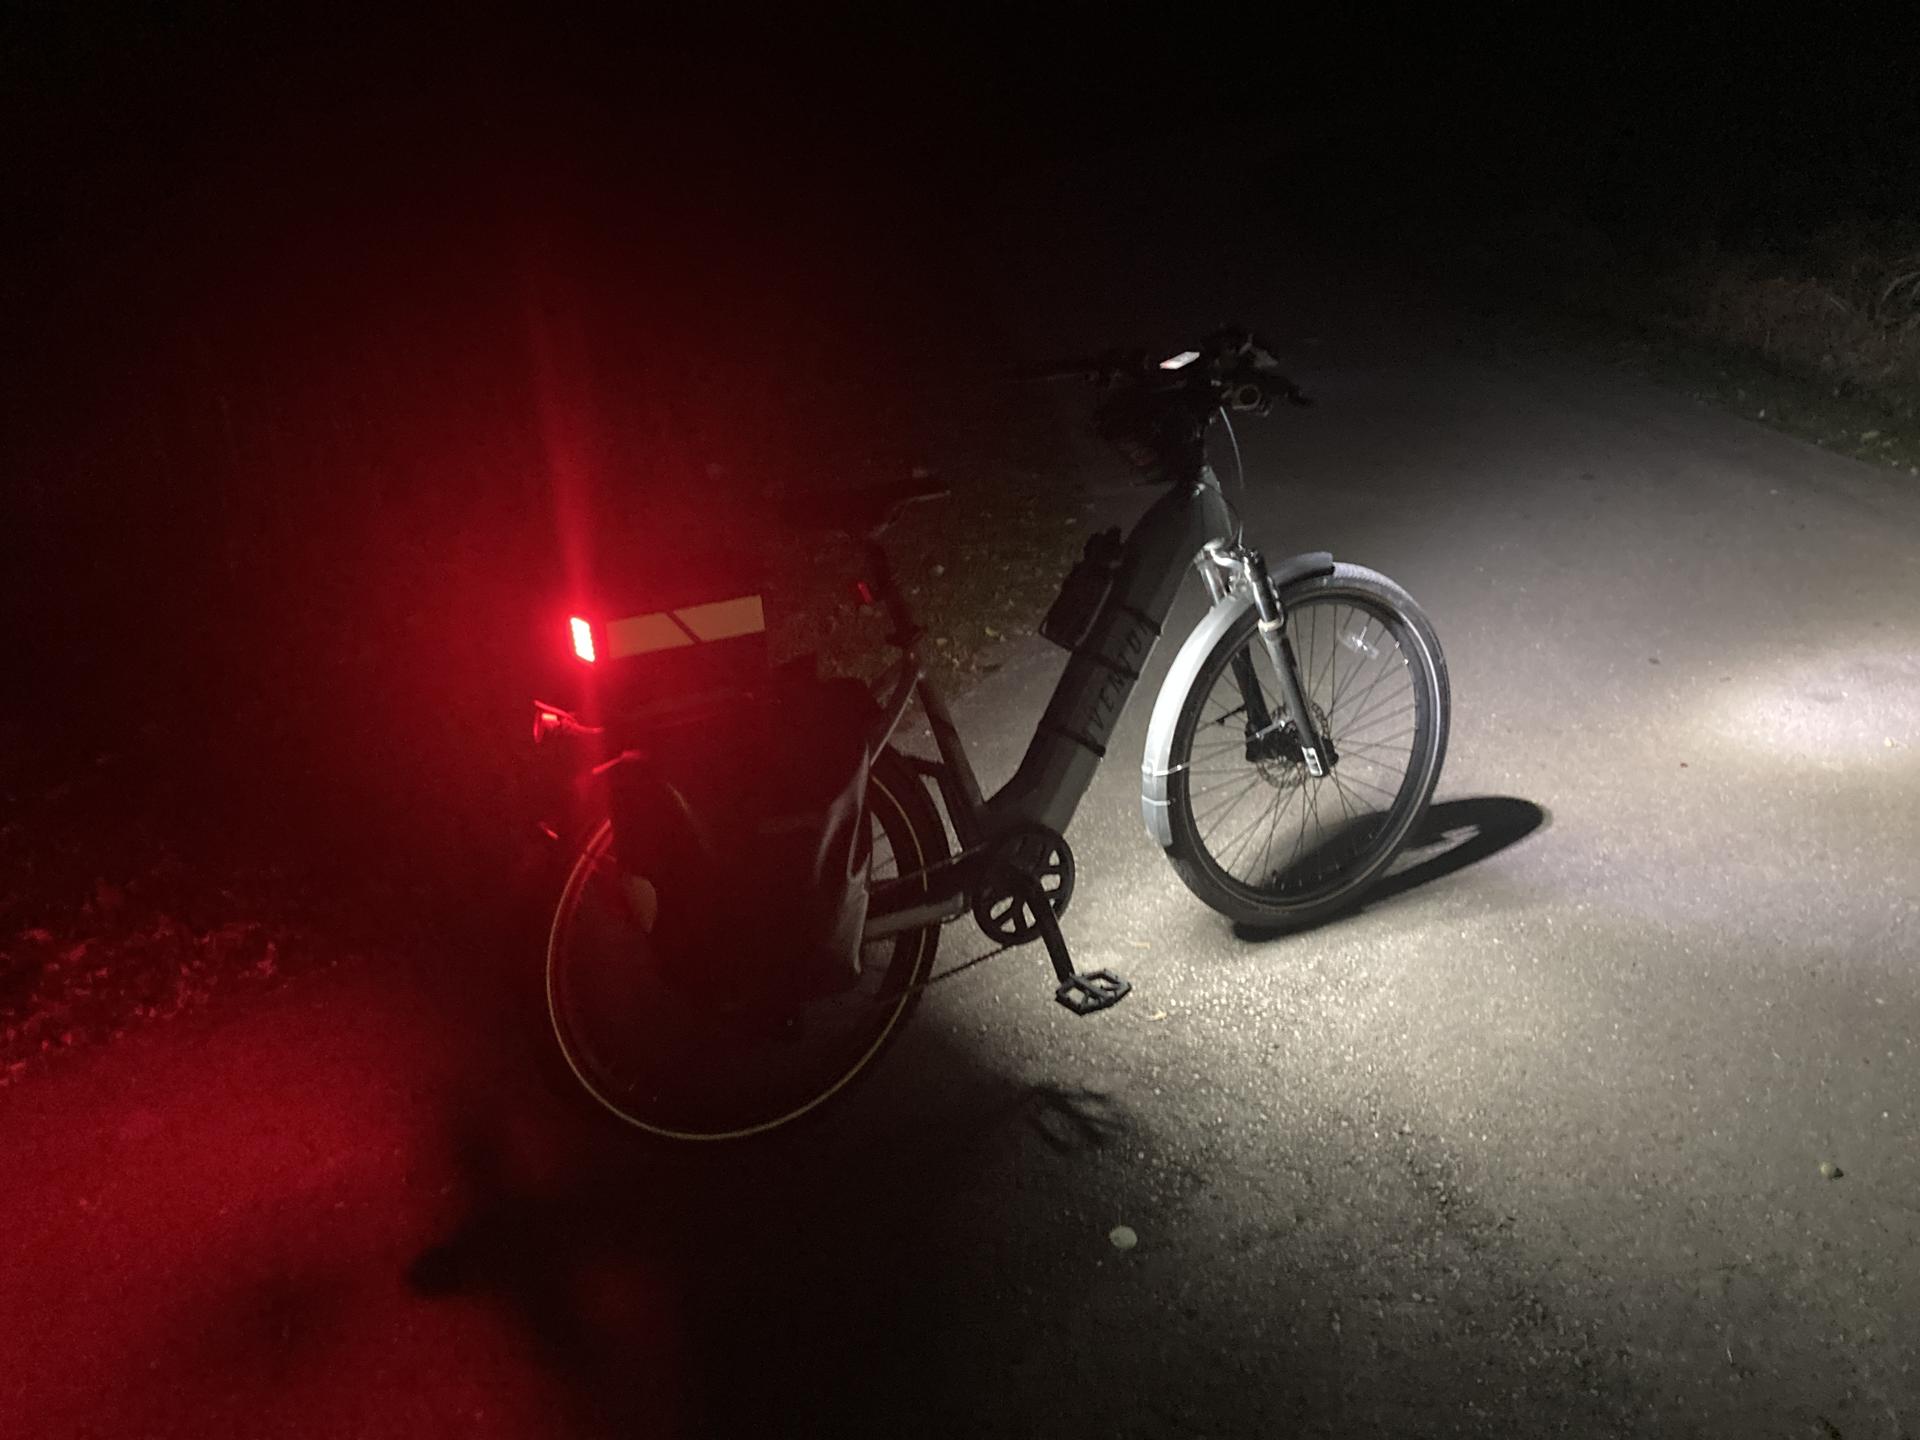
But hey, I think it works well! The above photo was taken on the Oak Leaf Trail, where there are no lights around, so it’s pretty much pitch dark there. The light definitely lights up the ground below and in front of the bike!
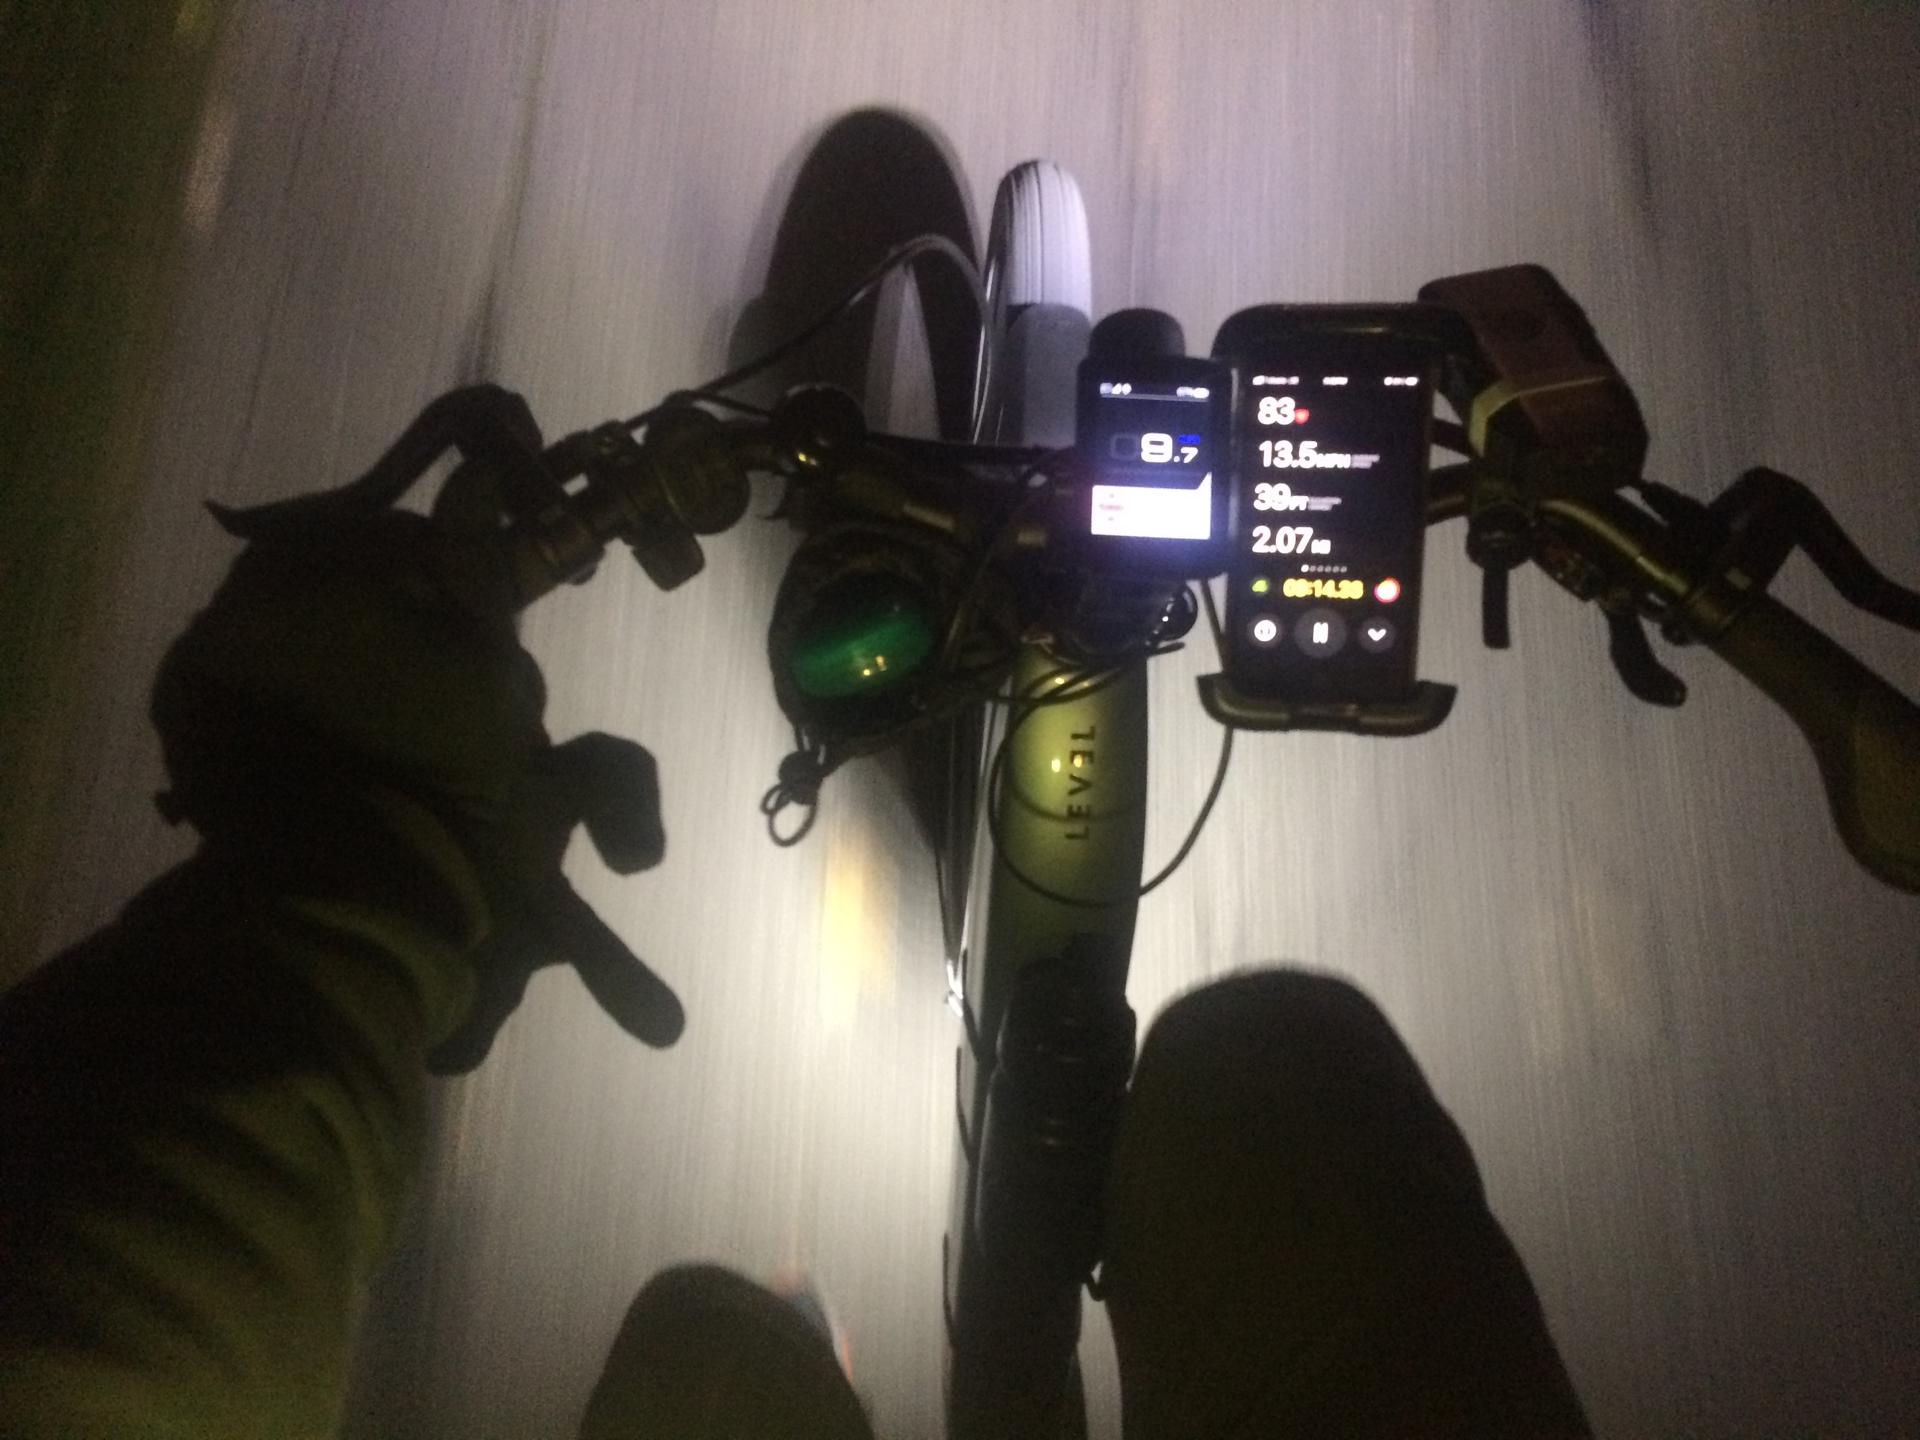
I commute home at 5pm and this time of year it is… dark. So anything I can do to light up me, the bike, the road, etc. and hope that drivers can see me is a good thing.
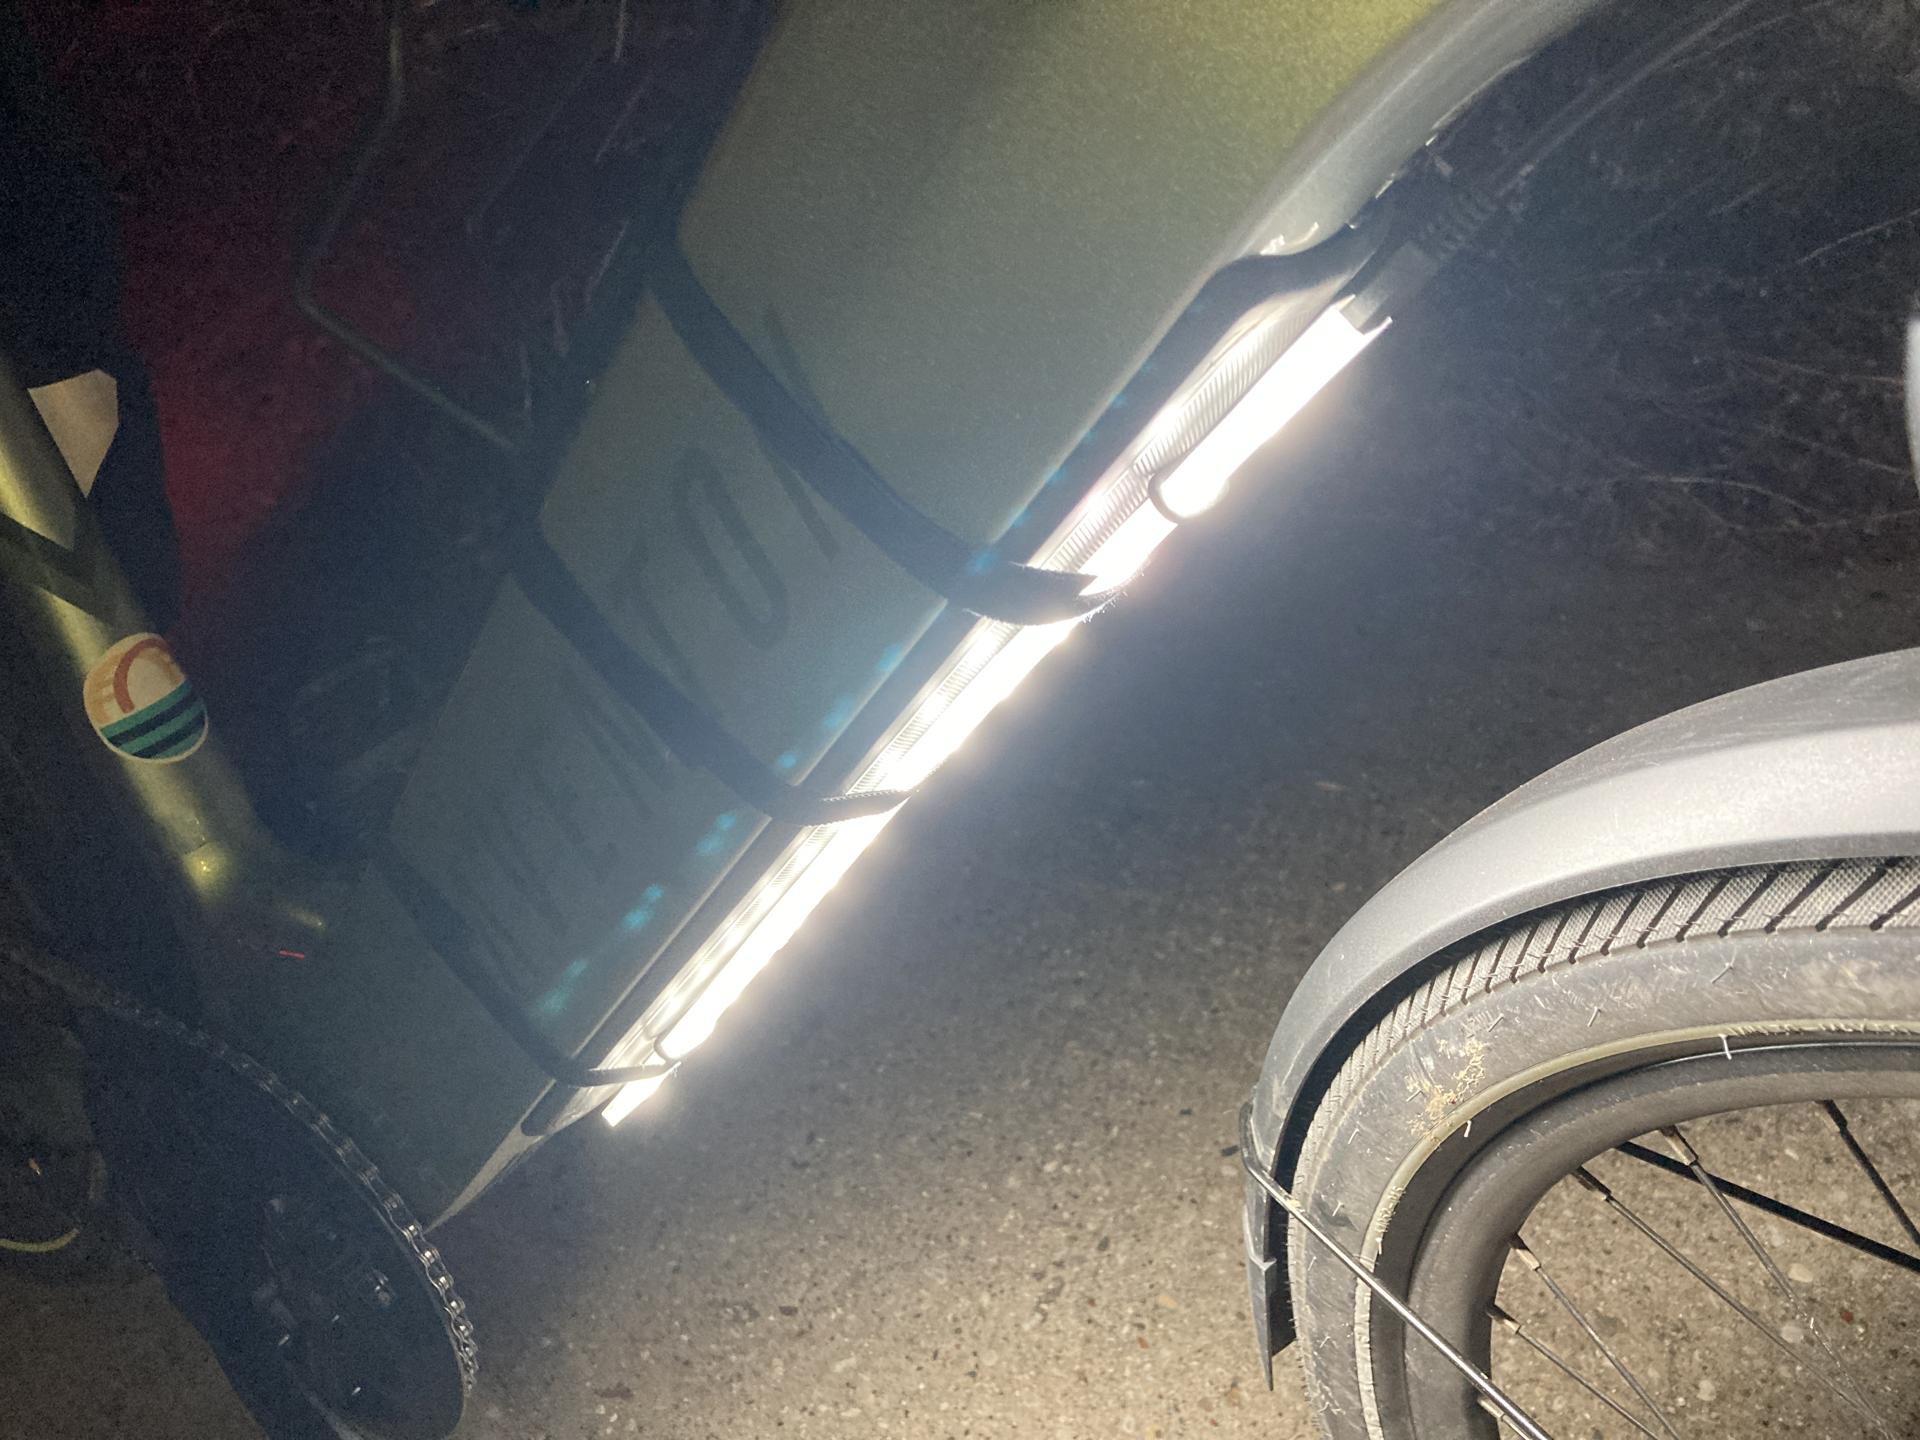
Many of the COB LED strips are just plain white (especially the cheap ones) but taking a note from Ryan it would be easy to 3D print a sleeve with colored filament to make lights a specific color. (And yes, I have one of Ryan’s lights! I just need to find the time to install it.)
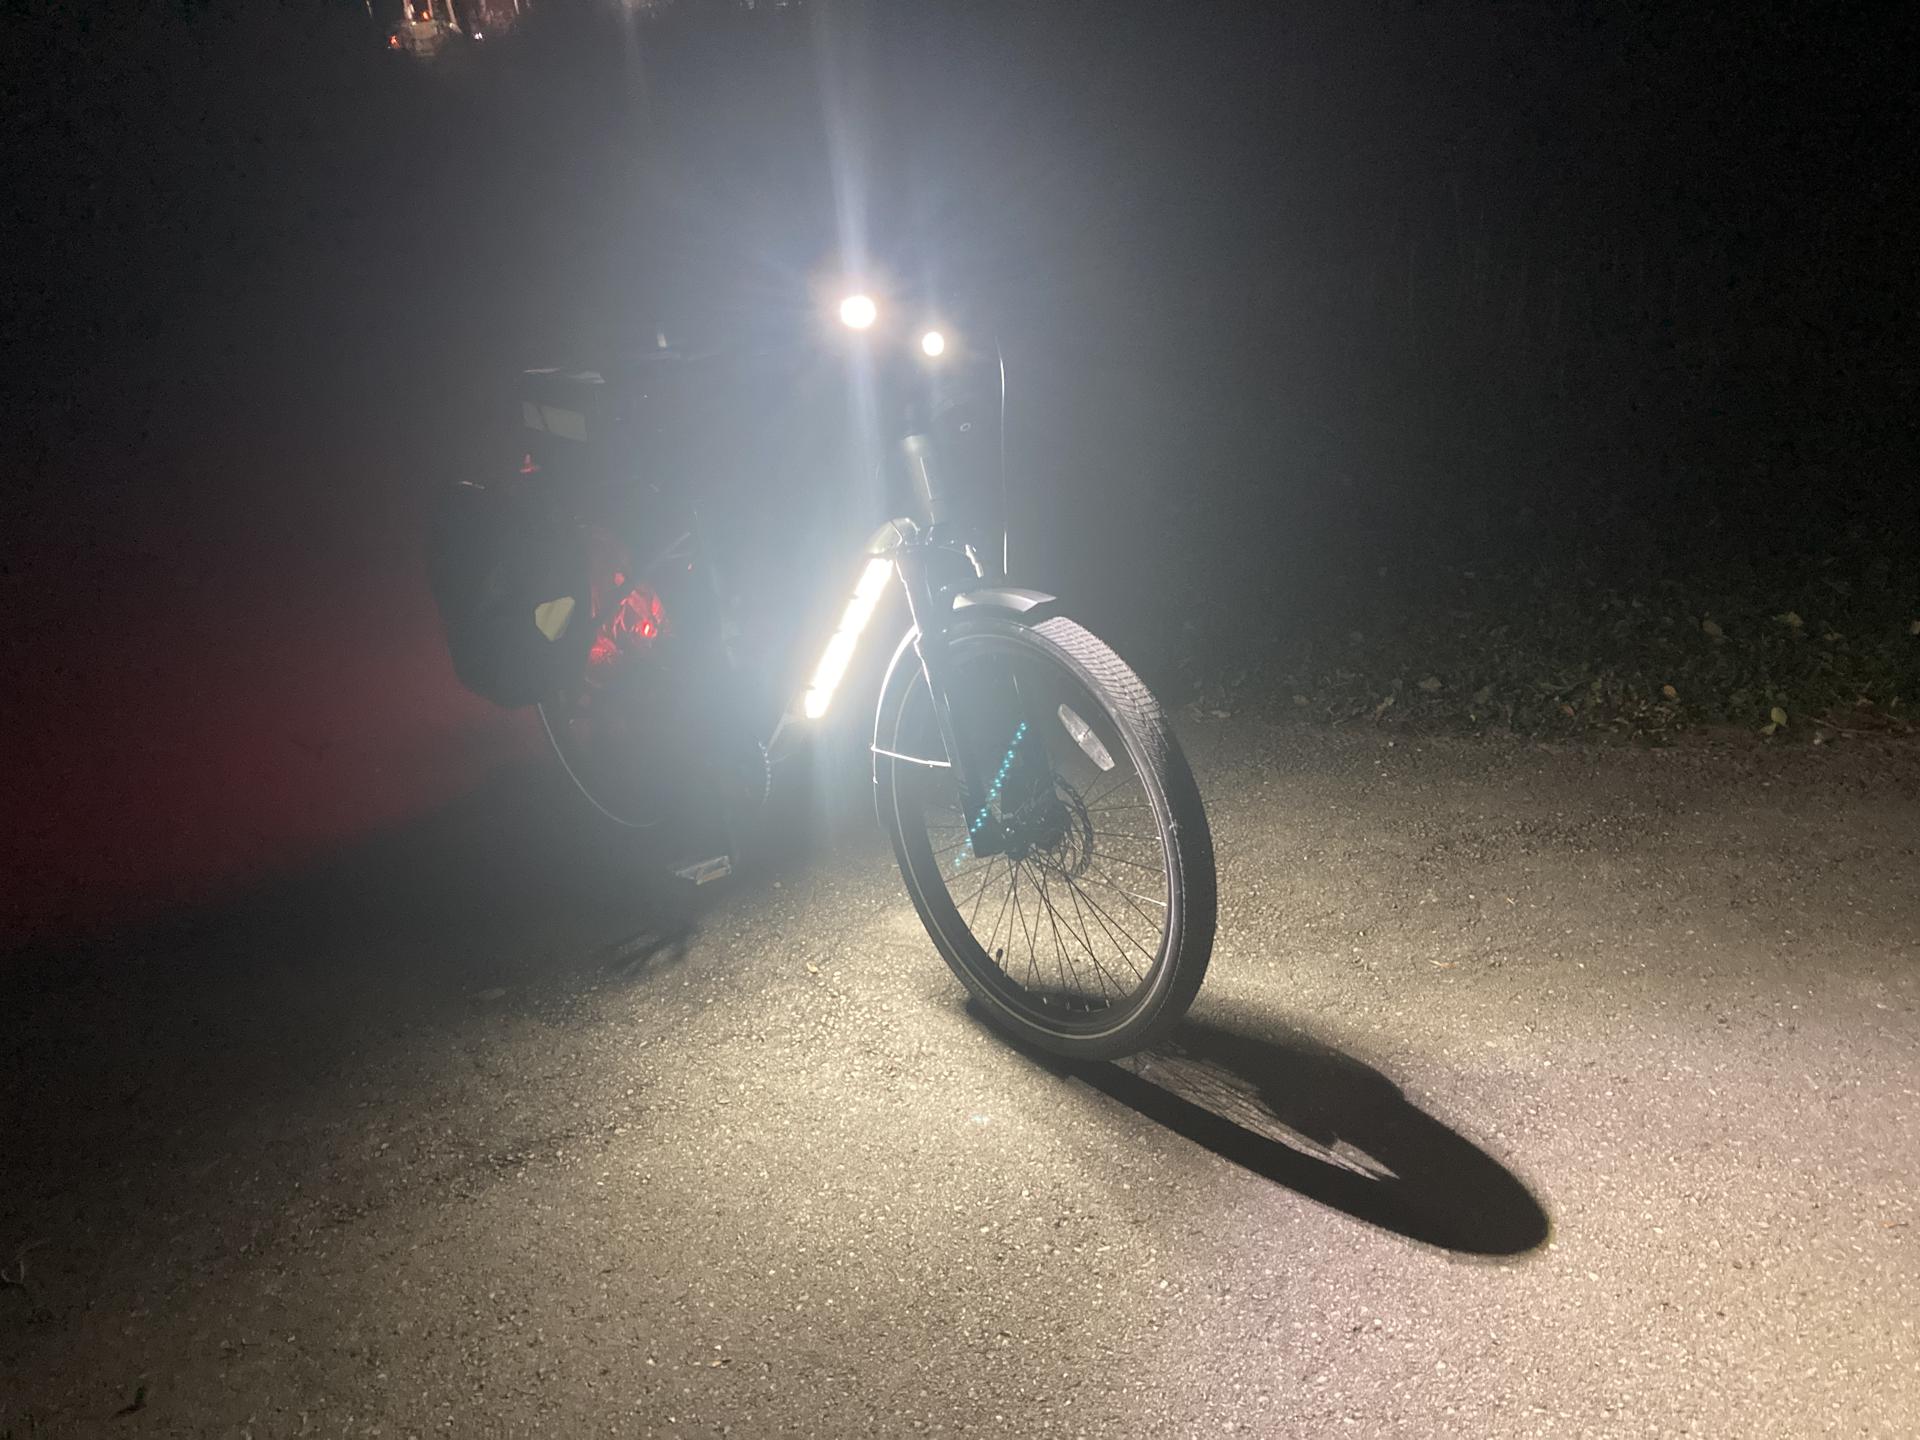
Note: Well, I managed to find my extra strip of COB LEDs and it’s actually got an 18″ long USB cable built into it. So making another one of these lights would be pretty darn simple… I might just do that since it would fix the 3cm issue I mentioned above.

Hey! It also looks like you can cut COB strips! So by cutting a COB strip I could make a shorter strip, a wider strip, etc. so yeah… I’ve got a few ideas now!

Categories
Uncategorized

Giant LED Cube

You know when you mean to do something and then forgot and a few years pass? Okay then… I wrote the post Designing a Giant LED Cube in 2018 and hey, it’s time for the next post!

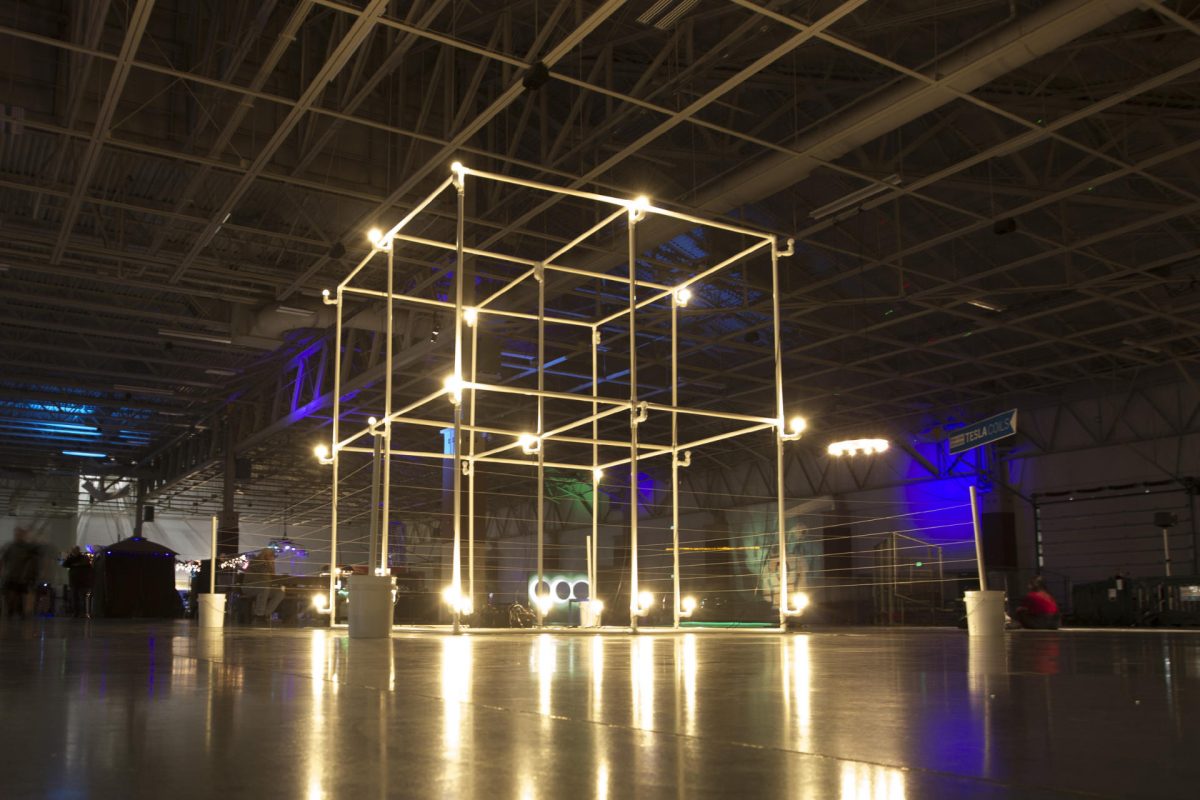
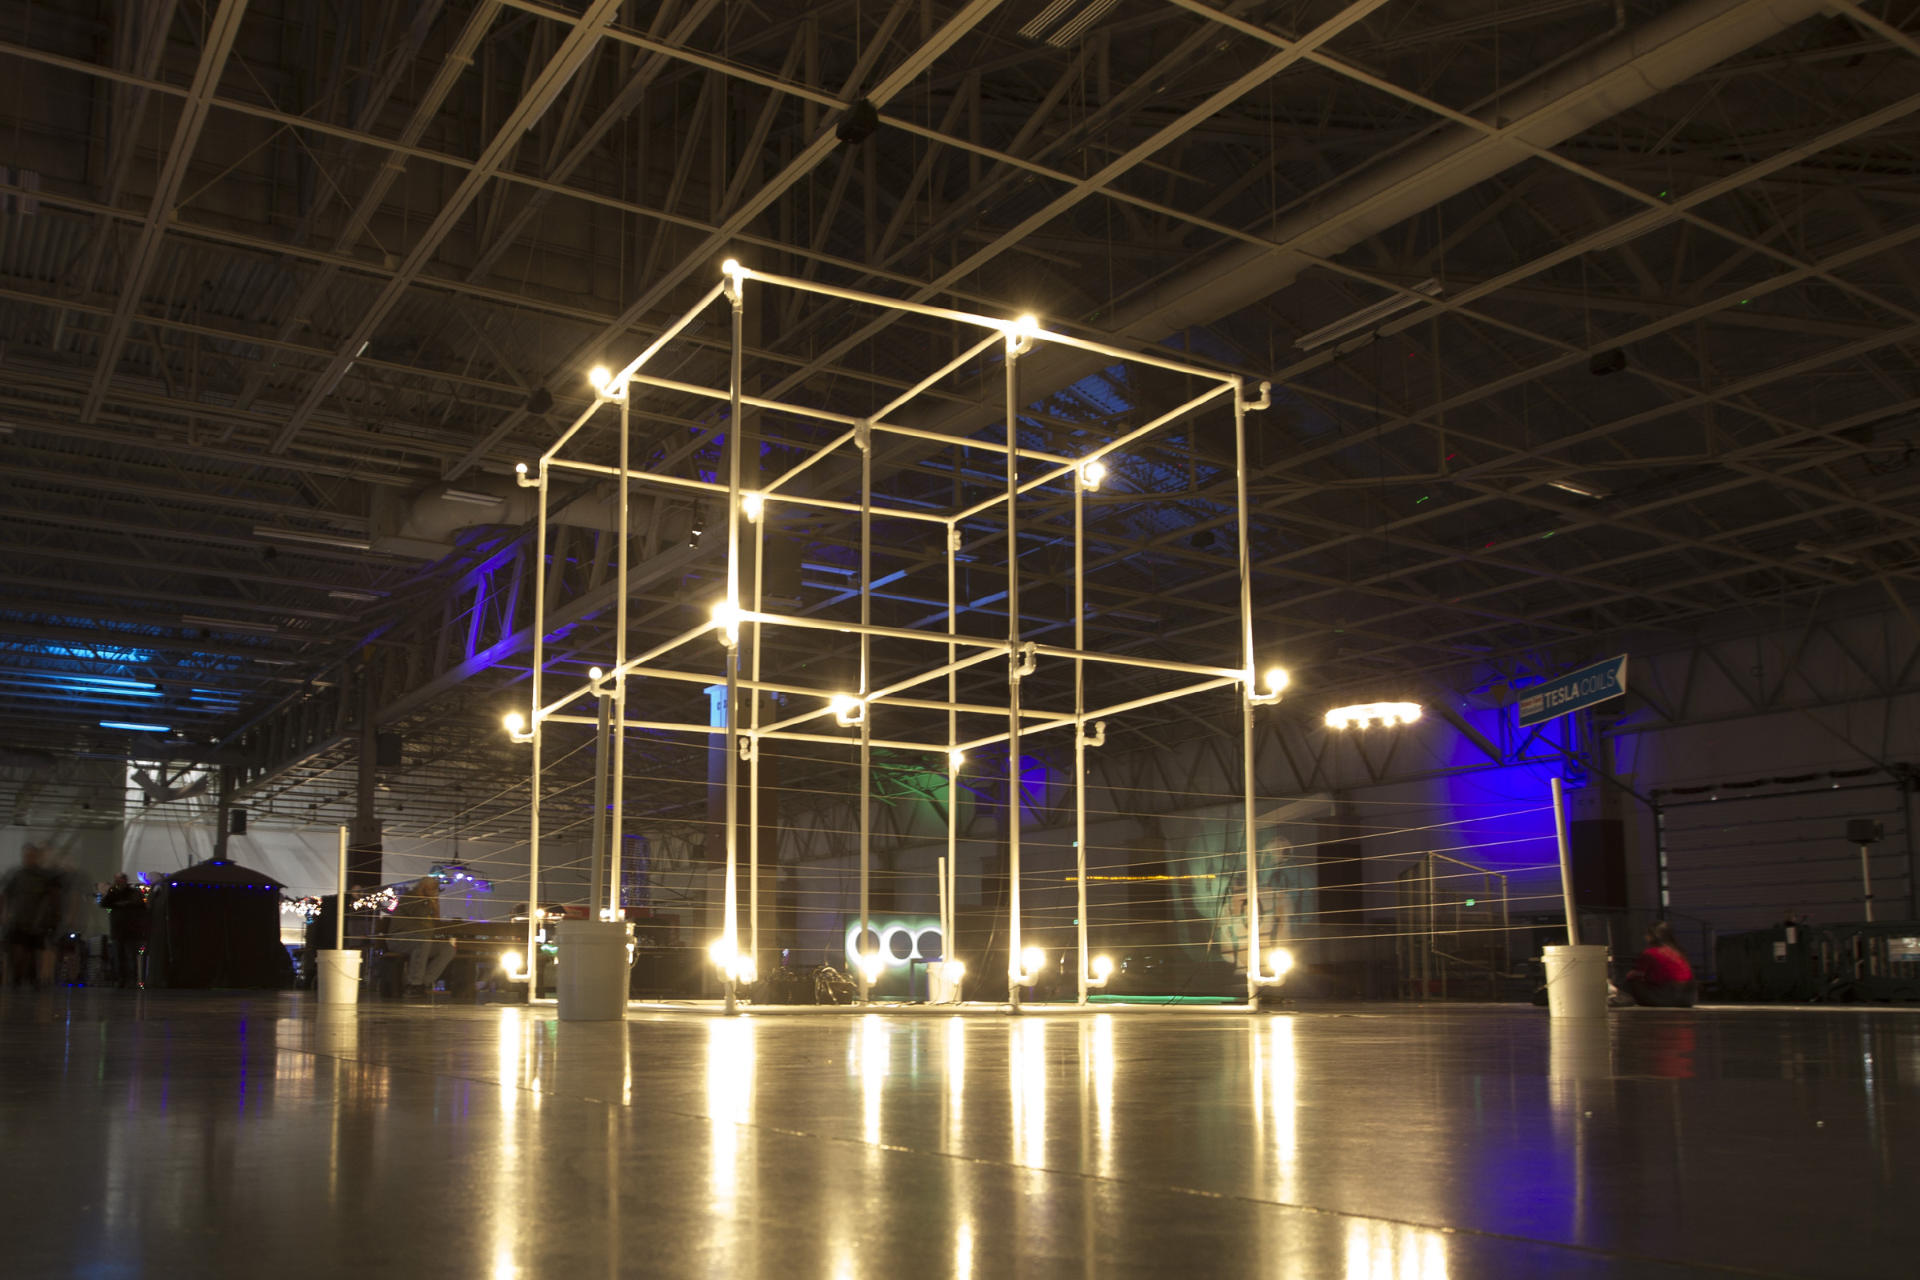
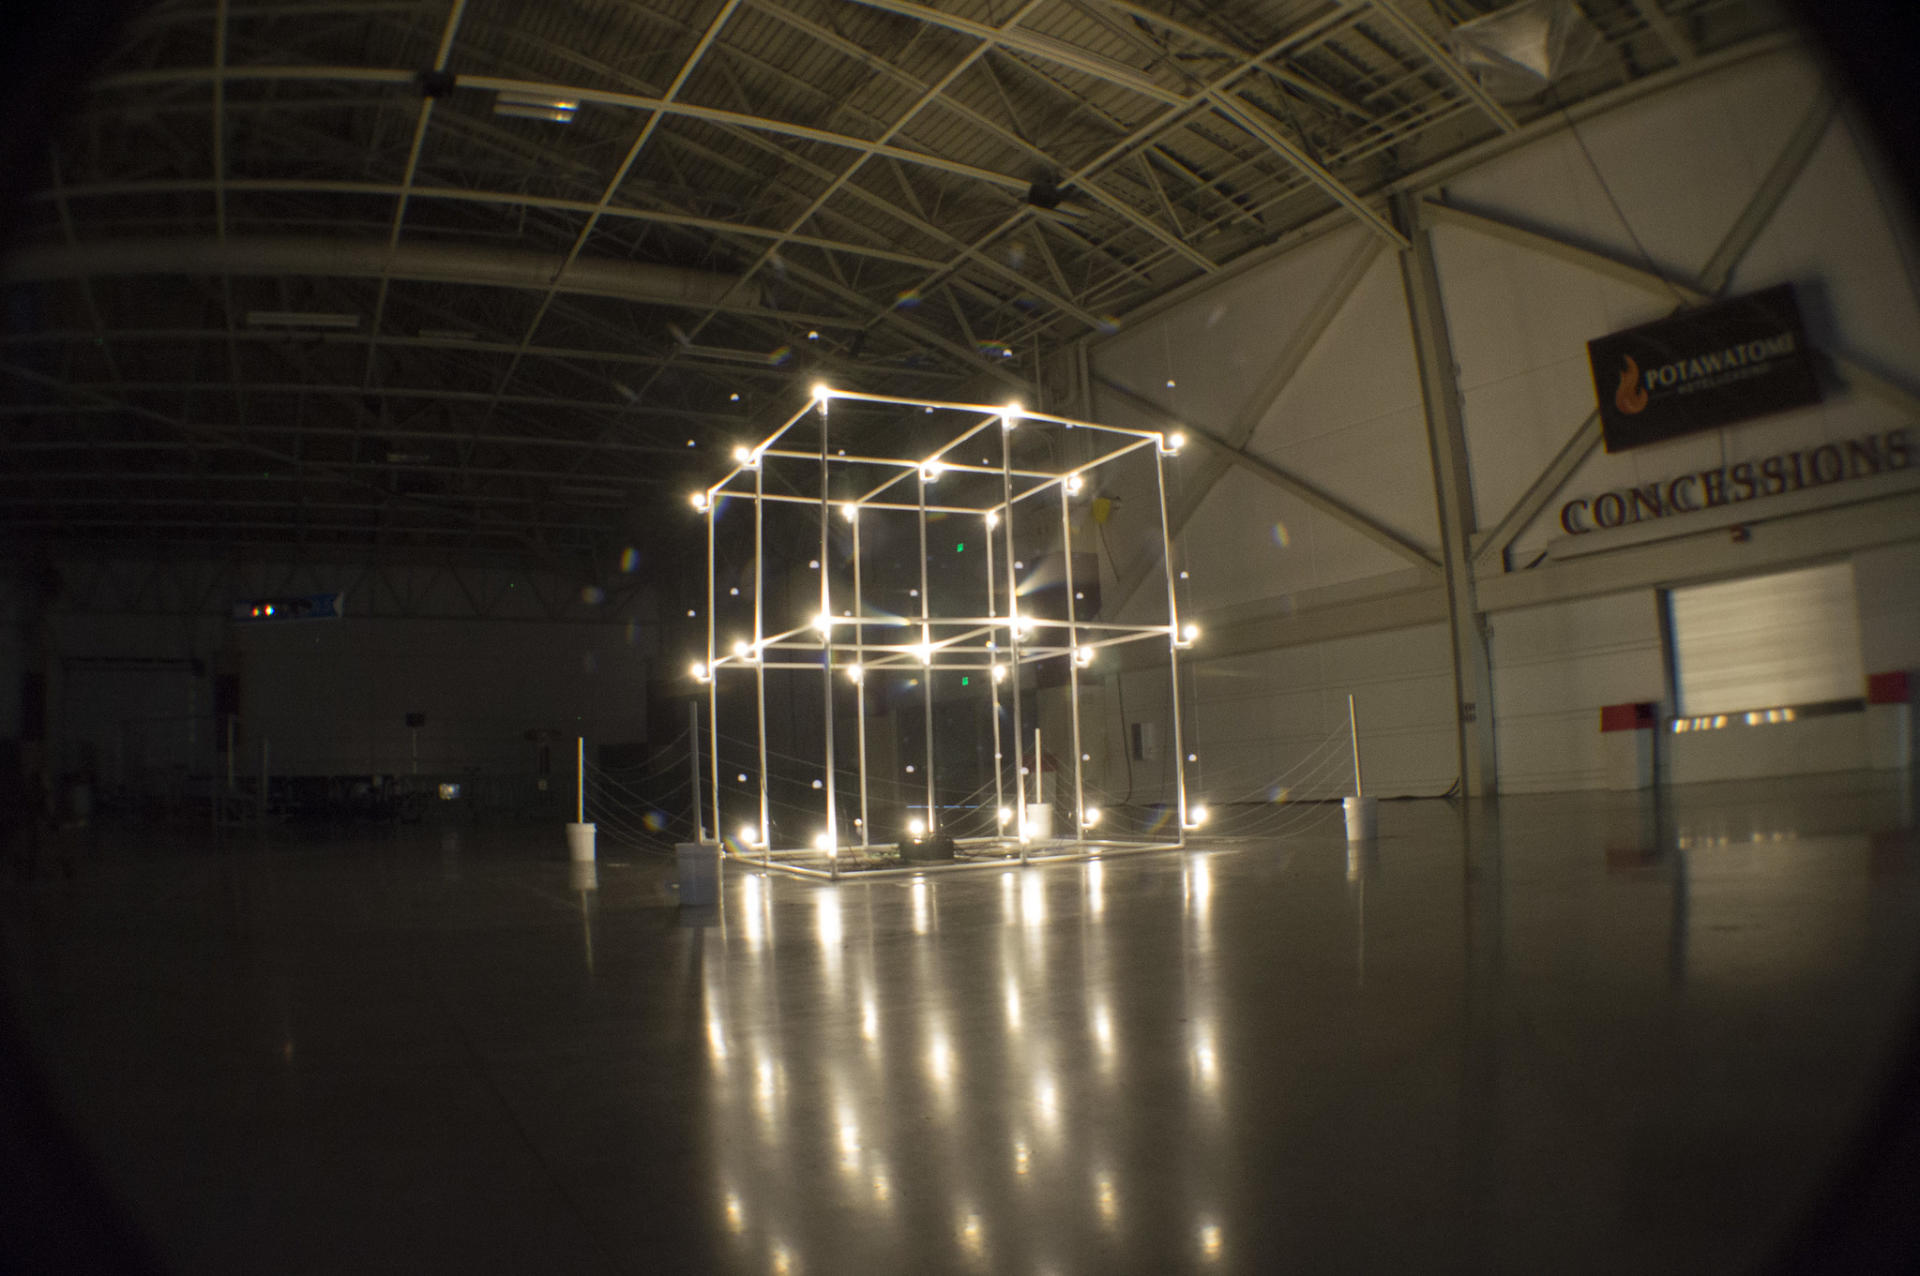
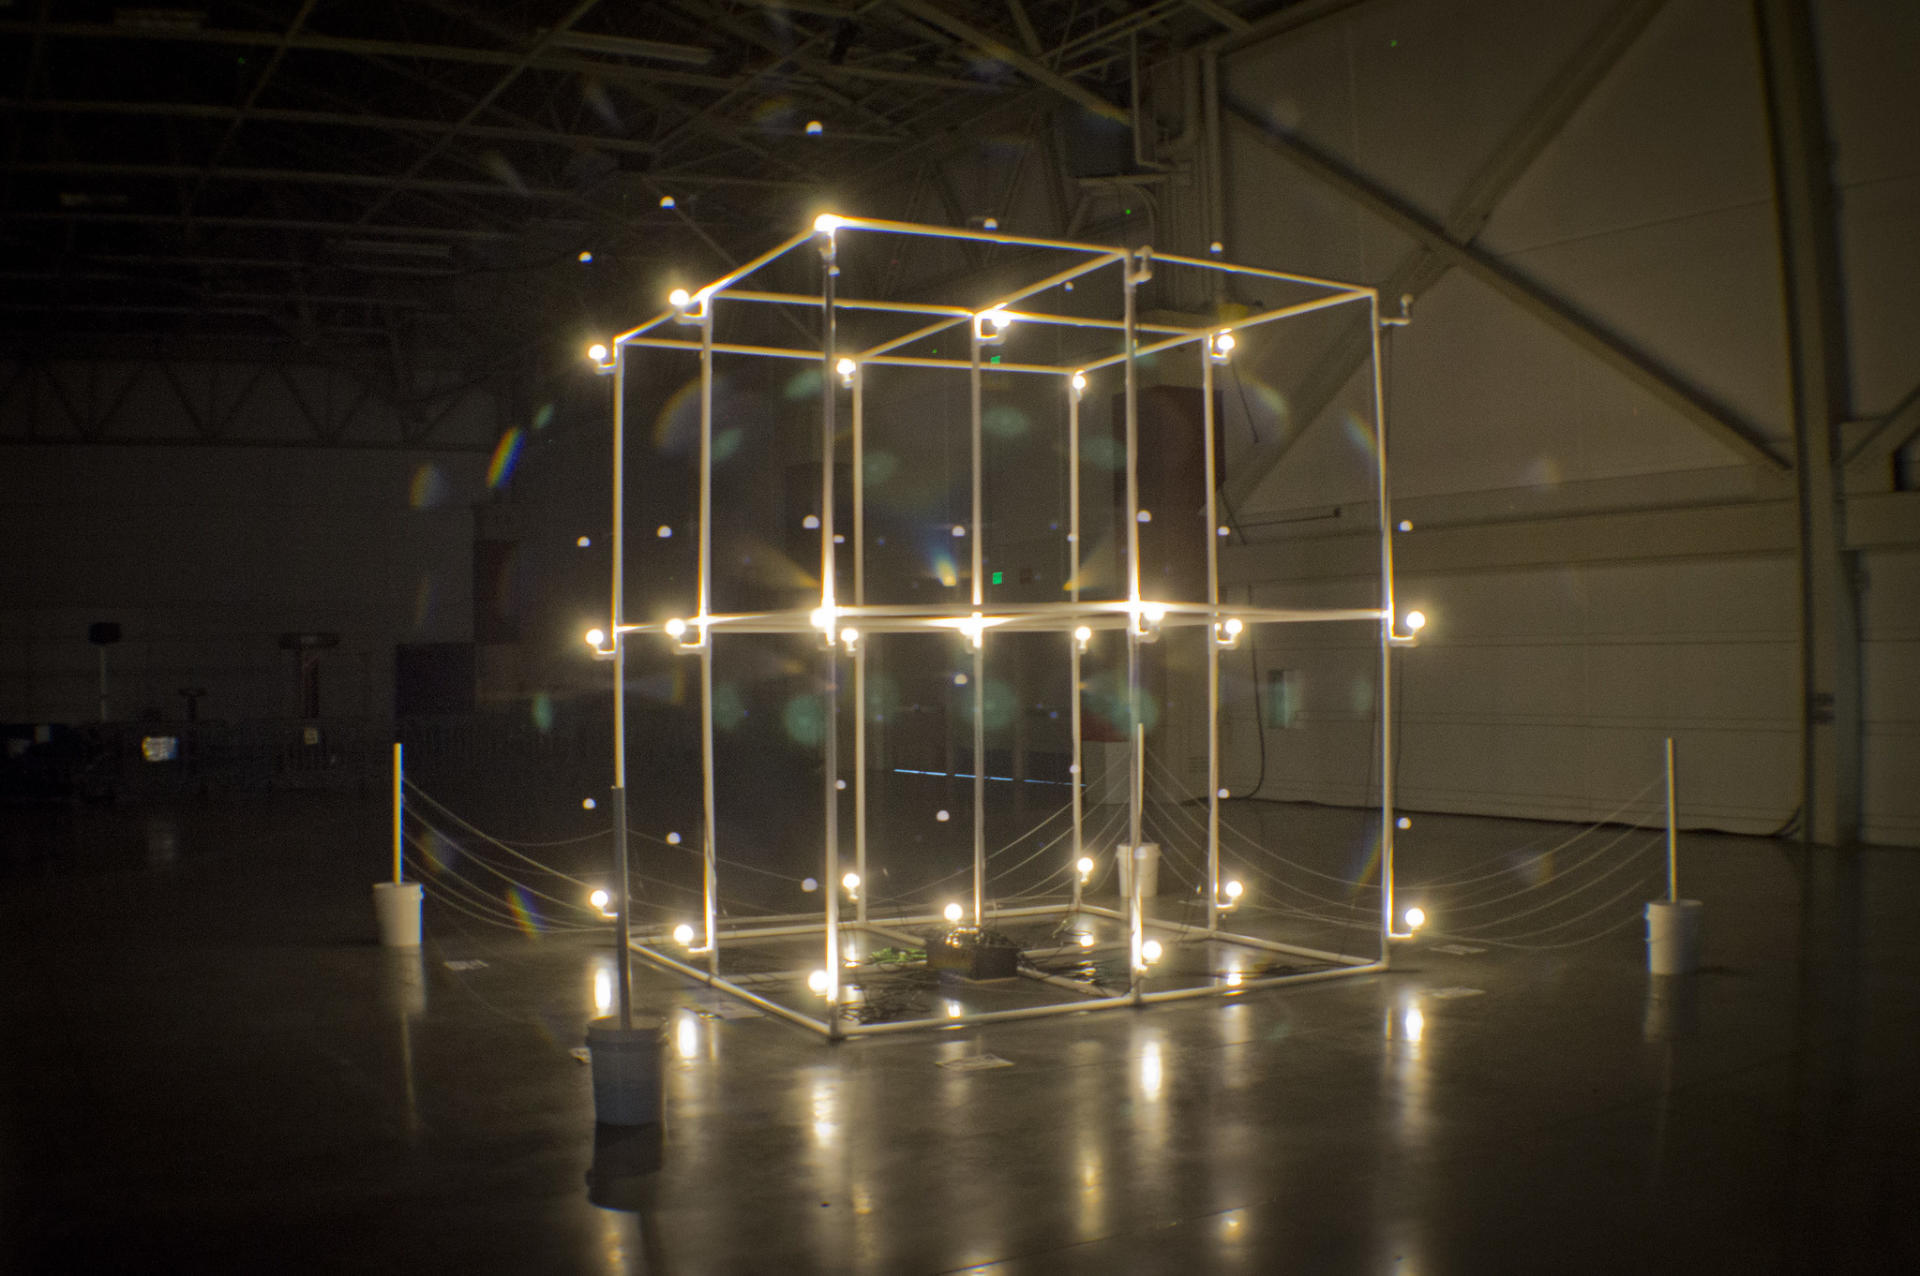
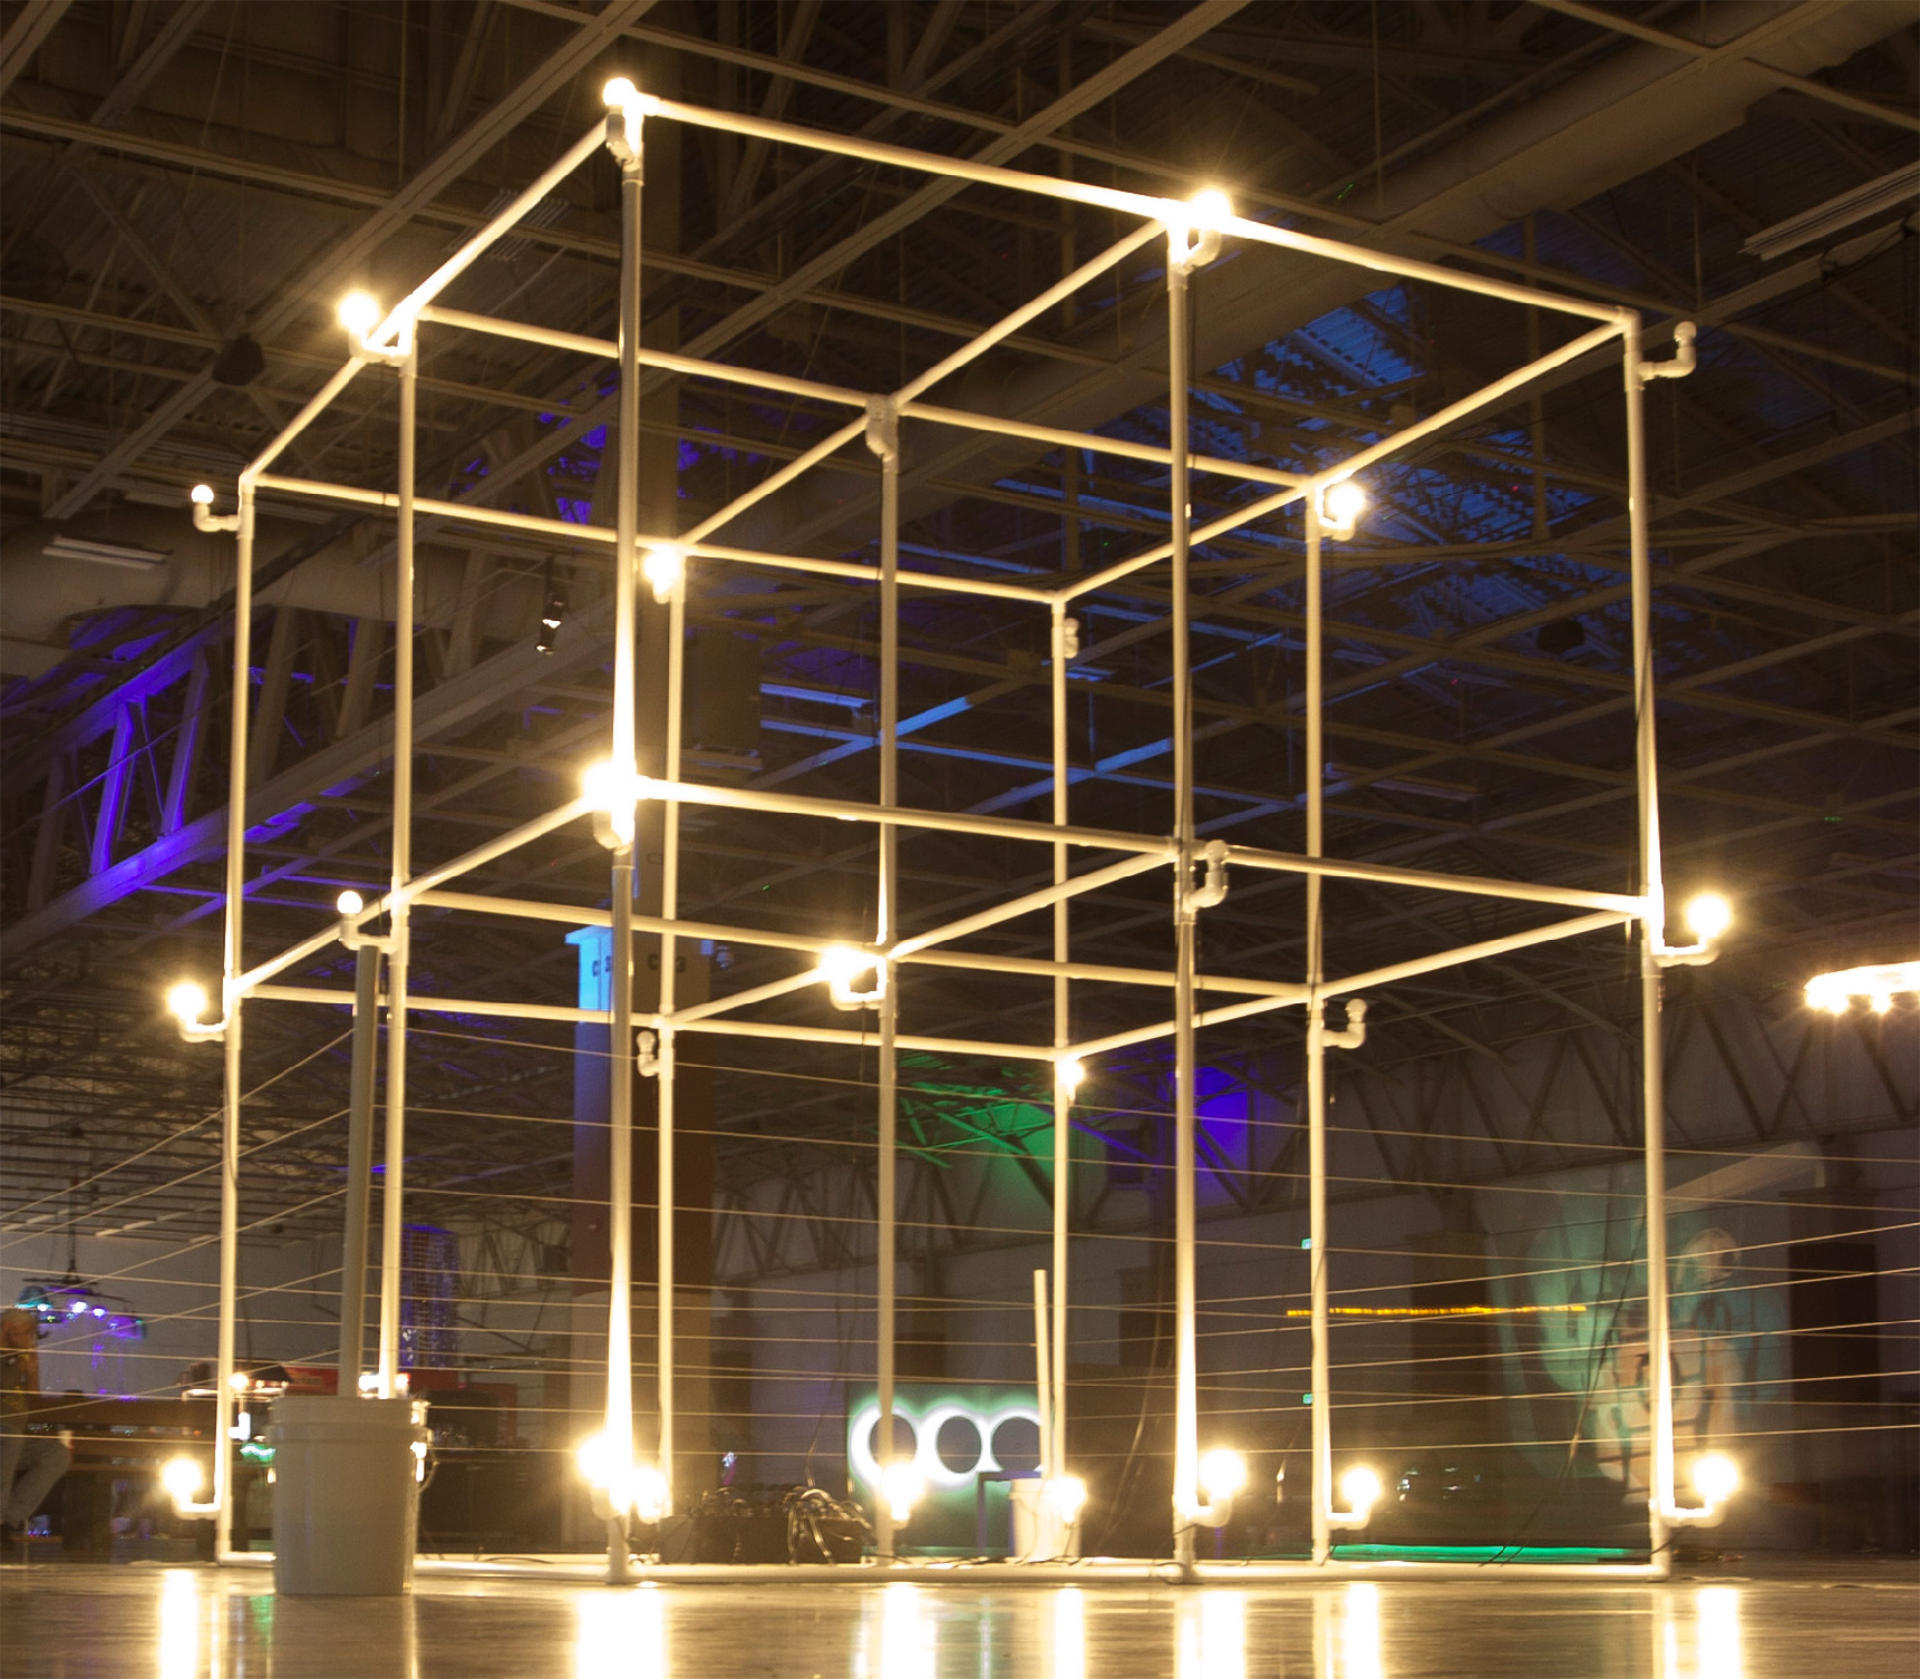
Anyway, I built what was (jokingly) call the “World’s Largest LED Cube!” but eventually settled on “Giant LED Cube” and here are some photos and videos showing it off. And yes, since it uses “LED Bulbs” I consider it an LED Cube. It’s not technically a “cube” because it’s a bit taller in the Z direction but hey, close enough!

To connect all the PCV pipes together I got eight 3-Way Elbows, twelve 4-Way Tees, eight 5-Way Crosses… and 27 Elbows, 28 Tees and a ton of PVC pipe, obviously!

The LED Cube was shown at Maker Faire Milwaukee in 2018 and 2019, as well as the Fall Experiment in 2019, The Elkhorn Mini Maker Faire in 2019, and the Madison Mini Maker Faire in 2019. Sadly at the end of 2019 the department I worked for got shut down and I was left with just the control box, the electronics, and the PVC connectors, as I didn’t have space for all the PVC pipes, though I did get some (not all) of them later on and thought about building a smaller version of the cube but life stuff happened in 2020. Sigh…

While this was a large sculpture (the largest I ever worked on) it was fairly easy to put up and take down, and could fit in a reasonably sized vehicle like a van, small truck, or even a Honda Element. the 5 foot pieces of PVC pipe did take up some room but 5 feet isn’t too unwieldy to deal with. All the other stuff fit in a few bins.


Note: This post may contain Affiliate Links. Read More.

Categories
Uncategorized

Designing a Giant LED Cube

giant-led-cube-02

This year my “big” project for Maker Faire Milwaukee was a Giant LED Cube. In this post I’ll talk about designing it, and in a follow up post I’ll talk about building it.

I should mention that the idea for this started maybe three years ago. I think it was during a meeting for Maker Faire at Milwaukee Makerspace and I tossed out the idea of building a giant light sculpture using light bulbs. Lance and Chris talked about it a bit and Tom started looking up parts on Alibaba. Nothing came of it that year, and I sort of forgot about it for a while. In fact, I really didn’t think about it again until after we completed the DecaLight last year. Once the two dimensional relay controlled light bulb thing was done I thought going three dimensional would be a good idea.

I modeled the cube in OpenSCAD, and then animated it just for fun. I figured out how many pieces of each PVC joint I would need, and while I originally thought a 20′ cube would be a good idea, after some initial tests (and the unavailability of 10′ PVC pipe) I ended up going with a 10′ cube so the 5′ PVC pipe I could get would work.

I picked up Jordan Bunker’s book PVC and Pipe Engineer: Put Together Cool, Easy, Maker-Friendly Stuff last year and then ended up learning about FORMUFIT which allows you to build furniture using PVC pipe. I had a plan!

giant-led-cube-01

Here’s the first sketch of the Giant LED Cube. By now I had decided that I would use LED light bulbs and standard household lamp sockets. The nice thing about using such common parts is that they are very cheap. I found these Black Bakelite Fixture Socket with Terminals and ordered some so I could test the fit. It was close enough that it would work, and I just needed to make a small adapter. Well, at least 27 small adapters.

giant-led-cube-04

I designed and 3D printed over 30 of these using clear ABS, which is remarkably close to being white, and since you wouldn’t really see them, I was fine with the close match. I cranked these out so I’d be ready when they were needed. Like many parts of this project, they are just press fit into place. The entire thing was designed to be easily assembled and disassembled for making transport and storage an simple affair.

giant-led-cube-03

I had the basic design of the cube figured out, so I decided to work on the controller. Since we’d have 27 LED light bulbs I decided to use an Arduino Mega, which had plenty of I/O pins, along with two 16 channel relay boards. LED light bulbs are pretty lower power (compared to incandescent bulbs, anyway) so even though they’re 110 volts AC, 27 bulbs all on at the same time probably pulled less than 6 amps.

The image above represents my first attempt at layout out the controller, which I eventually abandoned. The screw terminals ended up not being a good idea. I would be pretty busy running Maker Faire so I assumed that I could find helpers able to strip wire, put them into the screw terminals, and get it all right. After attempting this myself on a small scale I decided that it needed to be even simpler, and clear enough that almost anyone could do the setup. So I scrapped the screw terminals. Around this time I also decided that running all of the power cords inside the PVC was going to be tedious and difficult, so with the decision to just run the cords on the outside (at least for this installation) I decided to just use standard household plugs. This would allow nearly anyone to just match up some numbers and plug things in. Simple wins!

The design process for the Giant LED Cube wasn’t too difficult. Doing this like this (designing, specifying parts, building, etc.) is pretty much my day job. The wiring was definitely tedious, and required at least one unexpected hour-long troubleshooting session due to a bad connection. I had a lot of help with the wiring of the lights from Adrian, and a lot of help with initial assembly from Becky. Without their help things would have taken me a lot longer. (Thank You!)

I think I’ve spewed enough about this project for one post (which I wanted to get out last month!) so I’ll end it here and get working on Part II ASAP.

Categories
Uncategorized

Decagon Light (Part III)

decagon-light-a

It’s been a while since Decagon Light (Part II), but we’re here with Part III! Thanks to Jason we (mainly he) finally got around to do the CNC work for this monstrosity. Becky then wired it up while I worked on the programming. (Thanks, Brinn Labs!)

decagon-light

Below is the small prototype again…

A post shared by Pete Prodoehl (@raster) on

Besides adding some new patterns, I modified the code so you can use any consecutive pins. For the LEDs I use pins 1 through 10, but for the lamps we’re using 2 through 11. (Don’t ask why.) I also added an logic flipper, because LEDs and relays work opposite, HIGH is LOW and LOW is HIGH, depending on which you are using, so yeah, a lot of the code writing was just to deal with the differences between two version of this thing. Anyway, I squashed the last bug today, so it’s all good. (I think.)

And here’s a short video of it in operation. There’s still work to do, but we’ve made great progress in the last two weeks. (And yeah, I really wanted it done before Maker Faire, but didn’t quite hit that deadline.)

You’ll notice the design of the lines changed a bit. It’s still a decagon (a 10-sided polygon) but it’s no longer a 9-simplex. It’s almost a 5-orthoplex, but not quite. If you can figure out exactly what it is, let me know.

Categories
Uncategorized

A New Light

A New Light

I recently acquired this lighted sign that was made by Buchler Instruments. (It’s probably 30 years old since Labconco acquired Buchler Instruments in 1989.) I decided to tear it apart and replace the non-functional insides with an LED strip. I’ll also be adding some vinyl to the front plate, but I’ll save that for Part II of this project.

Here’s some of the tear-down process, in photos.

A New Light

The front plate sort of press-fits into place. It seems like it should slide in from the side, but it wouldn’t budge, so I was able to pull & pry it out the front.

A New Light

After the bulbs were removed, the back reflector came out. I mean, it came out with a lot of pulling and a bit of bending. You can see that this thing is a bit worn and dirty. Looks like it may have gotten wet or had some chemicals seep into it (or out of it.)

A New Light

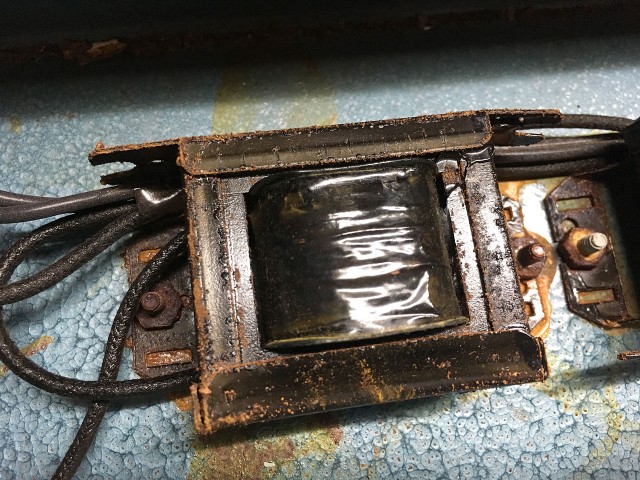
Plenty of rust, dirt, and corrosion. This is a not a transformer I’d trust to use in the future. Luckily I’ll just need a 5 volt power supply.

A New Light

More nasty stuff. The contacts for the bulbs didn’t look bad, but there was enough crud elsewhere.

A New Light

Everything out! The wires were brittle, and falling apart. The hardware was rusted, and overall just a mess. Still, it was nice to see the construction of this thing, and admire some parts of it.

If I don’t use the existing reflector plate I’ll just make a new one. I could probably make one using foamcore since heat won’t really be an issue with the LEDs.

A New Light

That crackle finish is beautiful. Luckily the outside is in much better shape than the inside. Just a little bit of rust on the back, but nothing that will be noticeable.