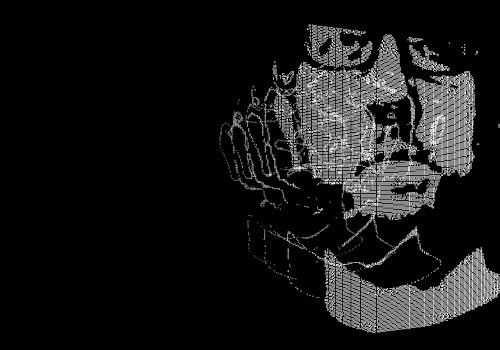
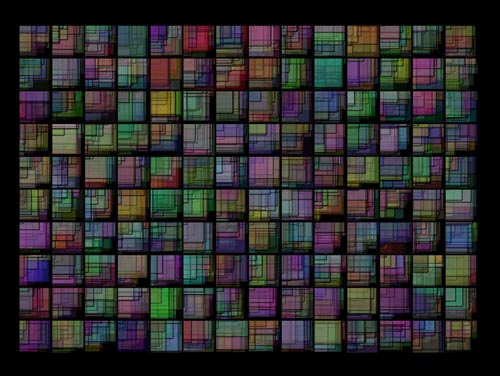
Time Lapse Bot did managed to make it out to the Grand Opening at the Milwaukee Makerspace, though he was somewhat neglected when up against Egg-Bot and Drawbot…
Can’t all the robots just get along!?
Time Lapse Bot did managed to make it out to the Grand Opening at the Milwaukee Makerspace, though he was somewhat neglected when up against Egg-Bot and Drawbot…
Can’t all the robots just get along!?
It’s almost Easter, and Easter is almost Raster, so here my friends, are a collection of Raster Eggs we made just for you.
This collection features such favorites as “Egg Egg”, “Rebel Alliance”, “Z2”, “dead egg”, “Sleeping Cat”, “Officer Egg”, “Pioneer Plaque”, “Lasers” and more!
But wait! You also get such favorites as “Yuri’s Night Egg”, “Open Hardware”, “Nutrition Facts”, “Cow”, “Emma” and more!
(P.S. Don’t tell anyone, but these Raster Eggs are actually Vector Eggs. We’re tricky like that.)
File Under: Egg-Bot
I got into Processing when I saw that it was a way to interface my desktop computer with an Arduino. Since then I’ve been exploring Processing more and seeing what it can do.
The latest excursion has been into audio, and I found a library called minim to play with. Download it, unzip it, and drop the ‘minim’ folder into your ‘libraries’ folder in your Processing folder, and you’re ready to go. Here’s my first experiment.
There’s an example for AudioInput which shows audio waveforms, so I grabbed the example and modified it slightly, I mainly twiddled the numbers a bit for a larger display.
Here’s the (slightly modified) code. (1280×800 being the screen size of my MacBook.)
/*
* WavyLines.pde
*/
import ddf.minim.*;
Minim minim;
AudioInput in;
void setup()
{
size(1280, 800, P3D);
minim = new Minim(this);
minim.debugOn();
in = minim.getLineIn(Minim.STEREO, 1280);
}
void draw()
{
background(0);
stroke(0,255,0);
// draw the waveforms
for(int i = 0; i < in.bufferSize() - 1; i++)
{
line(i, 250 + in.left.get(i)*150, i+1, 250 + in.left.get(i+1)*150);
line(i, 550 + in.right.get(i)*150, i+1, 550 + in.right.get(i+1)*150);
}
}
void stop()
{
// always close Minim audio classes when you are done with them
in.close();
minim.stop();
super.stop();
}
This code (at least on Mac OS X) runs and expects the sound input to be the built-in mic on the MacBook. This is pretty fun, and my daughter (who plays the trumpet) had a good time making all sorts of strange noises and watching the waveforms that were generated. If you export it from Processing as an application, you can run it full screen with no menubar, etc.
While the mic input is fun, you can also build yourself a little audio visualizer that reacts to what audio your computer is playing. There’s a bit in the manual about Setting the System Mixers, but I just went the Soundflower route here.
Once you’ve got Soundflower installed, you can set up your audio routing…

Here’s my sound output and sound input settings in System Preferences.
Fire up Soundflowerbed, and then choose a song in iTunes and our “WavyLines” application should respond appropriately.
Here’s what you should get… well, depending on the audio playing. Maybe I can team up with the guys in the Handmade Music Group at the Milwaukee Makerspace and come up with some ways to enhance this into something even cooler.
Some of our favorite eggs from the Milwaukee Makerspace Grand Opening last weekend… There’s a “Milwaukee Monkeyspace” egg, and even a VEGAN egg!
We gave away a lot of good ones, like the Rebel Alliance egg, but I’m sure we’ll be printing more very soon.
[>

Photos from Adafruit Industries.
I remember seeing the Teensy when I was digging into Arduino stuff last year, and it looked interesting, mainly due to it being small and cheap. (I like cheap!) But since I’m a lot more interested in what the Arduino has to offer, I didn’t look into the Teensy very much.
The Teensy is interesting though because out of the box it functions as a USB HID device, which means it can very easily emulate a keyboard or mouse. (See this Awesome Button post for a neat example.)
If you didn’t know, I’m a big fan of Adafruit Industries, not just for their amazing customer service and great products, but for their support of the open source movement, especially the work they’ve done with open source hardware. Adafruit actually sells the Teensy, but they also came out with a product called the “Atmega32u4 Breakout Board+” (terrible name, eh?) which is like a Teensy, but not like a Teensy.
Here’s where it gets weird… or interesting… or both…
By all respects, the Teensy is pretty cool, as I said, it’s small, and cheap, and can emulate a USB HID, and if your project needs that, it’s a good fit. See the Teensy page for more info.
Now, the “Atmega32u4 Breakout Board+” (terrible name) by Adafruit is similar but different. You can check out the Atmega32u4 Breakout Board+ page for more info.
Ultimately, I think I’d prefer to use the Atmega32u4 Breakout Board+ from Adafruit, and for a good explanation, see this Adafruit blog post about the Teensy, and for extra credit, see A Brief Essay About the Benefits of Open-Source Hardware.
It’s a shame the Teensy is not open source hardware, as I’d prefer to support vendors of open source hardware.
So I’ve got a project planned, and it will use a Teensy. So why not use a Atmega32u4 Breakout Board+? The first reason is, I don’t think I’m ready for it. In reading through the Atmega32u4 Breakout Board+ docs and digging through the forums a bit, it looks like Atmega32u4 Breakout Board+ development is not exactly easy for a beginner. I’d like to get into it at some point, but right now, the Teensy seems like an easier path to completing my project, and maybe once it’s done I can look into working with the Atmega32u4 Breakout Board+.
I know this may seem like a small thing, but I’d really like to support open source hardware when I can, the same way I try to support open source software when I can. It’s always a struggle.