
I’ve been using Evernote for years, and while Evernote has a ton of features, what I was really after was a way to have my notes available on my computers (multiple desktops and laptops) as well as on my mobile devices (phones and tablets) and the ability to log into evernote.com with a browser to see my notes was a nice bonus.
I avoided things like storing web clippings, rich media, or even images (beyond a simple sketch on occasion) within Evernote because I didn’t want to get too entrenched in their offering, in case I’d need to move in the future. Looks like a safe bet now.
Months ago I toyed with the idea of just using text files and a private GitHub repo to store my notes, but I didn’t really have a good way to do it on mobile. Part of the thinking around that was that I was using Markdown more and more for work projects and systems, so using Markdown in my notes made a lot of sense…
Enter Bear, which works on the iPhone, iPad, and Mac. Yeah, no Windows or Android, but I’m really not using those platforms much these days. On occasion I’d use the browser version of Evernote but honestly, if I am anywhere, my phone is probably with me. Also, there may be some options to get the note data from Bear via SQLite.
Bear comes in at about 1/4th the price of Evernote… I’m still not a fan of subscriptions, but it’s just the way things are now. Part of the cheaper price might be that there is no front-end web interface to the notes. Evernote kept going up in price and limiting the lower tiers. I think they completely did away with the tier I had and raised the price even more. For what I use it for, it’s just not worth it.
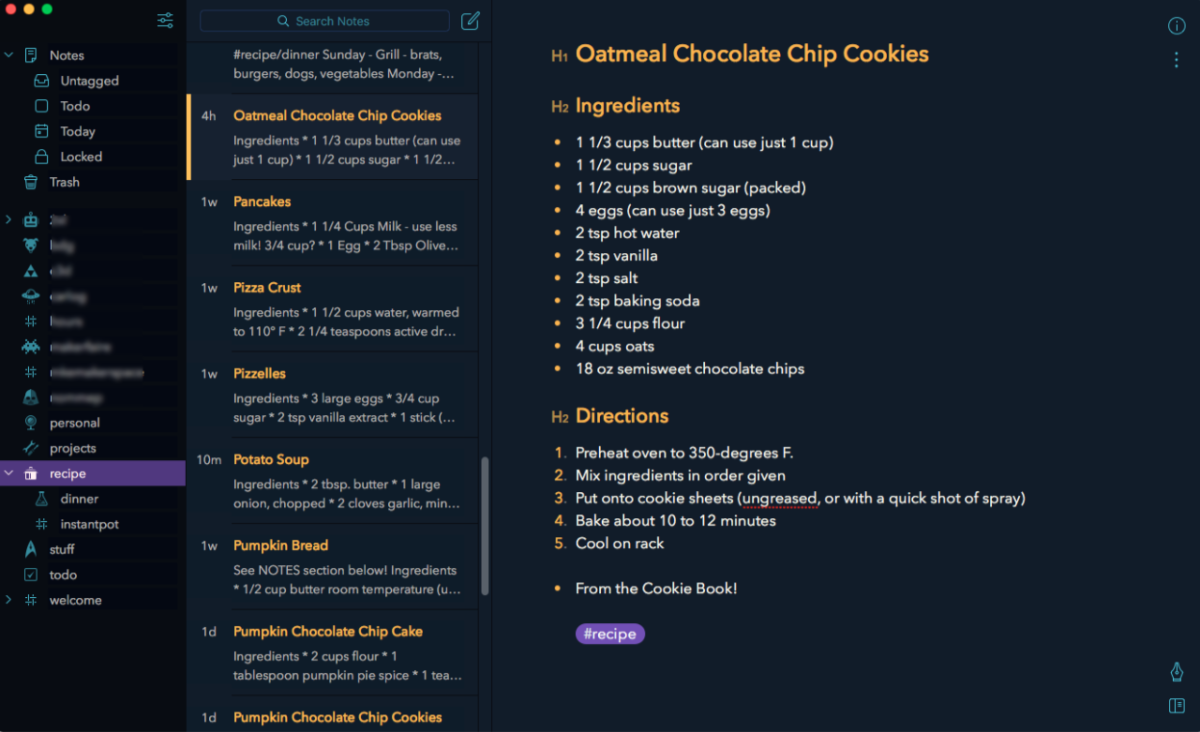
So far I’m loving Bear. It’s not perfect, but between Markdown, multiple themes, the clean interface, and other features, I like it. It does use tags instead of notebooks, but honestly I was able to transfer to that method very quickly. Tags also let you easily group notes that are in different “categories” into their own separate category. It’s nice. Oh, you can also link to other notes! That’s something I really wanted in Evernote. Now I’ve got it in Bear. You can also encrypt notes, which I haven’t played with yet, but seems like a nice feature.
If you’re sick of Evernote, and use a MacOS/iOS, and like Markdown, tags, themes, a clean interface, etc… Give Bear a look.