Categories
Uncategorized

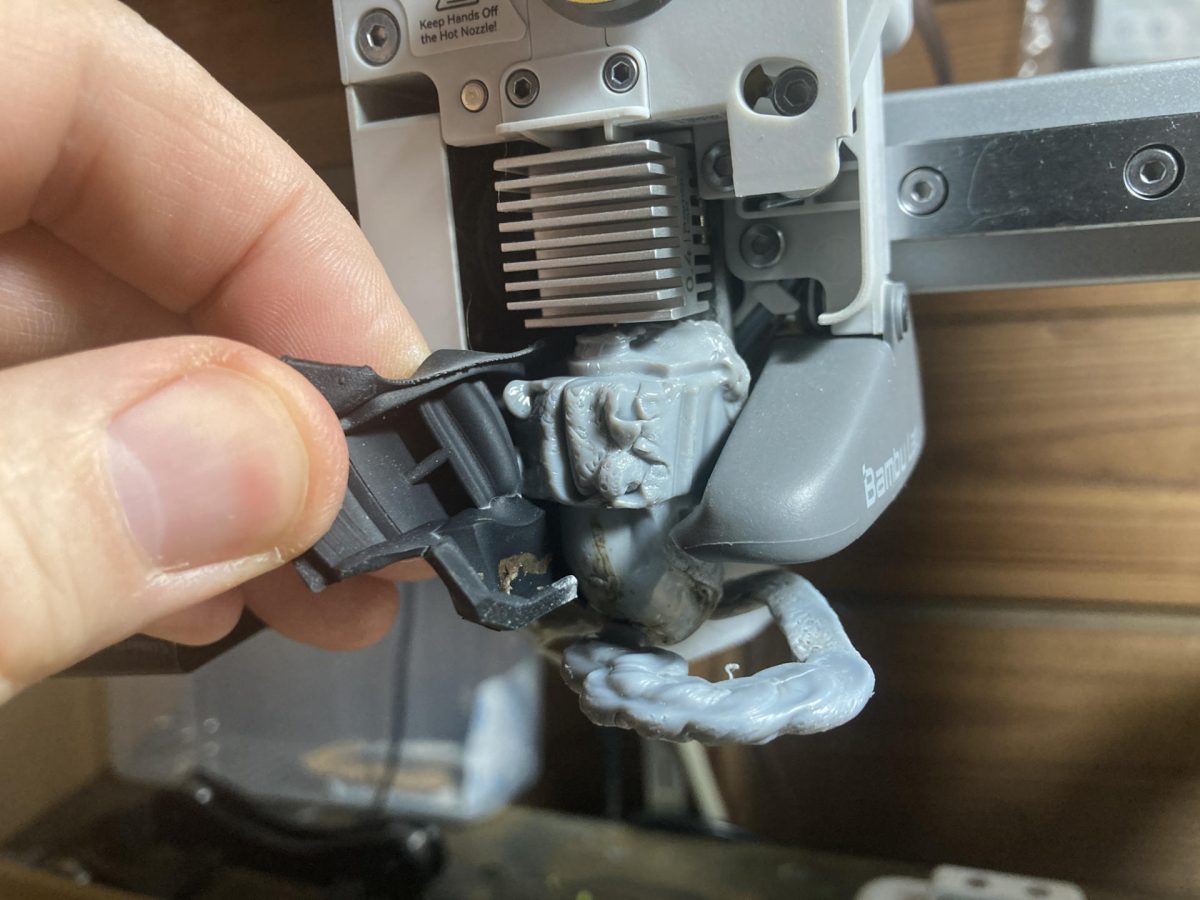
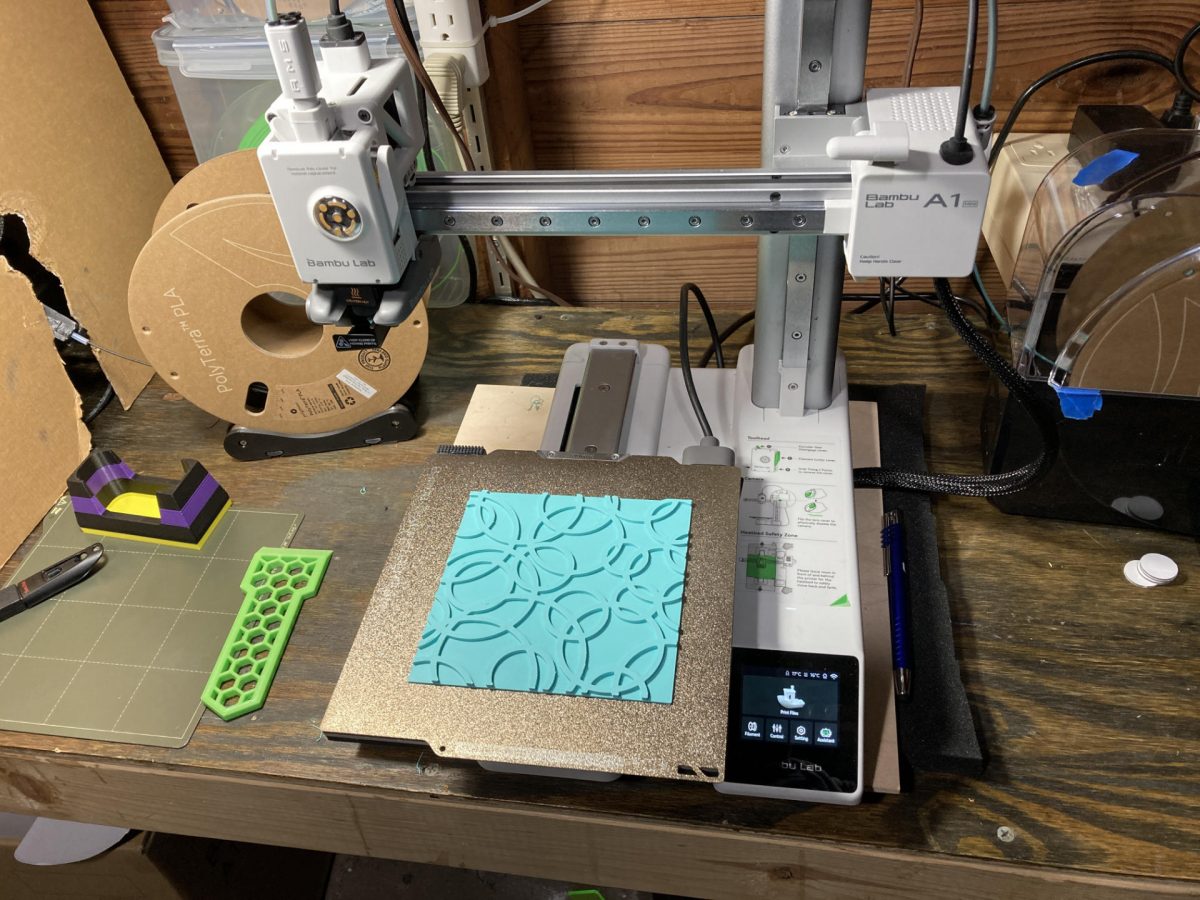
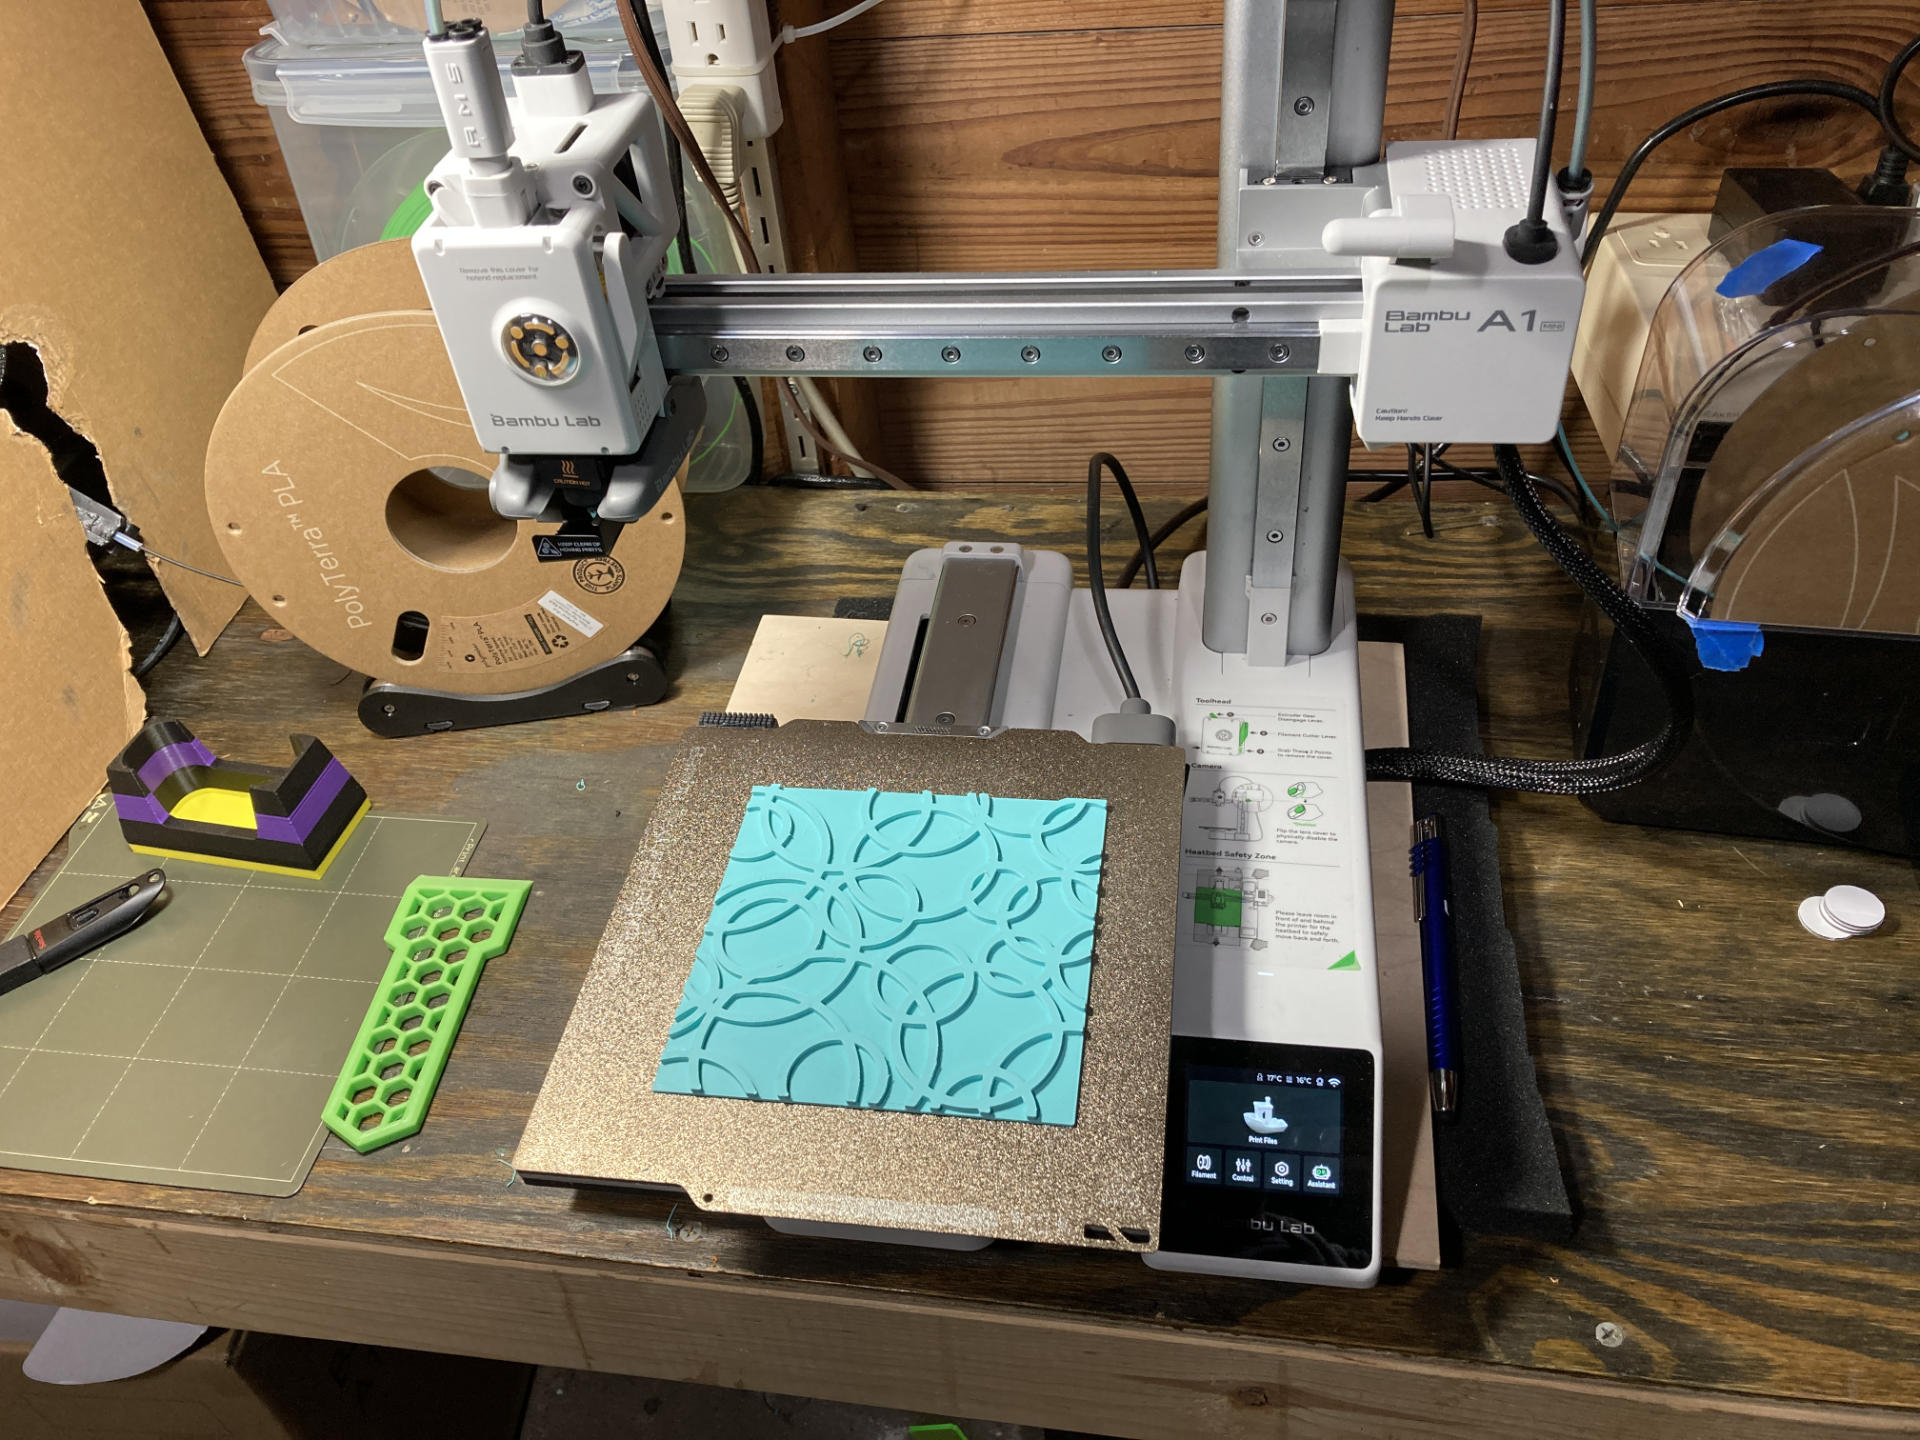
Bambu Lab A1 mini 3D Printer

Back in June 2024 I got a Bambu Lab A1 mini to add to the printers in the shop. The Bambu Lab A1 mini 3D Printer is a tiny little thing! And it’s not my first mini printer. Back in 2021 I got a Prusa MINI+ and when I did I pretty much stopped using the old Monoprice Maker Select Plus except for larger prints because the quality was so good on the Prusa.

I liked the Bambu Lab P1S I got in October 2023 so much that I convinced Josh at Brown Dog Gadgets to replace our Ender-3 S1 printers with a few, so he got four of them.

And since I was having great success with the P1S it made the A1 mini look nice, and I saw it as a “replacement” for the Prusa MINI+… oh, and Bambu Lab was having a sale, and oh, I actually had a $50 gift card to apply to the purchase so I got it for $175 USD. Killer Deal!

I did not get the AMS unit. I’ve got one for the P1S and do any multi-color stuff on that machine. There are a few things that aren’t amazing about the A1 mini, like the camera and the light, and of course the smaller print area, but the print quality is extremely nice for a bed slinger. It appears to print higher quality prints than the Prusa MINI+ did, even when it was brand new. The A1 mini came ready to print… no assembly required.

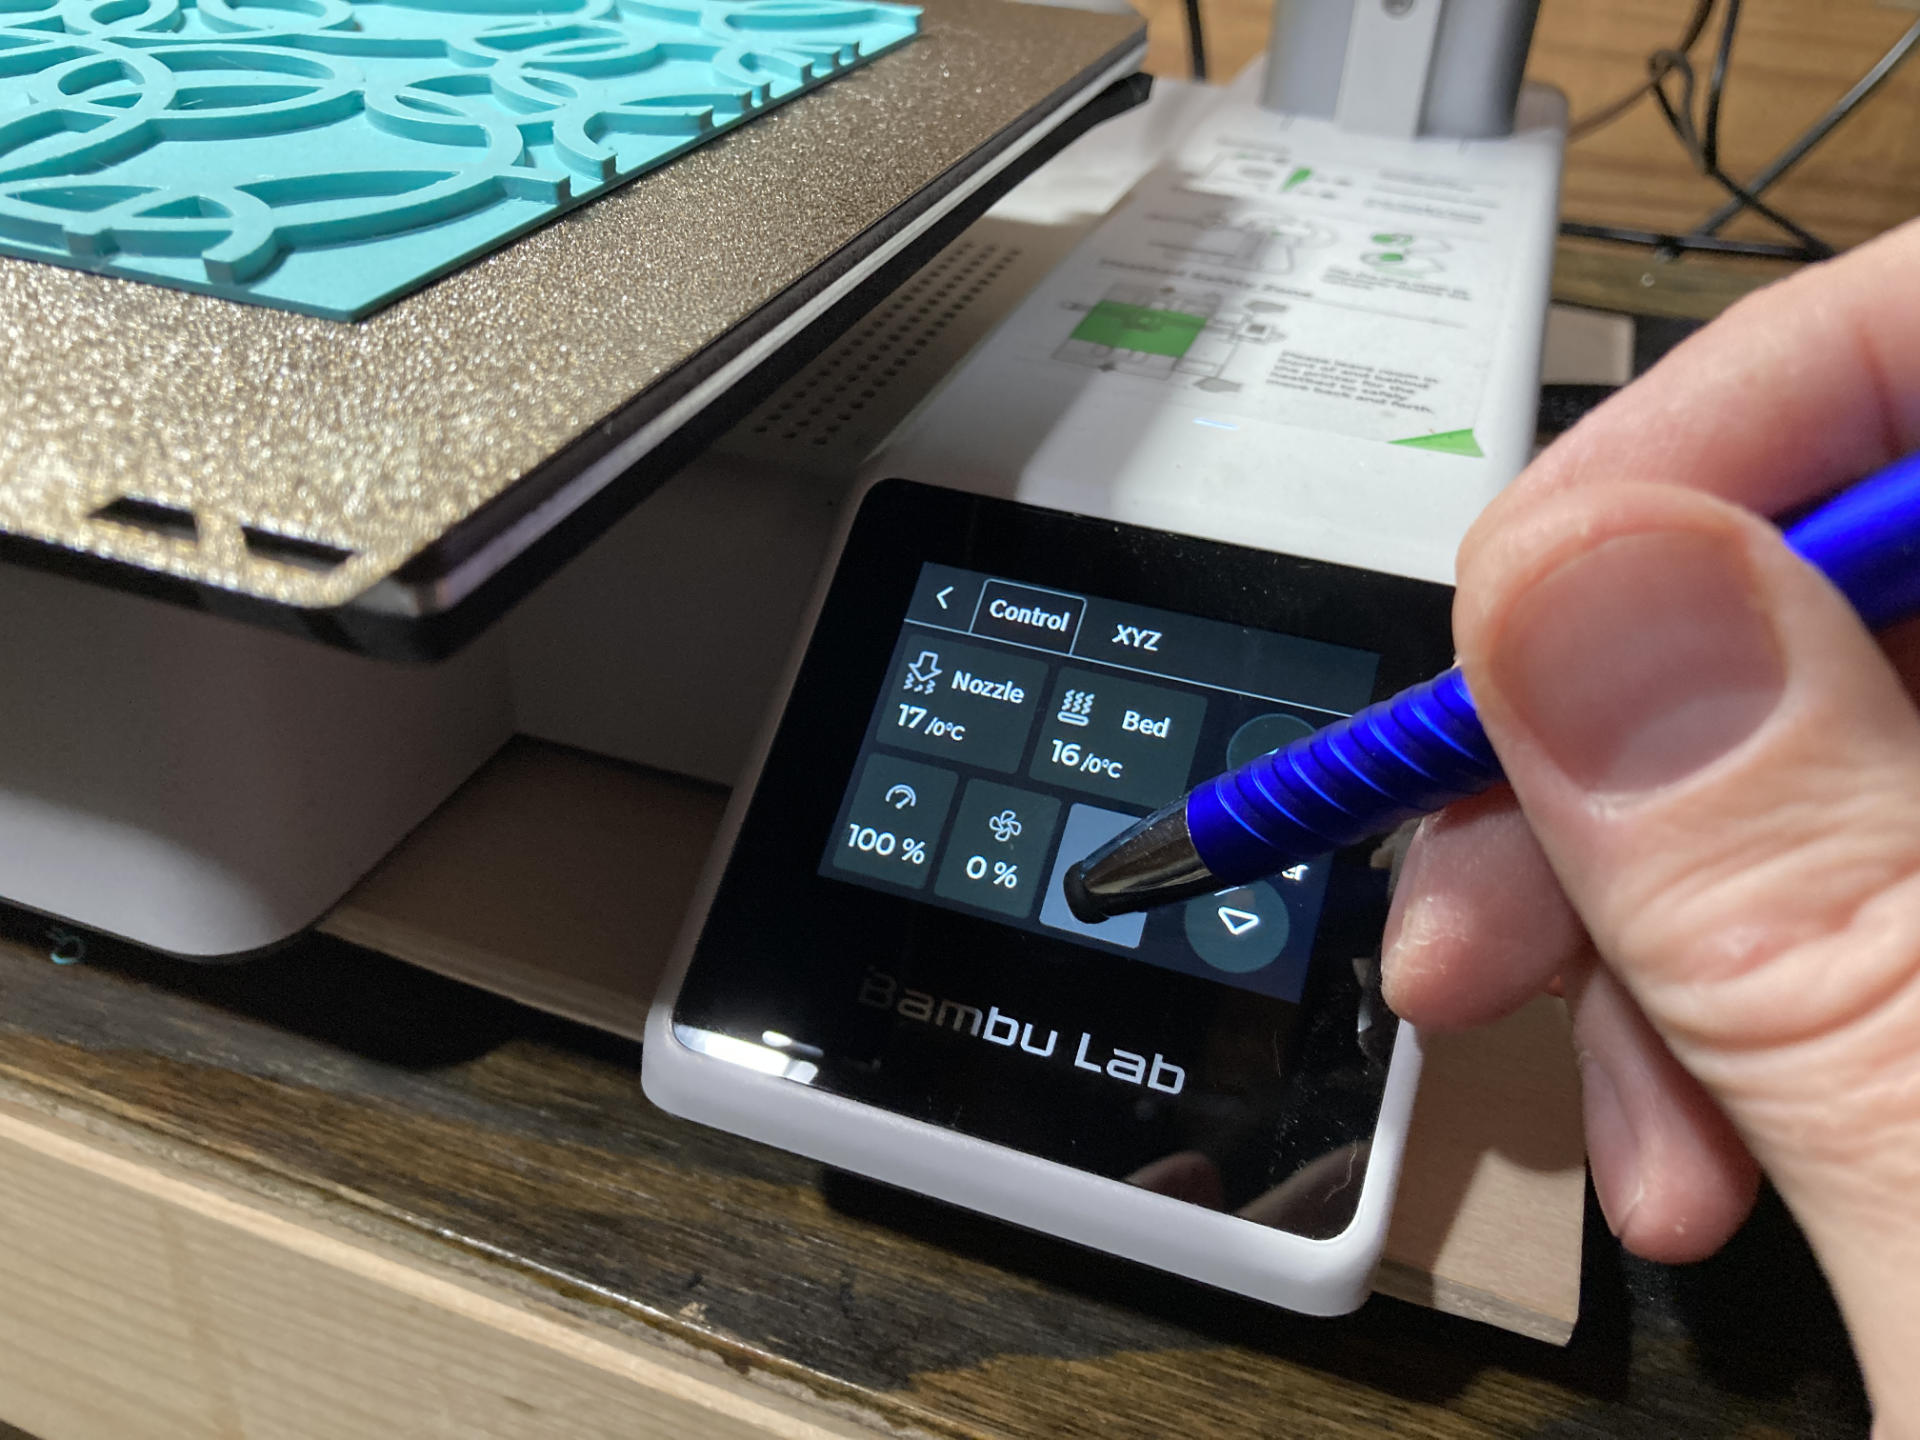
The screen is a little small (though it’s much better than the old “car stereo” style screen on the P1S) and I use a stylus for pressing the buttons on the screen because my fingers are not tiny because I am a fully grown adult man.

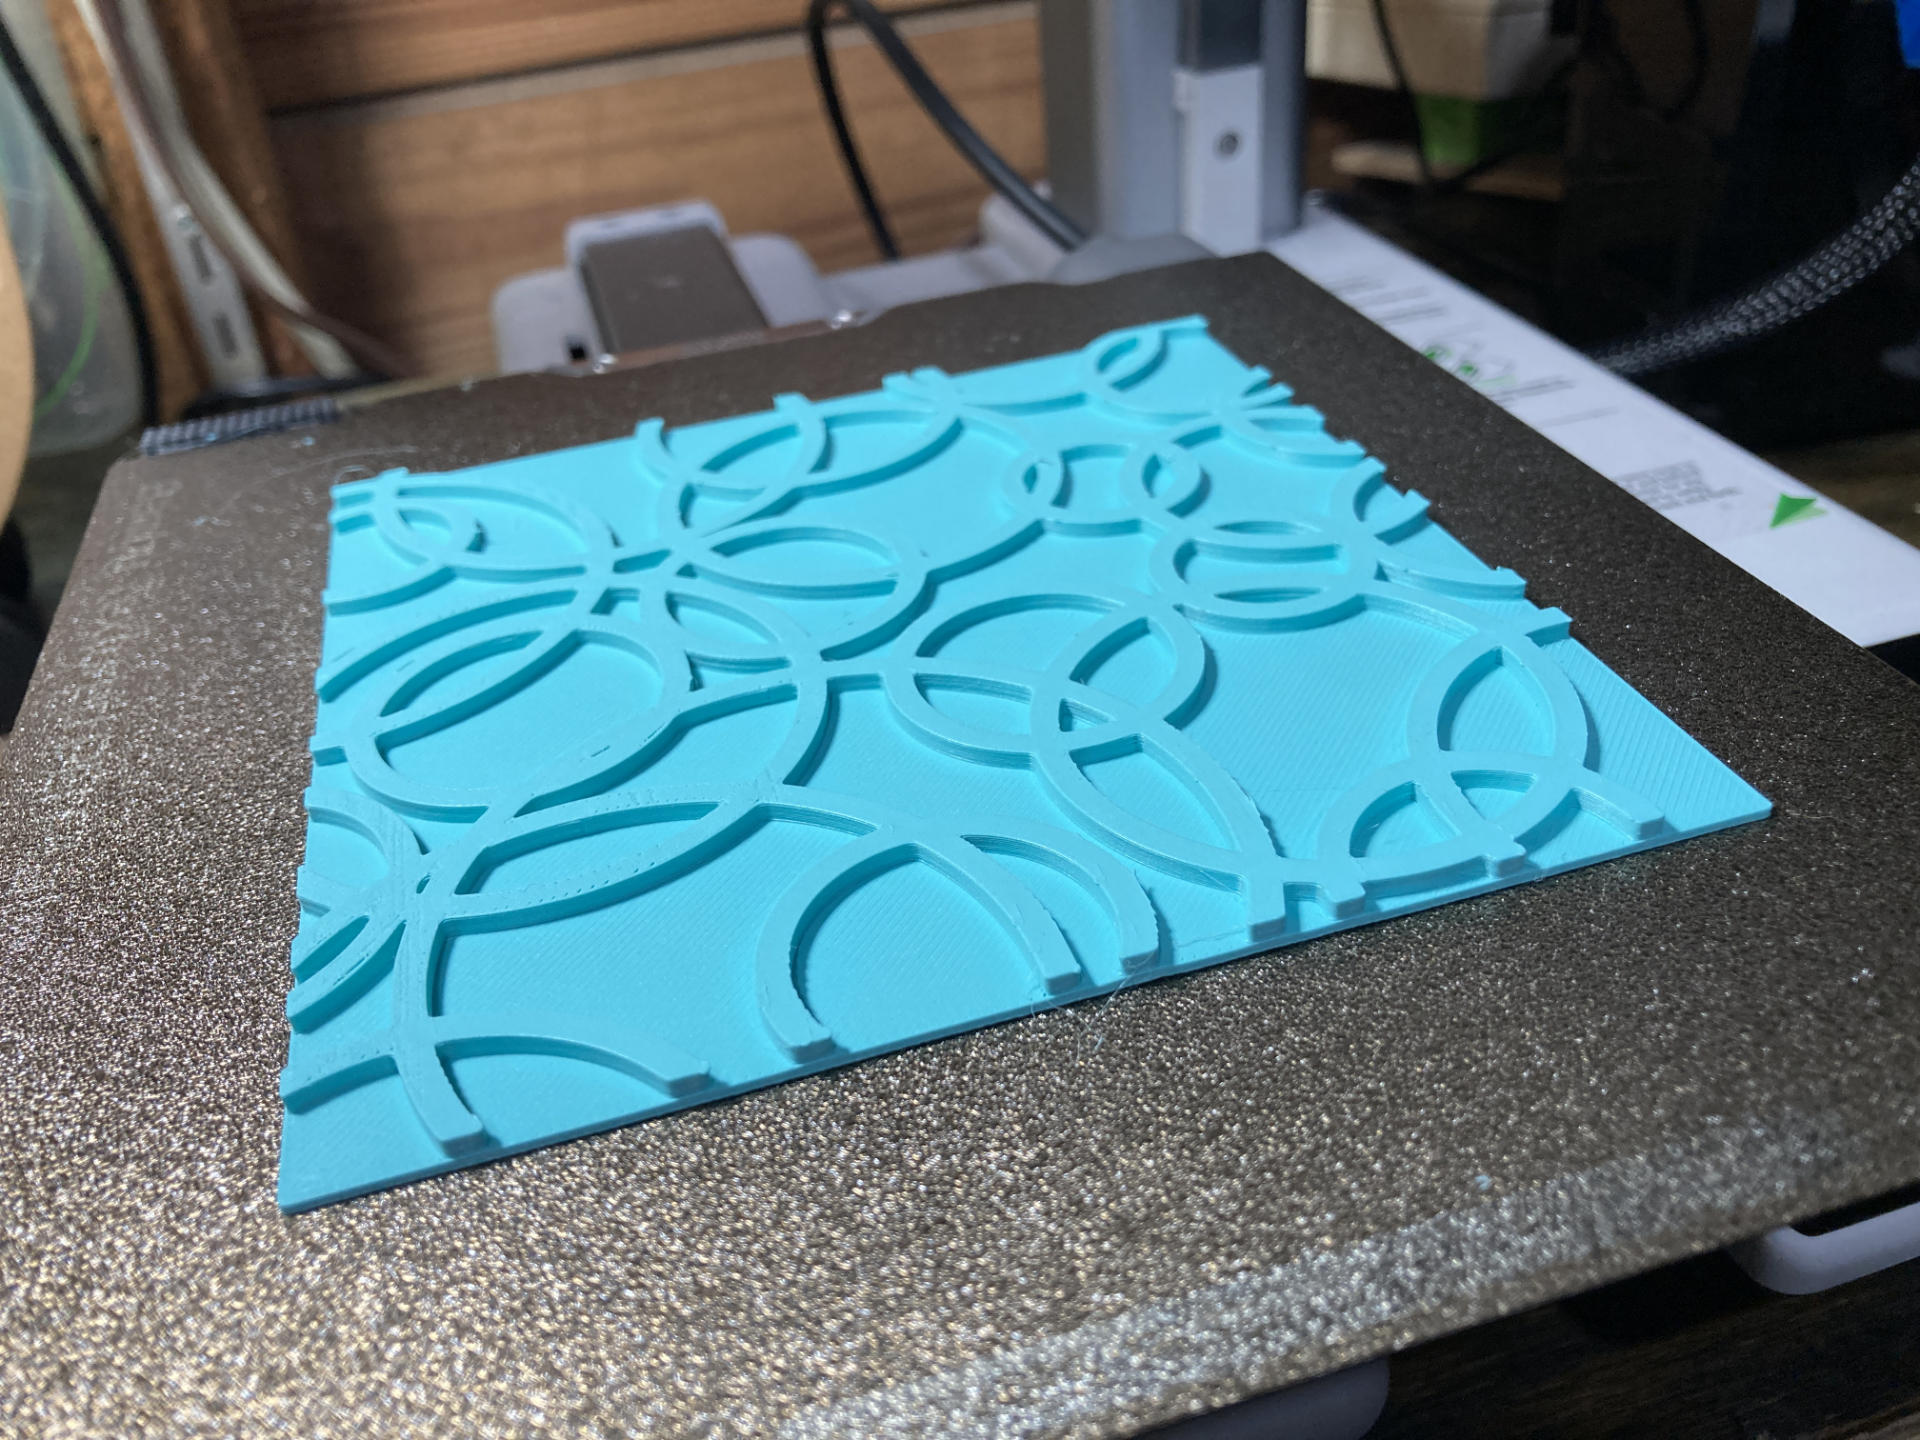
I mostly use the A1 mini for printing printing plates (yes, plates!) or other small prints if the P1S is busy. Honestly if you want a small beginner printer the A1 mini fits the bill pretty well.

Categories
Uncategorized

Bambu Lab P1S 3D Printer

I got a Bambu Lab P1S 3D Printer and wow does it print nice… and fast! We’ll get into that in a bit, but first…

When I got the Prusa MINI back in January 2022 I didn’t really expect to get another printer so soon. I was sort of on a “five year plan”, where approximately every 5 years I would get a new printer (2012, 2017, 2022 if I round the numbers a bit) and I would reap the rewards of the new technology that became the norm over time.

I should note those are just my “own” printers. At my day job (and other places) I’ve used MakerBots, Enders, Monoprice, Flashforge, RepRaps, and Prusa printers. I even gave away two printers without ever really using them because I only have so much space in my shop.

So after getting the Prusa MINI the quality was so good I pretty much stopped using my Monoprice Maker Select Plus unless I had a print that was too large for the MINI. Even then, I would sometimes just split a file and print two parts on the Prusa since it was much more reliable. I even considered (briefly) getting another Prusa MINI but somehow just never did it. I’m glad I didn’t.

I was feeling the itch for larger prints, as the one thing about the MINI that is lacking is… size. It’s print area is 180x180x180 and sometimes you just want a little bit more space. I contemplated a cheap (and large) Ender, but wasn’t impressed by them too much, besides the size and price. Quality is okay, but nothing amazing.

So a few months ago a friend of mine who is even more into 3D printing than I am mentioned the Bambu Lab X1-Carbon he had and told me I should look into Bambu Lab machines… We discussed them a bit, and with the combination of speed, size, and pricing, it was really tempting to get one. My friend then offered me the following: “Get a P1P or P1S and if you don’t like it in a few months I will buy it from you for exactly what you paid for it.” Well, I couldn’t lose. I ordered the P1S a week later.

I had some concerns about The Cloud™ and Bambu Lab being a Chinese company, and not perhaps being a good citizen of open source, and you know what? If I’ve learned anything about my time in this life, it’s that you always have to make compromises. I should also note that the Bambu Lab P1S (and the Prusa MINI) are primarily used for my business, so things like cost and quality come into play there. If I can produce high quality parts in less time, that’s good, and sometimes I have to choose what is good for my own business and my clients. (Or at least be willing to compromise a bit on things.)

Now, I am a huge fan of open source, and I contribute to projects like OpenSCAD and Inkscape which I use in my work, because I want to see them continue. I like the fact that I could probably rip apart my Prusa and rebuild it and feel like I’m in control of the hardware. With the Bambu Lab machine, it feels a bit more proprietary and difficult to repair or replace parts. An acquaintance suggested to me that “Bambu Lab represents everything you’re against!” and sadly, I take part in things every day that I’m against, but that’s living in the modern world. I try to make choices that cause less harm, but it’s not always easy.

Okay, have I justified the printer yet? Let’s hope so… Moving on to the actual device, the Bambu Lab P1S is pretty damn amazing. It prints about three times the speed of previous printers I’ve owned, and the quality is off the freaking charts. I’ve seriously never seen prints look this good from a “consumer” grade printer. They say “Works right out of the box, set up in 15 minutes” and that is pretty accurate.

You can avoid the cloud stuff if you want. You can use LAN mode, you can FTP files to the machine’s SD card, or you can sneakernet the SD card if you want. You can also use OrcaSlicer if you don’t like the Bambu Studio software. You also definitely do not have to use Bambu Lab filament. Buying replacement parts is probably best done through Bambu Lab (for now) but there are some third party items already… I got a third party build plate that works just fine.
I know with more proprietary devices you’re somewhat at the whim of the manufacturer, and can see it two ways. If things go south you (and every other owner) can attempt to hack the crap out of it, load new firmware, replace components/brains, etc… or replace it. Machines are getting cheaper all the time, and let’s be honest, most people don’t keep things around as long as we used to. (I mean, it’s sad but true.)

I should note I do not have the Bambu Lab AMS unit, which allows for multi-color and multi-material printing. I really don’t see the need for the things I produce, and the multi-color printing is extremely wasteful (in materials and time). For now I’ll stick to single color/material printing.


Let’s look at a few more prints…

Here’s a tray I printed to fit perfectly under my monitor stand. It’s 180x180x45, which is larger than I can print on the Prusa MINI. I ran out of filament when printing it so had to load a second spool, which worked just fine (as expected) and looks pretty good since it’s a two-tone green now.
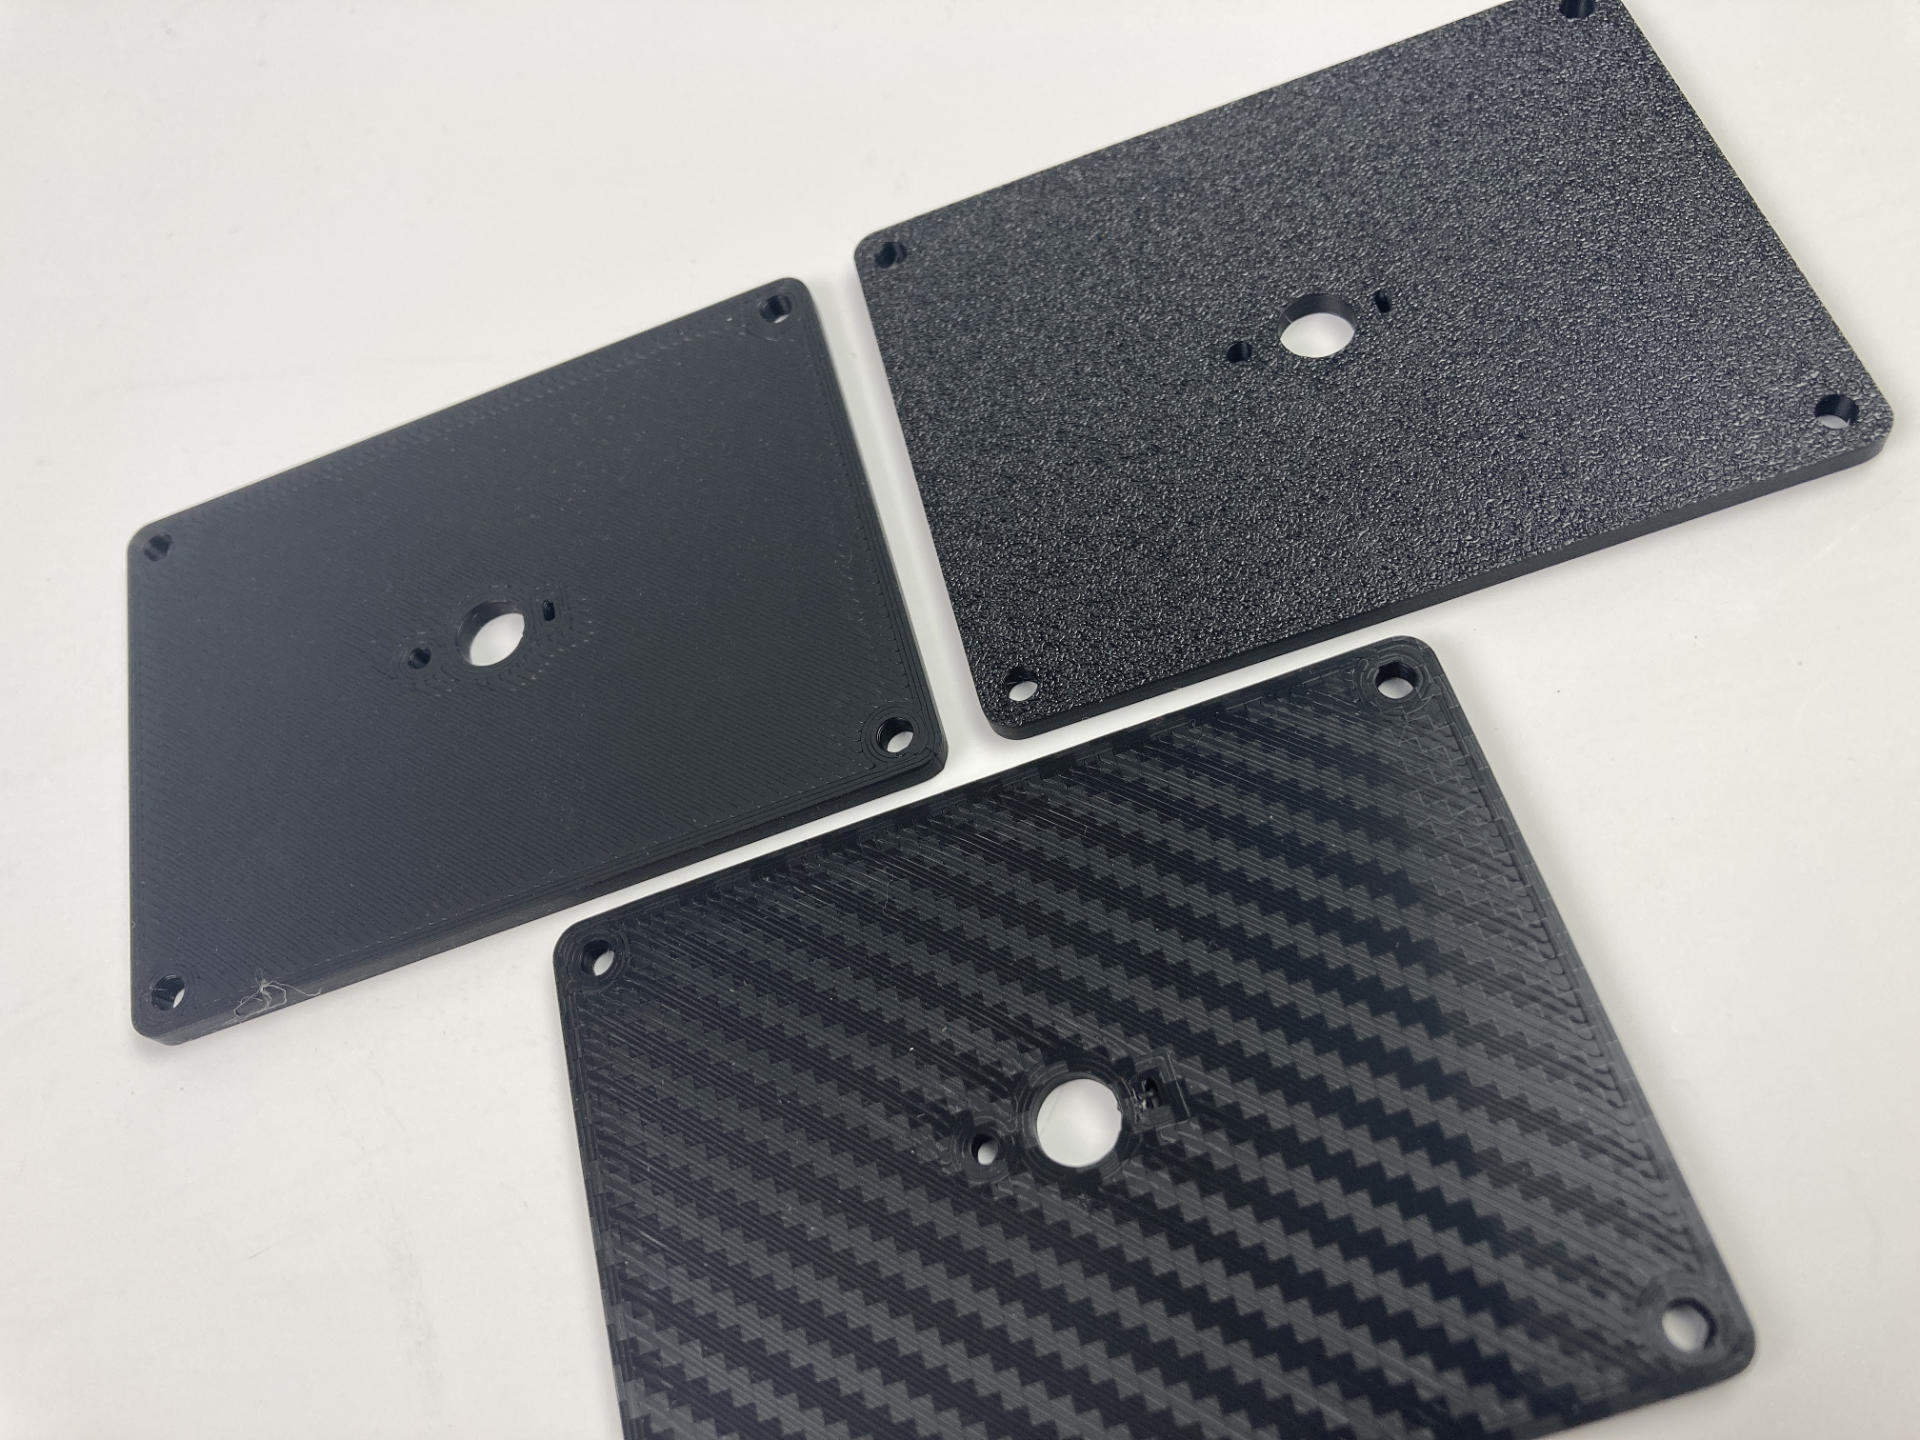
I was always amazed at how smooth (and perfectly printed) the bottoms were on prints from the Prusa MINI, and the P1S does a good job as well, but damn… that textured bottom is beautiful. It just hides any imperfections and gives a “hey, this is not 3D printed” look to things. The “fake carbon fiber” look is from a cheap PET build plate I got from Amazon and it’s a nice option as well. (These were all early prints and I’ve improved the quality a bit since then.)


But wait, there’s got to be something(s) wrong with this printer, right? Of course!

Control Panel (and Screen)
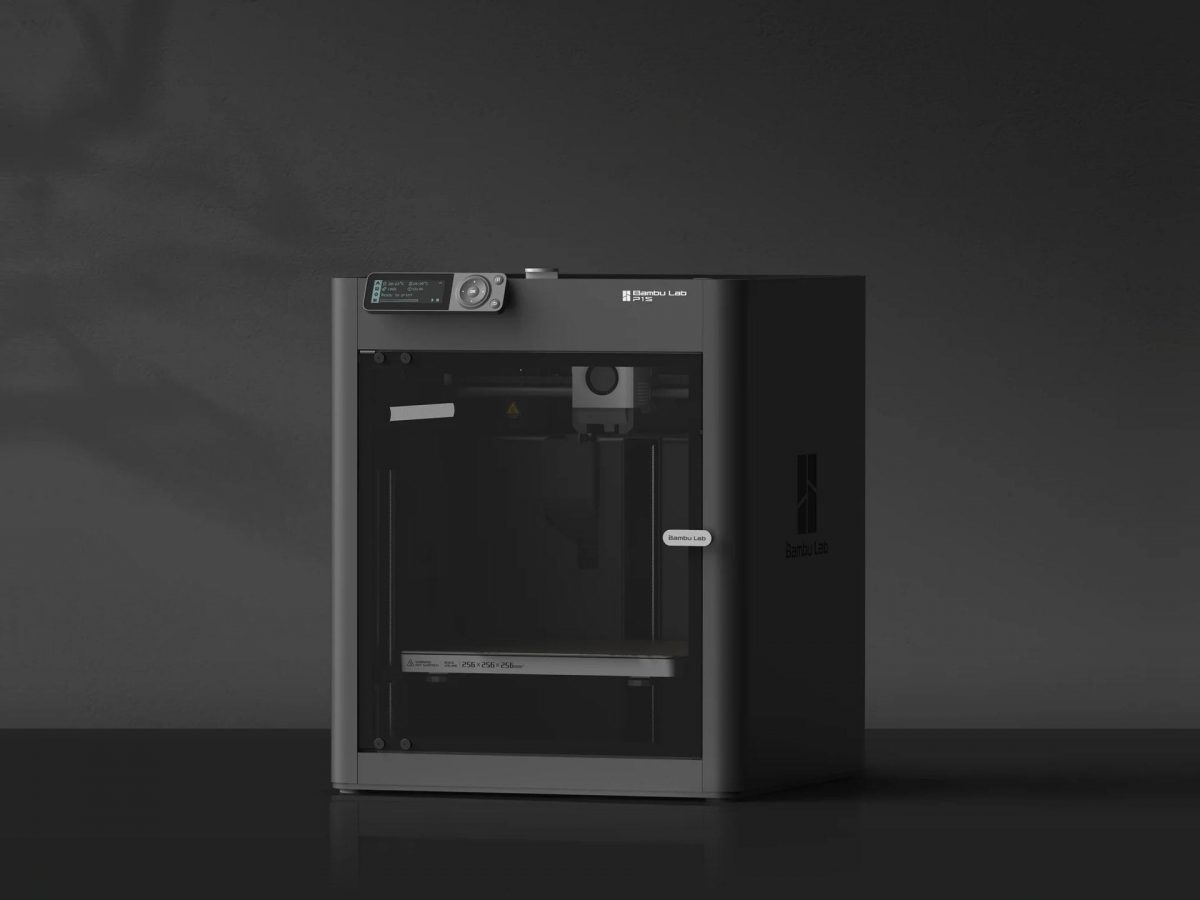
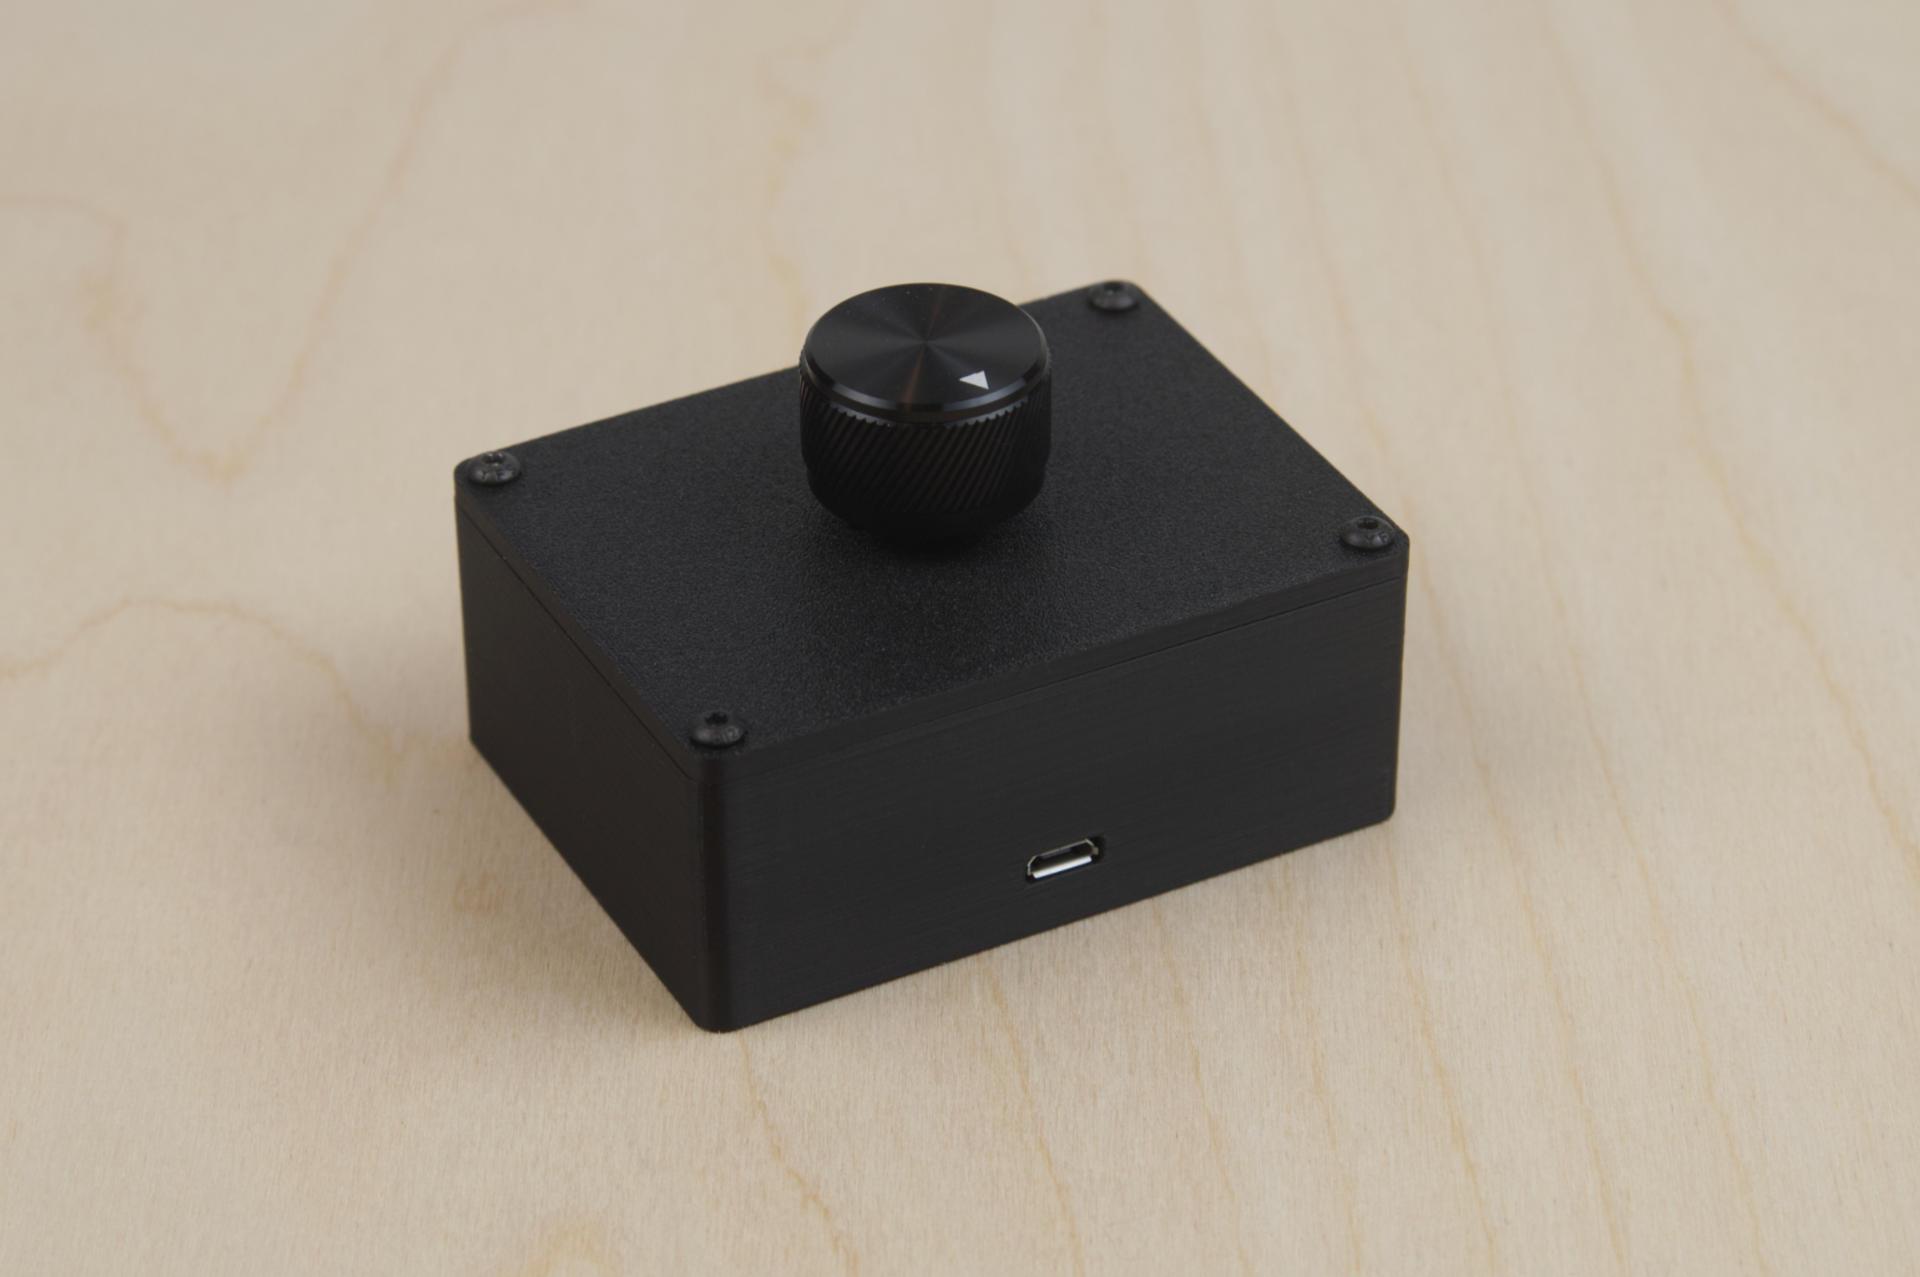
The control panel & screen leave a bit to be desired. It’s been describe at a “90’s car stereo” and it’s barely a step up from the two line LCD displays that were popular on printers a decade ago. It’s usable, and I don’t totally hate it, but it does sort of suck. The X1-Carbon has a huge-ass screen! But hey, that’s how you differentiate products and justify pricing, right? Still, even the Ender-3 S1 has a better screen. I absolutely love the interface on my Prusa MINI, which is a nice screen with a click wheel. My old Monoprice MSP had touchscreen. So yeah, screens are a weird thing. (I’m considering adding a DIY xtouch controller.)

File Storage & Workflow
The P1S uses a Micro SD card. Yeah, those tiny ass little cards you could easily swallow. I much prefer a USB port I can stick a USB thumb drive into. Also, there is no support for folders, so managing files on the SD card is nightmare of one long list of all the files. There is a single folder called “cache” that holds any file that has been previously sent from the Bambu Studio software. I would love to see folders. I use the folder feature all the time on my Prusa MINI. (One more great feature of the Prusa MINI is that when you plug in a thumb drive it queues up the most recent file added to the drive and pops it up on the screen and you can print it with one click. This is the right way to do it.)

That said, most of the time I end up using Bambu Studio (the slicing software) to send files to the P1S. This is the first printer I’ve had with built-in WiFi. I do like the convenience, especially since the lack of folders makes it nearly impossible to manage files on the device. (I should probably just make a separate Micro SD card for production, with all of my regular files on it, and swap it in as needed.) I am, of course, not a huge fan of The Cloud™ and you can opt not to use the cloud, but you lose the ability to monitor prints remotely.

Slicing & Sending Files
Bambu Studio has a few weird quirks, but there’s always OrcaSlicer. Bambu Studio was forked from Prusa Slicer, so under the hood much is the same. (You can also do a few things in config files where there is no interface to do them in Bambu Studio.) So typically I slice a file in Bambu Studio and click “Print” then send the file. The file actually goes to the cloud and then to the printer. Now, there is a “LAN only” mode to avoid the cloud, and you can actually FTP files to the SD card as well, but you can’t start them from Bambu Studio. You can also just “Send” the file from your computer to the SD card, so you can hit “Print” on the machine, but every now and then this does just not work for me.

Beep Beep!
Believe it or not, the P1S lacks a piezo speaker. It cannot beep at you. M300 commands in G-code are ignored. I find this omission sort of ridiculous.

Conclusion
Overall it’s a weird mish-mash. If you just do the cloud thing that is the easiest, but for no-cloud you can put files on the SD card (but not in folders) and print from the machine but not from Bambu Studio. I didn’t even mention Bambu Handy, the mobile app for monitoring and controlling the P1S. (I may need a second post!)

Okay, that’s it. I’m gonna end this post by saying the Bambu Lab P1S is a printer that costs $700 USD, prints high quality prints, really fast, and has a lot of nice features. Does it lack a few nice features, yes it does, but again, at that price (for a 256x256x256 build volume) I can live without a few niceties. If you want those niceties and have the budget, go for the Bambu Lab X1-Carbon instead.
Categories
Uncategorized

Prusa MINI+ 3D Printer

This is not really a review of the Prusa MINI+ 3D Printer. There are plenty of full reviews out there. What this is though is a post about my own experience with the Prusa MINI+, at least the first week with it.

First, some background. I am not new to 3D printing. My first post about 3D printing was in 2011. (See them all!) I got my first RepRap working in 2012, and helped start the Milwaukee 3D Printing Meetup the same year. I was using printers at Milwaukee Makerspace, UWM, and other places around town (including at work) and in 2017 I replaced my ageing RepRap with a Monoprice Maker Select Plus. So I went about five years between printers, which is fitting, because it’s five years later and I just got another printer. (I’m not counting the Creality machine I gave to my daughter or the Maker Select v2 I just gave away to someone I know.) So yeah, I get 3D printing. ;)

So while the Maker Select Plus served me well (after a few upgrades) I wanted something a bit better in the quality department. Years ago I spec’d a Prusa i3 at work to replace an ageing (and often broken) MakerBot and I loved that machine. I basically told everyone I knew to get a Prusa if they could. (They got a whole bunch of them at Milwaukee Makerspace.) The experience was top notch for someone coming from the old RepRap/Pronterface world. Alas, I left that job and left the Prusa behind.

Print quality from the Maker Select Plus was pretty good, but I’m hoping for much better quality from the MINI. One important thing to note is that while the MINI has a smaller bed, it can probably print more reliably across the entire bed. I’ve found that cheap printer with large beds don’t always excel at using the entire bed. Part of this is probably leveling. While I’ve been a gruff old veteran who says “Argh! All ya need is a sheet of paper and some patience to level things!” the probing and leveling system of the Prusa is great. (Yes, I know I could add it to the MSP, and upgrade the firmware to support it and… at this point I really just need to print.

In 2021 I started having to print more quality items that were for sale, and sometimes it was difficult to keep up and get good quality prints. I started eyeing the Prusa MINI again. I finally decided to grab one (after selling some other equipment I didn’t need) and it arrived in less than four weeks, which sounds like a long time but I was expecting 6+ weeks. So that’s a win.

As for the actual experience, here we go. Assembling it was a bit of a pain. I’ve put together two Ender 3 printers and it was very simple. The MINI assembly (while not many steps) kind of sucks. Maybe because I expect a certain level of Prusa experience. Luckily you should only have to do it once. (To be clear, I got the assembled model, so it was just bolting the two halves together, plugging in and routing all the wires, and that was it. Still a painful experience.) Remember how I said “you should only have to do it once”? Well…

After assembly the setup and calibration was great. Excellent experience! The machine walks you through the process very smoothly. I then did a test print found on the included USB drive and it looked good. (I used some Hatchbox filament, not the included Prusament.) So yeah, cool! From opening the box to getting a first print was a little over an hour in my freezing cold basement. I called it a night.

The next night I went down with a file I sliced with PrusaSlicer (which is a really nice piece of software) and get ready to print it but… ERROR! It showed an error on the screen. You can then look up the error code online or scan the QR code with your mobile. Seems the hotend thermistor was having issues. I checked on it, including opening up the enclosure to check the wiring, thinking maybe I didn’t secure things. Again, the wiring is a pain. Ugh. Painful. But at least I was getting used to it. So here’s the deal… It was cold in my basement, and this printer is so smart (ha!) it thought the thermistor had failed because, well… if the reading is that low, something is wrong. The only thing wrong was that I have a basement in Wisconsin. I ended up pointing a space heater at the printer until the thermistor read warm enough to pass the check. (It was honestly just a few degrees, but still.)

Okay, that was the second night. Not great, but a little annoying. I get why they do it, but hey, it’s winter in Wisconsin. I know how cold my basement is. And yes, the cold may affect the print quality. I know that.

Right so time to print! I put in the included USB drive and… nothing. It doesn’t see the thumb drive. Oh hell, now what!? I go upstairs to my computer, insert the drive, and… it’s corrupted itself. Damn. My old printer used SD cards and they always worked. Is this going to be a normal occurrence? I hope not! I reformat the drive, then copy files to it again, and I print. All good. (Note: The drive had been fine since then, as is the other one I use for printing.)

A bit of a rough start, but overall I am really pleased with the machine itself, the experience of using it (apart from the few hiccups at the beginning) and that printing plate is awesome. I was at first worried about the “bubbles” that appeared on the surface, because the (cheap) plates I’ve used with the MSP wear out, but I’ve been told these will last… and they sort of “self heal” after a bit of time. Sweet.

Now of course the real test is when things go wrong. With the Prusa i3 I used at work, it was amazing, but once we had to tear down the extruder to deal with a nasty clog and that was a nightmare. So time will tell as far as how things go when things go wrong. Right now I can pull apart the extruder to remove a clog on my MSP or an Ender 3 in less than ten minutes. For the MINI, well… I don’t know yet. Maybe it won’t clog. (Ha! Just kidding! It will. It’s a 3D printer after all.)

Categories
Uncategorized

Creality Ender 3 V2

Hey, this is not my printer! I’m still mainly rocking my Monoprice Maker Select Plus with a number of upgrades over the years. It’s printing well enough, though I tune-up is probably in order one of these days… And yes, my RepRap 6000 is still in progress.

But this Creality Ender 3 V2 is what we’ve got at work now. As we’ve been making more 3D files (and parts) the old Monoprice MP Select Mini was showing its age and… it’s loud. The Ender is much quieter, which is nice.

We’ve already done a few upgrades, including adding OctoPrint and a Pi with a touchscreen, new PEI flexible sheet, and metal pars for the extruder. We had a bunch of issues extruding filament at first but I swapped the nozzle and all was good. It’s only been a few days but so far I’m impressed with quality the way I was when I replaced my 2011 printer with a new one in 2017. I’m still not a huge fan of Bowden extruders, but I can see the appeal and reasons for them.

Oh, I will note that I assembled this using the printed instruction book that came with it, then later realized the included SD card had a video that was ten time better at showing how to assemble it. This isn’t the first time I’ve found printed directions lacking in comparison to video. This doesn’t mean video is always better, it means people are bad at making printed directions.

Oh, I forgot to mention my other other printer. A Creality3D CR-20, which I picked up from MatterHackers at a discount after a giveaway win last year. I gave it to my daughter and her boyfriend to babysit for me until I get room in my shop. Yeah, I expect to have room for it by 2024 or so. Happy Printing!

Categories
Uncategorized

RepRap Y Carriage

acrylic-bed

Contrary to what the photo above may suggest, I am not using a laser cut acrylic piece for the Y carriage of my RepRap… What I am using it for is a template to make sure things work properly, and once I’m sure I’ll use it as a drilling template to mount things on the Aluminum Y carriage I have. (Which Frankie gave to me, oh, maybe six years ago!?)

y-plate-metal

Here’s the Aluminum Y carriage. The photo looks weird because it’s from my flatbed scanner. I often scan objects so I can bring them into Inkscape and trace them to get a vector drawing I can work with. (And I had to scan it in two passes and stitch it into one image.)

y-plate-drawing

Here’s the SVG file created in Inkscape by tracing things. Notice I added more holes, which will be used to hold the bearing blocks.

acrylic-fake-bed

It seems to slide pretty smoothly. I mentioned in a previous post, the igus drylin slide bearings want to be under some pressure to work properly, so I adjusted them just right with the blocks I printed and did some slide tests. So far I’m pleased!

Next up will be the holes in the Aluminum. I’m not sure if I should drill and tap for 3mm bolts, or drill for pass-through of 3mm bolts and hold in place with nuts. My thought on the first method is that my alignment via drilling has to be perfect, while with the second method I can adjust just a bit with some slop. Thoughts?