Categories
Uncategorized

Recupero Urbano

Jeff Winkowski asked if I would want to take part in a benefit to raise money for the Bay View Community Center‘s food pantry program and I said “I’m in!” so join us Saturday, April 6th, 2024 at Puddler’s Hall from 6pm to 10pm. (See the Facebook Event!)

And what’s happening? It’s an Art Show (and Sale) and I will be offering a bunch of my recent digital illustrations (well, prints of them) as well as some of the relief prints I made in January.

This is another Pay What You Want experiment on my part, and I will be donating 50% of all sales to the Bay View Community Center. Get one of my prints for $5 and the BVCC gets $2.50… Give me $50 for a print and the BVCC gets $25. We’re going to work together on this, providing art to people at a price they can afford, and hopefully also raising some money for those in need. (Fun Fact: I used to live right down the street from the Bay View Community Center and passed it every day on the way to work.)

There’s also a silent auction planned that will feature a never-before-seen illustration I’ve done. It’s a classic Milwaukee historical thing, and you might like it. Oh, there will probably also be some music or other things happening… a live band? A local DJ? I don’t even know. (Literally, things are still in the works.)

Oh, there is an entry fee! It’s one non-perishable food item. So canned goods or the like, something you would donate to a food pantry. Anyway, I hope you can join us. (And bring some cash or a card or your phone or all of those things!)

Categories
Uncategorized

Pizza Steel – First Attempt

I got a pizza steel. It’s a 16″ x 16″ x 1/4″ thick piece of steel for baking pizzas on. I thought about getting one nearly a year ago. put it off, told Dana it would be a good Xmas gift, then told her not to get one, then thought about it again, then got convinced by a friend to get one, and here we are.

I was originally turned off by the thought of having to heat it in the kitchen oven for 45 to 60 minutes, but damn… I just made some pizzas and yes, yes, it was totally worth it!

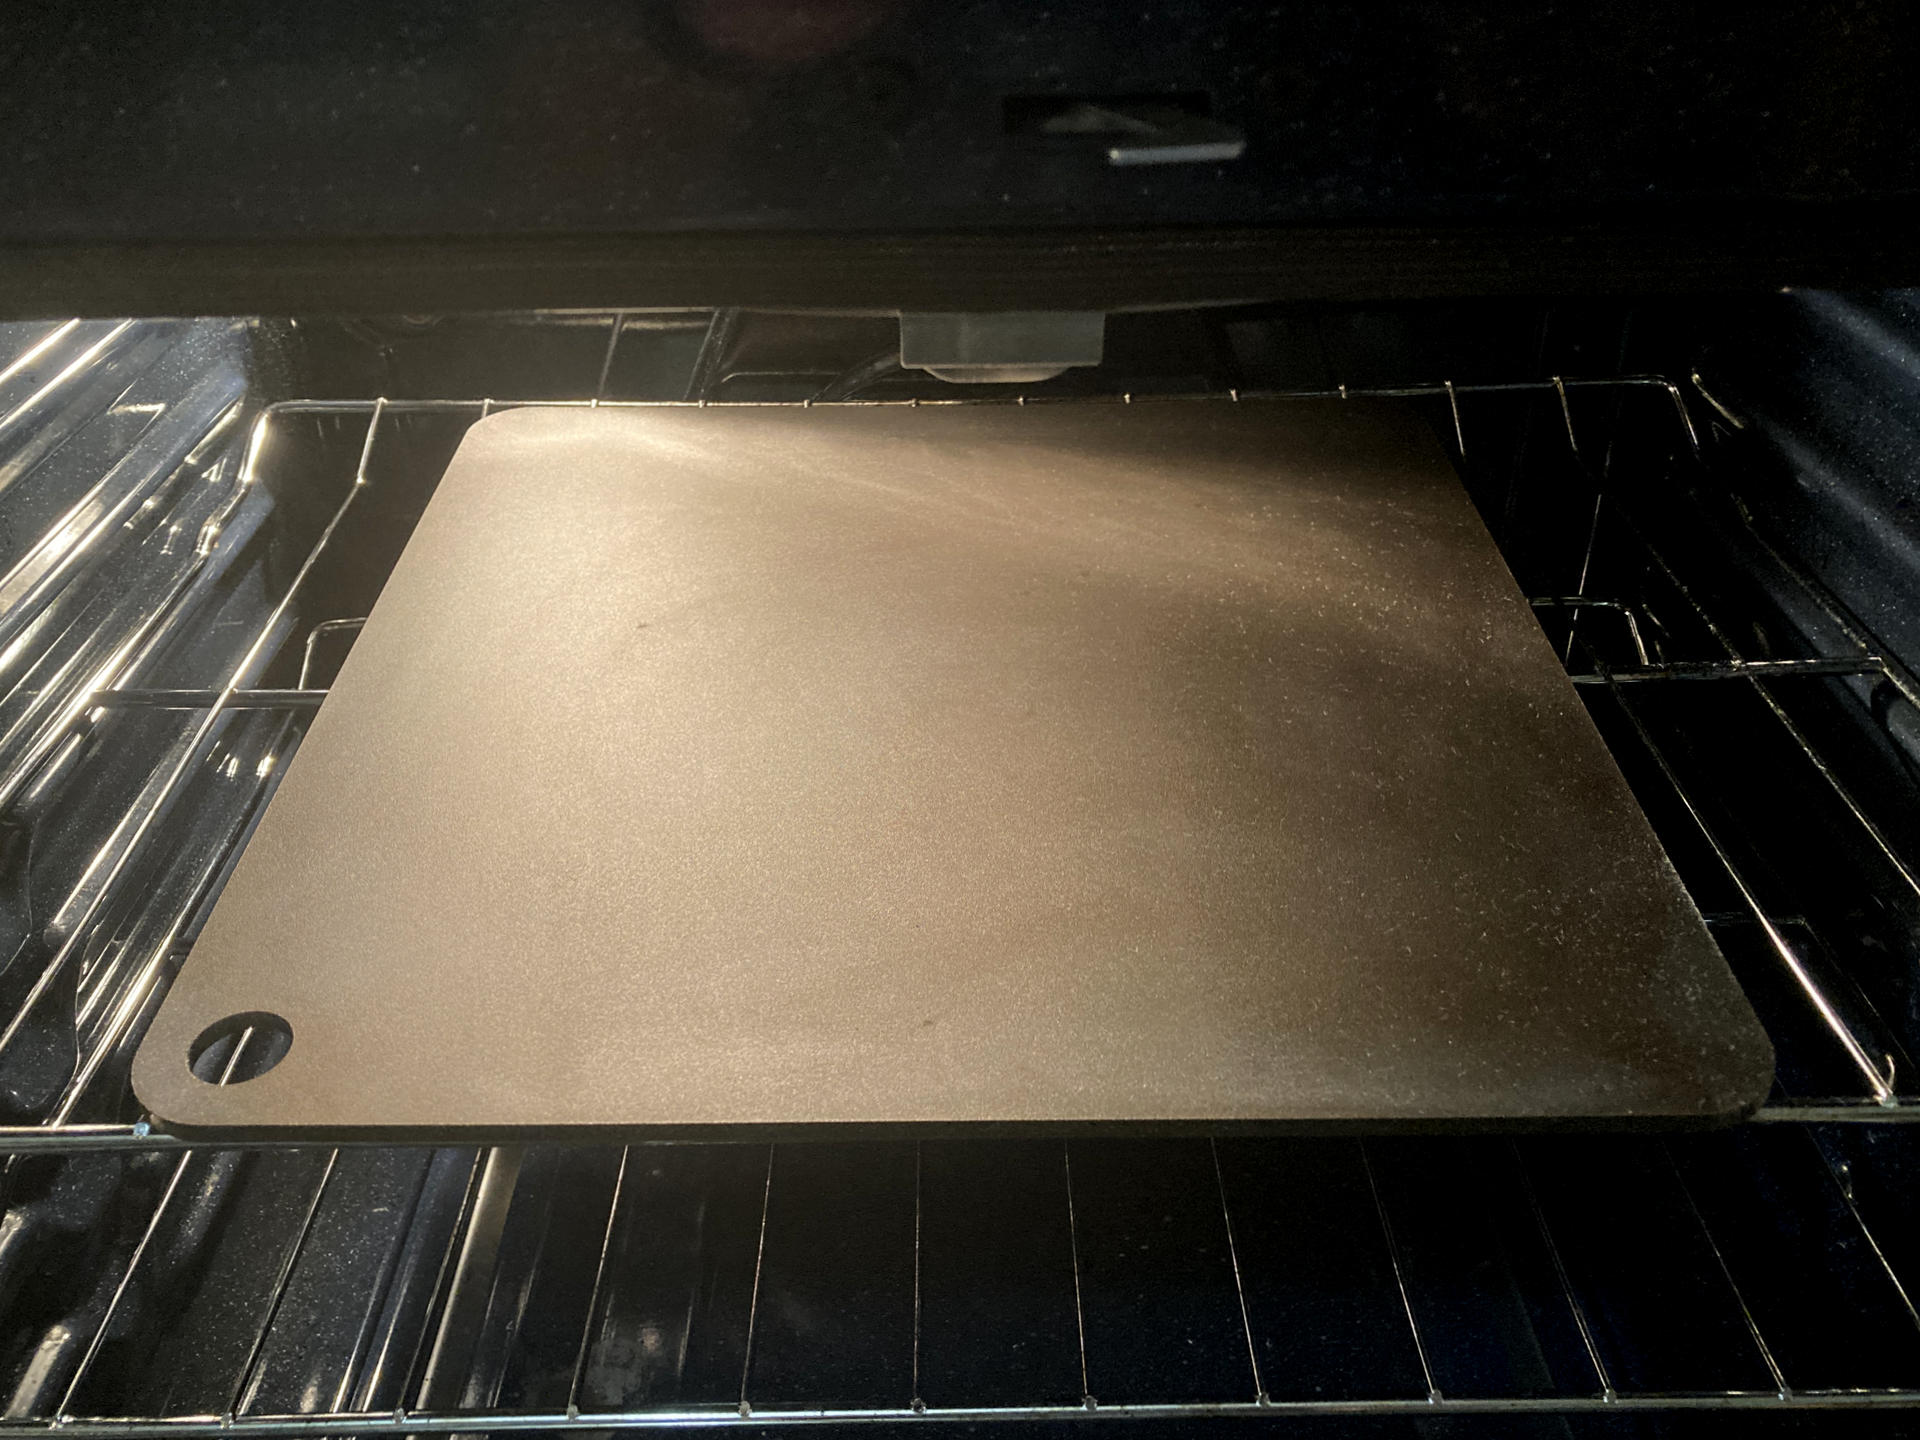
I ended up getting a Thermichef 1/4″ Deluxe Version, 16″x16″. (Okay, I actually got a Factory 2nd item, which was $10 cheaper, but same thing. Supposedly it has some blemishes but I didn’t notice.) The one mistake I made was that I should have maybe got a 16″ x 14″ because the 16″ depth sort of makes it ride up on the angled back part of the oven rack. Not a huge deal I guess. And damn, that things is heavy!

I had planned on screwing around with it over the weekend but honestly I could not wait. I had dough I put in the freezer about two weeks ago, and I put it in the fridge before I went to work, then put it on the counter when I got home for about 45 minutes while the oven heated up. I had grabbed some cornmeal at The Outpost (as I could not find semolina flour) but didn’t use it because someone recommended parchment paper. I should also note I don’t have a pizza peel. The parchment paper worked well. I just made the pizza on the paper then slid it (from a cutting board) onto the steel.

I’ve since read a tip that you can bake on parchment paper for a few minutes then pull it out so the pizza is directly on the steel. I may try that next time. The parchment paper makes “Launching” the pizza onto the steel easy, especially if you don’t have a peel.

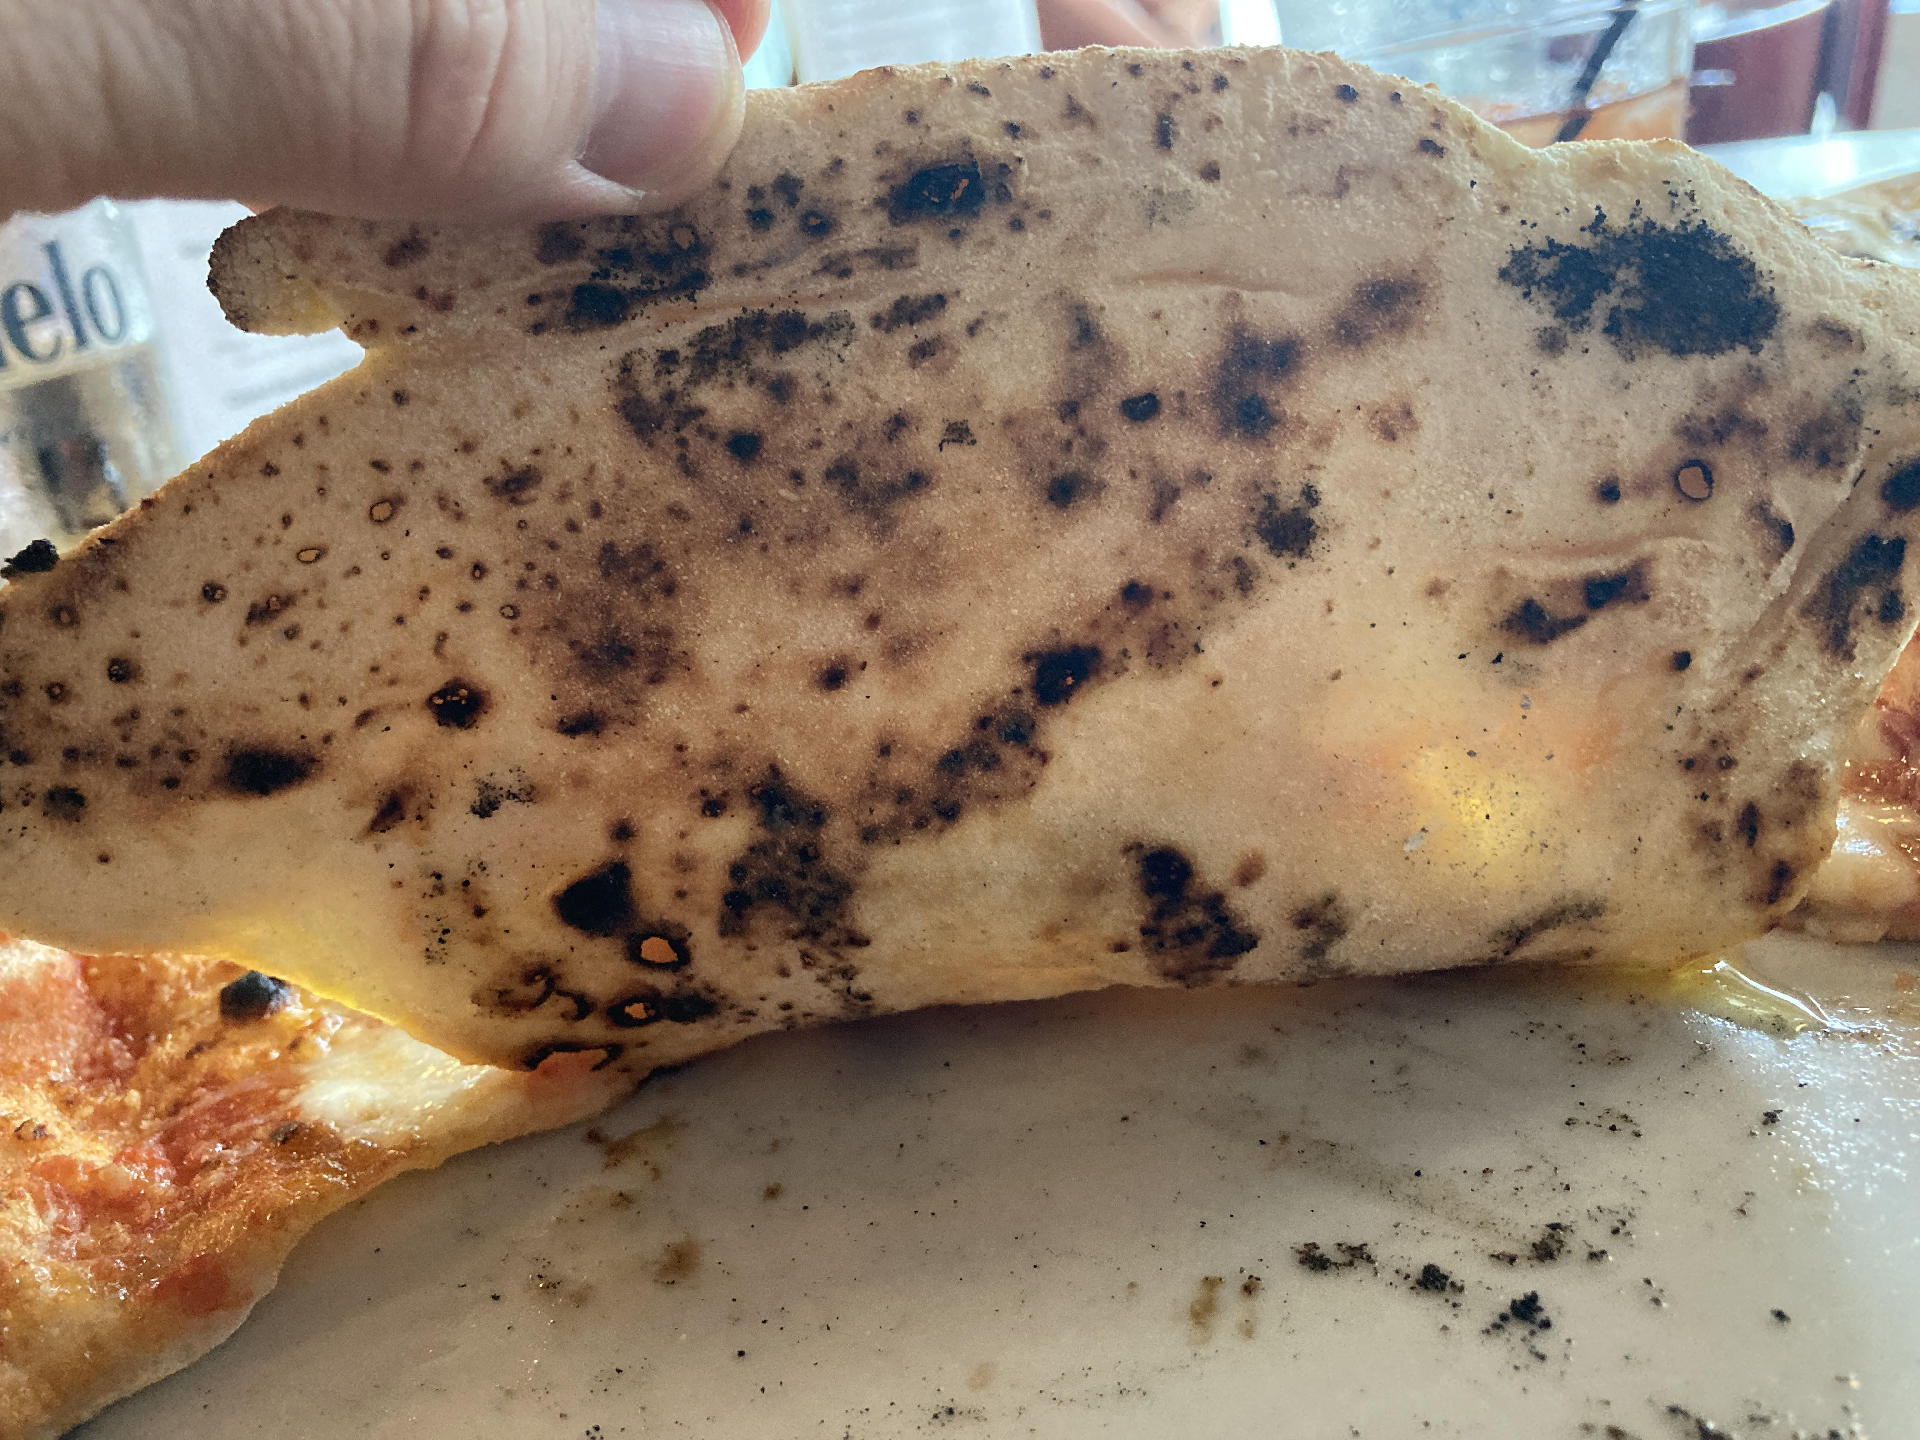
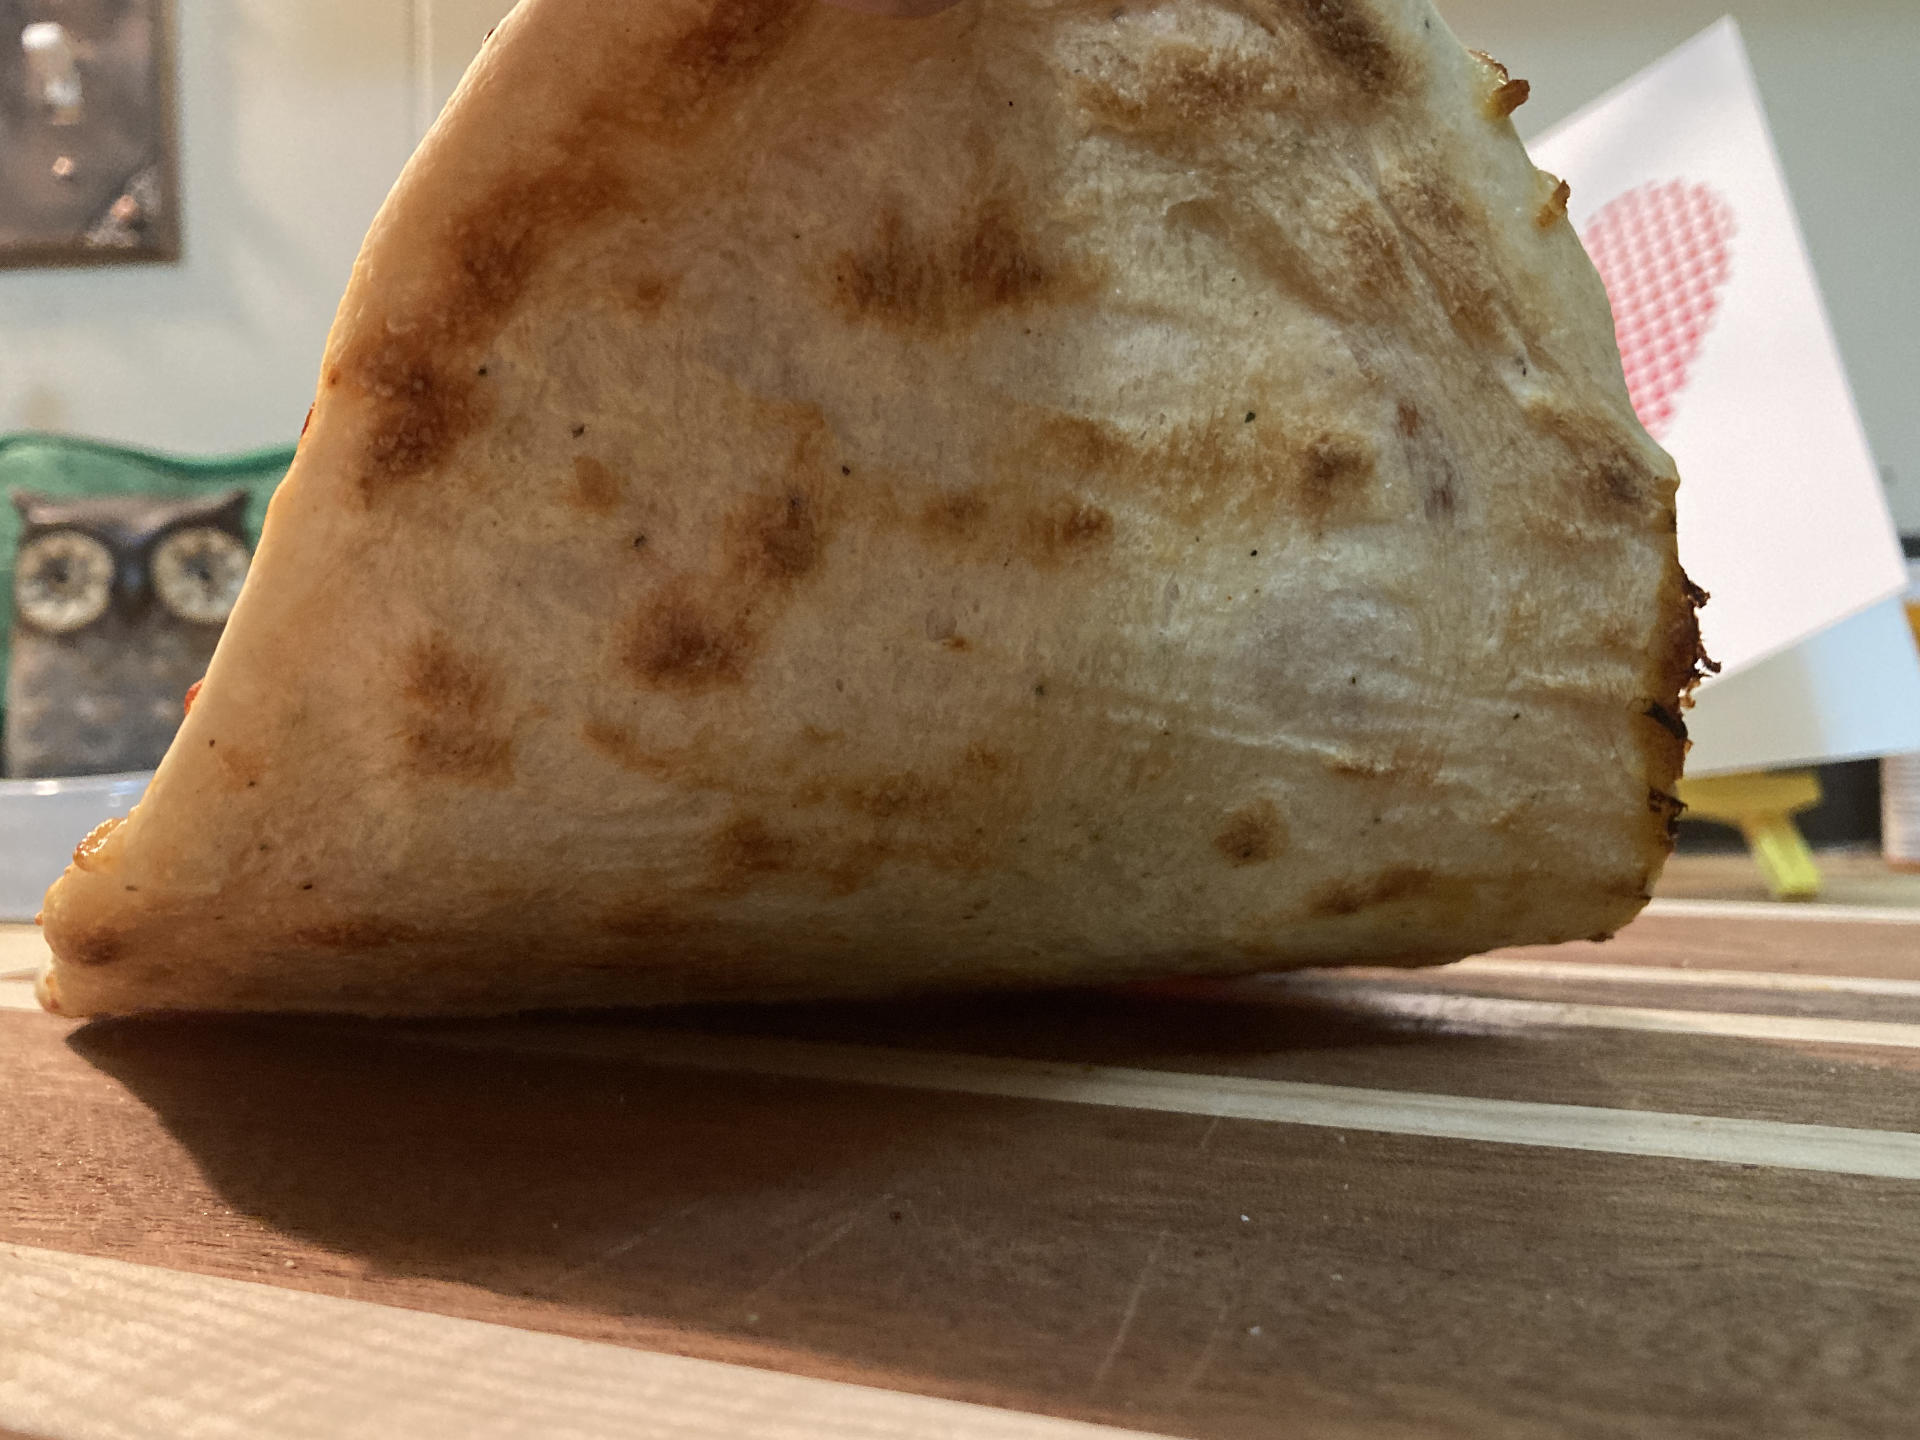
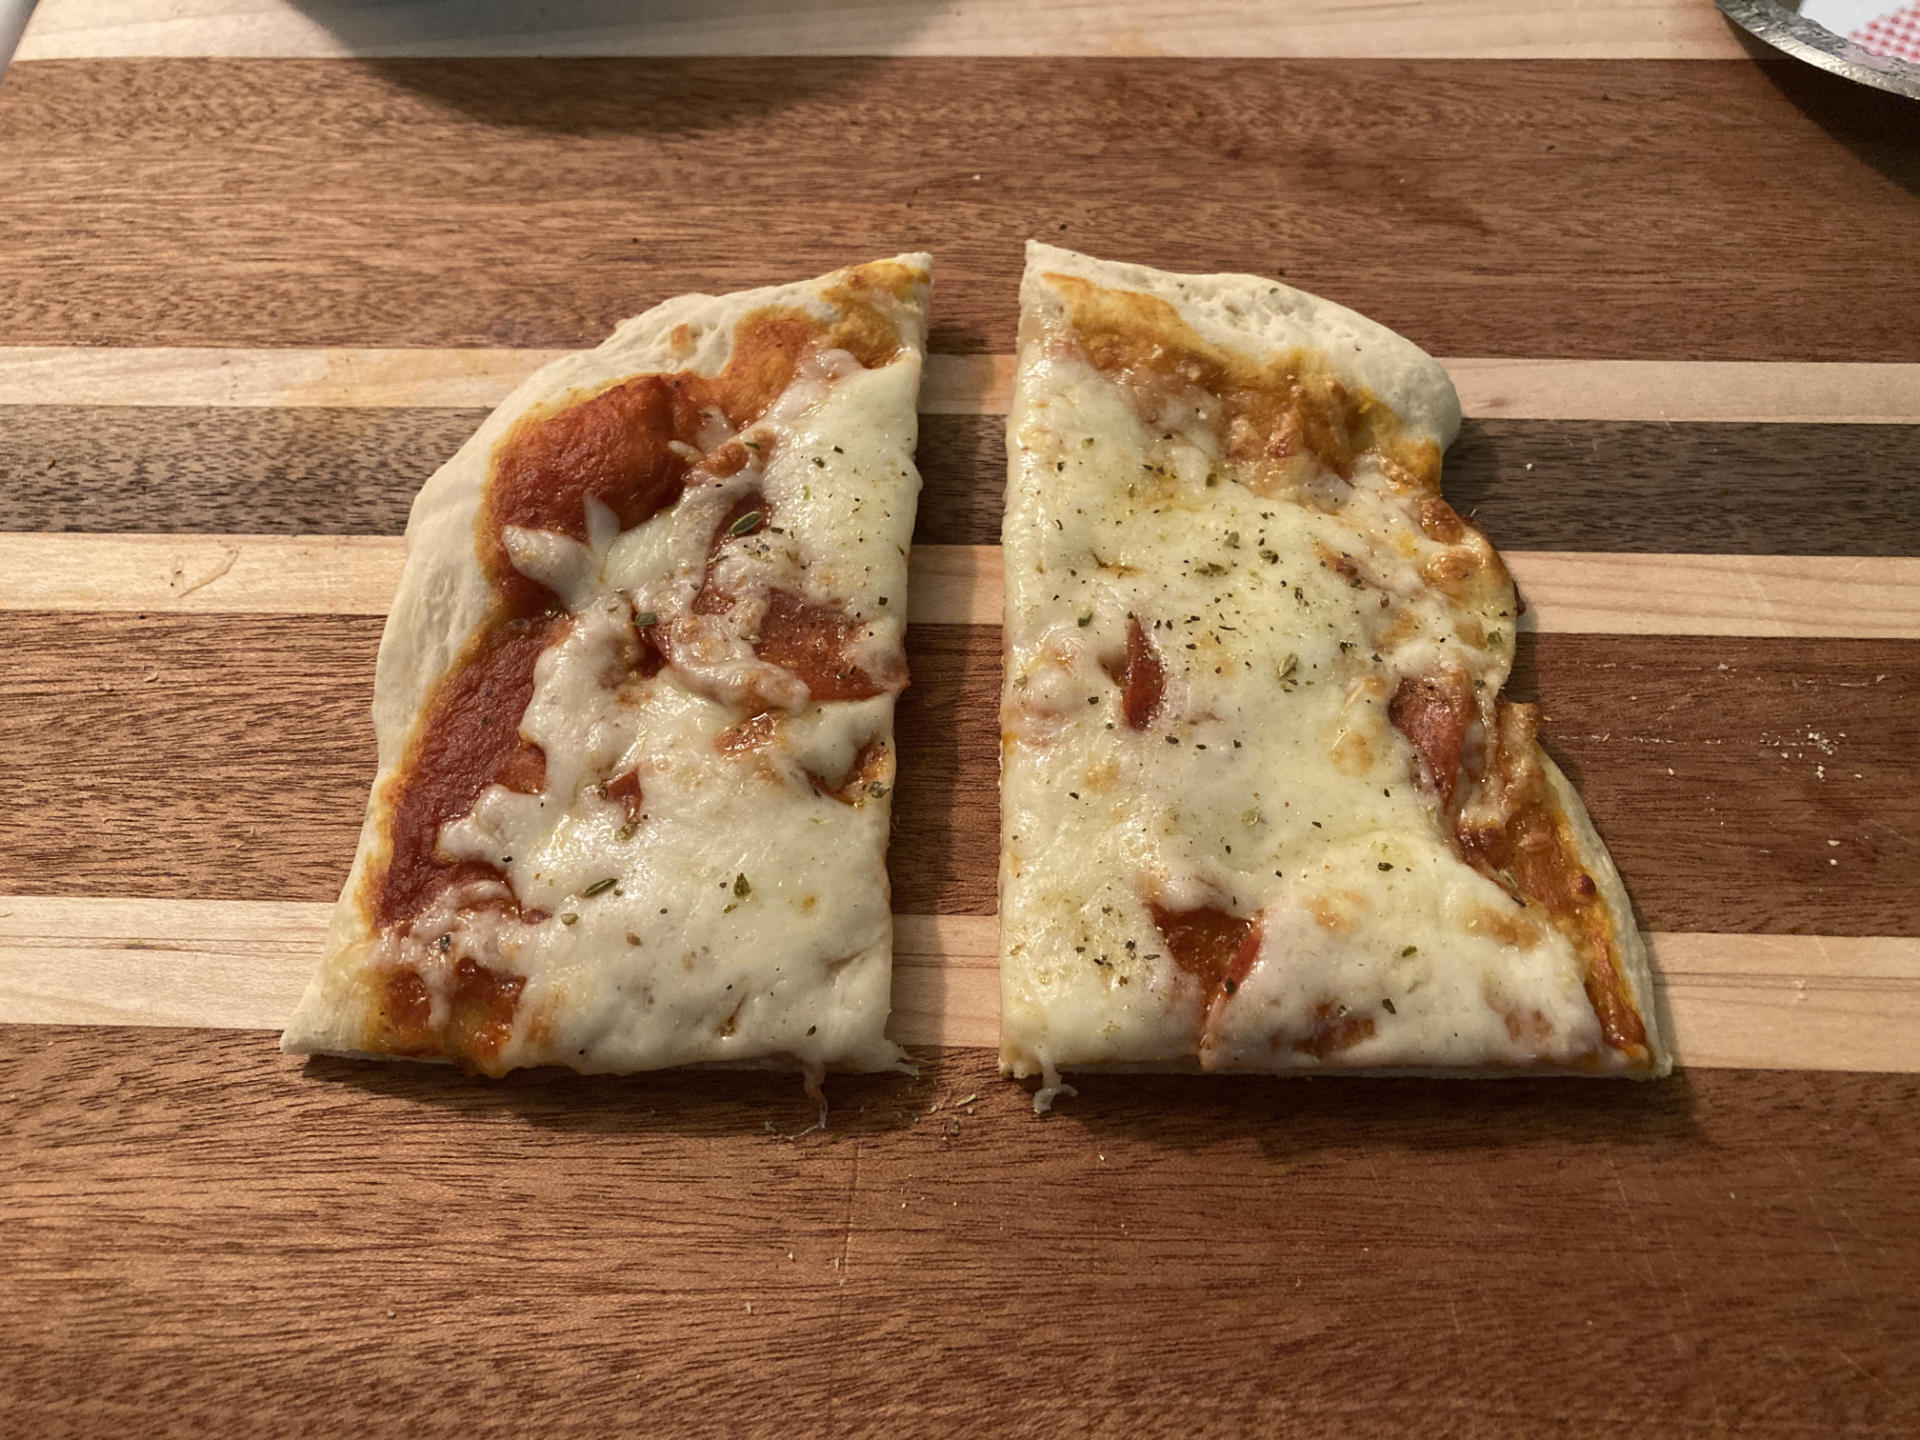
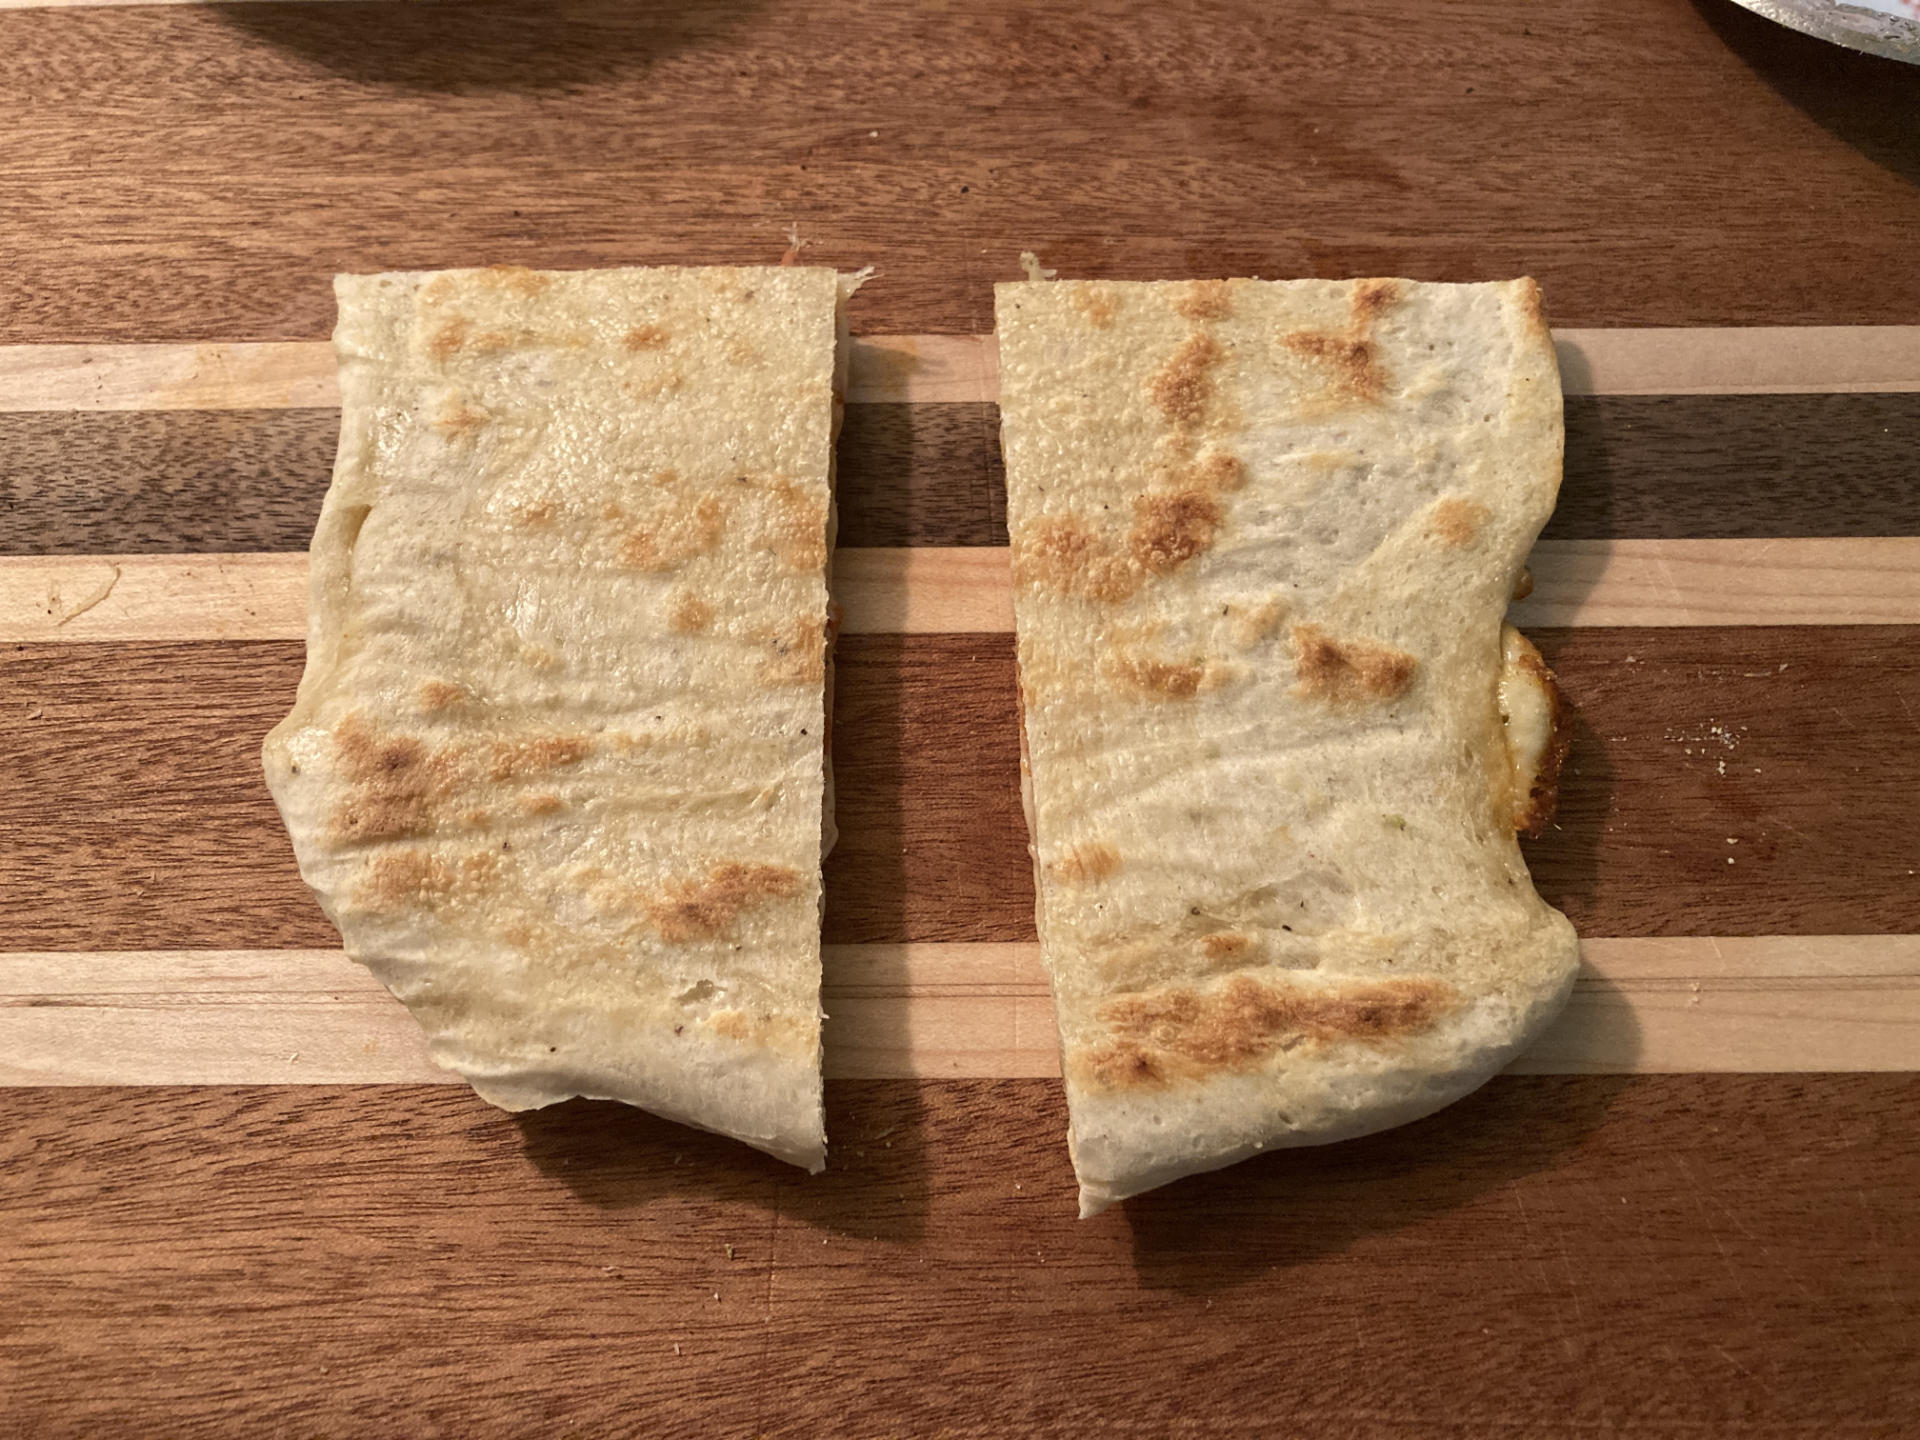
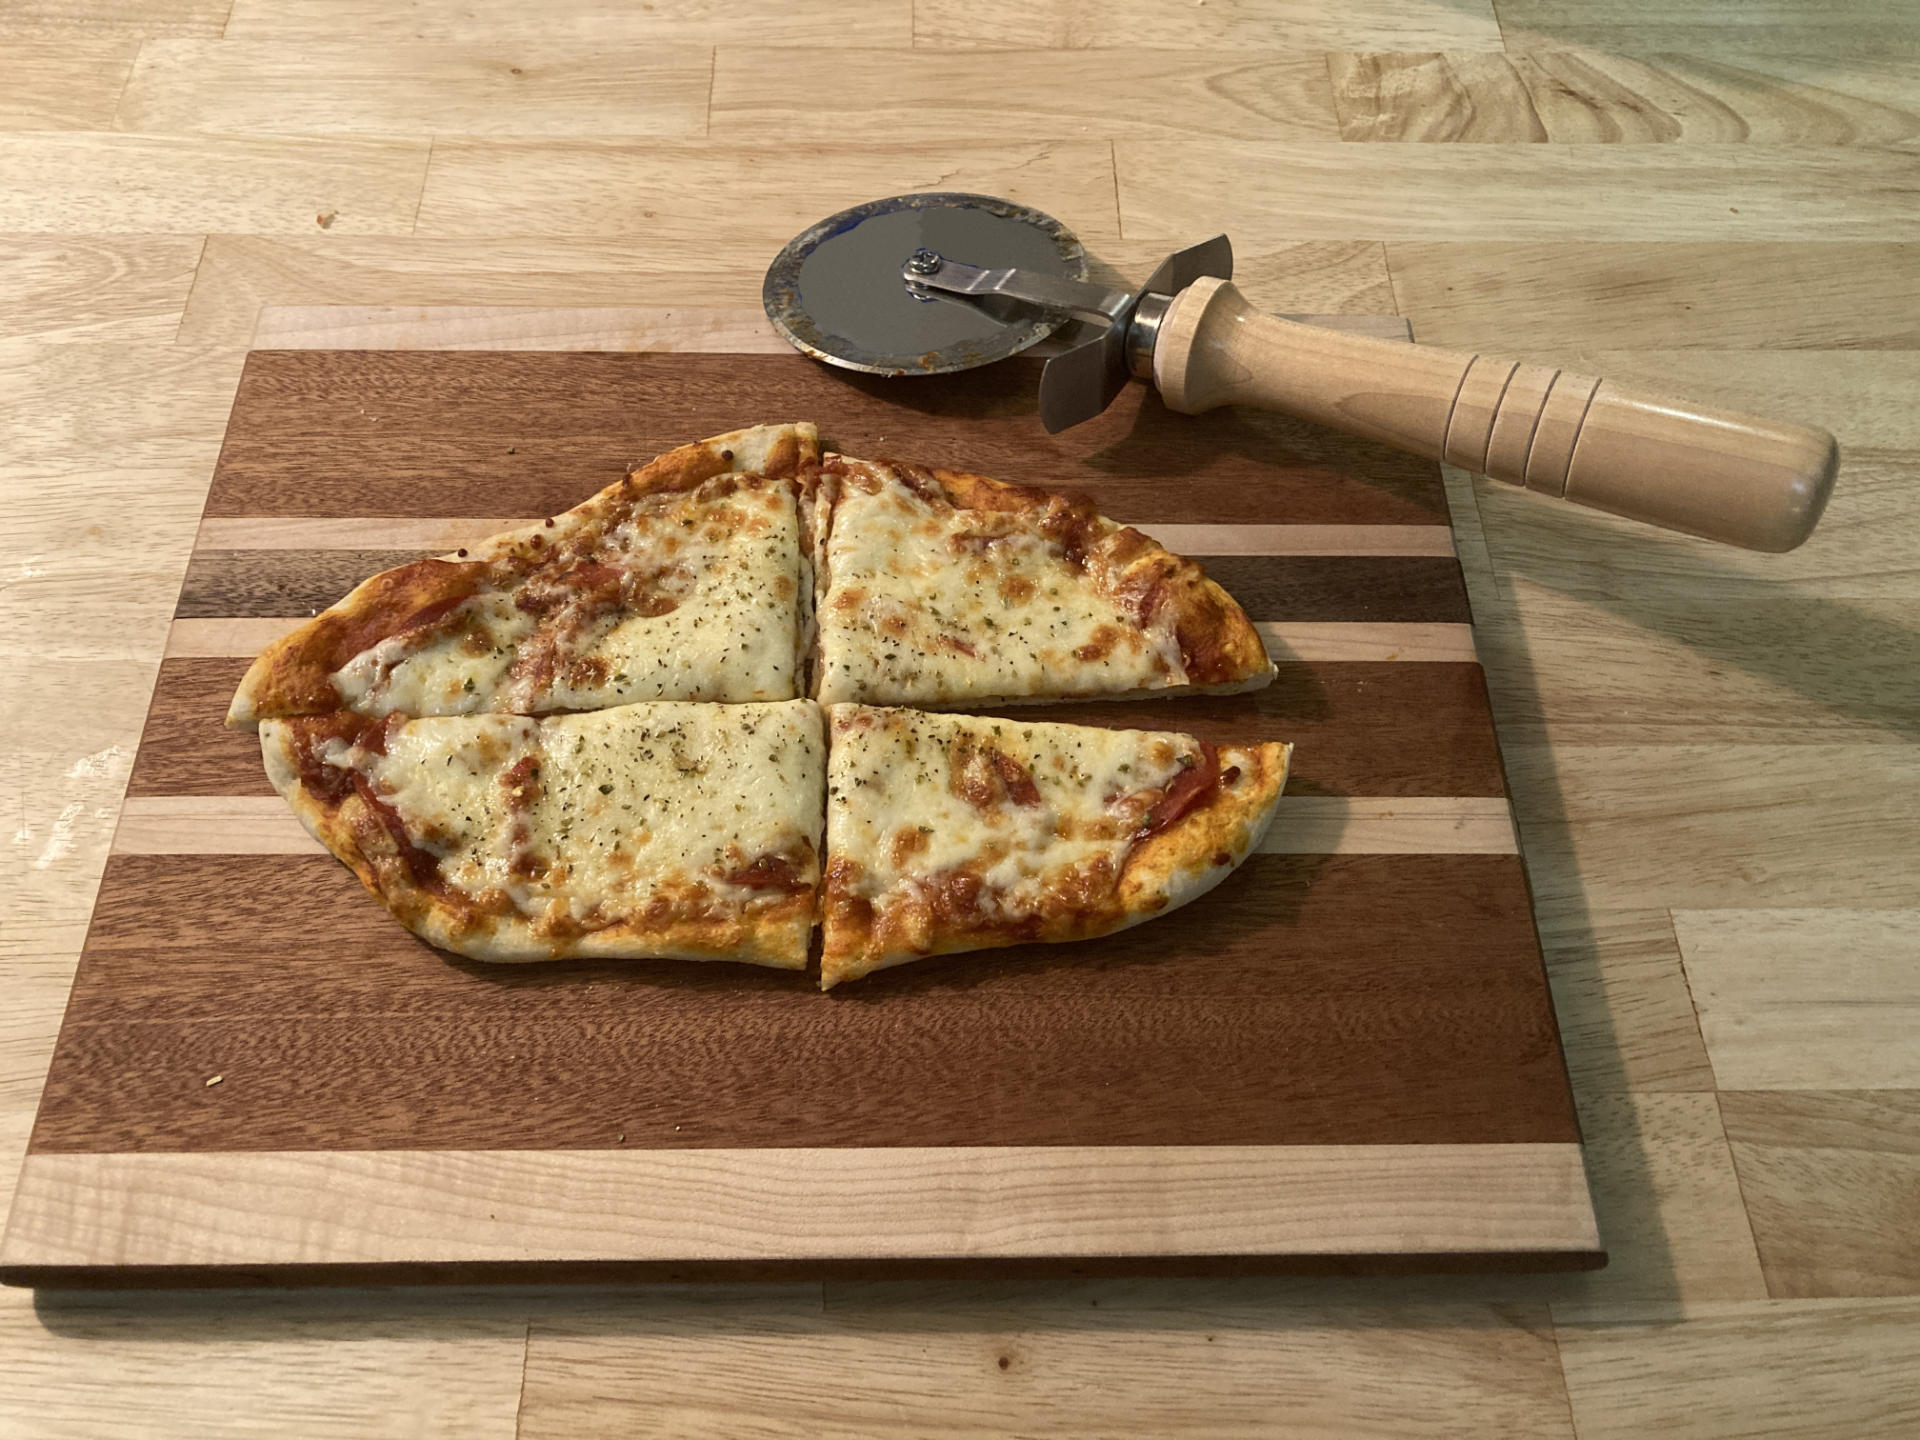
Oh, I divided the dough into three small crusts, one Dana and I ate, one I ate, and one I packed for my lunch the next day. I should also note that Dana declared it the best crust made in this house that she ever tasted. (And she can be pretty particular about her crusts!) And yes I threw these together quick and haphazardly so they are not beautiful looking.

I was able to grab the parchment paper to pull the pizza out when done as well, so that was all good. I still need to figure out exact baking times. I did about 4 minutes, then turned the oven to broil on high for another few minutes.

And the results? Damn, that crust was the best I’ve ever made, and I’ve been making pizza crust at home for nearly 20 years. Seriously, it was good. Why the hell did I put this off for so long!? I’ve been reading The Elements of Pizza: Unlocking the Secrets to World-Class Pies at Home and there are a ton of tips and tricks for better dough/crust, but my regular old recipe on a pizza steel turned out amazing.

And I mean, I’m not done… I still have a lot to learn, and a lot more experiments, but I had no idea my first attempt would turn out so well. Cheers!

Just one more note about the photo above. The cutting board was a gift from my dear friend Maks and the pizza cutter was given to Dana from the husband of a colleague who turned the handle on his lathe. Neat!


Note: This post contains an Affiliate Link. Read More.

Categories
Uncategorized

Granola Bars v2

I posted this granola bar photo elsewhere and a few people asked for the recipe. Here’s my version, based heavily on the one from blessthismessplease.com

The original recipe called for using butter, and I tried to replace it with peanut butter to make them vegan for my vegan crew. (I left the chocolate chips out, of course.) They worked, so I stuck with using peanut butter instead of butter, and added the chocolate chip back in (making the “non-vegan” version.)

So if I make them for Dana and myself the chocolate chips go in and they are not vegan. If I make them for my daughter, I skip the chocolate chips, and they are still quite delicious. Dana says the chocolate chips add just the right about of sweet to the saltiness you get from the peanut butter, peanuts, and salt. So leave them out for vegans, or add them in for non-vegans.

Note! Just a quick update… I started using vegan (non-dairy) mini chocolate chips and they work the best. Also, we always add the chocolate chips now.

Ingredients

  • 2 1/2 cups old fashioned rolled oats
  • 1/2 cup nuts, roughly chopped (peanuts, cashews, pistachios, whatever)
  • 1/4 cup honey
  • 1/4 cup peanut butter
  • 1/3 cup brown sugar
  • 2 Tbsp molasses (Optional)
  • 1 teaspoon real vanilla extract
  • 1/4 teaspoon kosher salt
  • 3/4 cup shredded coconut
  • 1/2 cup mini chocolate chips

Instructions

  1. Preheat the oven to 350 degrees. Line a 9-inch square baking dish with parchment and lightly spray with cooking spray.
  2. Place the oats and chopped nuts on a rimmed baking sheet and bake for 8-10 minutes until lightly toasted.
  3. Add the honey, peanut butter, molasses, and brown sugar to a saucepan. Cook over low to medium heat until the peanut butter melts and the sugar dissolves. Stir constantly. Let the mixture bubble while stirring for 1 minute and then remove from the heat.
  4. Place the nuts and oats in a large bowl. (We’ll be adding in the liquid when it’s ready.)
  5. Stir in the vanilla and salt to the liquid mixture. Pour this mixture over the oat and nut mixture and stir to combine with a rubber spatula. Add the shredded coconut (except for chocolate chips) and stir to combine. Stir it up good! Make sure none of the oats are dry.
  6. If you are adding chocolate chips, wait about 15 minutes for the mixture to cool a bit before adding the chocolate and then stirring to combine. (Otherwise they get all melty! Some people like them melted in though, so try waiting just 10 minutes or even 5 minutes before adding them.)
  7. Place all of the mixture in the 9-inch square baking pan. Press it all down good! I use another piece of parchment paper to get it nice and pressed. The more compressed you can get it, the less chance they’ll fall apart after cooled.
  8. Toss it in the fridge and wait at least two hours. Lift the bars from the pan using the edges of the parchment and place them on a cutting board. Cut ’em up!
  9. Enjoy!

The original recipe calls for storing them in the fridge, I think because of the butter. I don’t know if these need to be stored chilled. I usually keep a few in my desk at work, but I tend to finish off a batch in about a week, so they aren’t around that long.

Categories
Uncategorized

Trader Joe’s Chunky Salsa

A few people seemed to enjoy my Kroger Private Selection Salsa review so I’m back again with another salsa. I picked up this “Trader José’s” salsa for $1.99 USD, so expect another cheap salsa. It’s mild, and… well, it is mild. If you want plain, cheap, dare I say boring salsa, this is it!

While the Kroger Private Selection Salsa was probably going for an upscale/artisan look with the label, this Trader Joe item is full on “Mexican Restaurant in America” style. It’s fine. Say “fine” to the salsa. It’s 10 calories per serving but I eat half a jar at a time so whatever.

I had to spice it up a bit, and instead of the Sriracha I grabbed the Old Bay hot sauce for a bit more flavor. That helped.

So yeah, boring salsa, but cheap. Not too much liquid like the Kroger Private Selection Salsa so at least you get your two dollars worth. Chips Ahoy!

Categories
Uncategorized

Kroger Private Selection Salsa

What started out as one of my Critique this label posts on Facebook turned into a full review of this salsa. Some of the comments from others included “Tomatoes are listed 4 times.”, “It’s staunchy design.”, “Pretty generic. Too many fonts…”, and “Tomatillo salsa should not have tomatoes in it.” So here’s my take…

First I’ll start off by saying I bought this because it was on sale for $1.99 USD. I like a good medium salsa, and the “Smoky, Tangy” flavor sounded good. It’s definitely got a smoky flavor to it, though I would call this a “hot” salsa instead of a “medium”. I can handle hot stuff just fine but I really think they should label this hot instead of medium. If they do have a “hot” I don’t think I want it.

My main complaint about this salsa is the amount of liquid content. This is not a “thick and chunky” it’s the opposite, a “loose and watery” or something, though putting that on the label would probably affect sales. I decided to run the salsa through a strainer to get some idea of the amount of liquid in it. See the photo below.

Wow! I got about 5 ounces of liquid, which accounts for more than 25% of the contents of the jar. So even though this salsa was $1.99 USD I really only got a jar that was about 70% full of salsa after the excess liquid removal process. (I also wonder if most of the hotness was in the liquid, because it did not seem as hot after I de-liquified it.)

In conclusion, it’s an okay salsa. Will I buy it again? Probably not. Though the low price was appealing, once I finish the three jars I have (?!?) I’ll probably move on to another brand.

Update: Maybe don’t buy this because Fuck Kroger!