Hey there… Dan Gillmor moved to Linux and it’s even better than he expected!
As for me, I’ve been using Mac OS X pretty much since it came out, and before that I used System 9, 8, 7, etc… Operating systems created by Apple. I’ve also used FreeBSD in the past (though mainly on servers) and I’ve been using Linux in some form or another for close to 20 years. Along the way I’ve also used Windows, though always for work, never for fun.
I’m going to call out a few things Dan mentions, just so I can comment on them.
…here I am, writing this piece on a laptop computer running the Linux* operating system and LibreOffice Writer, not on a Mac or Windows machine using Microsoft Word. All is well.
Luckily you can use LibreOffice on Mac OS X, Windows, and Linux. You can also use OpenOffice on Mac OS X, Windows, and Linux. And hey, you can also run NeoOffice on Mac OS X (sorry Windows and Linux users) which is what I did years ago before OpenOffice ran on Mac OS X.
This brings up a point I’d like to expand on, that even if you run Mac OS X (or Windows) you can almost always lean towards the open alternative that is available. This might mean LibreOffice instead of Microsoft Office, and it may mean Thunderbird instead of Mail.app, or Firefox instead of Safari.
Other software I use includes jEdit, Arduino, Processing, Fritzing, Inkscape, Audacity, OpenSCAD, and yes… those are all available for Mac OS X, Windows, and Linux. You might also notice that (almost) all of the websites listed end with .org, which is telling.
The applications you use all depend on what you do with a computer, and what you use a computer for. I tend to use computers to make things, and luckily the specific things I like to make fit in well with the software I use.
Some of the applications listed above rely on Java. I’ve always had a love/hate relationship with Java, but it does help a lot of software run on multiple platforms. One of the applications listed relies on an X11, or more specifically, XQuartz. X11.app used to be distributed by Apple, but they abandoned it, but that’s okay because XQuartz exists.
One application I use that is not available for Linux is Evernote. I should say “not officially available”, since there is Nevernote and Geeknote. Yeah, often you can find an unofficial client for Linux that might work.
Of course if your work demands you use specific software, you may not be able to exclusively run Linux. Oh well…
Now…
No one should ever have to open a command-line window and type “sudo apt-get update” or other such instructions.
I tend to cringe when I see things a computer user should never have to do. I mean, if you want to do X, you may have to learn Y, right? Now, personally, great power comes from being able to open a command line window and type commands. It’s not always the easiest thing to do, though sometimes it is the easier thing to do, if you have the knowledge. If you don’t want to open a command line window and type things, chances are good you won’t have to. (But you should anyway, if you really want to harness the power of your computer. As long as it’s running *nix, I mean. Sorry, Windows users!)
And then…
It’s almost certainly too late for Linux to be a hugely popular desktop/laptop operating system, at least in the developed world.
Maybe, I don’t know… I have seen Linux change over the last two decades, and I’m still excited about what I see.
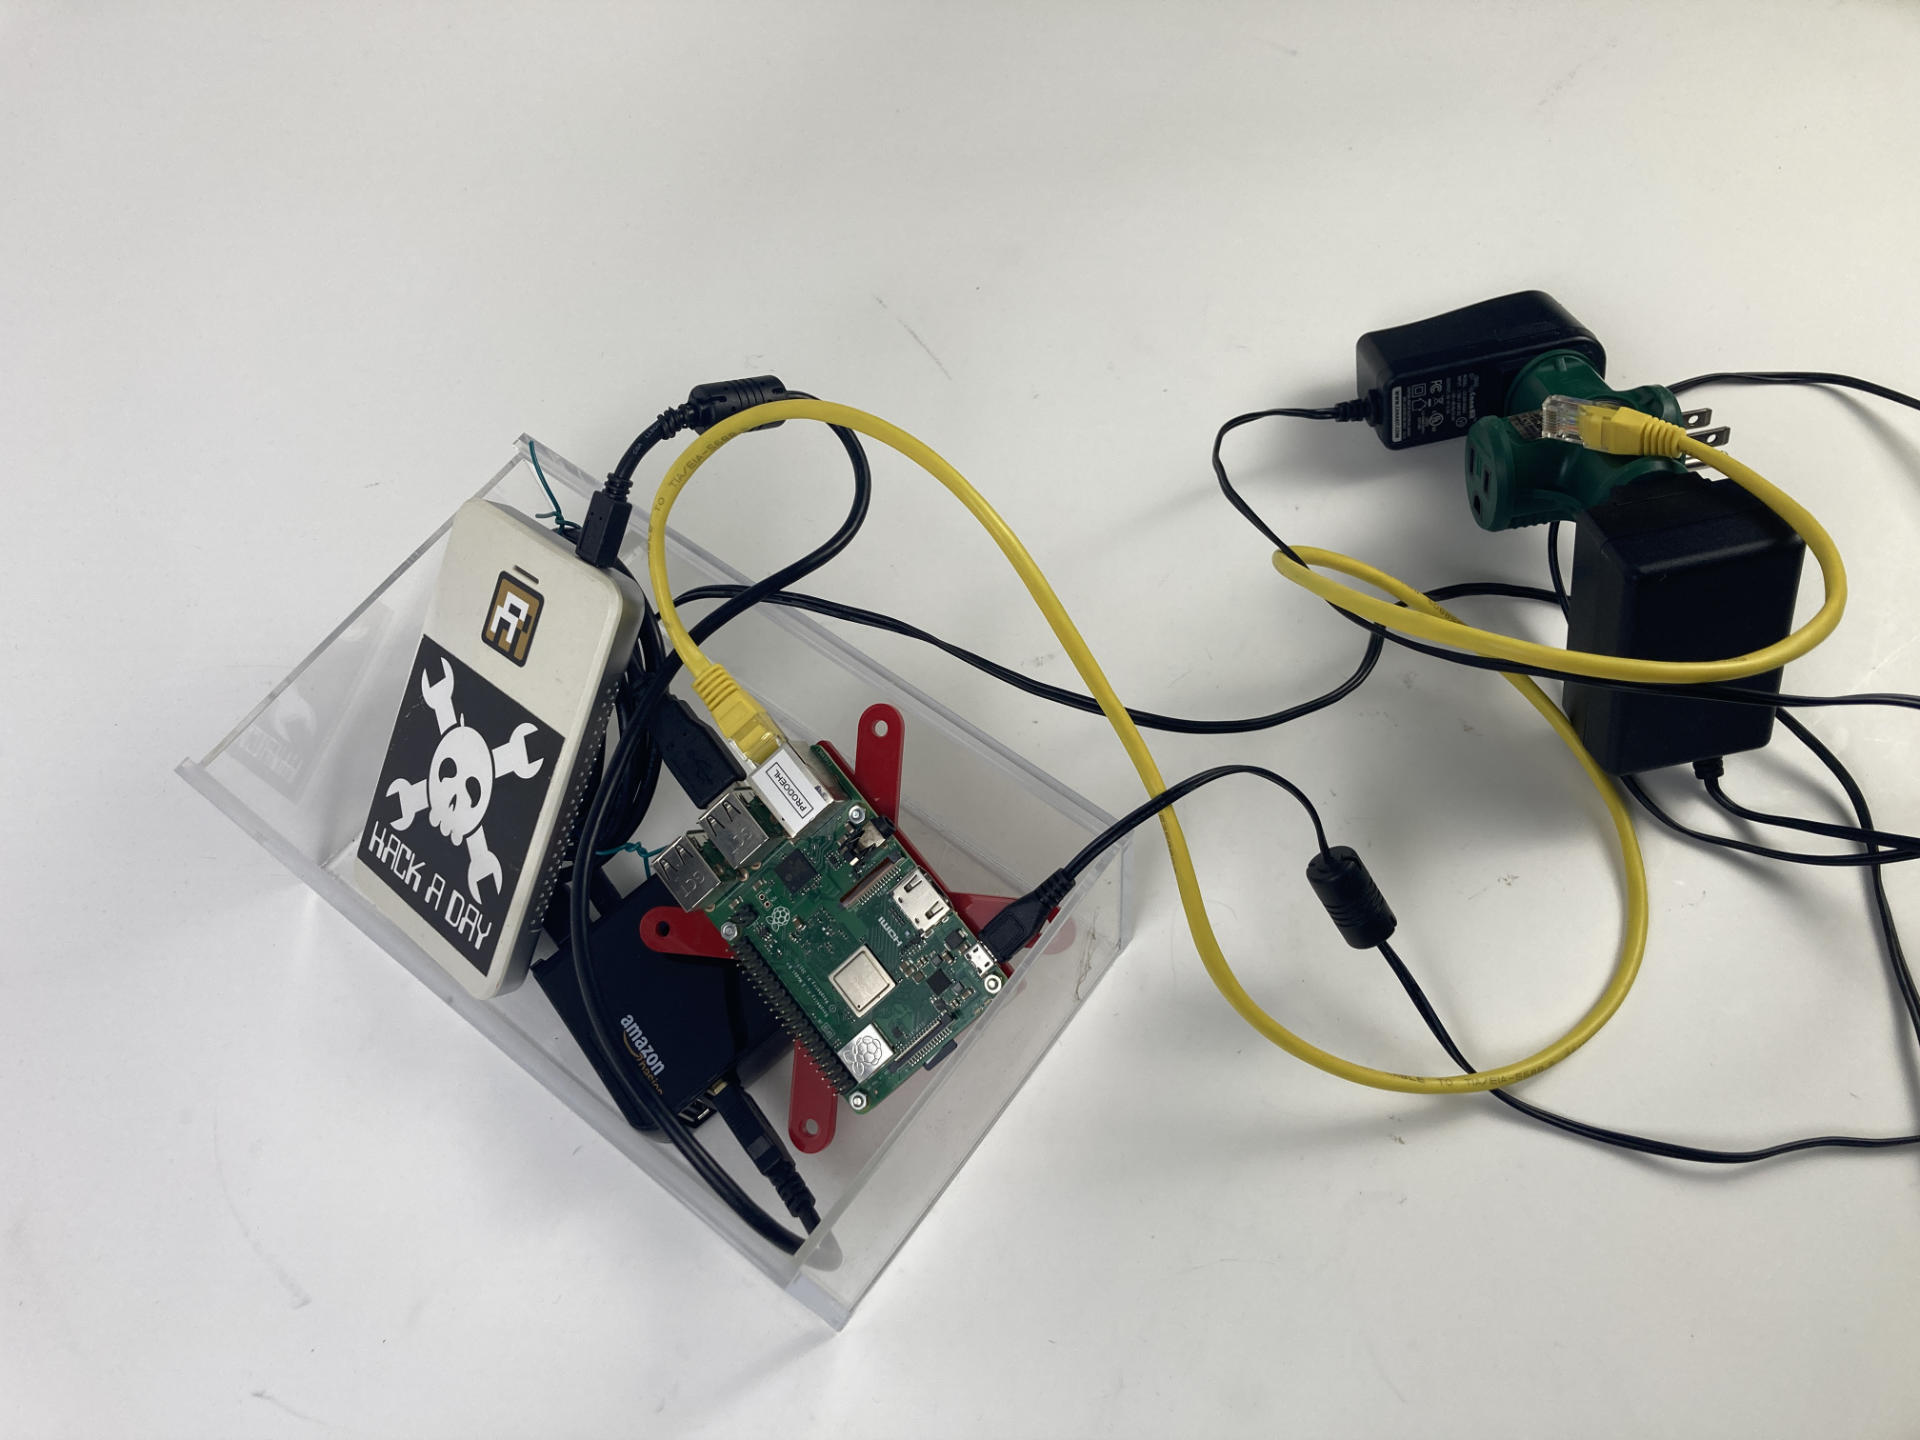
Dan did say “desktop/laptop operating system”, but let’s look elsewhere. Linux is used on servers, and appliances, and things. What do I mean by “things”? Well, every Raspberry Pi project runs Linux. Here’s 400+ projects running Linux. Here’s a few more projects and some tutorials, all using Linux. I even use Linux computers at work (building exhibits) that just play sounds. Using Linux on a Raspberry Pi makes sense for this, and lots of other things.
Anyway, Dan’s post is good (though it’s strange it’s posted on Medium instead of his own web site, because, freedom and all that) and I’d urge anyone who is not familiar with Linux to take a look at it. It’s pretty awesome. So is open source, and freedom, and the command line.