If you liked Band Ties you’ll love Band Balls. Maybe not, but I made them anyway. Just like Band Ties you need to supply your own rubber bands, but you’ve probably got a bag sitting in a drawer somewhere.

Secure those pesky cables! Attach a thing to some other thing! There are 101 uses that I will not list here today!

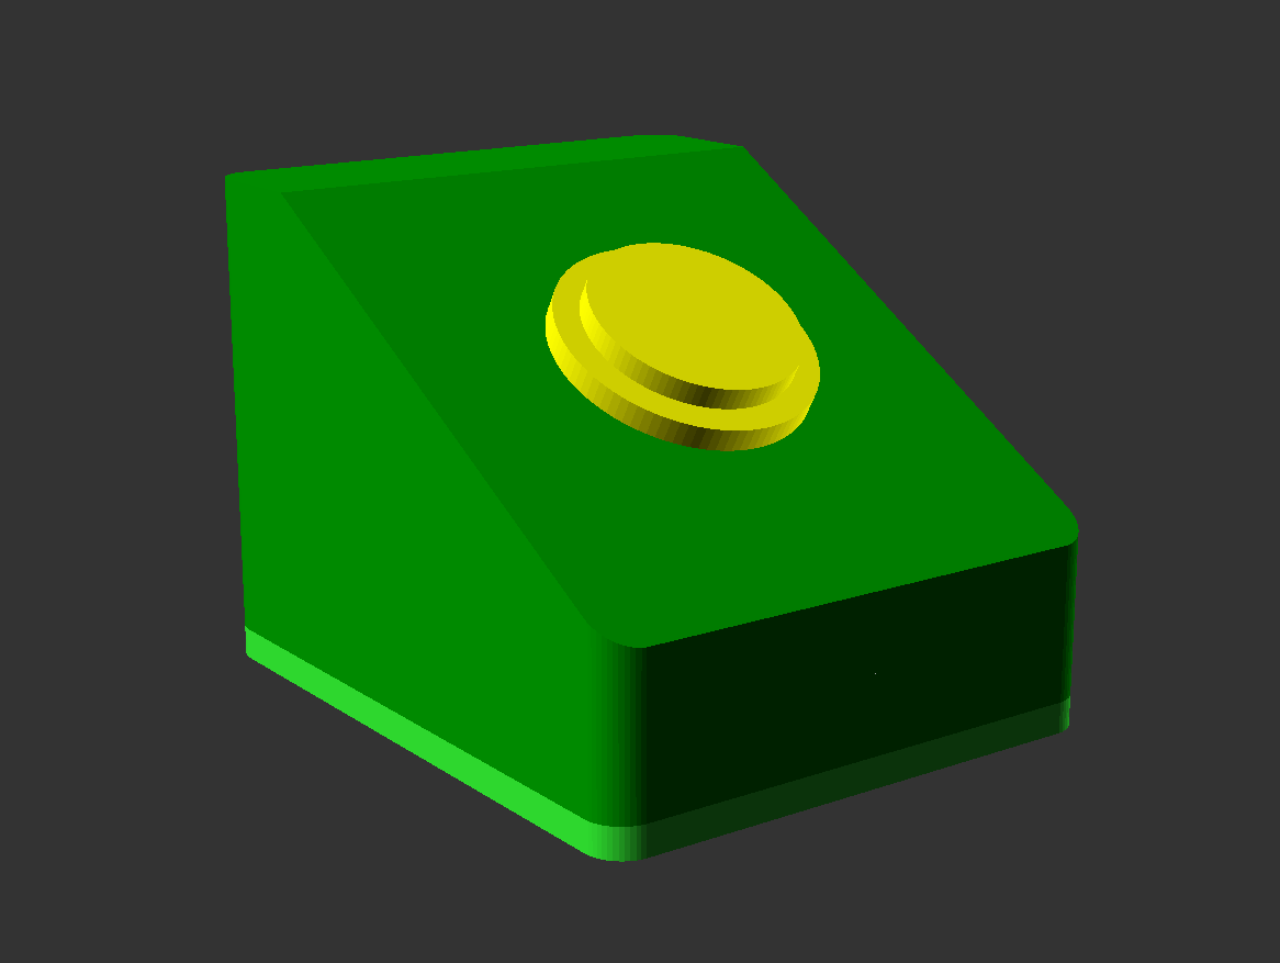
To attach the rubber band you can cut it, thread both ends through the two holes, and then tie them together… Or you can thread the whole thing through both holes and loop through/around itself.

Print in any color you like. There are no rules! You like blue? Blue might look good.

Too small? Scale it up! Holes not the right size? Fire up OpenSCAD and make some changes. Have Fun!

You can get the STL and .scad files from Printables.com – Band Ball. Print ’em if you need ’em!