Remember when I got the Kids Camera Instant Print which I now just refer to as toy camera most of the time?
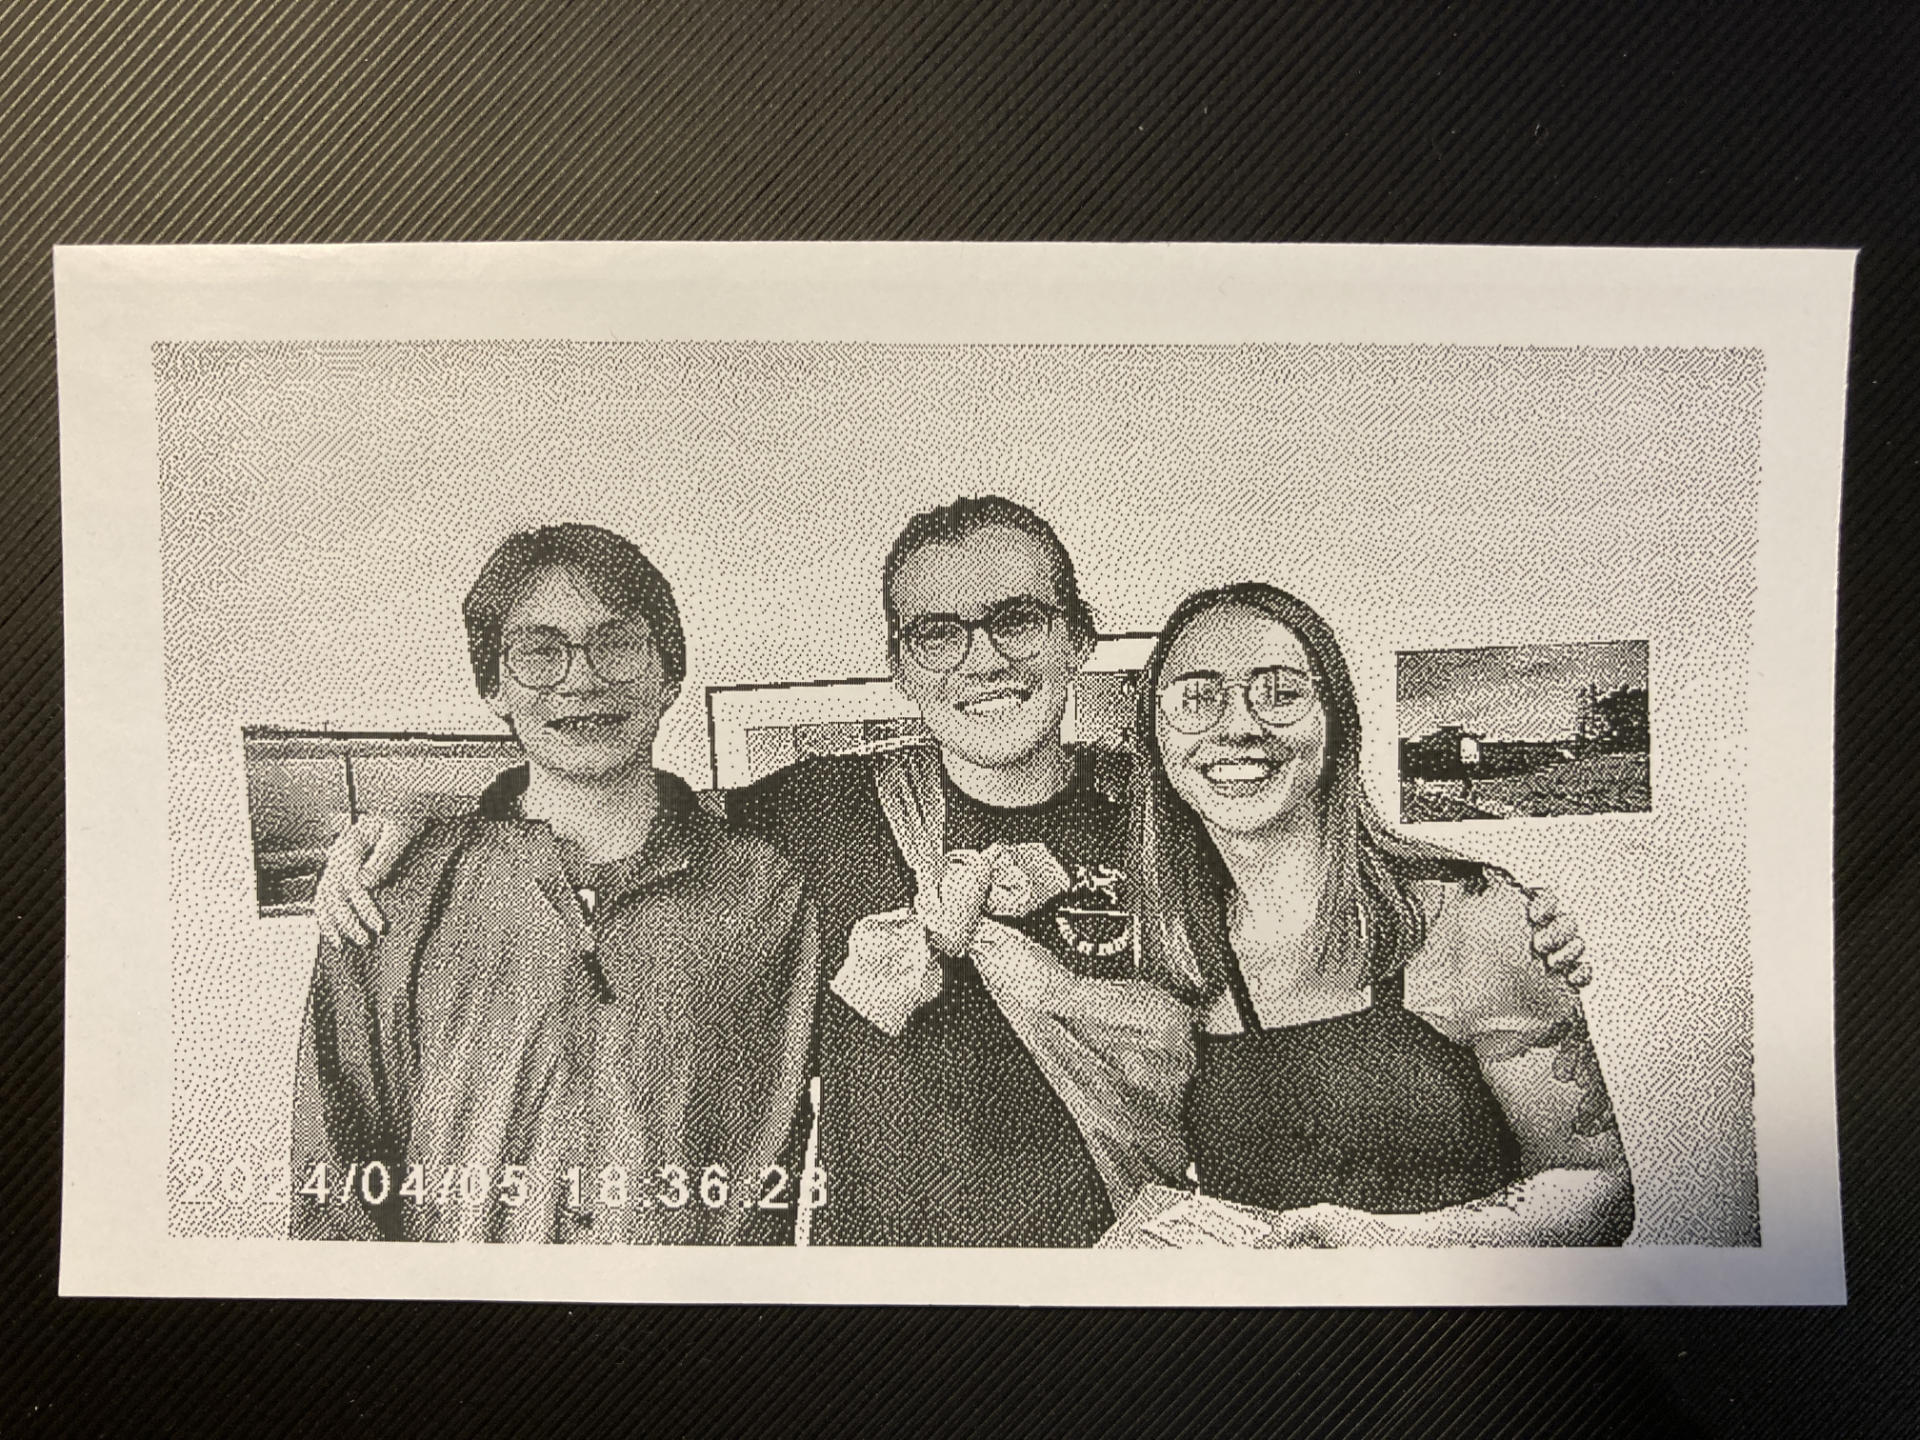
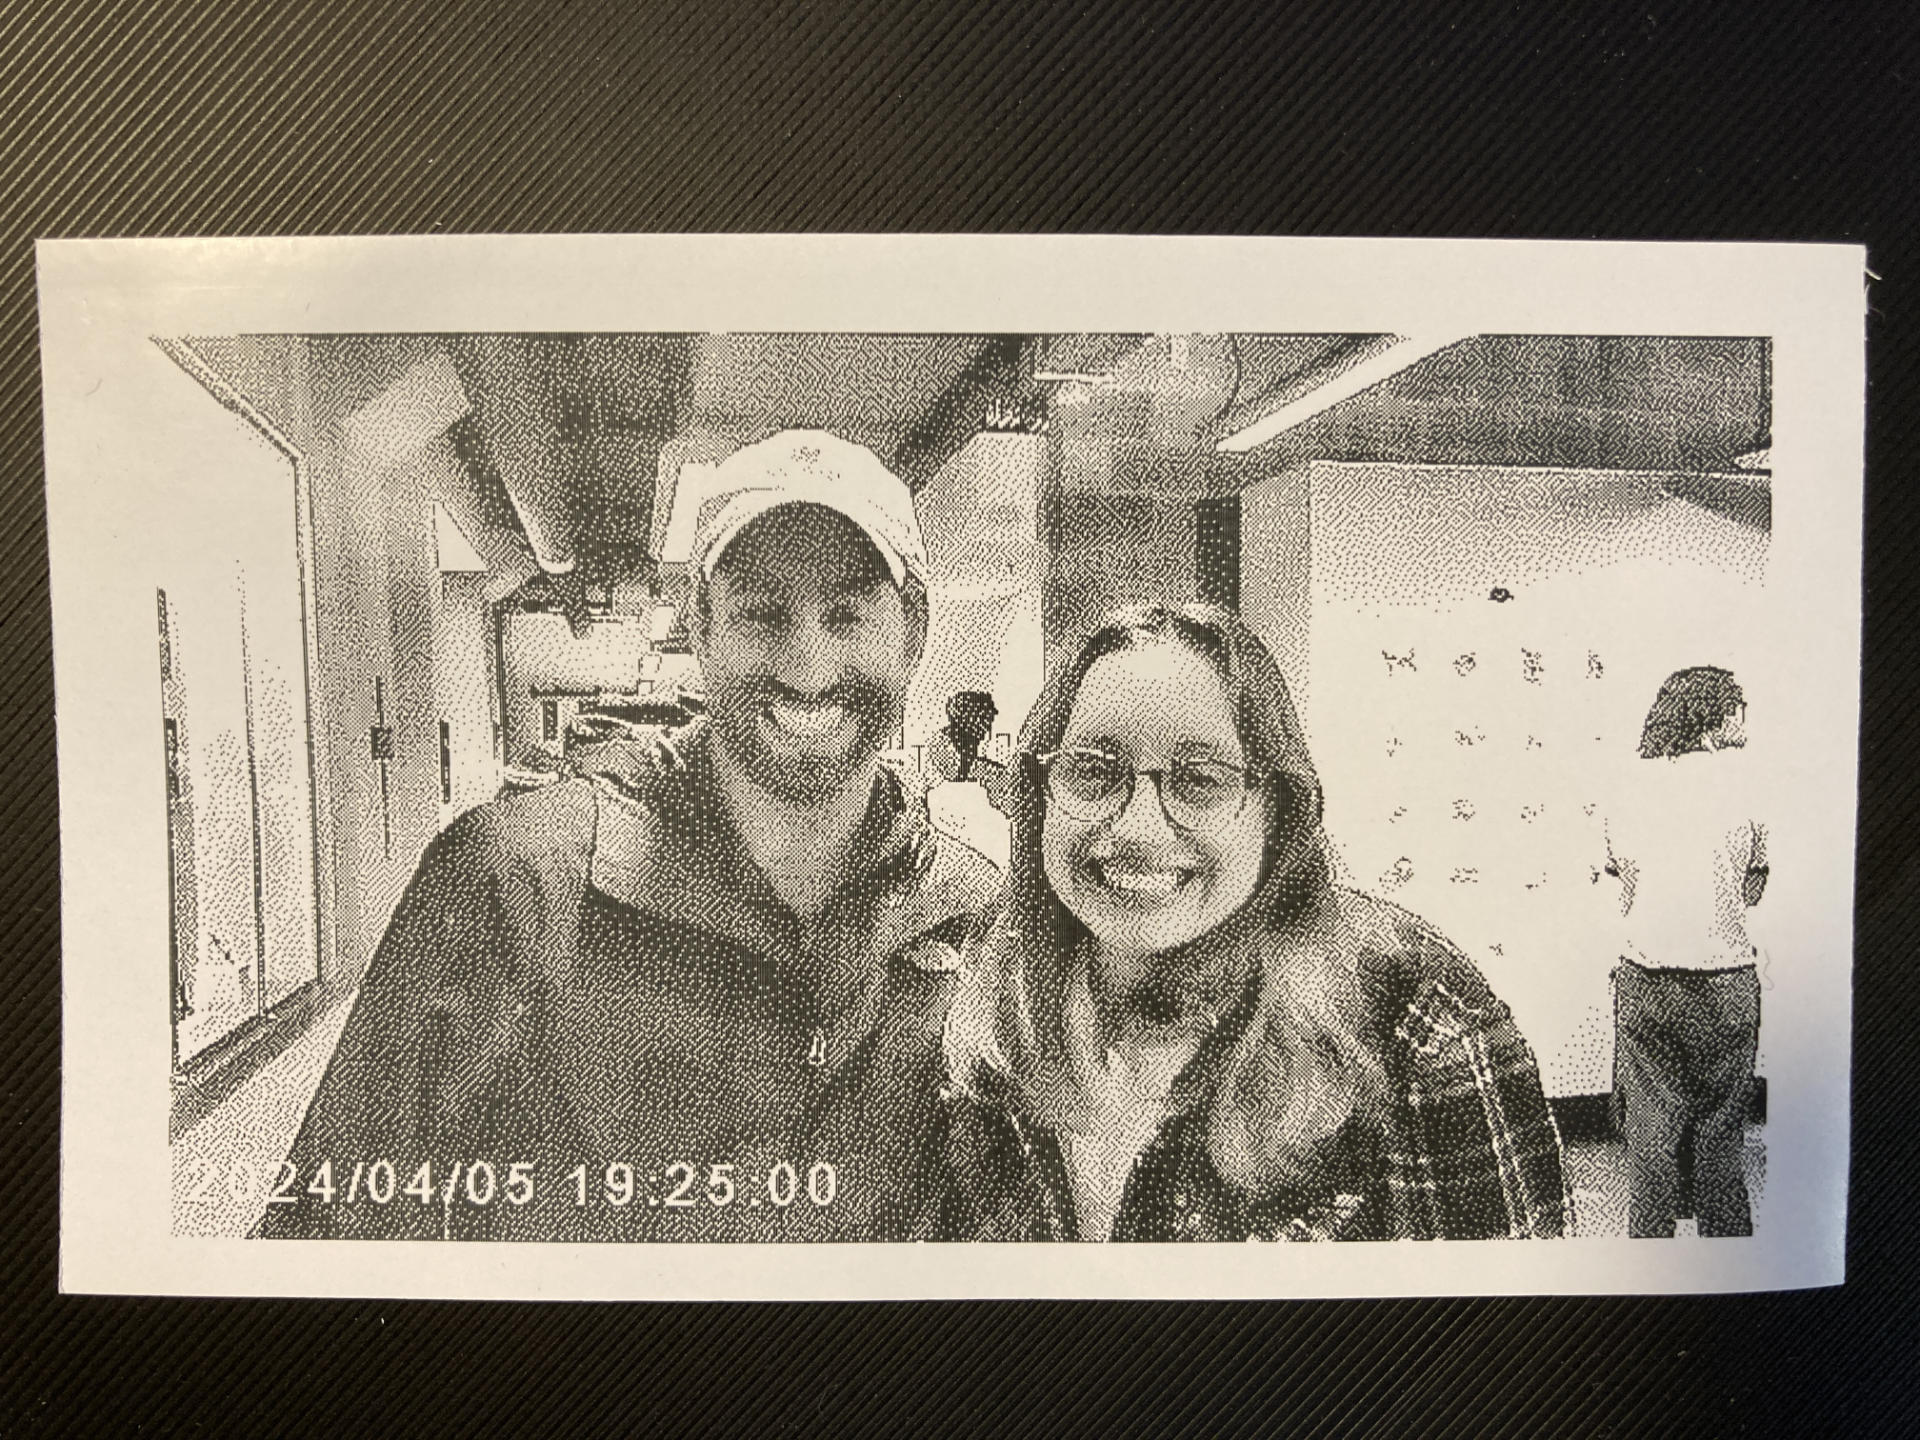
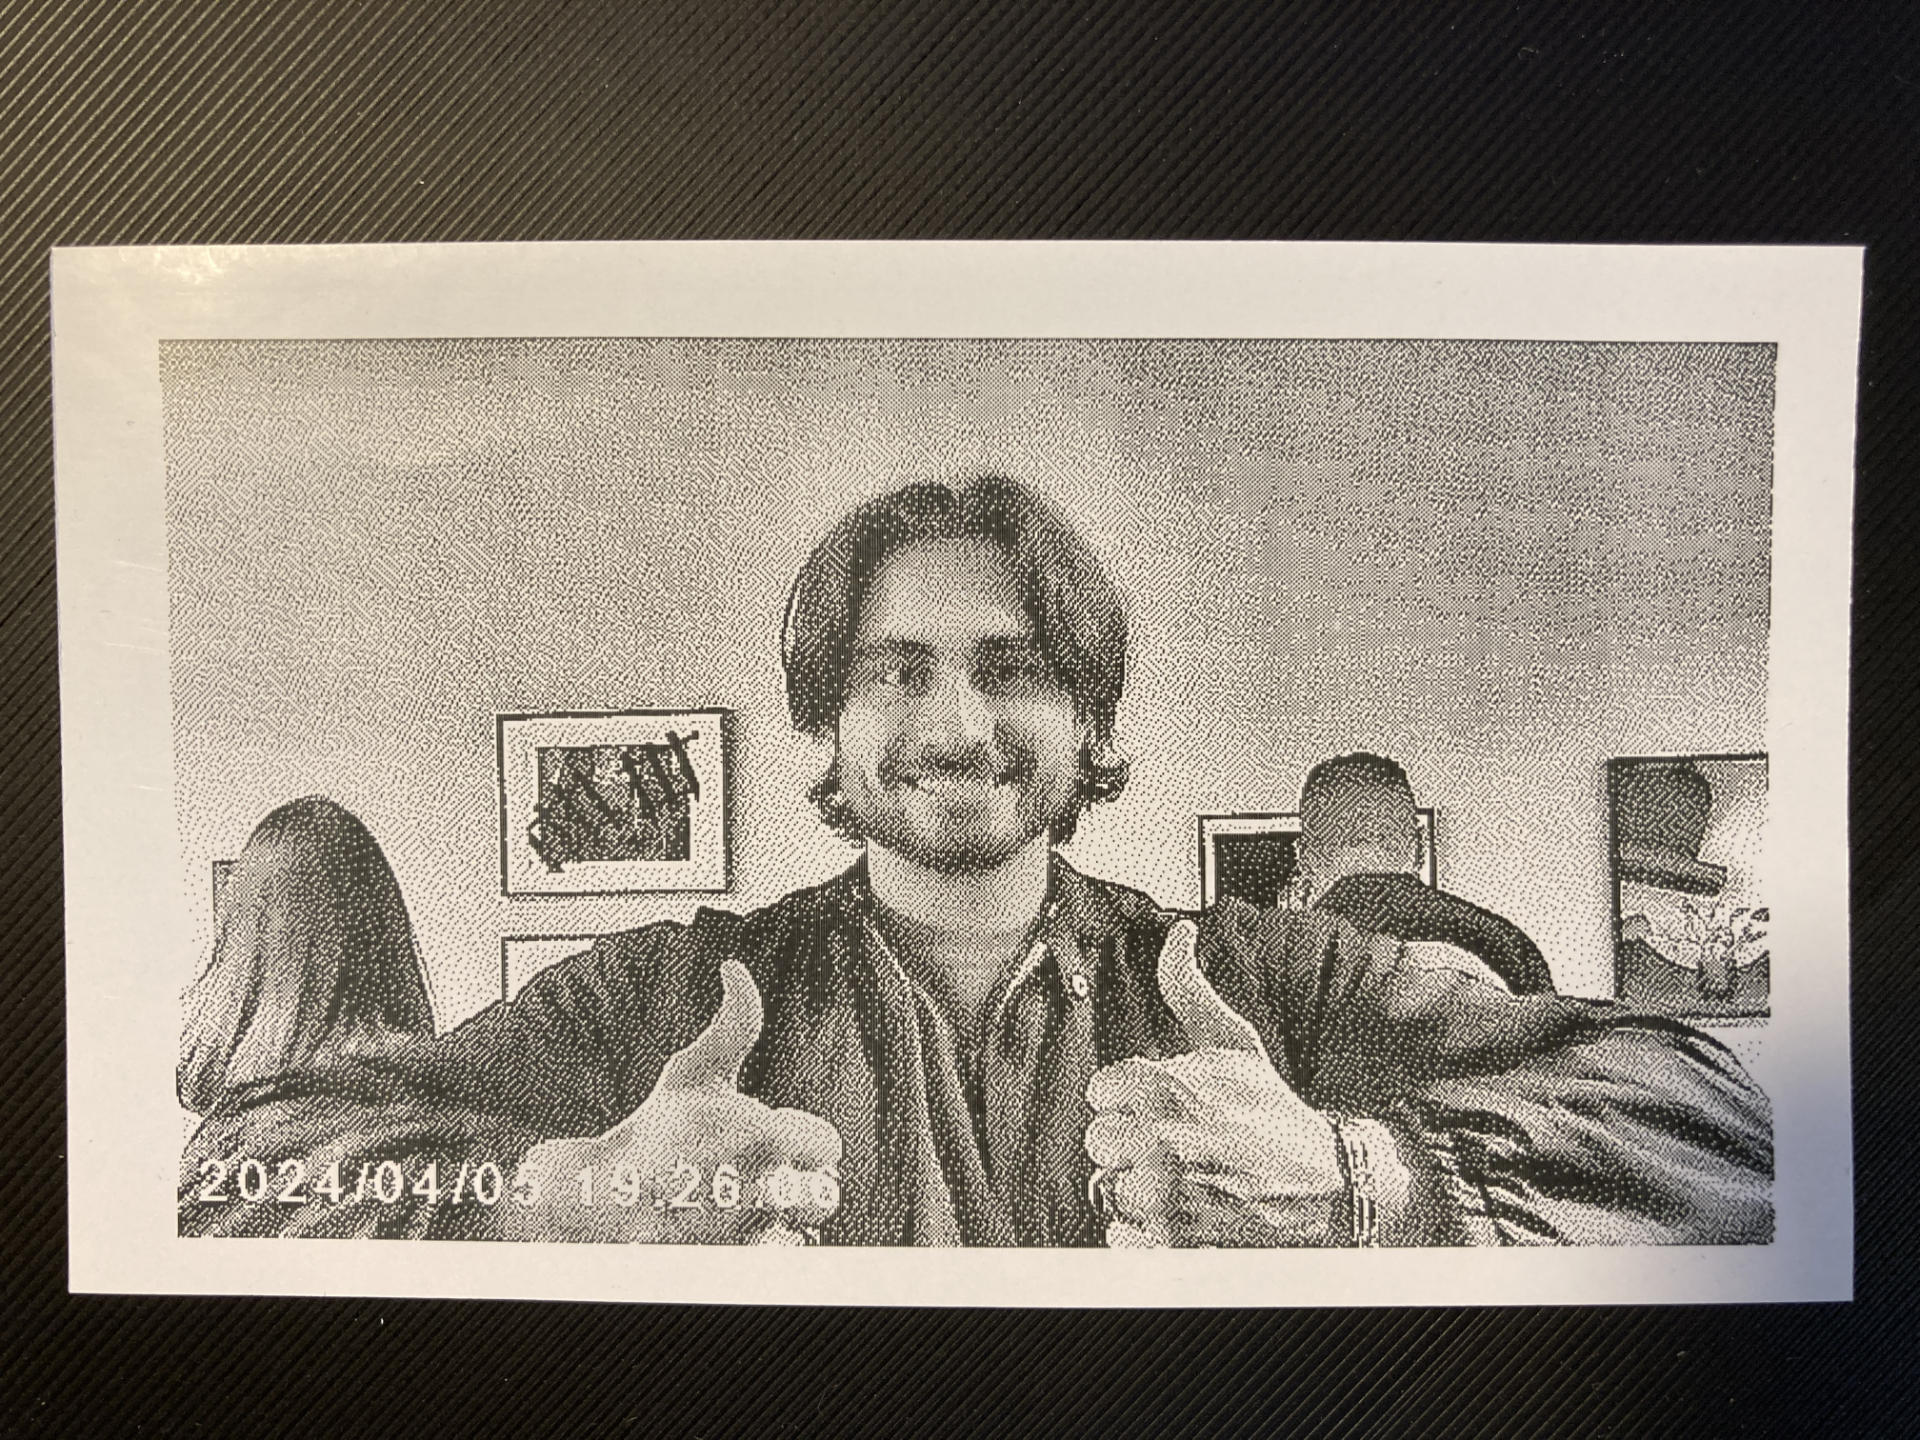
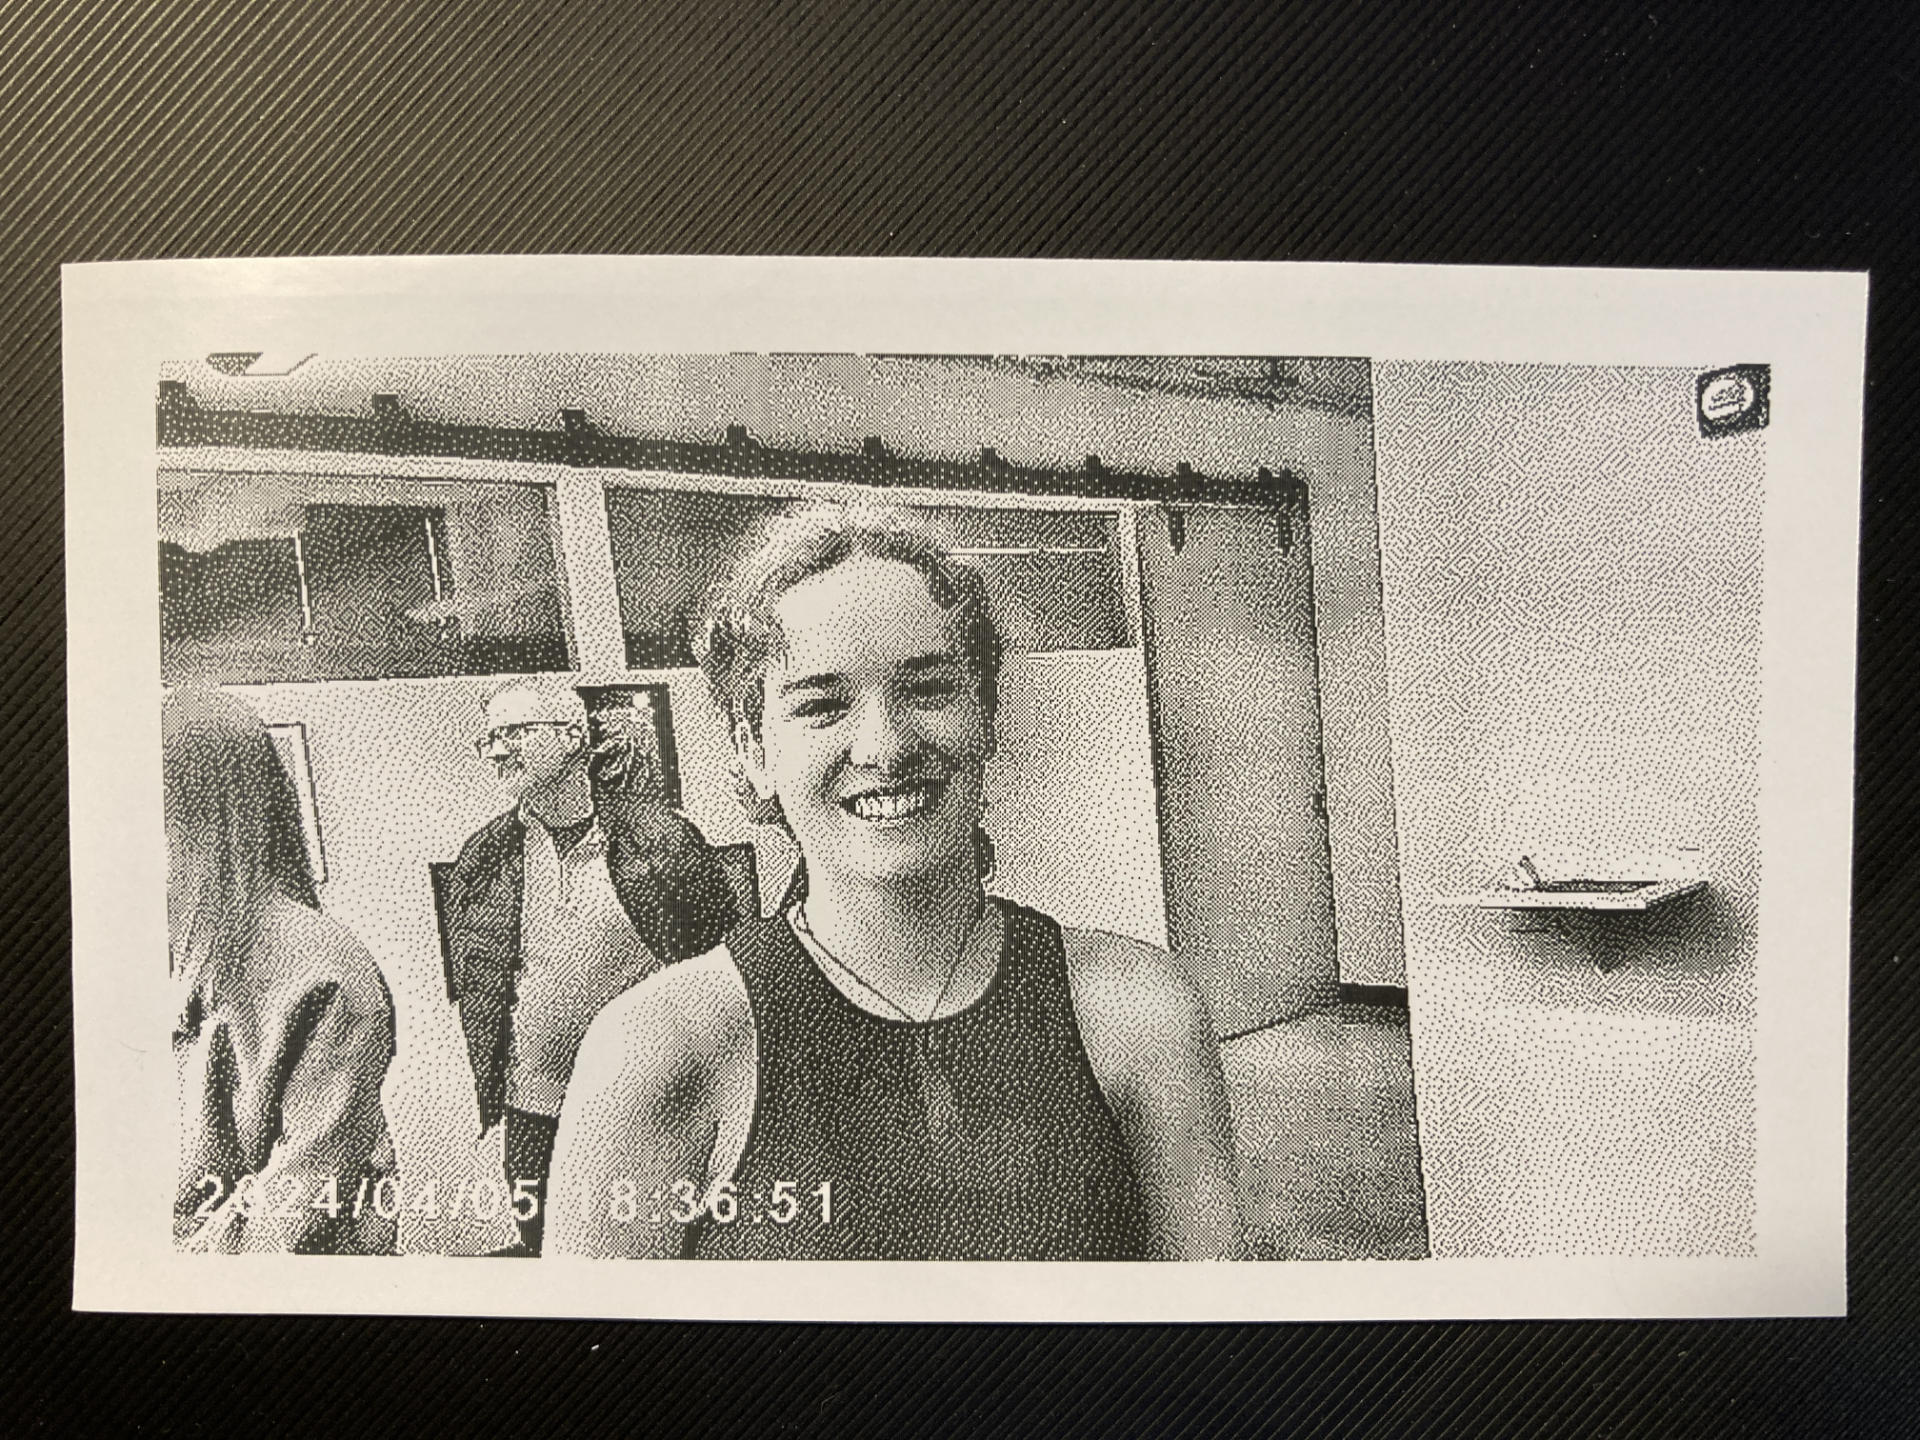
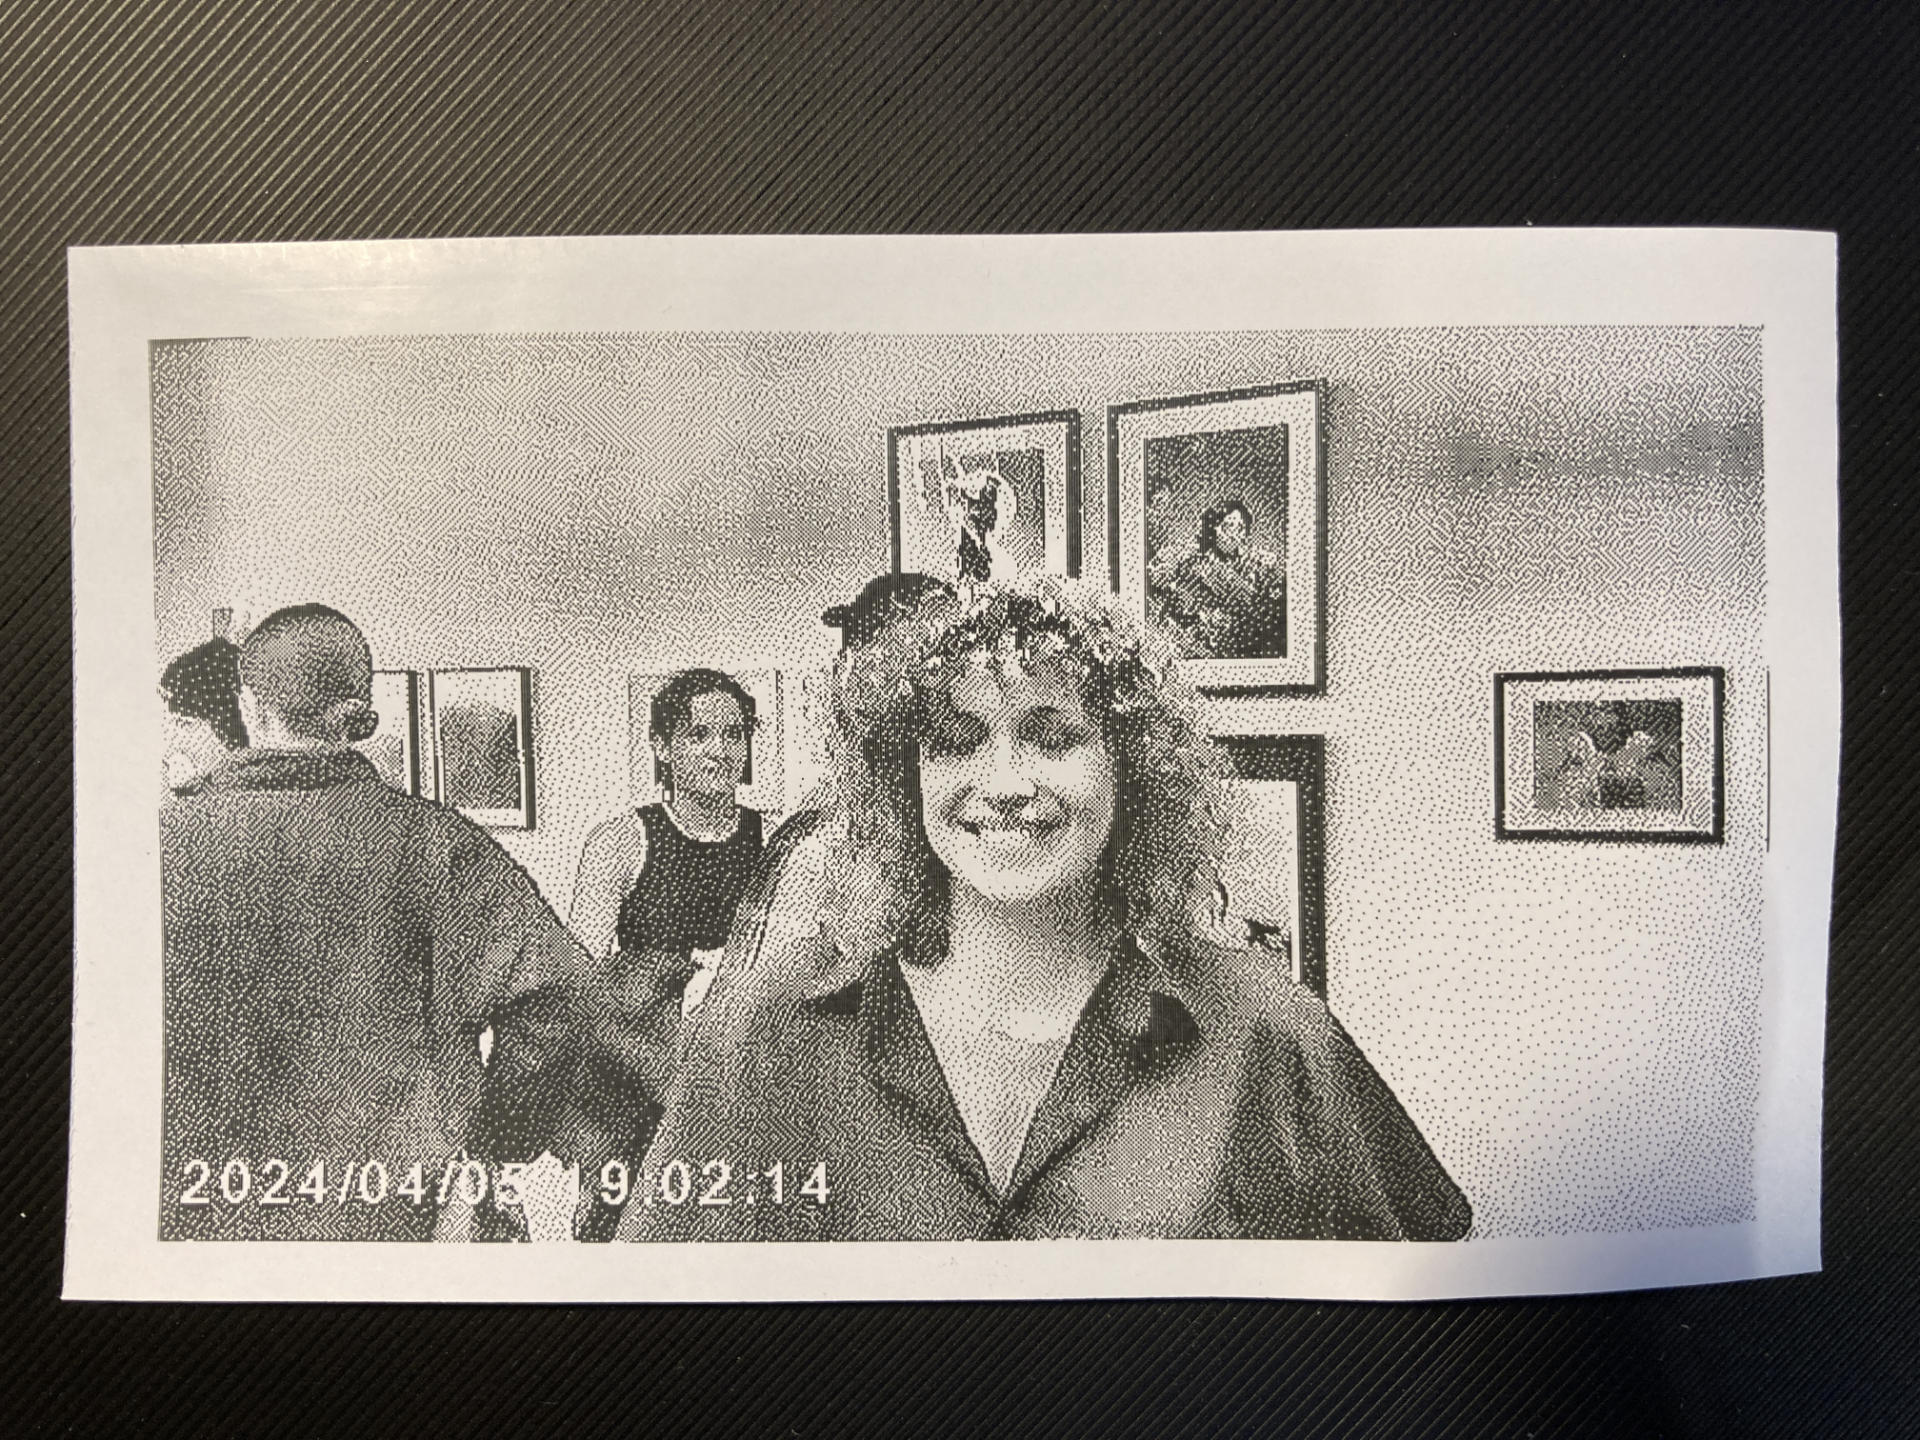
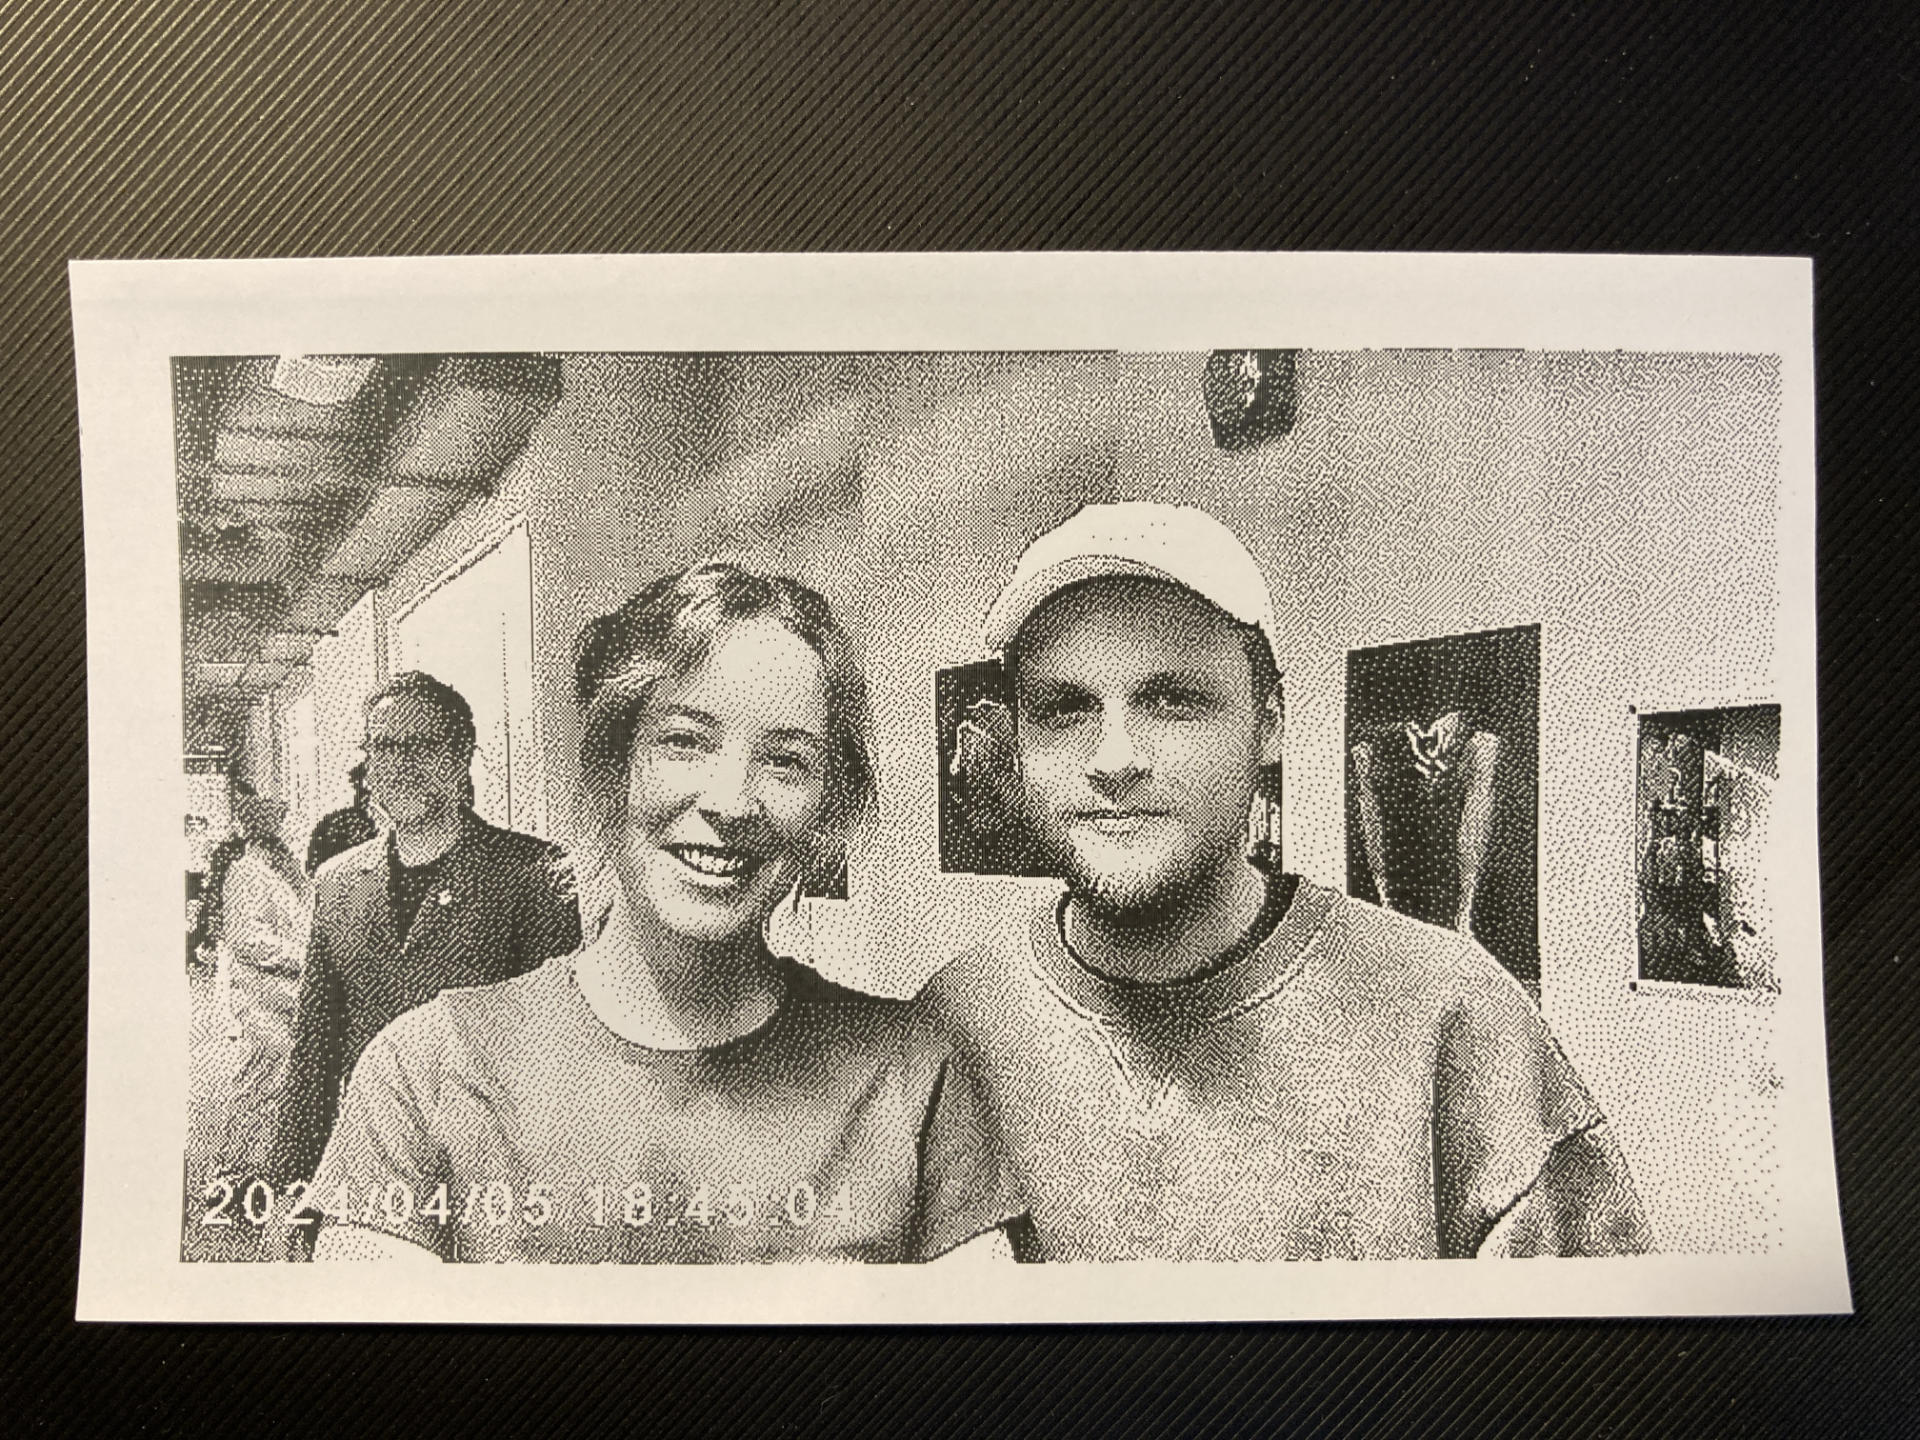
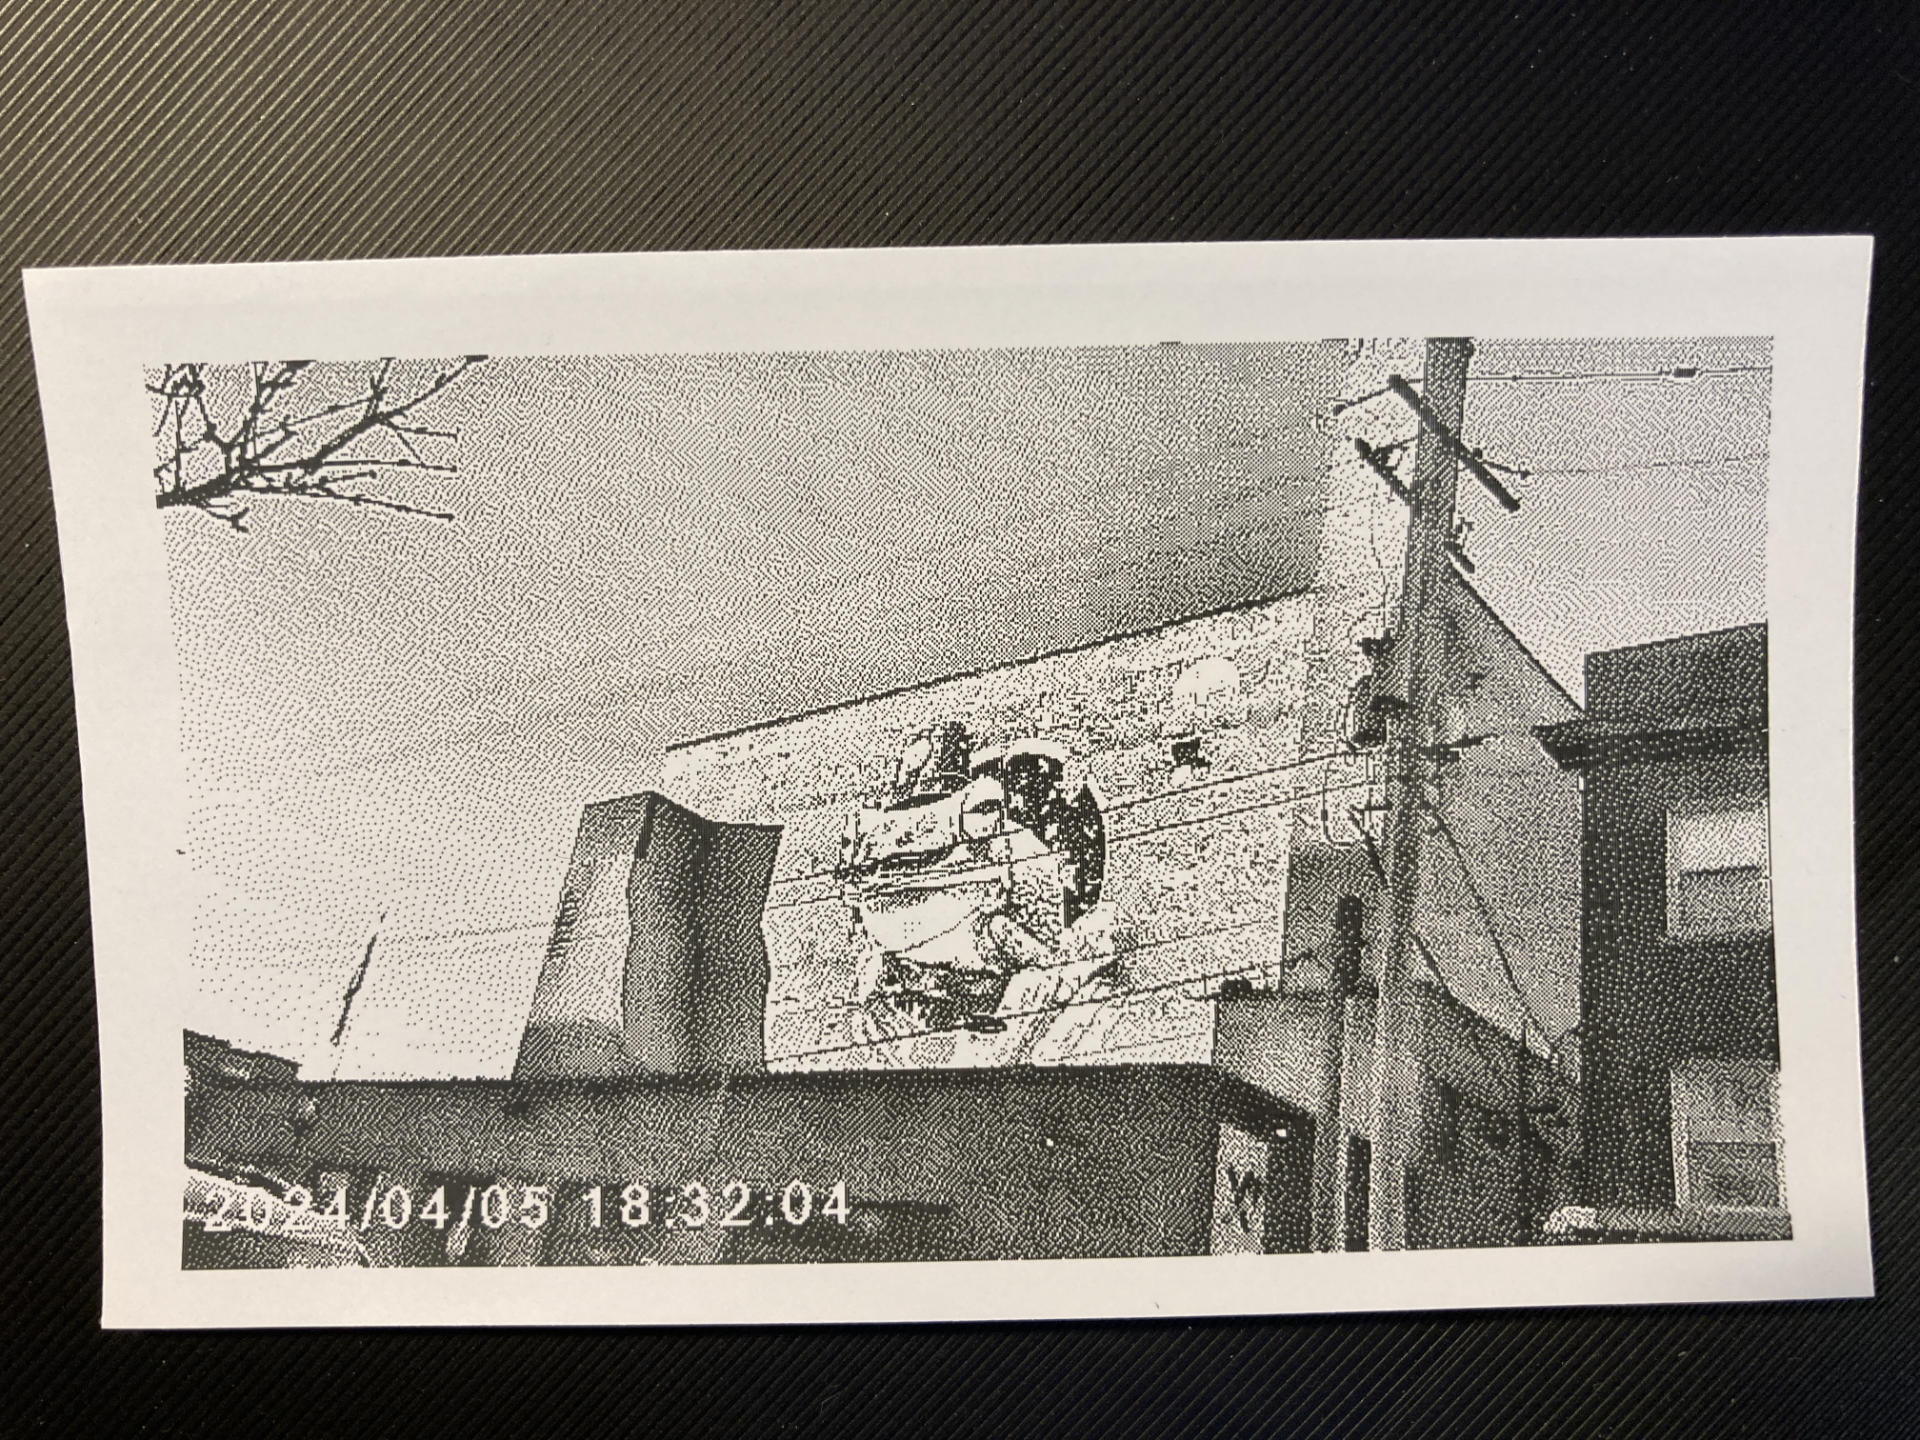
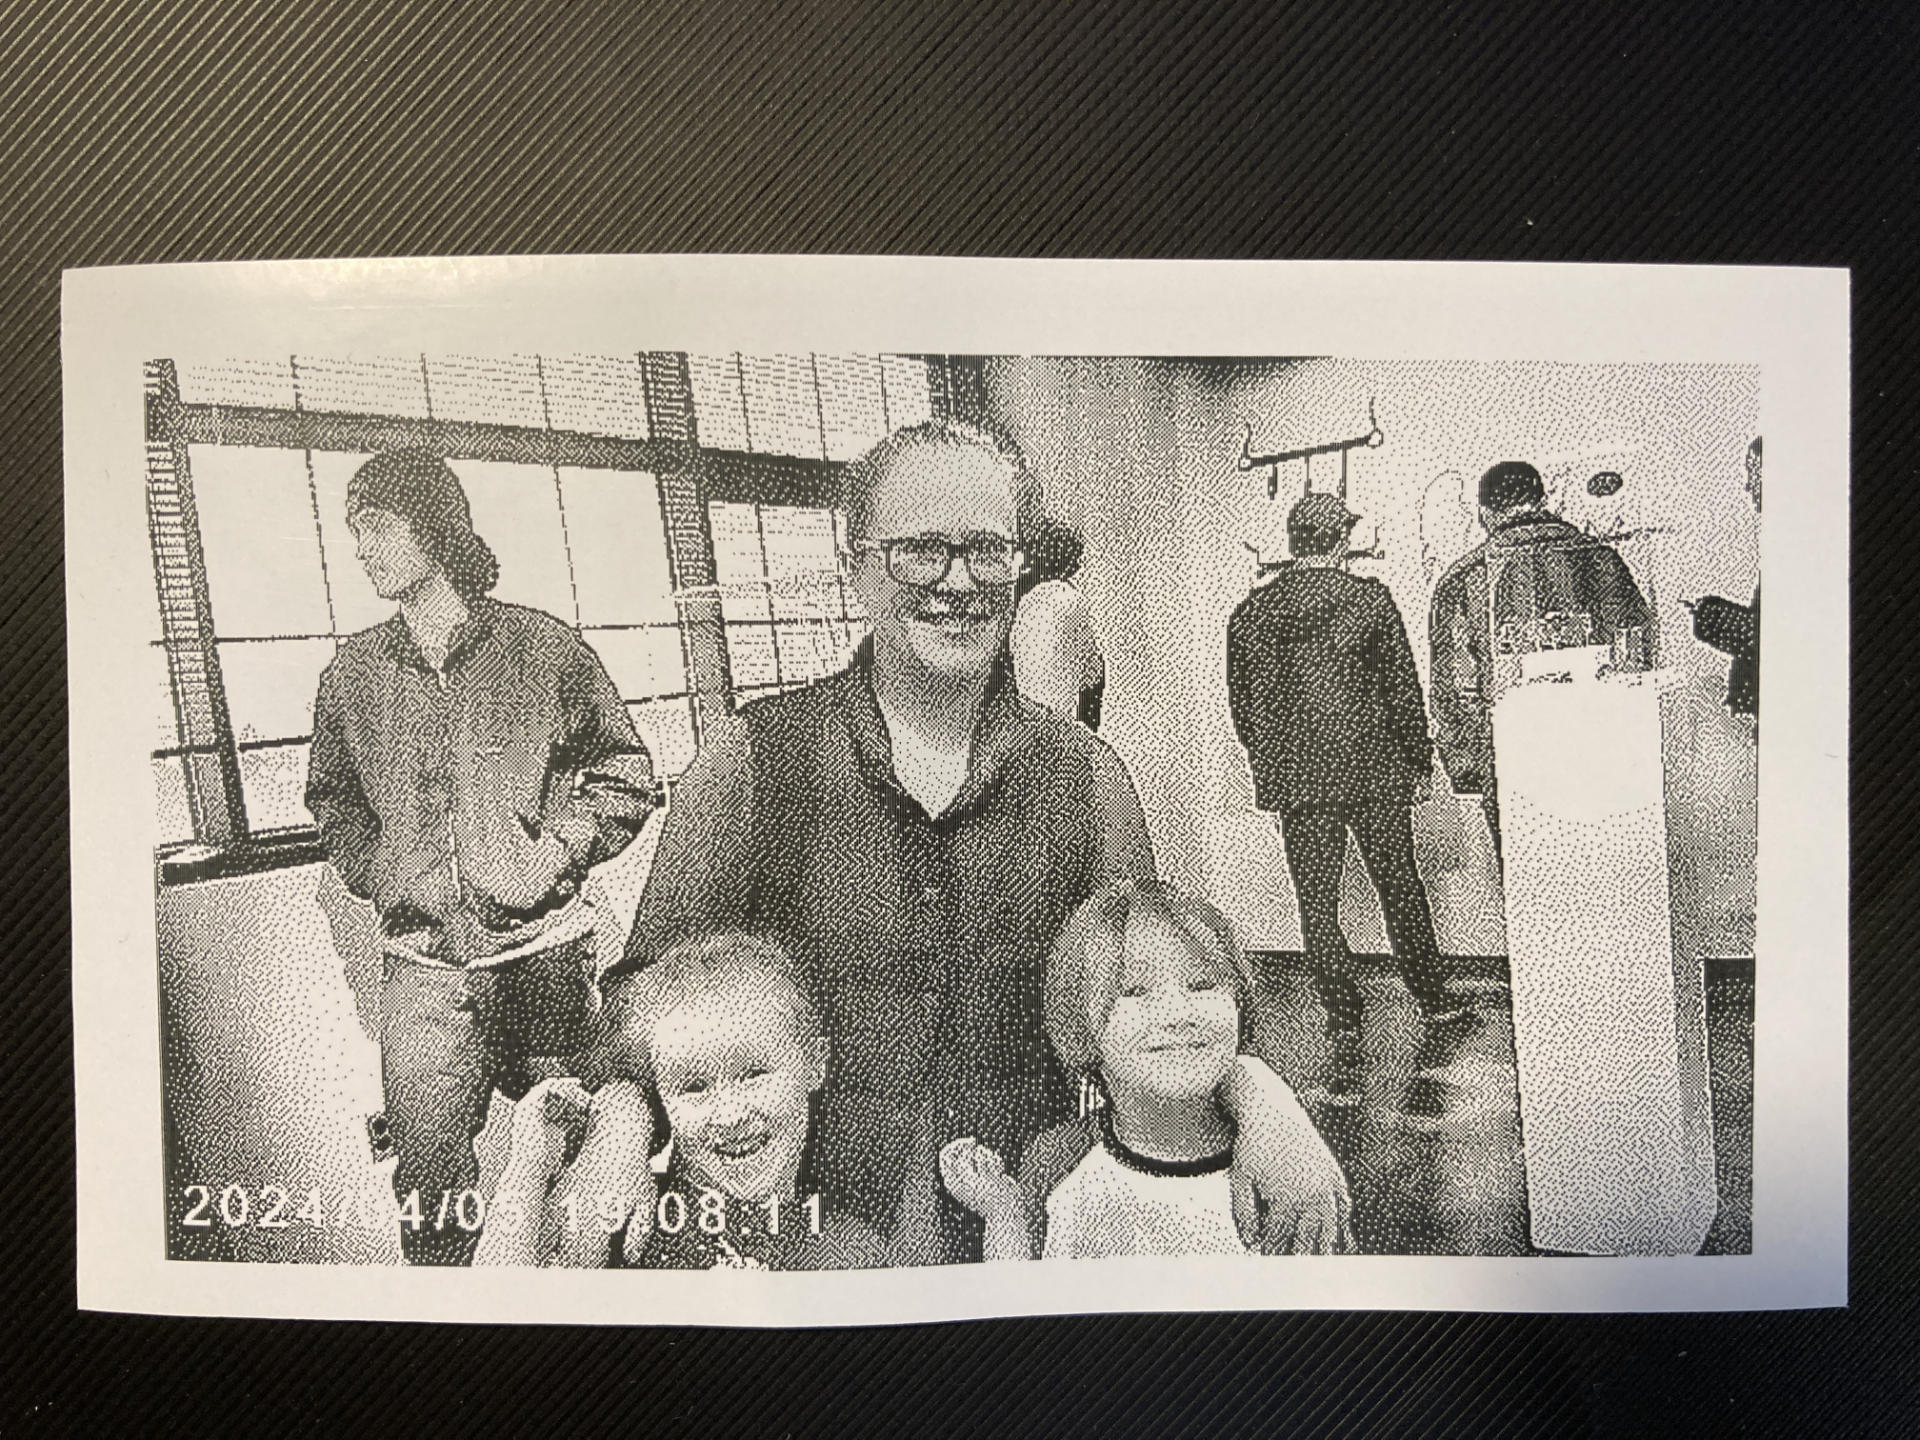
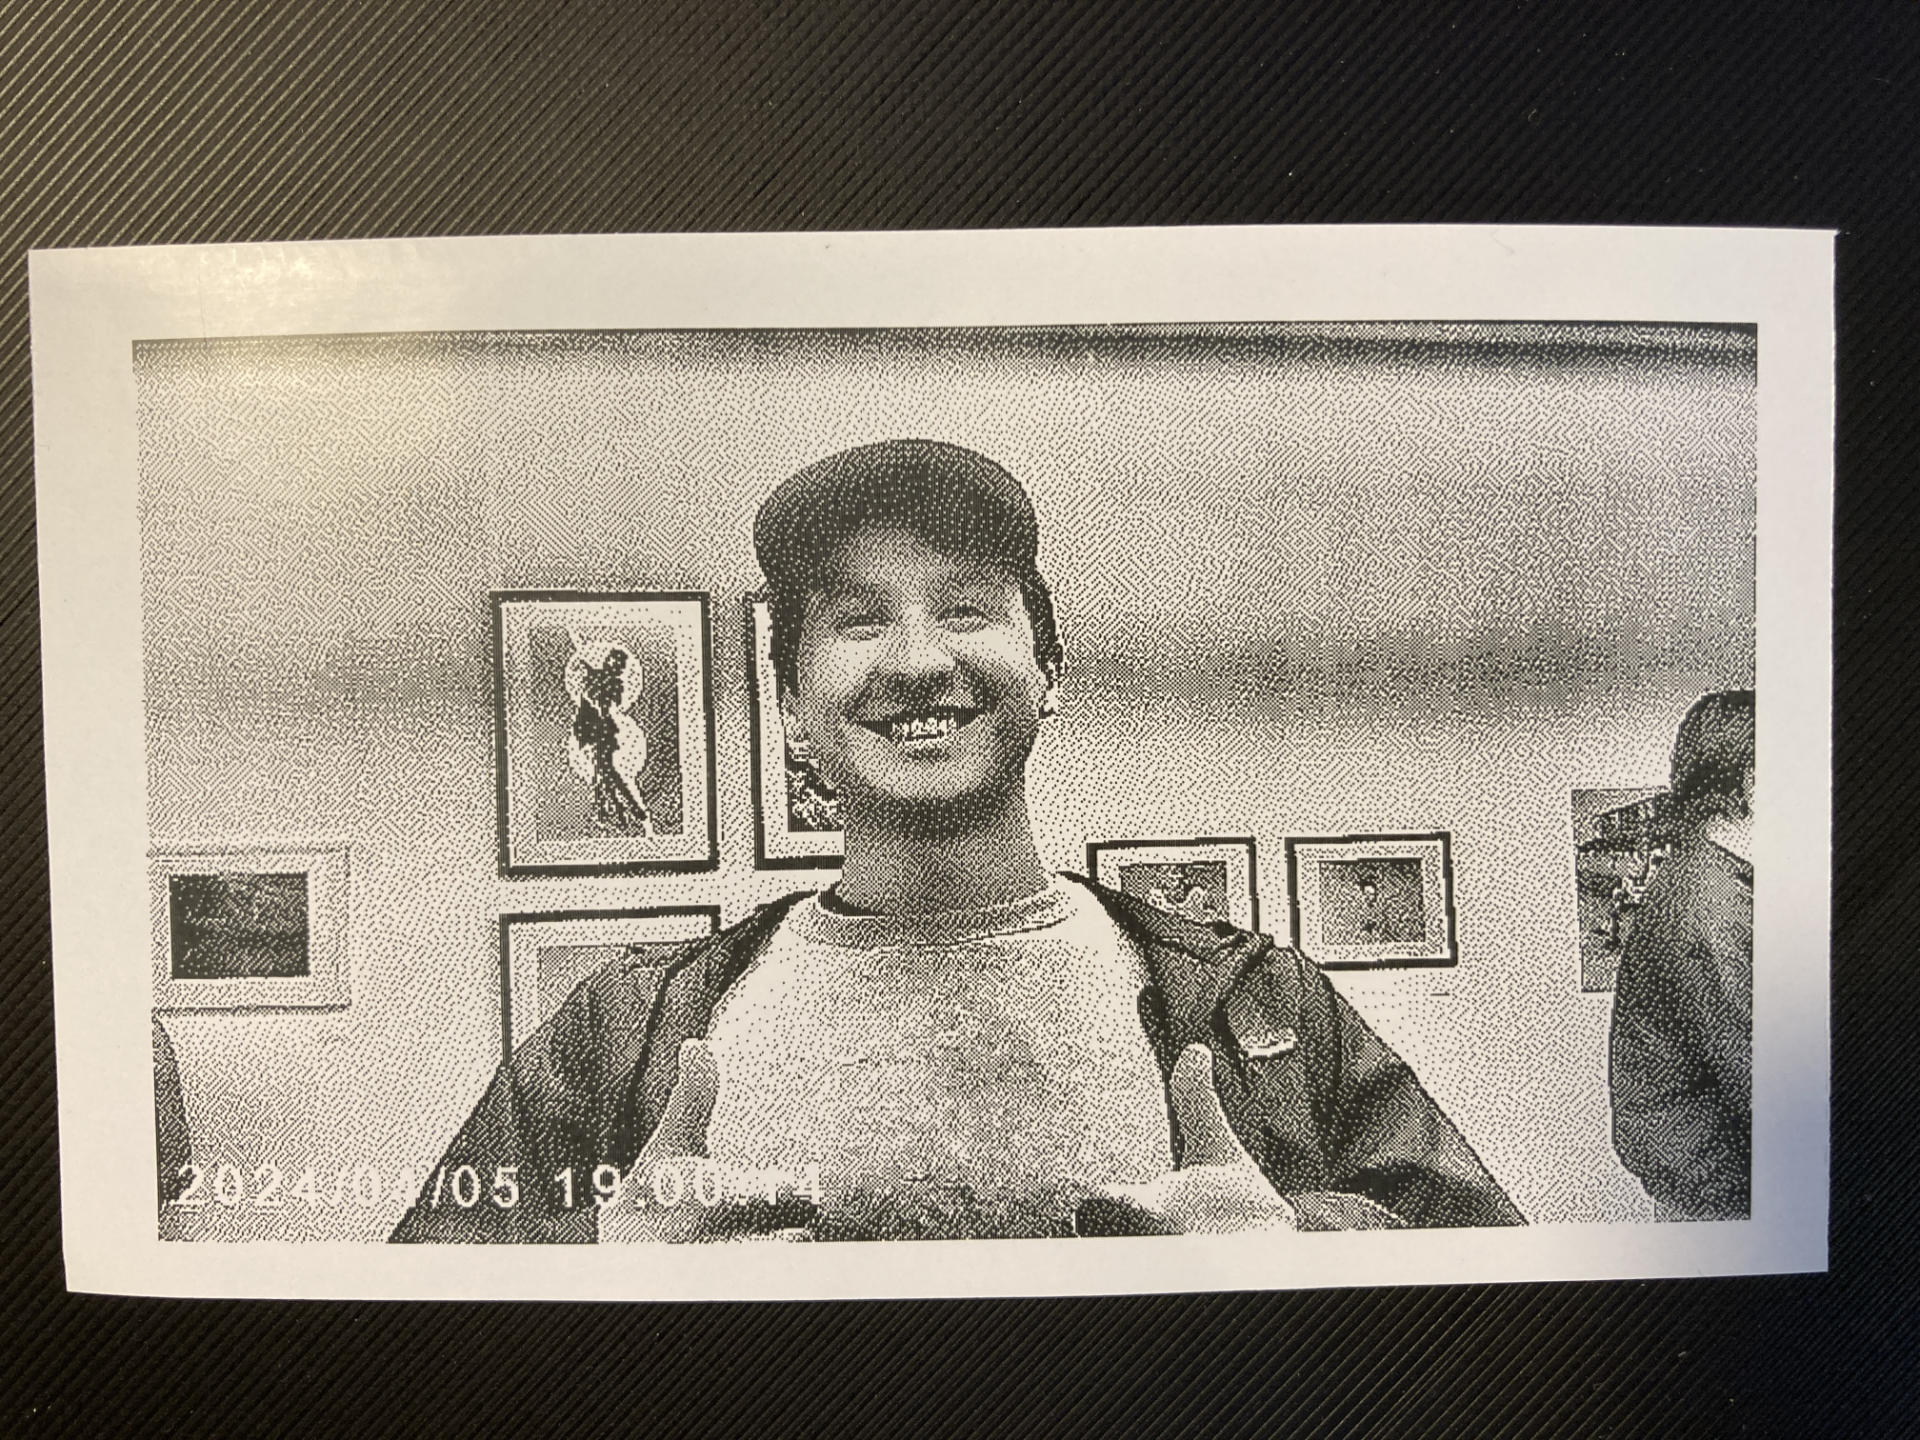
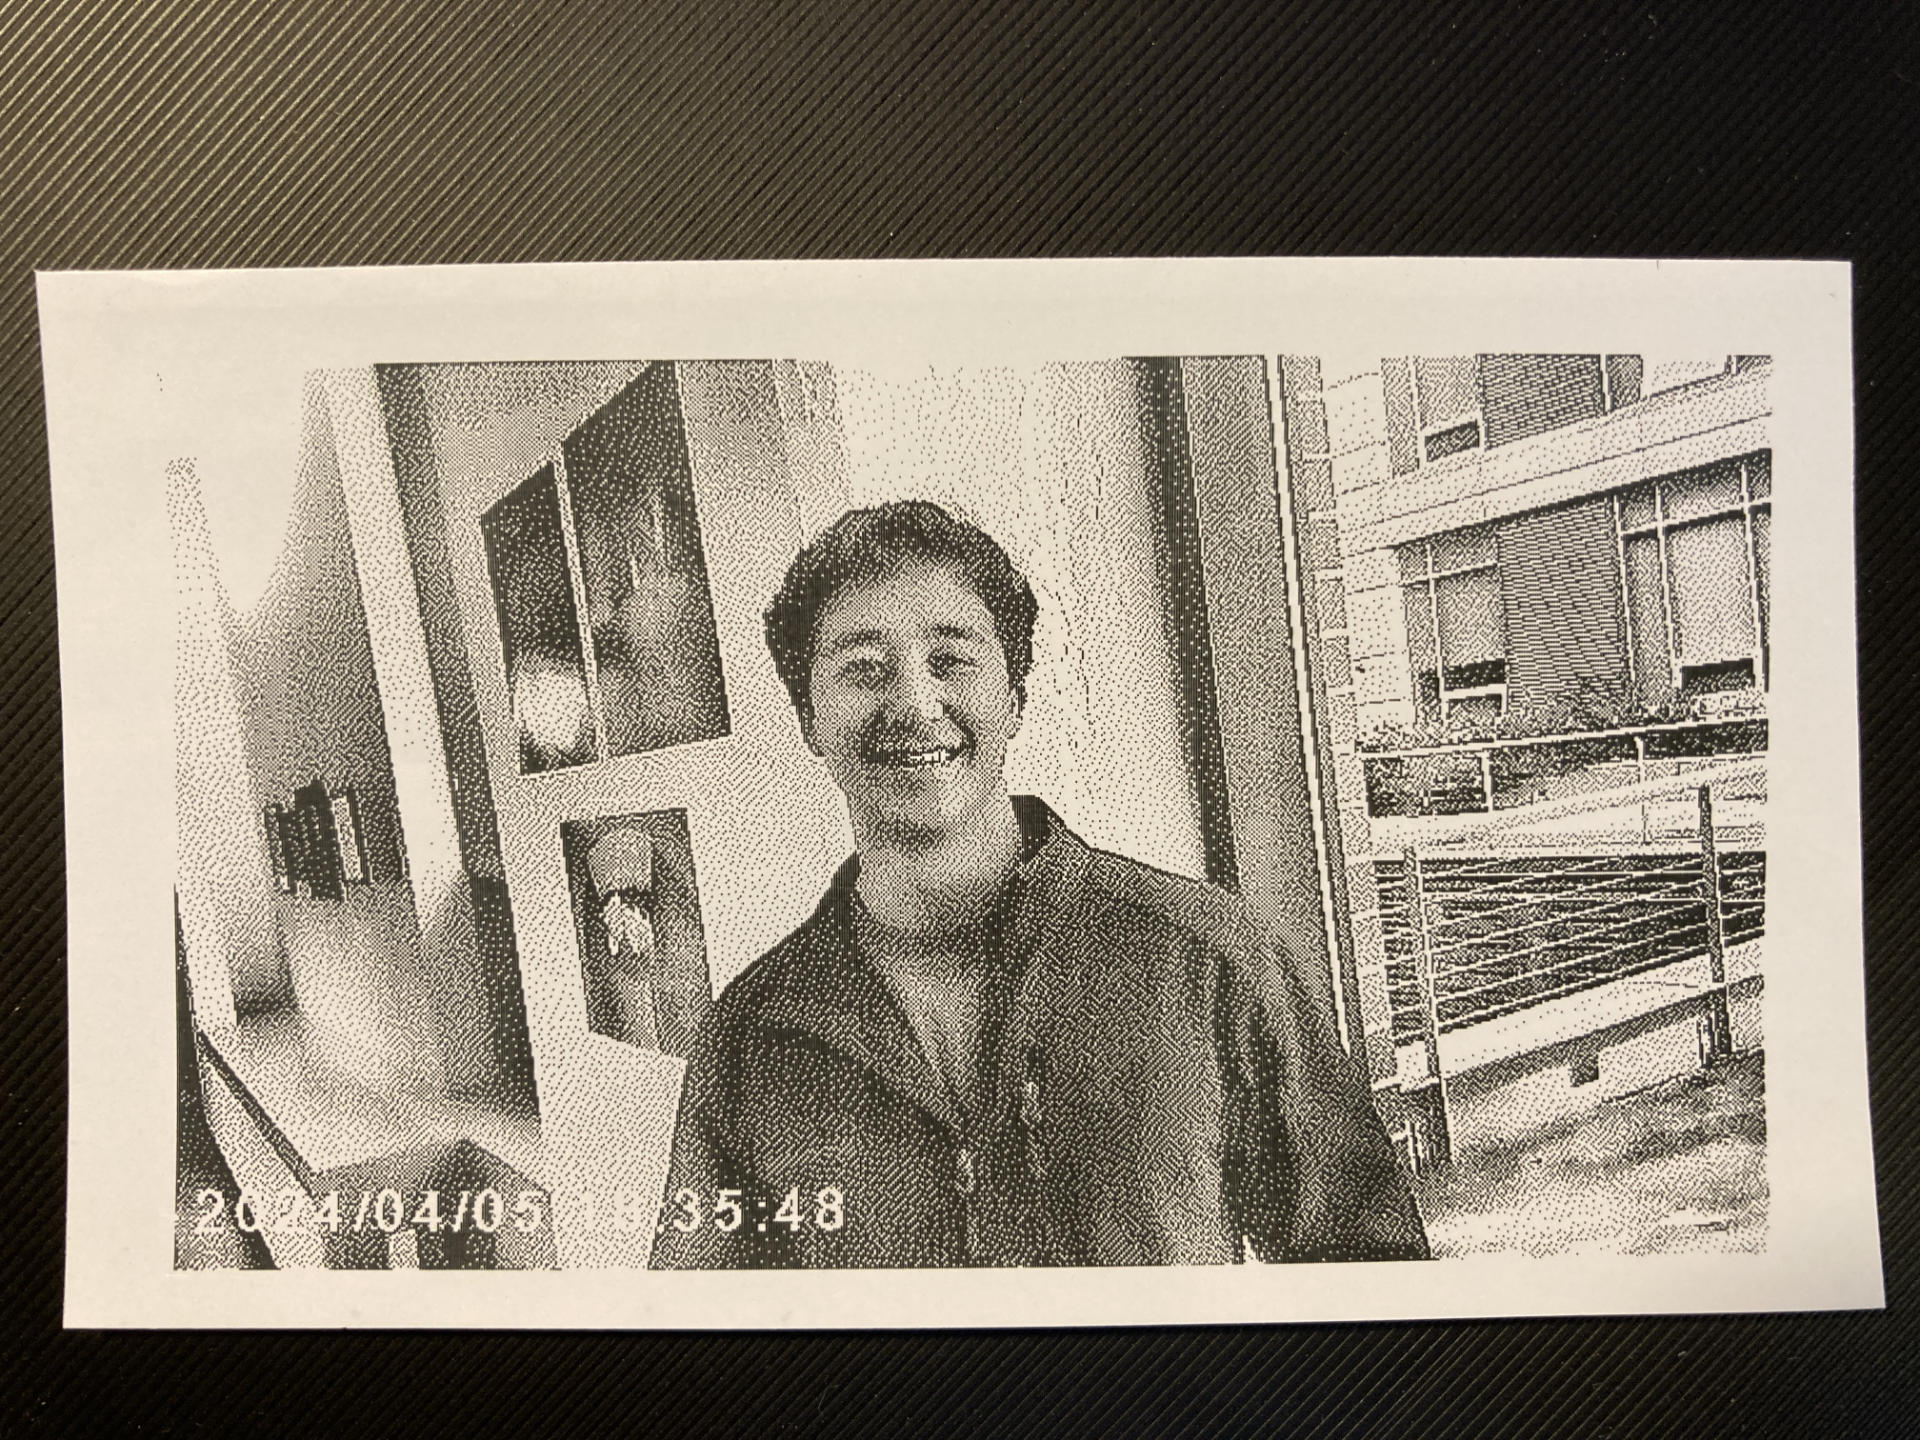
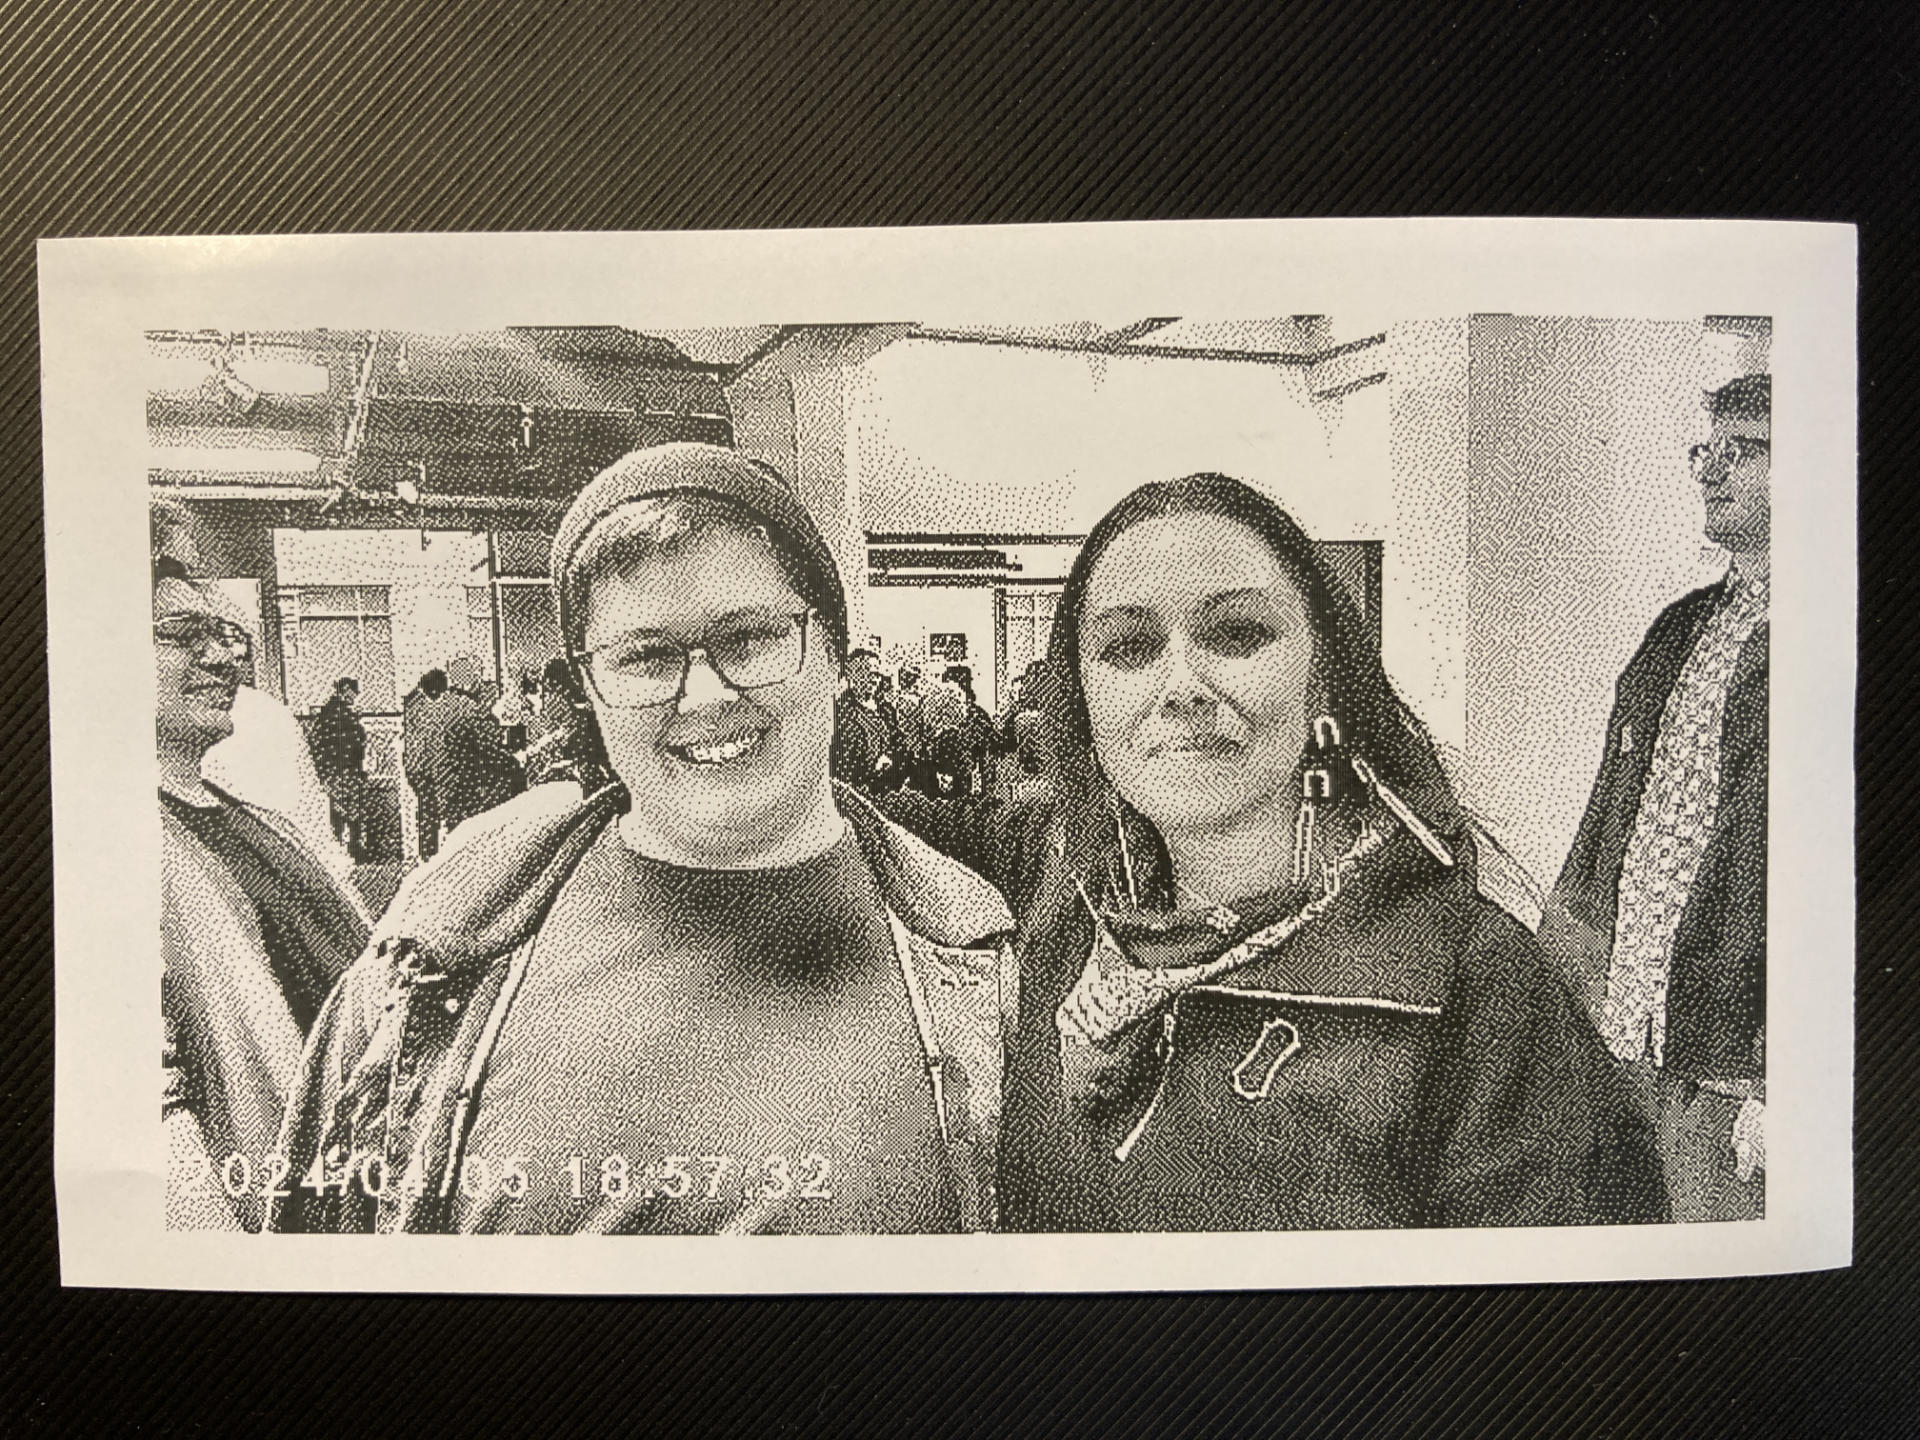
Well last month I went to Kenilworth Square East to see work by UWM PSOA students (including my daughter) so I brought the toy camera along and shot portraits of people. When you are holding a toy camera that looks like a pink kitty, people tend to let you shoot their portrait. Then when you hand them a receipt with their photo printed on it they smile even more!

So here’s a bunch of photos from the evening. I set the camera to print after each shot and tore off the print and handed it to the person (or people) in the shot. It was a ton of fun being able to share like that!
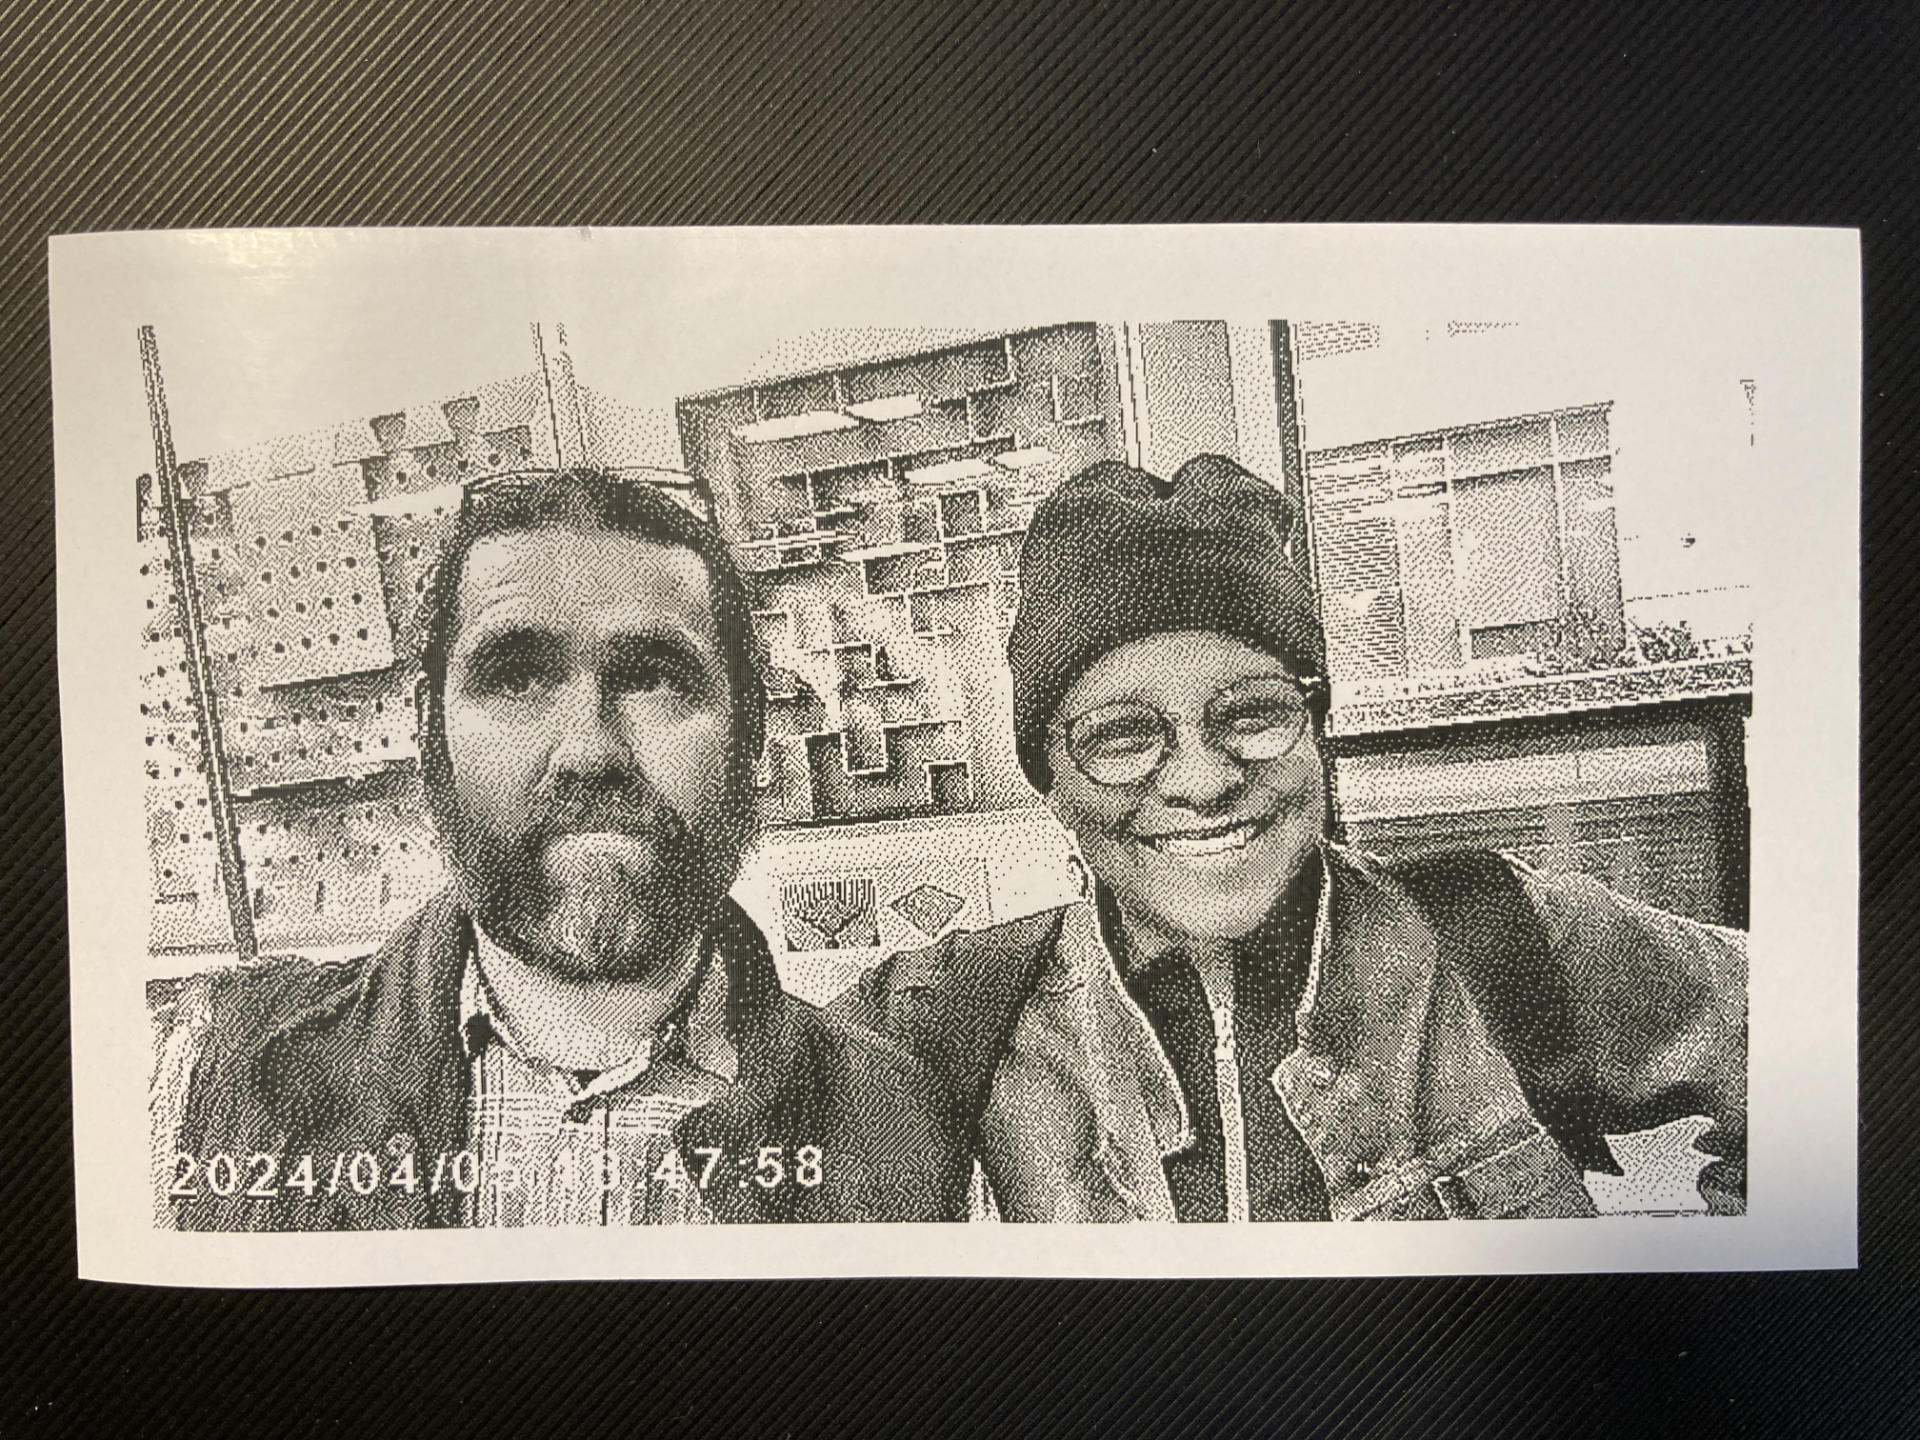
I took most of the photos but the one of me (and a few others) were shot by my daughter Madeline, who is also a photographer, and actually had work on display at the event.
When I got home I printed a second copy of each photo so I could use them for this blog post…

I also started a new photo album called Toy Camera to upload more of these shots…
The metadata says they were shot with an iPhone, which is sort of true, since I took a photo of each photo with an iPhone. Weird, right? It seemed like the easiest way to digitize them…
I originally messed around with a desktop scanner, but wanted a faster process.

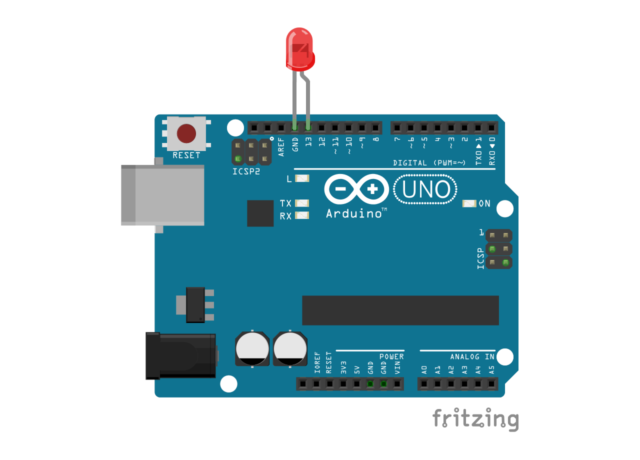
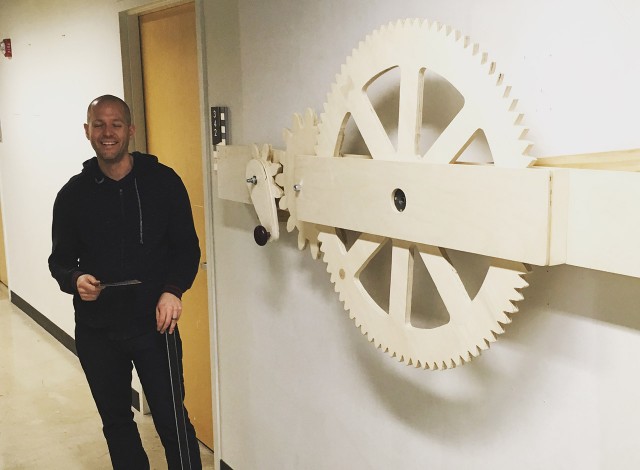
Oh, there’s also a device to assist with taking the photos of the photos, and I’ll write more about that in another post.
For now, just enjoy these photos!