
Recently I saw a physical therapist and she said “What do you do for fun?” and I panicked and said “I try to make art” which is weird and awkward (like me) because I do try to make art, but I also succeed every now and then. (I’ve even had my work in galleries.) Anyway, since I was not accepted to 30x30x30 I was probably feeling like I’m not good at making art but whatever… I don’t care if I’m good at it, I do it for fun, and because as Cometbus would say “I can’t not do it!” So here’s some art.

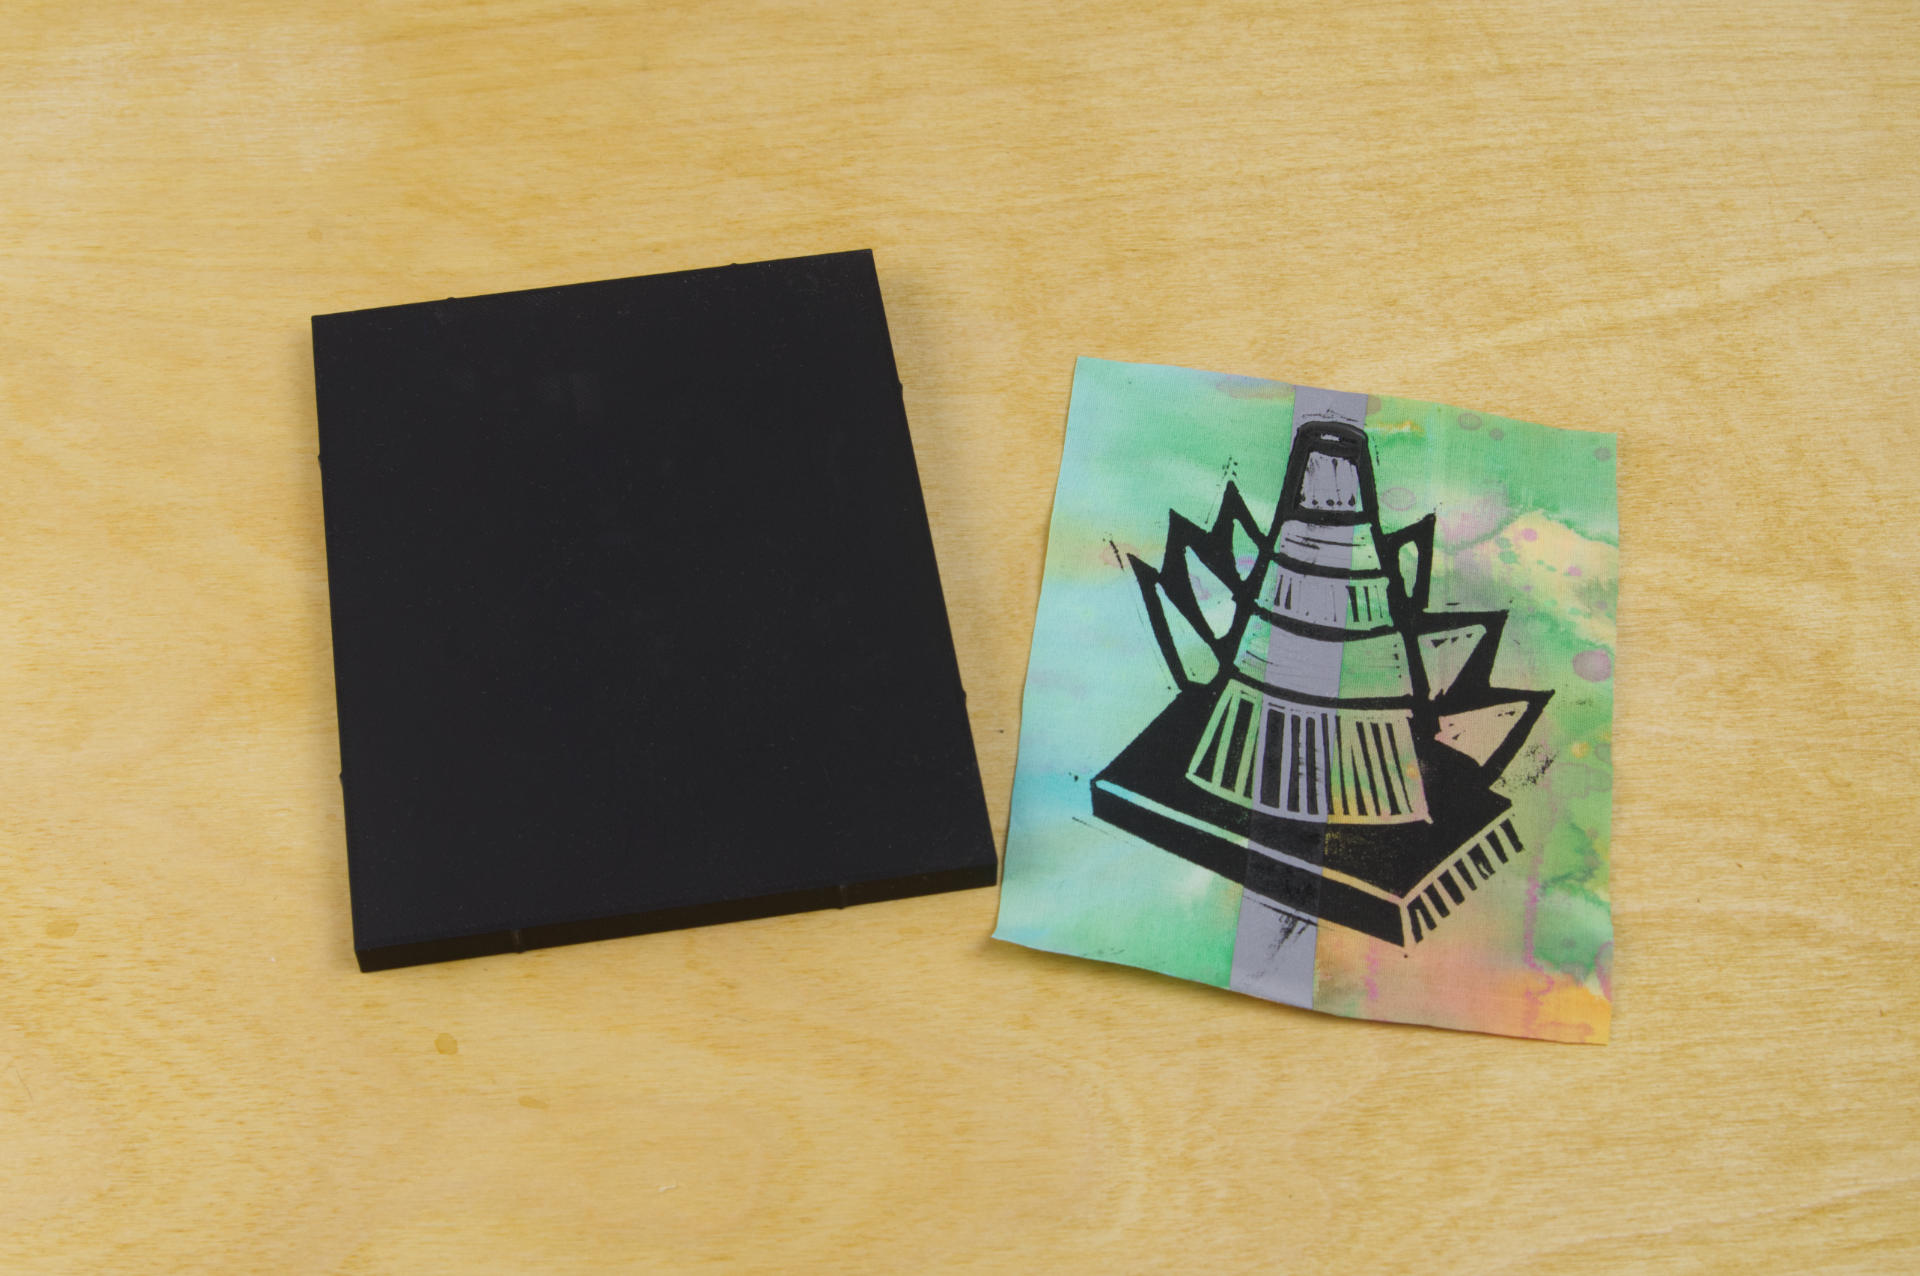
The print itself is on recycled homemade paper. I took the shreds from our paper shredder and any old newsprint we had around the house and made paper. I actually made a batch and then another batch and this piece is from the second batch.

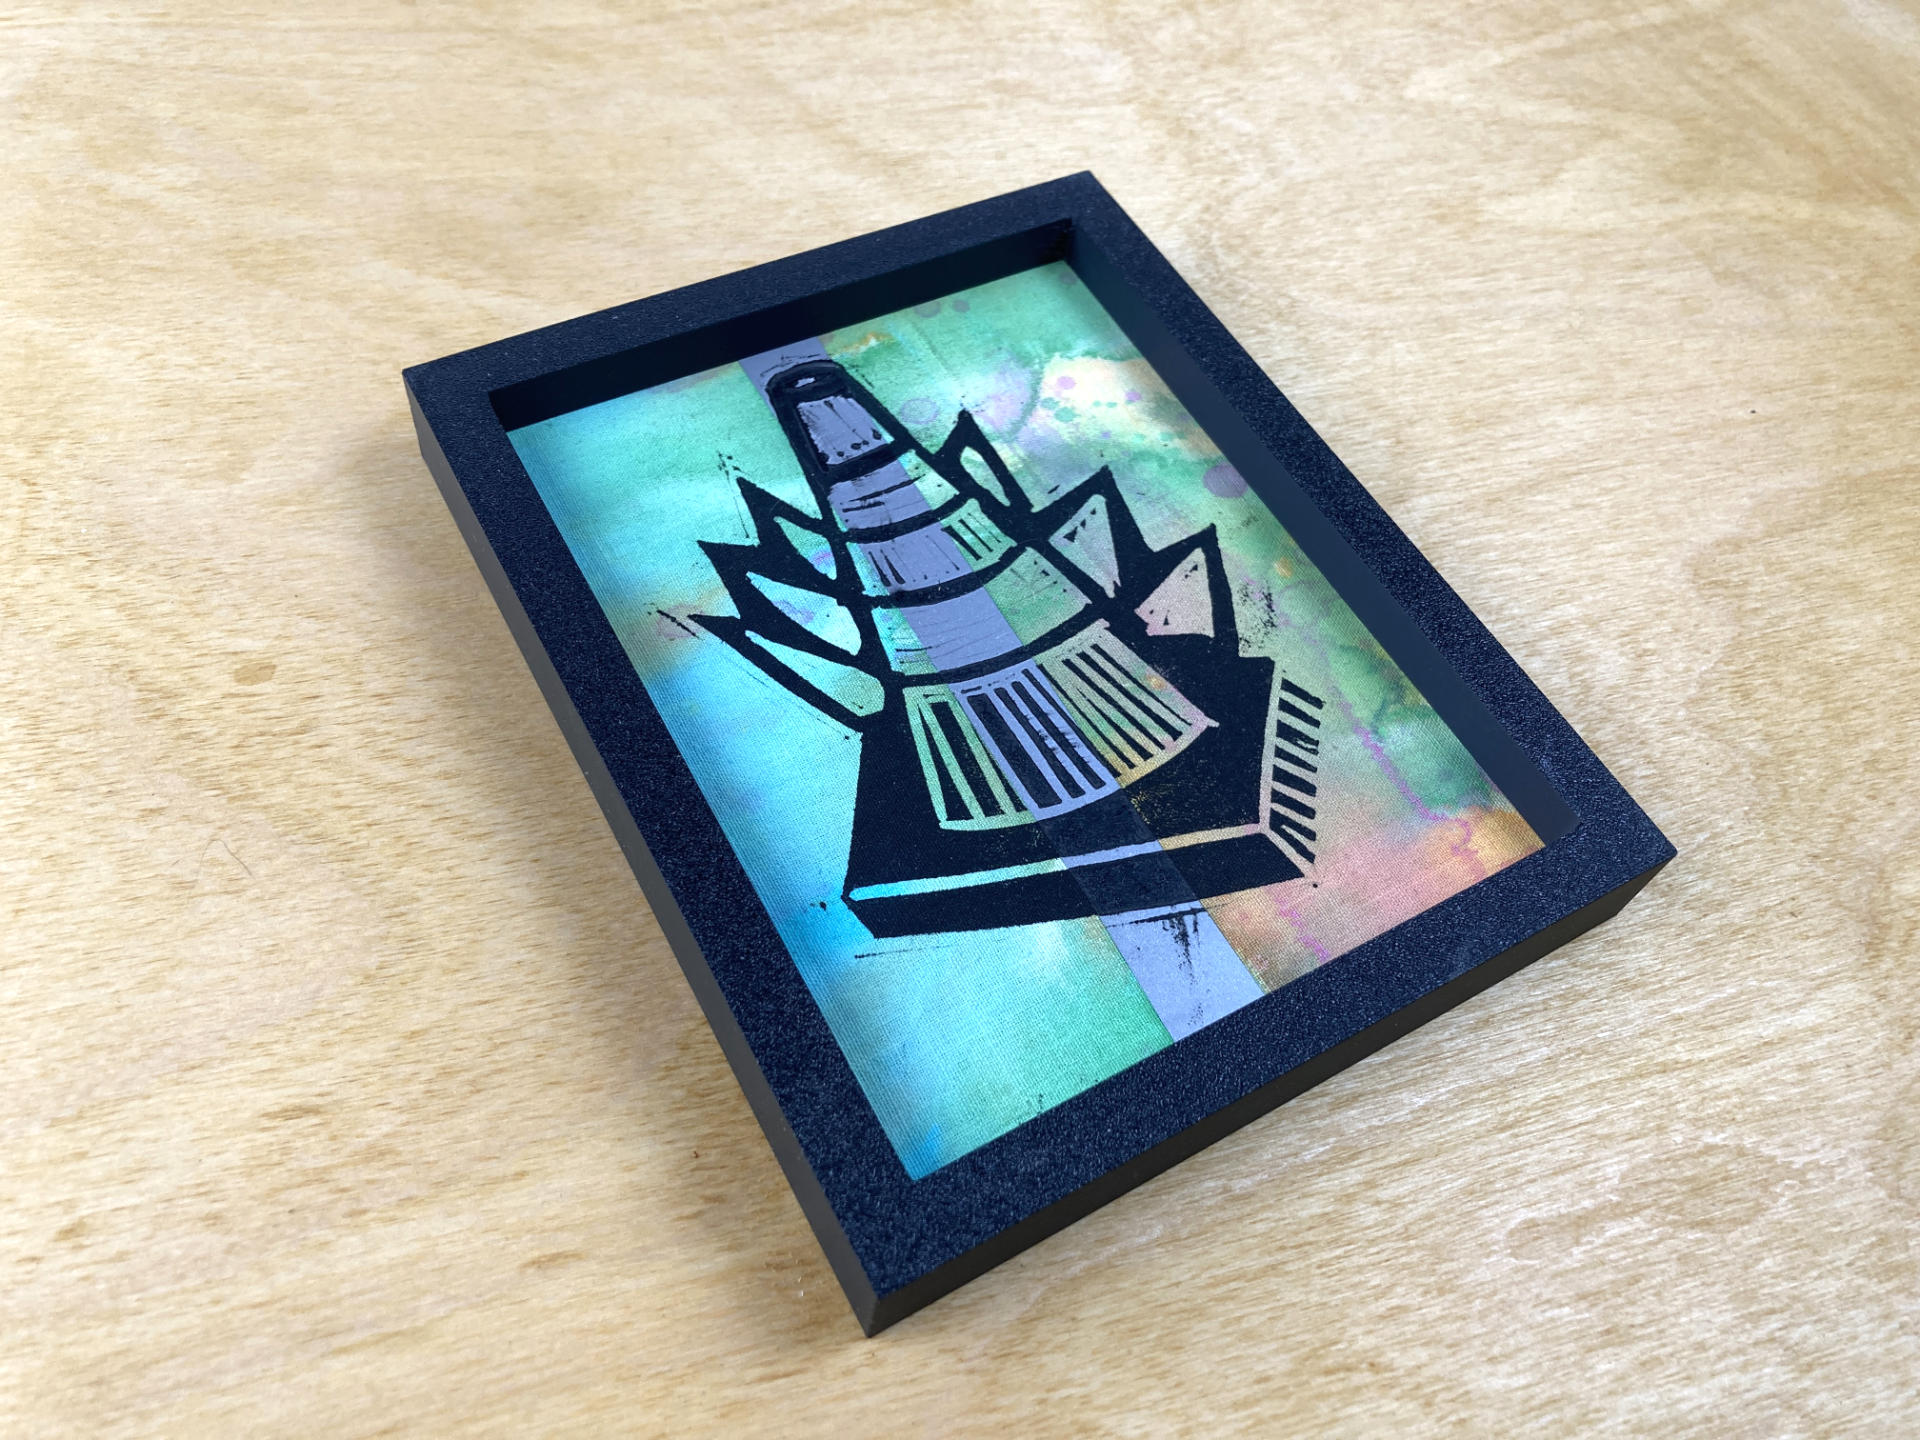
So the frame is 3D printed, and there is a piece of clear acrylic in front of the artwork. Instead of laser cutting a new piece of acrylic I grabbed a bunch of acrylic sign holders from the trash at work. We use them for events but it seems like every time we ship them a few get broken. So as long as they have a section that is not broken or too scratched up, I can use them!

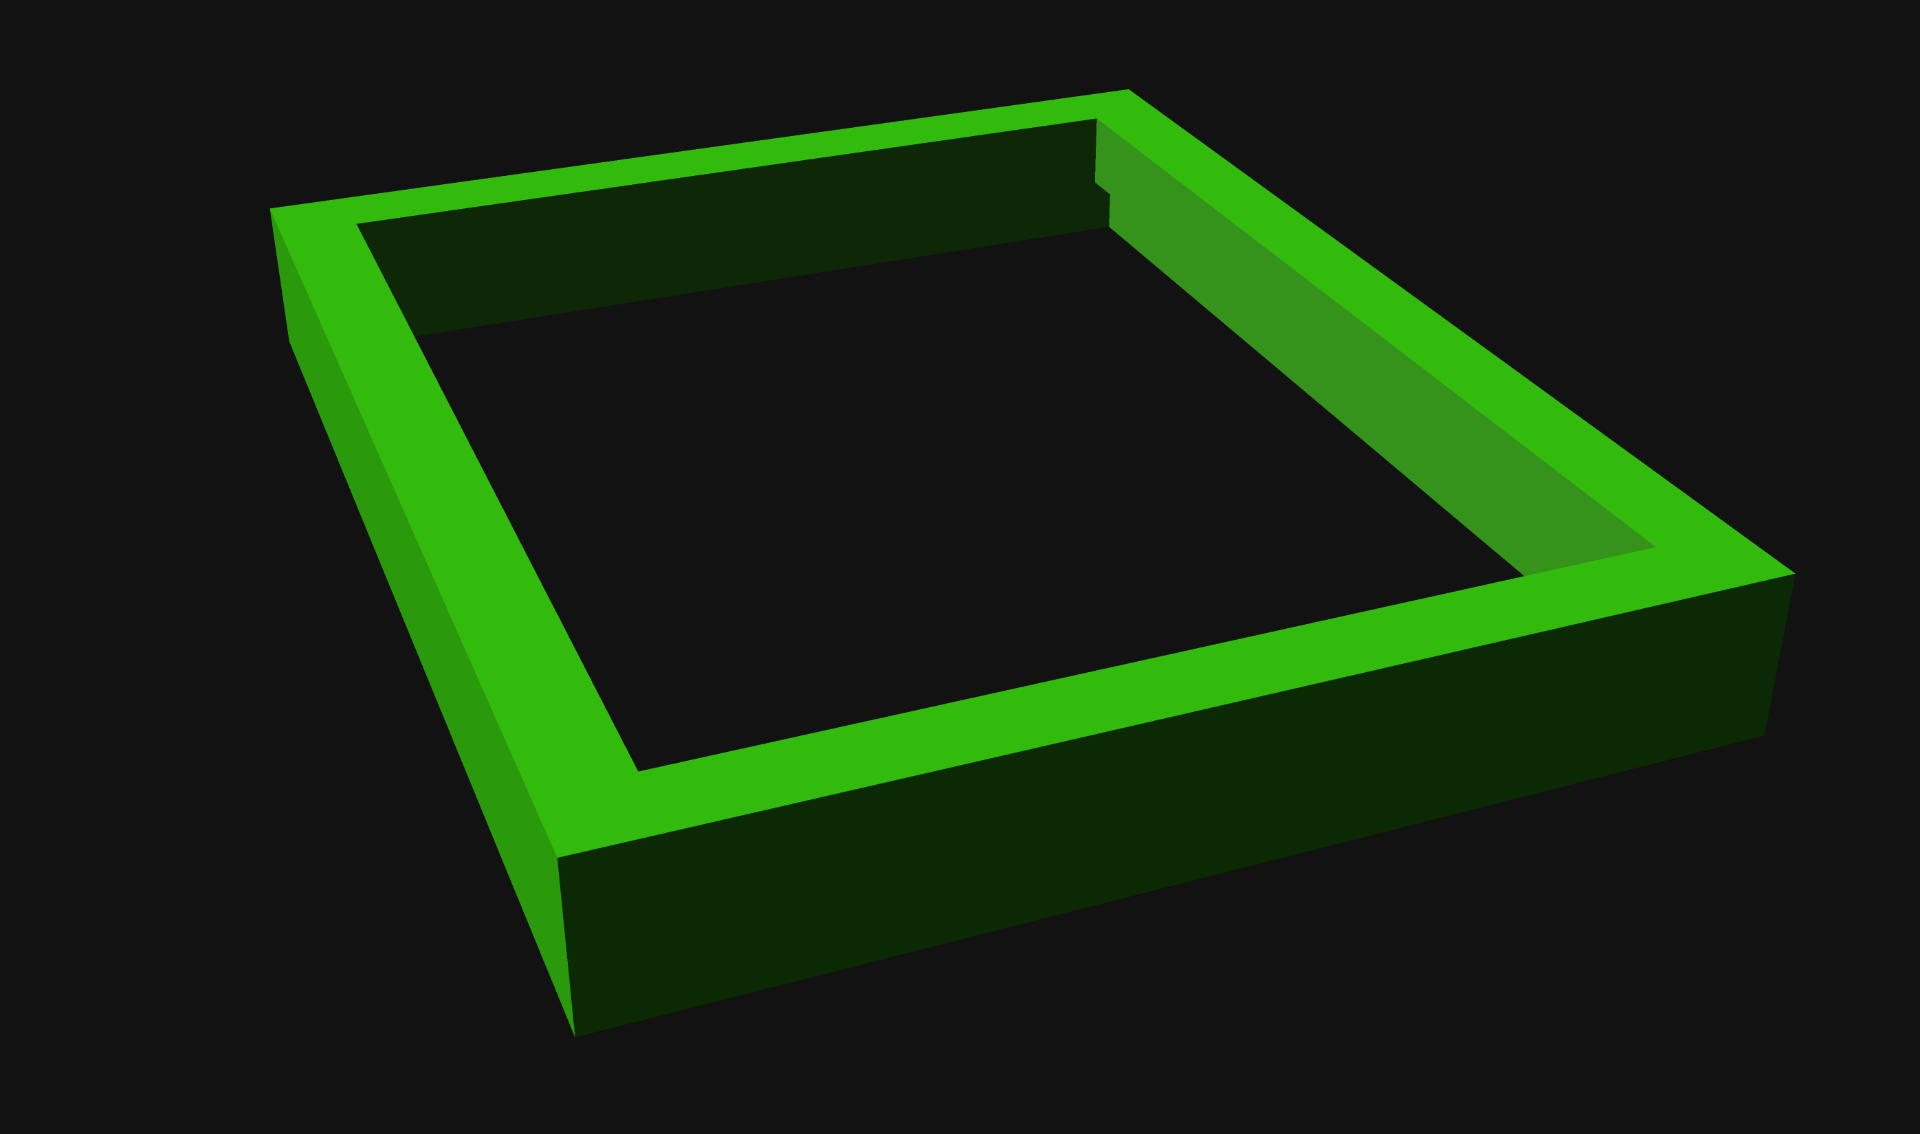
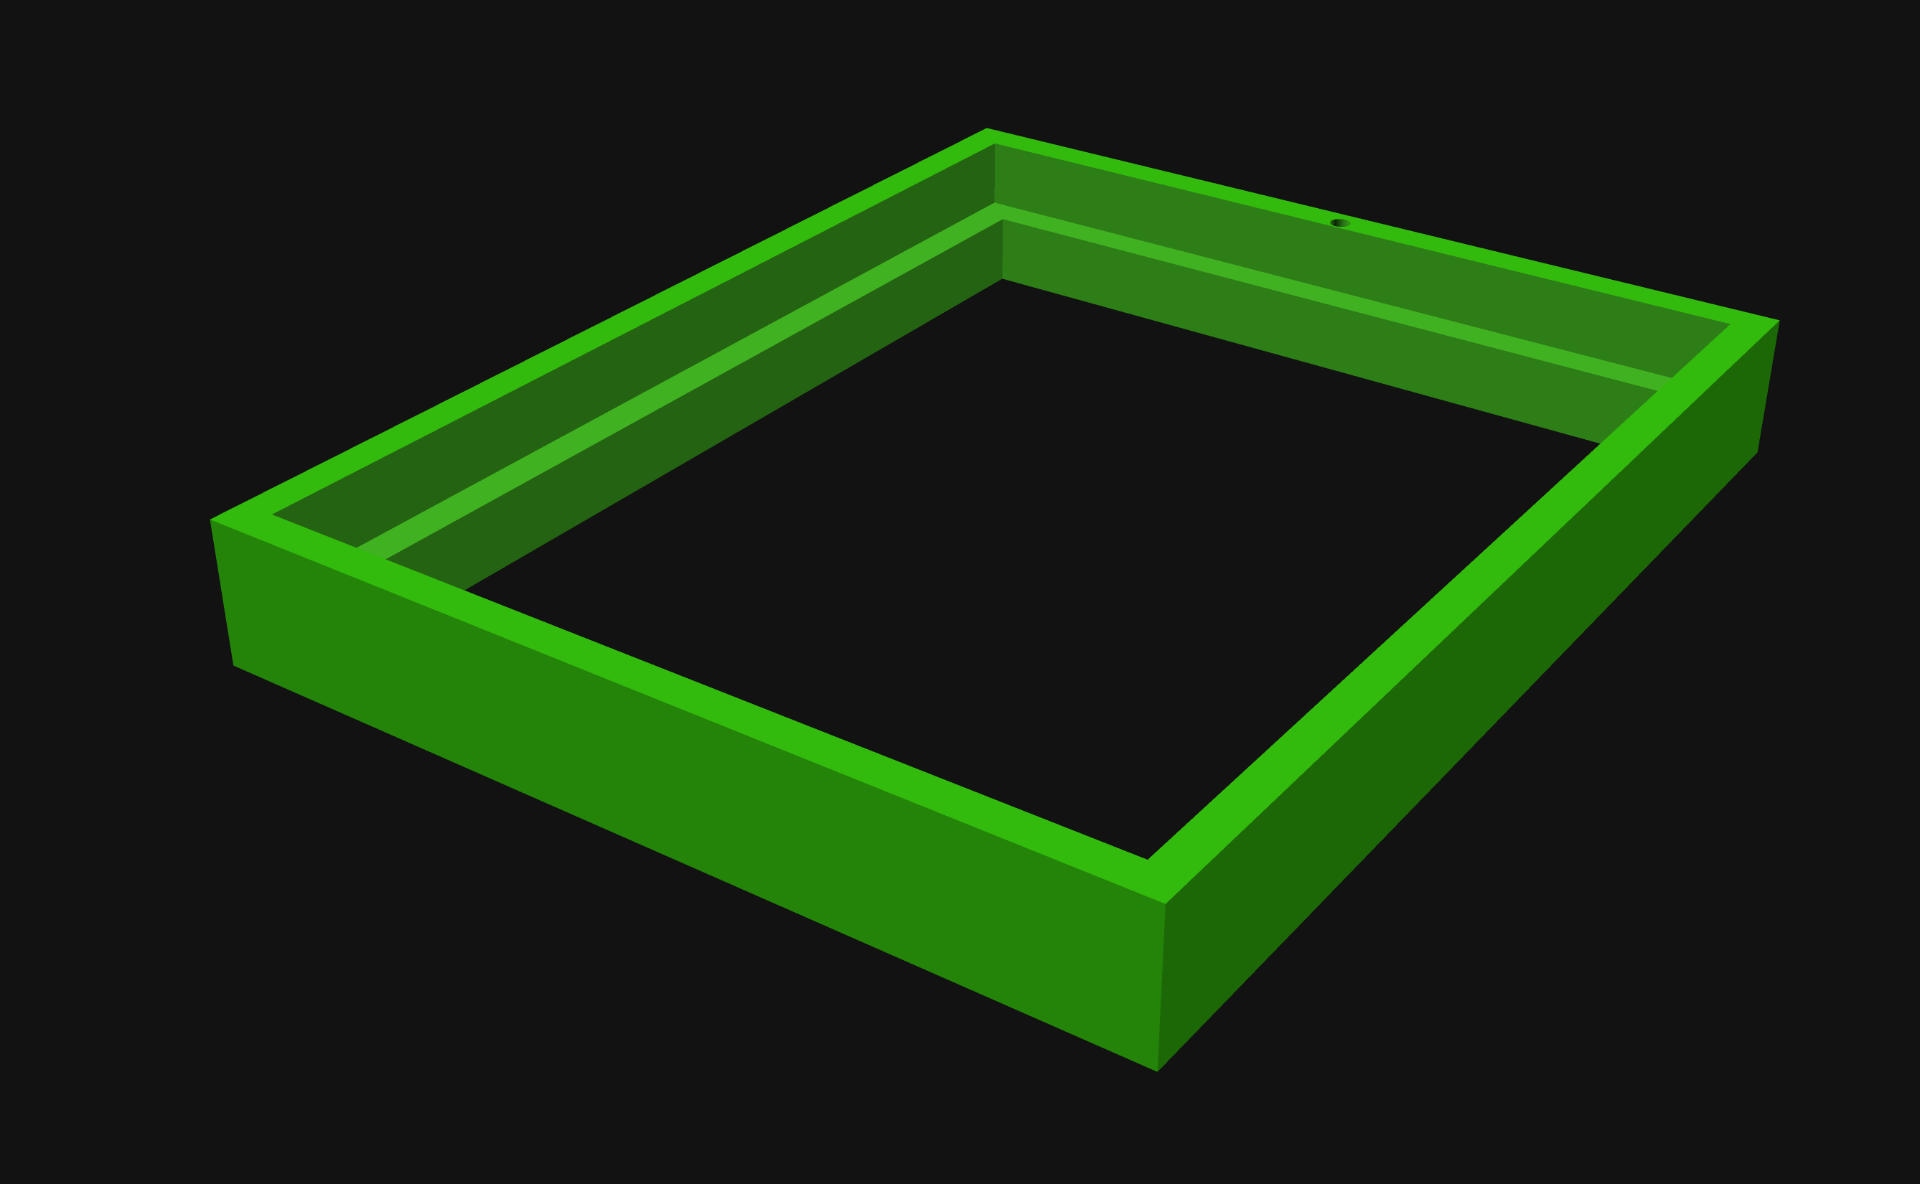
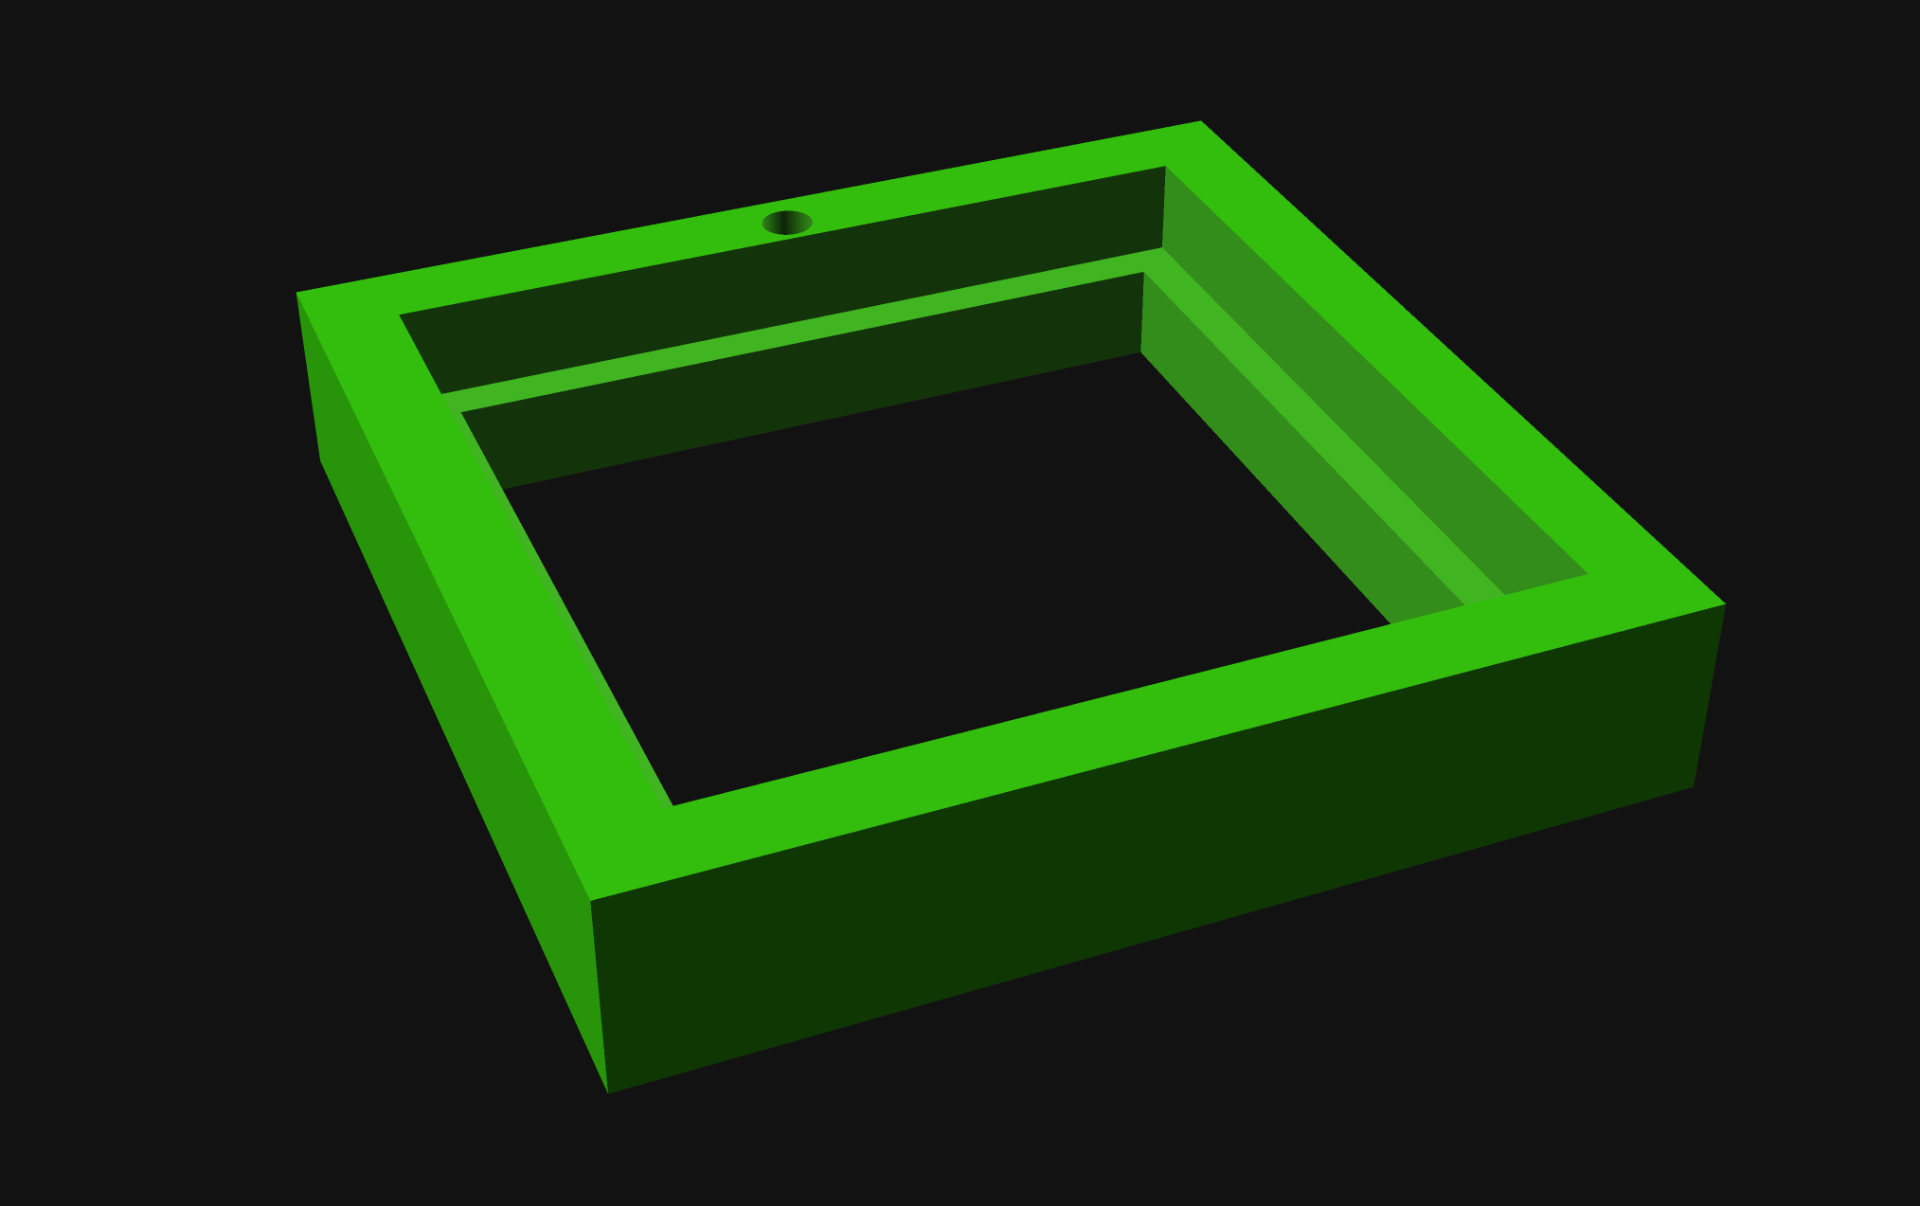
The frame is 3D printed. I know there are a lot of 3D printed frame designs out there, but I made my own, in OpenSCAD, and yes, it’s parametric. That means I can make more frames any size I want. I can easily change the size by typing some numbers. With the Bambu Lab P1S I can print frames just under 10″ x 10″ so that’s nice… And the textured printing surface looks awesome. I’m probably going to make a lot of frames!
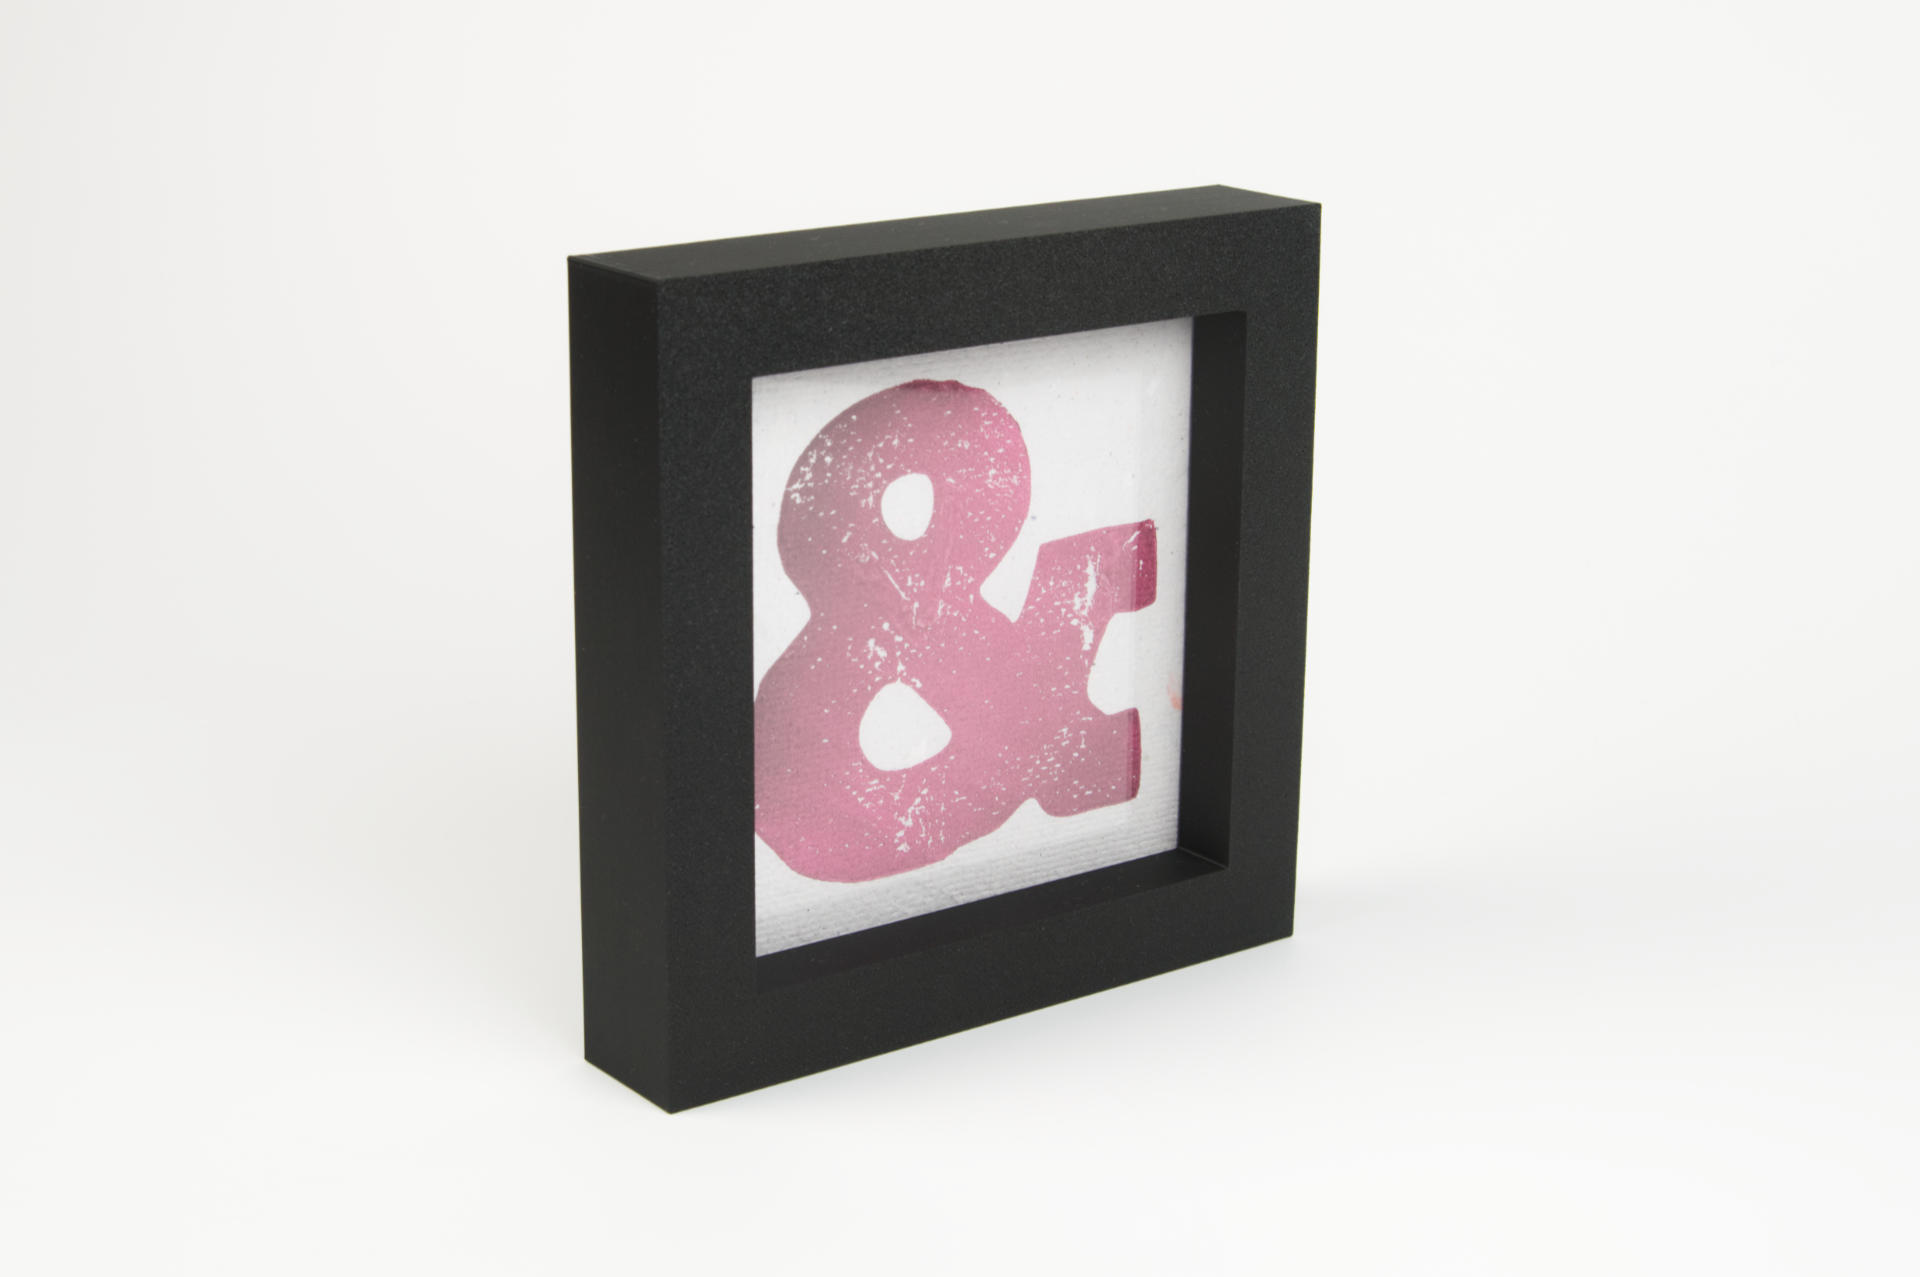
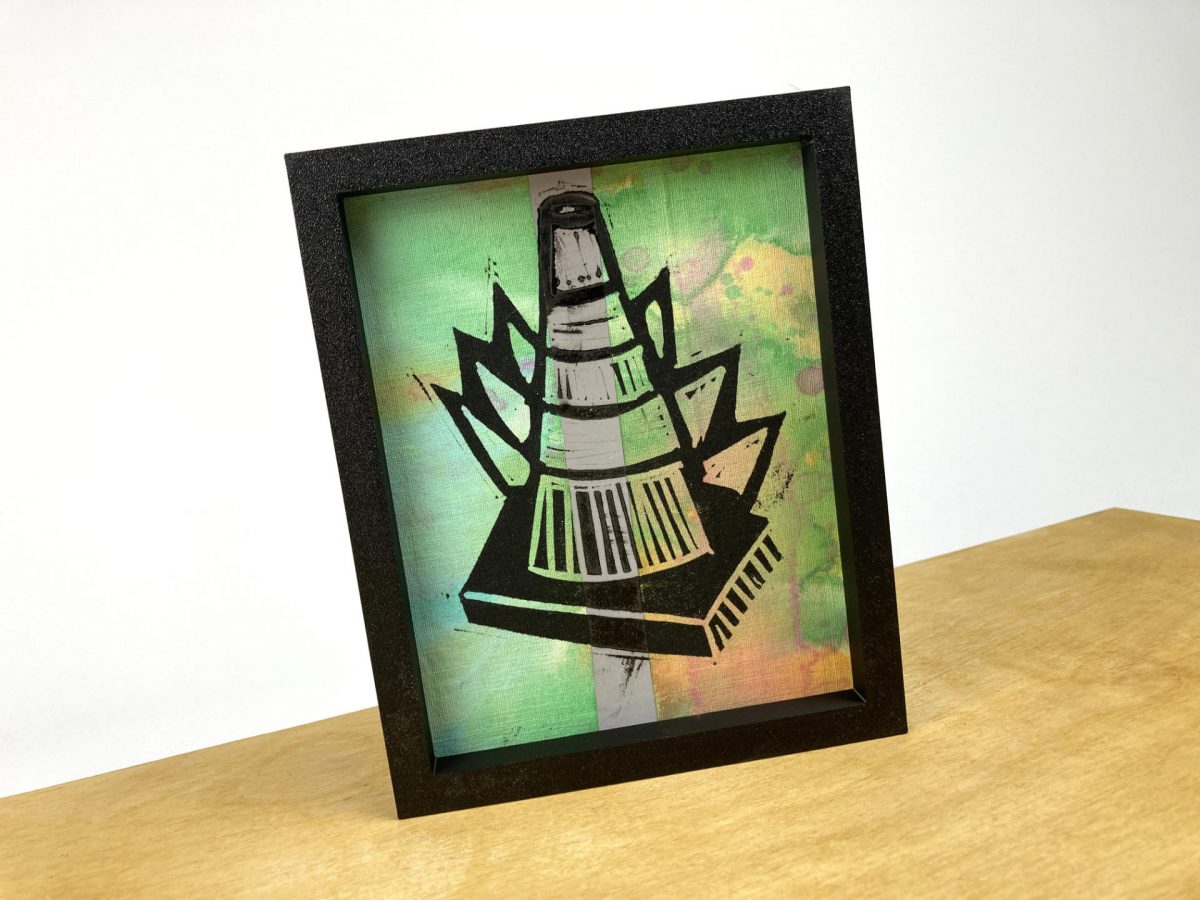
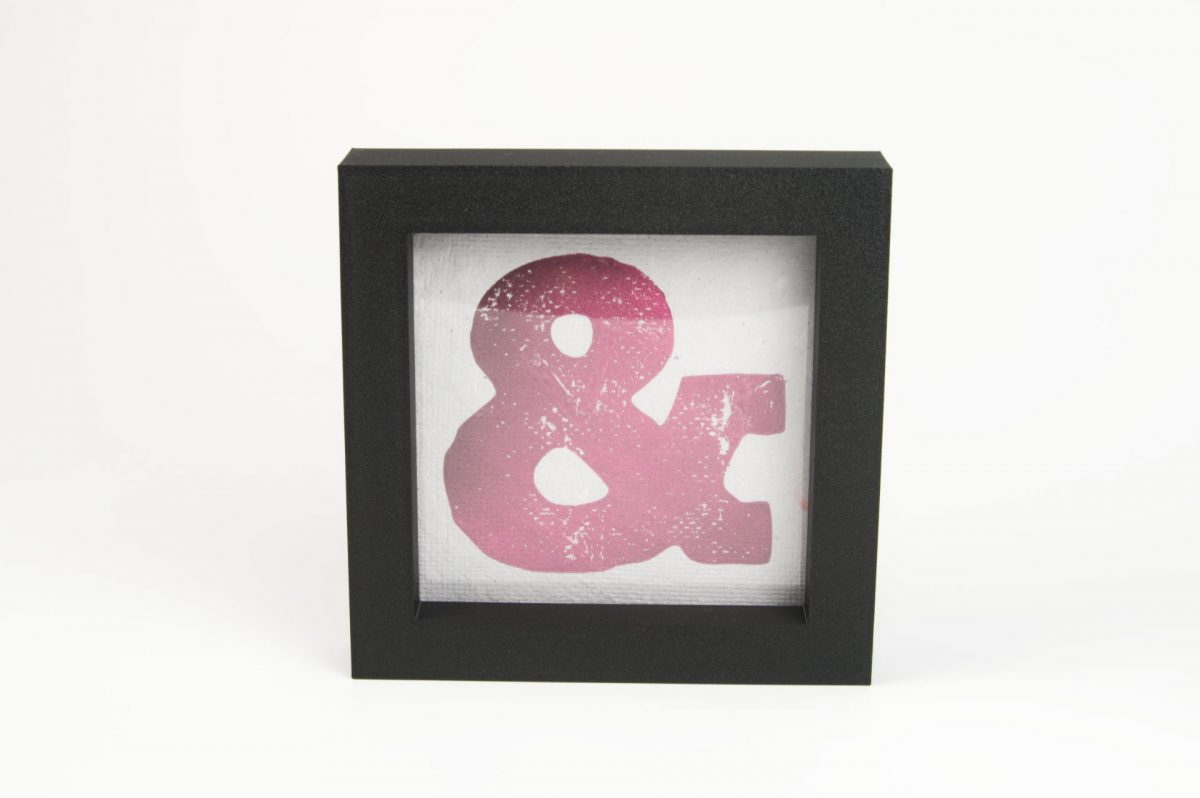
Hey, it looks like an actual piece of art! Adding a frame really helps.

The print featues an ampersand, and it’s an open source typeface called Chunk Five Print. Chunk was originally designed by Meredith Mandel and then later Tyler Finck created Chunk Five Print, with some texture similar to what you would might see in a letterpress print.

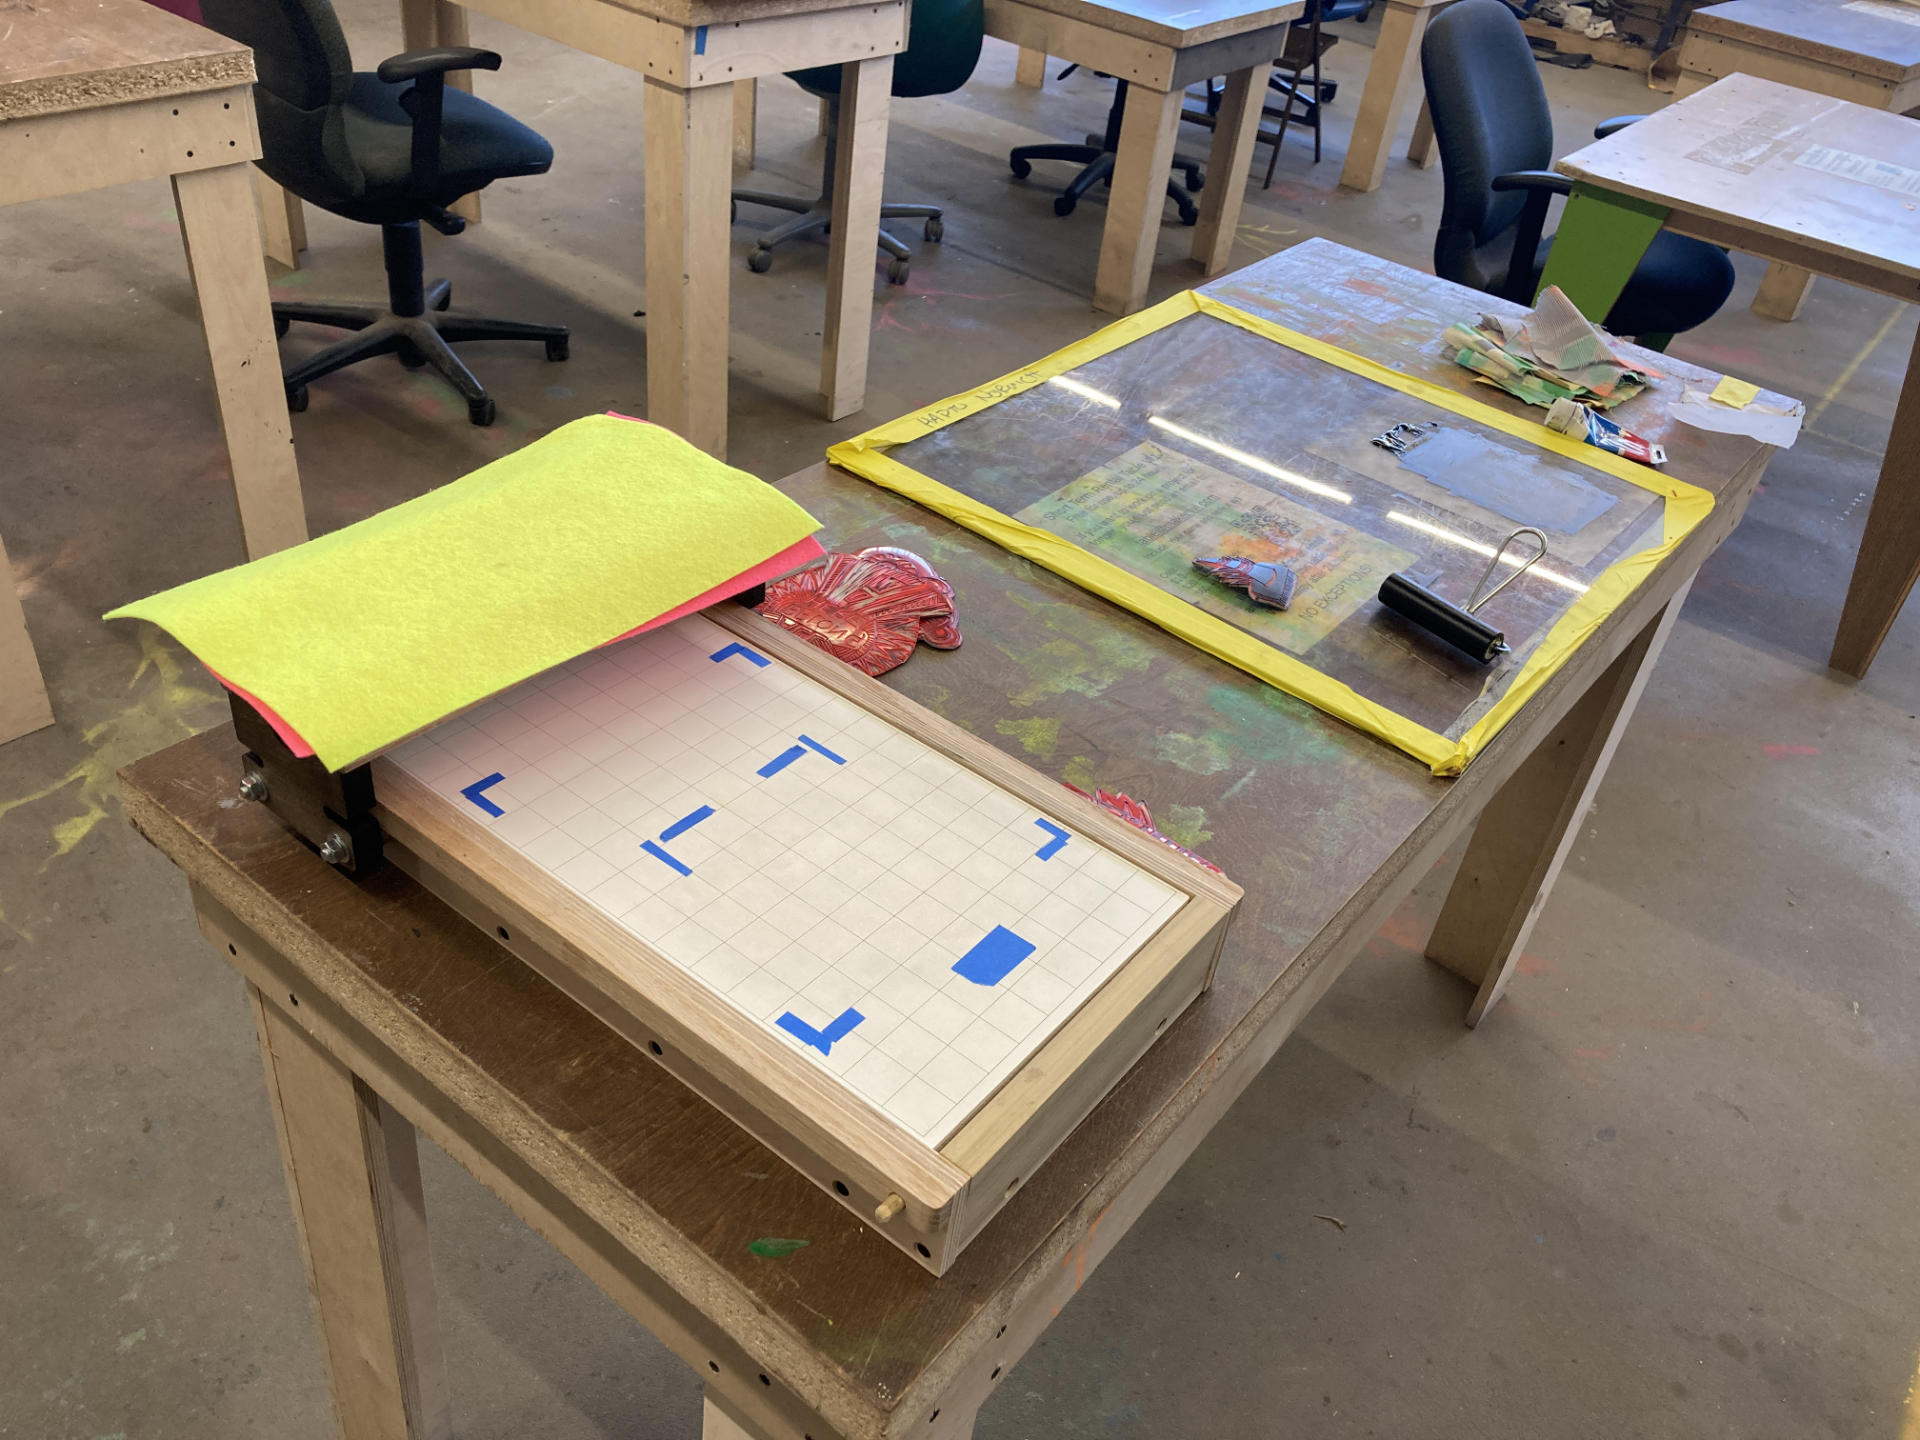
I made a few edits to the ampersand, and actually remove the texture since my printing process might introduce some texture back into it. I’ll have to do another post about making the plates, because that’s a whole adventure on its own!

Here’s a quick look at the frame. I went with a big chunky frame, which seems appropriate, though I can also make thin or delicate frames since it’s all parametric and adjustable.

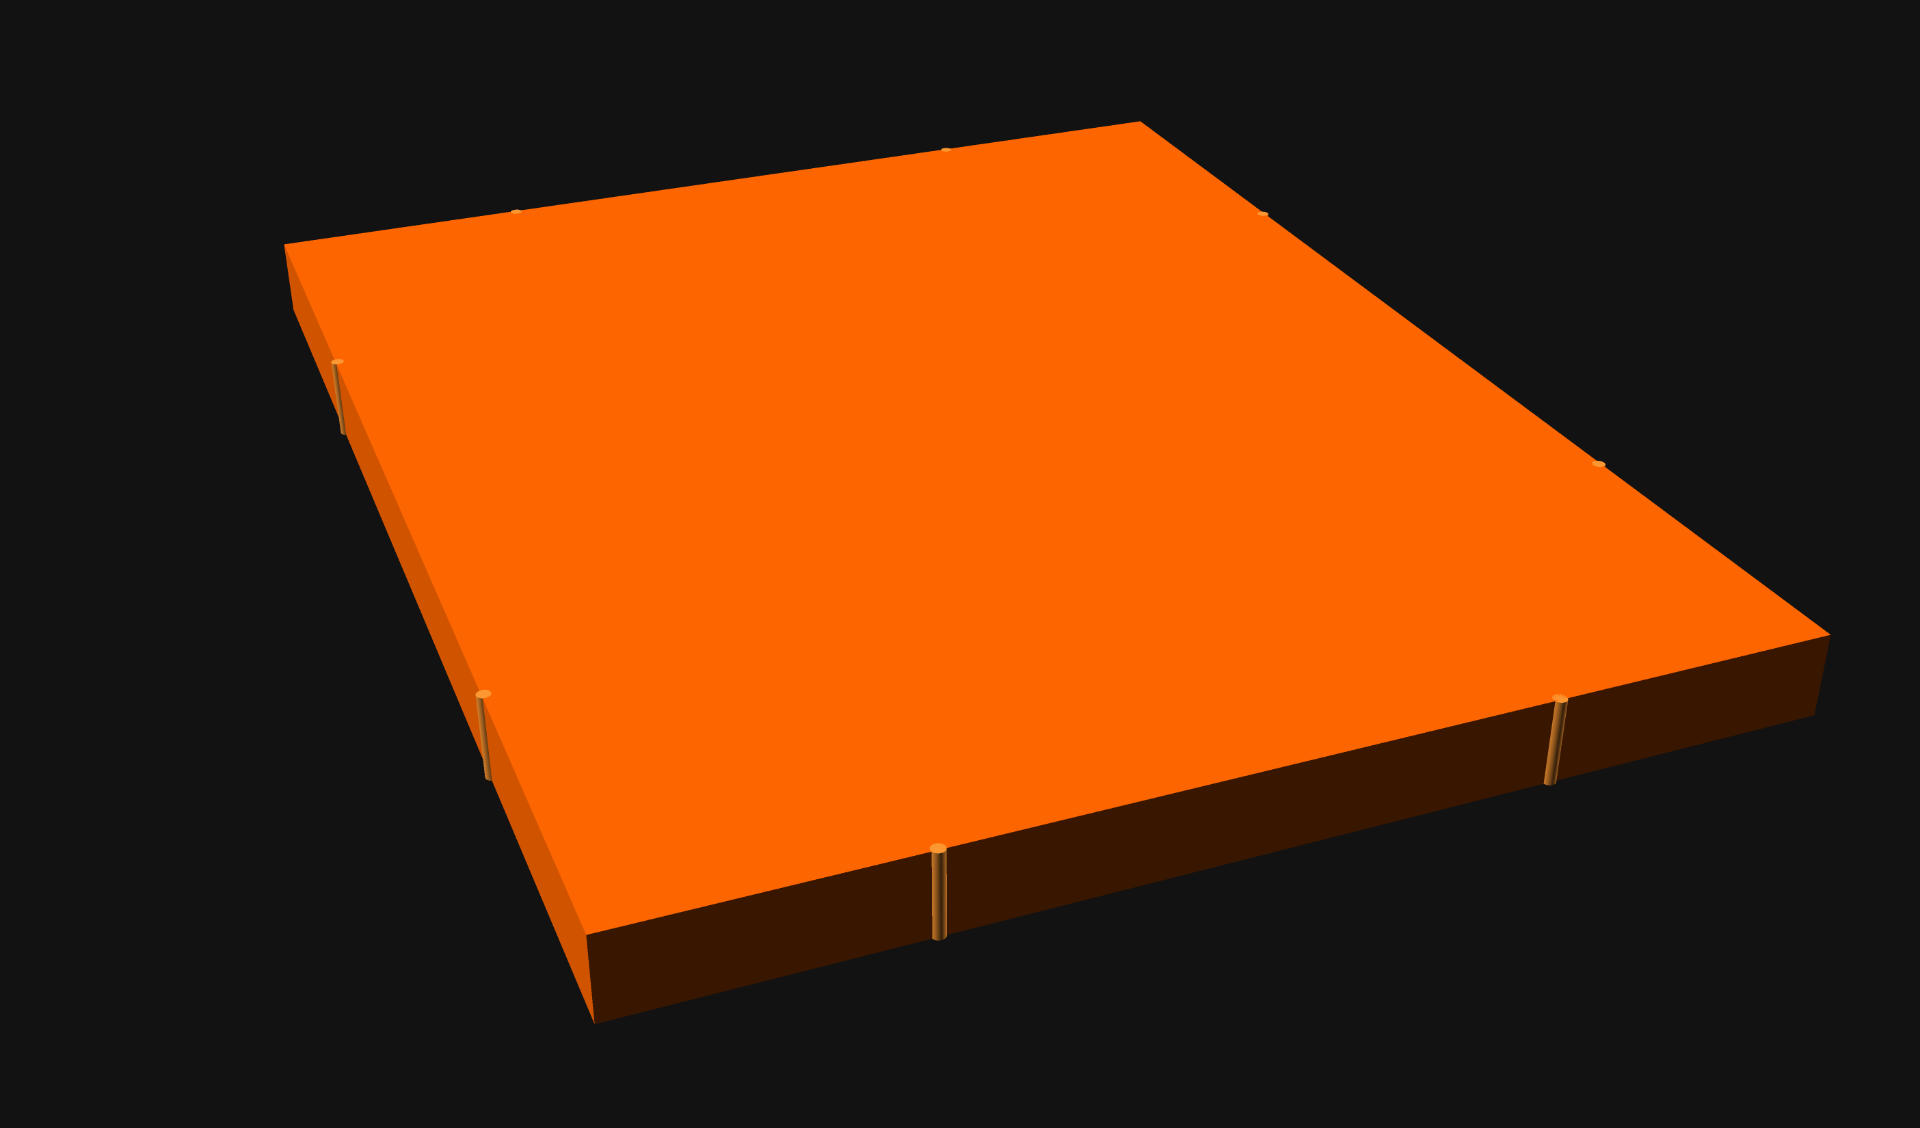
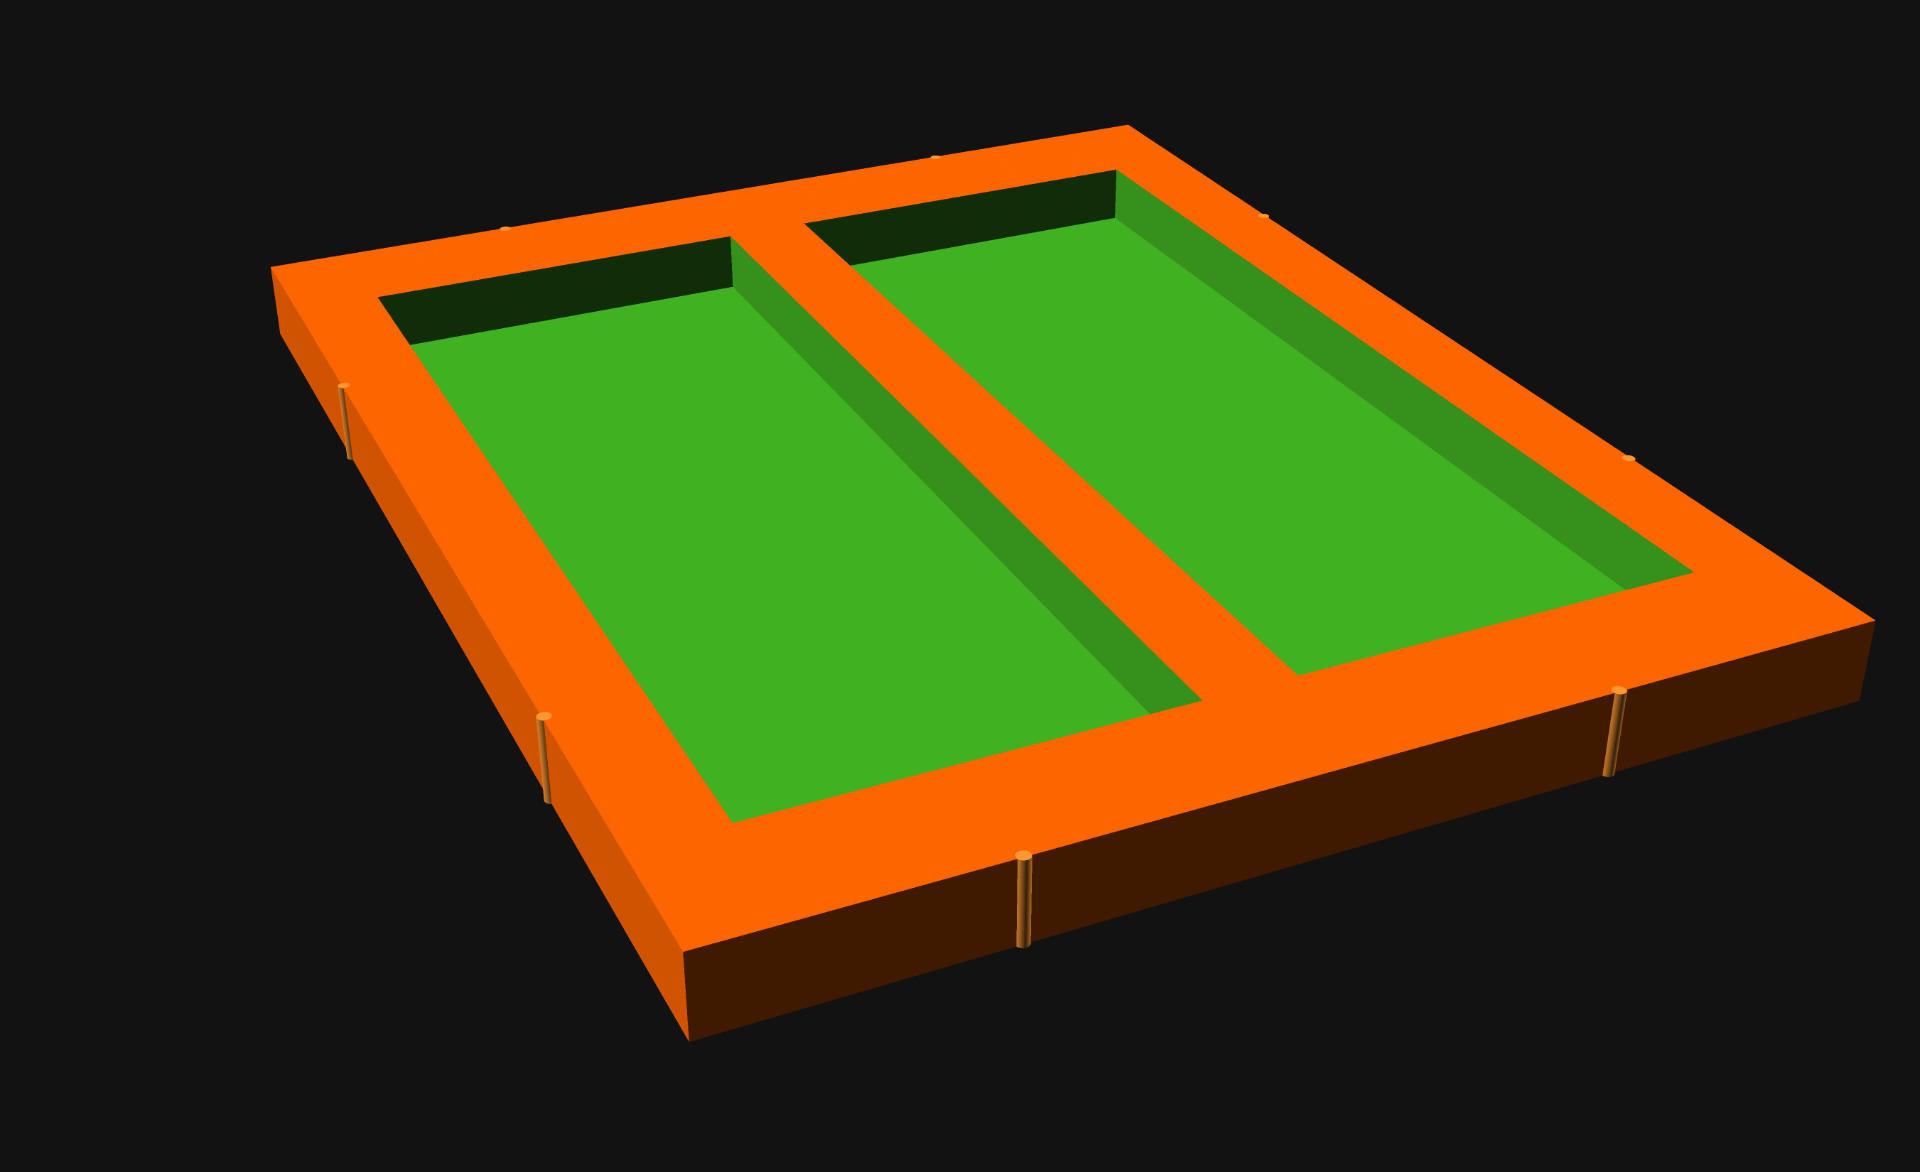
The back piece fits in with friction. There are small ridges on the side of the part that make it slide in tight (but not too tight!) against the outer part of the frame.
This was a really fun project, and I wanted to keep this post a reasonable length, but I’ll cover some of my other recent experiments in future posts. Probably. Stay Tuned!
Note: This post contains an Affiliate Link. Read More.