Categories
Uncategorized

Water-Based Printing Inks

I like Water-Based Printing Inks. Yeah, I said it. Below I will explain in detail (possibly too much detail) why I like Water-Based Printing Inks.

First, some background. I’ve been printing for, well over three decades now. Yes, I am old. That doesn’t mean I know everything, or know more than you do, but it does mean I’ve observed a lot over the years. Second, I am cheap, or should I say, I like to keep things low-cost when I can. When I was printing shirts for punk bands and my own art in the early 1990s I would often get the cheapest shirts, scrounge materials, and buy low-cost things, and I could sell shirts for under $5 and still make a (small) profit. I mean, it wasn’t about the profits, it was about spreading art and making it accessible. Anyway, forget all that.

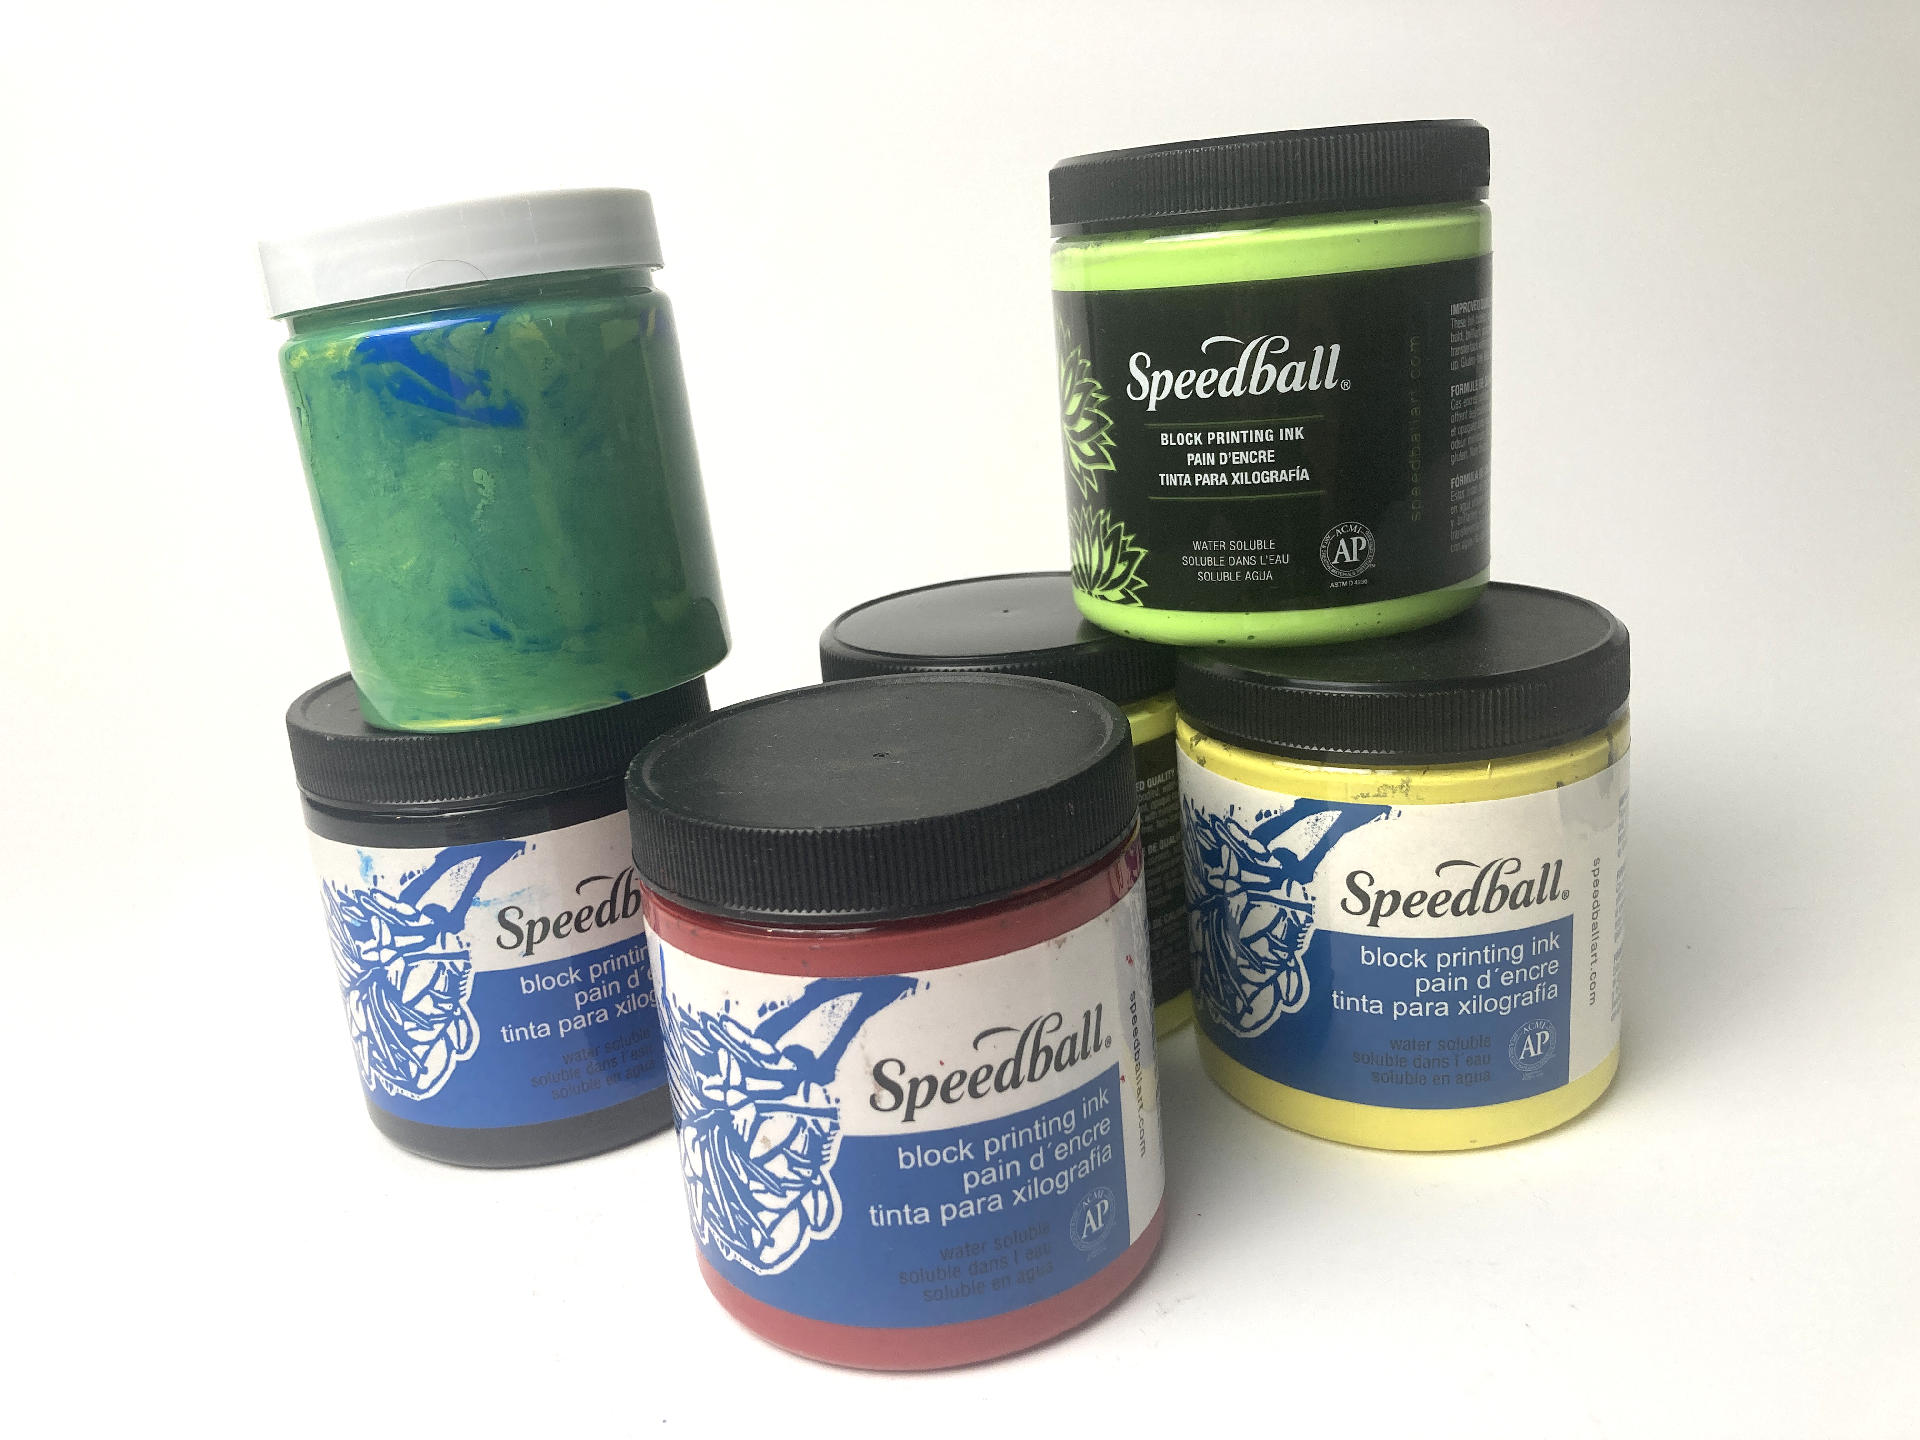
Printmakers will tell you to avoid water-based inks, and there certainly are reasons to do so, but I use them for two reasons. They are cheap and they are easy.

Cheap

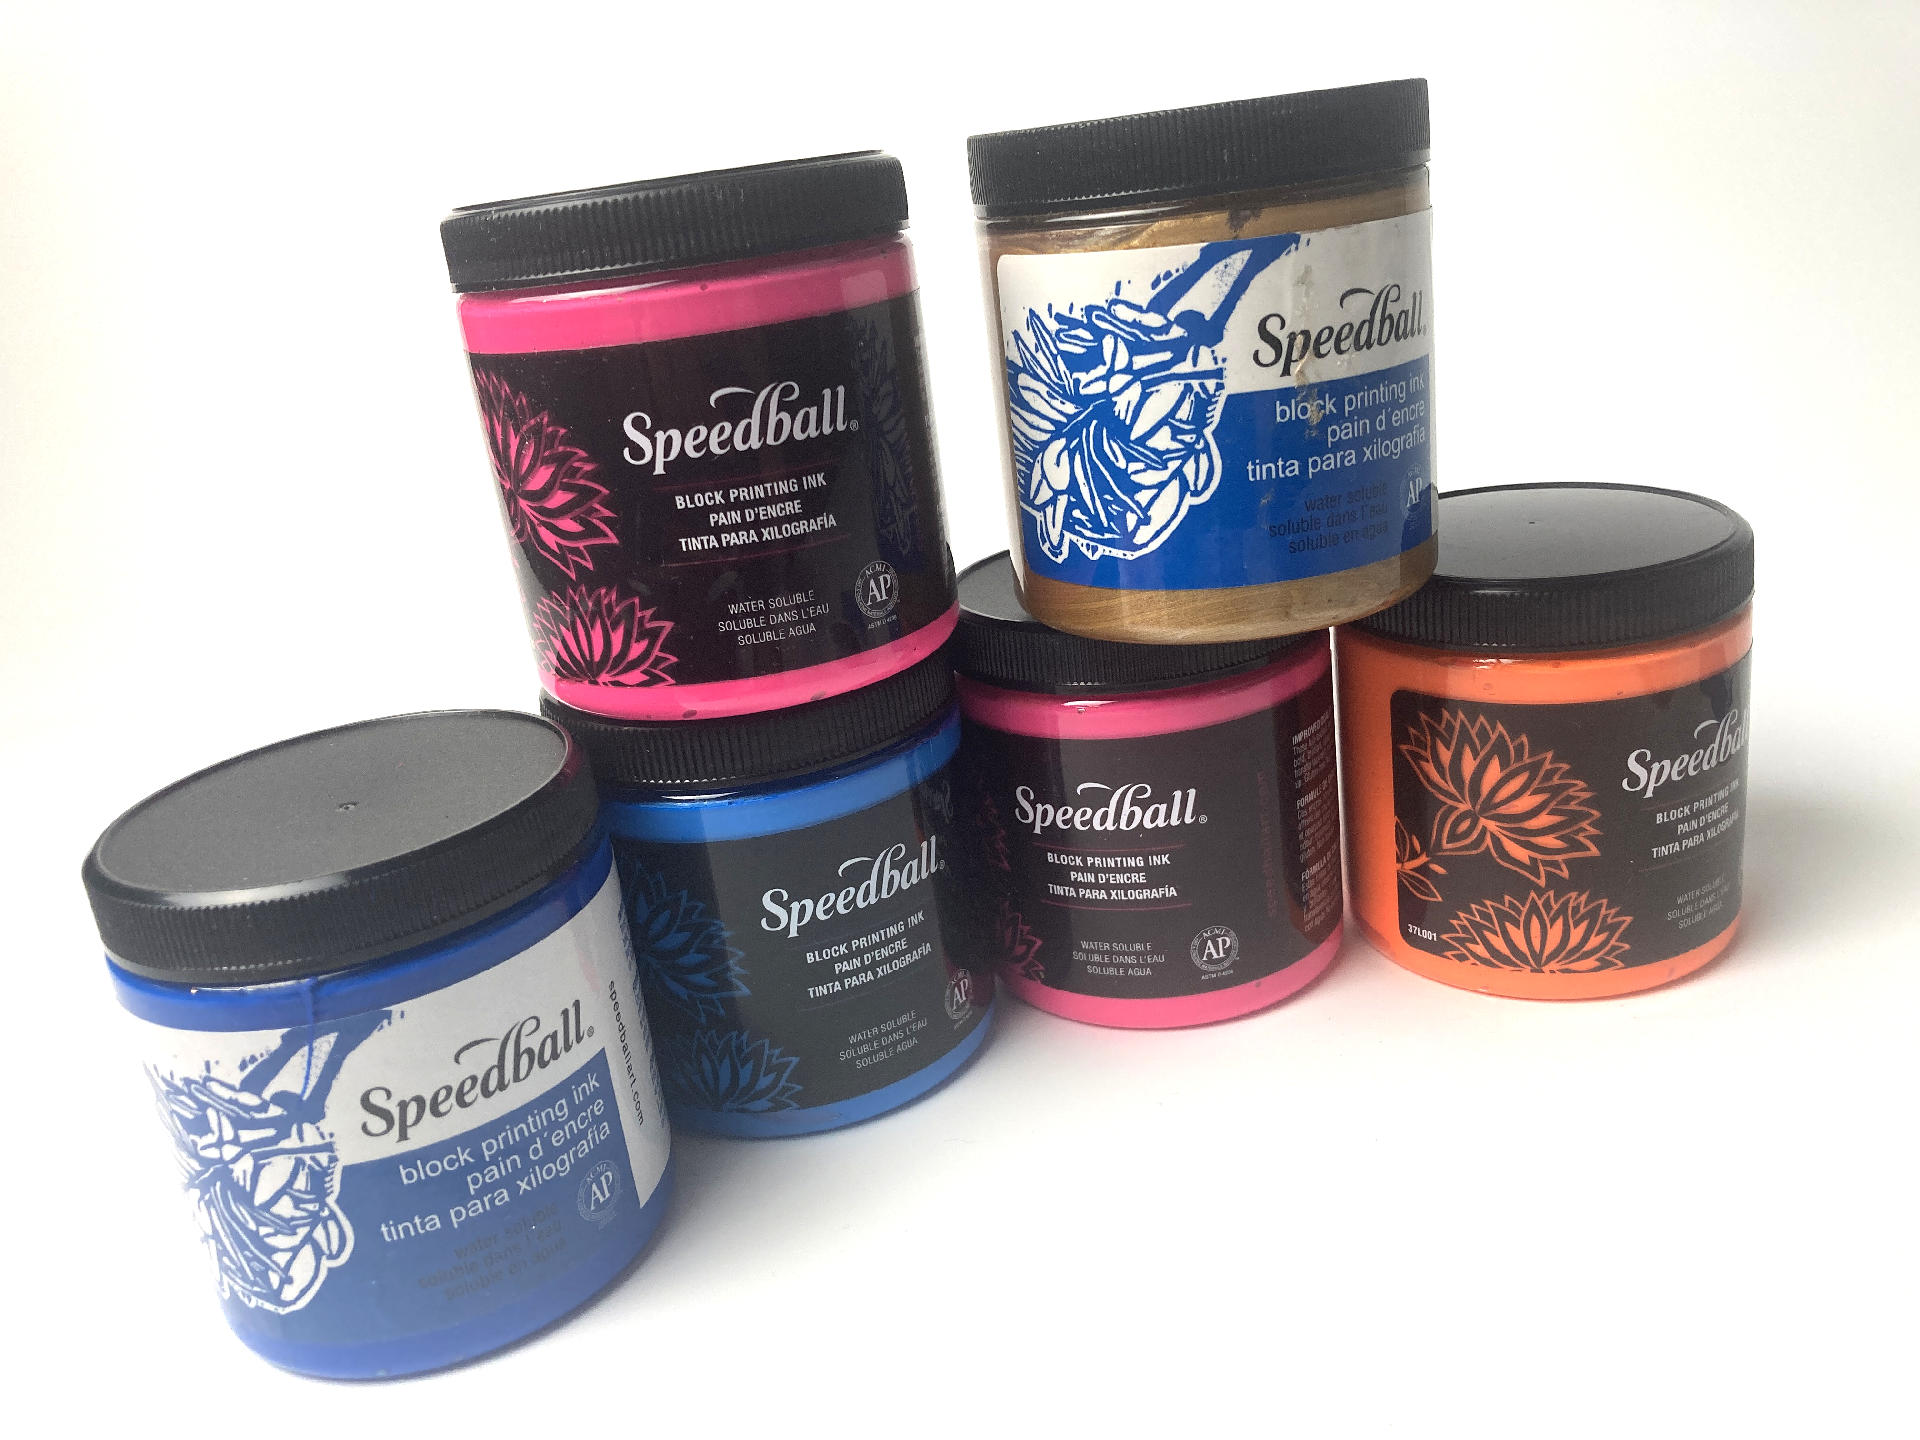
Compared to “good quality” oil based inks, water-based inks are going to be much cheaper. sometimes close to half the price. For me, this means I can get more colors, and right now I am all about the colors. If you buy a print from a professional printmaker it will probably have been printed with high quality oil based ink. If you buy a (cheap) print from me it will probably be done using water-based ink.

Note that I said “professional printmaker” above. I do not consider myself a professional. I am a printmaker but I do it for fun, to explore, to learn, and if I ever make money from it, cool… but again, I am interested in spreading art around for cheap.

Using water-based inks means I can make prints cheap, and sell them cheap. I like that, as it makes art more accessible.

Easy

Easy has a few components to it, the most important being that it’s easy to clean up. Water-based inks can be cleaned up with soap and water. That’s it. Like washing dishes. There are some hybrid inks that are oil-based but water-soluble or water-miscible. They cam be cleaned with water, sort of, but in a specific way, and you’re not supposed to put the water down your drain.

So here’s the deal… If I make it easy to print, I am going to be more likely to print. If cleanup is a pain in the ass, I won’t want to do it. If cleanup is super-simple, then I don’t mind it at all.

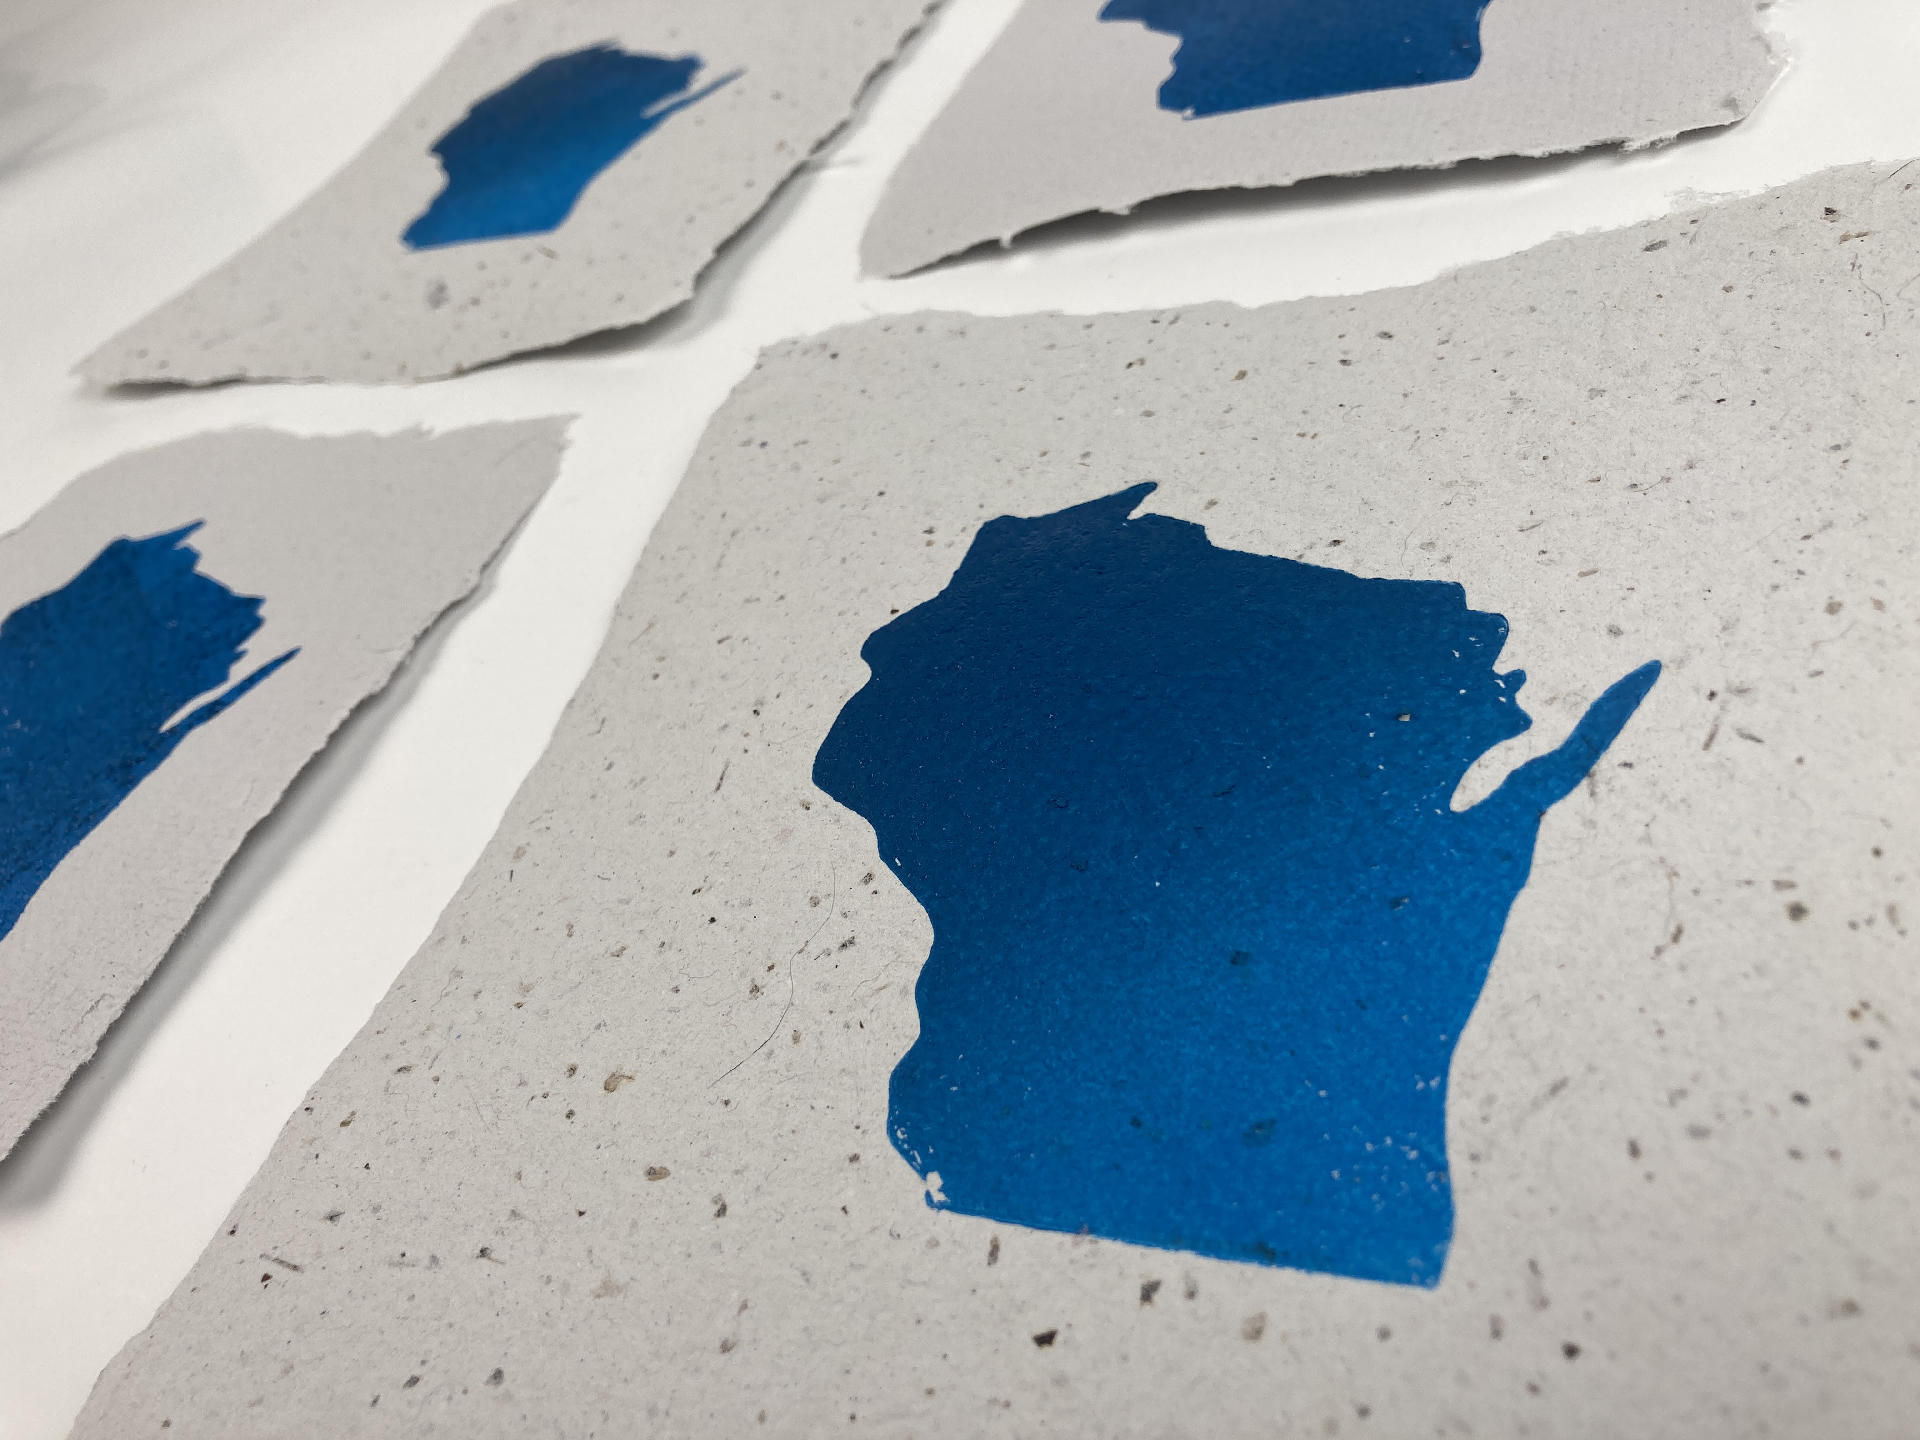
One issue with water-based inks are that they can be difficult to work with for a long period as they dry up while you are trying to print. You can add a few drops of vegetable glycerin to the ink to prolong your printing time but for me, it doesn’t matter because I am quick.

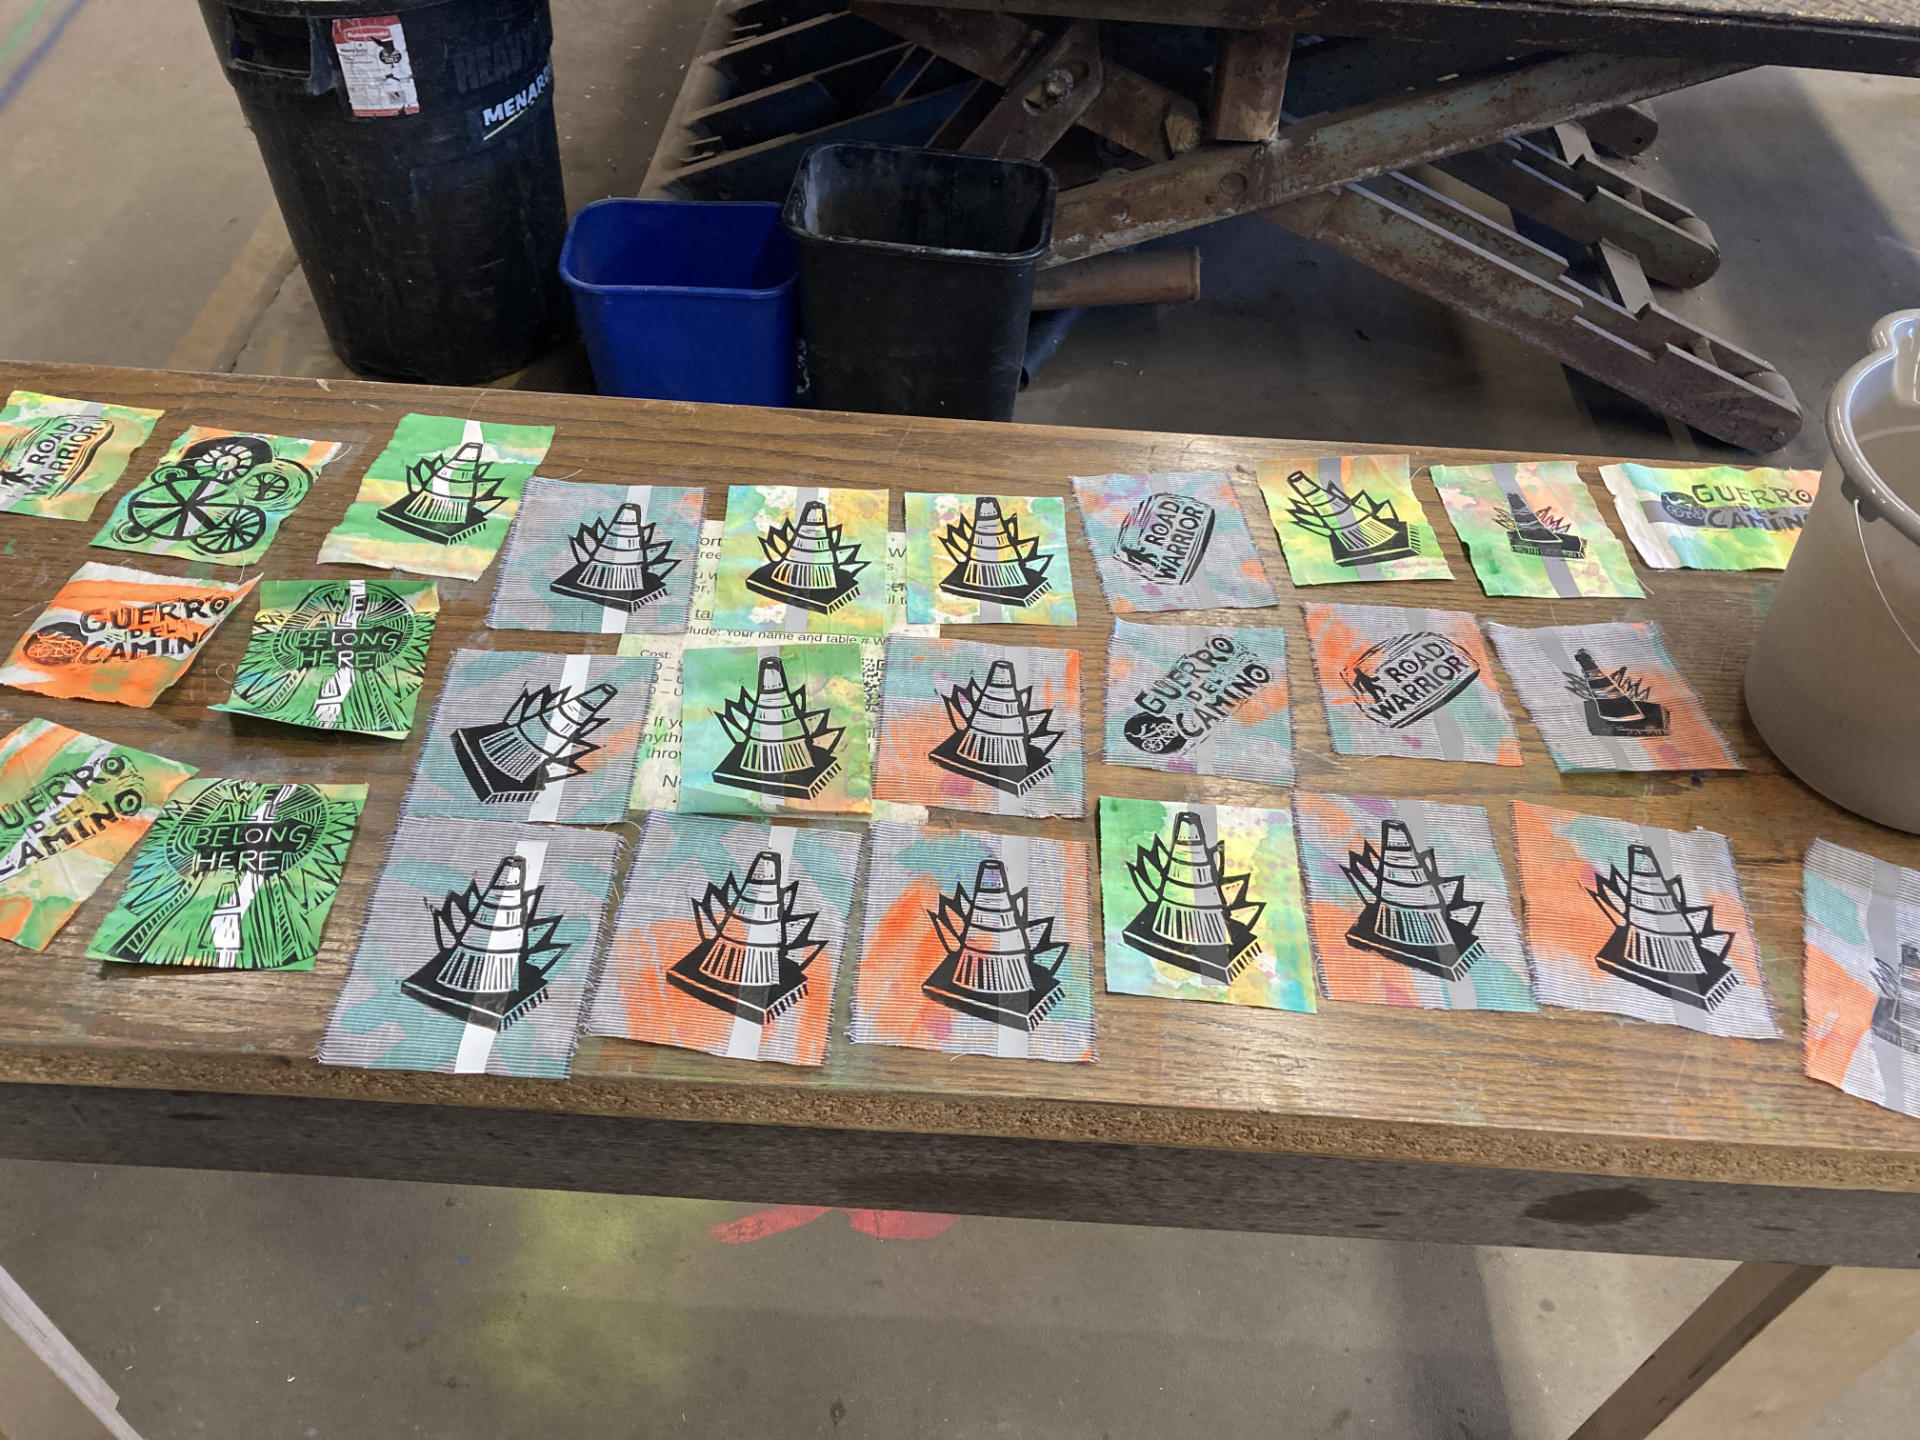
Often a printmaking session for me is done in well under 15 minutes. I often only make a half dozen prints. I’m not doing huge runs, but just a few at a time. Sometimes I do a few prints in the morning before work, get everything cleaned up, and the whole process is less than 20 minutes.

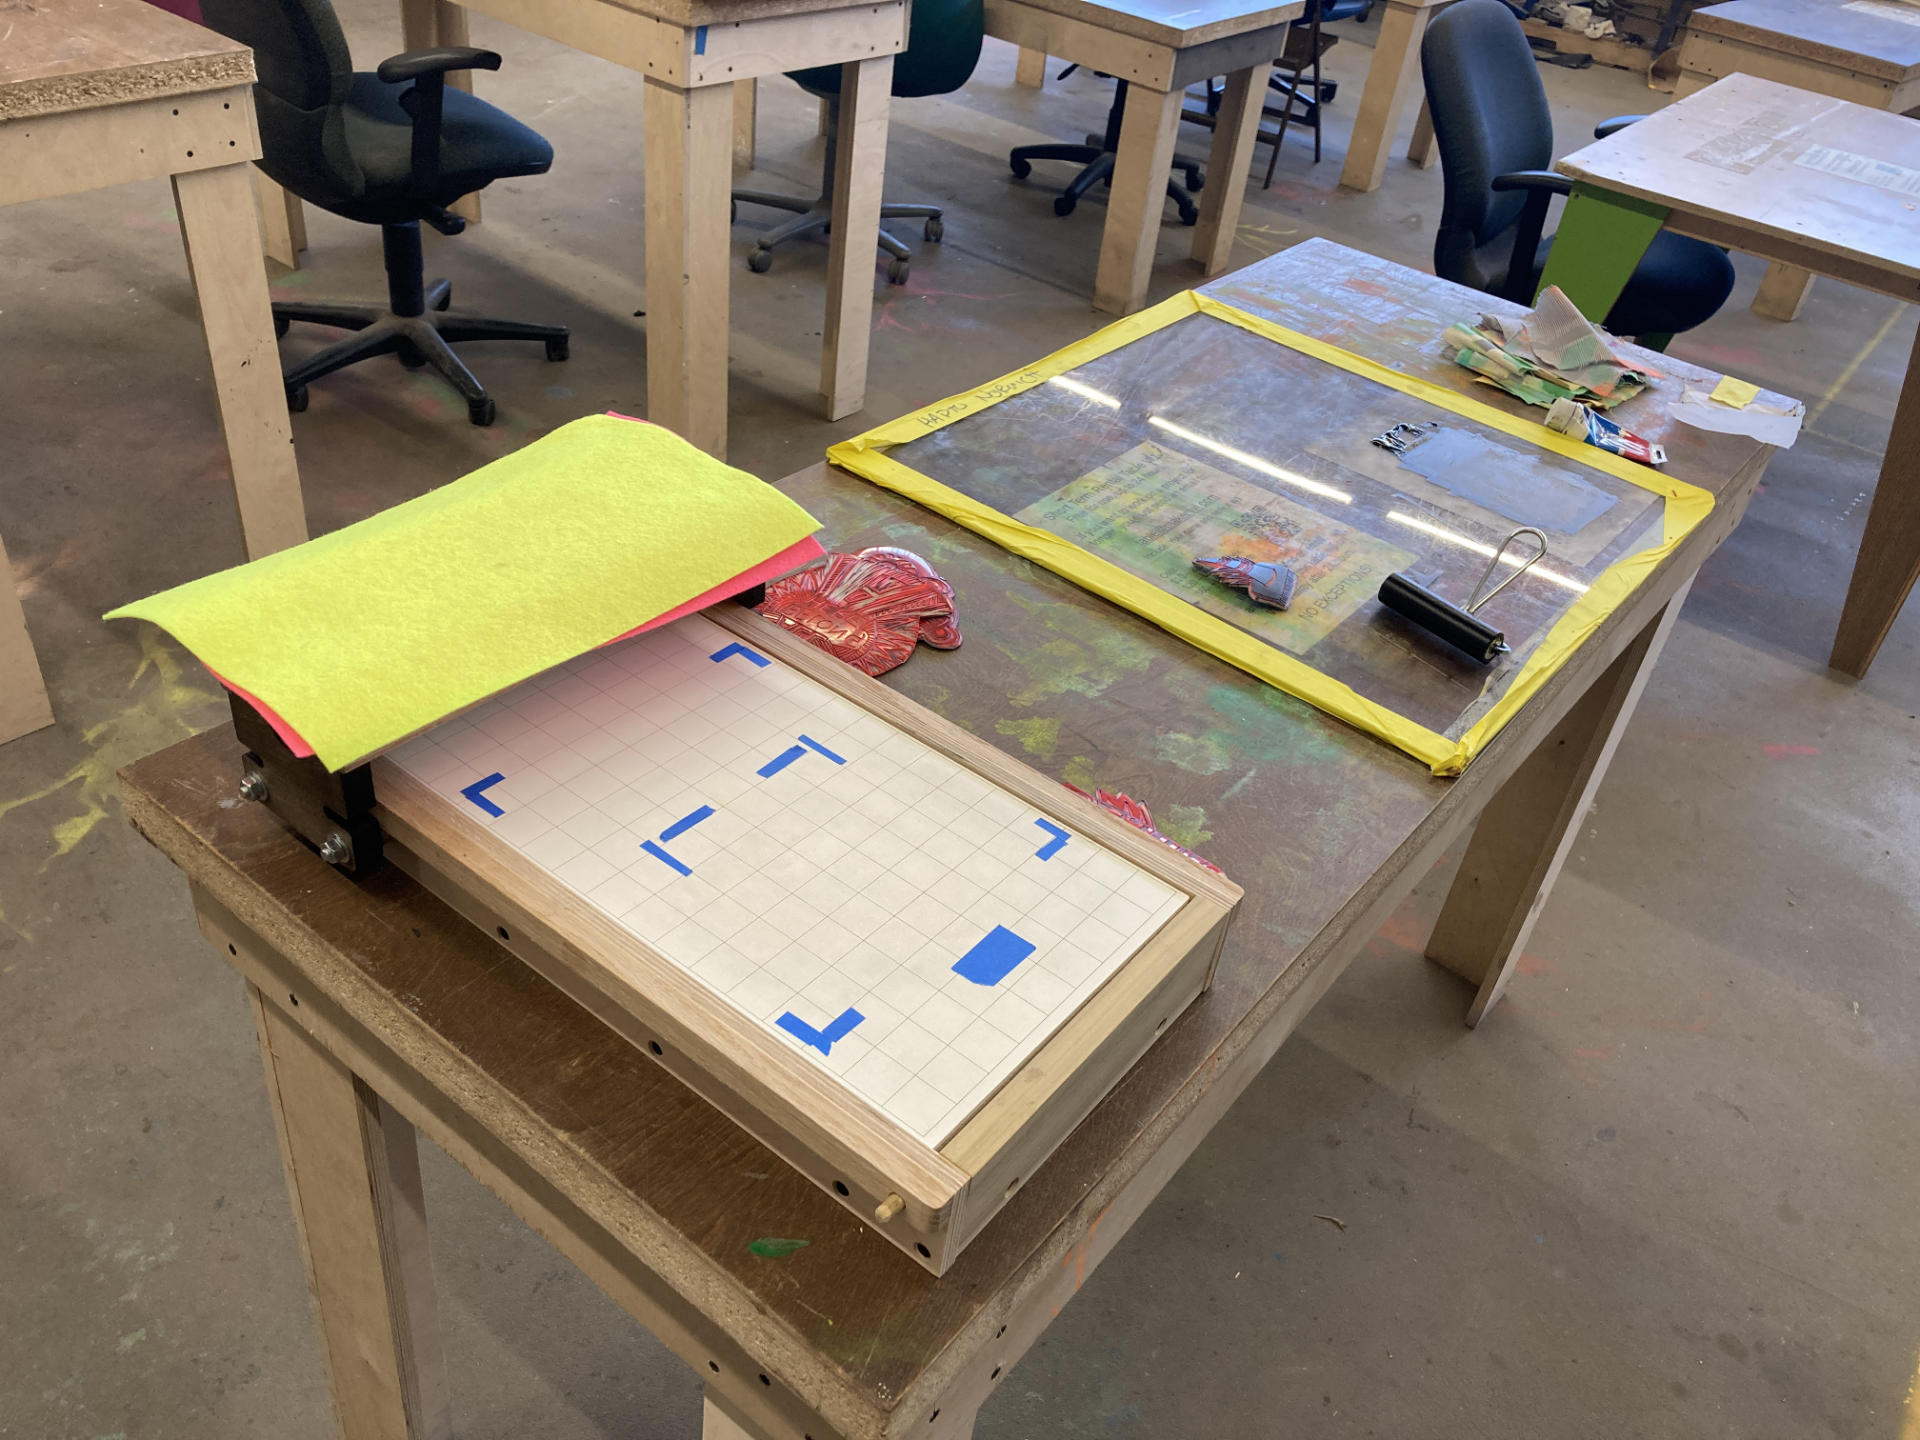
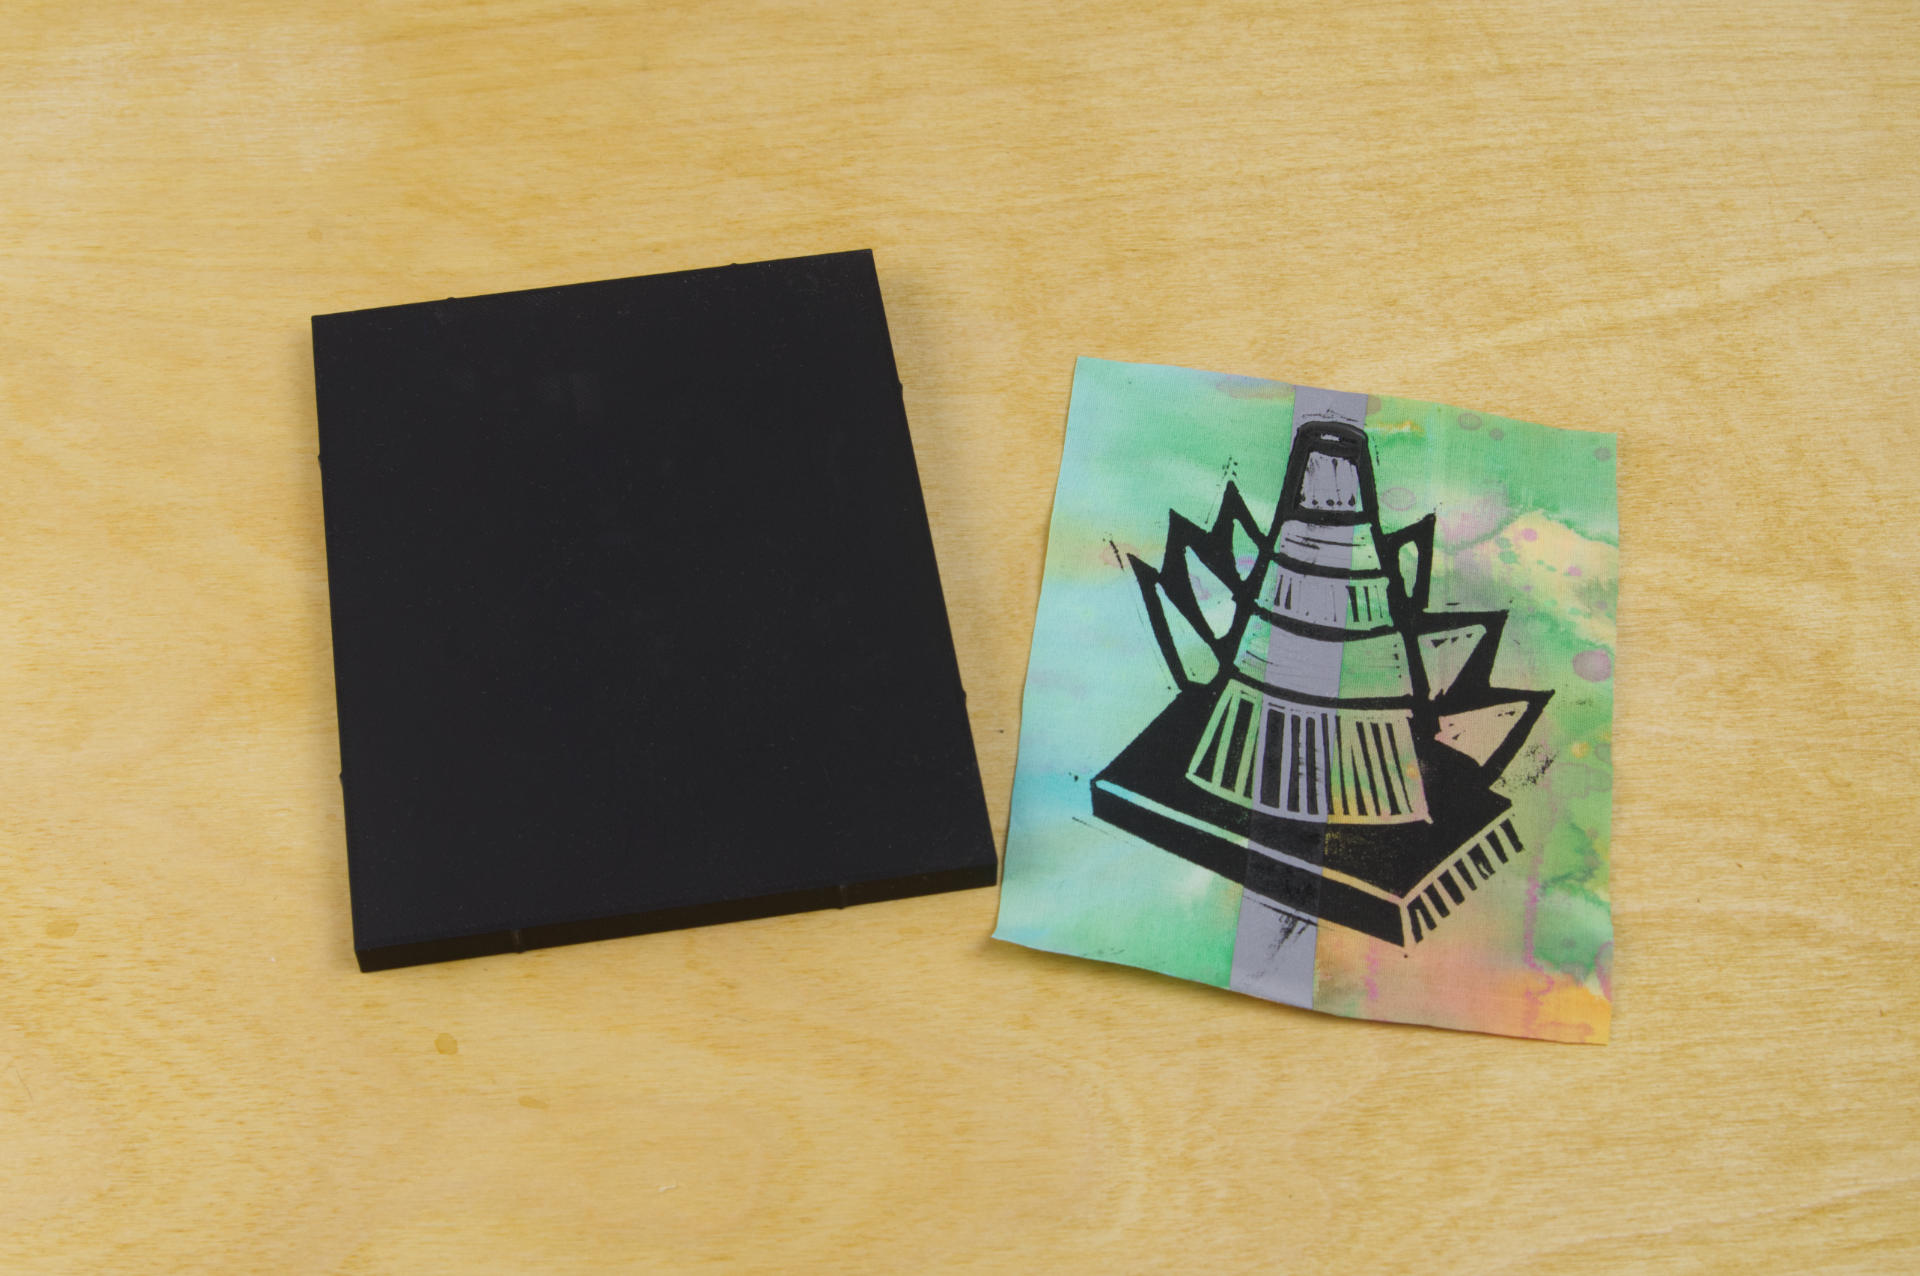
Since I am using the Provisional Press I’m not hand burnishing prints or rubbing a spoon for five minutes. I can roll that press and get a print in seconds. It’s not about going as fast as possible, but I’m not taking minutes per print, so that ink is not getting a chance to dry on the brayer.

Anyway, that’s my argument for water-based inks, and why they work for my specific needs. I don’t expect everyone to work the way I do, but I think that if you want to use water-based inks because they are cheap and easy you can totally do that. I support you!


Note: This post contains an Affiliate Link. Read More.

Categories
Uncategorized

Ampersand Framed Print

Recently I saw a physical therapist and she said “What do you do for fun?” and I panicked and said “I try to make art” which is weird and awkward (like me) because I do try to make art, but I also succeed every now and then. (I’ve even had my work in galleries.) Anyway, since I was not accepted to 30x30x30 I was probably feeling like I’m not good at making art but whatever… I don’t care if I’m good at it, I do it for fun, and because as Cometbus would say “I can’t not do it!” So here’s some art.

The print itself is on recycled homemade paper. I took the shreds from our paper shredder and any old newsprint we had around the house and made paper. I actually made a batch and then another batch and this piece is from the second batch.

So the frame is 3D printed, and there is a piece of clear acrylic in front of the artwork. Instead of laser cutting a new piece of acrylic I grabbed a bunch of acrylic sign holders from the trash at work. We use them for events but it seems like every time we ship them a few get broken. So as long as they have a section that is not broken or too scratched up, I can use them!

The frame is 3D printed. I know there are a lot of 3D printed frame designs out there, but I made my own, in OpenSCAD, and yes, it’s parametric. That means I can make more frames any size I want. I can easily change the size by typing some numbers. With the Bambu Lab P1S I can print frames just under 10″ x 10″ so that’s nice… And the textured printing surface looks awesome. I’m probably going to make a lot of frames!

Hey, it looks like an actual piece of art! Adding a frame really helps.

The print featues an ampersand, and it’s an open source typeface called Chunk Five Print. Chunk was originally designed by Meredith Mandel and then later Tyler Finck created Chunk Five Print, with some texture similar to what you would might see in a letterpress print.

I made a few edits to the ampersand, and actually remove the texture since my printing process might introduce some texture back into it. I’ll have to do another post about making the plates, because that’s a whole adventure on its own!

Here’s a quick look at the frame. I went with a big chunky frame, which seems appropriate, though I can also make thin or delicate frames since it’s all parametric and adjustable.

The back piece fits in with friction. There are small ridges on the side of the part that make it slide in tight (but not too tight!) against the outer part of the frame.

This was a really fun project, and I wanted to keep this post a reasonable length, but I’ll cover some of my other recent experiments in future posts. Probably. Stay Tuned!


Note: This post contains an Affiliate Link. Read More.

Categories
Uncategorized

Framed Hapto Cone Art

Hapto has been working on a project using cut up bits of orange traffic cones to do relief prints, and asked if she could try using my Provisional Press to see if it would work well as an alternative to hand burnishing prints. So I packed up the press and took it to Milwaukee Makerspace (Norwich Edition) to give it a try.

Hapto did all of the printing, and I just watched, after giving a quick lowdown on the press and how it works compared to a more “normal” press with adjustable knobs and a moving bed and all of that.

She made a whole bunch of prints! And the verdict was that the Provisional Press would probably work quite well for her printing needs. Note that she printed on fabric that had retro-reflective material on it and had been treated with various paints to get the crazy color. She also used fabric block printing ink. The last time I did relief print patches I just used regular water based ink because it was all I had.

The nice thing about working with another artist is that you can teach and learn at the same time. I picked up a few techniques for printing, and I told her about how vegetable glycerine can help slow the drying of water based inks…

I got to take a print home and I figured I should frame it. Since I’ve been working on an OpenSCAD script to help me create 3D printed frames I thought I would give it a try.

The frame consists of two parts, the frame itself, and the back piece that fits into place.

The two images above show the “front” facing parts of the design, and the two images below show the back sides of the pieces. It’s pretty darn simple, and yes… I know there are other 3D printed frames out there, but I (as usual) wanted to design my own… in OpenSCAD… and make it parametric.

The ridges you see around the inside piece are meant to help create a press-fit so no additional hardware is needed. It’s a good idea to make them a little too large and then sand/shave them down for a perfect fit if you want it removable. Otherwise you can always glue it in place. I’ve also managed to laser cut some clear acrylic that can be placed into the frame before the artwork just like a standard store-bought frame. Without the acrylic I just spray glued the print to the back plate of the frame to hold it in place.

I’m glad Hapto invited me to do an art thing with her, and appreciate the print I received. After framing the piece it is now on the wall of my office right next to a piece of my own art.

Note: I realized I failed to get a photo of a relief carved traffic cone printing plates that Hapto created so here’s a photo she shared from a previous printing run.


Note: This post contains an Affiliate Link. Read More.

Categories
Uncategorized

69 Print

This design came about because I was thinking about number plates that went on the handlebars of BMX bikes. I guess they are now “vintage” since they were around in the 1980s. And honestly I probably haven’t even seen one since the 1980s! I did some image searching and found examples of what I was remembering.

Since the plates are “vintage” it made sense to print on paper that had an “old” and “worn out” look, so I used some of the recycled paper I made recently.

I wanted a more modern (and sans-serif) typeface, and the 6 and 9 mirror each other perfectly and seem to fit well into the oval. It’s a clean design with some added contrast of being a non-perfect print on less-than-perfect paper.

Oh, and why 69? Well, I live on 69th street, and I was born in 1969.

Here’s the printing plate I made. I don’t know why I etched so much space around the actual artwork. All that did was make the laser etching process take more time. I’ve been experimenting with a lot of different methods for doing the laser etched plates and I probably had some clever idea and forgot what it was.

I’ll keep messing around with this, as I do enjoy mixing digital fabrication with more traditional forms of artmaking. And creating physical things from digital designs is sort of in my wheelhouse. Cheers!

Categories
Uncategorized

Mother’s Day Card

Shortly after getting the Provisional Press working I thought to myself “I should try a two color print!” and while I used to run a six color screen printing press, I’m not sure I ever did multi-color relief printing, so why not give it a try?

Fortunately my daughter Madeline had recently sent me a photo of an illustration of a flower she did for school. (I tend to bug her with a “what are you making lately?” text every few weeks.) She sent me the file and I designed a card around it.

I managed to print a few with no real registration system (totally screwing up one of them!) and they mostly turned out okay for a first attempt.

I gave one to my mom, Madeline gave one to her mom, and we had a spare that Madeline gave to Greg to give to his mom. I consider that a win, and will probably make this an annual tradition.

Oh, here’s a shot of the laser-etched plates. I’ll do a post about how I make printing plates one of these days…