Wisconsin in Sketchup
After seeing the blog post about the United States Electoral Vote Map, I decided I needed to print out a 3D version of Wisconsin. So I grabbed one of the Sketchup files from Thingiverse and deleted every state except the one I live in. (Which, you know, happens to be Wisconsin.)

Wisconsin in ReplicatorG
Once I had our dear state all on its own, I used this “Sketchup to DXF or STL” plugin (download skp_to_dxf.rb) to export it as an STL file so that I could load it into ReplicatorG.
Yeah, I know it’s tiny. But since everything up until now was the easy part, and the actual controlling of the MakerBot and the print process was the (supposedly) difficult part, I decided to start small. Here’s where it gets hard.
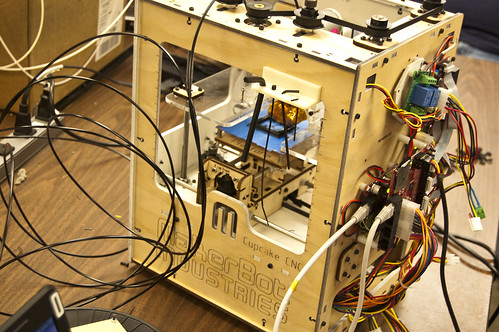
See, last week when I had my first MakerBot Adventure, Drew (the owner/operator and fellow Milwaukee Makerspace member) did all the hard work, while I just handed him a file. This time, he wasn’t around, nor was the laptop that normally connects to the MakerBot, so I was on my own.
I wish I could say skimming this wiki page titled How To Print revealed the secrets to the MakerBot universe, but it took a whole bunch of wiki pages, and some Google Groups messages, and some random searching based on error codes, and at some point, I got it mostly figured out. Mostly. (I also had to remember that I was using a Cupcake and not a Thing-O-Matic, as they have a few differences.)

ReplicatorG Control Panel
Ah, the Control Panel… where the magic happens! Or should happen. Or something. All that digging around on wiki pages provided me with just enough info to be dangerous here, and put in some values I thought would work. The one thing Drew said was “As long as you don’t drive the extruder head into the platform, you should be good.” That was enough to scare me into being overly cautious, and my first attempts obviously had the head too high. The other issue was, the feed rate of the filament was zero. I tried really hard not to force things, but eventually applying more pressure got the filament moving. (Thanks Royce!)
One thing I noticed about the Control Panel is that the settings did not seem to stick, and I had to enter them over and over again. (Which is why I’m posting it here.) Besides that, ReplicatorG was fairly easy to use. I’m still not sure how to determine the size of the thing being printed, but I’ll work on that.
So at this point, I had the extruder head down low enough, plastic was flowing, and the platform was moving. That’s right folks… I was 3D printing!!!
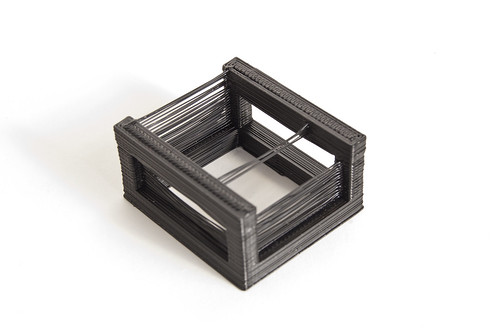
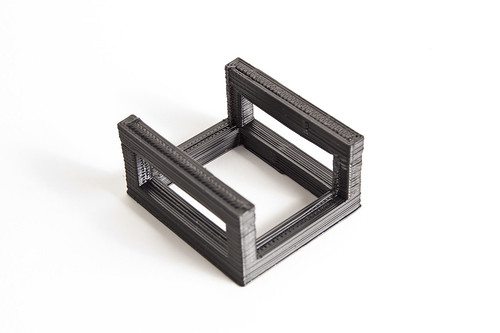
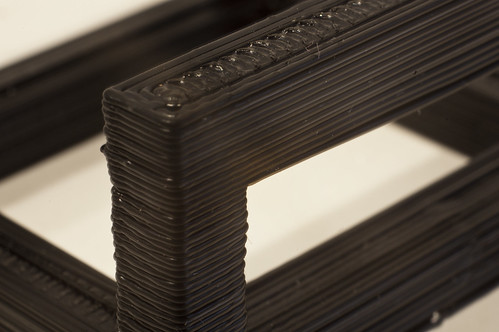
And how did it turn out, you may be asking? Well, here’s some amazing images of my first “all on my own” 3D print.
![Wisconsin [3D]](http://farm7.static.flickr.com/6074/6131446260_e262cfe3ce.jpg)
Wisconsin (with quarter, for scale)
Yeah, like I said… it’s tiny. No matter. I’ve made it this far… Now on to bigger and better things.
View the super large photo, or the alternate, at Flickr.)