It’s been quiet around here, but it’s not due to lack of activity! As previously mentioned, I attended National Maker Faire in Washington D.C., and met with producers from Maker Faires around the country. It was great to connect with others and meet with a government official to discuss how the Maker Movement is affecting the country, and what is needed to make it do even more in the coming years.

I ran into Amanda from Circuit Breaker Labs before the Faire started. She was still busy setting up so I didn’t want to bother her to much. I did have to get a photo of her circuit dress though. (And hey, she’ll be at Maker Faire Milwaukee this year!)
I also stopped at the Vintage Robot booth and after a brief discussion convinced them to come to Milwaukee as well. It’s great to see people traveling half way across the country to attend our event.

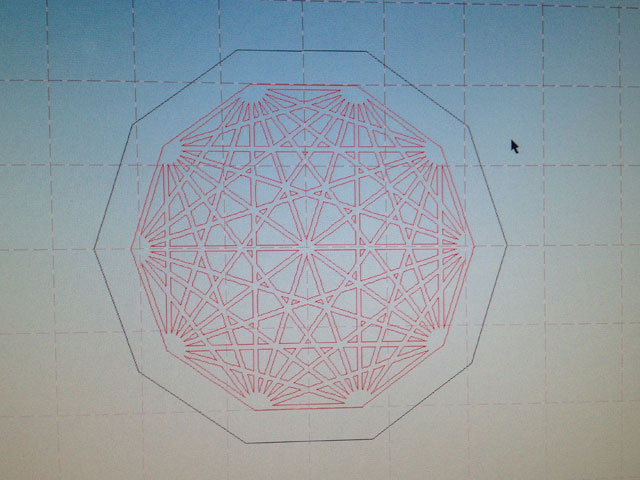
I didn’t get a ton of photos because I got really busy doing things and talking to people, but here’s a shot of some CNC work that looked like gold.

A tiny smart home created by a young maker. I always enjoy seeing what kids come up with, and love it when they share their creations at Maker Faire.

The folks from BOSE were there with a nice display showing how speakers work. They were doing demonstrations and had hands-ons stuff to play with, and they’ve got a speaker kit that is suitable for kids to build, which is a neat idea. It’s interesting how music seems to tie into the maker world. I may have had a brief talk with Dale Dougherty late one night about how punk rock played a part in the DIY/Maker Movement. (He was in agreement and mentioned the work of Patti Smith.)
I ended my time at National Maker Faire by speaking on a panel about how different organizations do Maker Faires, which was fun and educational, and at the end a bunch of Maker Faire Producers sang “Happy Birthday” to me, which was weird and also fun.
Oh, and my Maker Profile went live on the Week of Making web site.