This installment of the Learn to Solder Kit series will focus on the cutting and sanding of the PCBs we’ve been creating. This is the loud and messy part. (Check out Part I, Part II, and Part III if you haven’t seen them.)

We start with taking one of the larger board to the bandsaw and cutting apart the six boards. (The bandsaw, like many of my tools, belonged to my father. It’s quickly become one of the most used tools in the shop, right after the drill press.)

In an earlier revision of the board I left very little room to cut things apart. I just barely had the width of the saw blade, so as I etched more boards, I revised the design and increased the space to make things a bit easier.

One large board cut down to six individual boards. I also cut off any excess on the edges to make the sanding process that comes later easier.

You can see that straight lines aren’t the order of the day, which is fine. Our goal with the cutting apart is just to get things cut apart. We’ll straighten out the edges later…

Here’s a big pile of individual boards ready to have their edges cleaned up. You’ll noticed the thin edge pieces that got cut off as well, which saves us time (and dust!) when sanding.

Using the disc sander is pretty quick, but it’s also dusty, and probably my least favorite part of the process. Also, the disc sander is a cheap model someone gave me, and while I’m thankful for it, it’s loud and vibrates way more than it should.

Cleaned up edges, courtesy of the disc sander. We’ve finally got those straight lines we didn’t get on the bandsaw.

Once we have those nice clean sides on the board it’s time to round the corners. This is the part that requires a some finesse to make it nice. Sometimes I get great results, and sometimes I go quickly and say “good enough!” because I’ve got 20 more boards to do.
Oh, you might also notice a bit of “fuzz” on the edges…

Here’s the back side of the board, where you can more clearly see the fuzz left from the sanding process. This is easy to clean up.
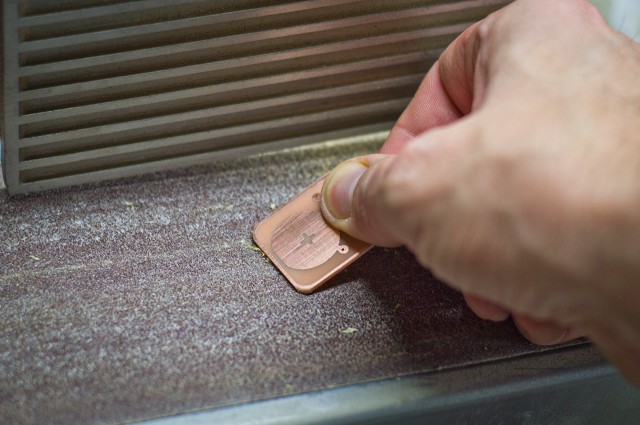
We just lightly clean the fuzz off using the belt portion of the sander. Every now and then I drop a board while doing this and have to fish it out of the exhaust port. It’s annoying.

Here’s our nice clean board. It’s been cut apart from the larger board, and then sanded to get straight edges, given rounded corners, and cleaned up of any fuzz. Ready to go!

A big pile of finished boards at the end of the night. I can only take so much sanding in one session. Right now I’ve got 40 completed boards, and another 25 that need to be sanded. With a goal of 100 total I’ll need to etch, drill, cut, and sand about 6 more large boards (to get 36 individual PCBs) in the next two weeks in time for the Maker Plaza at the Zoom Milwaukee Symposium!
This is just one post in a series, check out the other posts as well: