
We’re moving along in the series with yet another noisemaker. This one features a control interface! Which is to say, there’s a potentiometer involved to alter the sound. This one is mainly wood with some pieces of HDPE added in. Originally I had the speaker mounted to the front, and it sort of looked like a radio, but for some reason I can’t remember, I moved the speaker to the back of the unit.

Besides just having a button to activate the sound we’ve added a slide potentiometer. I grabbed a big pile of them from eBay years ago to have on hand, and I still have a lot of them around so I figured an audio project would be a good use for one. You may notice that the green button I used is a pretty close match to the green filament I used for 3D printing the potentiometer mounting plate. That worked out well.
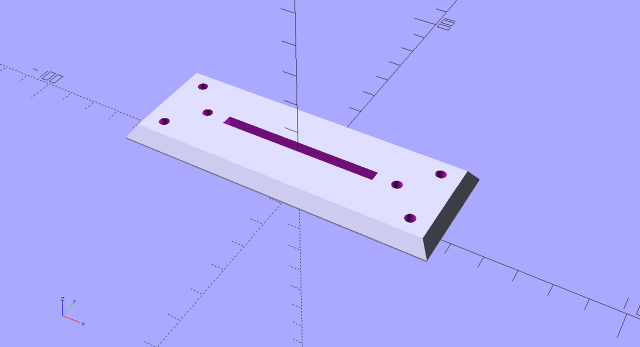
I designed the mounting plate so it could hold the potentiometer in place using two #4-40 bolts, which screw directly into the potentiometer to hold it to the plate. I then added four more mounting holes so the plate could mount to the enclosure. I kept those #4-40 for consistency. Again I’ve gone with the green PLA for the plastic parts, creating some interesting contrast between 3D printing with plastic and wood working. (And yes, there’s also blue HDPE pieces on this noisemaker.)

Because the slide potentiometer needs to mount fairly close to the surface, and I’m using wood that is well over a 1/4″ thick, I had to chew out a bunch of the wood to make a big hole for things to work properly. I used some Forstner bits to make a rough slot in the top. Since the plate will cover it the beauty (or lack of beauty) of the slot didn’t matter much. (I’ve never really used Forstner bits in the past, but they’ve become a favorite of mine in recent years.)

Our control interface, a button to activate the sound, and a slide potentiometer to alter the sound. I tried to position them for comfort when using two hands, though you can sort of operate it with one hand. The handle (knob?) for the potentiometer is also 3D printed, though it is covered in black Plasti Dip which gives it a nice feel when touched. I thought about making spares in case one “disappeared” during the show, but I never made more, and it did not disappear.

The knob model had some rounded edges, and once again I’ll have to say I was pretty impressed with the Maker Select Plus at being able to handle it. It did take me a few iterations to get a knob that I liked, but this one turned out pretty well for a quick ‘n dirty project. It slid onto the potentiometer shaft very well as a press fit, and I felt pretty good that it would not have been easy to remove without some effort.

And of course, one last hack… The screws I had were a bit too long for mounting the speaker as I did for some other noisemakers so I ended up hot gluing a white plastic puck behind the speaker to increase the distance so the screws would work. The puck was another thing I grabbed from the junk pile at work, because you never know when you’ll need some small white plastic pucks.
This is just one post in a series about noisemakers. Check out the other posts as well: