I’ve been dropping all these videos of synth jams over on YouTube but haven’t put any of them here, so I figured I would fix that.
This one is just Pocket Operators. They are tiny, limited devices that can still do a heck of a lot. They’re awesome and fun. I’m using a sync splitter so I can run them all into a mixer separately and adjust the levels. You can chain them all together, but it can be difficult to get the sound levels of each one set properly.
This one is a “Sonic Exploration” (or “Sound Exploration”, I mean, I don’t even know.) I can see doing more of these “knob twiddling” videos where it’s sort of organic and goes… well, wherever it goes. The Crave is a semi-modular analog synth, so it’s perfect for that sort of thing. The Arturia BeatStep is a fun sequencer and pad device that does MIDI and CV. (And I might have some more hardware perfect for Sonic (or Sound) Explorations coming up soon.
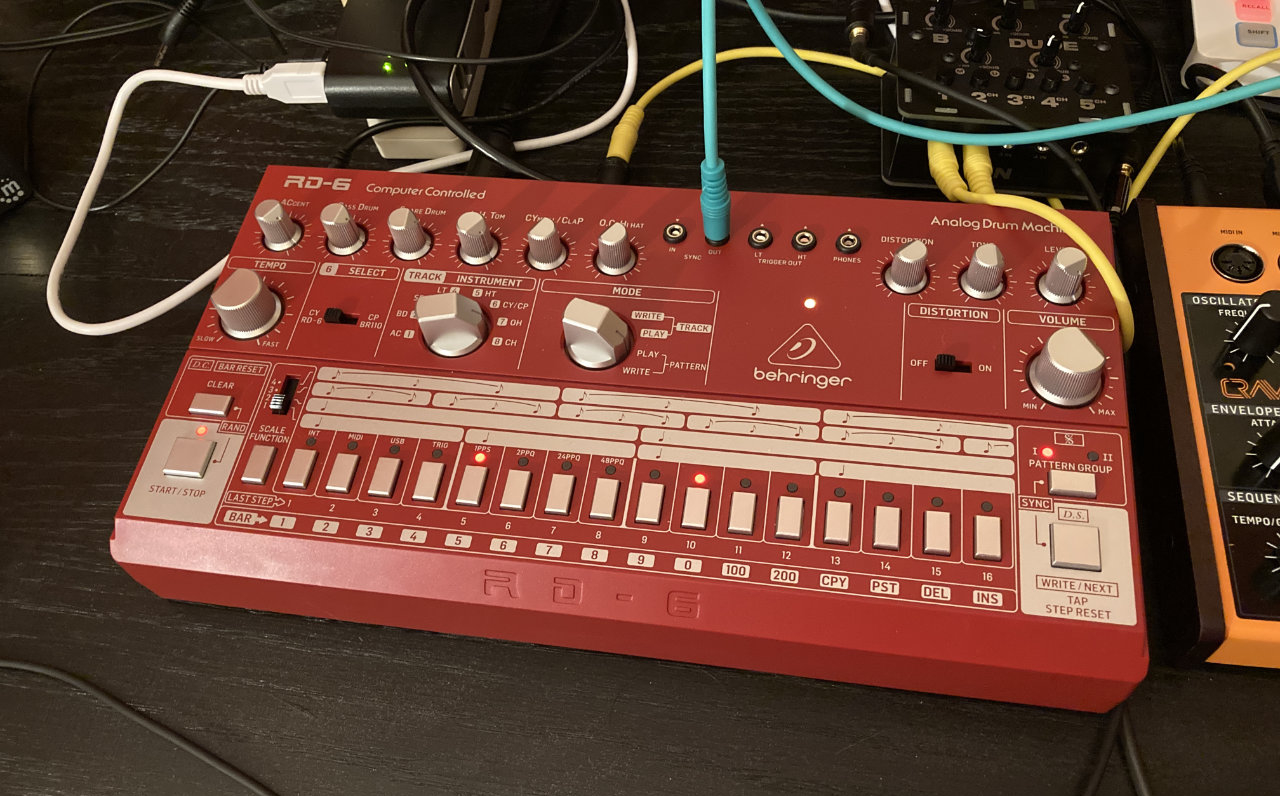
This one pairs the Pocket Operators with the Behringer RD-6 Drum Machine. I’m using the PO-12 Rhythm which is a “drum machine” it it’s own right as well, but it’s playing bass tones. There’s also a PO-14 Sub which is a bass sequencer, so… double bass I guess? The PO-24 Office rounds it out as… lead? Yeah, sounds good.
If you want more of this crazy sound subscribe over on the YouTube because I plan to keep going.